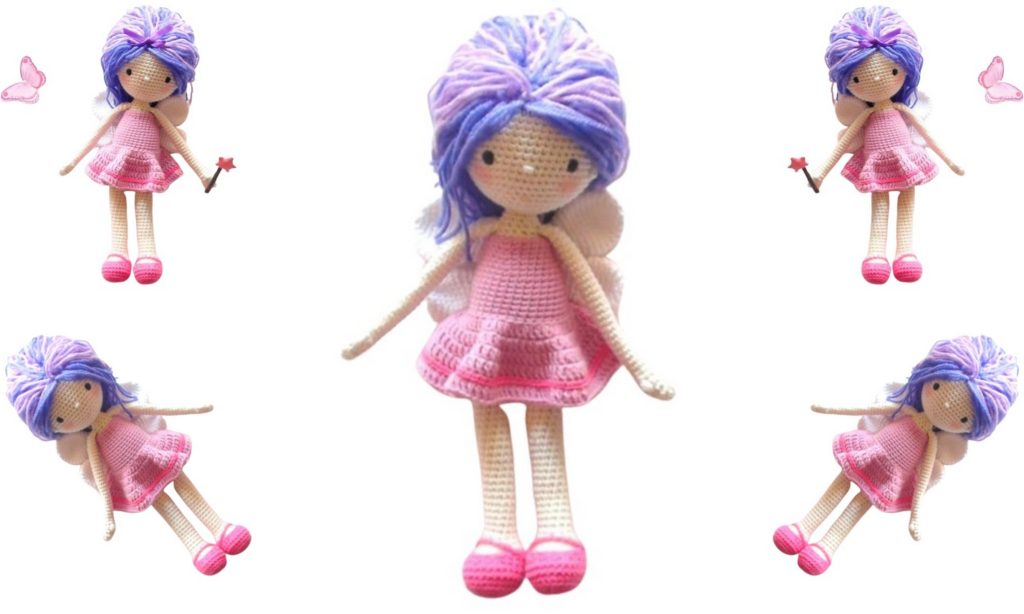
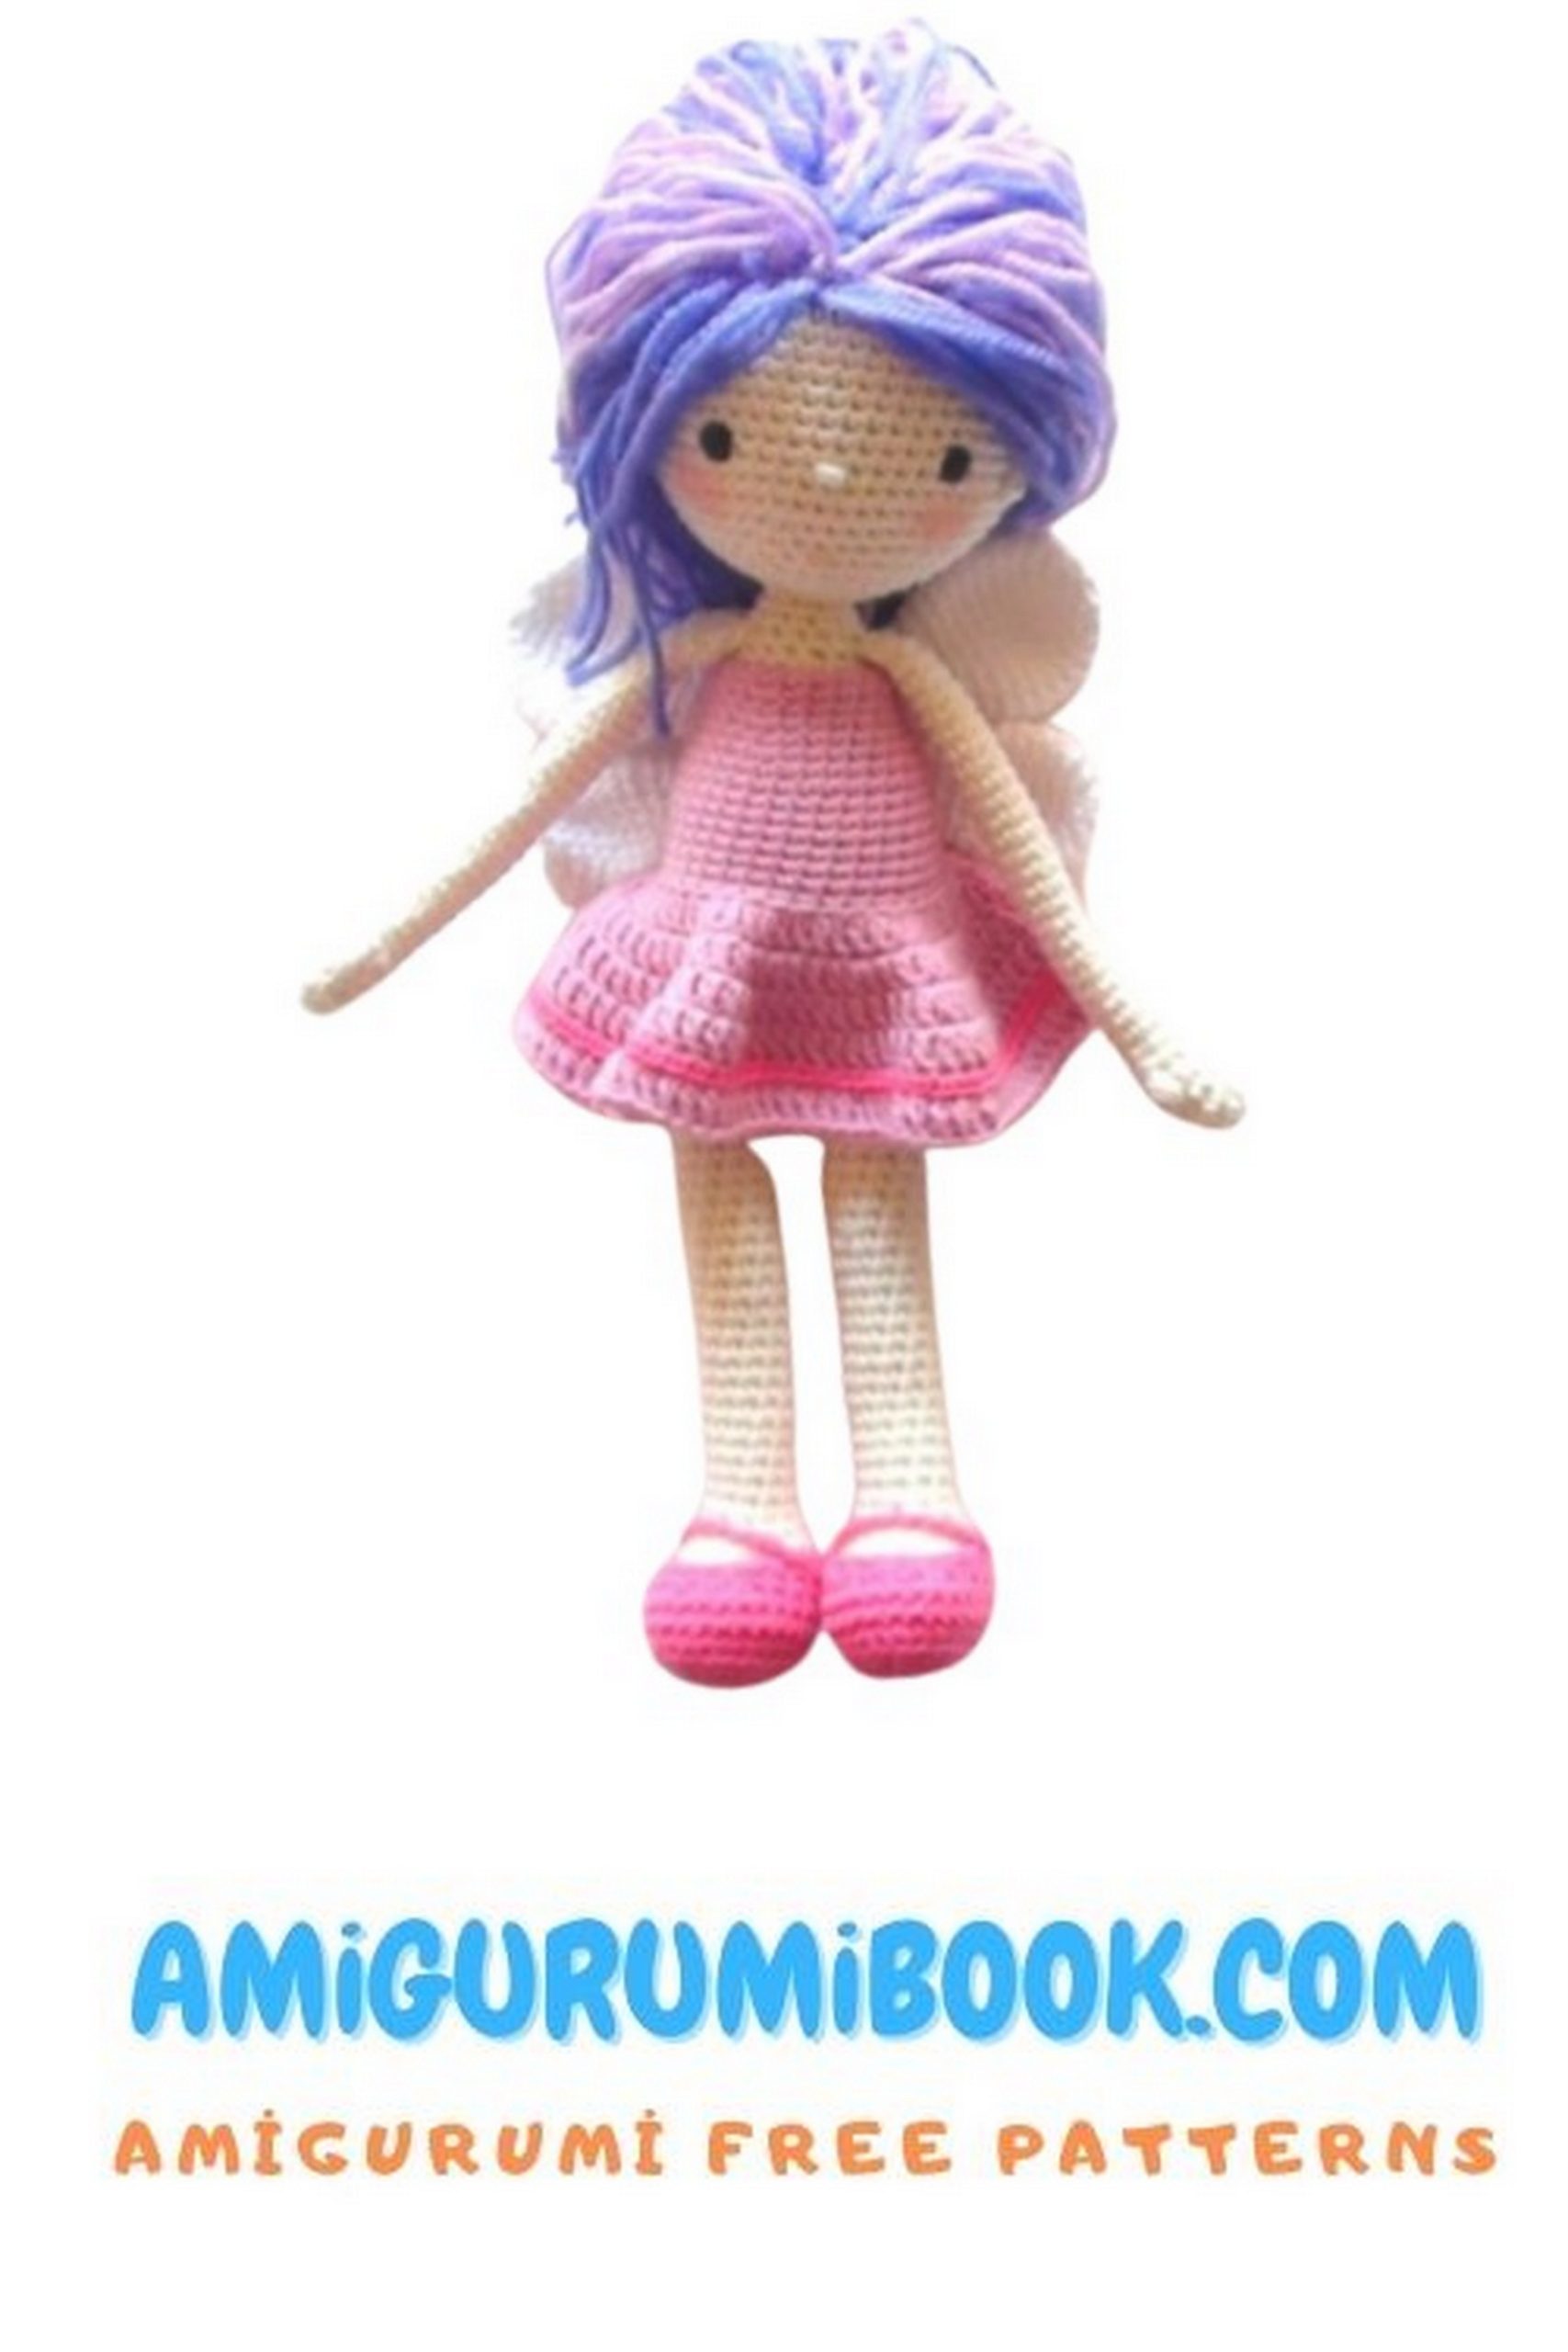
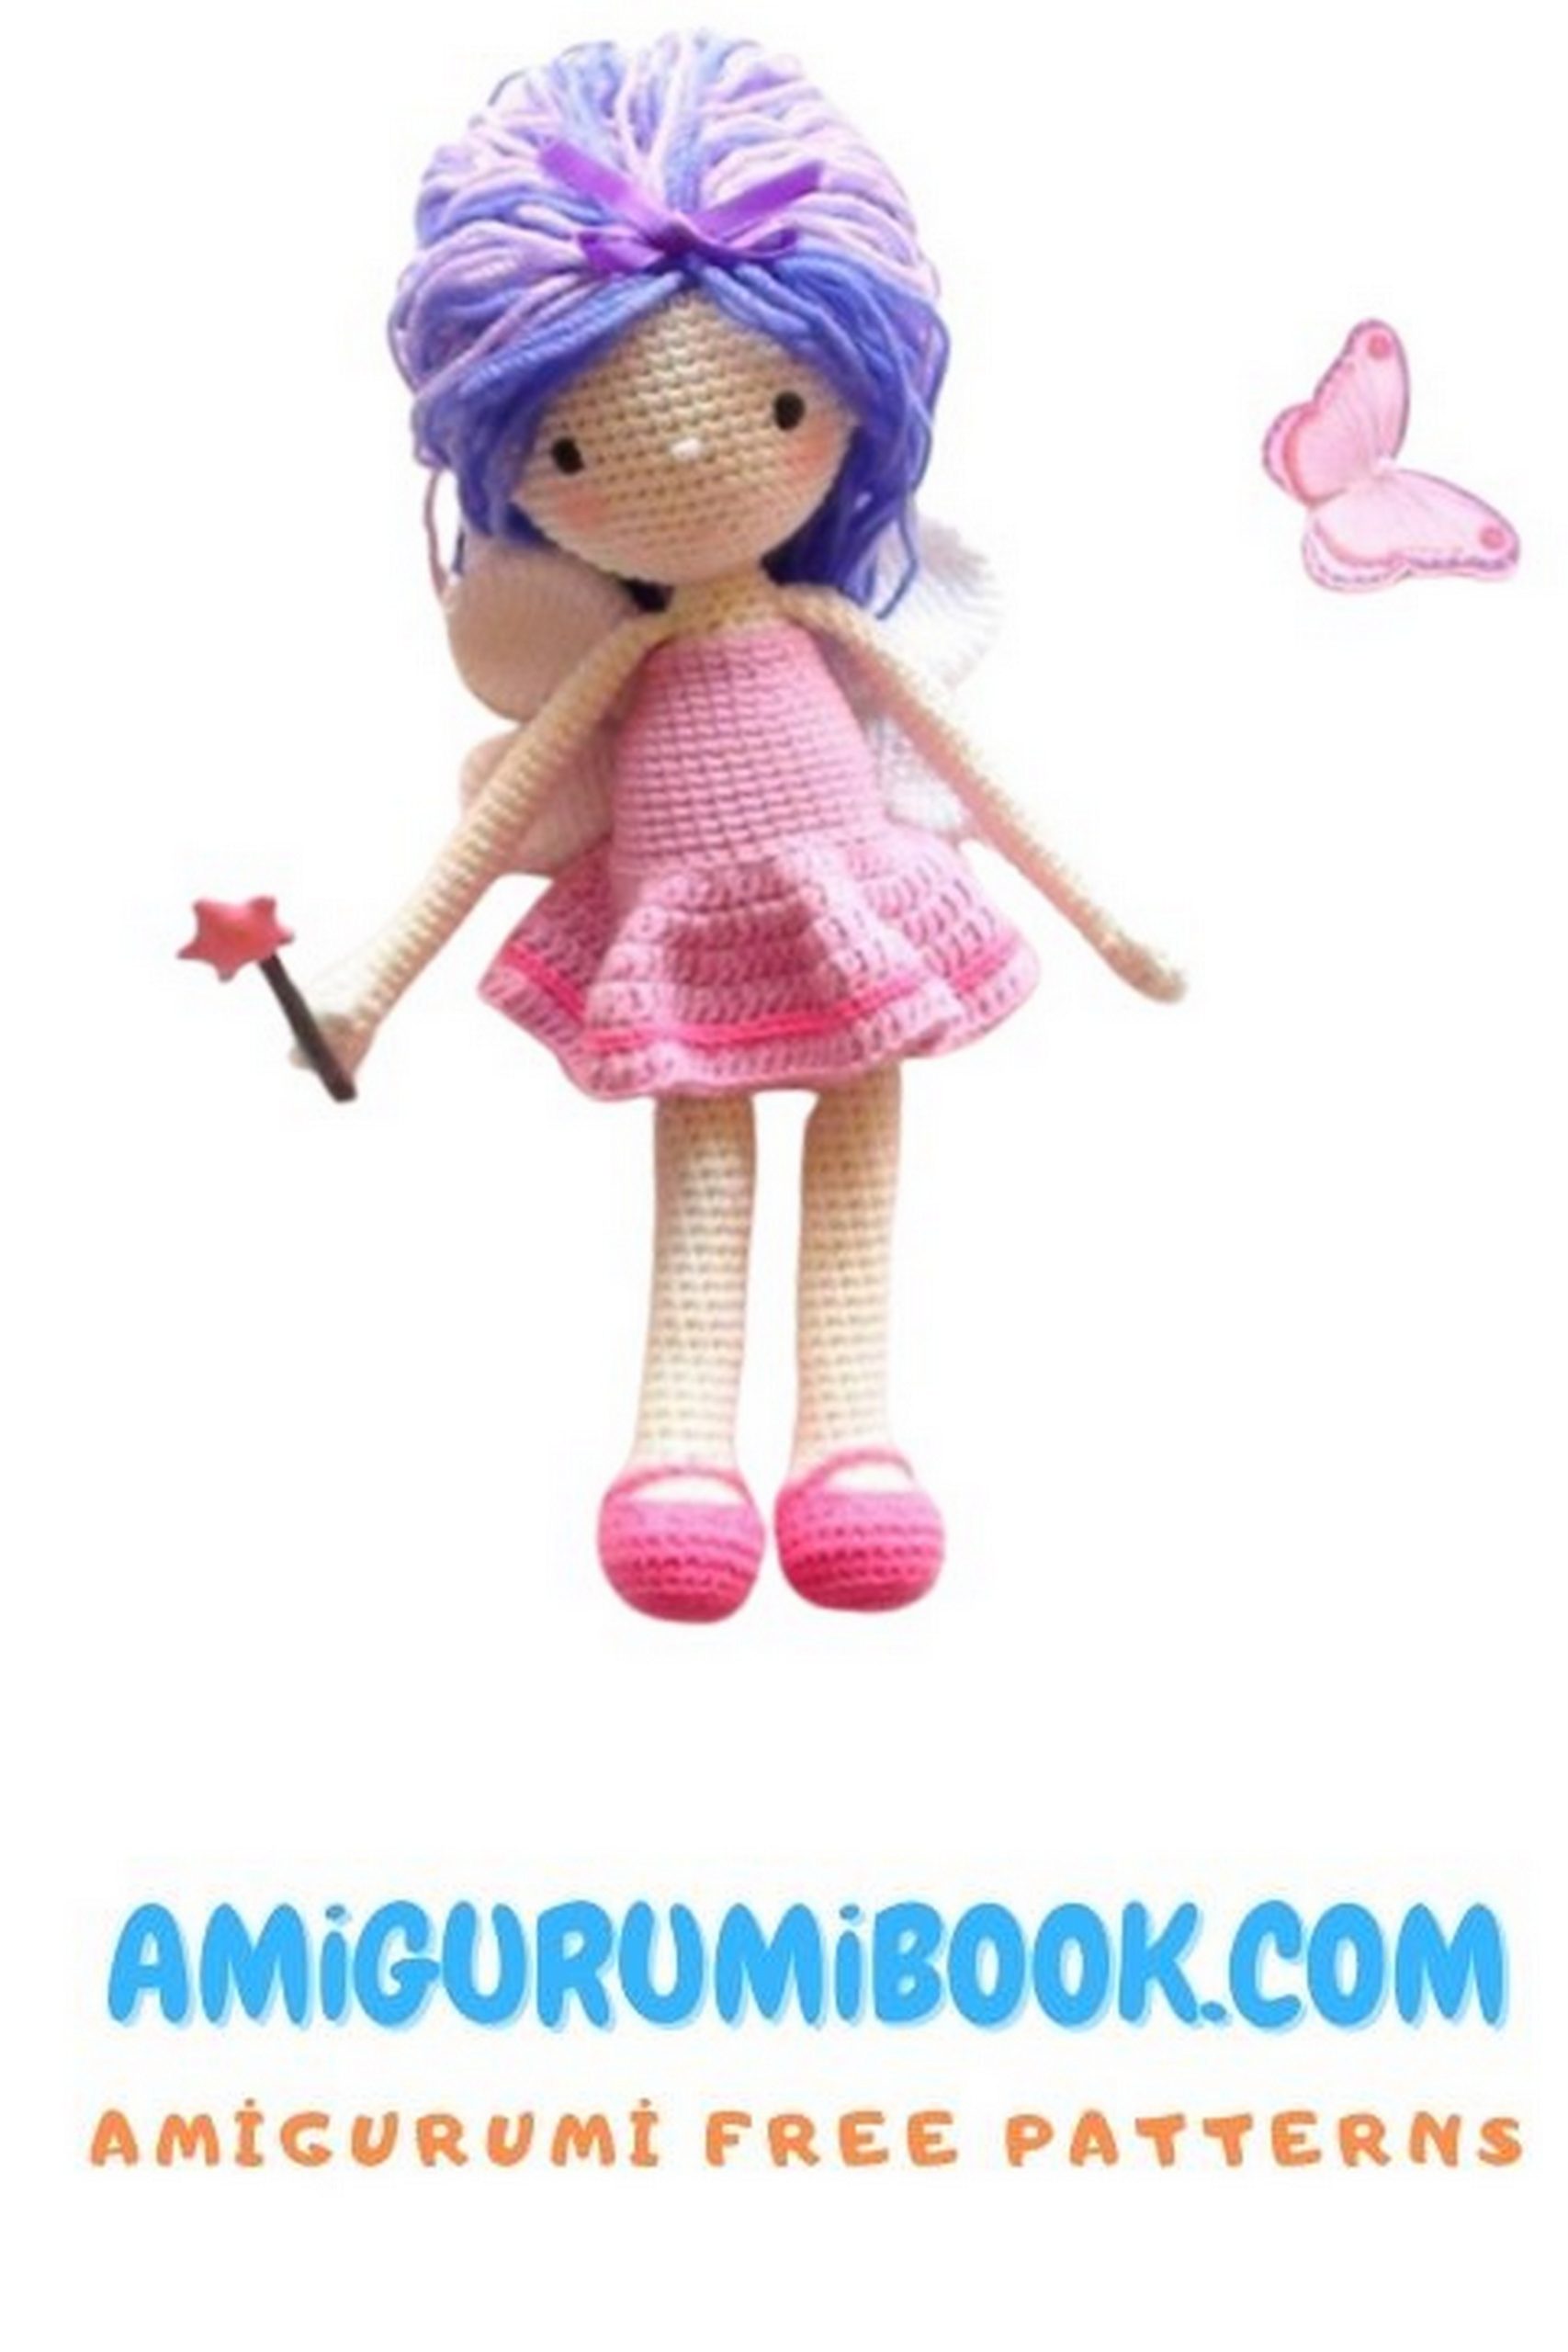
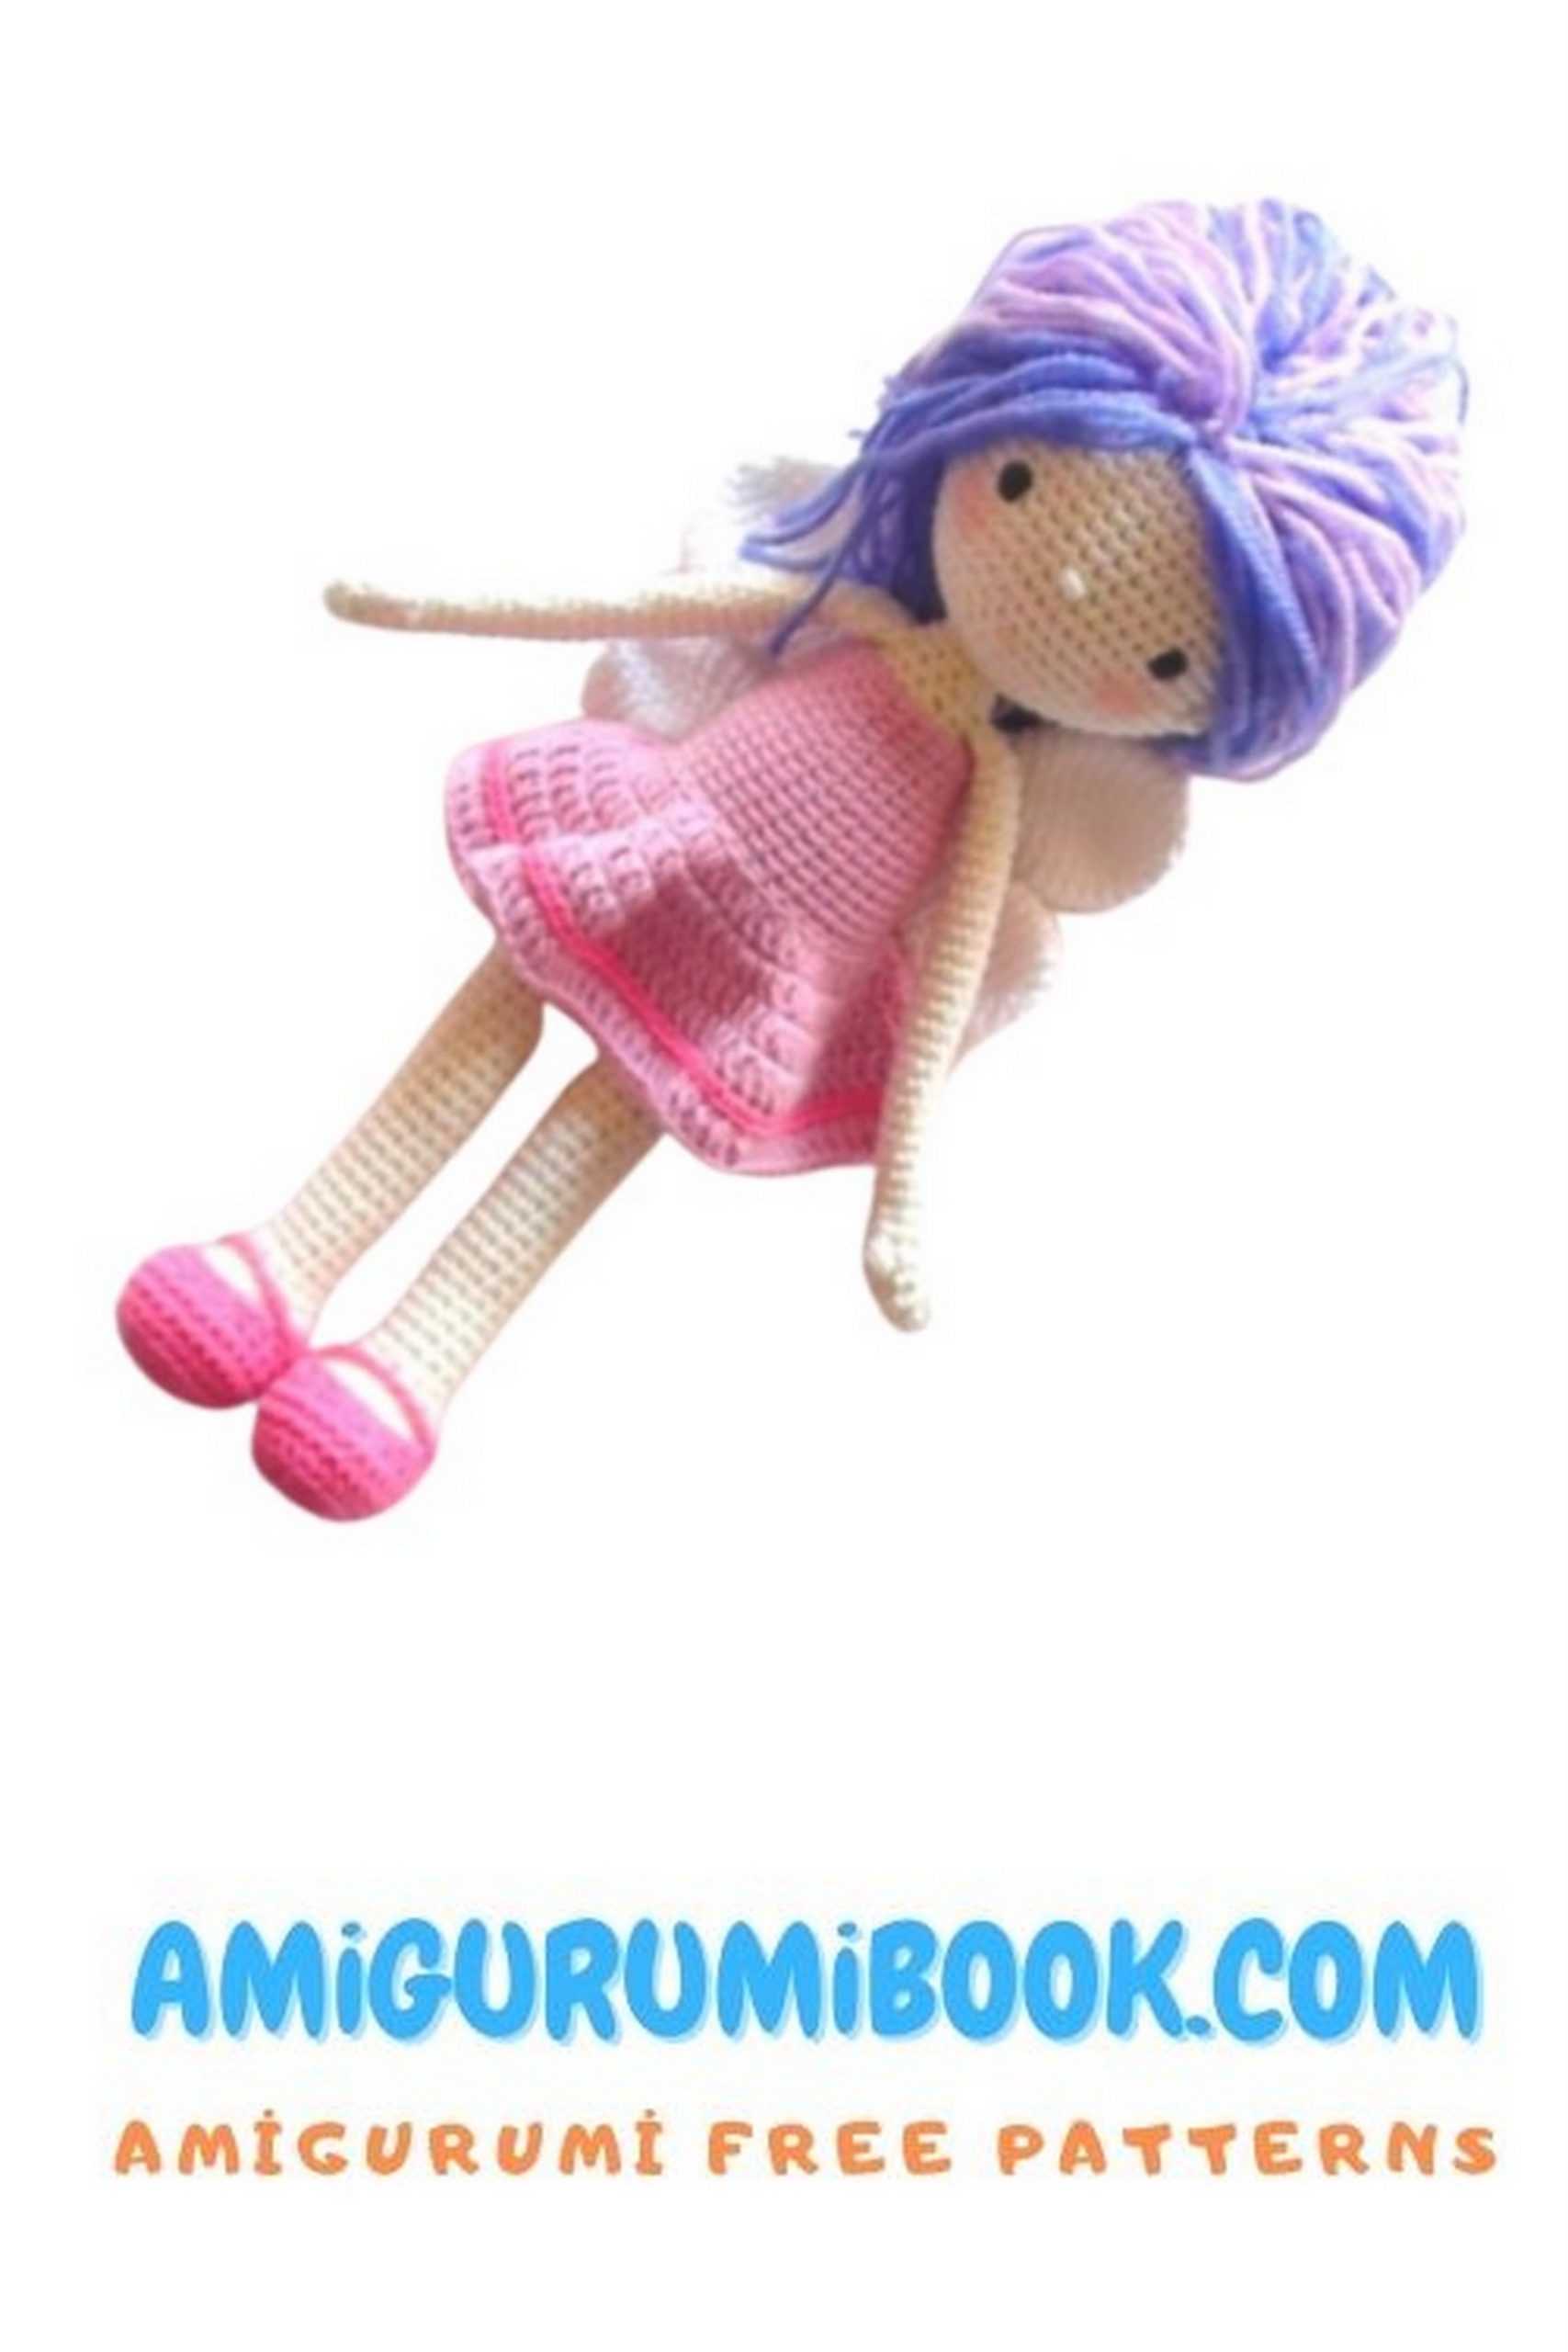
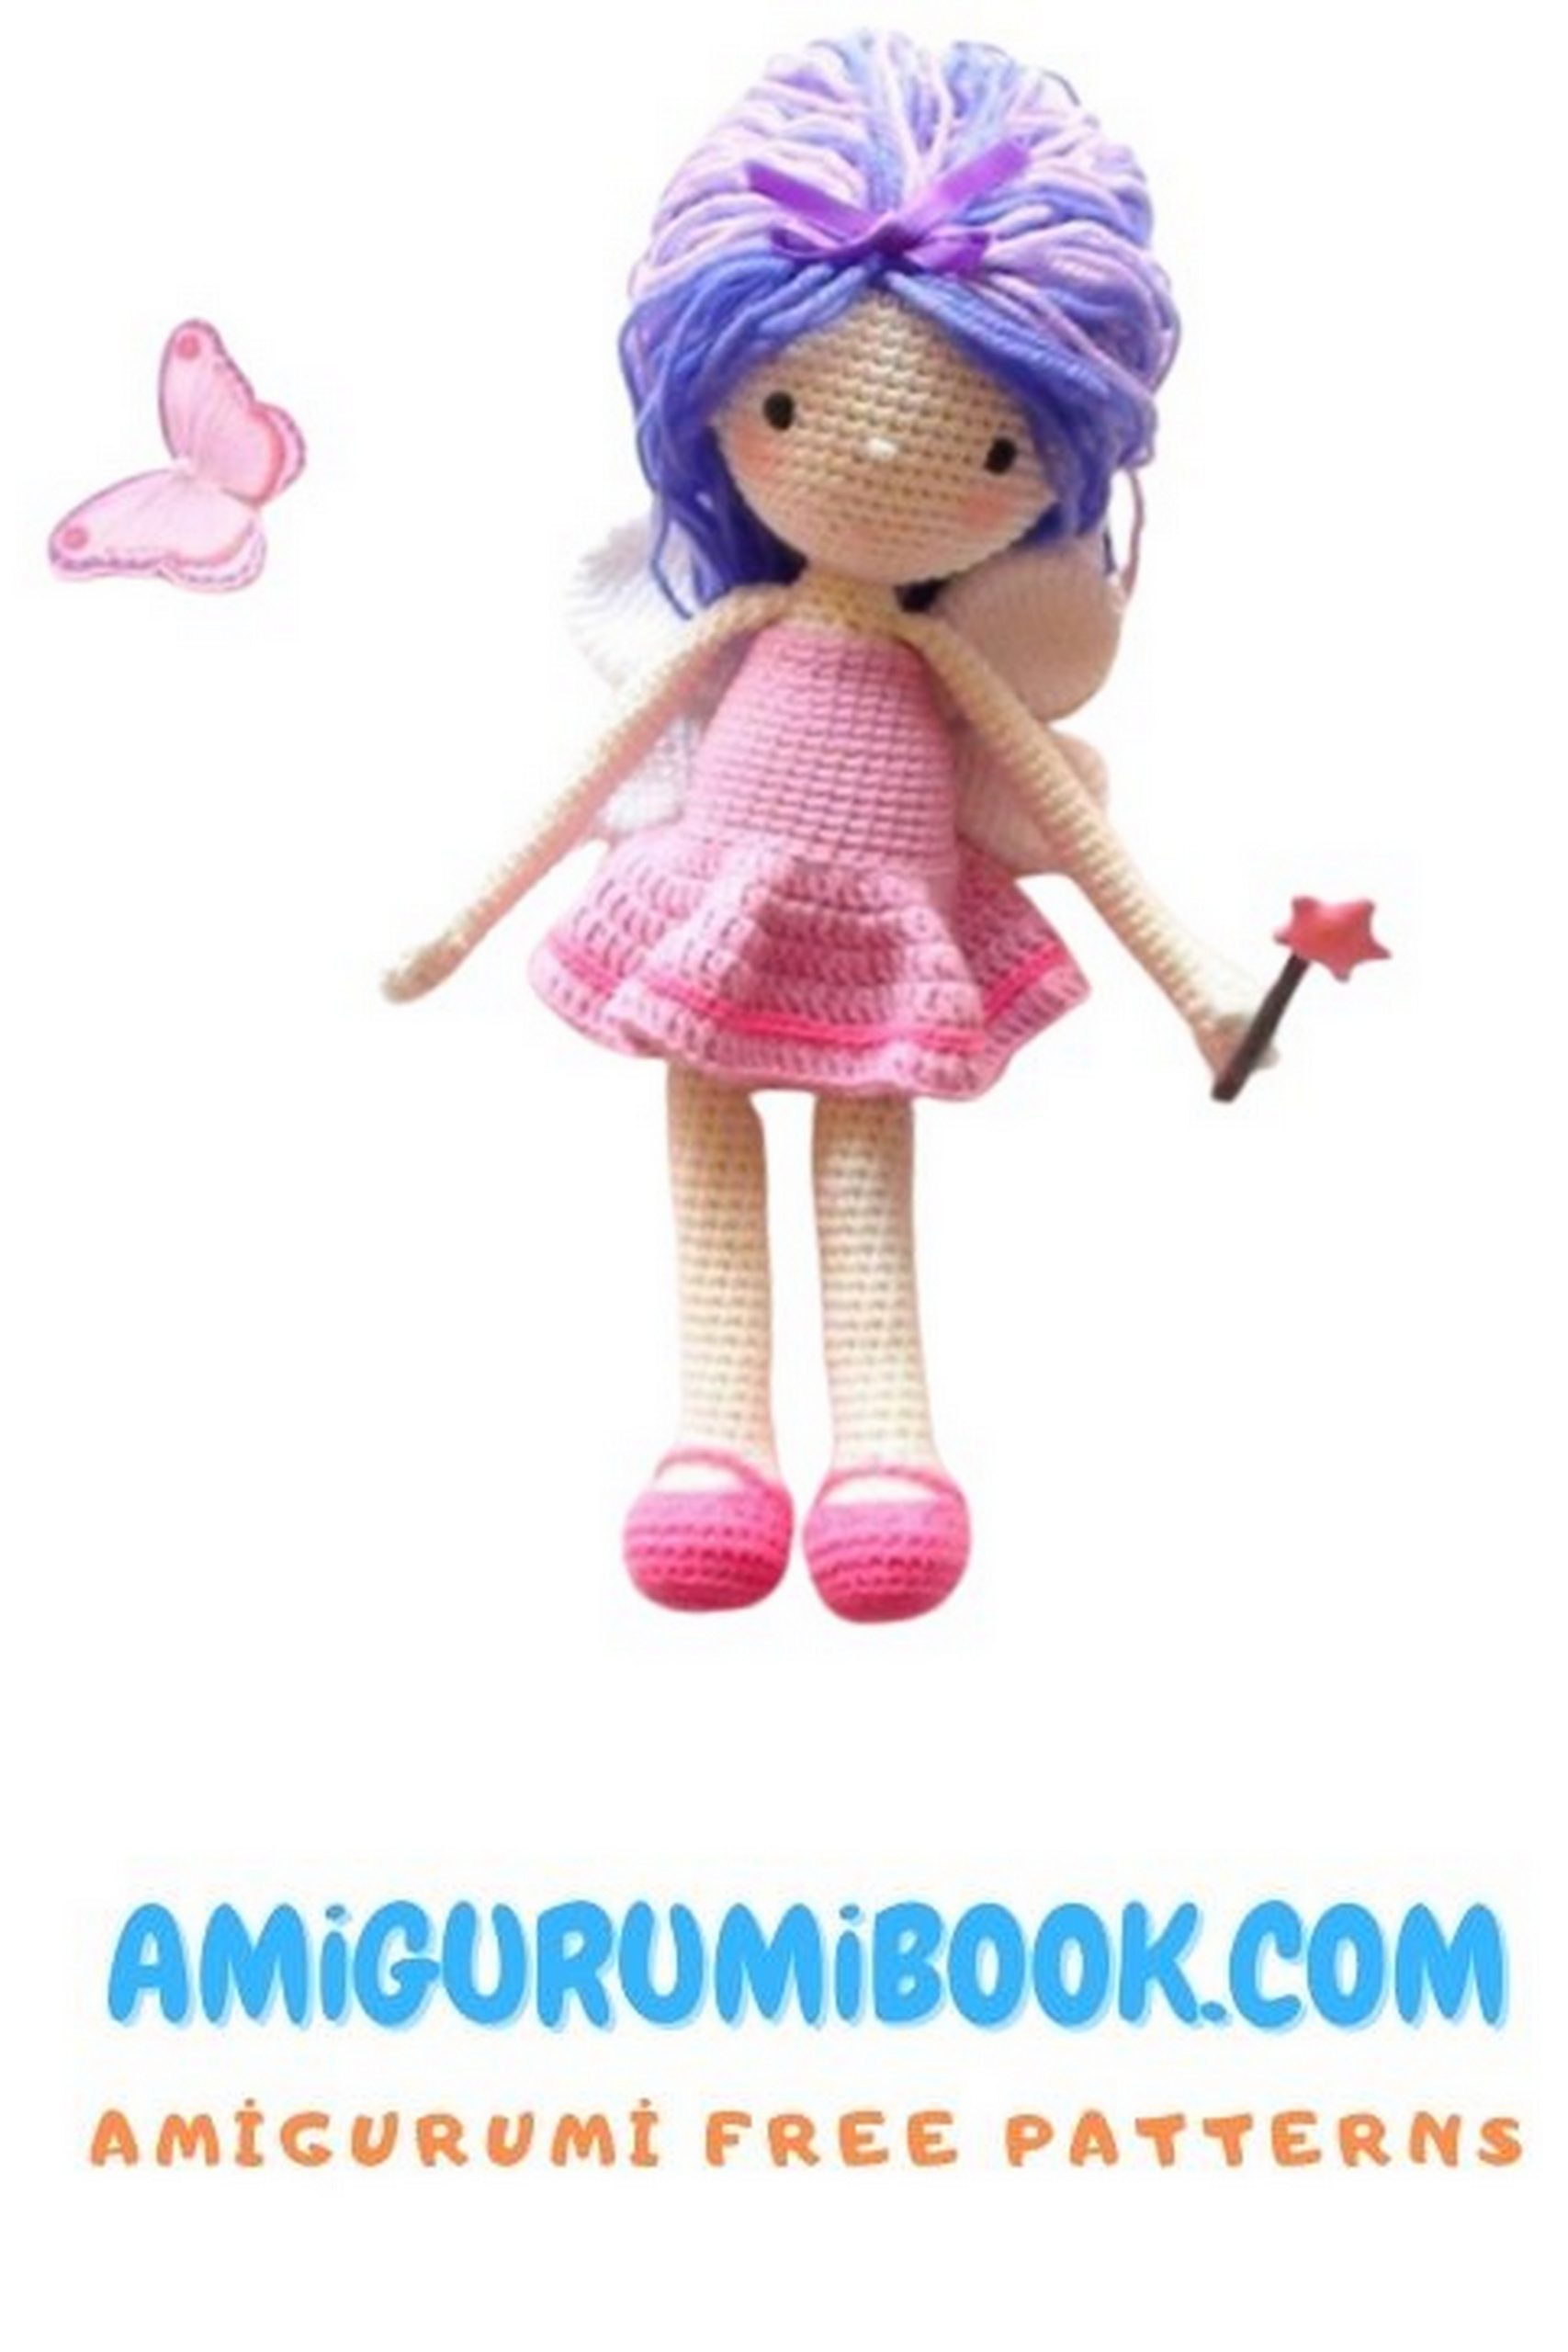
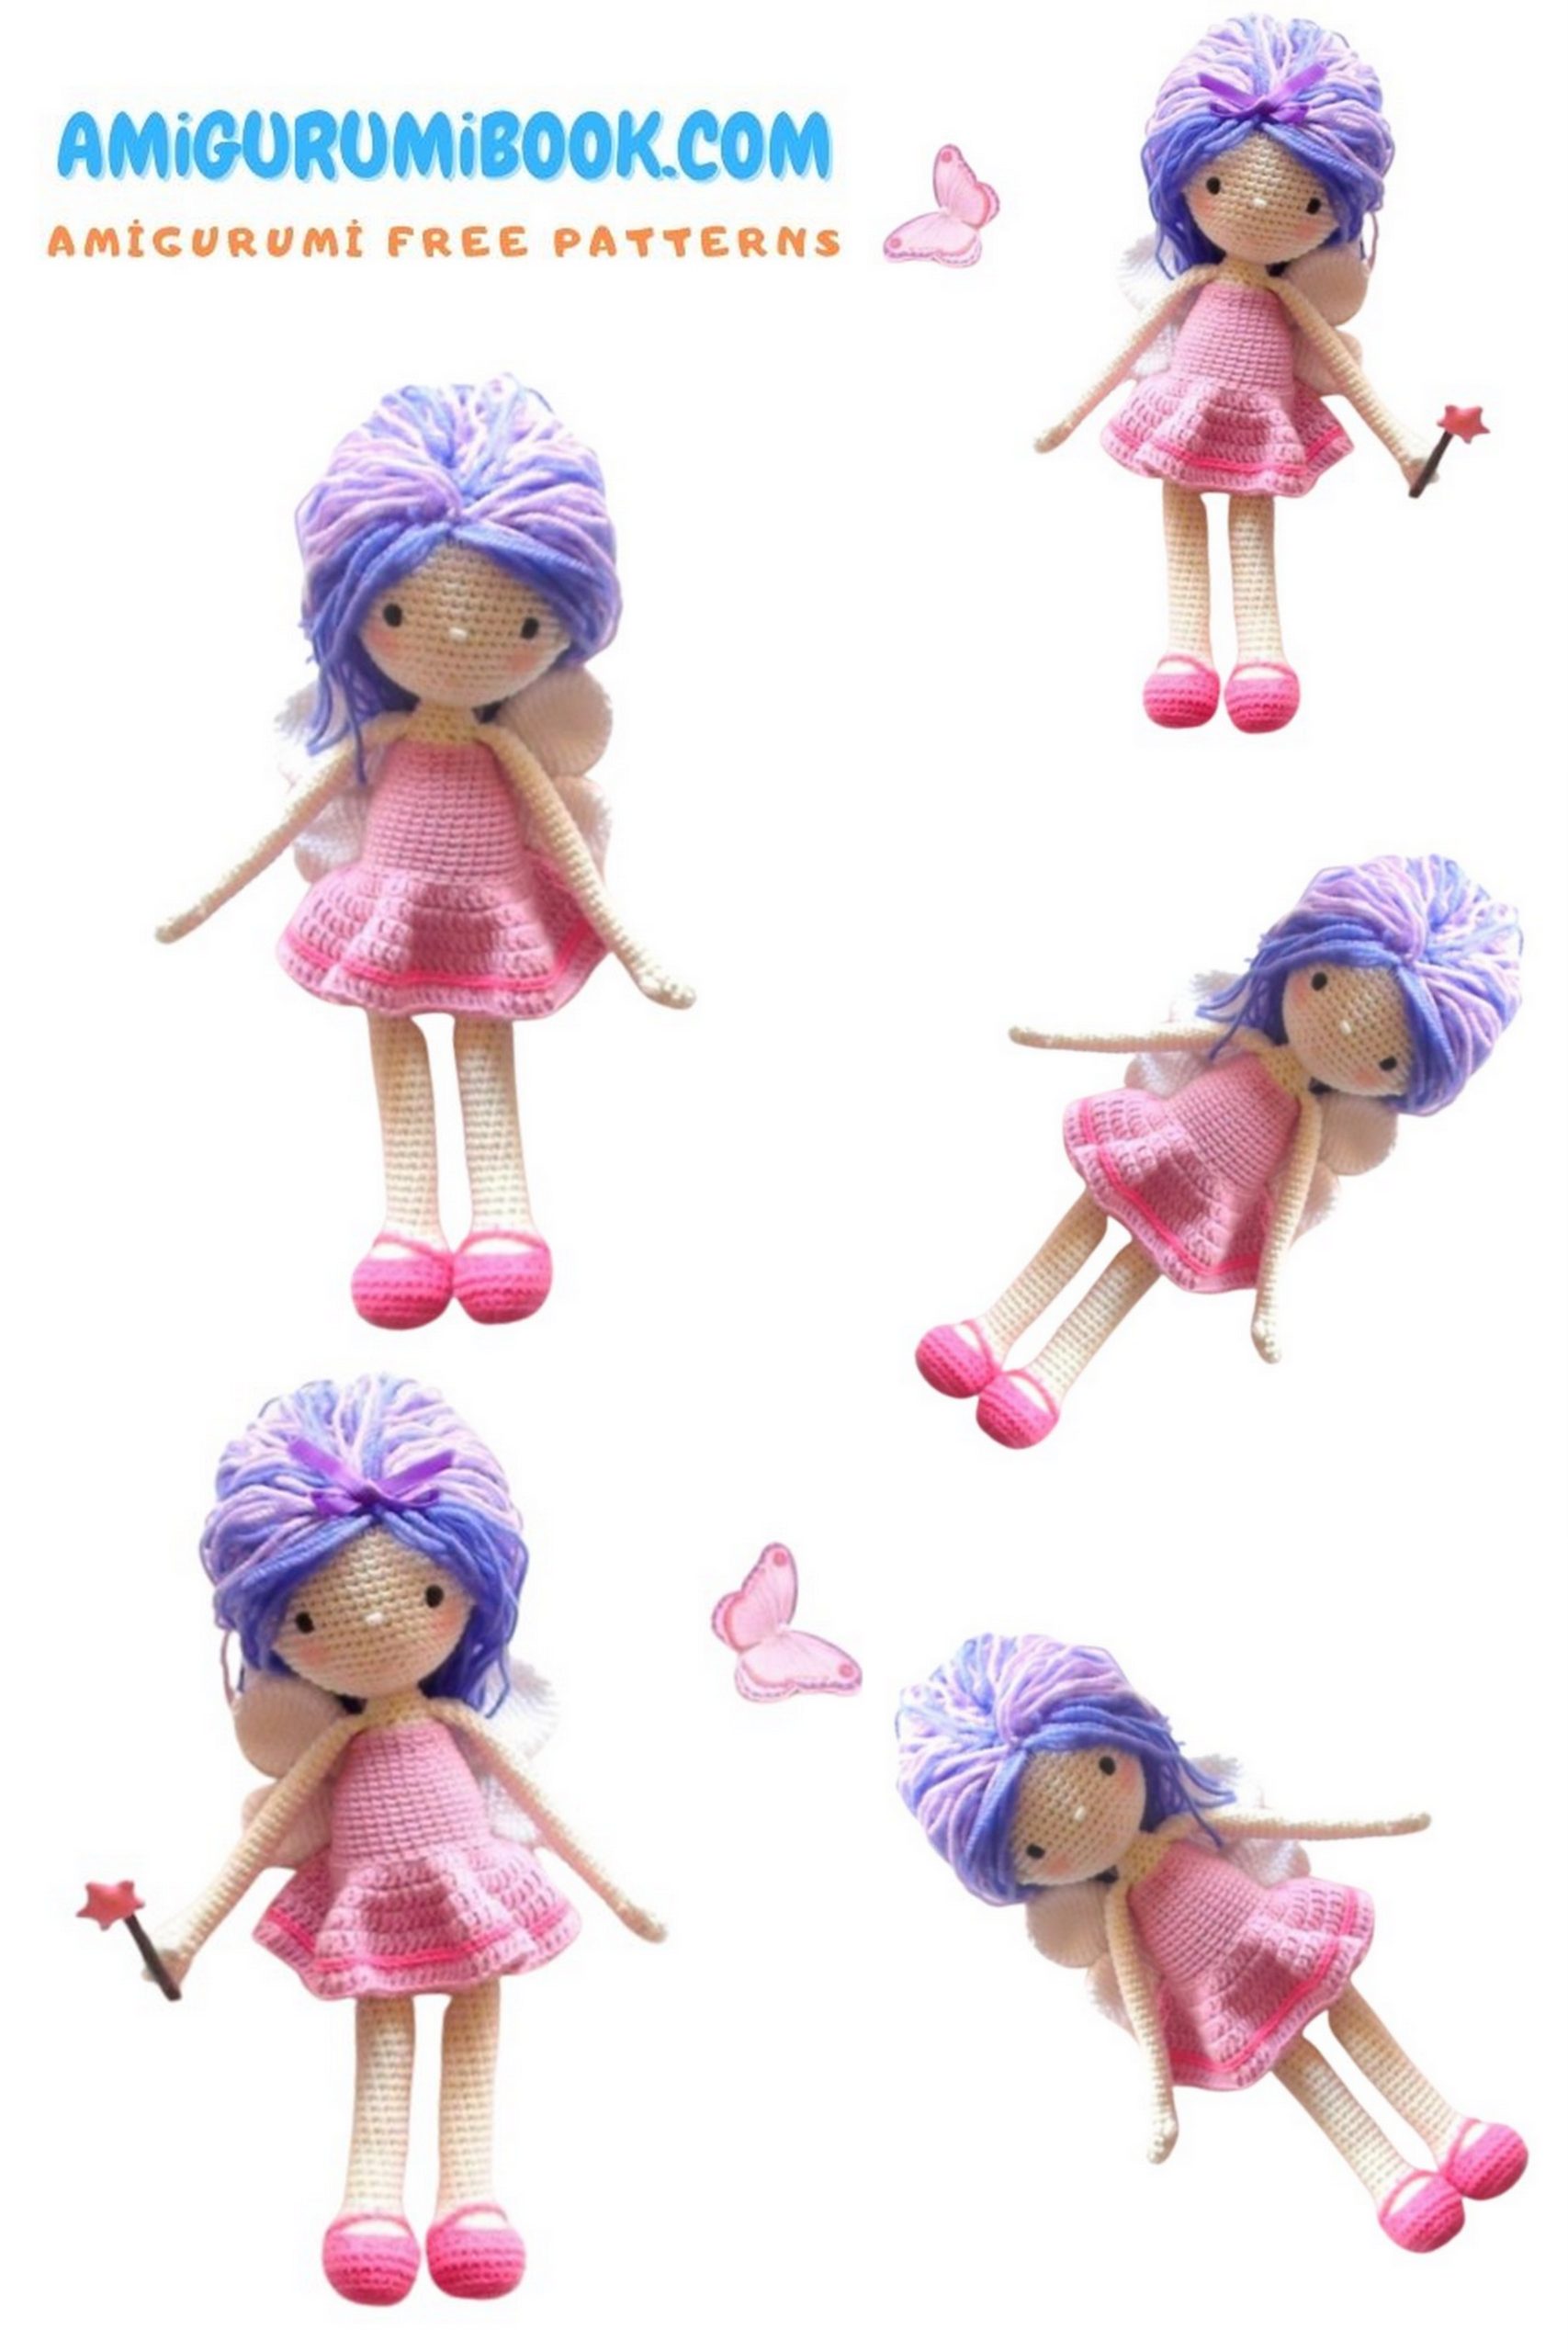
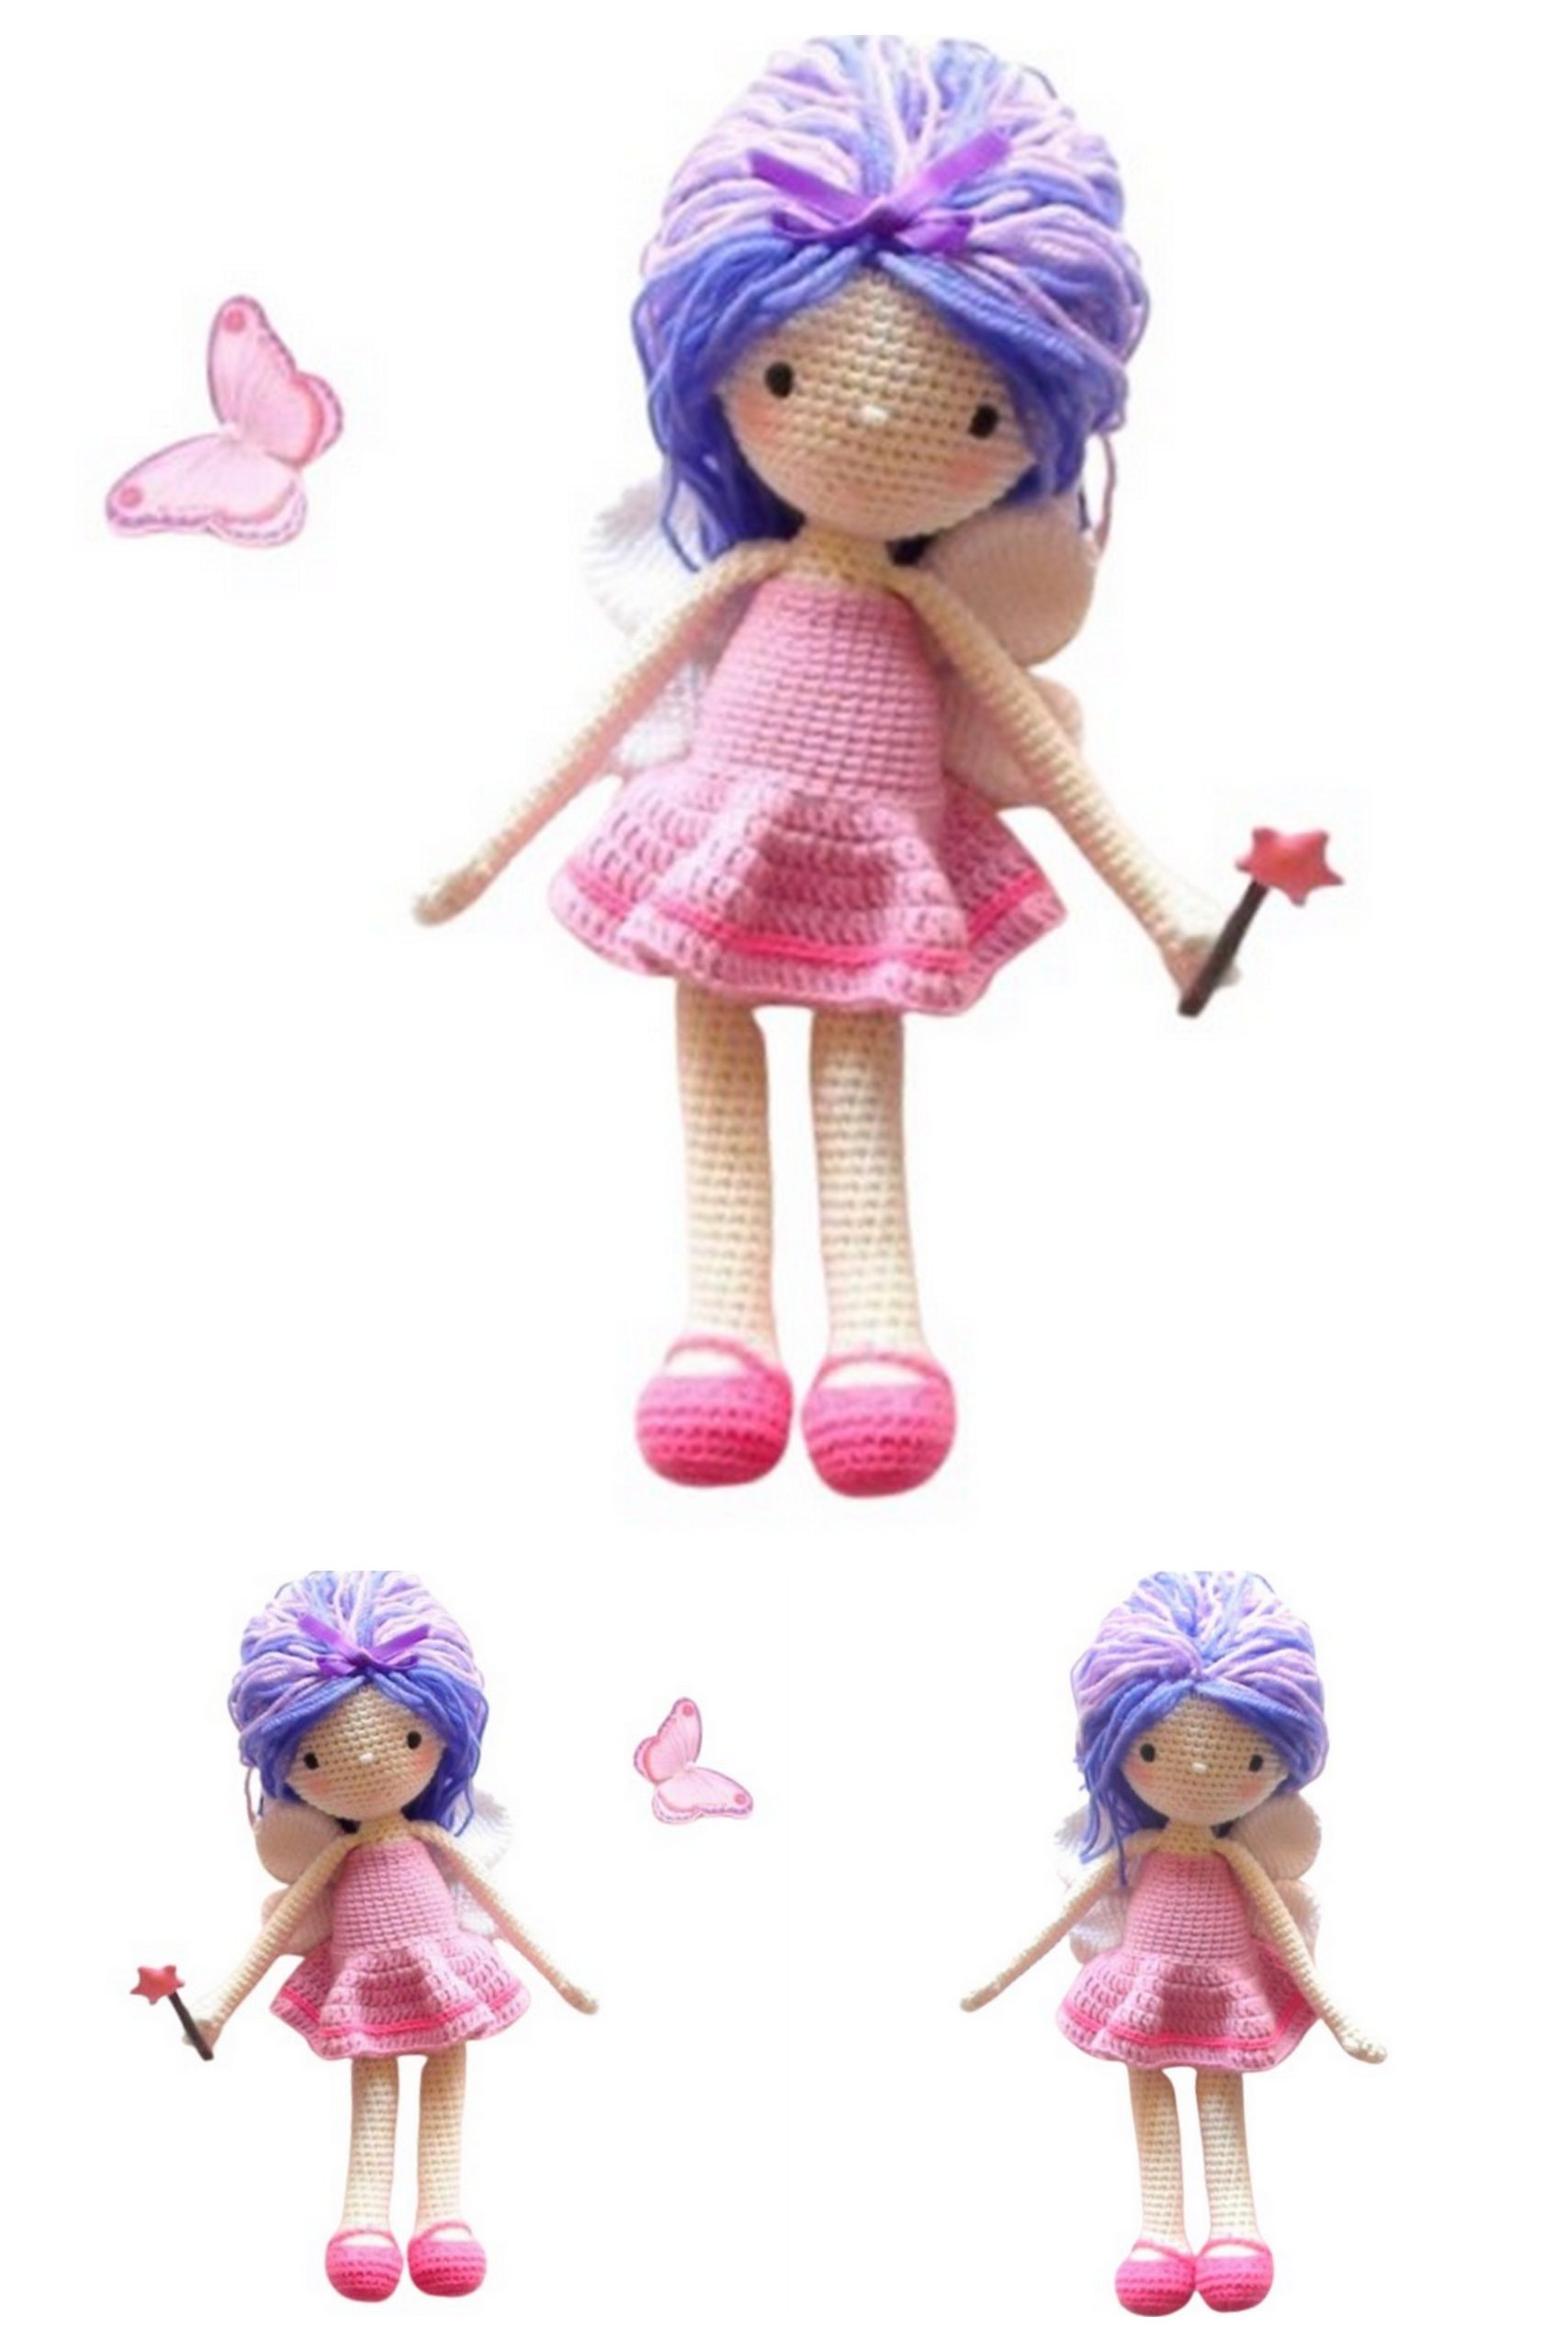
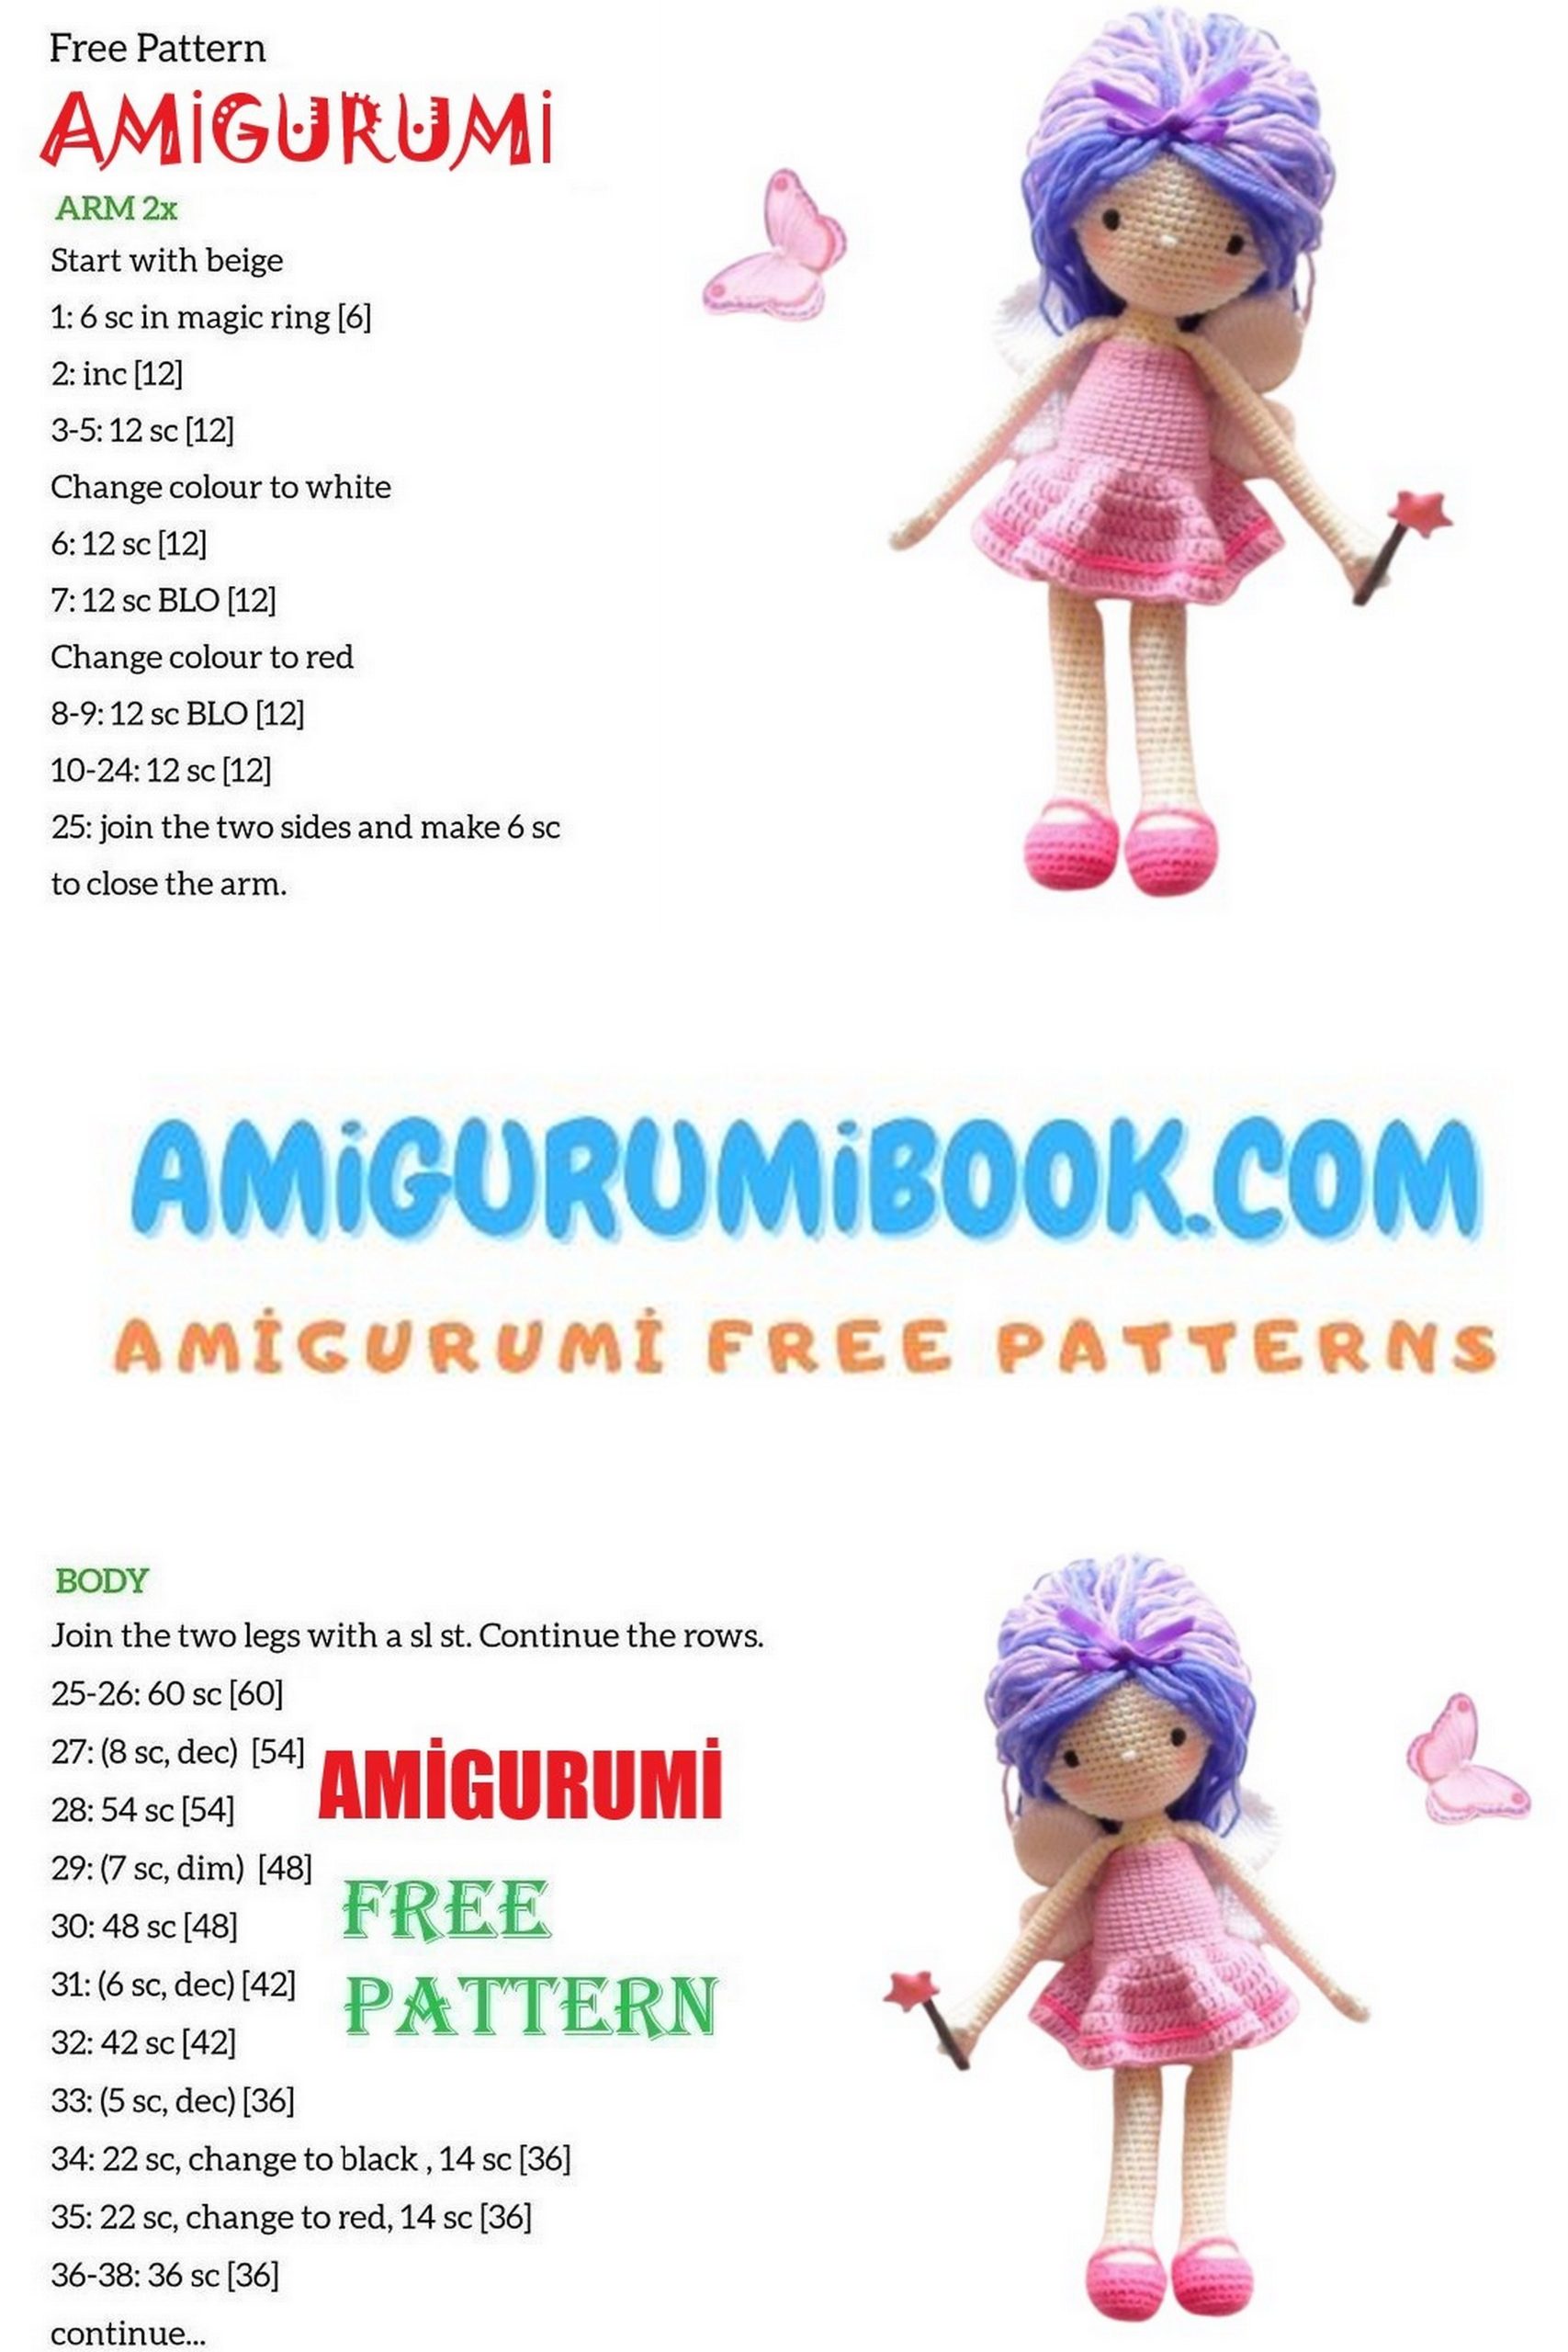
If you love magical handmade toys, this Free Fairy Doll Amigurumi Pattern is the perfect project for your crochet collection. With her delicate wings, adorable details, and charming design, this crochet fairy doll will bring a touch of fantasy to your handmade creations.
This step-by-step DIY crochet fairy doll pattern is suitable for both beginners and experienced crocheters who enjoy making cute amigurumi dolls. Using simple stitches and clear instructions, you can easily create your own tiny fairy friend that makes a wonderful gift, nursery decoration, or collectible toy.
Get your yarn and crochet hook ready, and let’s start creating this beautiful amigurumi fairy doll today!
If you want to access 1000+ free amigurumi patterns, you can download our application from this link!
Materials
• YarnArt Jeans yarn in the following colors:
– Skin tone
– Light pink
– Green
– White
– Brown (for hair)
• Crochet hook 2.0 mm
Safety eyes 6–8 mm
Fiberfill stuffing
Tapestry needle (for sewing parts)
Stitch marker
Scissors
Black embroidery thread (for eyelashes and facial details)
Pink thread or blush (for cheeks)
Thin wire (optional, for shaping the wings)
Abbreviations
MR – Magic Ring
CH – Chain
SC – Single Crochet
INC – Increase (2 SC in the same stitch)
DEC – Decrease (single crochet two stitches together)
SS – Slip Stitch

Head:
Begin crocheting with the color that will be the doll’s hair (to avoid gaps). Crochet in spirals.
1st Row: 6 SC in MR (6)
2nd Row: (INC) x 6 (12)
3rd Row: (1 SC, INC) x 6 (18)
4th Row: (2 SC, INC) x 6 (24)
5th Row: (3 SC, INC) x 6 (30)
6th Row: (4 SC, INC) x 6 (36)
7th Row: (5 SC, INC) x 6 (42)
8th Row: (6 SC, INC) x 6 (48)
9th Row: (7 SC, INC) x 6 (54)
10th Row: 54 SC
Switch to skin color yarn.
11th-20th Rows: 54 SC
Insert safety eyes or embroider them between rows 15 and 16 with a 9-stitch gap. Embroider the nose.
Ears (2 pieces):
Create an amigurumi ring with a CH, 4 SC, and SS. Sew them on, leaving a 4-stitch gap from the eyes.
Continue crocheting the head:
21st Row: (7 SC, DEC) x 6 (48)
22nd Row: (6 SC, DEC) x 6 (42)
23rd Row: (5 SC, DEC) x 6 (36)
24th Row: (4 SC, DEC) x 6 (30)
25th Row: (3 SC, DEC) x 6 (24)
26th Row: (2 SC, DEC) x 6 (18)
27th Row: (1 SC, DEC) x 6 (12)
Pull tight to close the remaining hole, fasten off the yarn, and hide the end of the thread.
Right Leg:
Start with 6 CH.
1st Row: SC in the second loop from the hook, 3 SC, in the last loop, 3 SC, continue on the other side of the chain with 3 SC, INC (12)
2nd Row: INC, 3 SC, 3 INC, 3 SC, 2 INC (18)
3rd Row: INC, 4 SC, 4 INC, 8 SC, INC (24)
4th-6th Rows: SC in each stitch (24)
7th Row: 7 SC, 5 DEC, 7 SC (19)
8th Row: 6 SC, 3 DEC, 5 SC, DEC (15)
9th Row: (2 SC, DEC) x 3, 3 SC (12)
10th-35th Rows: 12 SC
36th Row: 8 SC, SS.
Stuff the leg, fasten off, and leave a long tail to sew the area between the legs later.
Left Leg:
Crochet as you did for the right leg in rows 1-35.
36th Row: 3 SC
Don’t cut the yarn; you’ll continue crocheting the body.
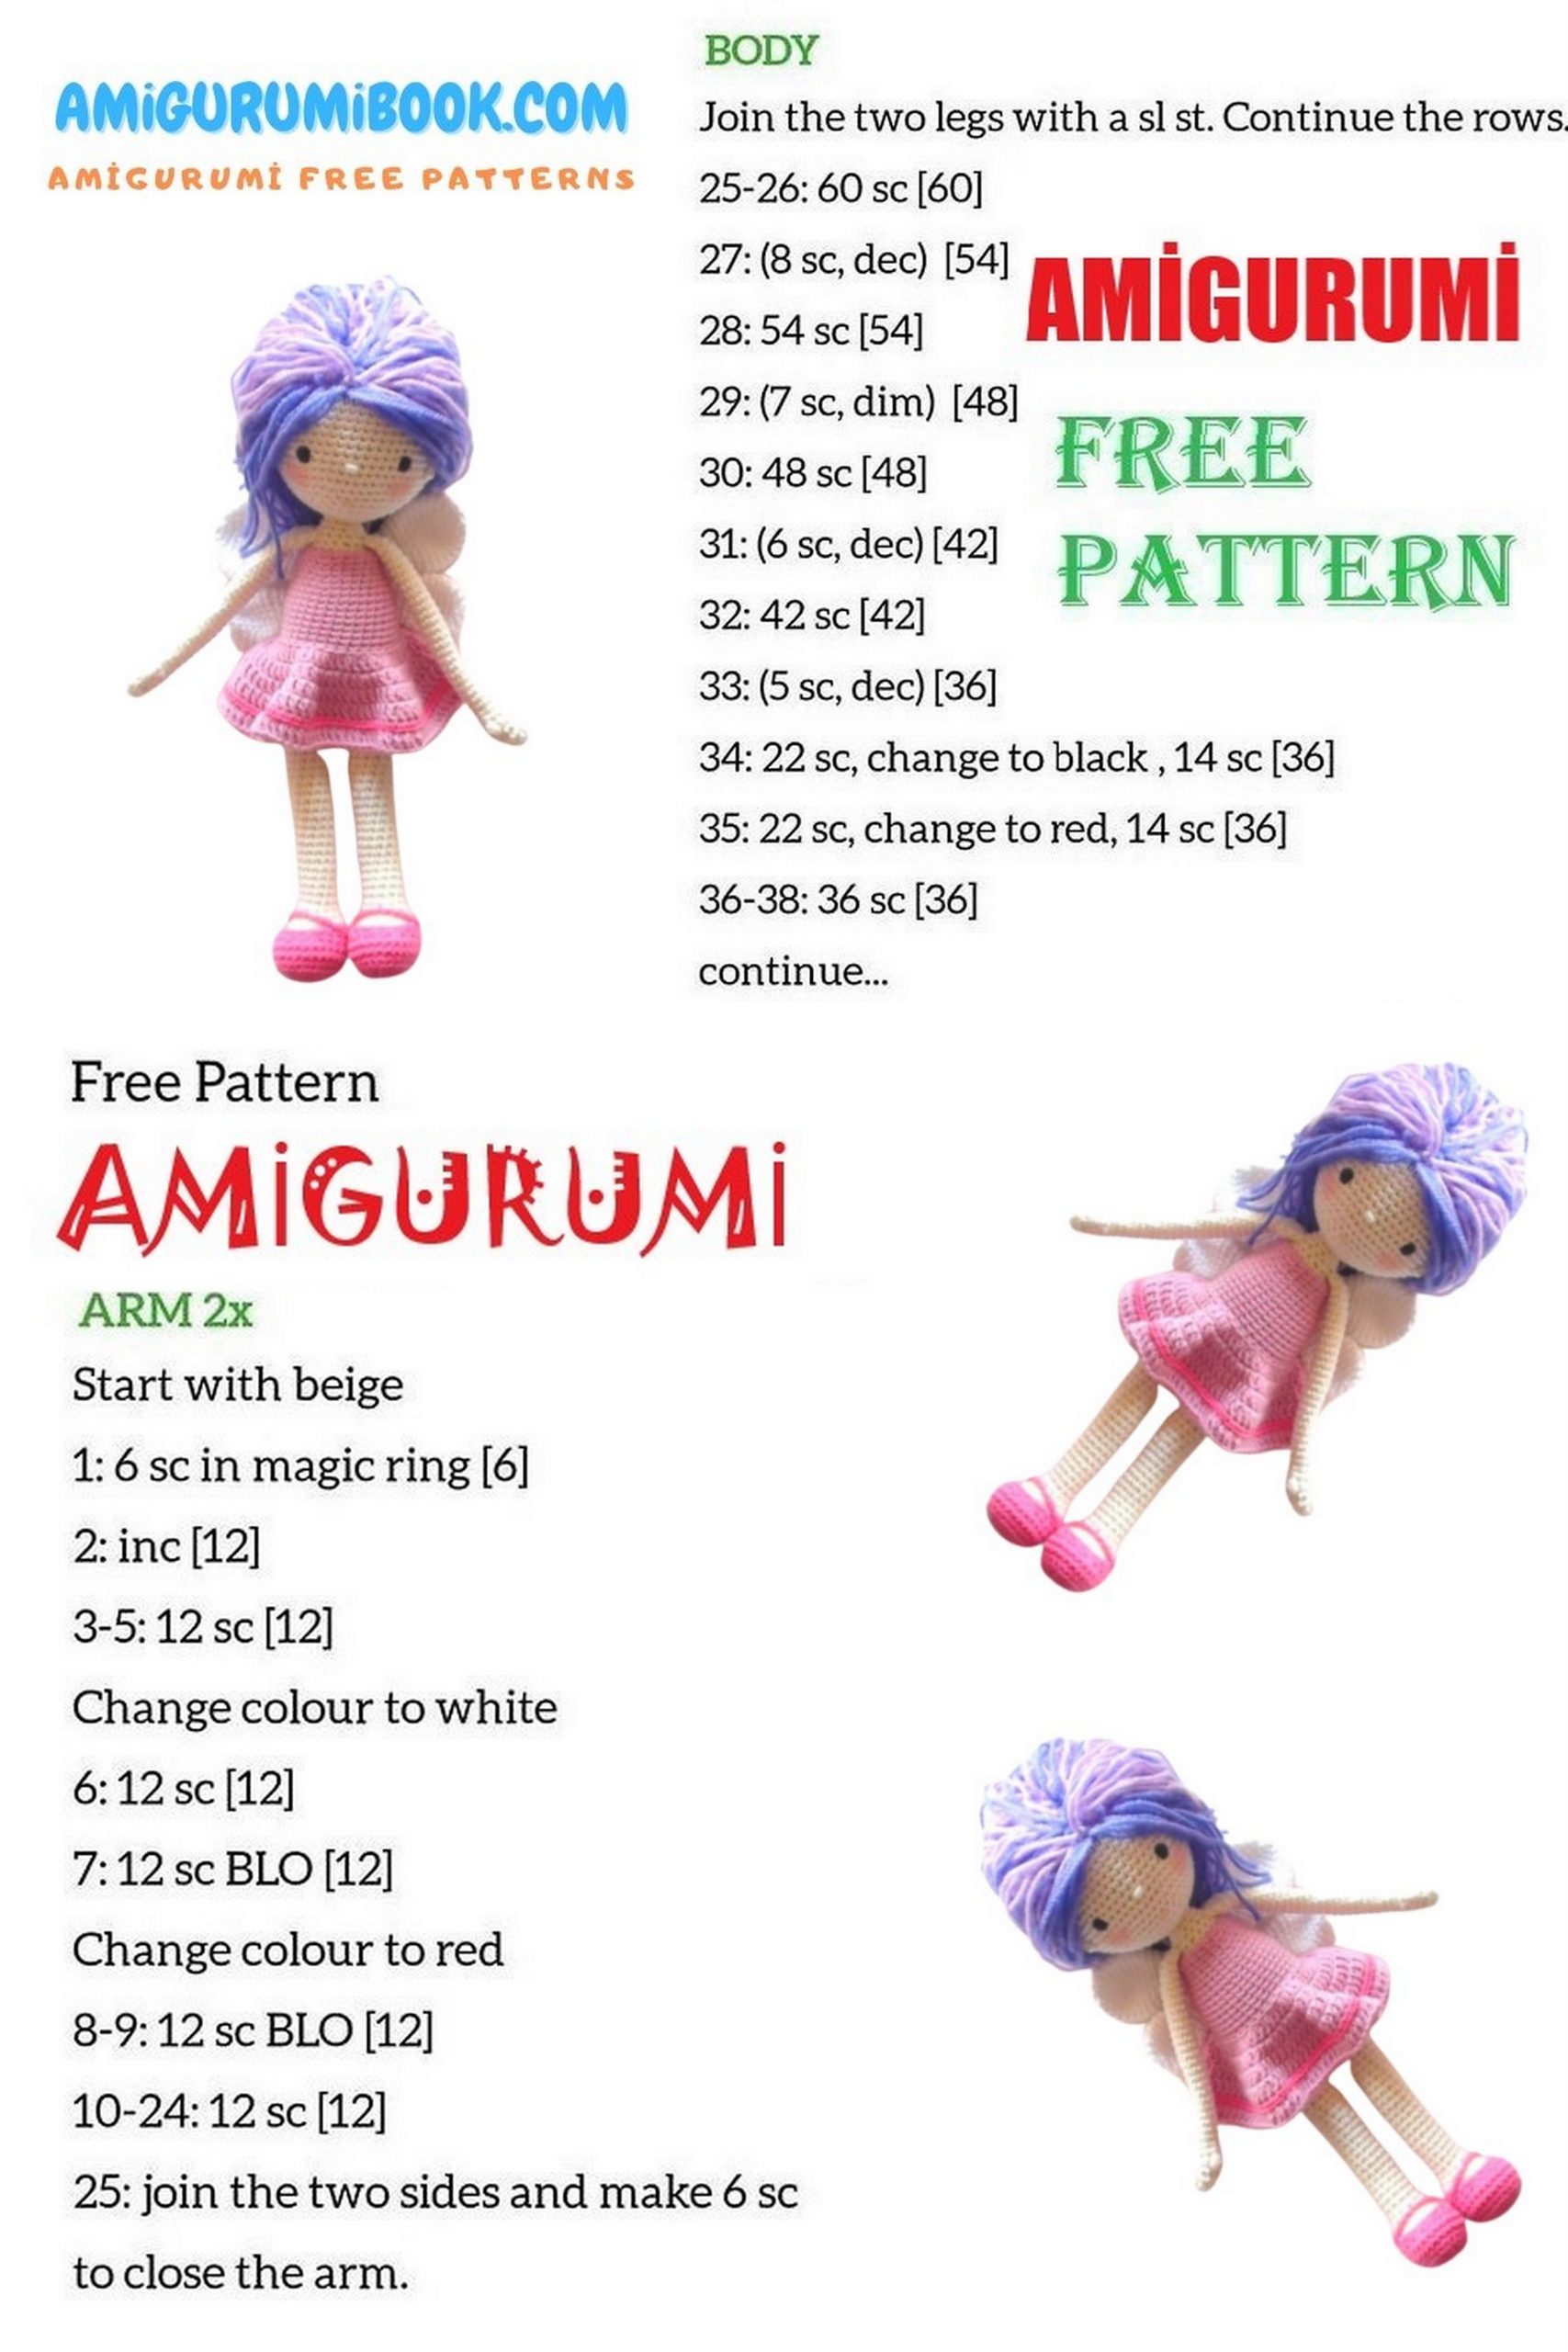
Body:
Continue from the 36th row of the left leg.
37th Row: 4 CH, SC into the SS of the right leg, 4 CH, SC into the loop of the left leg (32)
38th-48th Rows: 32 SC
Sew the gap that formed between the legs with the thread from the right leg.
49th Row: (6 SC, DEC) x 4 (28)
50th Row: 28 SC
51st Row: (5 SC, DEC) x 4 (24)
52nd Row: 24 SC
53rd Row: (4 SC, DEC) x 4 (20)
54th Row: SC through the back loops of every stitch (20)
55th Row: SC through both loops, (3 SC, DEC) x 4 (16)
56th Row: 16 SC
57th Row: (2 SC, DEC) x 4 (12)
58th Row: 12 SC
Fasten off the yarn and leave a long tail to sew the head to the body.
Arms (2 pieces):
1st Row: 4 SC in MR (4)
2nd Row: (INC) x 4 (8)
3rd Row: (1 SC, INC) x 4 (12)
4th Row: 12 SC
5th Row: 4 SC, DEC, 4 SC, DEC (10)
6th Row: 4 SC, puff stitch, 5 SC (10)
7th Row: 4 SC, DEC, 4 SC (9)
Stuff the arm firmly.
8th-32nd Rows: 9 SC
Lightly stuff the remaining part or leave it unstuffed.
33rd Row: Fold the open end and sew 4 SC, SS.
Fasten off the yarn and leave a long end for sewing the arms to the body.
Dress:
Turn the body upside down and attach the yarn with a slip stitch to the first loop.
1 Row: Begin the first row of the dress from the 54th row of the body through the front loops, 20 single crochets (20).
2 Row: 20 single crochets.
3 Row: (4 single crochets, increase) x 4 (24).
4 Row: 24 single crochets.
5 Row: (5 single crochets, increase) x 4 (28).
6 Row: 28 single crochets.
7 Row: (6 single crochets, increase) x 4 (32).
8-16 Row: 32 single crochets.
17 Row: Work through the back loops (single crochet, increase in single crochet) x 16, join with a slip stitch (48), chain 2.
18 Row: Work through both loops, single crochet, increase in single crochet, (3 single crochets, increase in single crochet) x 11, 2 single crochets, join with a slip stitch (60), chain 2.
19 Row: (4 single crochets, increase in single crochet) x 12, join with a slip stitch (72), chain 2.
20 Row: 2 single crochets, increase in single crochet, (5 single crochets, increase in single crochet) x 11, 3 single crochets, join with a slip stitch (84), chain 2.
Change color.
21 Row: 84 single crochets.
Change color back.
22 Row: Work through the back loops (6 single crochets, increase in single crochet) x 12, join with a slip stitch (96).
Fasten off and hide the yarn tail.
Hair:
Cut the yarn into strands. You can easily cut multiple strands at once by winding them around a book.
Fold the strand in half, insert the hook under a stitch, catch the center of the strand, and make a loop. Repeat until you fill the entire head.
Gather the hair into a ponytail and gently tighten to secure the loops.
Shoes:
Start with 6 chains.
1 Row: Single crochet in the second chain from the hook, 3 single crochets, in the last chain 3 single crochets, continue on the other side of the chain with 3 single crochets, increase, join with a slip stitch (12).
2 Row: Increase, 3 single crochets, 3 increases, 3 single crochets, 2 increases, join with a slip stitch (18).
3 Row: Increase, 4 single crochets, 4 increases, 8 single crochets, increase, join with a slip stitch (24).
4 Row: Work through the back loops, 24 single crochets, join with a slip stitch (24).
5-6 Row: Work through both loops, 24 single crochets, join with a slip stitch (24).
7 Row: 7 single crochets, 5 decreases, 7 single crochets, join with a slip stitch (19).
8 Row: 6 single crochets, 6 slip stitches, 7 single crochets, slip stitch (19).
9 Row: 5 slip stitches, 9 chains, skip 9 single crochets, 5 slip stitches (19).
Fasten off and hide the yarn tail.
Wings:
Make 2 parts for each wing, one large and one small.
First Wing – Large Part:
1 Row: 6 single crochets in a ring (6).
2 Row: (increase) x 6 (12).
3 Row: (single crochet, increase) x 6 (18).
4 Row: (2 single crochets, increase) x 6 (24).
5-9 Row: 24 single crochets.
10 Row: (2 single crochets, decrease) x 6 (18).
11 Row: (single crochet, decrease) x 6 (12).
12-14 Row: 12 single crochets.
Fasten off and hide the yarn tail.
Small Part:
1 Row: 6 single crochets in a ring (6).
2 Row: (increase) x 6 (12).
3 Row: (single crochet, increase) x 6 (18).
4-8 Row: 18 single crochets.
9 Row: (single crochet, decrease) x 6 (12).
10 Row: 12 single crochets.
11 Row: (4 single crochets, decrease) x 2 (10).
12-13 Row: 10 single crochets.
Do not cut the yarn.
Join 2 parts into one wing:
1 Row: Single crochet in each stitch of the first part, single crochet in each stitch of the second part (22).
2 Row: Decrease, 5 single crochets, decrease, 5 single crochets, decrease, 4 single crochets, decrease (18).
3 Row: (single crochet, decrease) x 6 (12).
4 Row: (decrease) x 6 (6).
Repeat all steps and make the second wing. Sew both wings together and attach them to the doll.
Finishing:
Mark the positions for the arms and sew them on.
Attach the wings to the back of Blossom if you haven’t already.
Add a bit of blush to the cheeks.
Congratulations, Blossom the doll is ready!
You can sell your doll, give it as a gift, or do something else with it, but please credit the pattern author.