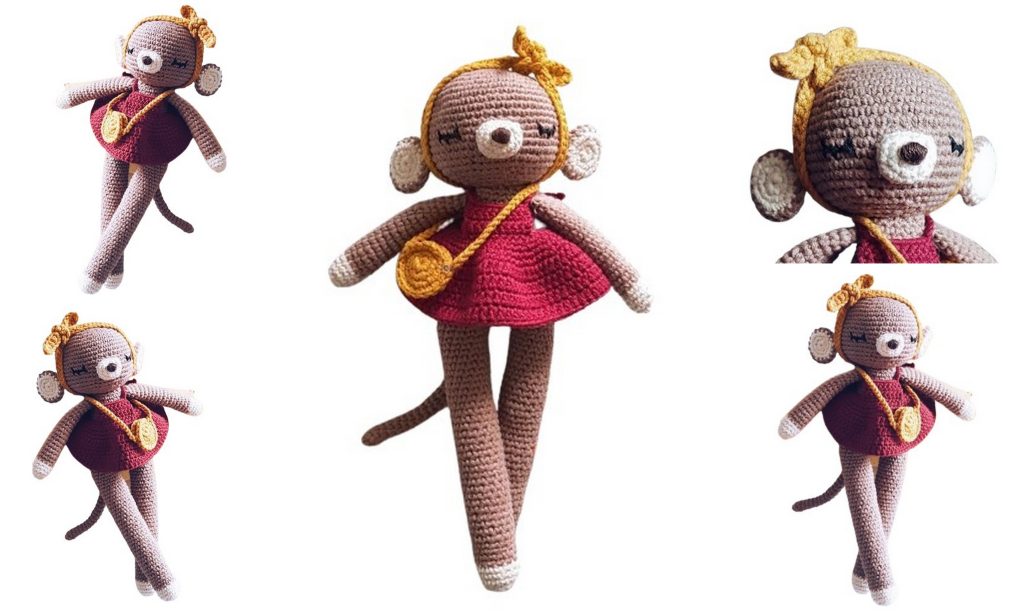
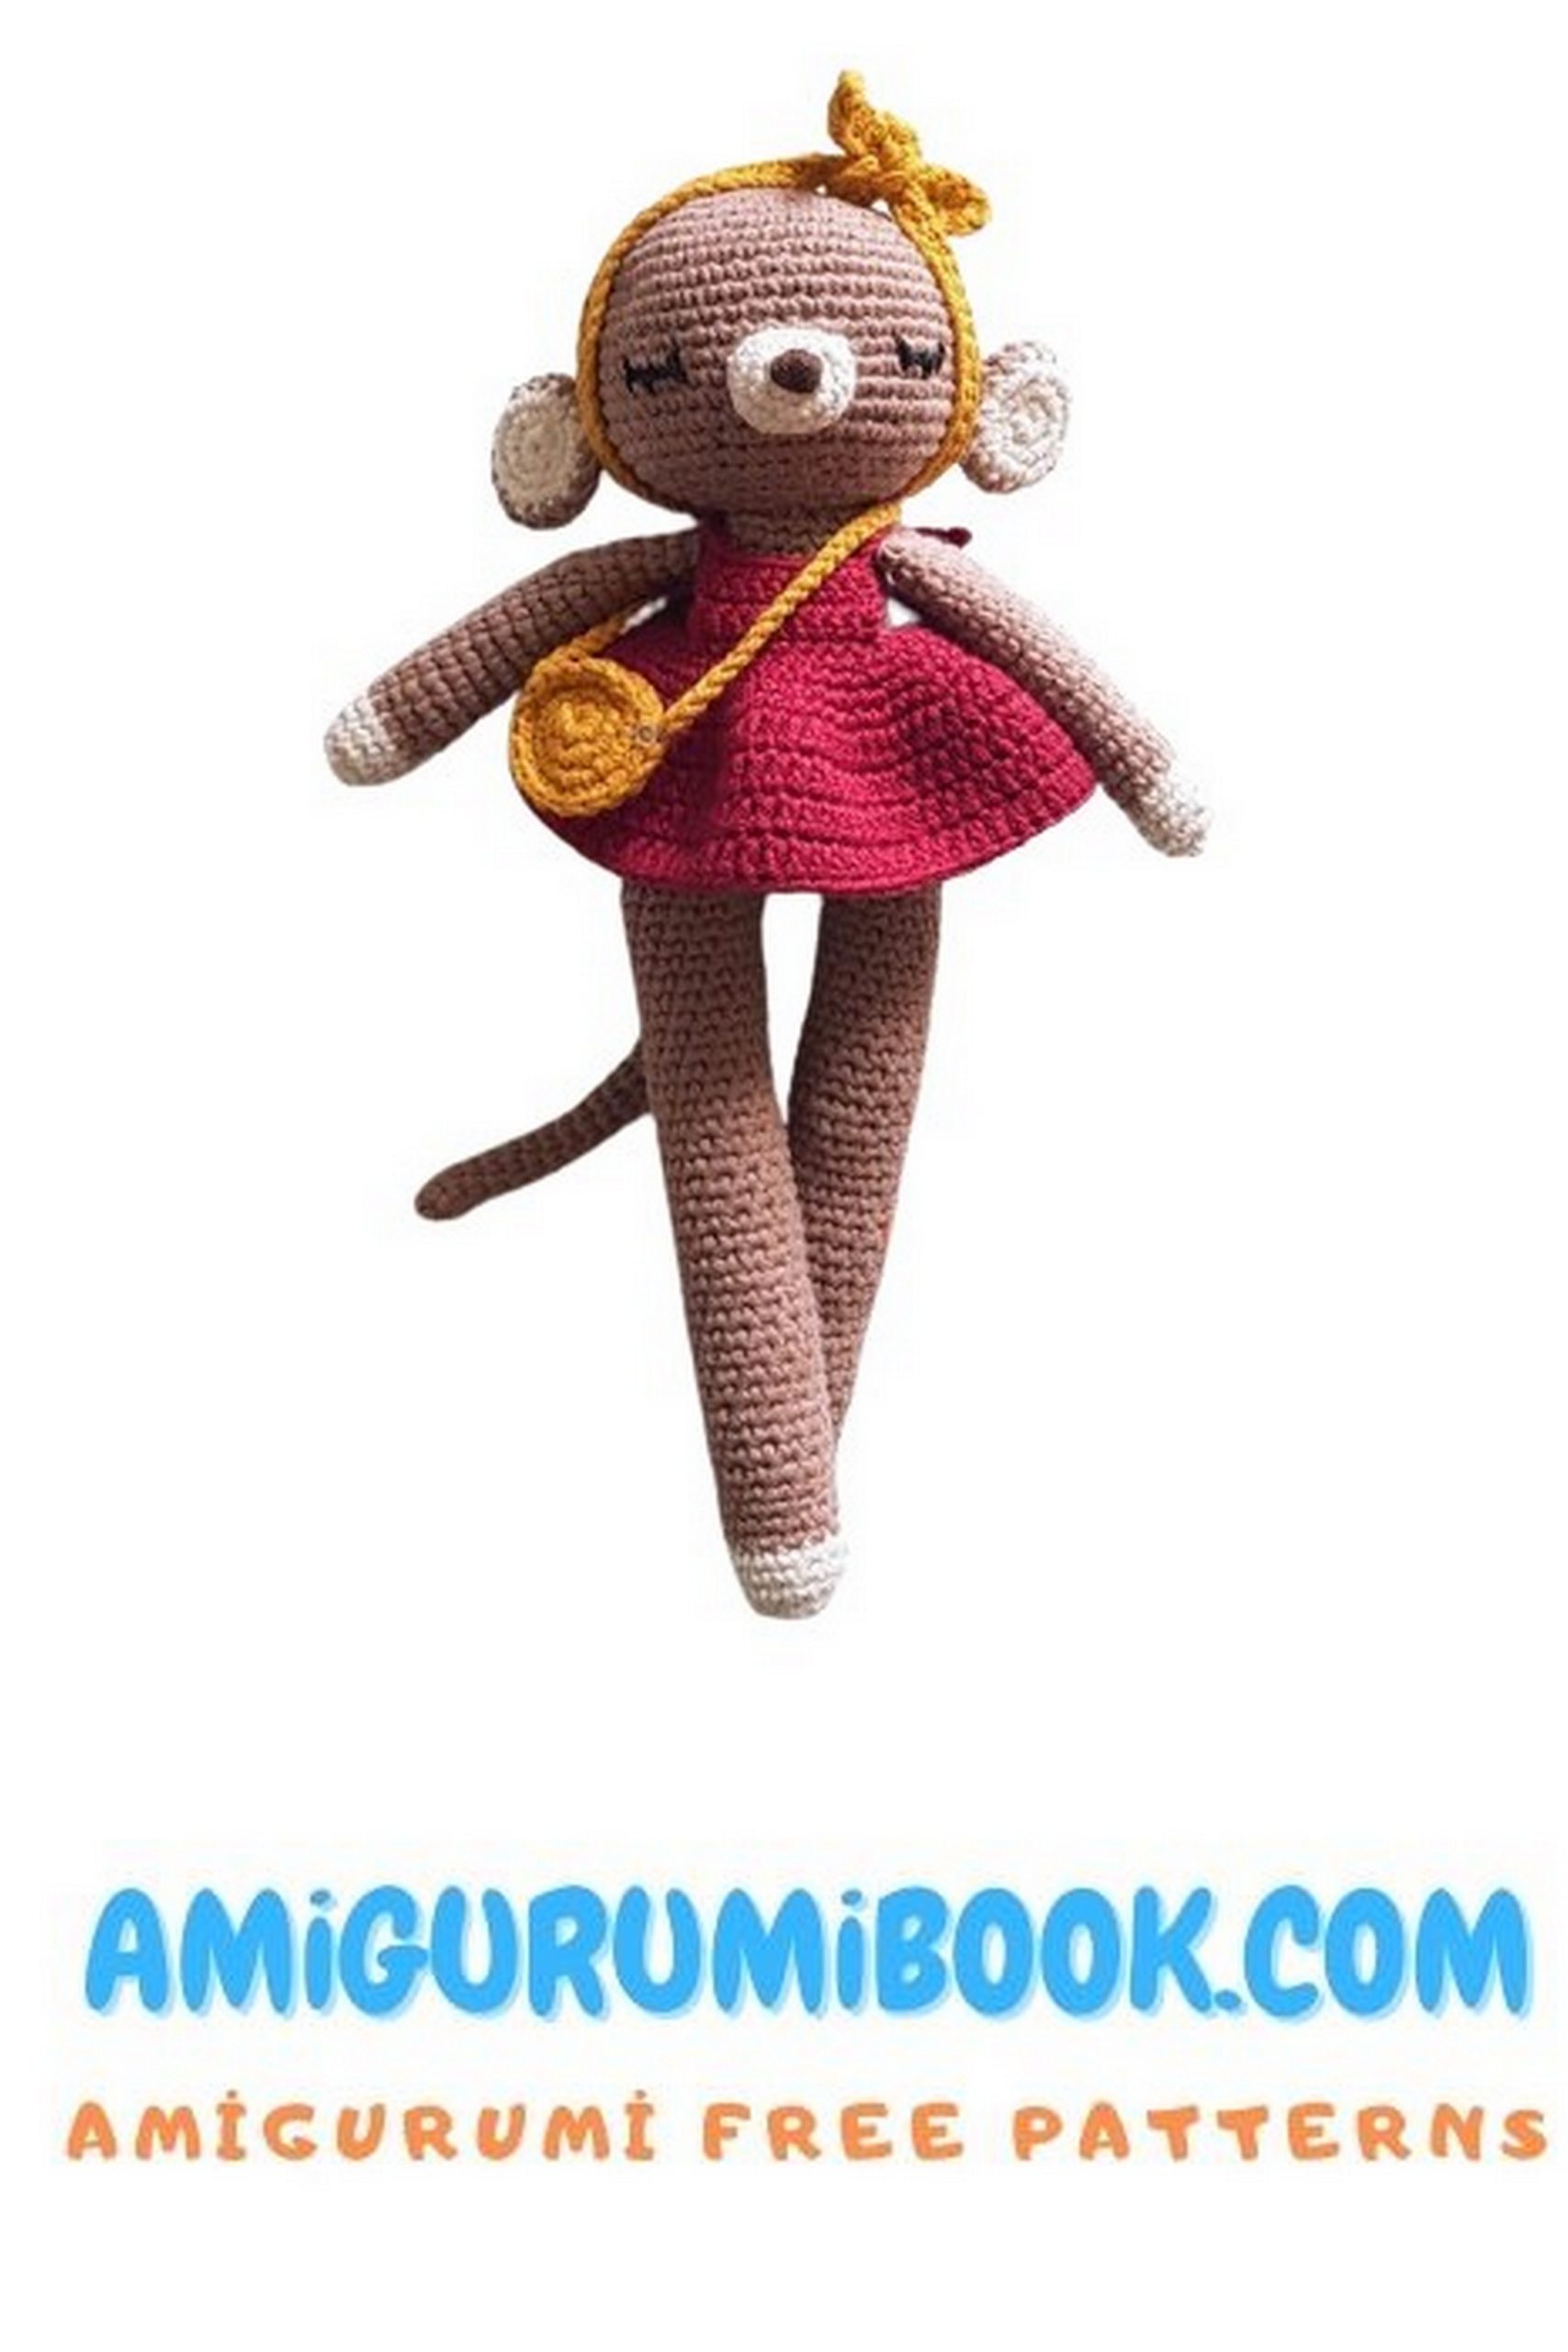
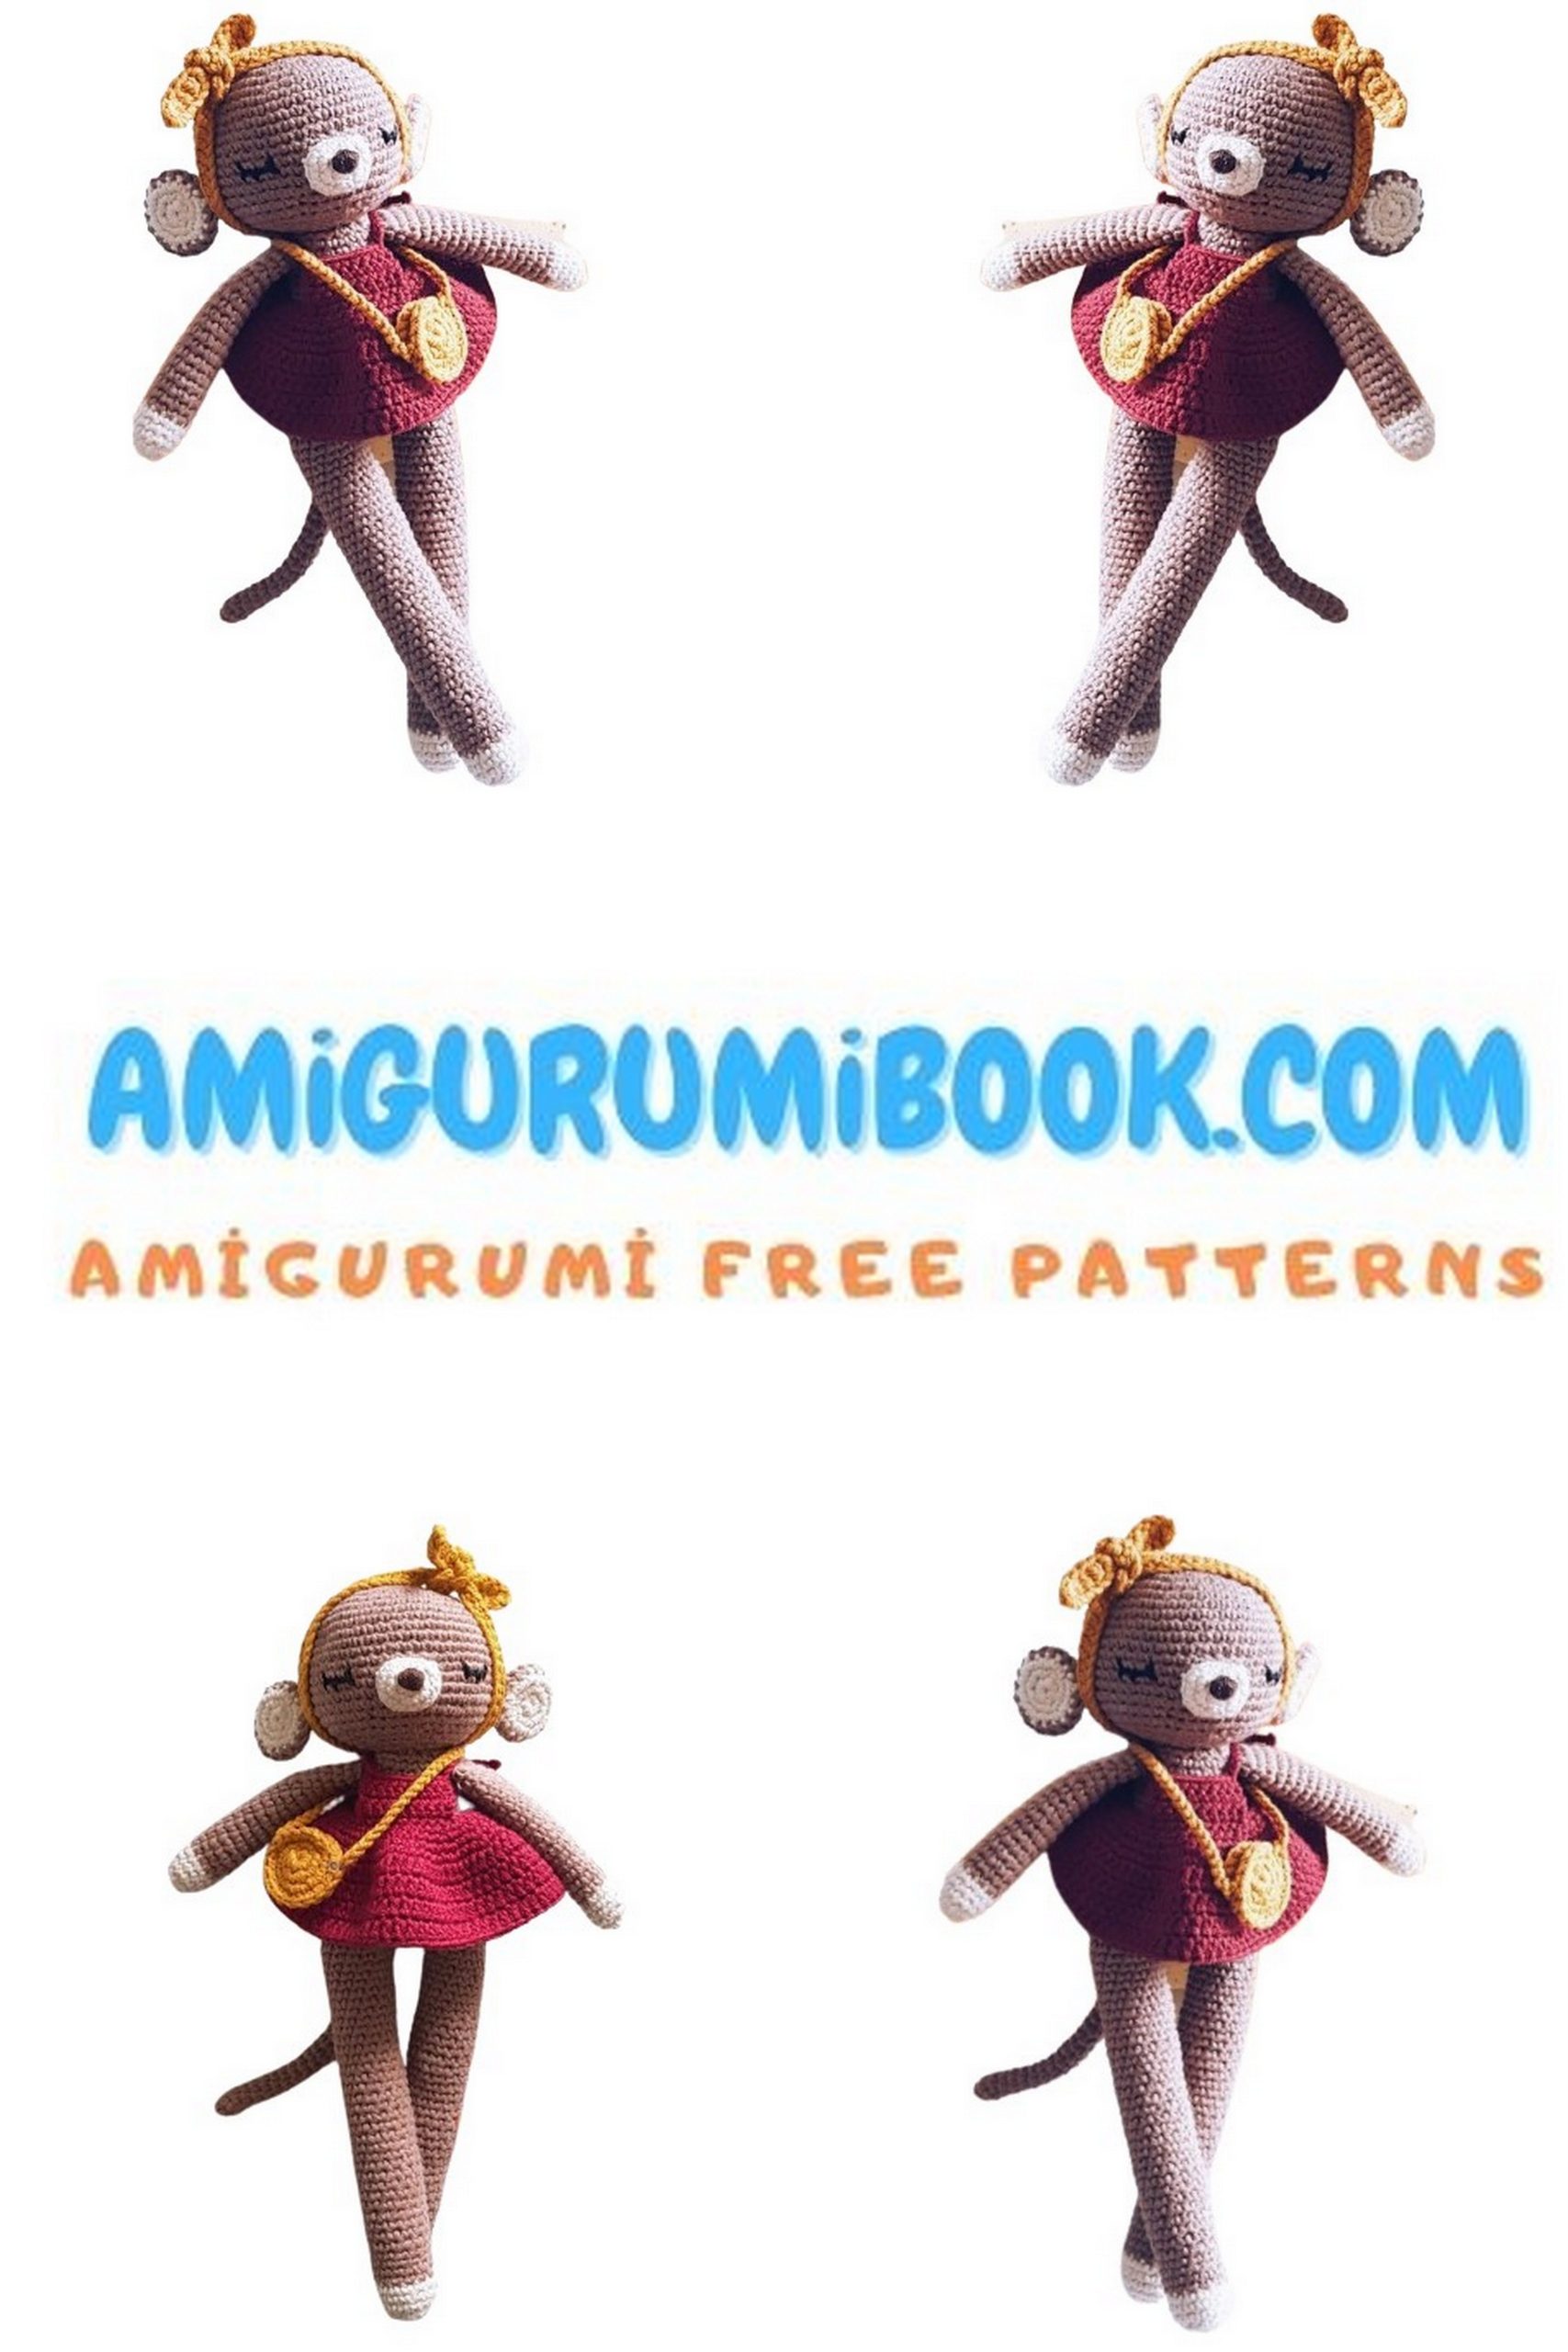
Welcome to the charming world of amigurumi crochet! Delve into the whimsical art of amigurumi with our amigurumi free pattern for a lady monkey amigurumi. Whether you’re a beginner or an experienced crocheter, this pattern promises hours of crafting joy. With detailed instructions and helpful visuals, creating this elegant lady monkey is a delightful experience. Let your creativity flourish as you bring this graceful character to life. Get ready to crochet your way to elegance and cuteness!
You should check out my favorite amigurumi monkey pattern, Elvis Monkey.
Download our app for 1000+ amigurumi free patterns!
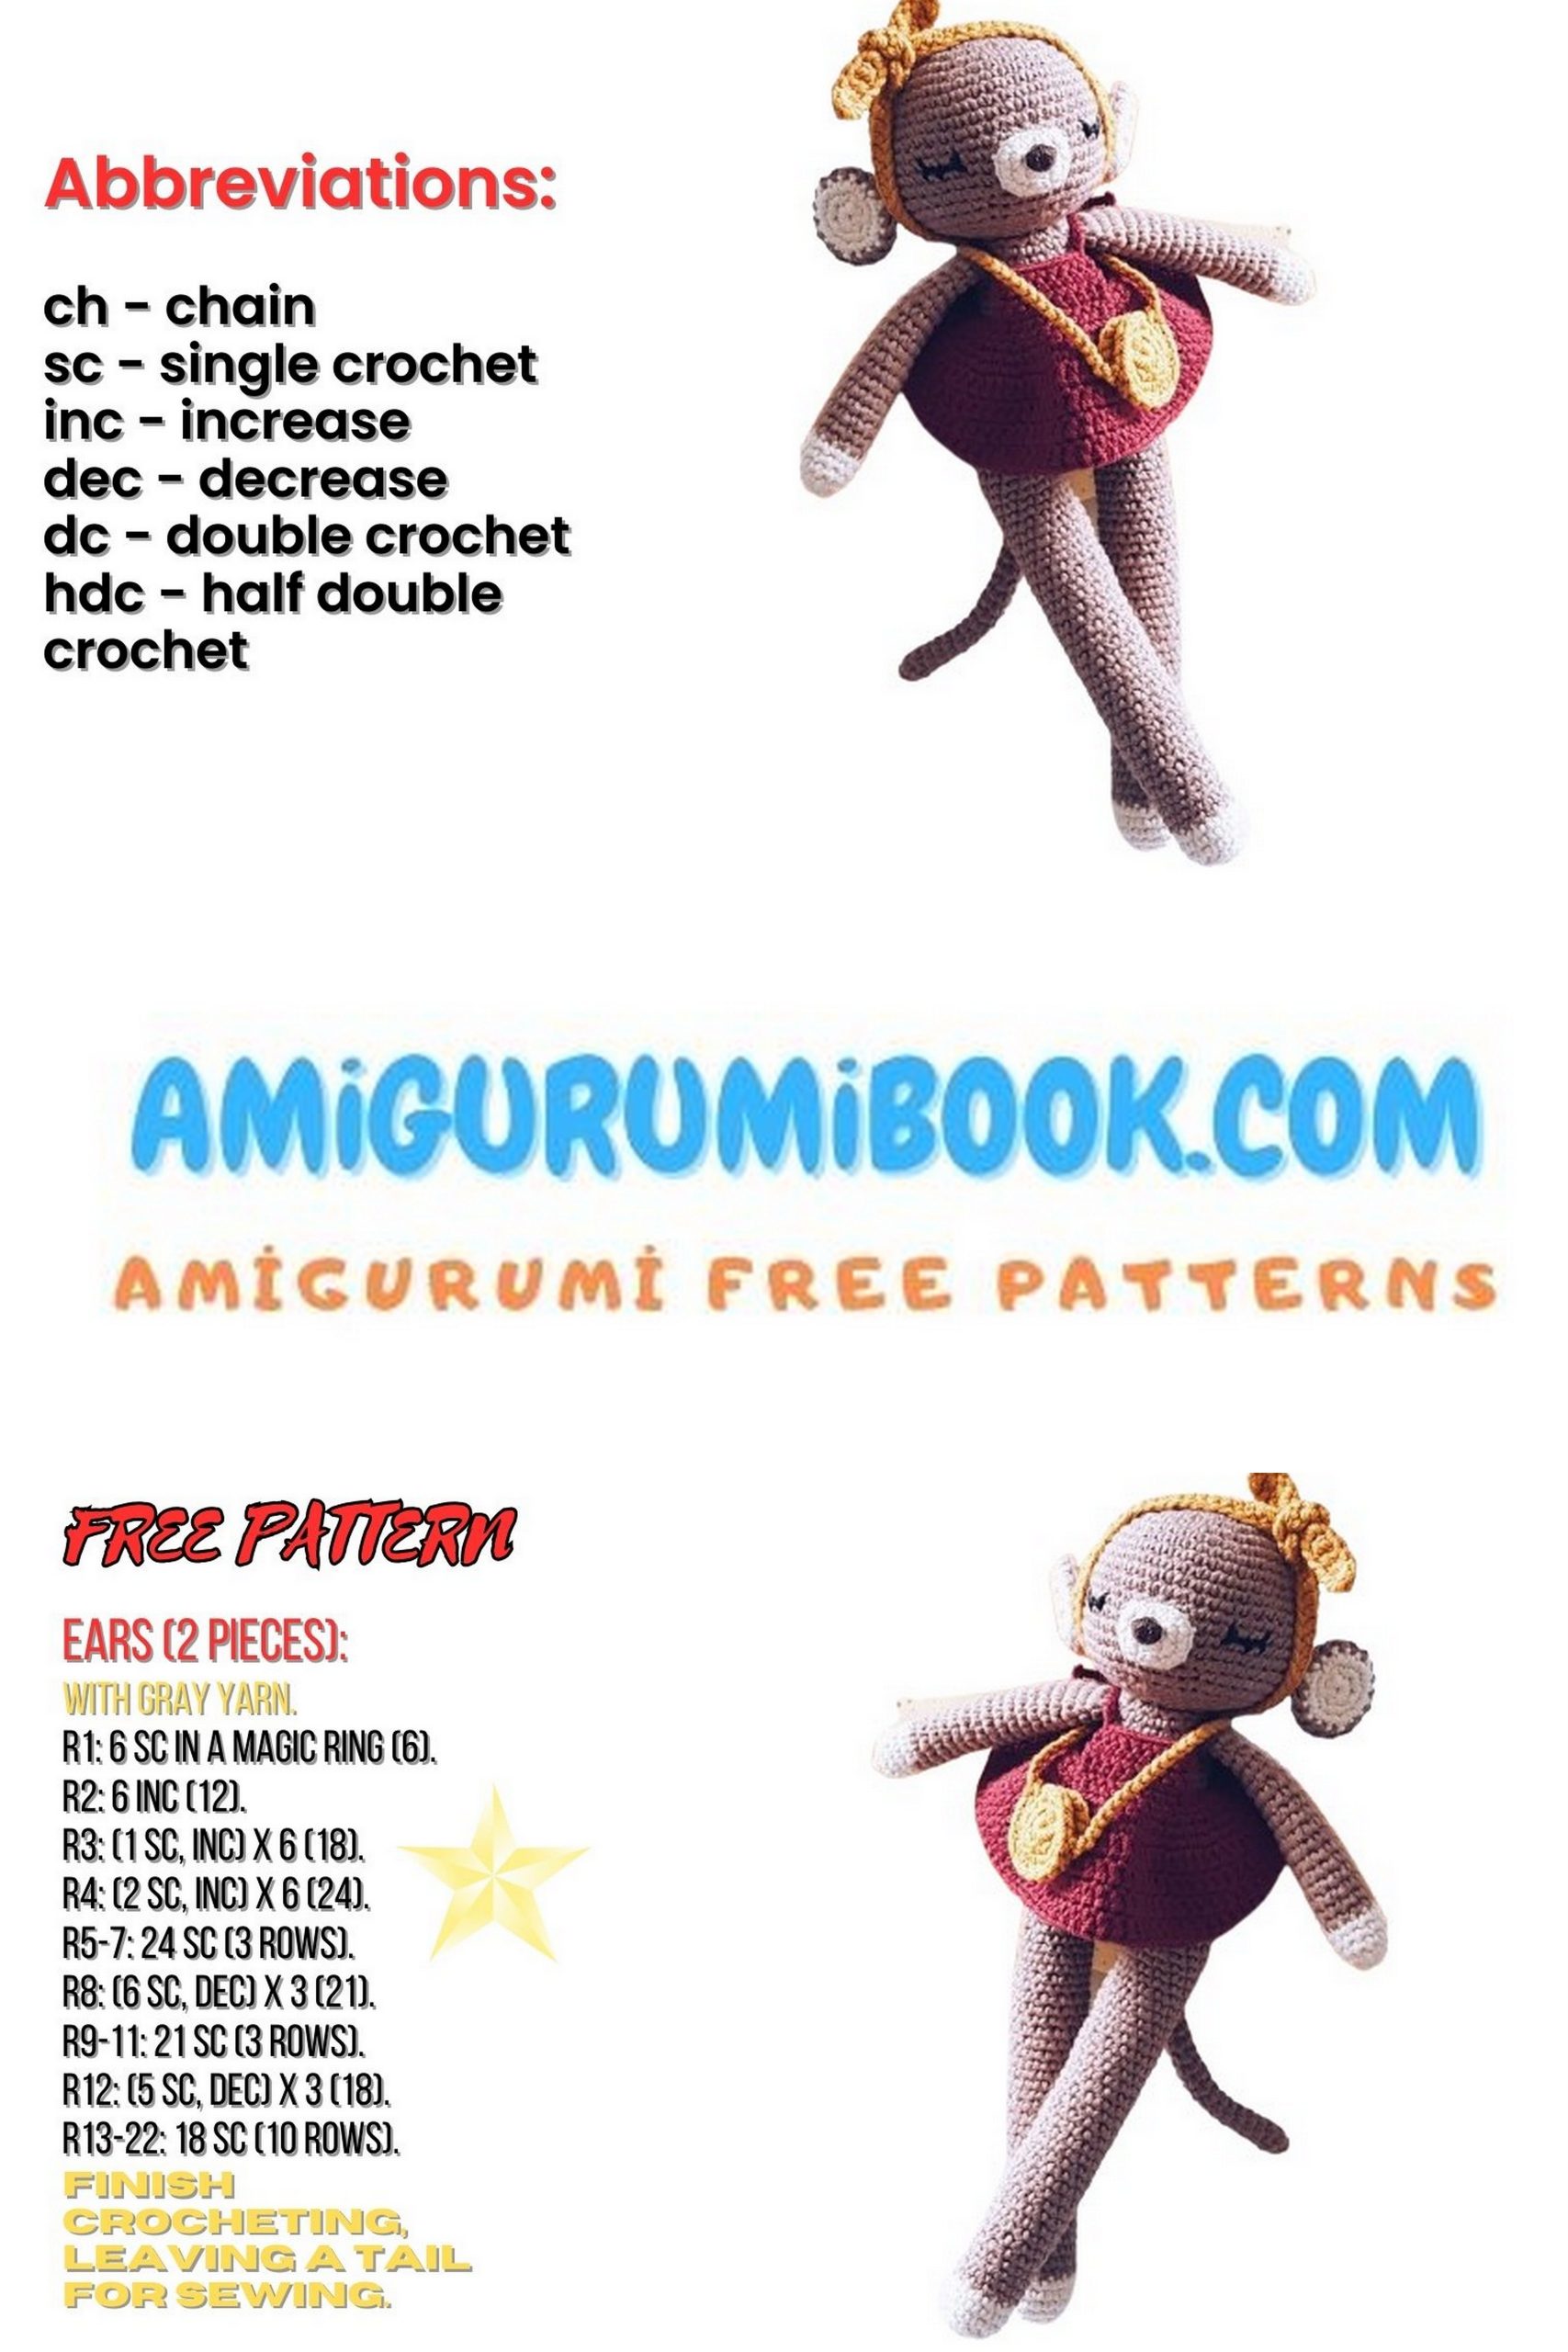
Abbreviations
ch- chain
sc – single crochet
dec- decrease
inc – increase

PATTERN
Lady Monkey Head
Color 71:
1: 6 SC in magic ring
2: 6 INC (12)
3: (1 SC, INC) * 6 (18)
4: (2 SC, INC) * 6 (24)
5: (3 SC, INC) * 6 (30)
6: (4 SC, INC) * 6 (36)
7: (5 SC, INC) * 6 (42)
8: (6 SC, INC) * 6 (48)
9-20: 48 SC (48)
21: (6 SC, DEC) * 6 (42)
22: (5 SC, DEC) * 6 (36)
23: (4 SC, DEC) * 6 (30)
24: (3 SC, DEC) * 6 (24)
25: (2 SC, DEC) * 6 (18)
Fasten off, leaving a long tail for sewing to the body.
Lady Monkey Nose
Color 05:
1: 6 SC in magic ring
2: 6 INC (12)
3: 1 INC, 5 SC, 1 INC, 5 SC (14)
Leave yarn for sewing to the head. Do not stuff with holofiber.


Lady Monkey Ears
First ear:
Color No: 71:
1: 6 SC in magic ring
2: 6 INC (12)
3: (1 SC, INC) * 6 (18)
At the end of the row, fasten off but do not cut. Fold both pieces together, crochet 18 SC using color No: 71. Fasten off, leaving a long tail for sewing to the head. First ear is ready. Repeat all steps for the second ear.
Lady Monkey Arms
Color 05:
1: 6 SC in magic ring
2: 6 INC (12)
3-5: 12 SC (12)
6: Change color to No: 71
6-23: 12 SC (18 rows)
24: Fold in half and crochet the top part of the arm together.
One arm is ready. Repeat for the second arm. Do not stuff arms with holofiber.
Lady Monkey Legs
Color 71:
1: 7 SC in magic ring
2: 7 INC (14)
3-5: 14 SC (14)
6: Change color to No: 71
6-41: 14 SC (36 rows)
The first leg is ready. Fasten off and cut yarn. Repeat for the second leg, but leave yarn at the end. We will use it to join the legs and continue crocheting the body.
Lady Monkey Body
1: Join the second leg with 4 chains and slip stitch to the first leg. Crochet 14 SC, 4 SC in the chain, 14 SC, 4 SC in the chain (36)
2-12: 36 SC (36)
13: (7 SC, DEC) * 4 (32)
14-15: 32 SC (32)
16: (6 SC, DEC) * 4 (28)
17-18: 28 SC (28)
19: (5 SC, DEC) * 4 (24)
20: 24 SC (24)
21: (4 SC, DEC) * 4 (20)
22: Attach arms on both sides with safety pins, crochet 20 SC, incorporating the arms (20)
23: 8 SC, DEC; 8 SC, DEC (18)
24: 18 SC (18)
Fasten off and cut yarn.
Lady Monkey Tail
1: 6 SC in magic ring
2-30: 6 SC (6)
Leave a long yarn tail for sewing to the body.
Amigurumi Monkey Dress
1: 40 chains, join in a ring with slip stitch
2: 40 SC
3: (1 SC, INC) * 20 (60)
4: (2 SC, INC) * 20 (80)
5-8: 2 chains, 80 slip stitches, slip stitch (80)
Attach yarn to the upper part of the skirt, crochet the front part of the dress.
1-3: 10 SC, chain, turn (10)
4: 10 SC (10)
Do not cut the yarn, make 20 chains for the first strap, fasten off and cut yarn.
Attach yarn to the opposite corner of the square and make the second strap with 20 chains. Fasten off and cut yarn. The dress ties around the neck.

Amigurumi Monkey Purse
Two pieces:
1: 6 SC in magic ring
2: 6 INC (12)
3: (1 SC, INC) * 6 (18)
Fold them together, crochet 12 SC around + 44 chains, join to the first loop with a slip stitch. Fasten off, cut, and hide yarn. The purse is ready.
Headband
Make 80 chains, 1 chain and turn, then starting from the second chain from the hook, crochet 60 SC, 1 chain, 10 slip stitches, finish the row with a slip stitch. The headband is ready. Tie it with two knots.