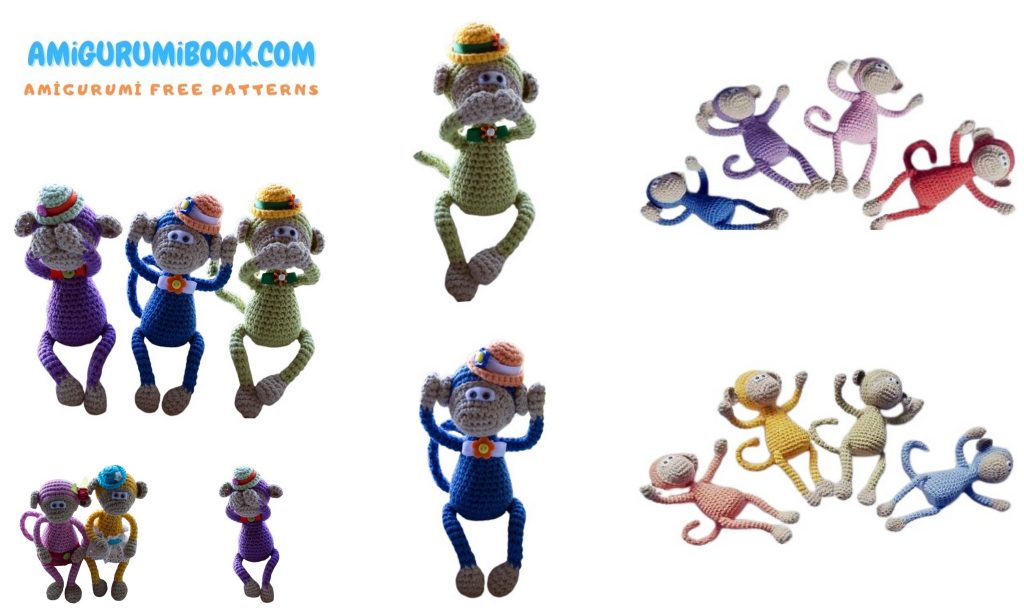
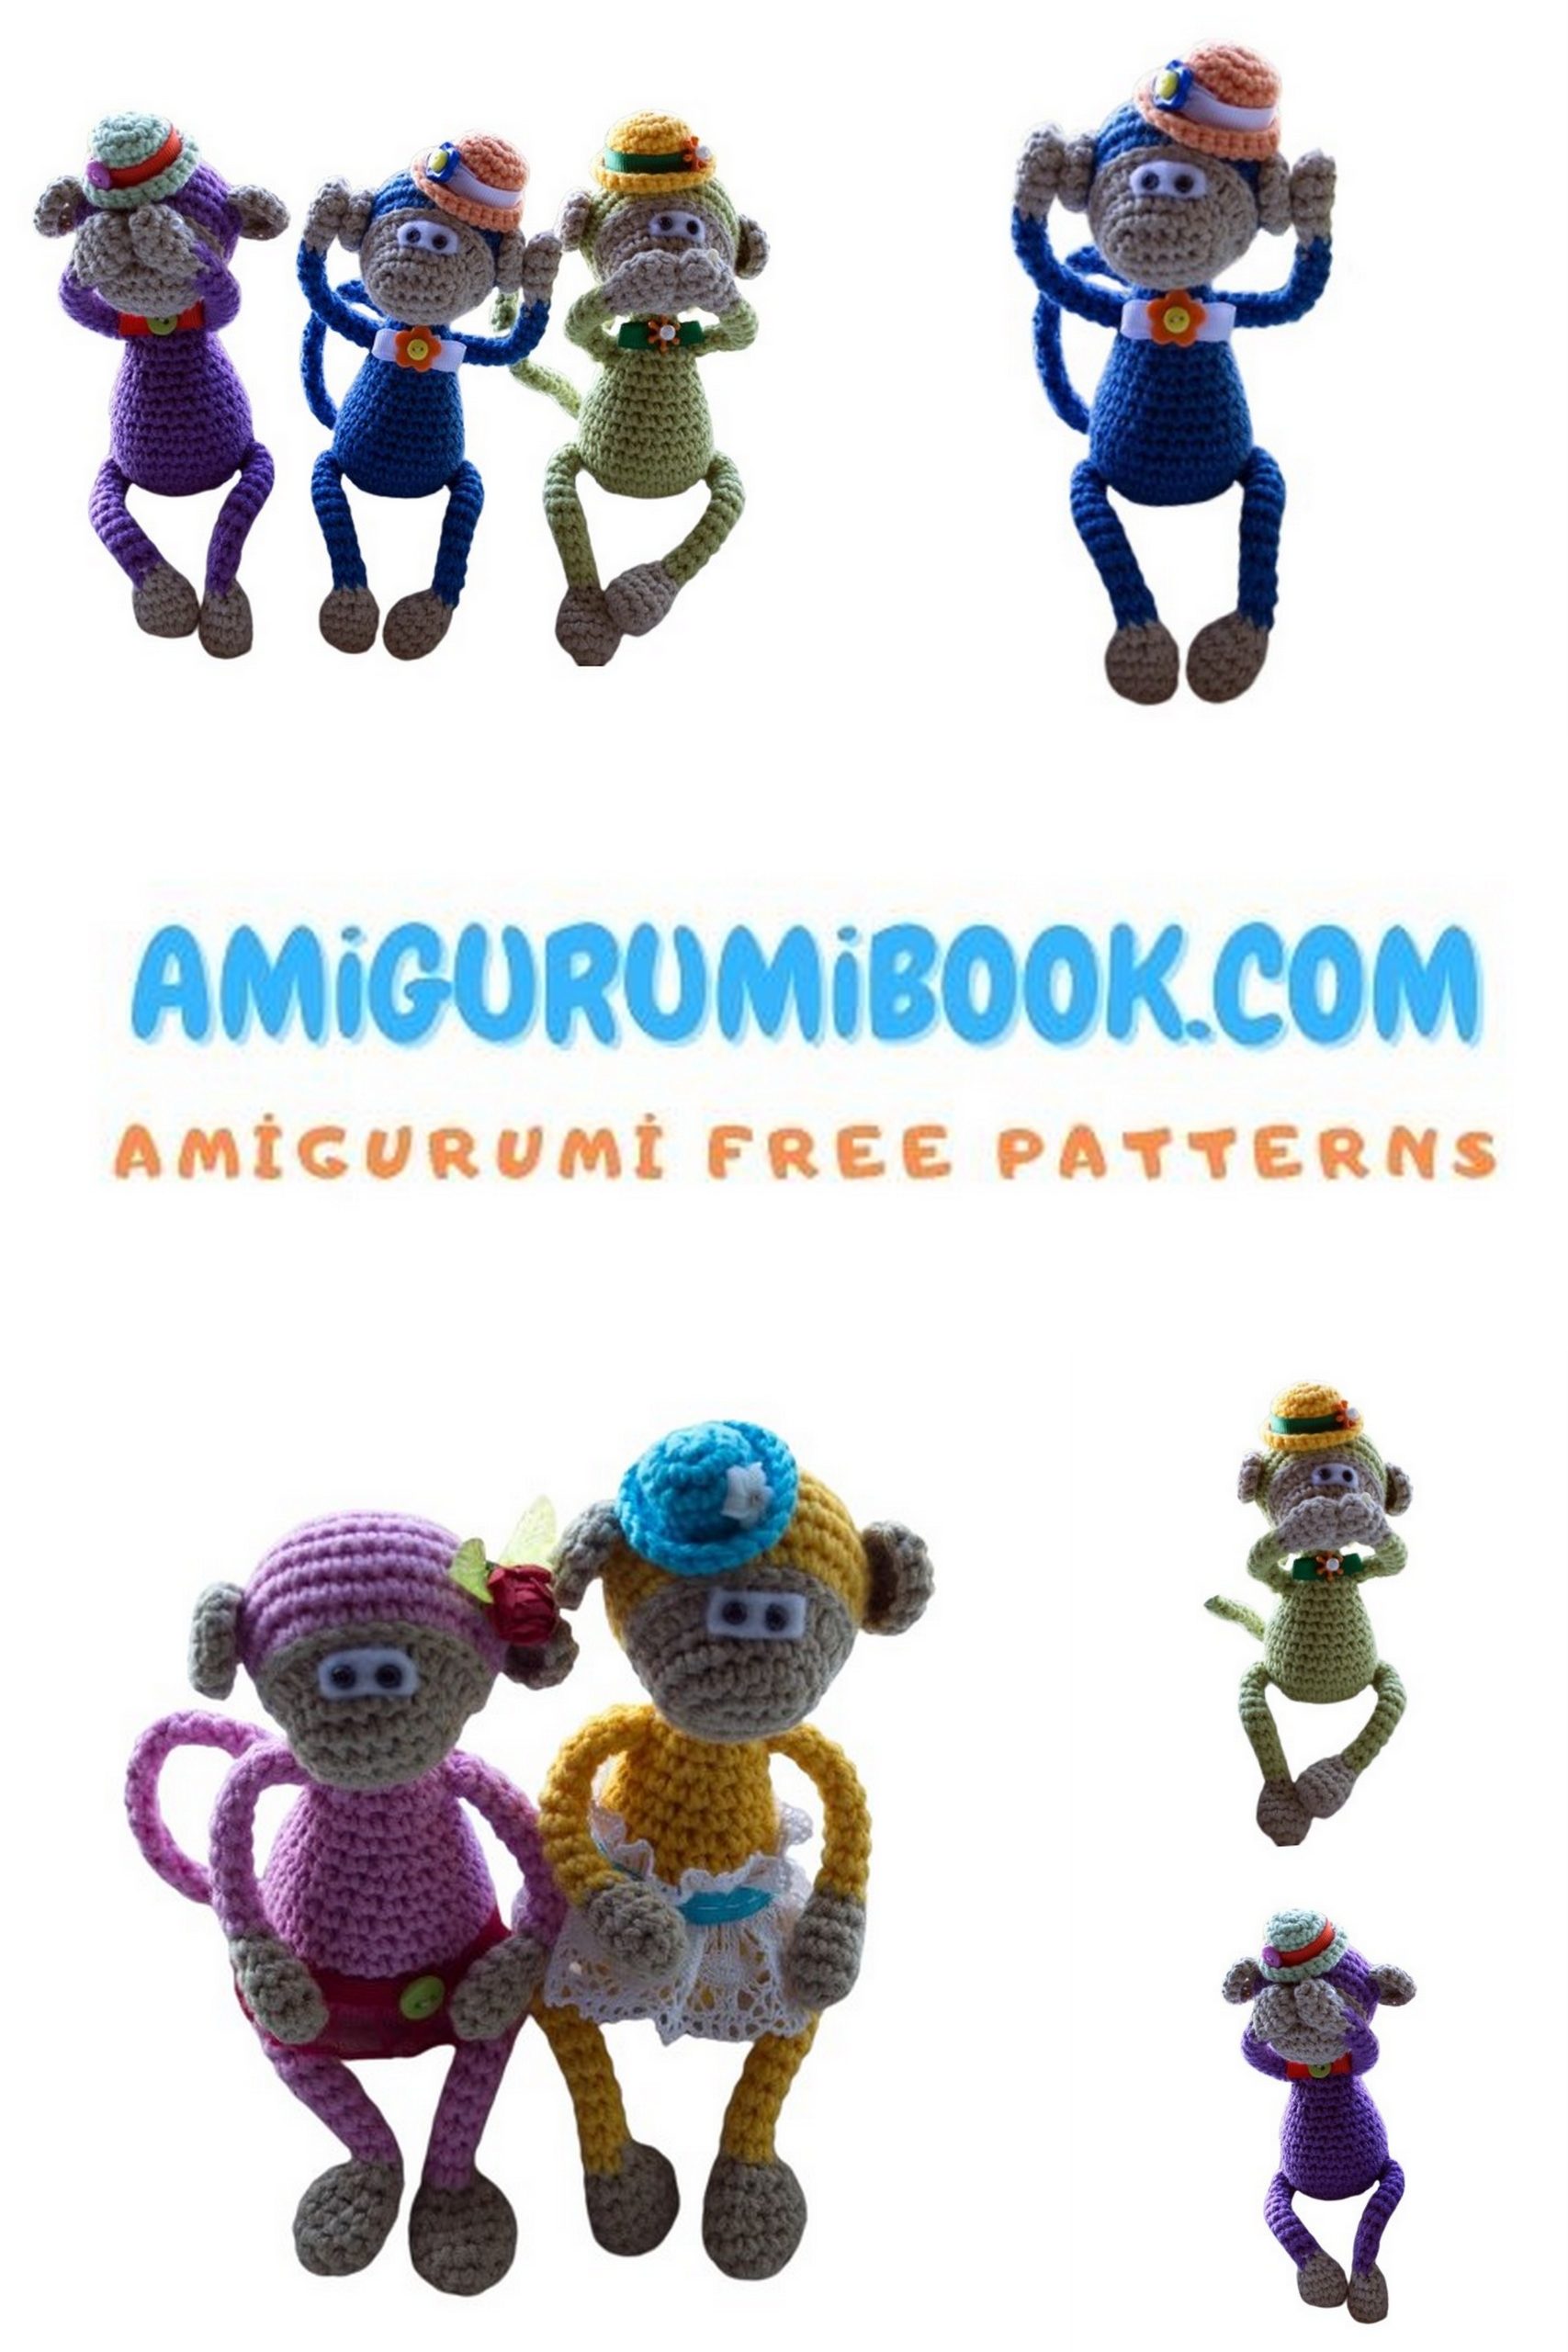
Welcome to the enchanting world of crochet! Explore the art of amigurumi with our free pattern for a little cute monkey amigurumi wearing a hat. Whether you’re a beginner or an experienced crocheter, this pattern offers endless crafting possibilities. With detailed instructions and helpful visuals, creating this adorable monkey with its charming hat is a delightful experience. Unleash your creativity and bring this playful design to life with ease. Get ready to crochet your way to cuteness!
I think you should definitely see amigurumi monkey elvis, it’s a good suggestion for your amigurumi monkey collection.
If you want to access 1000+ free amigurumi patterns, you can download our application from this link!
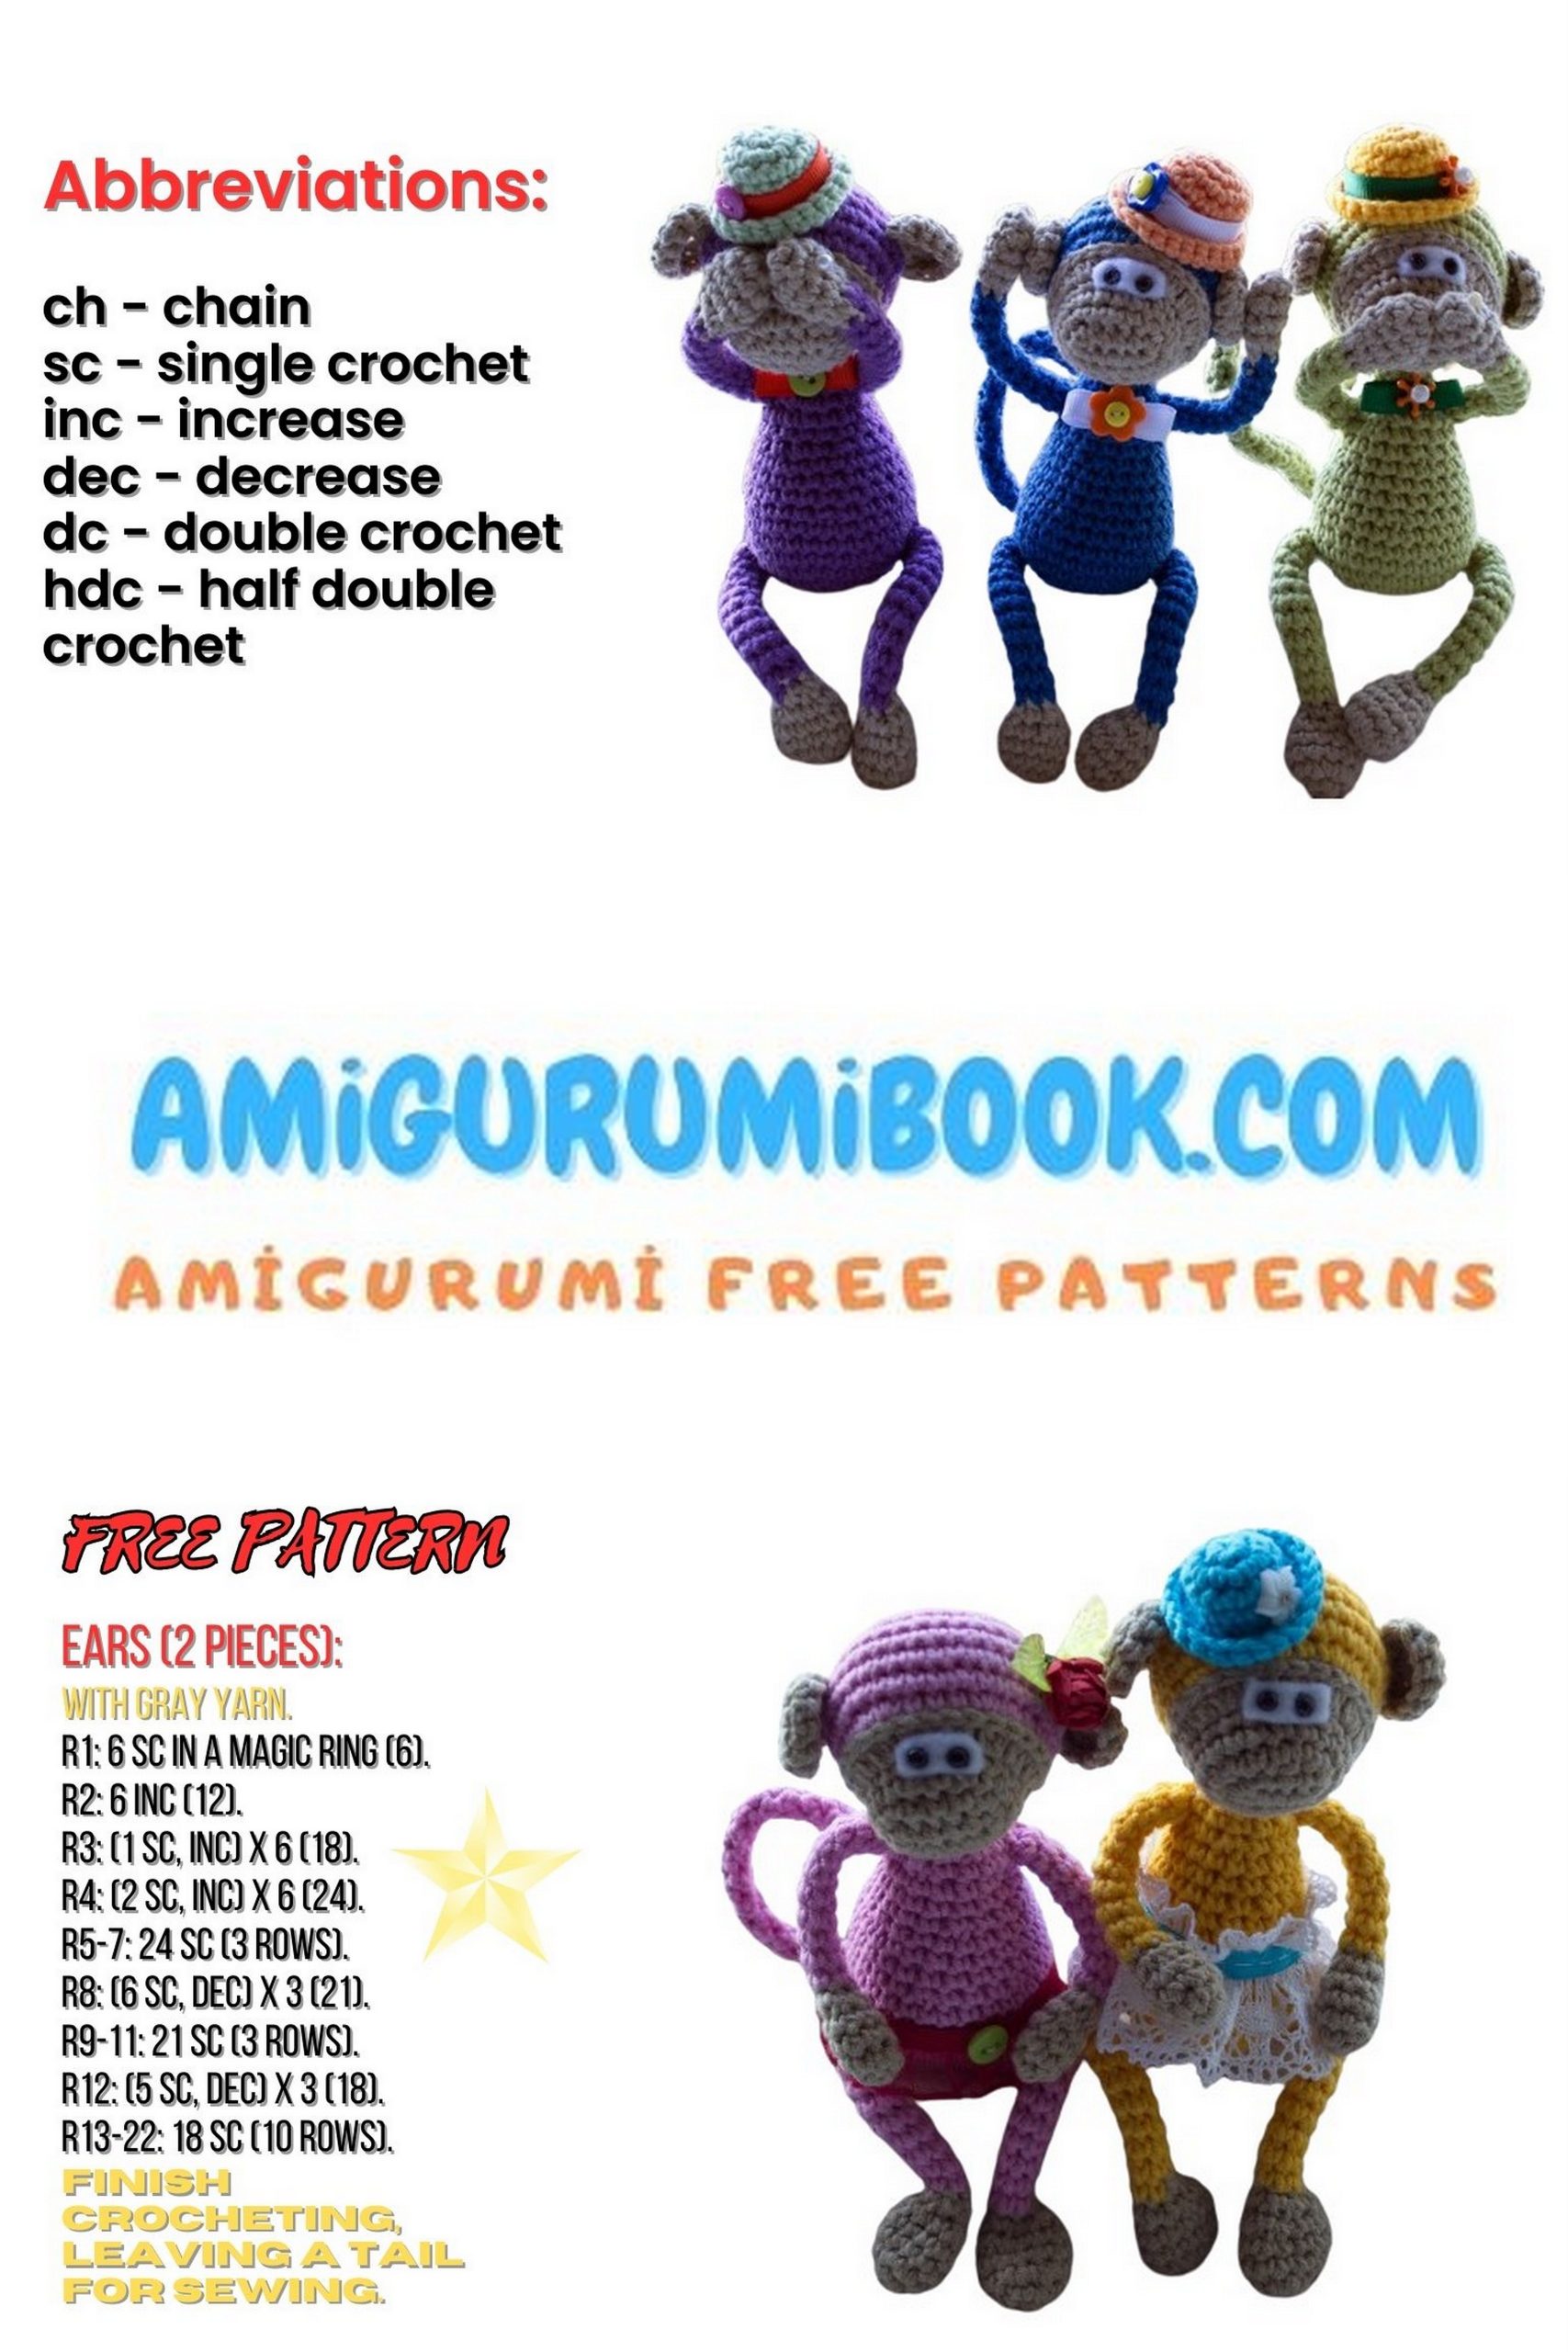
Abbreviations:
CH – chain stitch
SC – single crochet
HDC – half double crochet
DC – double crochet
INC – increase
DEC – decrease
(…)*? – repeat the instructions in parentheses ? times
[…] – number of stitches in a row
Materials:
I use “Denim” YarnArt yarn in 2 colors (main and for the face, paw tips) and a 2.25mm crochet hook.
A small piece of white felt 0.5*1.5 cm, 3mm beads for the eyes.
Weight in the body. I use a 5-kopeck coin.
1mm wire
Stuffing – polyester fiberfill

PATTERN
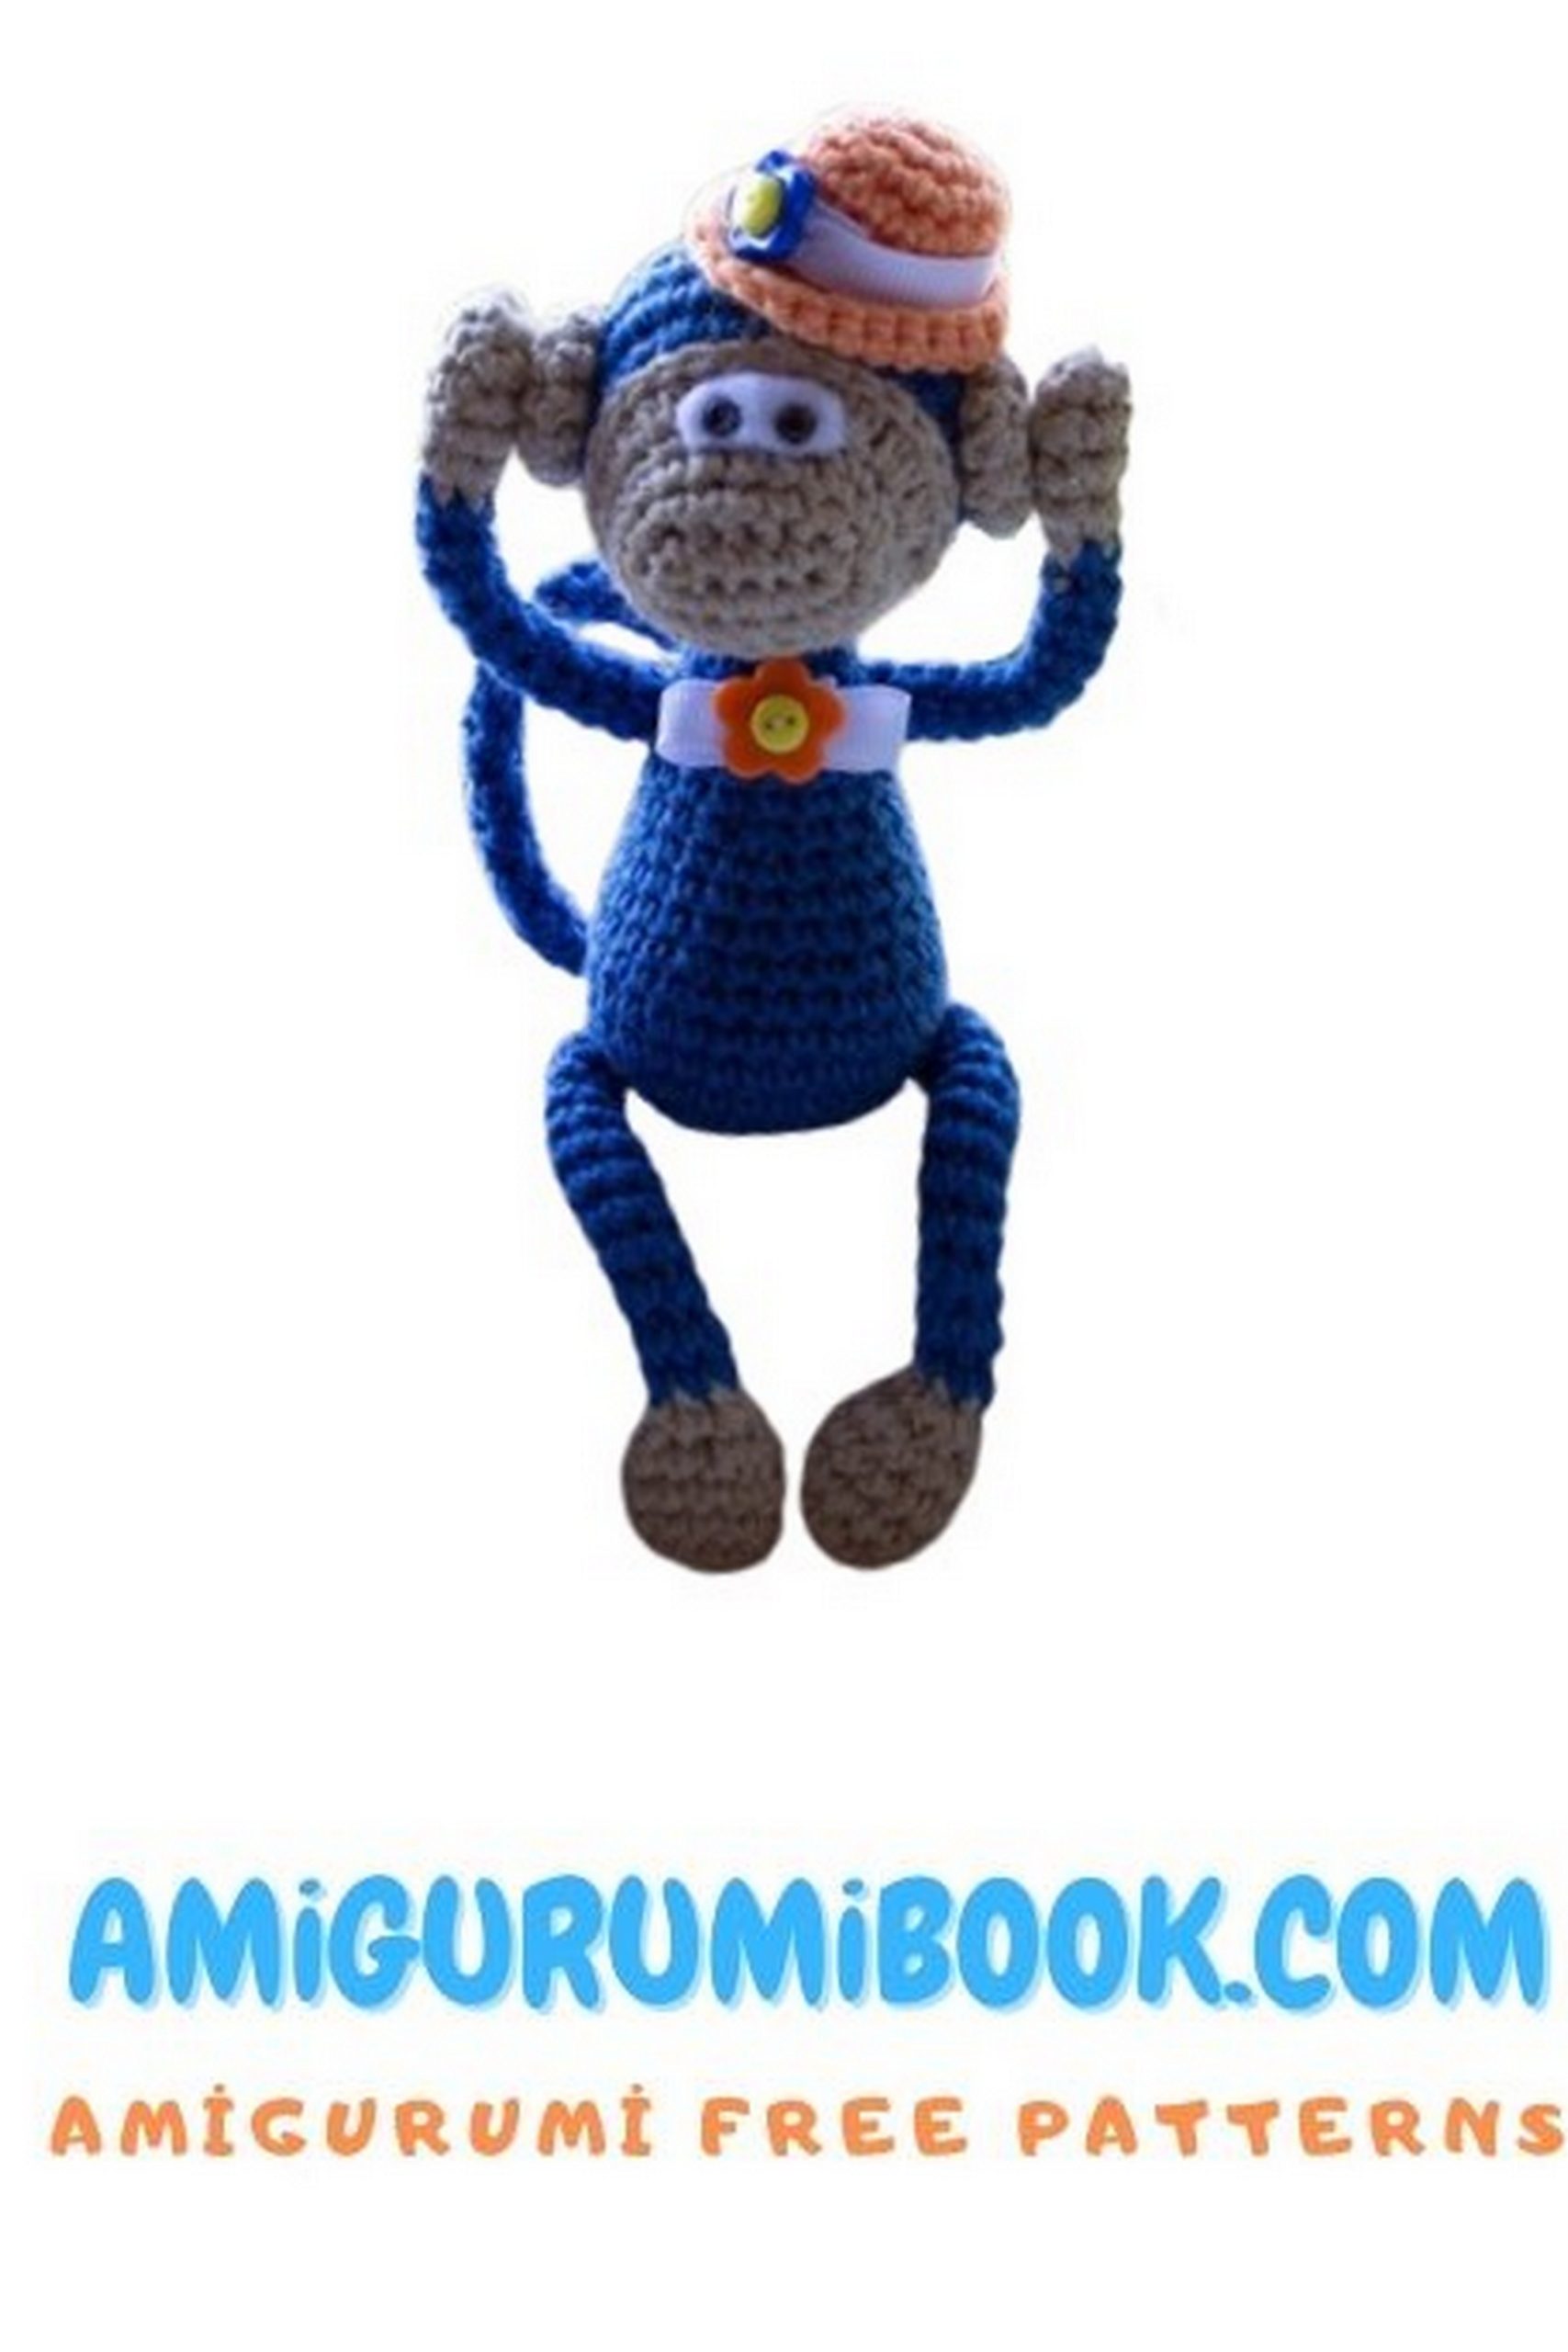
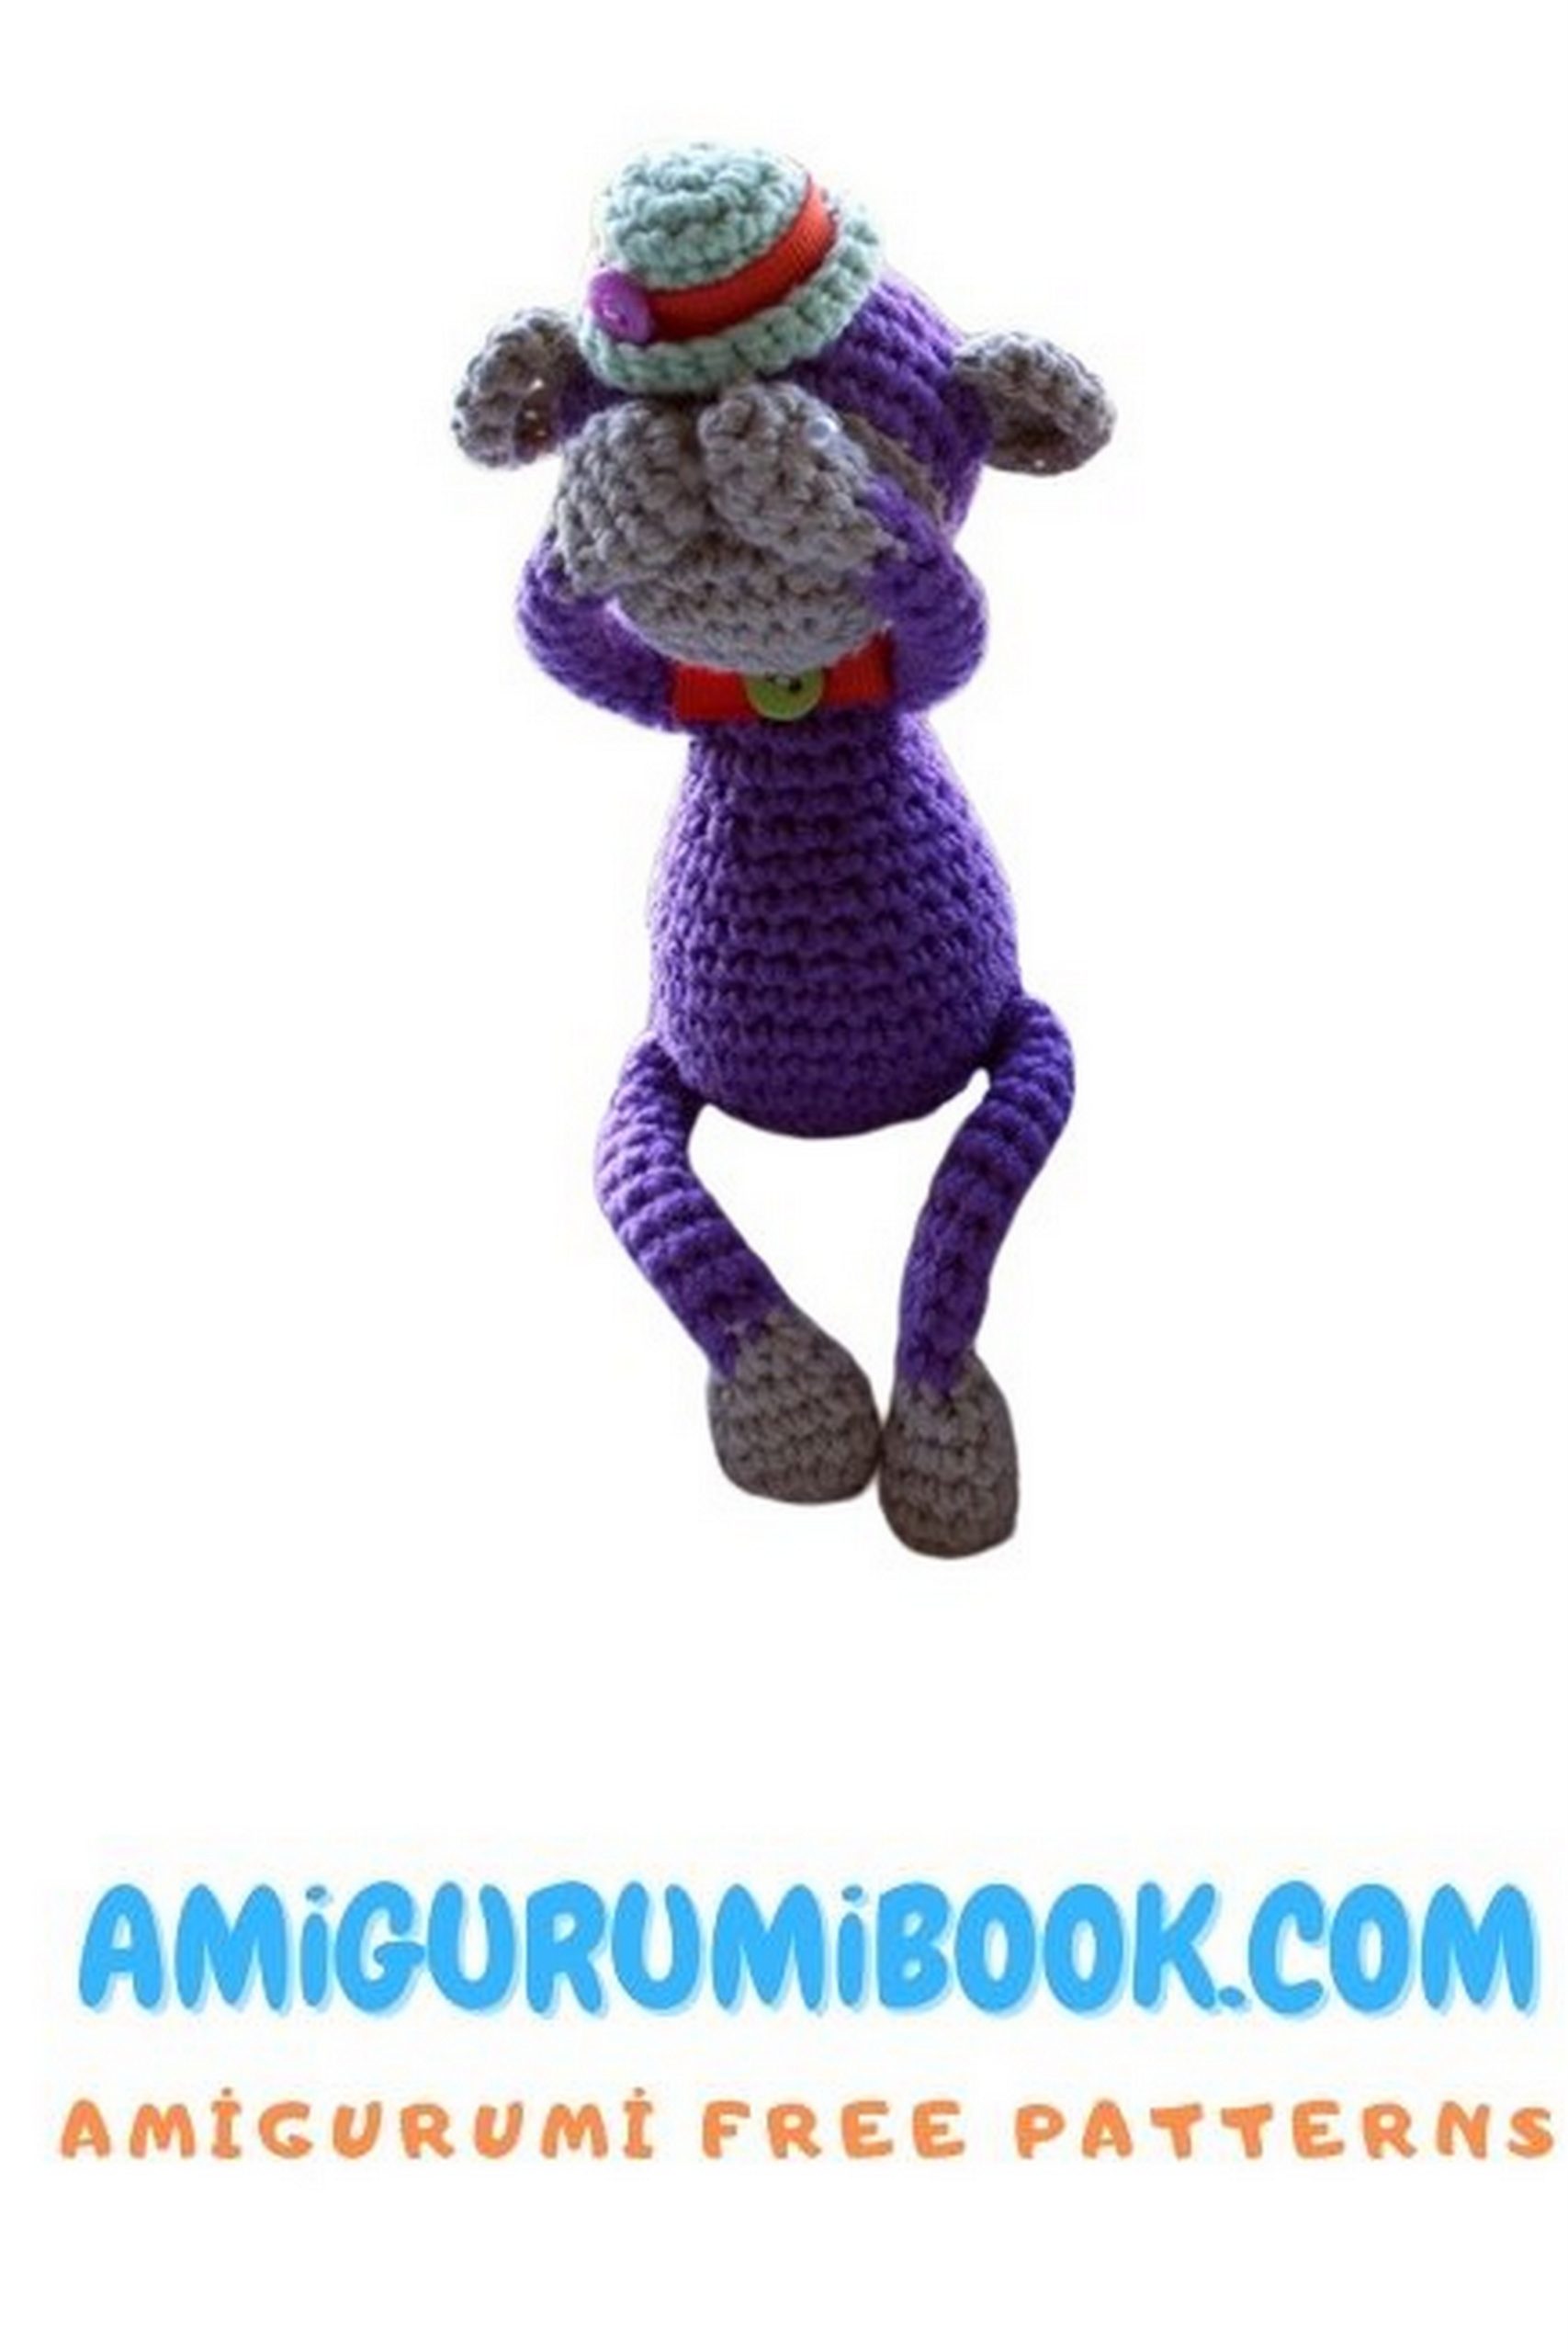
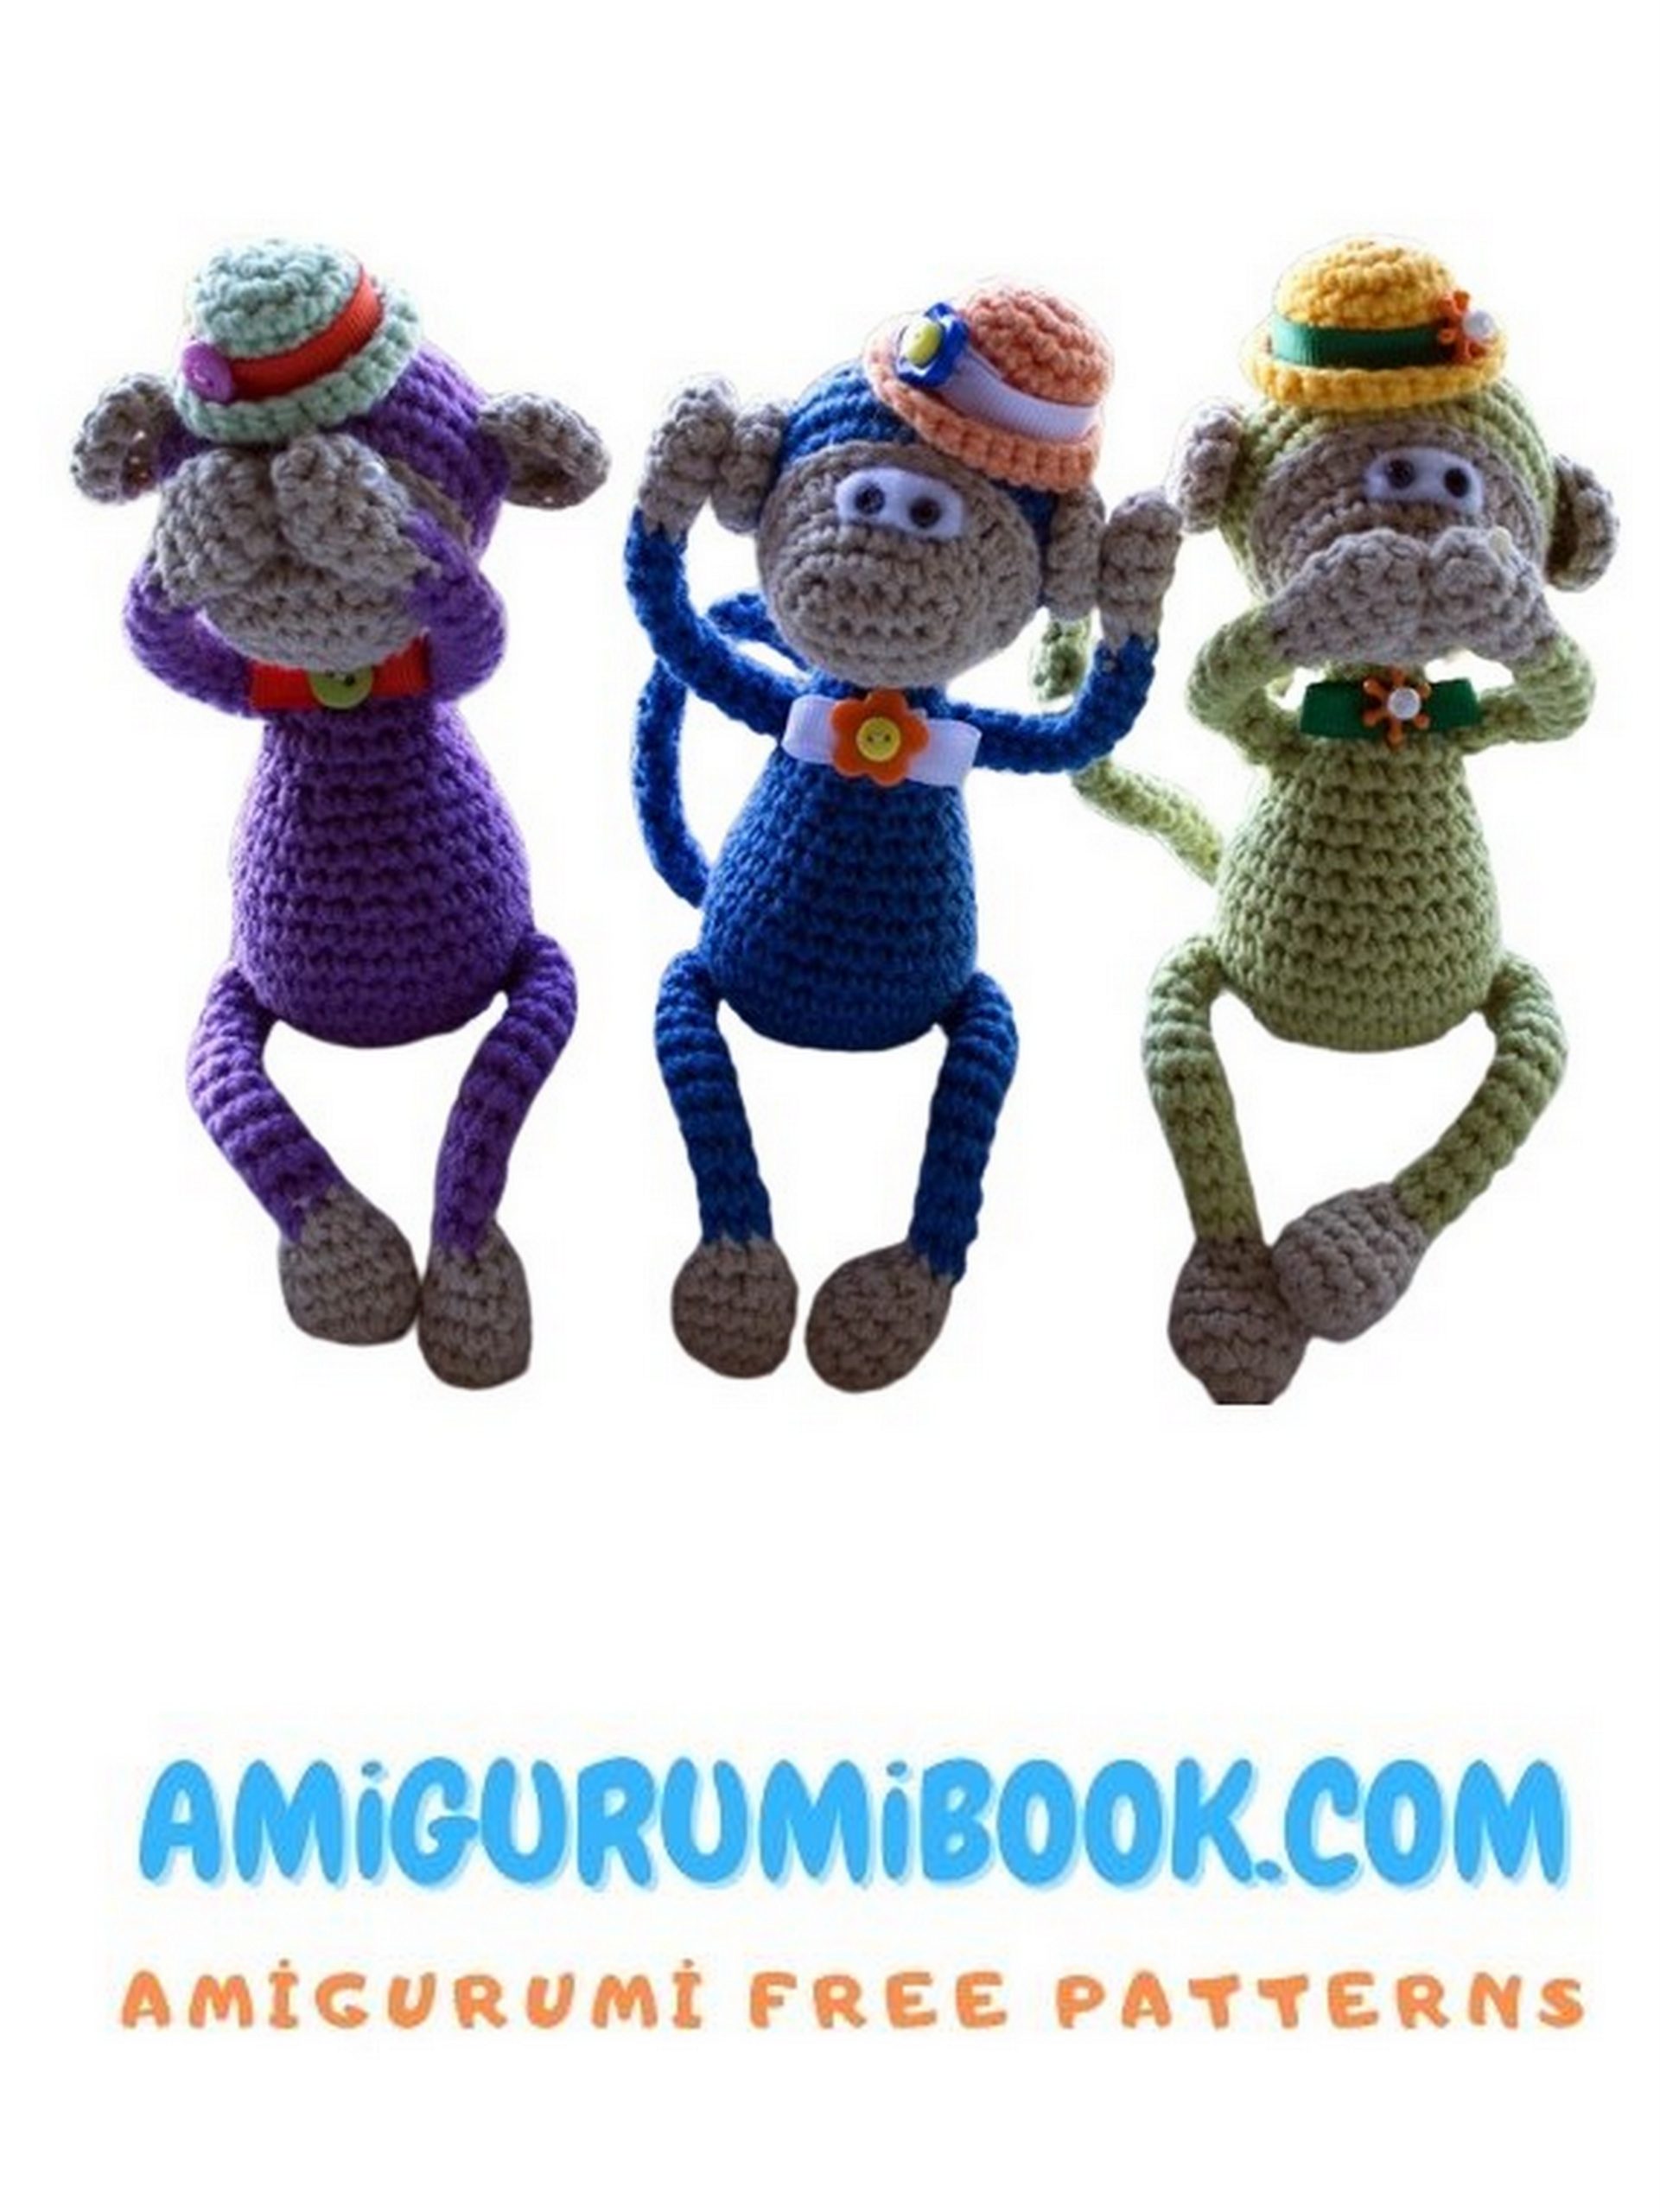
Amigurumi Monkey Head:
Start with light yarn
1: 6 CH, SC in 2nd CH from hook, 3 SC, 3 SC in last CH, rotate and crochet on the other side of the chain, 3 SC, 2 SC in last CH [12]
2: INC, 3 SC, 3 INC, 3 SC, 2 INC [18]
3-4: 18 SC [18] – 2 rounds
5: 8 INC of HDC, 10 SC [26]
Change yarn to main color but don’t cut the light yarn, carry it inside.
6: 5 SC, 2 INC, 3 SC, 2 INC, 14 SC [30]
7: (4 SC, INC)*6 [36]
At this stage, embroider the face.
Insert the hook into the base of the 1st SC of the 6th round, pick up the light yarn from the inside, pull it through to the front. There’s one loop on the hook. Insert the hook into the base of the next SC, pull the second loop through the first. Repeat around the perimeter of the face. Cut the yarn, pull the end to the inside, secure it.
At this stage, insert the eyes into the 4th and 5th increases of the 5th round.
Continue with the main yarn.
8-10: 36 SC [36] – 3 rounds
11: (4 SC, DEC)*6 [30]
12: (3 SC, DEC)*6 [24]
13: (2 SC, DEC)*6 [18]
14: (SC, DEC)*6 [12]
Stuff the head slightly.
15: 6 DEC [6]
Stuff the head fully, shape it. Cut and secure the yarn.

Amigurumi Monkey Torso:
1: 6 SC [6]
2: 6 INC [12]
3: (SC, INC)*6 [18]
4: (2 SC, INC)*6 [24]
5: (3 SC, INC)*6 [30]
6-8: 30 SC [30] – 3 rounds
9: (3 SC, DEC)*6 [24]
10-12: 24 SC [24] – 3 rounds
13: (2 SC, DEC)*6 [18]
14-16: 18 SC [18] – 3 rounds
17: (SC, DEC)*6 [12]
18-20: 12 SC [12] – 3 rounds
You can add weight to the bottom. I use a 5-kopeck coin. Fill the torso with stuffing. Leave a yarn end for sewing and cut. It looks like a stable vase when done.
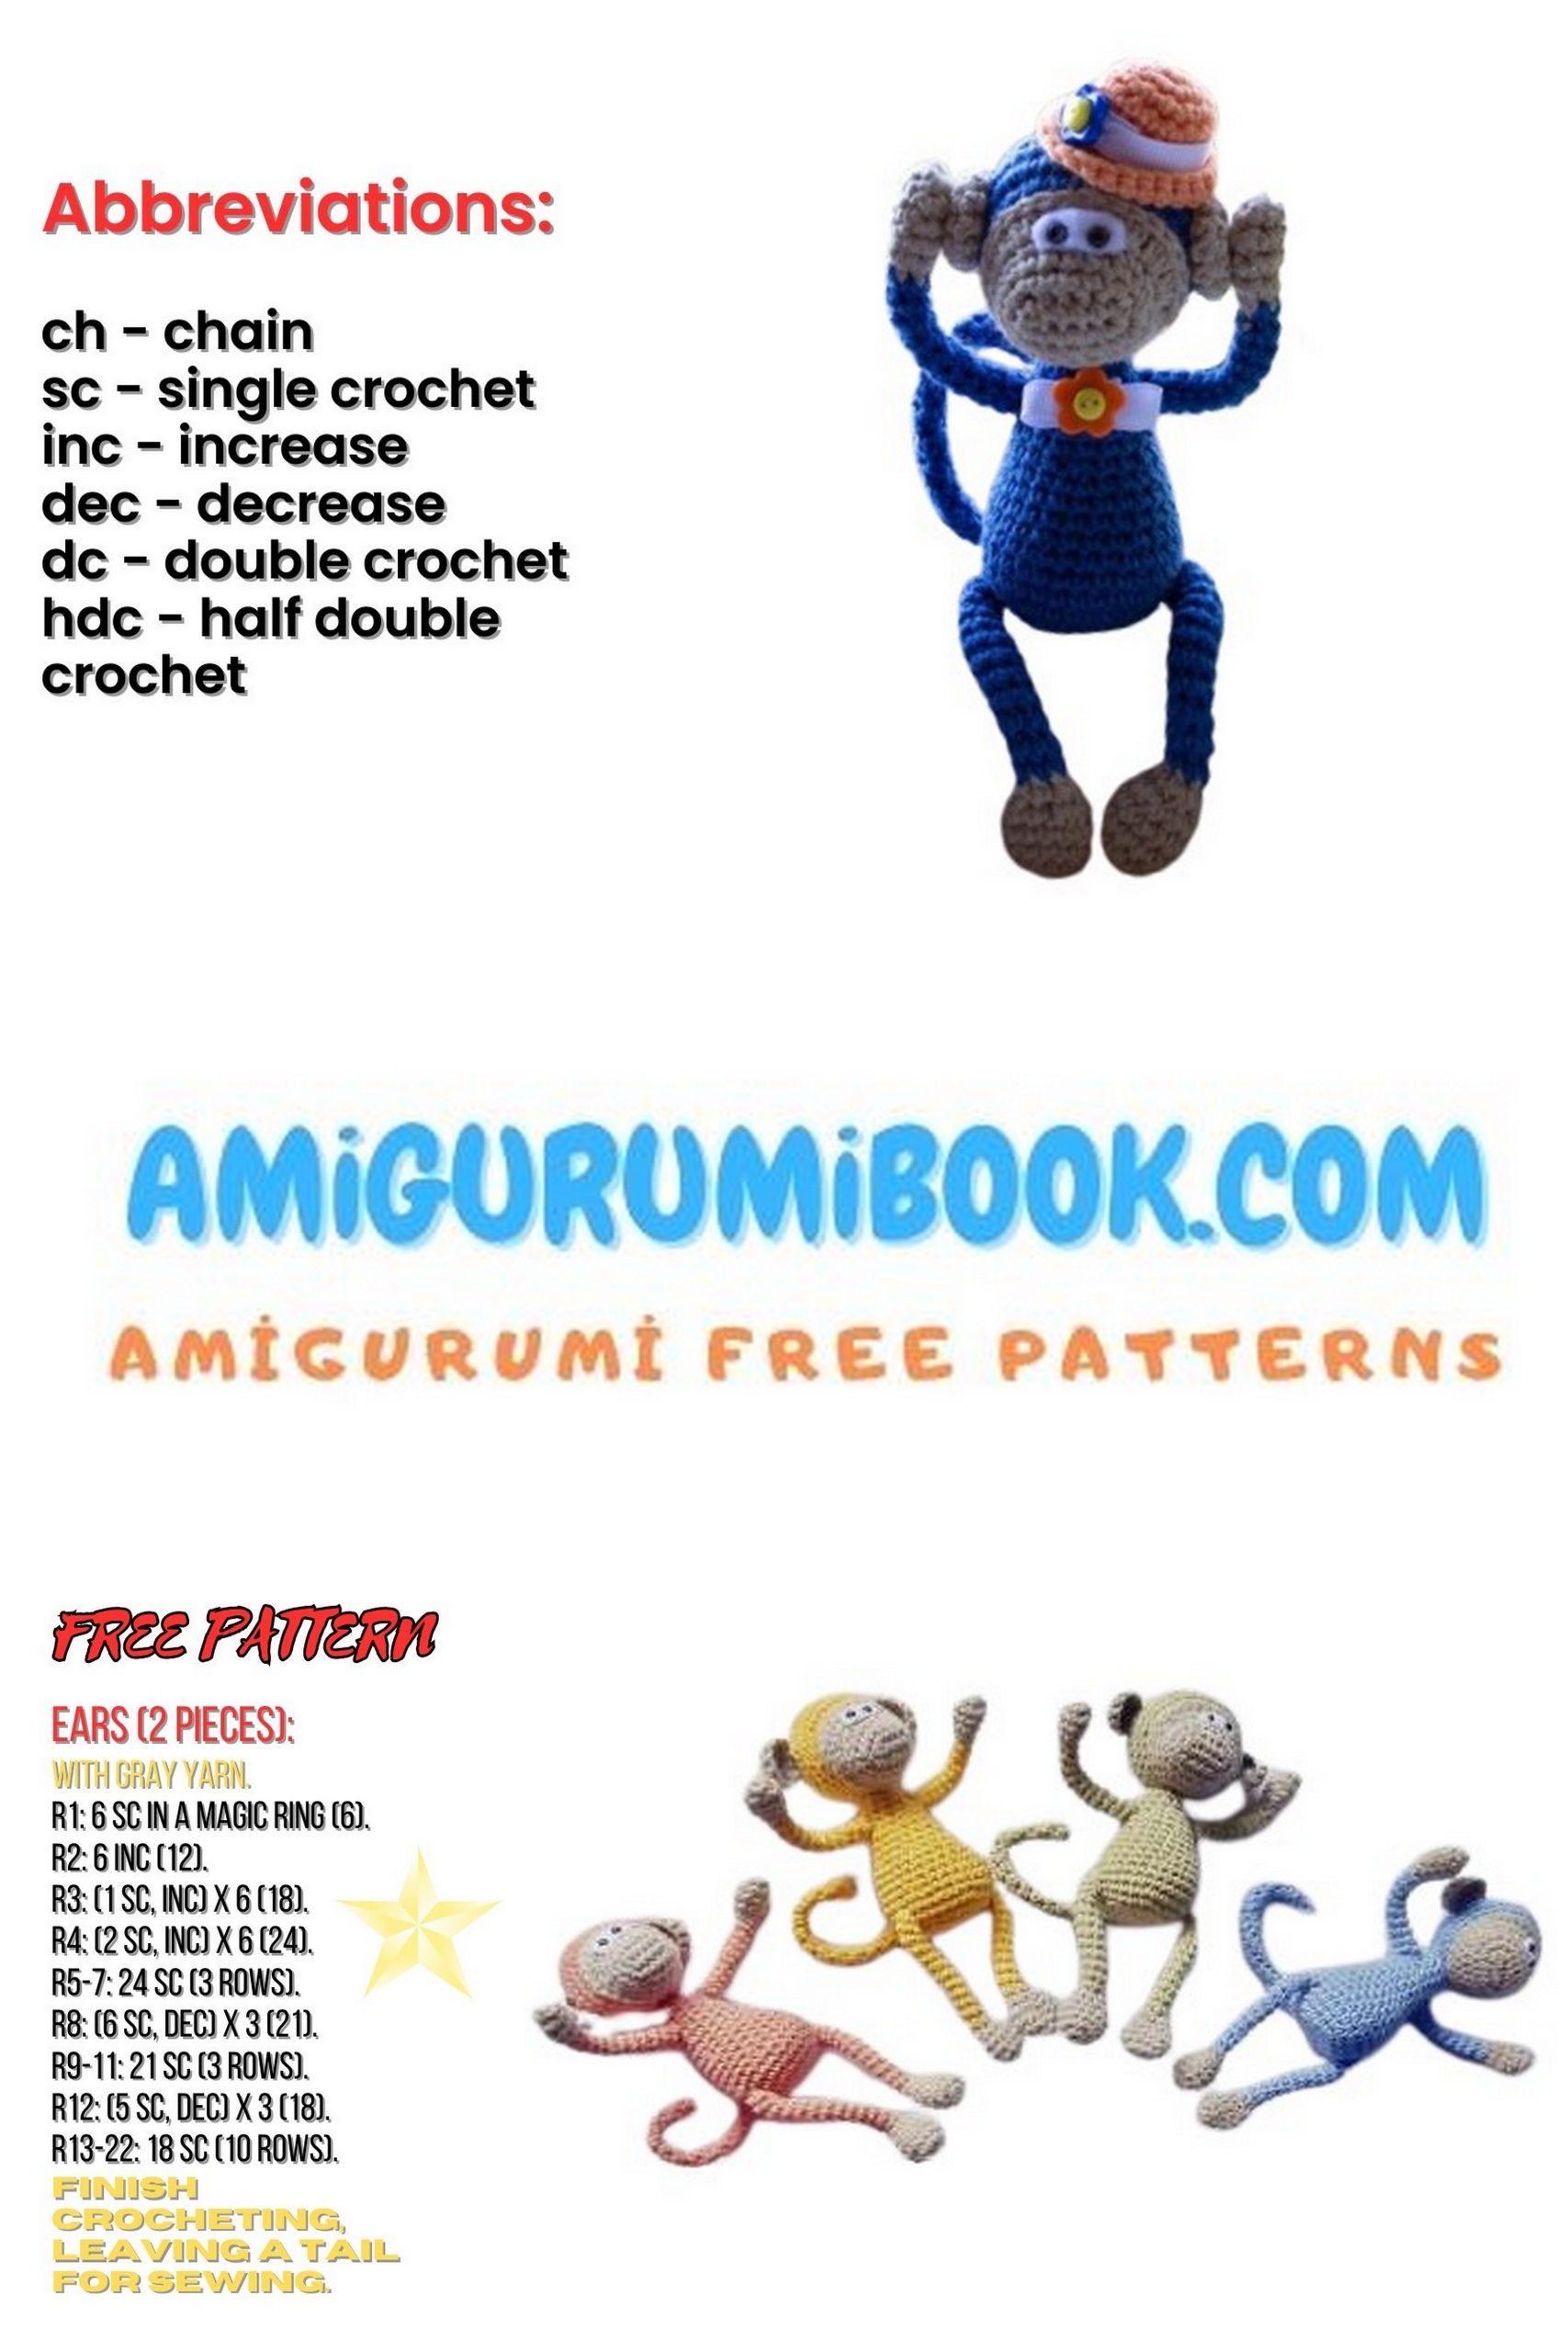
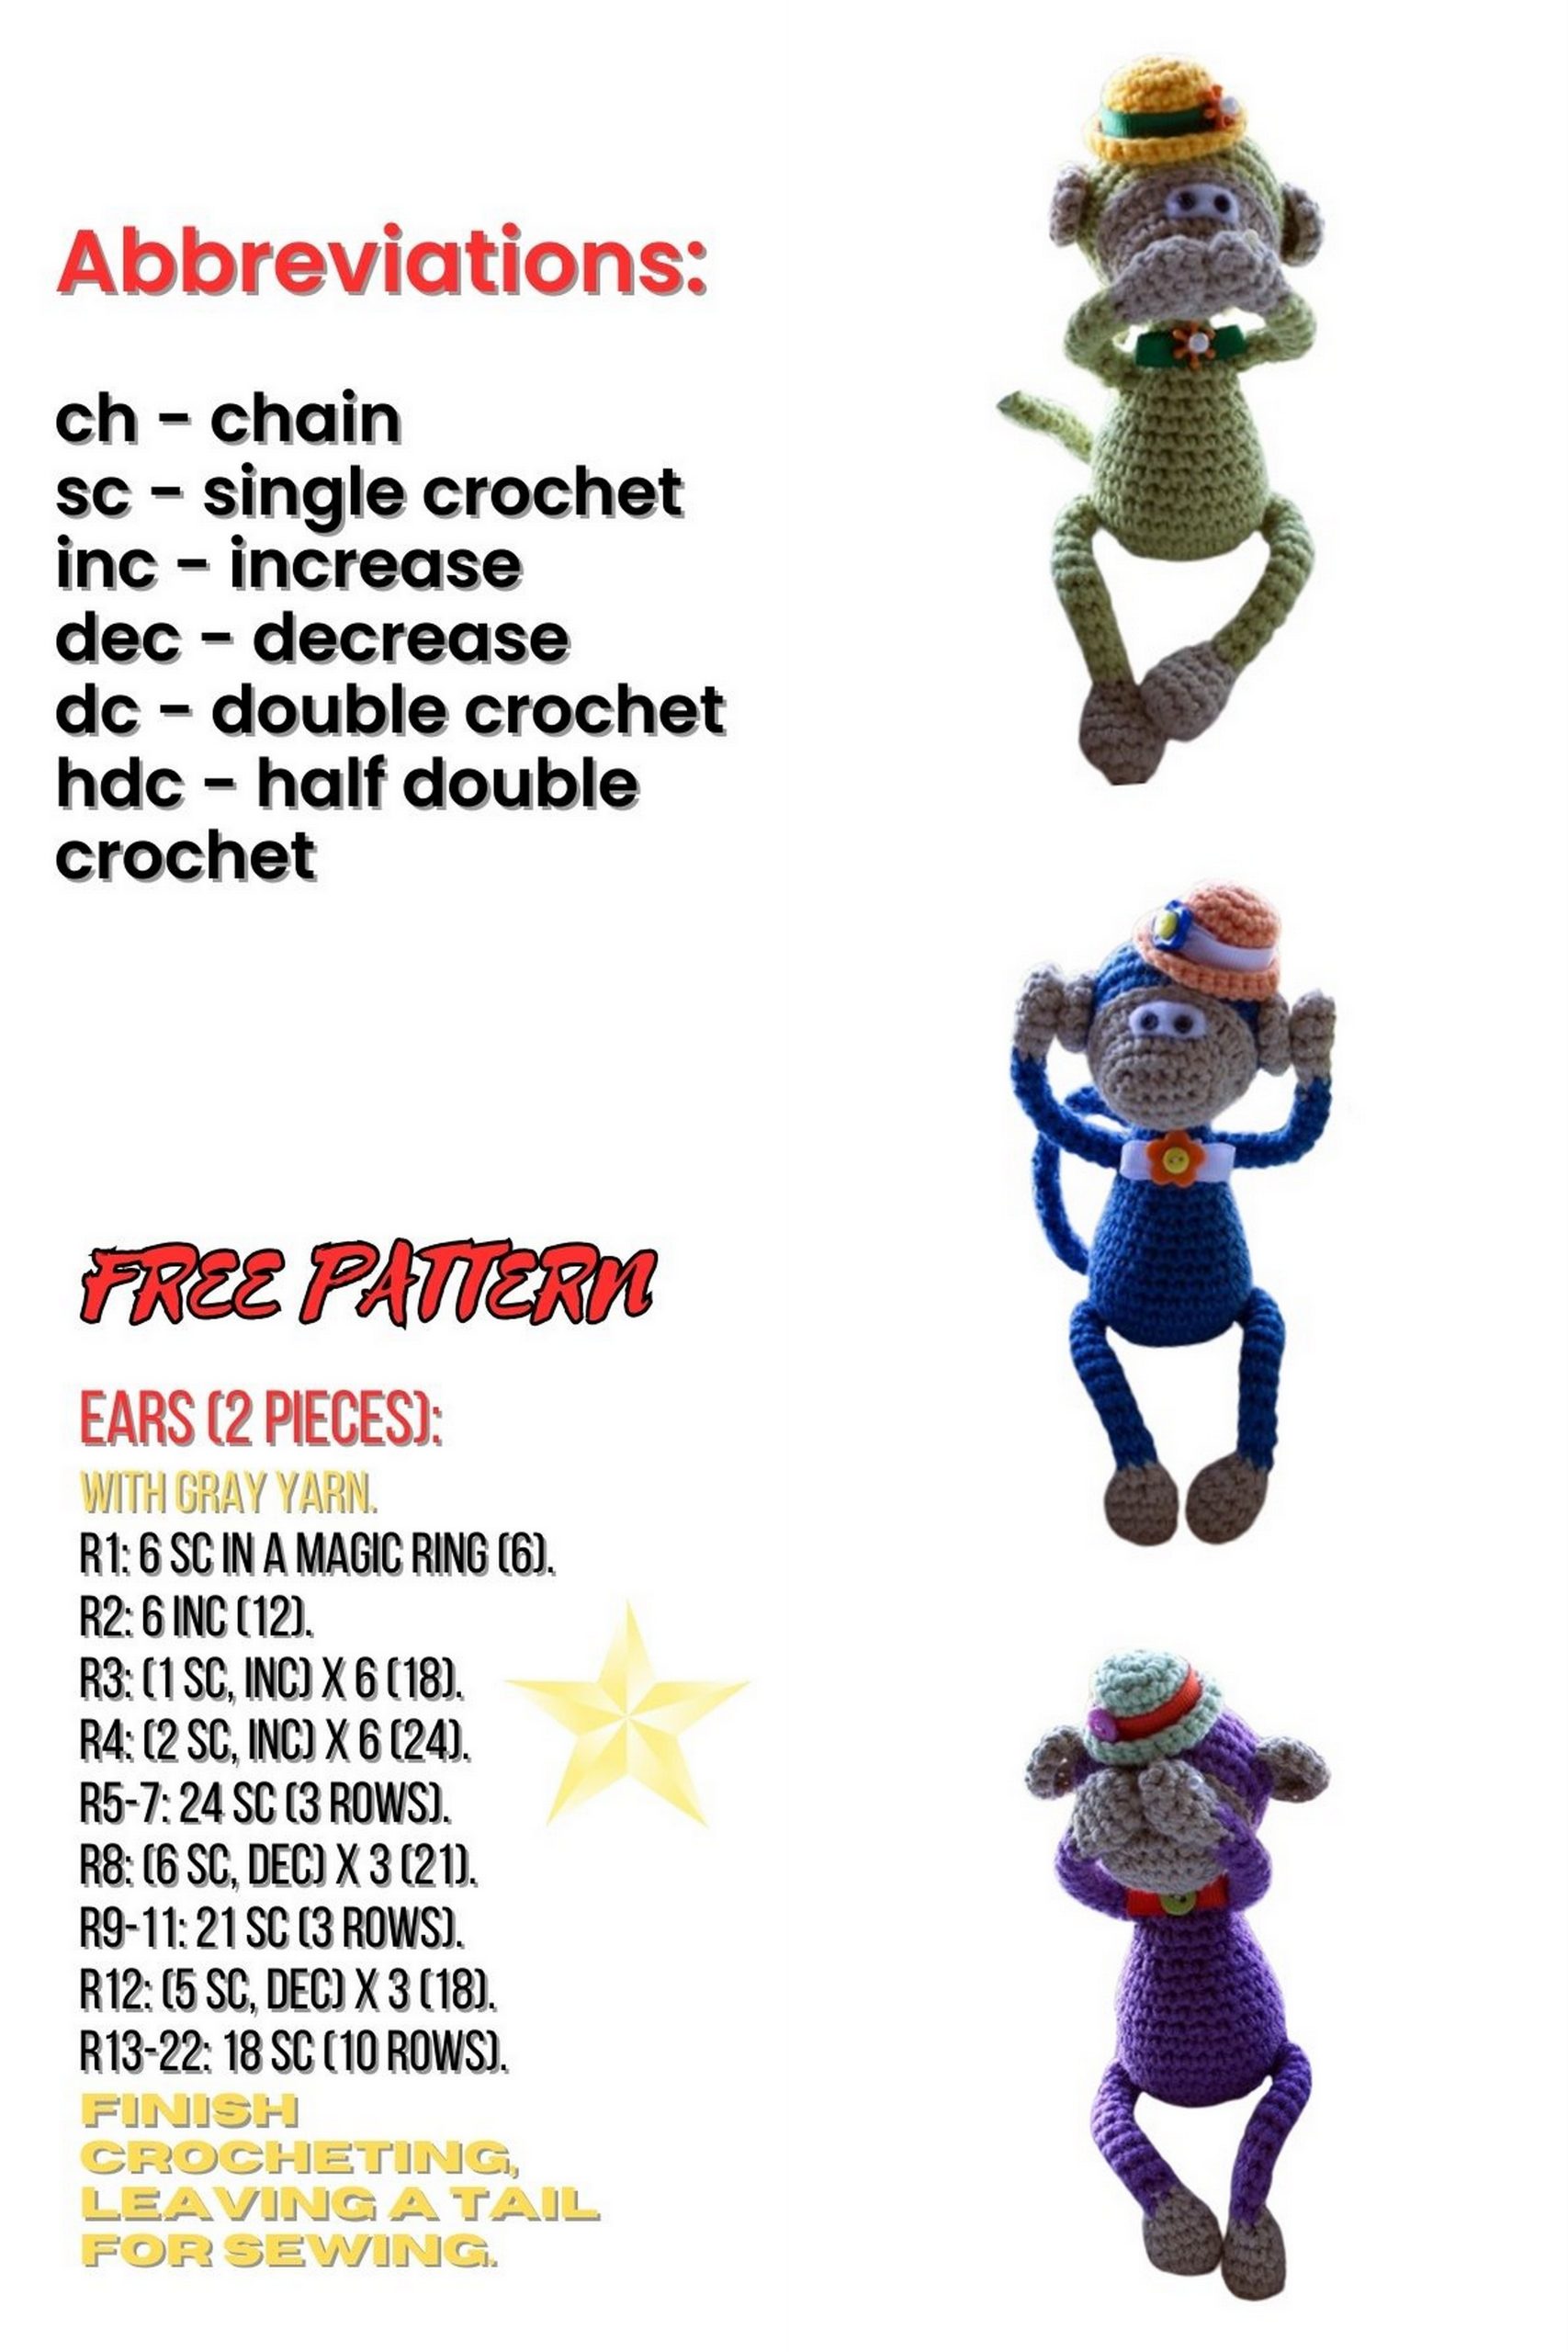
Amigurumi Monkey Ears (2 pieces):
1: 6 SC [6]
2: 6 INC [12]
3: 12 SC [12]
Leave a yarn end for sewing and cut. Sew the head to the torso.
Find a suitable place for the ears (I sew them at eye level). They look like cones.
Amigurumi Monkey Arms (2 pieces):
Start with light yarn.
1: 6 SC [6]
2: (SC, INC)*3 [9]
3-4: 9 SC [9] – 2 rounds
5: (SC, DEC)*3 [6]
Join main color yarn, cut light yarn.
6-15: 6 SC [6] – 10 rounds

Amigurumi Monkey Legs (2 pieces):
1: 6 SC [6]
2: 6 INC [12]
3-4: 12 SC [12] – 2 rounds
5: (2 SC, DEC)*3 [9]
6: (SC, DEC)*3 [6]
Join main color yarn, cut light yarn.
7-18: 6 SC [6] – 12 rounds
Leave yarn ends for sewing on the feet.
Amigurumi Monkey Tail:
Leave a small yarn end at the beginning of the work to later secure the wire end.
Crochet 4 HDC in a spiral until it’s 10-12 cm long. Adjust to your monkey’s size.
Before assembly, measure. We all crochet differently, with different yarns, etc.
Measure the wire length for the legs. Make sure to add extra for the feet and palms. For my monkey’s size, I add at least 3 cm for the foot, 2.5 cm for the palm, and for the tail: 1 cm for the loop at the end and 1.5 cm for attachment.
Make loops on one end of the wire and secure them with tape, band-aids, duct tape, or any fixing material.
Insert the wire where the arms and legs should be. Make symmetric loops at the other end of the wire. Secure the loops.
Slip the crocheted pieces for the limbs onto the wire. Sew them to the body, secure and cut the yarn.
For the tail, thread the wire into the appropriate place, slip the tail detail onto the wire, sew the tail to the body. Secure and cut the yarn. Make several stitches at the tail end, capturing the wire loop inside. Secure and cut the yarn.
That’s it!
The monkey sits well, stands well, and… acts all monkey-like!