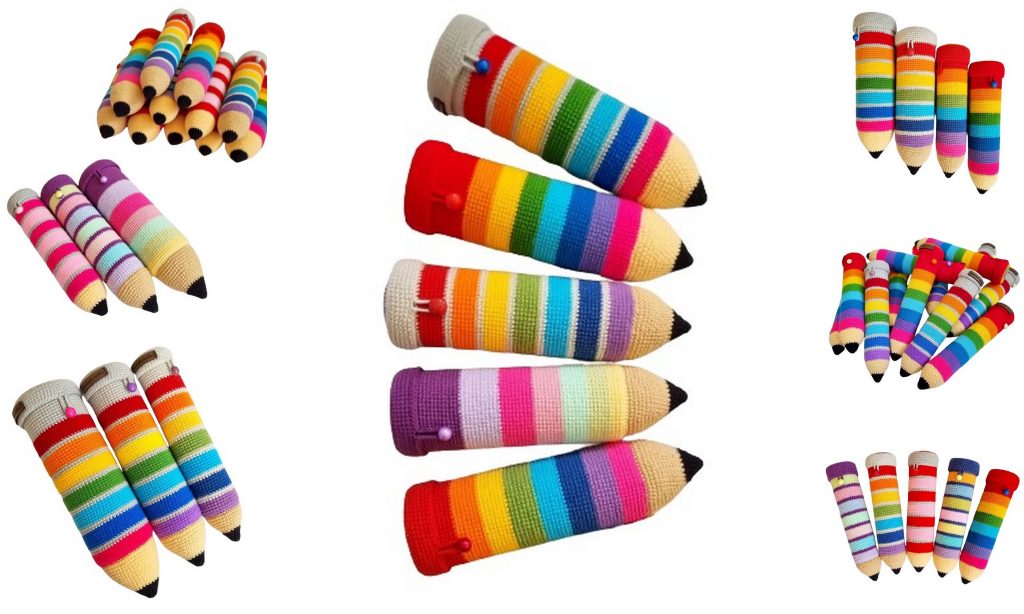
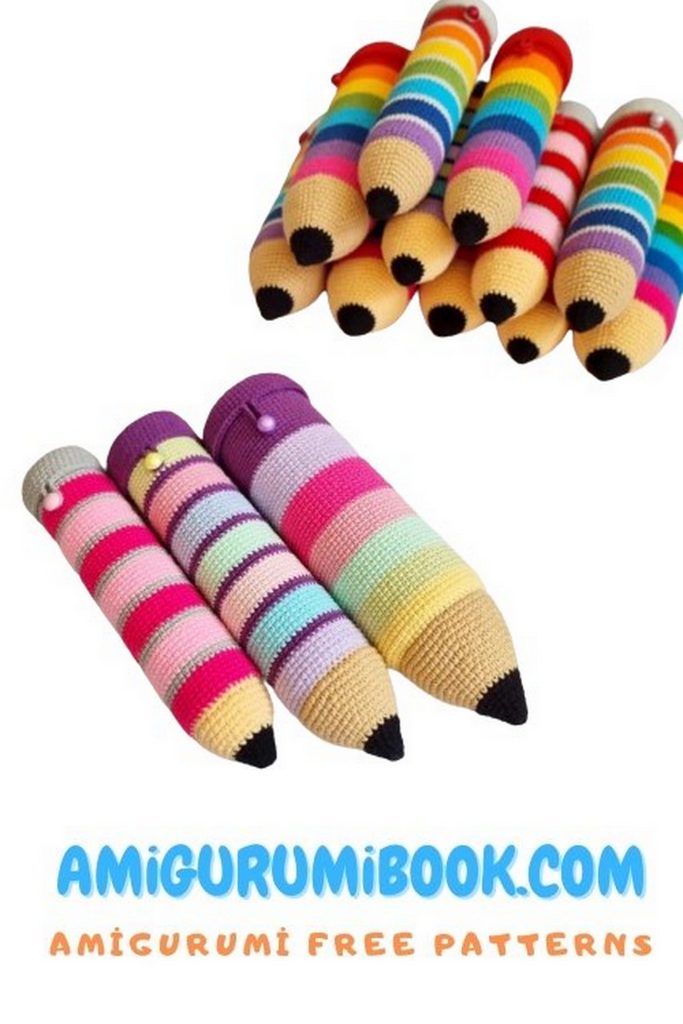
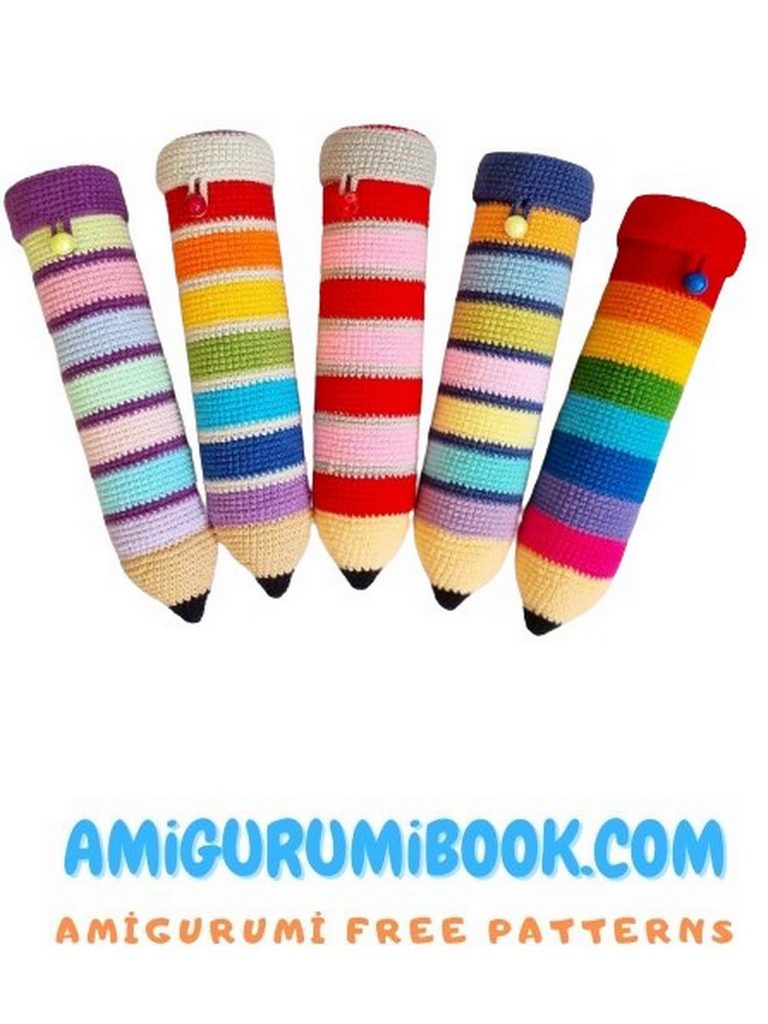
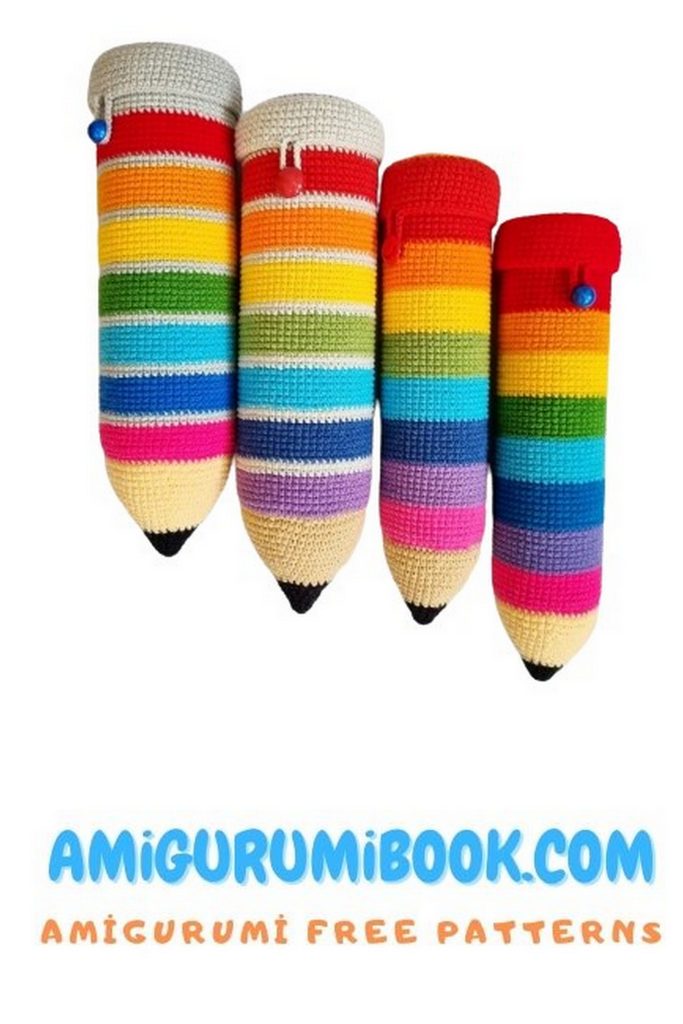
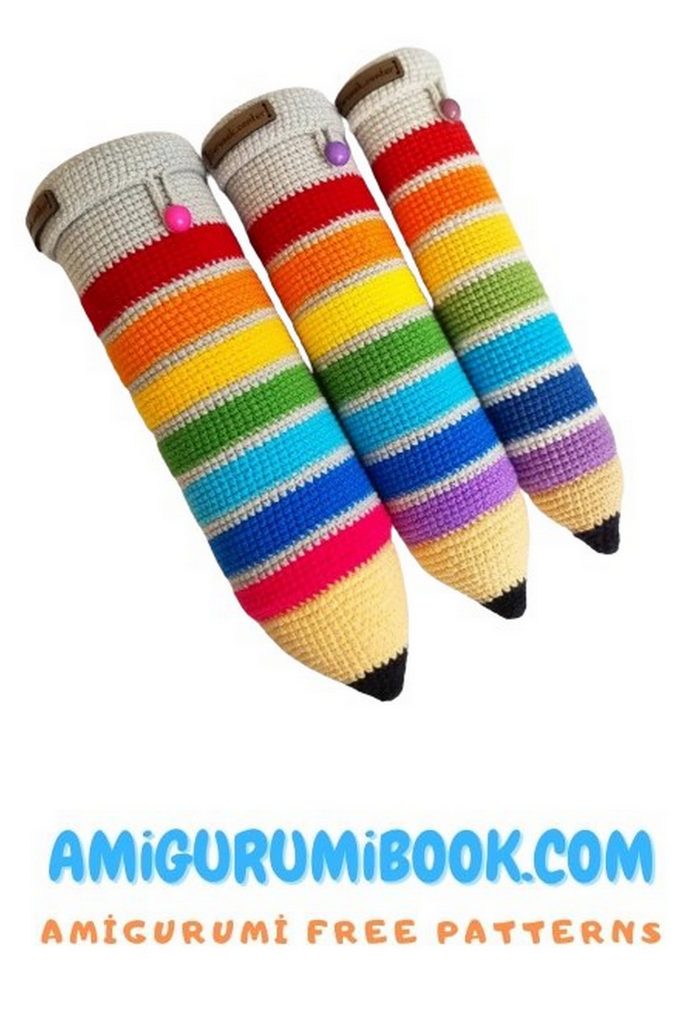
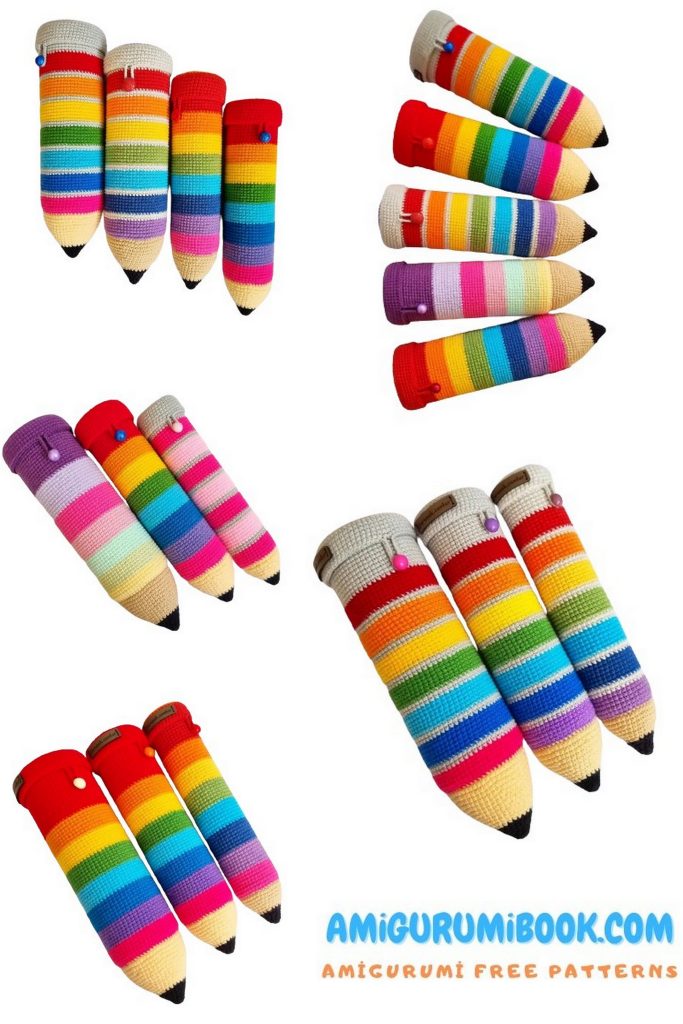
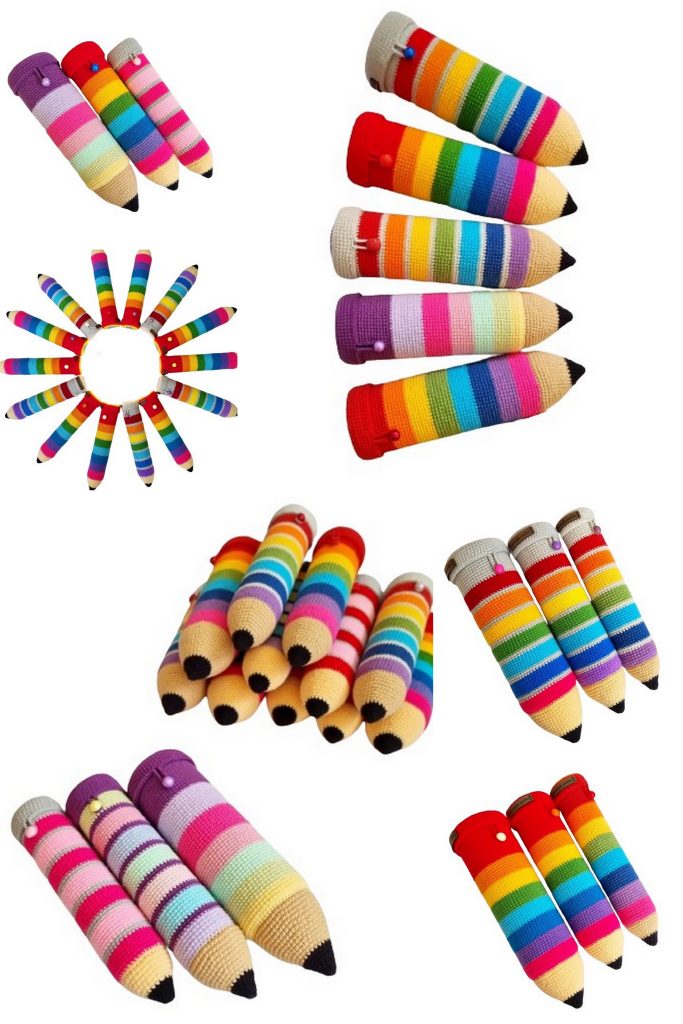
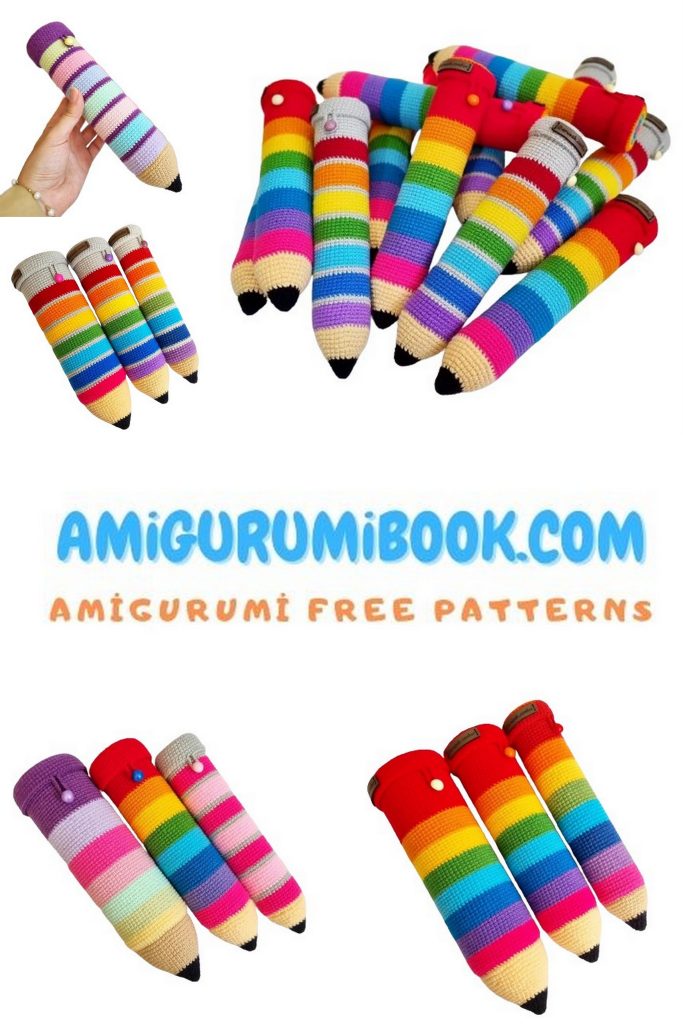
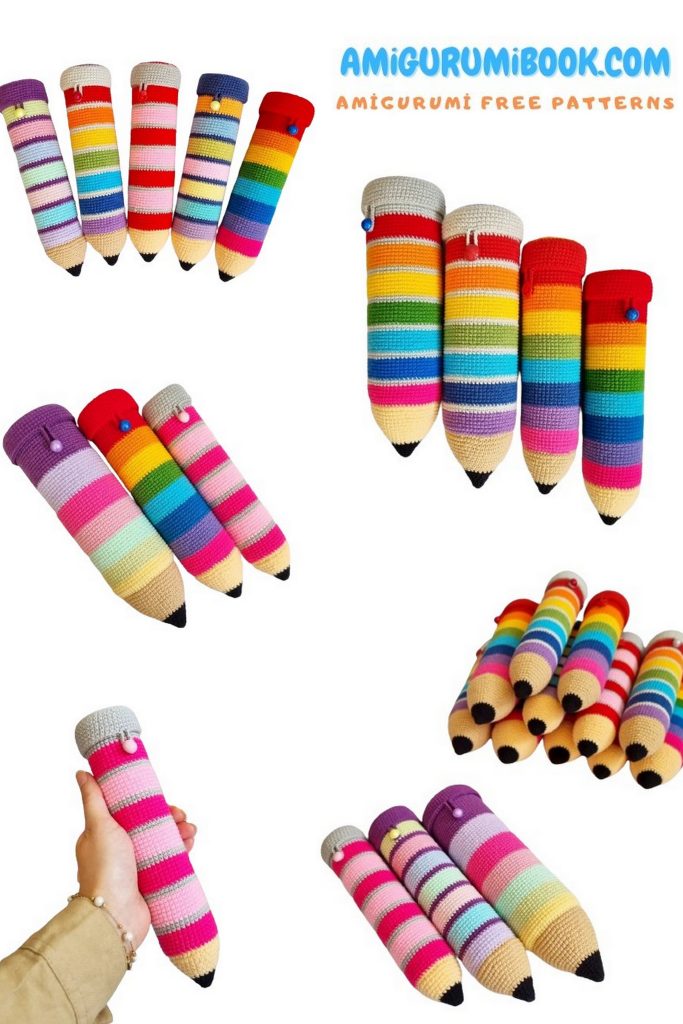
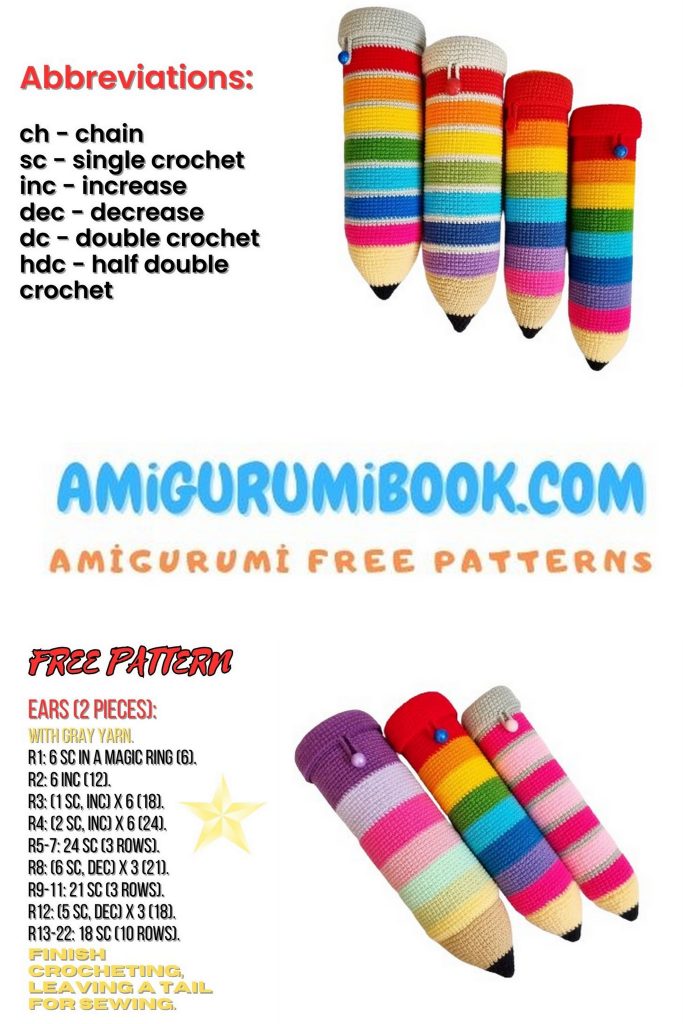
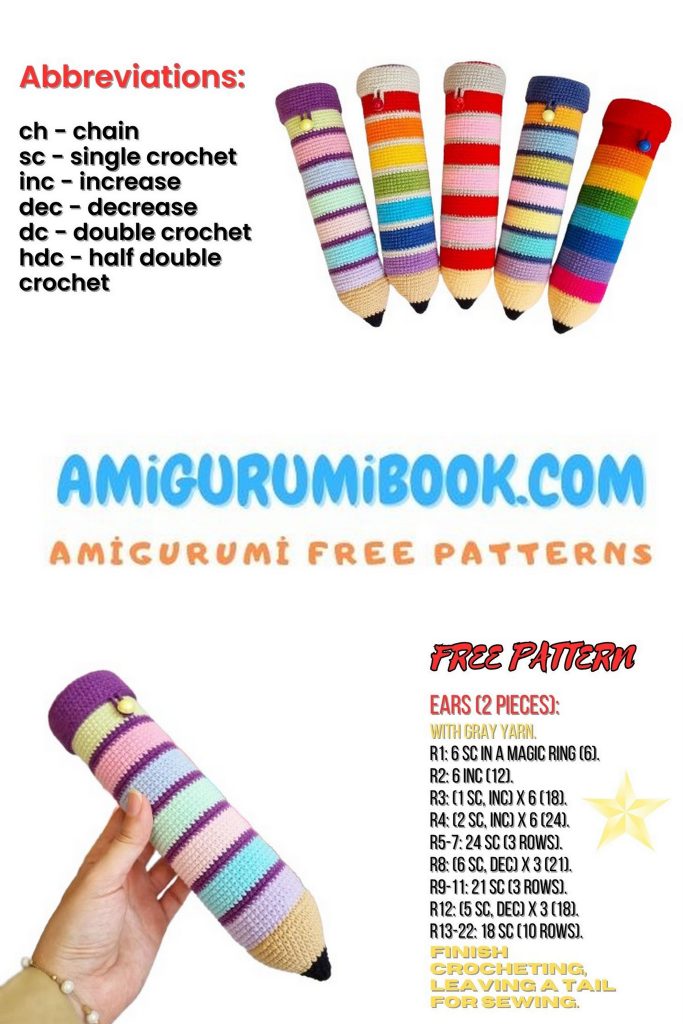
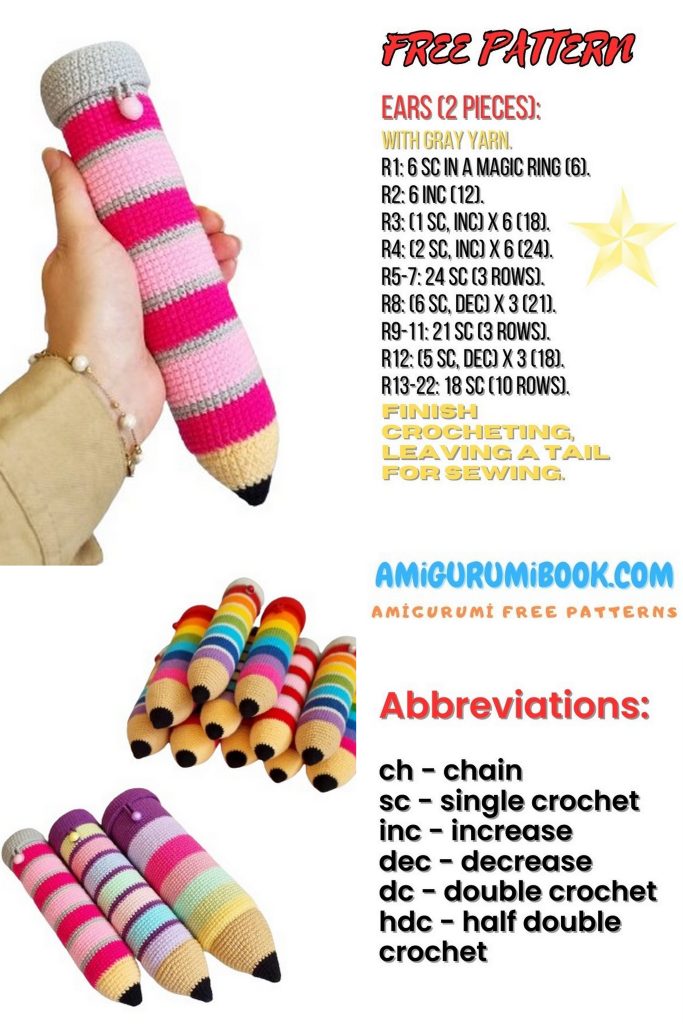
Keep your stationery stylish with our free Pencil Case Amigurumi pattern! This fun and functional design is perfect for crocheters of all skill levels, offering a creative way to organize your pens, pencils, and other supplies. Our step-by-step tutorial includes clear instructions and helpful photos, making it easy to craft a unique and adorable pencil case. Whether you’re making it for yourself or as a gift, this charming amigurumi project is both practical and delightful. Grab your crochet hook and yarn, and let’s start crafting this cute amigurumi pencil case today!
Abbreviations
rnd: round
mr: magic ring
sc: single crochet
inc: increase (2sc into the same stitche)
ch: chain
blo: back loops only
(…)xn: repeat instruction in parentheses n times.
[…]: Total number of stitches
PATTERN
Pencil Case Tip
start with black yarn.
1: 6sc in mr
2: (2sc, inc)×2 [8]
3: (3sc, inc)x2 [10]
4: (2sc, inc, 2sc)x2 [12]
5: (3sc, inc)x3 [15]
6: (2sc, inc, 2sc)x3 [18]
7: (5sc, inc)x3 [21]
8: (3sc, inc, 3sc)x3 [24]
Continue with beige colour.
9: (7sc, inc)x3 [27]
10: (4sc, inc, 4sc)x3 [30]
11: (9sc, inc)x3 [33]
12: (5sc, inc, 5sc)x3 [36]
13: (11sc, inc)x3 [39]
14: (6sc, inc, 6sc)x3 [42]
15: (13sc, inc)x3 [45]
16: (7sc, inc, 7sc)x3 [48]
17: (15sc, inc)x3 [51]
18: (8sc, inc, 8sc)x3 [54]
19: (17sc, inc)x3 [57]
20: (9sc, inc, 9sc)x3 [60]
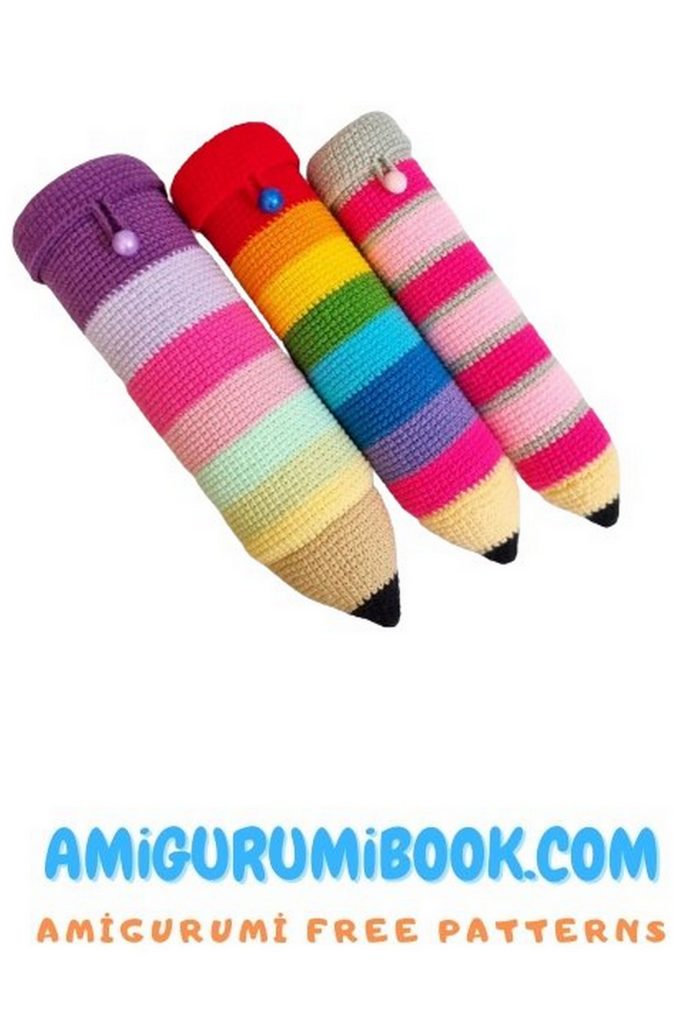
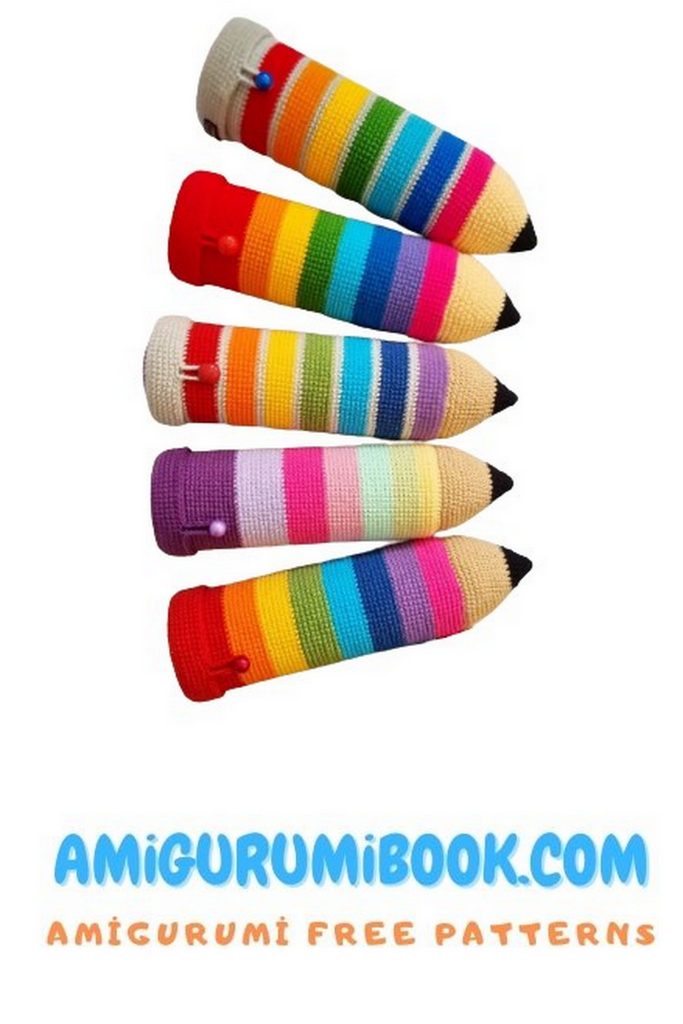
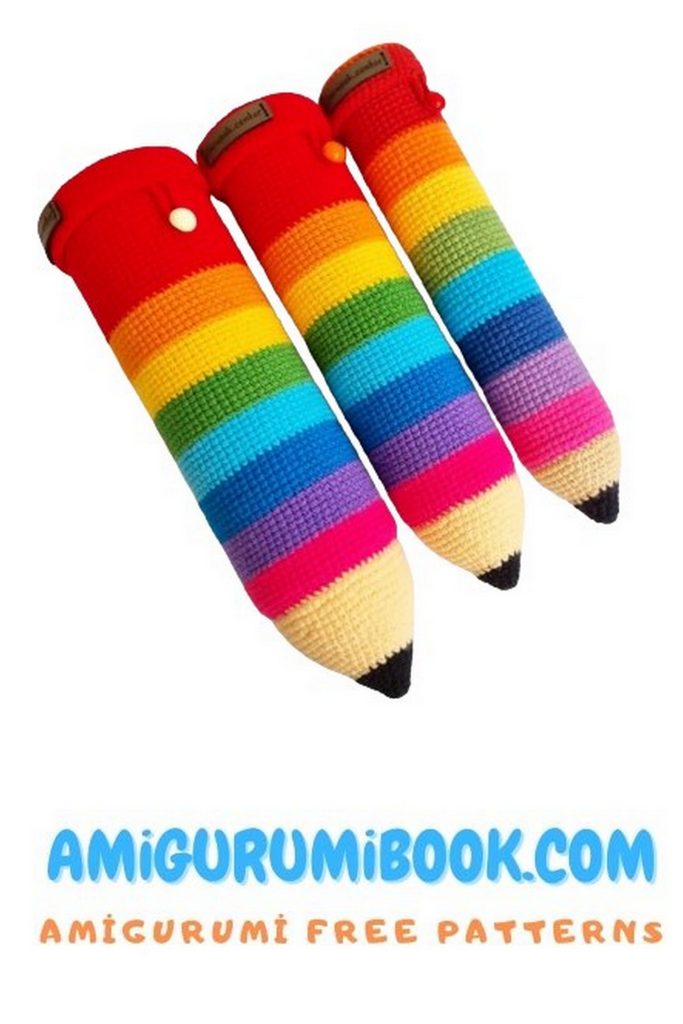
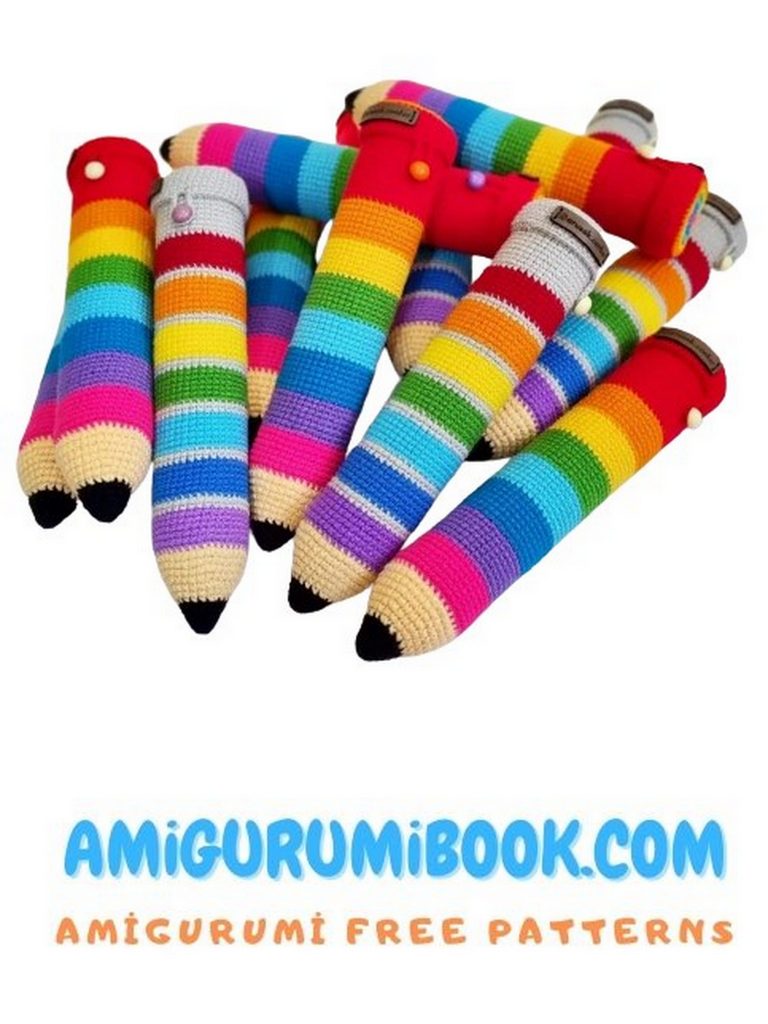
Body of amigurumi pencil case
Continue with the body colour of the pencil case.
21: 60sc [60]
Don’t cut the yarn. Keep crocheting the body after sewing the cover to the Pencil Tip.
Work with beige yarn.
1: 6sc in mr
2: 6 inc [12]
3: (1sc, inc)×6 [18]
4: (1sc, inc, 1sc)x6 [24]
5: (3sc, inc)×6 [30]
6: (2sc, inc, 2sc)×6 [36]
7: (5sc, inc)×6 [42]
8: (3sc, inc, 3sc)x6 [48]
9: (7sc, inc)x6 [54]
10: (26sc, inc)x2 [56]
Cut the yarn and fasten off. Leave a long tail for sewing.
Sew two part together according the photos and stuff it during sewing.
Now continue the body
22-80: 60sc [60]
81: blo 60sc [60]
82-85: 60sc [60]
Cut the yarn and fasten off.
Insert the pvc pipe into the body. fold inward from Rnd81 to cover the pipe edge.
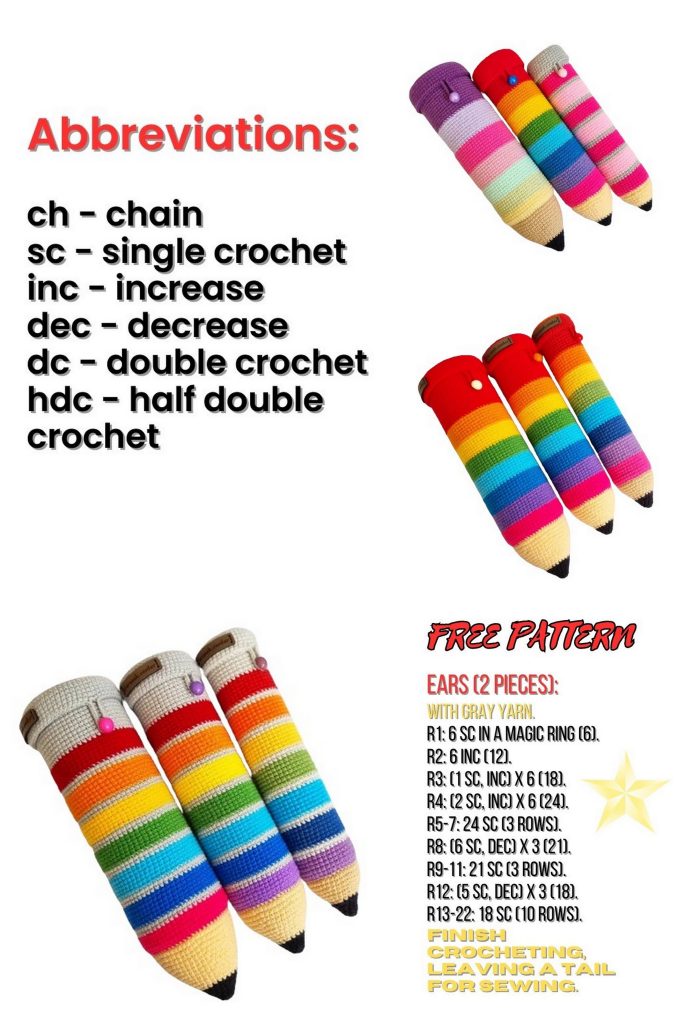
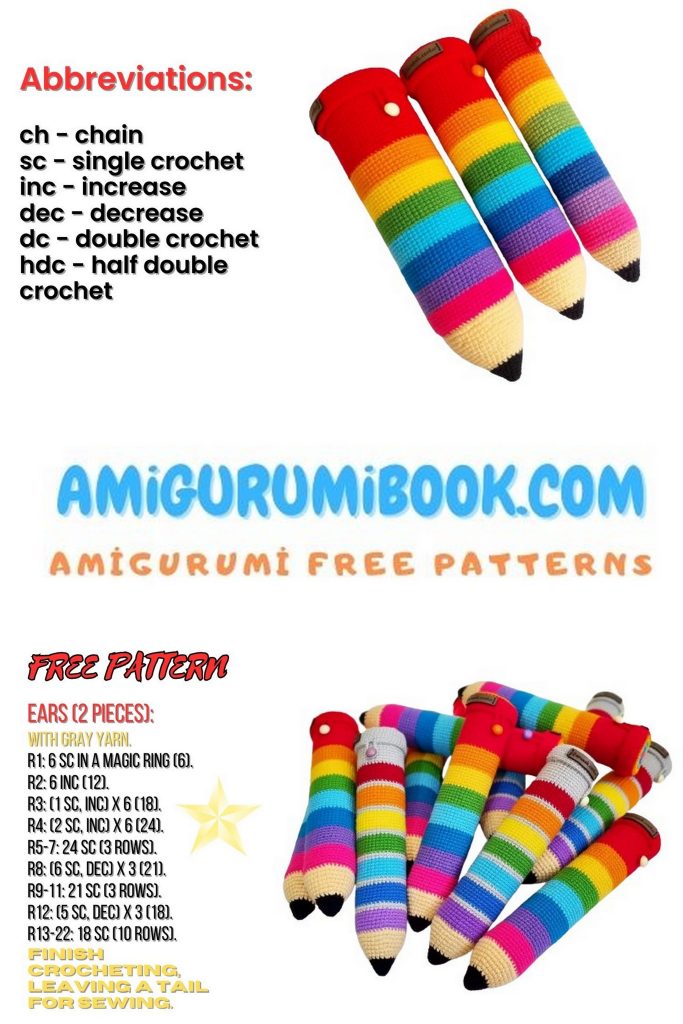
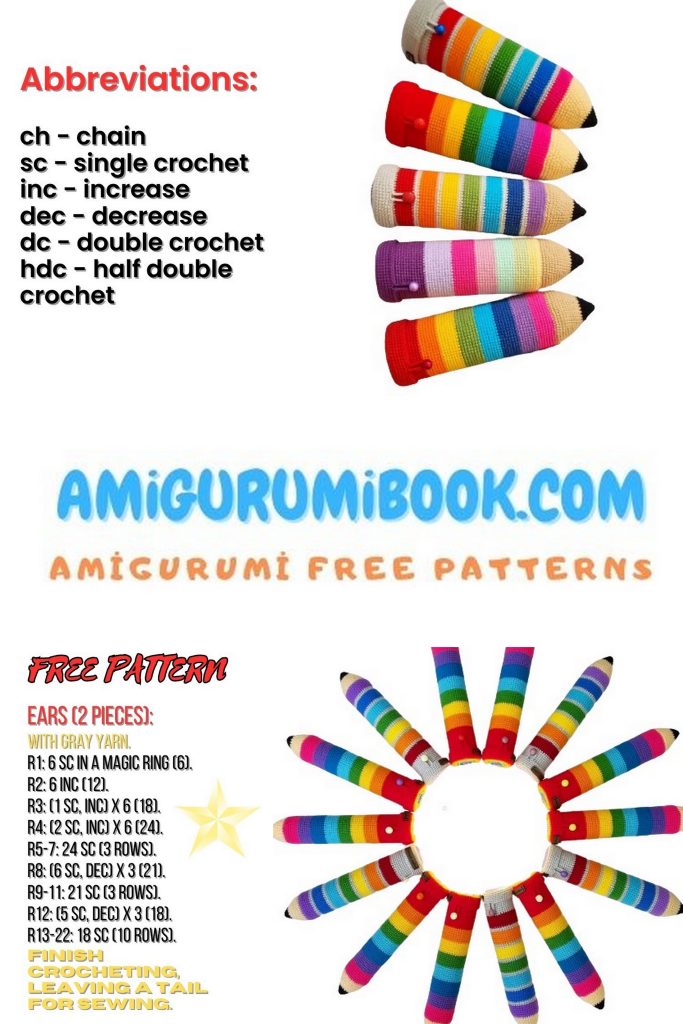
Pencil case cap
Work with main colour or any colour you want.
1: 6sc in mr
2: 6 inc [12]
3: (1sc, inc)×6 [18]
4: (1sc, inc, 1sc)×6 [24]
5: (3sc, inc)x6 [30]
6: (2sc, inc, 2sc)×6 [36]
7: (5sc, inc)x6 [42]
8: (3sc, inc, 3sc)×6 [48]
9: (7sc, inc)×6 [54]
10: (4sc, inc, 4sc)x6 [60]
11: (9sc, inc)×6 [66]
12: blo 66sc [66]
13-16: 66sc [66]
17: 33sc, 16ch, 33sc
Cut the yarn and fasten off.
Cut felt to the size of the circular part of the cap and stick it inside.
Put the cap on the body.
Sew the cap and the body together horizontally at the opposite point of the chains as long as 8 stitches.
Sew the button in the right place.
your pencil case is ready