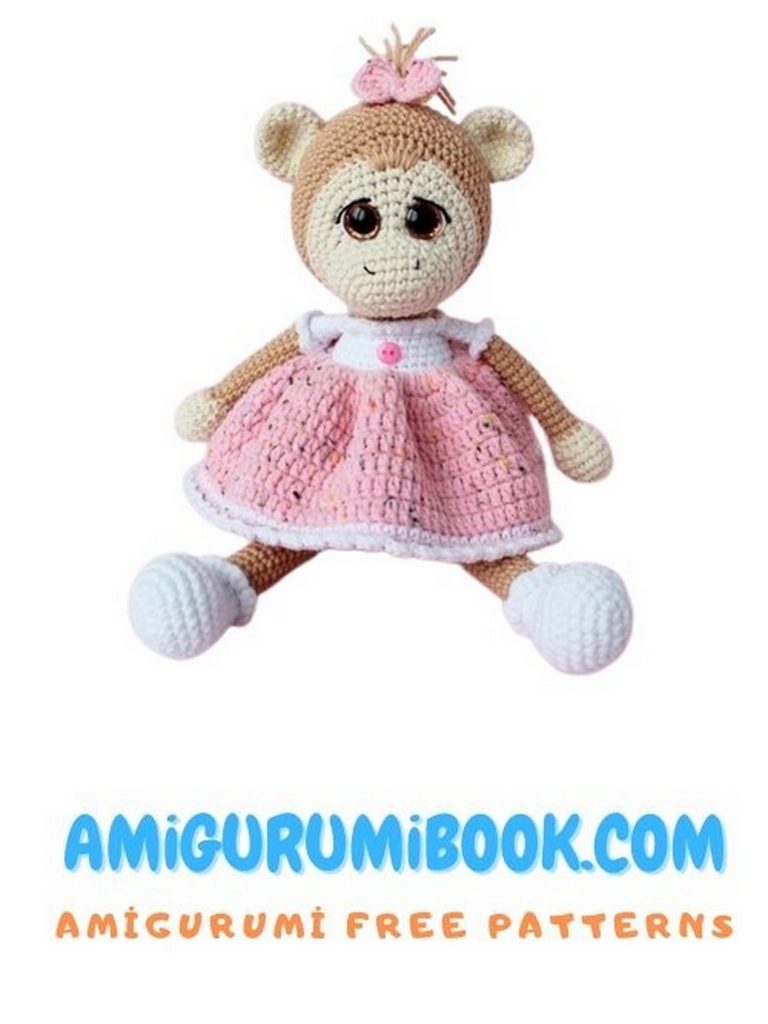
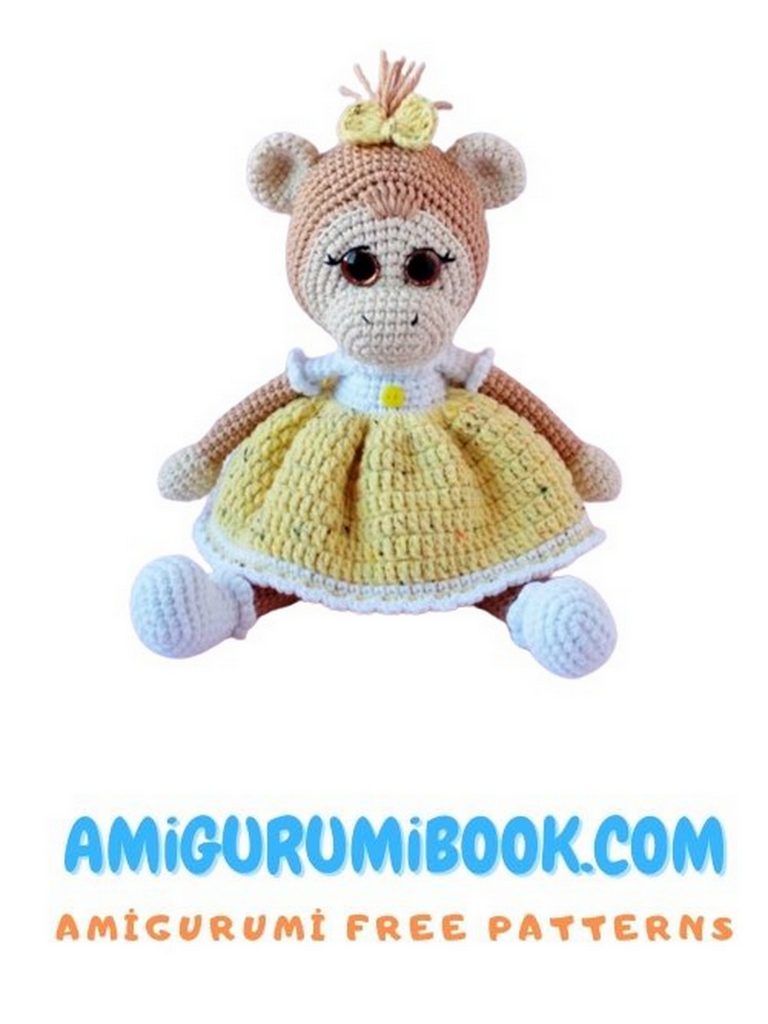
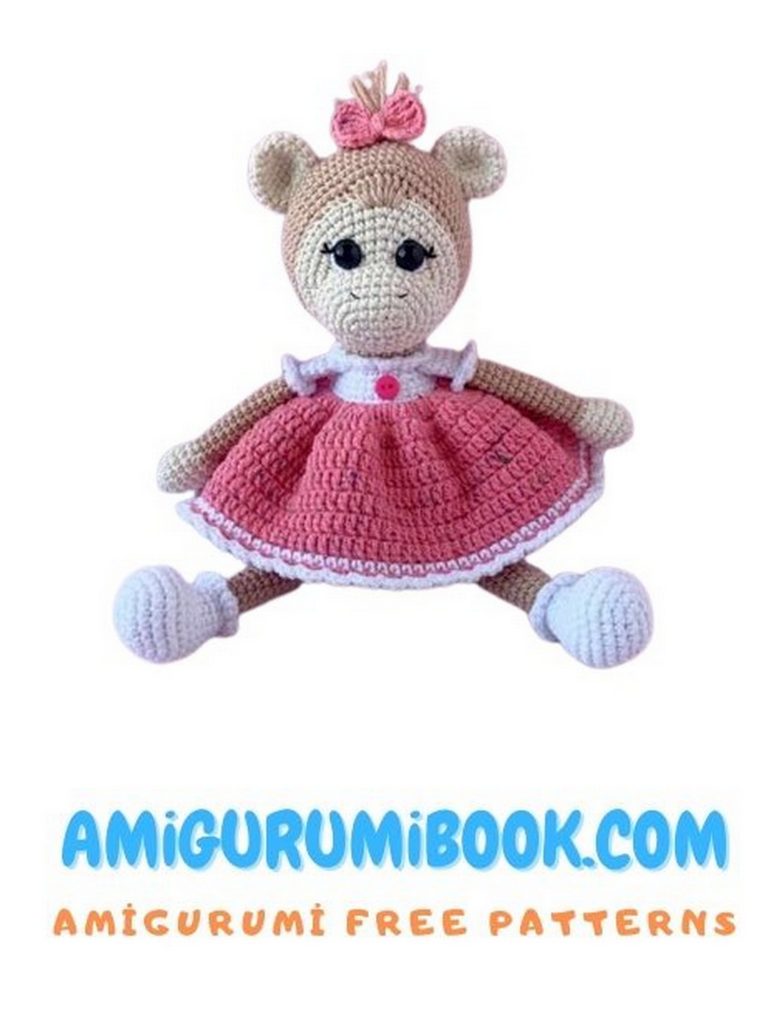
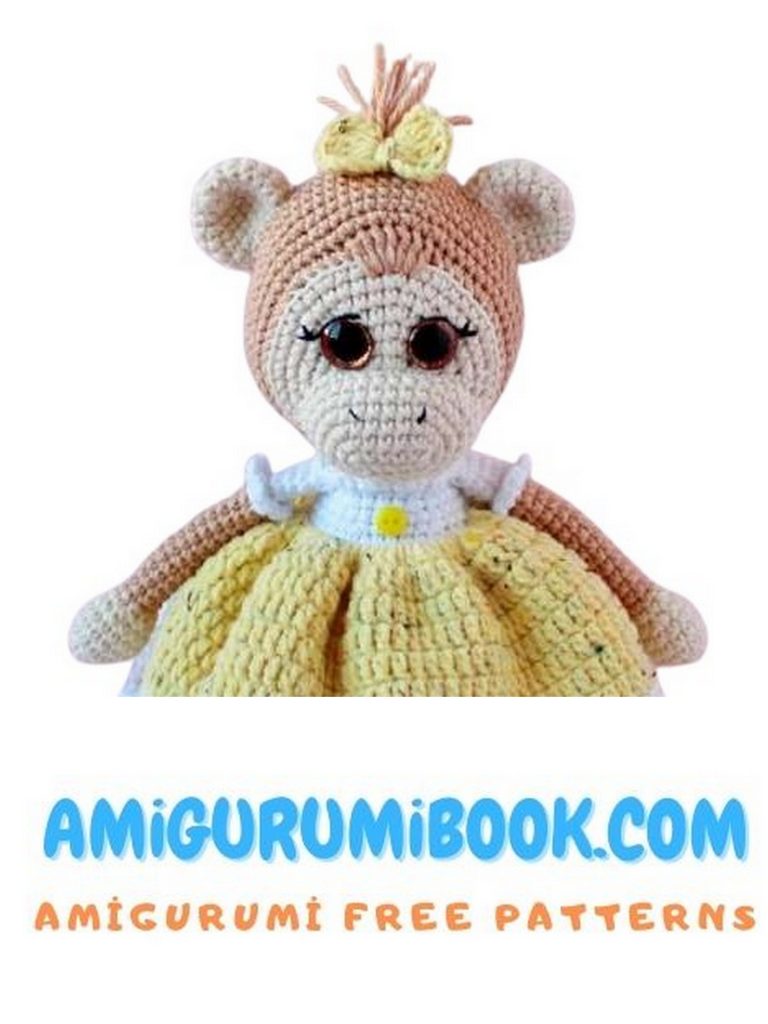
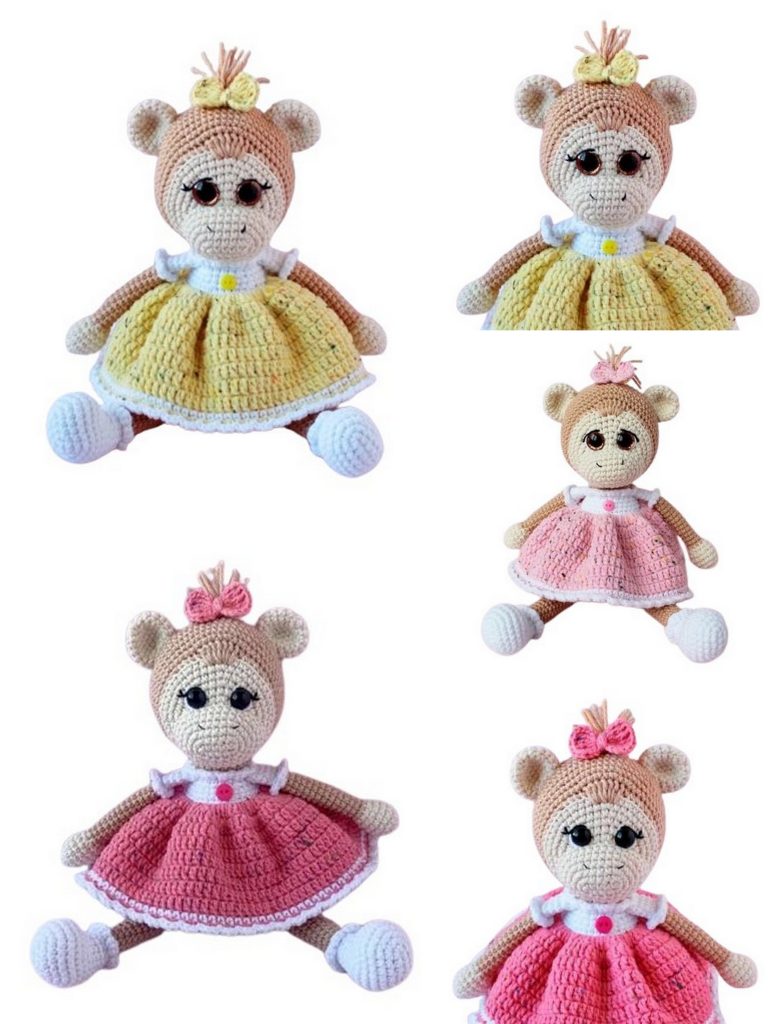
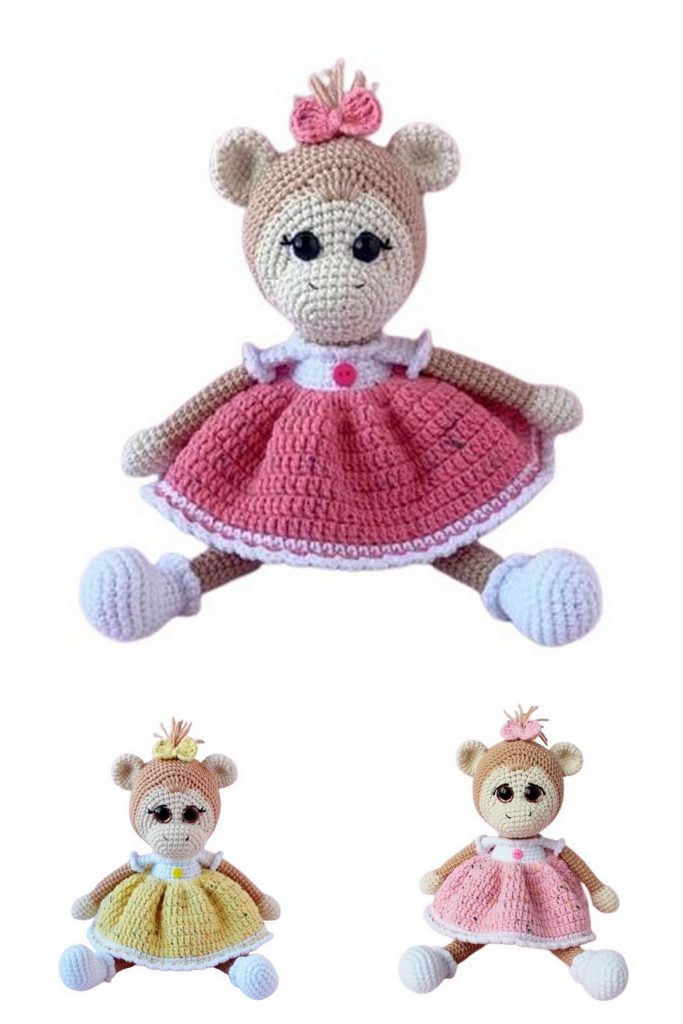
Get ready to amigurumi crochet your next adorable project with our free Skirted Lady Monkey Amigurumi Pattern! This delightful crochet toy combines charm and cuteness, making it a perfect gift or a fun addition to your own collection. With detailed instructions and step-by-step guidance, even beginners can enjoy creating this lovable monkey character. Let your creativity shine as you bring this charming amigurumi to life!
You should check out my favorite amigurumi monkey pattern, Elvis Monkey.
Download our app for 1000+ amigurumi free patterns!
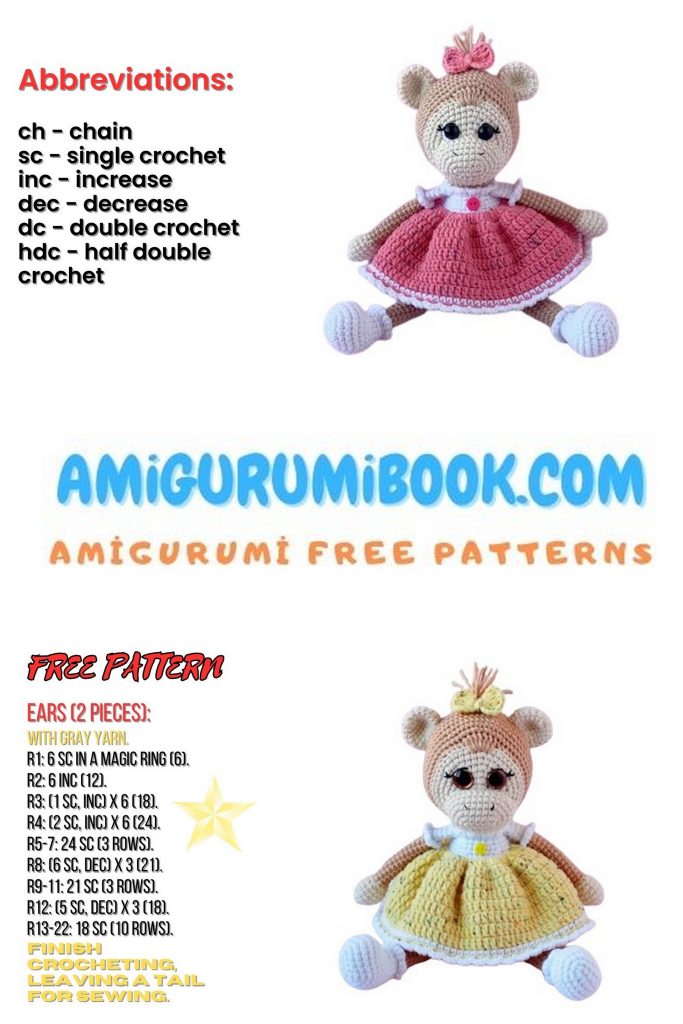
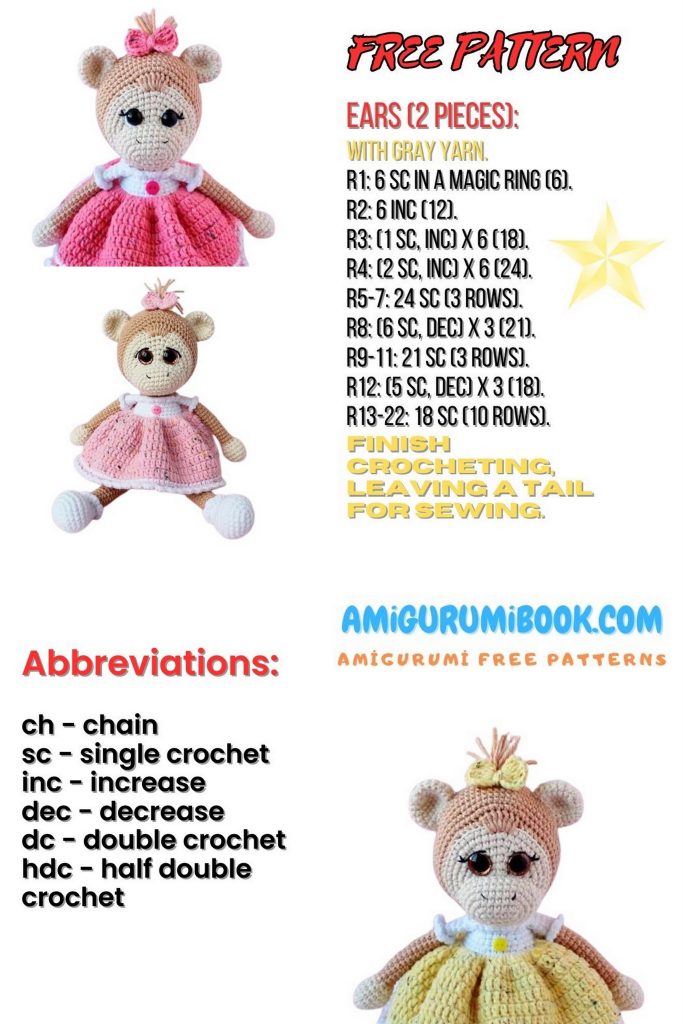
ABBREVIATIONS
MR – Magic Ring (Amigurumi ring)
sc – single crochet
hdc – half double crochet
dc – double crochet
tr – treble crochet
inc – increase
dec – decrease
ch – chain
(… sc) – total number of single crochets in a row
ss – slip stitch
Note! The toy is crocheted in the round, without chain stitches to start a new row (the new row starts directly with single crochets). If a chain stitch is needed, I will specify.
MATERIALS AND TOOLS
1: Yarn Gazzal JEANS: (1122) – sand; (1120) – milky.
Yarn Alize Cotton Gold: (55) – white.
Yarn Alize Cotton Gold Tweed: (33) – dark pink (color of the dress and bow, which I used for the tutorial).
2: Crochet hook 2.25 mm
3: Glittery safety eyes 12 mm or black safety eyes 10 mm
4: Polyester fiberfill
5: Scissors
6: Tapestry needle
7: Strong thread for weighting
8: Black thread for facial features
9: Button 7.0 mm

PATTERN
Lady Monkey Ears (2 pieces):
Begin with milky yarn (1120).
1: MR, 7 sc
2: 7 inc (14 sc)
3: (1 sc, inc)*7 (21 sc)
4 – 6: 21 sc (3 rounds)
7: (1 sc, dec)*7 (14 sc)
Slip stitch into the next stitch, cut the yarn, leaving a tail for sewing.
Begin with milky yarn (1120).
Chain 6, start crocheting from the 2nd chain from the hook:
1: 4 sc, 3 sc in 1 stitch, 3 sc, inc (12 sc)
2: inc, 3 sc, 3 inc, 3 sc, 2 inc (18 sc)
3: 1 sc, inc, 3 sc, (1 sc, inc)*3, 3 sc, (1 sc, inc)*2 (24 sc)
4: 2 sc, inc, 3 sc, (2 sc, inc)*3, 3 sc, (2 sc, inc)*2 (30 sc)
5: 30 sc
6: (inc, 9 sc, inc, 4 sc)*2 (34 sc)
Slip stitch into the next stitch, cut the yarn, leaving a tail for sewing.
Lady Monkey Muzzle:
Begin with dark pink yarn (33). And before starting crocheting, leave a 20-25 cm tail.
1: MR, 4 ch, 5 hdc, 4 ch, ss, 4 ch, 5 hdc, 4 ch, ss, tighten the ring.
Crochet 1 ch, cut the yarn, leaving a long tail.
Wrap the yarn ends around the center and tie in a knot, do not cut the threads.
Bow:
Head:
Begin with milky yarn (1120). Stuff the head with fiberfill as you go.
IMPORTANT! From rows 1-8, we crochet with 1 ch as a turning chain.
1: MR, 6 sc
2: 6 inc (12 sc)
3: (1 sc, inc)*6 (18 sc)
4: 1 sc, inc, (2 sc, inc)*5, 1 sc (24 sc)
5: (3 sc, inc)*6 (30 sc)
6: 2 sc, inc, (4 sc, inc)*5, 2 sc (36 sc)
7: (5 sc, inc)*6 (42 sc)
8: 3 sc, inc, (6 sc, inc)*5, 3 sc (48 sc)
Switch to sand color (1122). From now on, crochet without a turning chain!
9: In this row, crochet in the back loops only, except for the 3 central ones (I will indicate).
5 sc, inc, 11 sc, inc, 4 sc, inc in hdc (crochet in the row below), 3 hdc in 1 stitch (crochet in the row below), inc in hdc (crochet in the row below), 4 sc, inc, 11 sc, inc, 6 sc (56 sc)
Start the next row by crocheting into the 1st sc, skipping the ss.
10: 24 sc, inc, (1 sc, inc)*3, 25 sc (60 sc)
11: 60 sc
12: 7 sc, inc, (14 sc, inc)*3, 7 sc (64 sc)
13 – 16: 64 sc (4 rounds)
If necessary, crochet offset stitches so the marker is in the middle.
At this stage, insert the safety eyes between the 4th and 5th rounds. The distance between the eyes is 7 sc in the 4th round or 8 sc in the 5th round (adjust as needed by fitting the muzzle).
17: 7 sc, dec, (14 sc, dec)*3, 7 sc (60 sc)
18: 60 sc
19: 4 sc, dec, (8 sc, dec)*5, 4 sc (54 sc)
20: 54 sc
21: (7 sc, dec)*6 (48 sc)
22: 3 sc, dec, (6 sc, dec)*5, 3 sc (42 sc)
23: (5 sc, dec)*6 (36 sc)
24: 2 sc, dec, (4 sc, dec)*5, 2 sc (30 sc)
25: (3 sc, dec)*6 (24 sc)
26: 1 sc, dec, (2 sc, dec)*5, 1 sc (18 sc)
27: (1 sc, dec)*6 (12 sc)
28: 6 dec
Slip stitch into the next stitch, cut the yarn, tighten the ring, weave in the end.
Sew the muzzle, referring to the photo below. When sewing, don’t forget to stuff the muzzle with fiberfill.
Head embellishment:
Make the weighting. Insert the needle from point 1, pull out at point 2. Then insert the needle at point 3 and pull out again at point 1. Repeat this 2 more times. Do the same for the second eye.
Embroider the whites of the eyes with white yarn (55), and the eyelids, eyelashes, and nostrils with black yarn.
Sew the ears on the 16th and 17th rounds. The distance between the ears is 13-14 sc.
Make a crest on the top of the head. Cut 6 strands of sand yarn (1122) 10-15 cm long. Insert all threads through the loop on top of the head, pull through the loop, tighten. For convenience, you can use a larger crochet hook or make it in 2 steps with 3 threads each. Trim to the same length. Sew on the bow.
Start with white yarn (55).
Stuff only the lower part (foot) with fiberfill.
Chain 6, start crocheting from the 2nd chain from the hook:
1: 4 sc, 3 sc in 1 stitch, 3 sc, inc (12 sc)
2: inc, 3 sc, 3 inc, 3 sc, 2 inc (18 sc)
3: 1 sc, inc, 3 sc, (1 sc, inc)*3, 3 sc, (1 sc, inc)*2 (24 sc)
4: 2 sc, inc, 3 sc, (2 sc, inc)*3, 3 sc, (2 sc, inc)*2 (30 sc)
5: 30 sc
6: 29 sc (don’t complete the last sc to keep the marker in the middle)
7: 6 sc, dec, (1 sc, dec)*5, 7 sc (24 sc)
8: 6 sc, 6 dec, 6 sc (18 sc)
9: 2 sc, dec, (4 sc, dec)*2, 2 sc (15 sc)
10 – 11: 15 sc (2 rounds)
12: 7 sc, dec (in the center), 6 sc (14 sc)
Crochet the necessary number of offset stitches to center the marker. Switch the yarn to sand color (1122).
Do not cut the white yarn, leave it in front before crocheting!
13: For the back loops only: 2 sc, dec, 6 sc, dec, 2 sc (12 sc)
14: 12 sc
Lady Monkey Legs (2 pieces):
Edging:
Go back to the row where we left half loops. Turn the foot with the heel away from you. Insert the hook into the 1st half loop, pick up the white yarn, pull through, crochet 1 ch. Then, from the next half loop, crochet: (3 sc in 1 stitch, ss)*6, end the row with 3 sc in 1 stitch, make ss into the 1st half loop. Cut the yarn, weave in the end.
15 – 31: 12 sc (17 rounds)
Crochet the necessary number of offset stitches to reach the side of the foot, fold the piece in half and crochet both sides together with 6 sc. Crochet 1 ch, cut the yarn, leaving a tail for sewing.
Lady Monkey Handles (2 pieces):
Begin with milky yarn (1120). Stuff only the lower part of the handle with polyester fiberfill.
1: MR, 6 sc
2: 6 inc (12 sc)
3: (3 sc, inc)*3 (15 sc)
4 – 5: 15 sc (2 rows)
6: (3 sc, dec)*3 (12 sc)
7: 1 sc, dec, (2 sc, dec)*2, 1 sc (9 sc)
Switch to sand color (1122).
8 – 19: 9 sc
Crochet the necessary number of offset stitches so the marker is at the level of color change in the 8th row.
20: 4 sc, inc, 4 sc (10 sc)
Switch to white yarn (55).
21: 10 sc
22: In the back loops only: 10 sc
23 – 25: 10 sc (3 rows)
Crochet +/- offset stitches so that when joining both sides, the color transitions are on the inside of the handle. Fold the piece in half and crochet both sides together with 5 sc. Crochet 1 ch, cut the yarn, leaving a tail for sewing.
Edging:
Perform the edging with white yarn over the remaining half-loops in the 22nd row. Crochet following the same principle as for the legs (row 16): (ss, 3 sc in 1 loop)*to the end of the row.
Lady Monkey Tail:
Begin with sand color yarn (1122). Do not stuff the toy’s body with fiberfill as you crochet.
1: MR, 7 sc
2 – 40: 7 sc (39 rows)
Fold the tail in half and crochet both sides together with 3-4 sc, 1 ch, cut the yarn, leaving a tail for sewing.
Lady Monkey Dress:
Return to row 24. Attach the dark pink yarn (33). Crochet all rows with 3 ch (for DC rows) and 1 ch (for SC rows). Finish the row with a ss in the 3rd ch (DC rows) or in the ch (SC rows).
1: DC: 1 dc in each stitch (72 dc)
2: DC: (1 dc, inc)*to the end of the row (108 dc)
3 – 8: 108 DC
Switch to white yarn (55).
9: 108 sc
Switch to dark pink (33).
10: 108 sc
Switch to white yarn (55).
11: Perform the edging following the same principle as for the legs, handles, and collar: (ss, 3 sc in 1 loop)*to the end of the row. Crochet 1 ch, cut and hide the yarn.
Assembly and Finishing:
1:Sew the head to the body (when sewing, don’t forget to fill the gaps with polyester fiberfill).
2:Sew the legs between rows 6 and 7 (distance between legs should be 1-2 sc).
3:Sew the handles between rows 27 and 28.
4:Sew or glue the button on the front of the dress.
Congratulations, your toy is ready! I would be very happy if you share your finished work with me and leave your feedback on this tutorial