
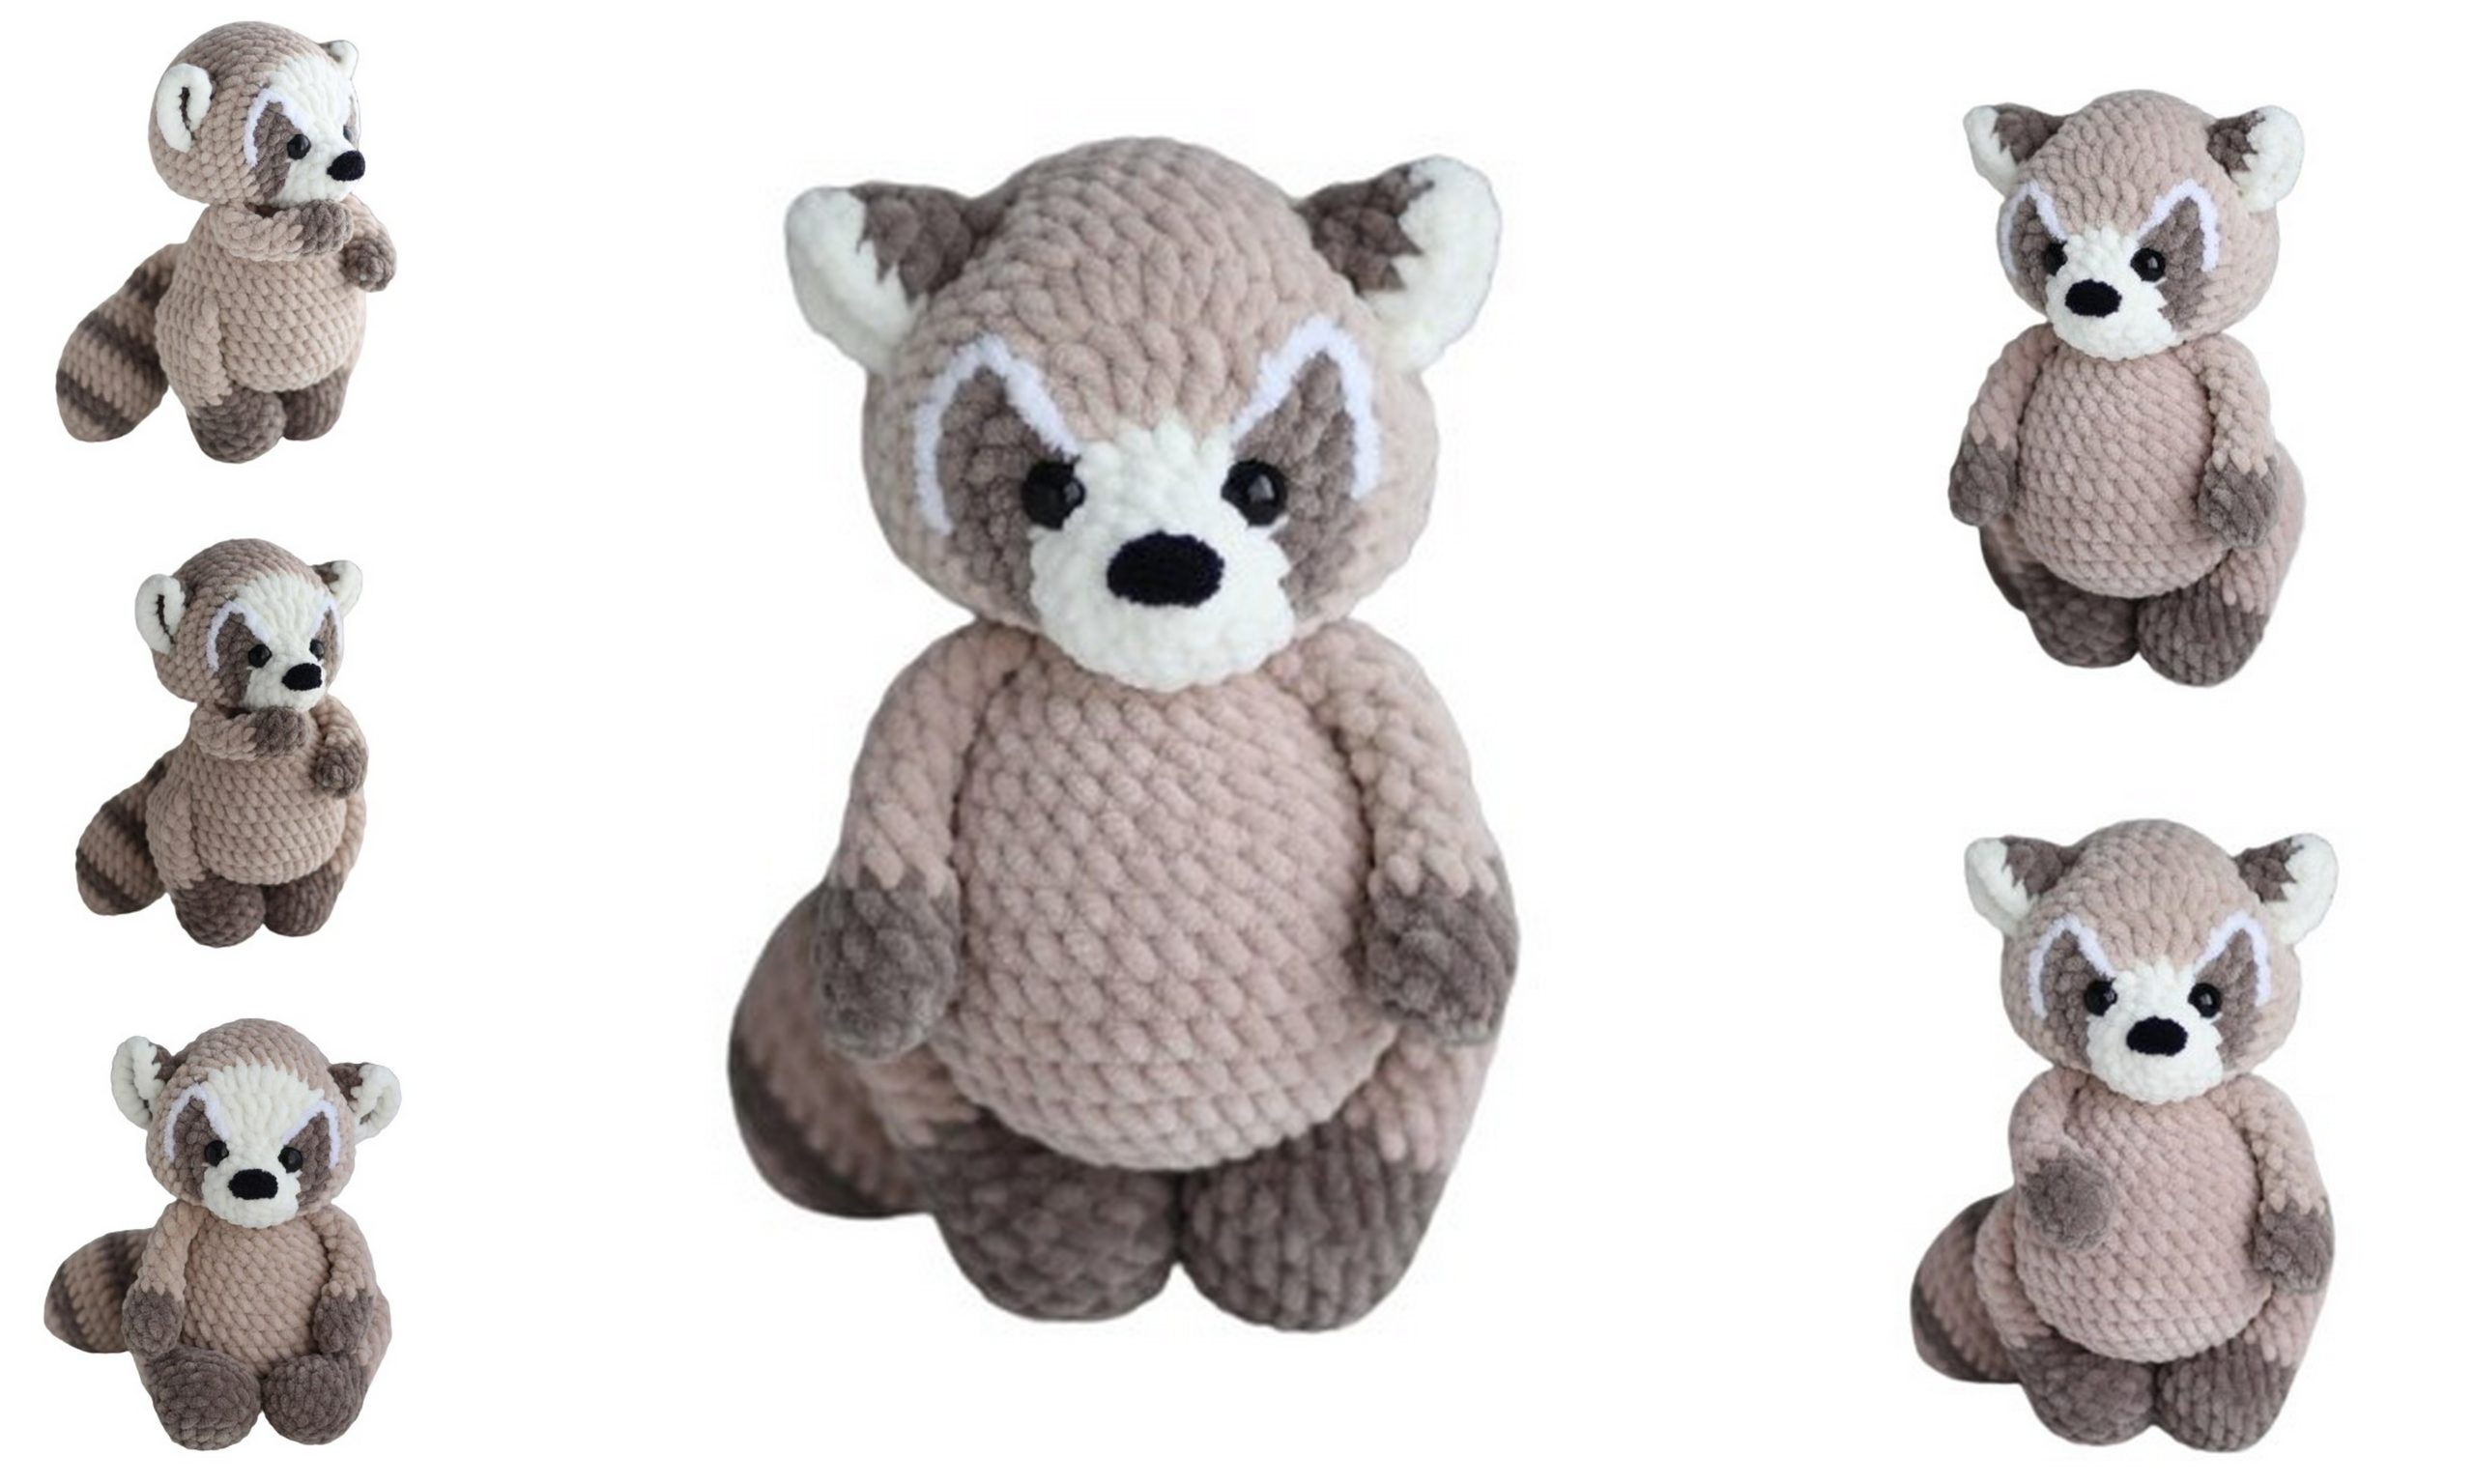
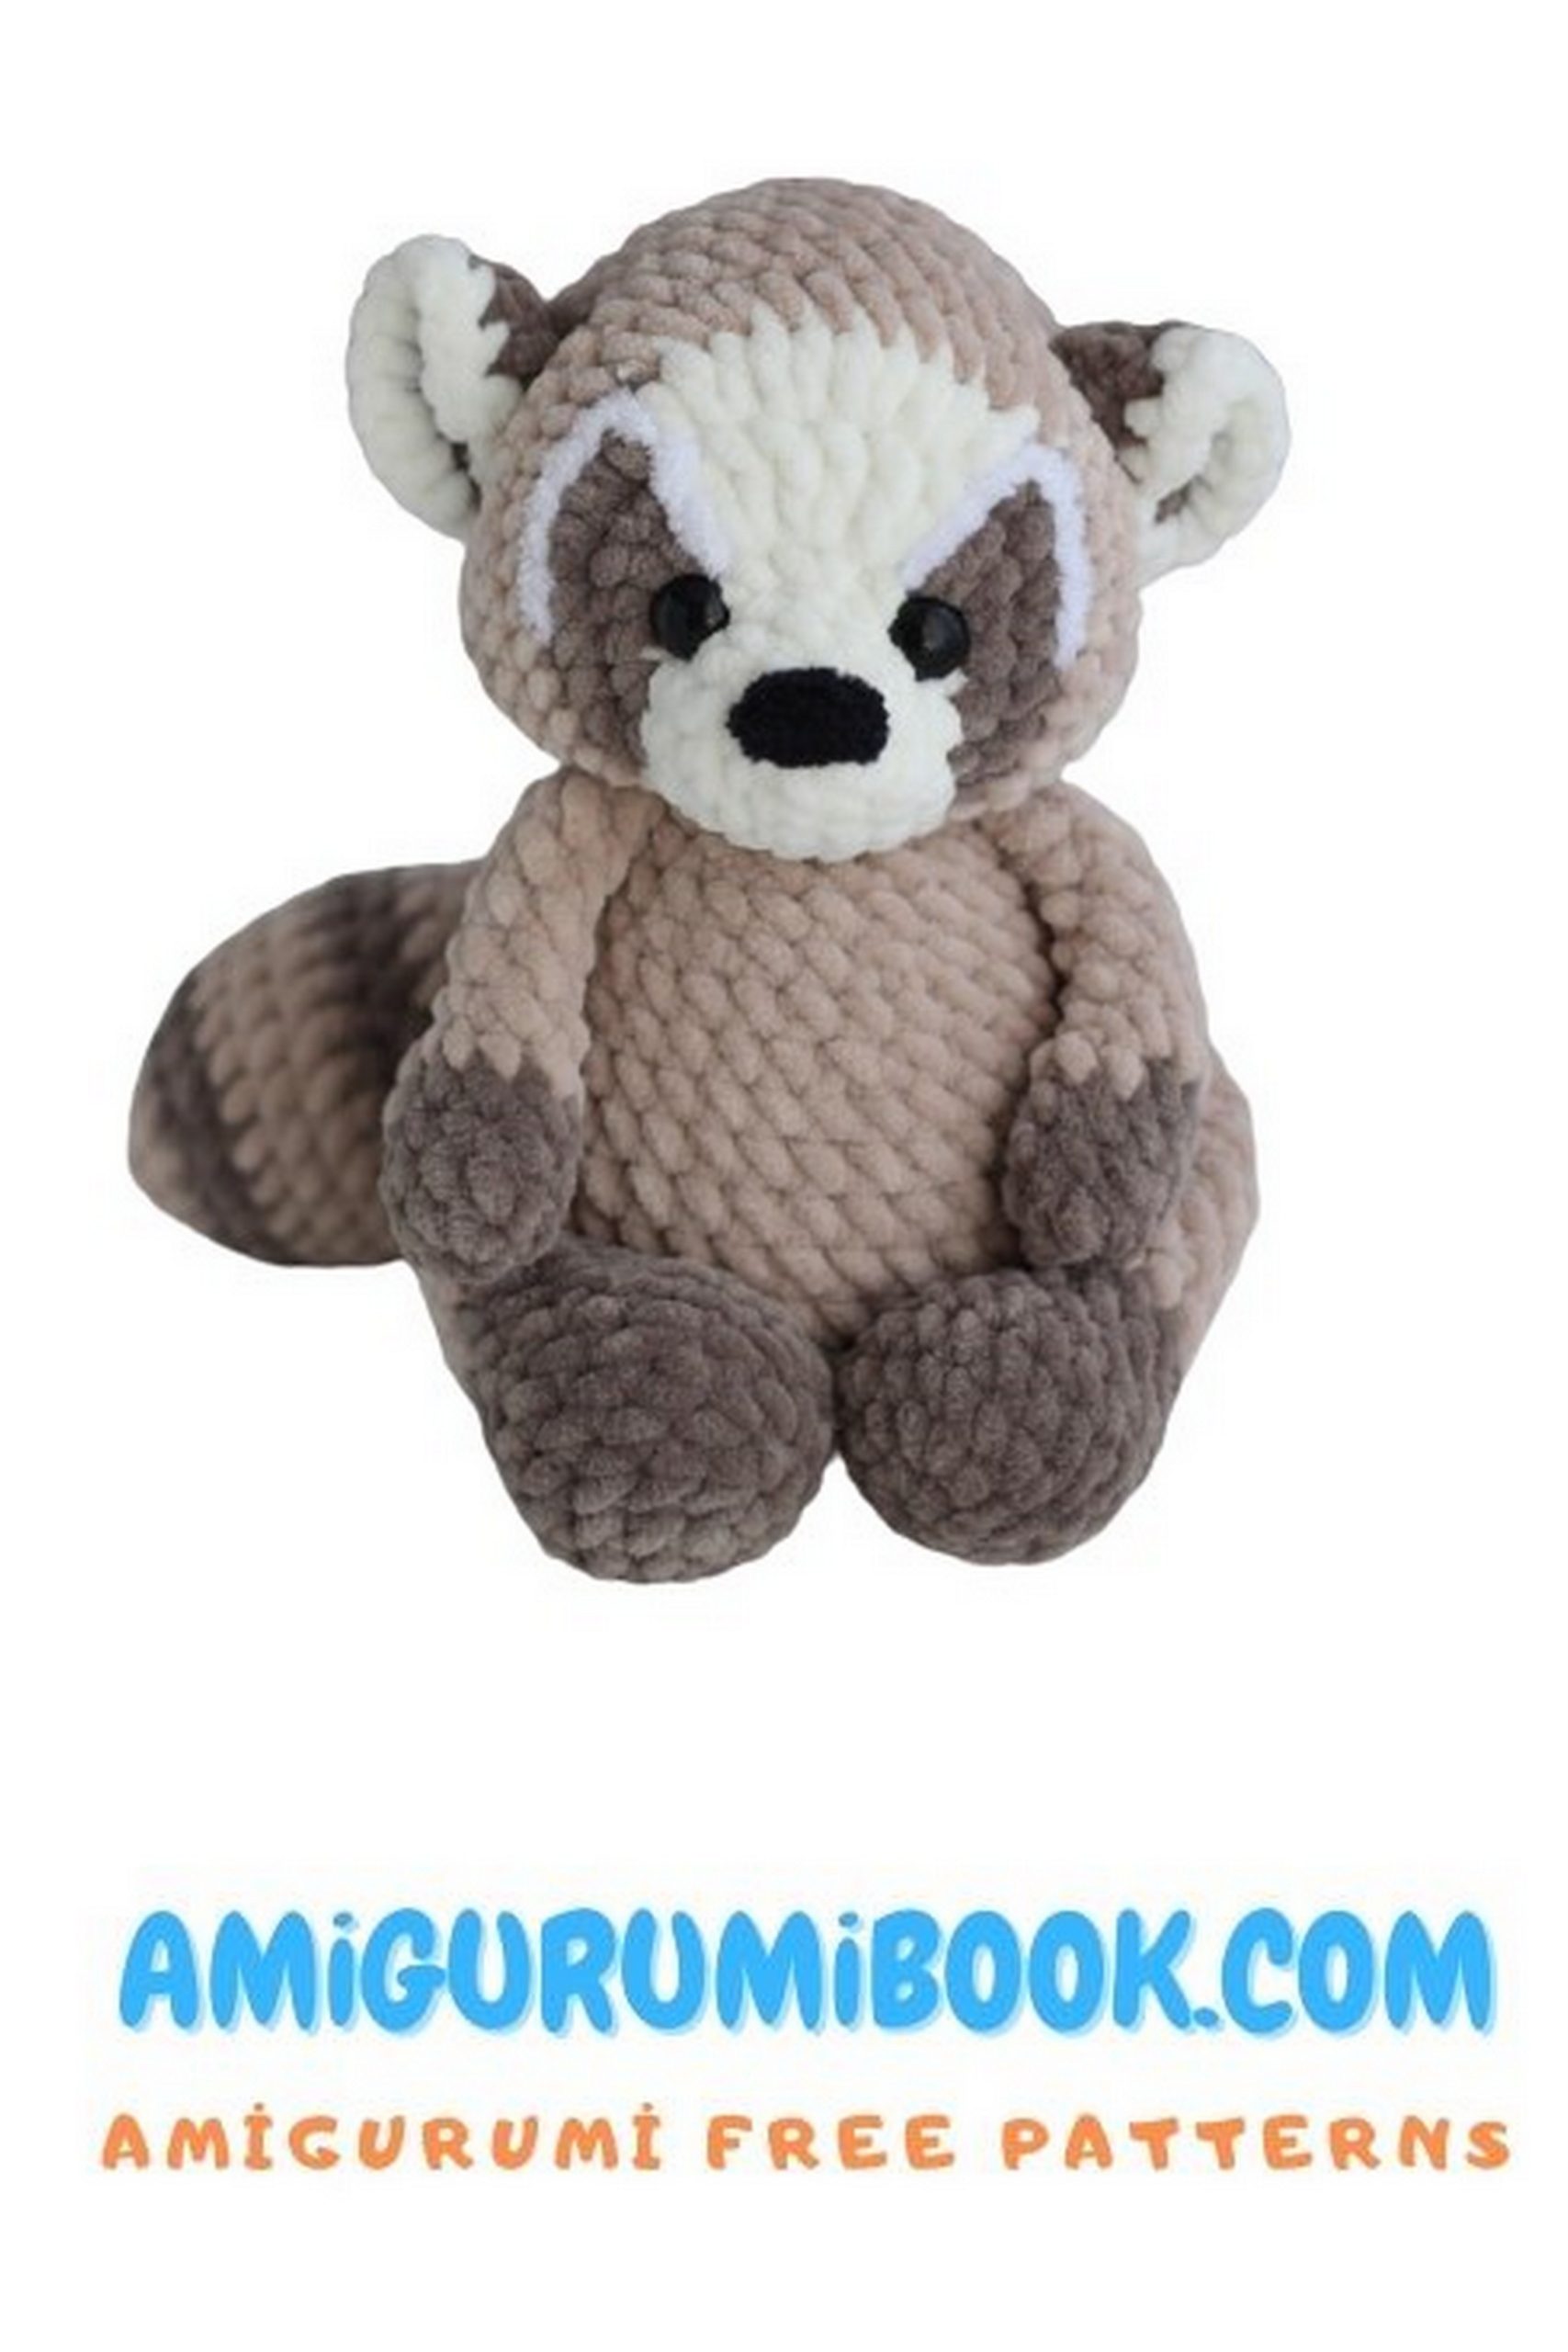
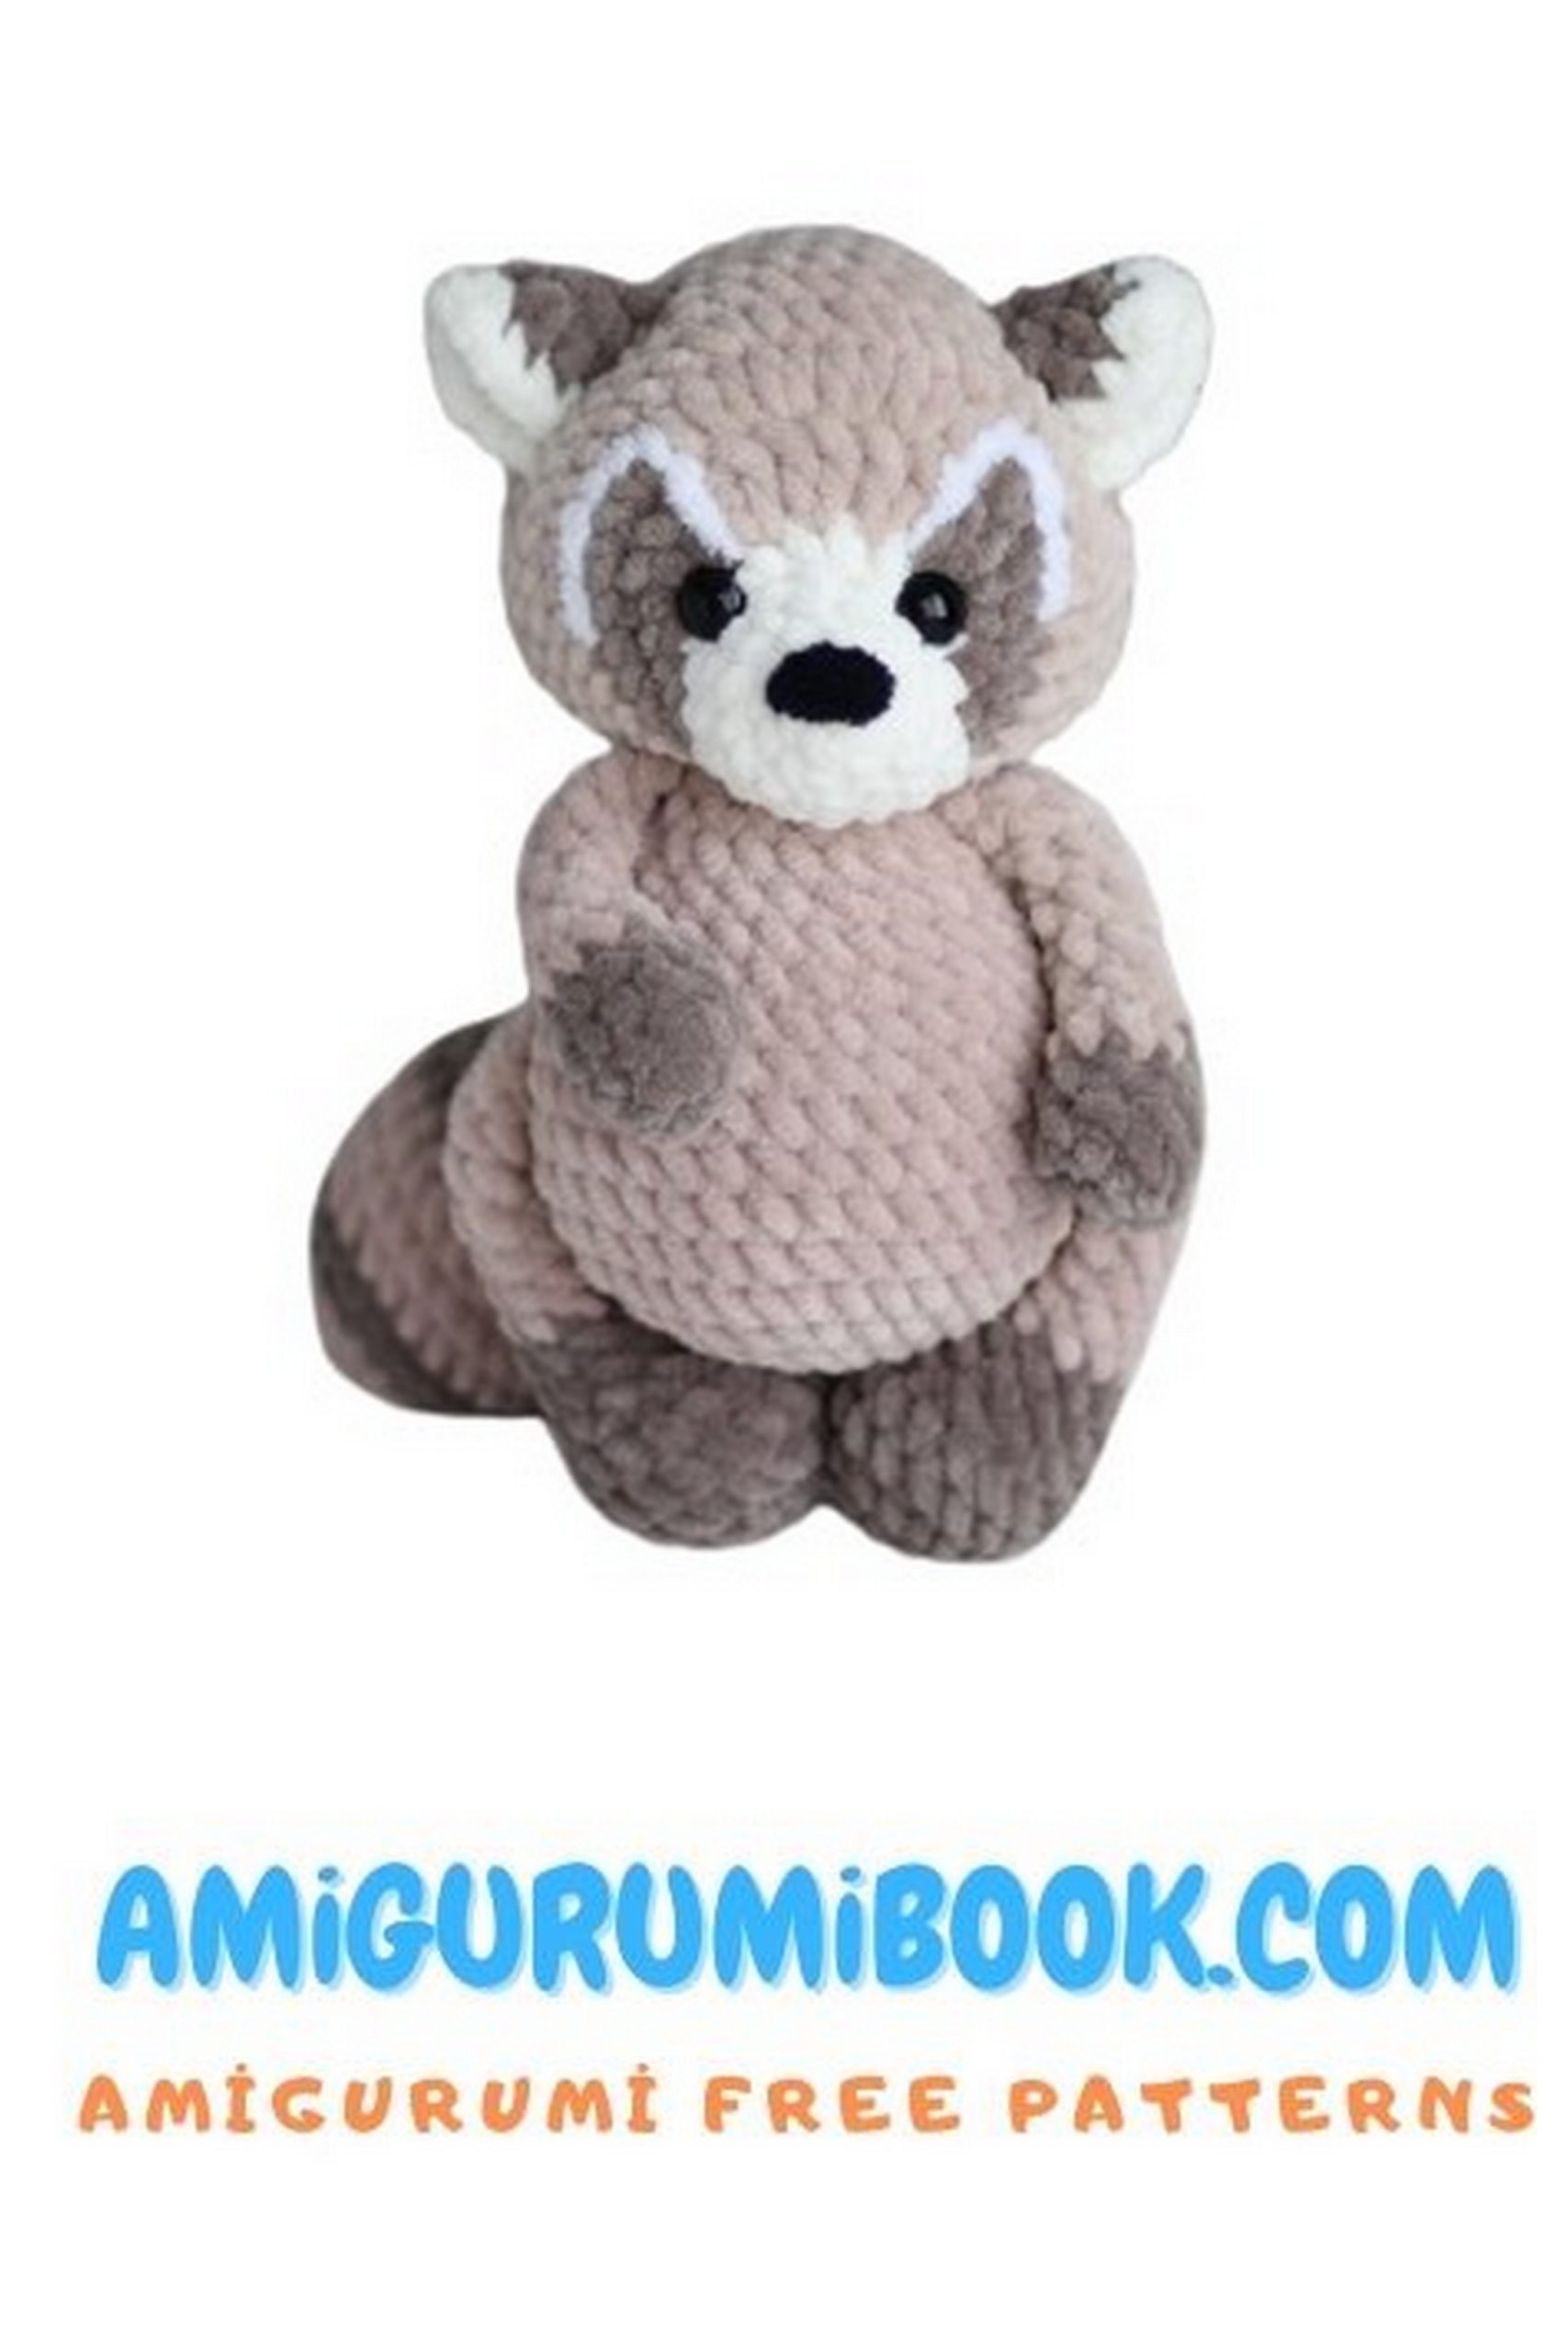
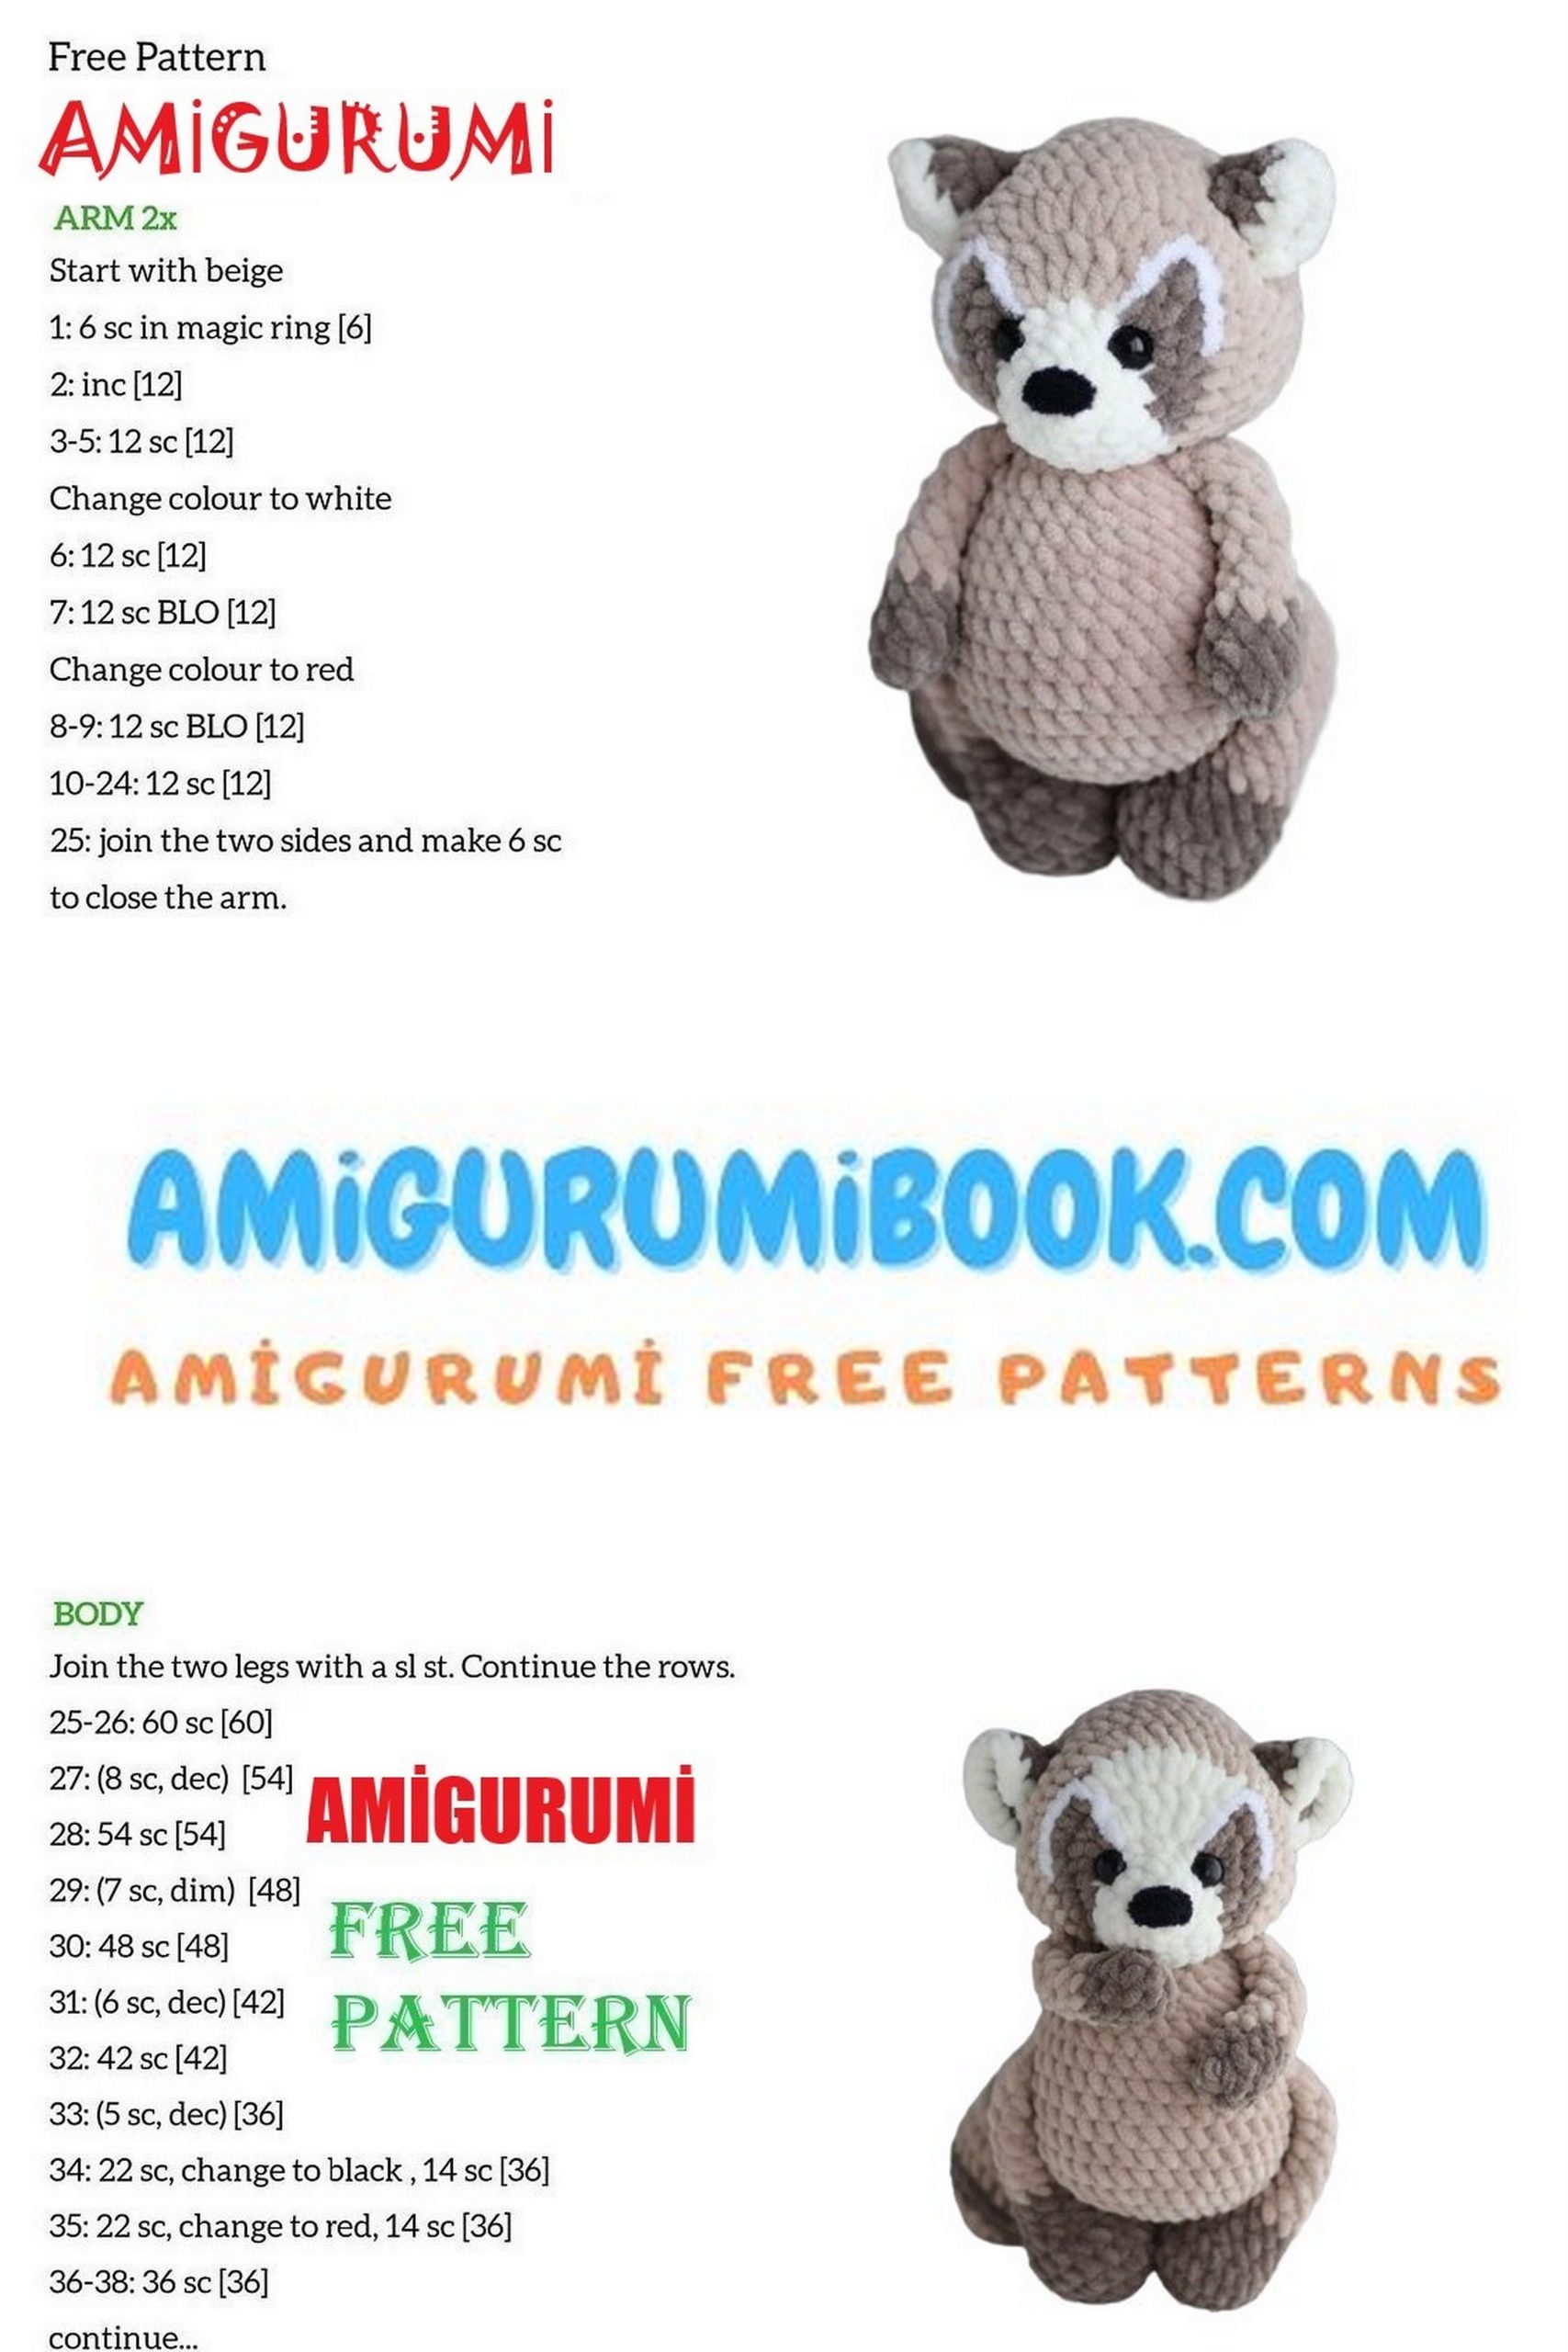
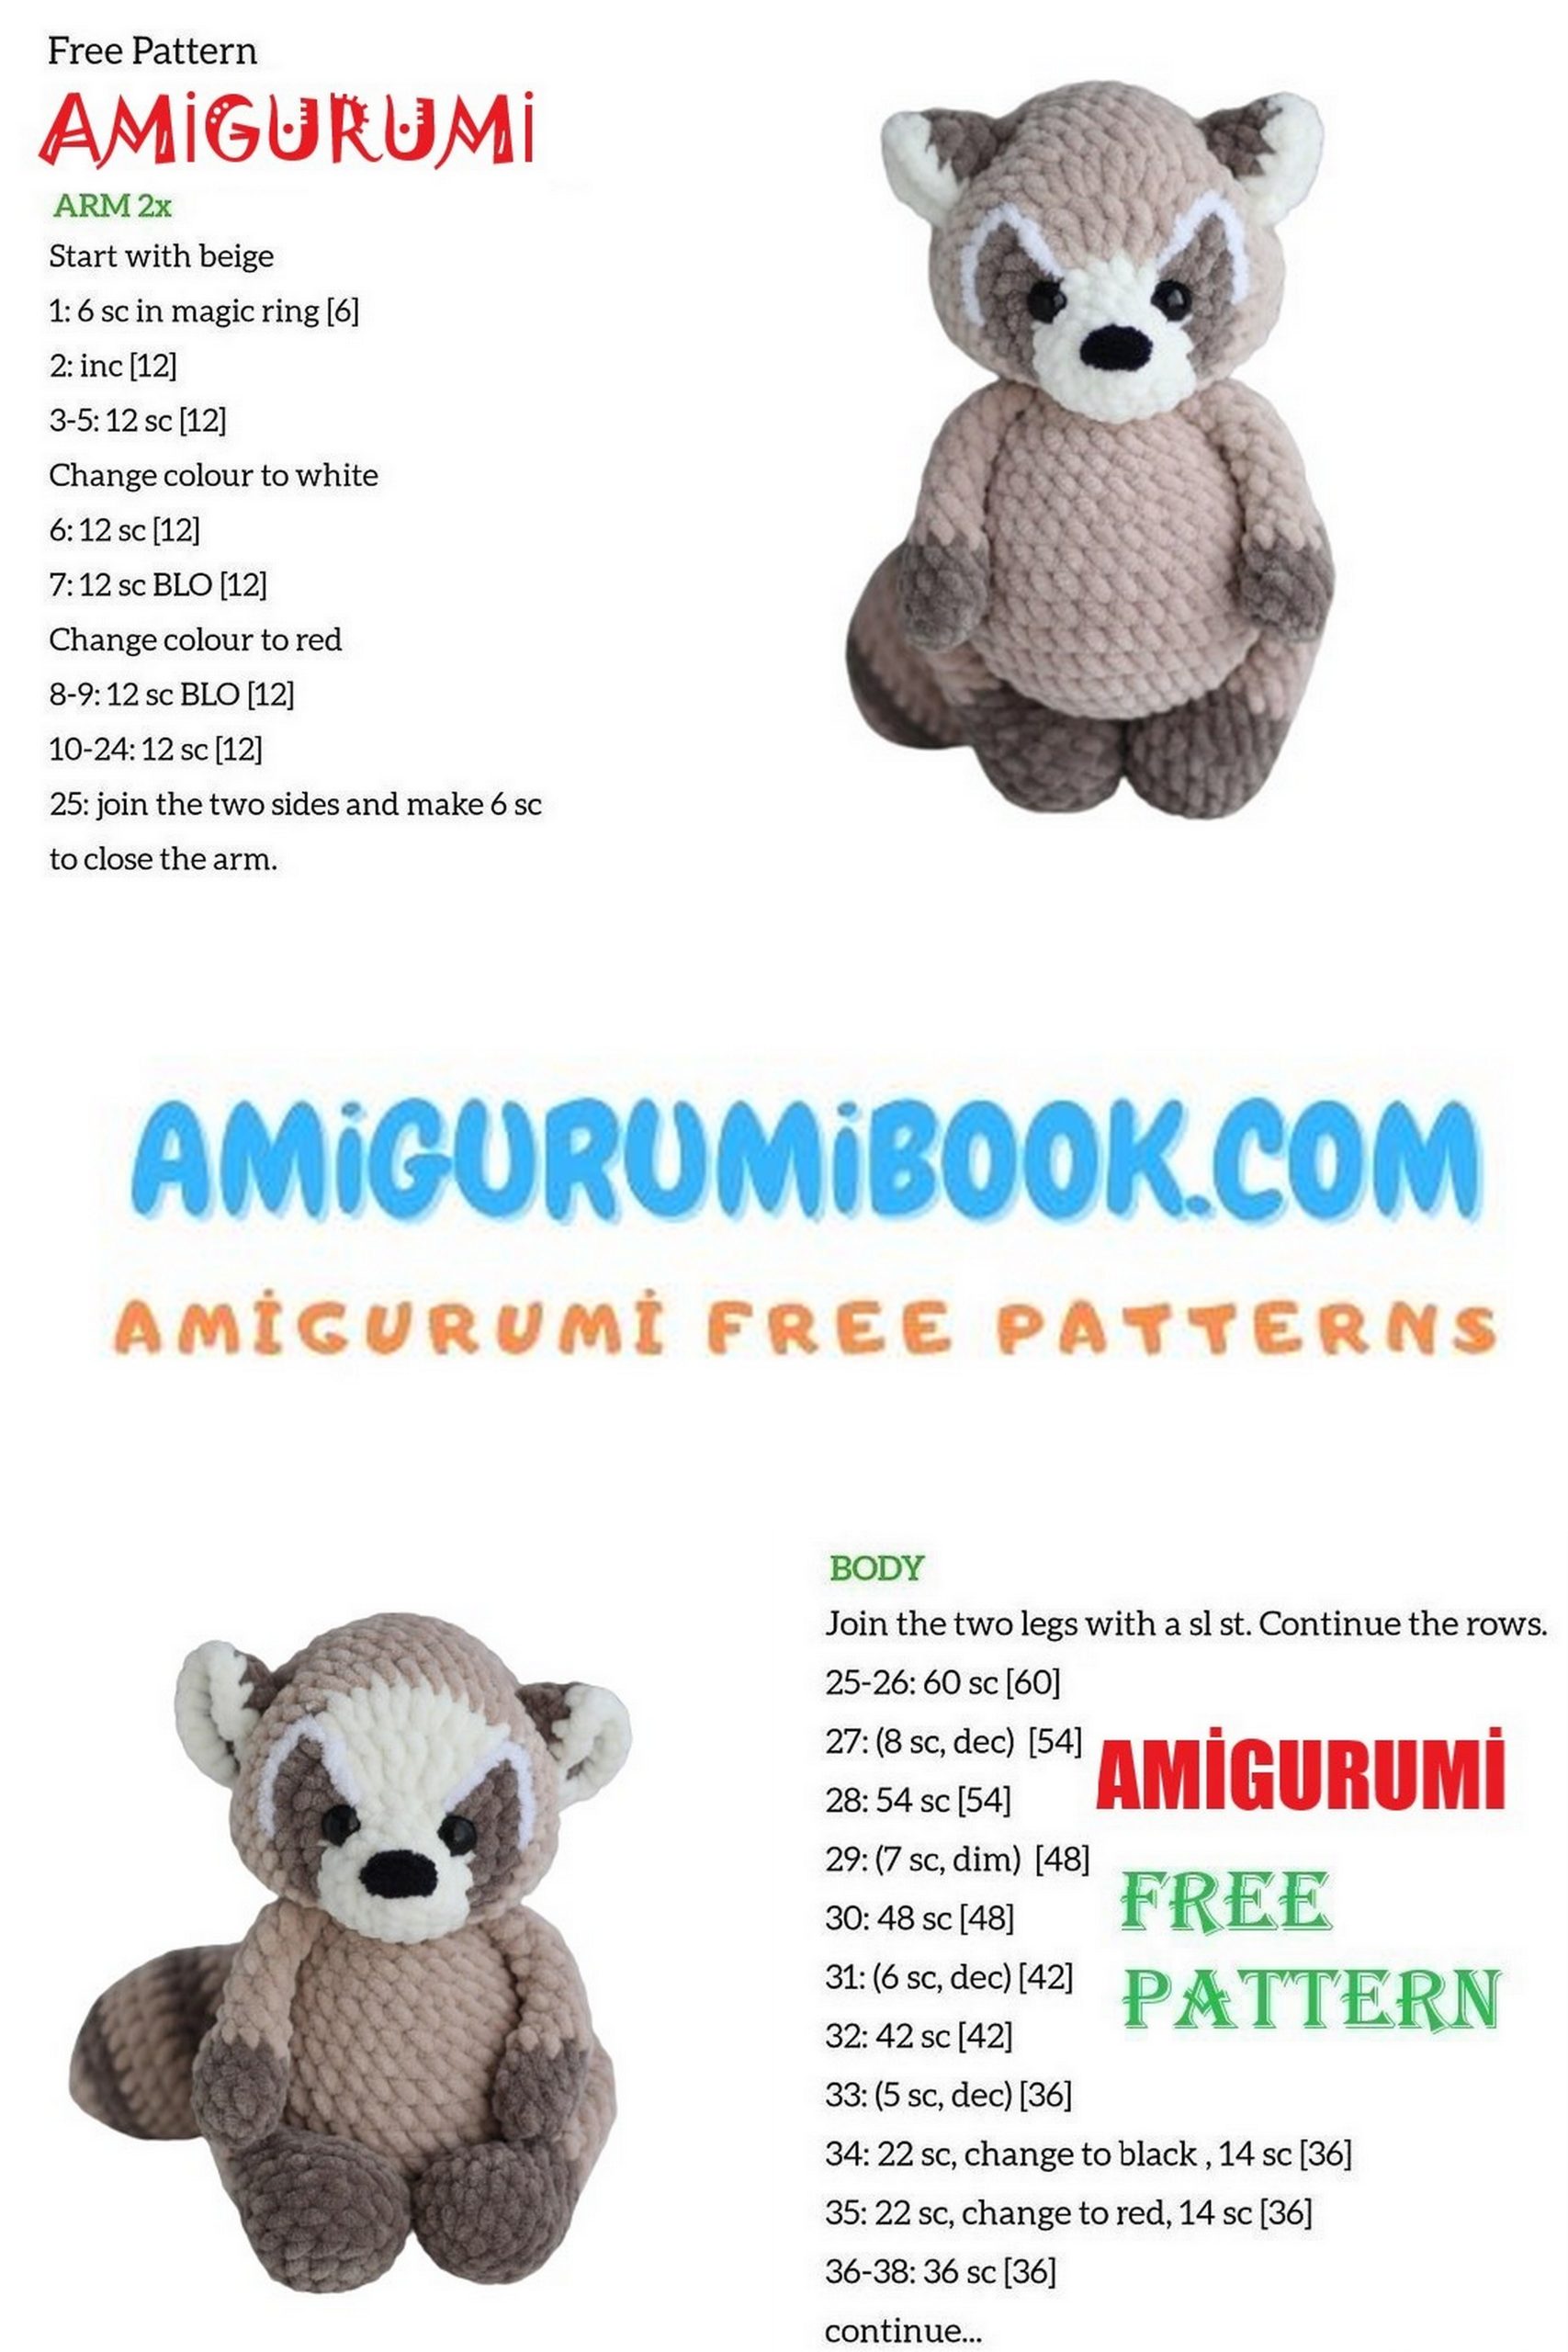
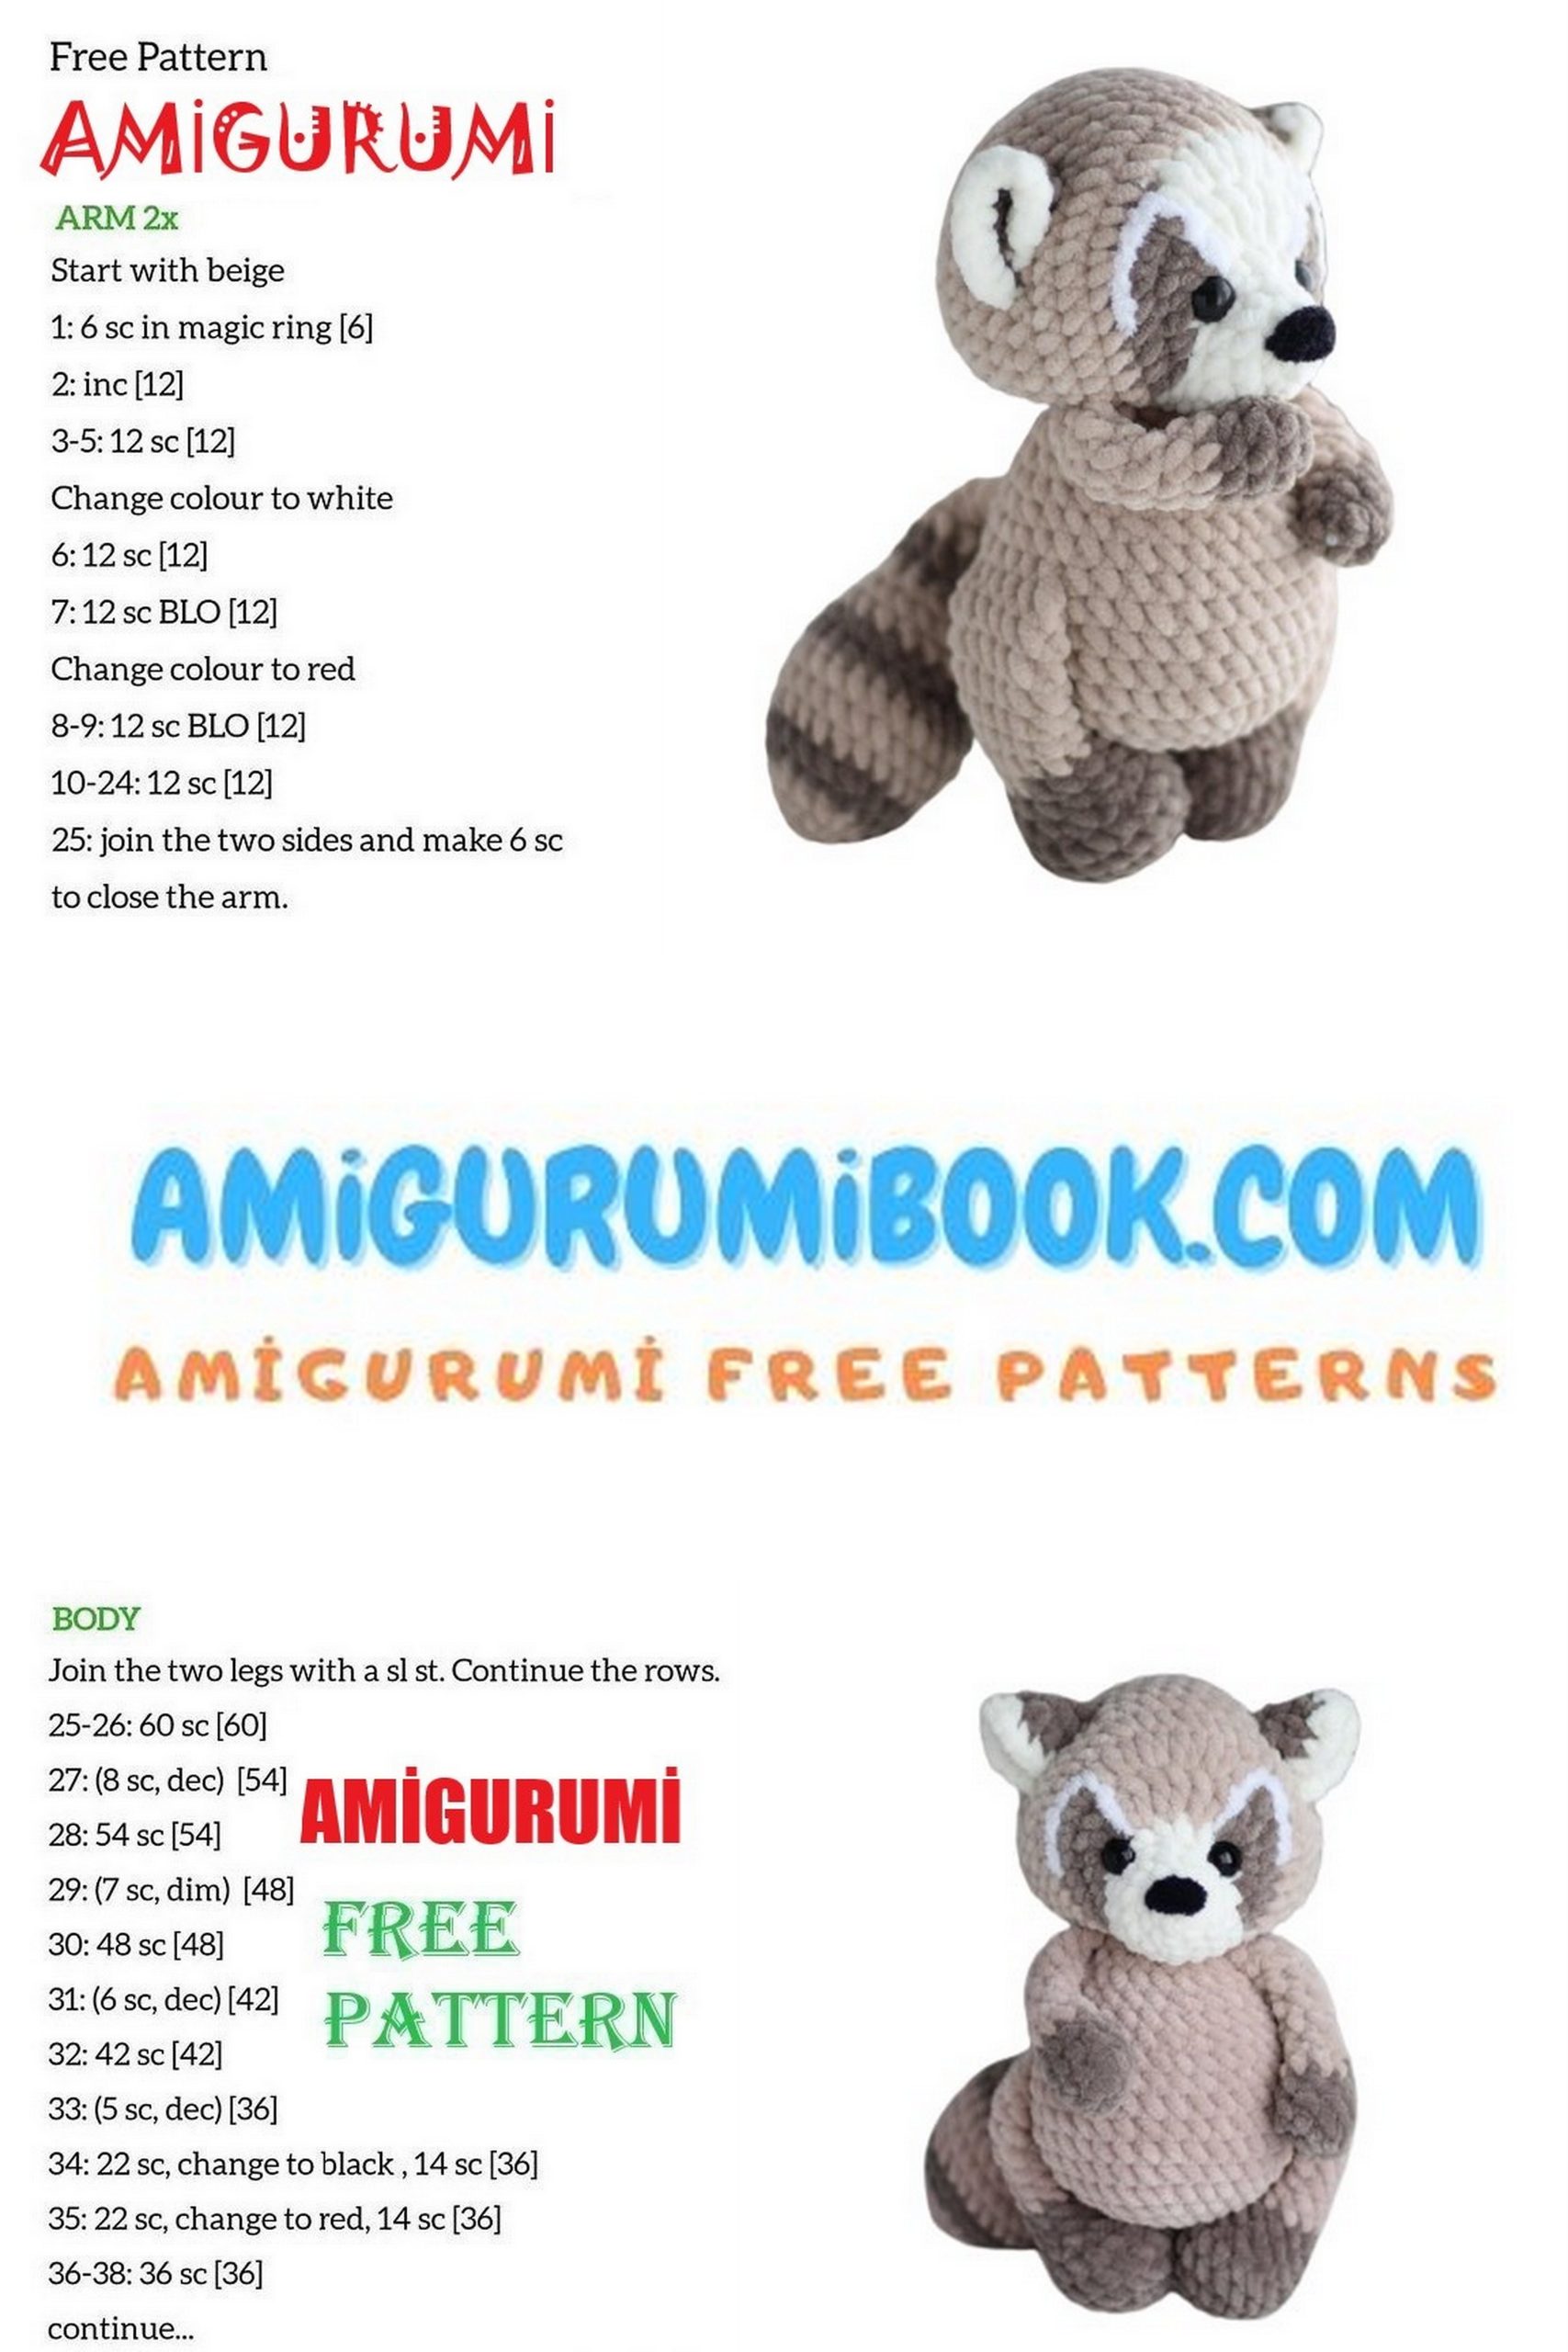
Get ready to crochet one of the cutest plush toys ever 🦝 This free velvet raccoon amigurumi pattern is perfect for creating a soft, chunky, and irresistibly adorable handmade toy. With its fluffy texture, sweet face, and cozy design, this raccoon will quickly become a favorite in your amigurumi collection.
Designed with plush velvet yarn, this pattern gives your finished toy a premium look and a super soft feel. The step-by-step instructions make it easy to follow, whether you’re an experienced crocheter or just starting out.
If you’re looking for a unique handmade gift or a relaxing crochet project, this velvet raccoon is a must-try. Grab your yarn and start creating your own cuddly raccoon today! 🧶
If you want to access 1000+ free amigurumi patterns, you can download our application from this link!
Completed Toy Height: 21 cm
🧶 Materials & Tools
- YarnArt Dolce (100g / 120m) or similar plush yarn
• Beige (771)
• Dark Beige (754)
• Milk (745)
(Less than one skein per color is enough) - Softy Alize yarn (black & white) – for nose and muzzle
- Crochet hook: 4.0 mm
- 12 mm safety eyes
- Fiberfill stuffing
- Yarn needle
- Sewing thread (for shaping and assembly)
✂️ Abbreviations
st(s): stitch(es)
ch: chain
sc: single crochet
hdc: half double crochet
inc: increase (2 sc in one stitch)
dec: decrease (sc 2 stitches together)
sl st: slip stitch
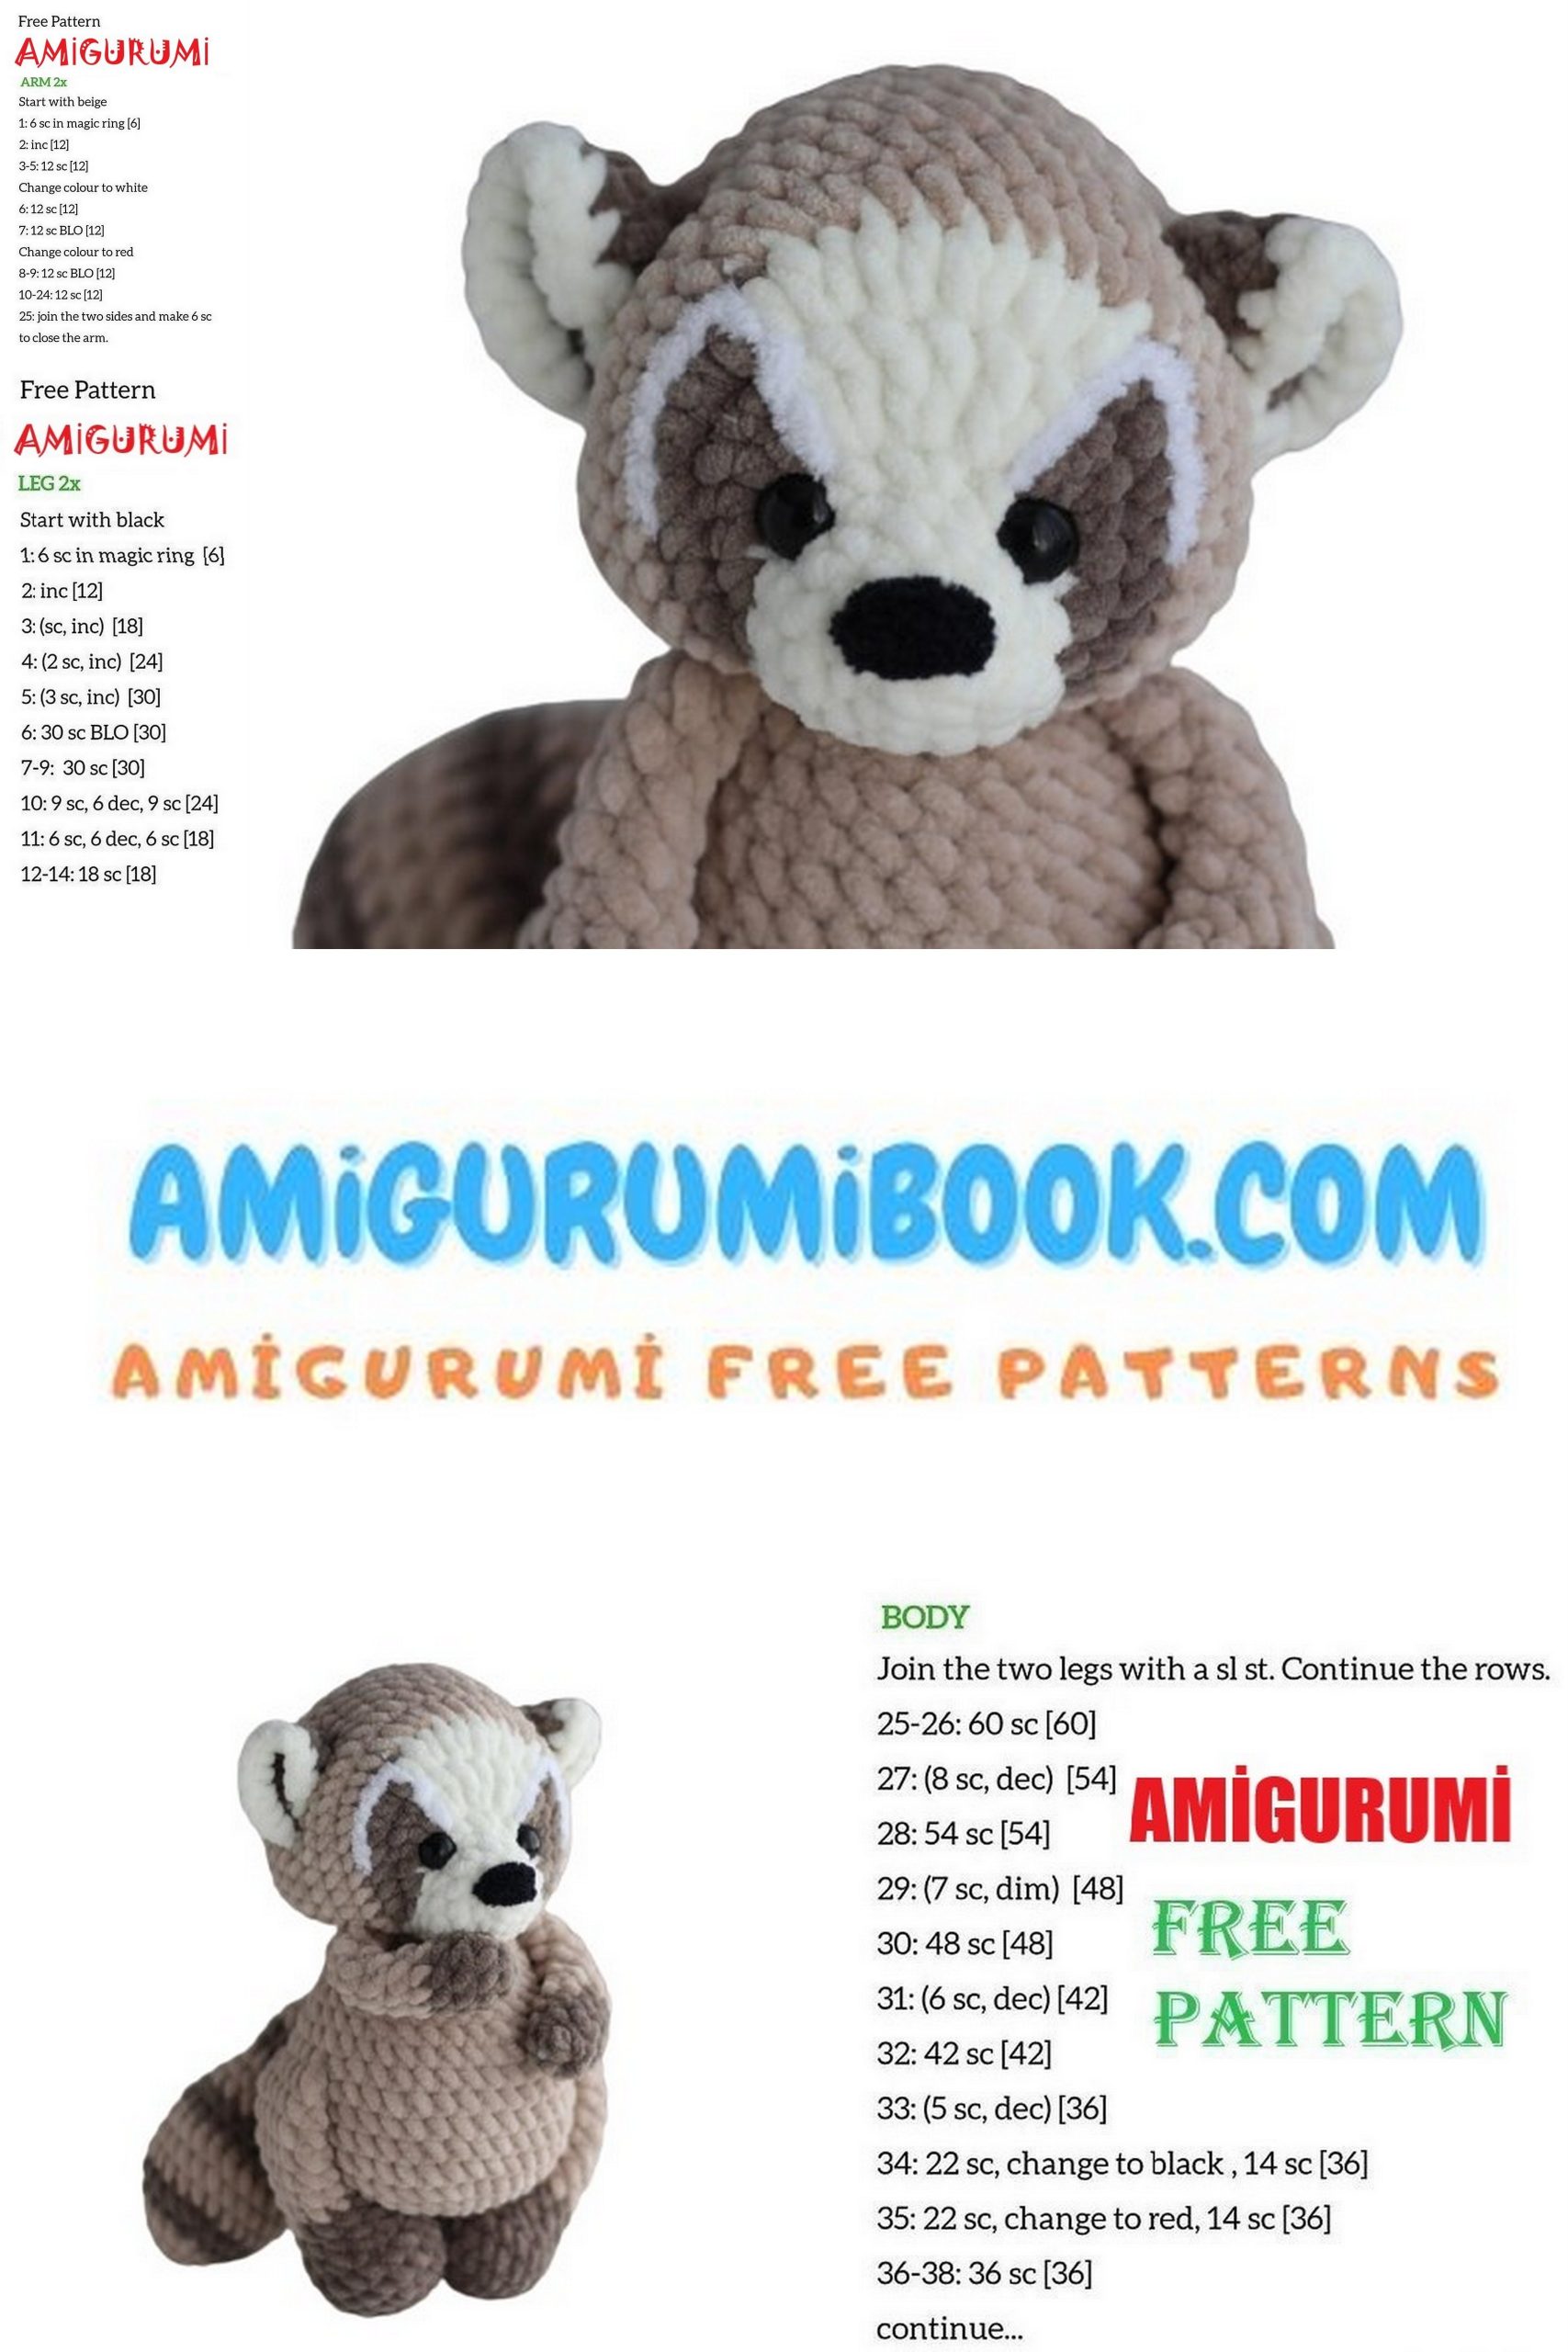
🐾 Hands
(Make 2 – Do Not Stuff)
With dark beige yarn, ch 2.
1: 6 sc in 2nd ch from hook (6)
2: (1 sc, inc) * 3 (9)
3–4: 9 sc → change to beige
5: 9 sc
6: (1 sc, dec) * 3 (6)
7–11: 6 sc
Fold flat and close with 3 sl st.
🦵 Legs
(Make 2 – Stuff Bottom Only)
With dark beige yarn, ch 2.
1: 6 sc in 2nd ch from hook (6)
2: 6 inc (12)
3: (1 sc, inc) * 6 (18)
4–5: 18 sc
6: (1 sc, dec) * 6 (12)
7–8: 12 sc → change to beige
9–15: 12 sc
👉 Stuff only the bottom part
Fold flat and close with 6 sl st.
🐒 Tail
(Lightly Stuff Until Round 13)
With beige yarn, ch 2.
1: 5 sc in 2nd ch from hook (5)
2: 5 inc (10)
3: (1 sc, inc) * 5 (15) → change to dark beige
4: (2 sc, inc) * 5 (20)
5: (3 sc, inc) * 5 (25) → change to beige
6–8: 25 sc → change to dark beige
9: 25 sc
10: (3 sc, dec) * 5 (20) → change to beige
11–12: 20 sc
13: (2 sc, dec) * 5 (15) → change to dark beige
👉 Lightly stuff up to this point
14–15: 15 sc → change to beige
16: 15 sc
17: (1 sc, dec) * 5 (10)
18–19: 10 sc
Fold flat and close with 5 sl st.
Body
(Stuff as You Go)
With beige yarn, ch 2.
1: 6 sc in 2nd ch from hook (6)
2: 6 inc (12)
3: (1 sc, inc) * 6 (18)
4: (2 sc, inc) * 6 (24)
5: (3 sc, inc) * 6 (30)
6: (4 sc, inc) * 6 (36)
7–10: 36 sc
👉 Place marker = middle of the back
🦵 Attach Legs + Tail
11:
5 sc,
attach first leg with 6 sc,
14 sc,
attach second leg with 6 sc,
2 sc,
attach tail with 3 sc (36)
12:
2 sc with tail, 34 sc (36)
👉 Make sure:
- Legs are aligned symmetrically
- Tail is centered at the back
🧶 Body Shaping
13: (4 sc, dec) * 6 (30)
14: 30 sc
15: (3 sc, dec) * 6 (24)
16: 24 sc
17: (2 sc, dec) * 6 (18)
👉 Adjust stitch marker so it aligns vertically with Round 11
🐾 Attach Arms
18:
3 sc,
attach first arm with 3 sc,
6 sc,
attach second arm with 3 sc,
3 sc (18)
Finish with sl st
🔒 Reinforcement
👉 Connect the legs internally with a strong thread
→ This prevents wobbling and improves stability
👂 Ears
(Make 2 – Turned Rows)
With dark beige yarn, ch 2.
1: 3 sc in 2nd ch from hook, turn
👉 At the end of each row: ch 1 and turn
2: 3 inc (6)
3: (1 sc, inc) * 3 (9) → change to milk color
4: (2 sc, inc) * 3 (12)
🔁 Ear Shaping
- Fold each ear in half
- Join Row 4 to Row 3
- Make sure ears are mirrored
👉 The front side of Row 4 should face outward
👉 Adjust yarn tails to shape the ear neatly
Head
👉 Safety eyes will be placed later during the process.
With milk color yarn, ch 2.
1: 5 sc in 2nd ch from hook (5)
2: 5 inc (10)
3: (1 sc, inc) * 5 (15)
4: 15 sc
🎨 Color Transition Section
5: (2 sc, 3 inc, 10 sc) (18)
👉 Change to dark beige
6: Work around:
sc, hdc, hdc, hdc → repeat to end (18)
👉 Continue color changes in sequence:
- Switch to beige → 3 hdc
- Switch to dark beige → hdc, hdc, hdc, sc
- Switch to milk → 7 sc
👉 Total stitches after color section: (27)
🧶 Head Expansion
👉 Change to dark beige
7: (5 sc, inc) * 5, then 7 sc in milk color (42)
👉 Change to beige
8: (5 sc, inc) * 5, then 7 sc in milk color (42)
9: 42 sc
👀 Eyes & Details
👉 Continue straight rounds
10–14: 42 sc
- Insert safety eyes between Rows 10–12
- Distance: approx. 6–8 stitches
- Add white embroidery lines on the muzzle if desired
🧵 Shaping
15: (5 sc, dec) * 6 (36)
16: (4 sc, dec) * 6 (30)
17: (3 sc, dec) * 6 (24)
👉 Start stuffing firmly
18: (2 sc, dec) * 6 (18)
19: (1 sc, dec) * 6 (12)
20: 6 dec (6)
Close the hole and hide yarn inside.
👂 Ear Placement
- Attach ears between Rows 11–12
- Distance: approx. 8 stitches
- Keep them symmetrical
🐽 Face Details
Center it carefully
Embroider a small nose between Rows 1–2
Use 6–7 stitches
🧵 Ear Tightening
Insert the needle from the bottom of the head, between Rows 10–11, slightly off center (skip 1 stitch).
Bring the needle out between Rows 11–12 on the outer side of the ear.
Insert the needle again between Rows 12–13 on the inner side of the ear (the thread passes behind the ear).
Bring the needle back to the bottom of the head, between Rows 10–11, slightly to the opposite side.
Repeat the same steps once more, but this time:
- Pass the thread in front of the ear instead of behind
👉 Gently pull the yarn to create the desired ear shape
👉 Tie a secure knot
👉 Hide the yarn tail inside the head
Repeat the same process for the second ear.
Head Assembly
Sew the head to the body using the remaining yarn.
👉 Add extra stuffing to the neck area while attaching
→ This prevents the head from wobbling and keeps it stable