
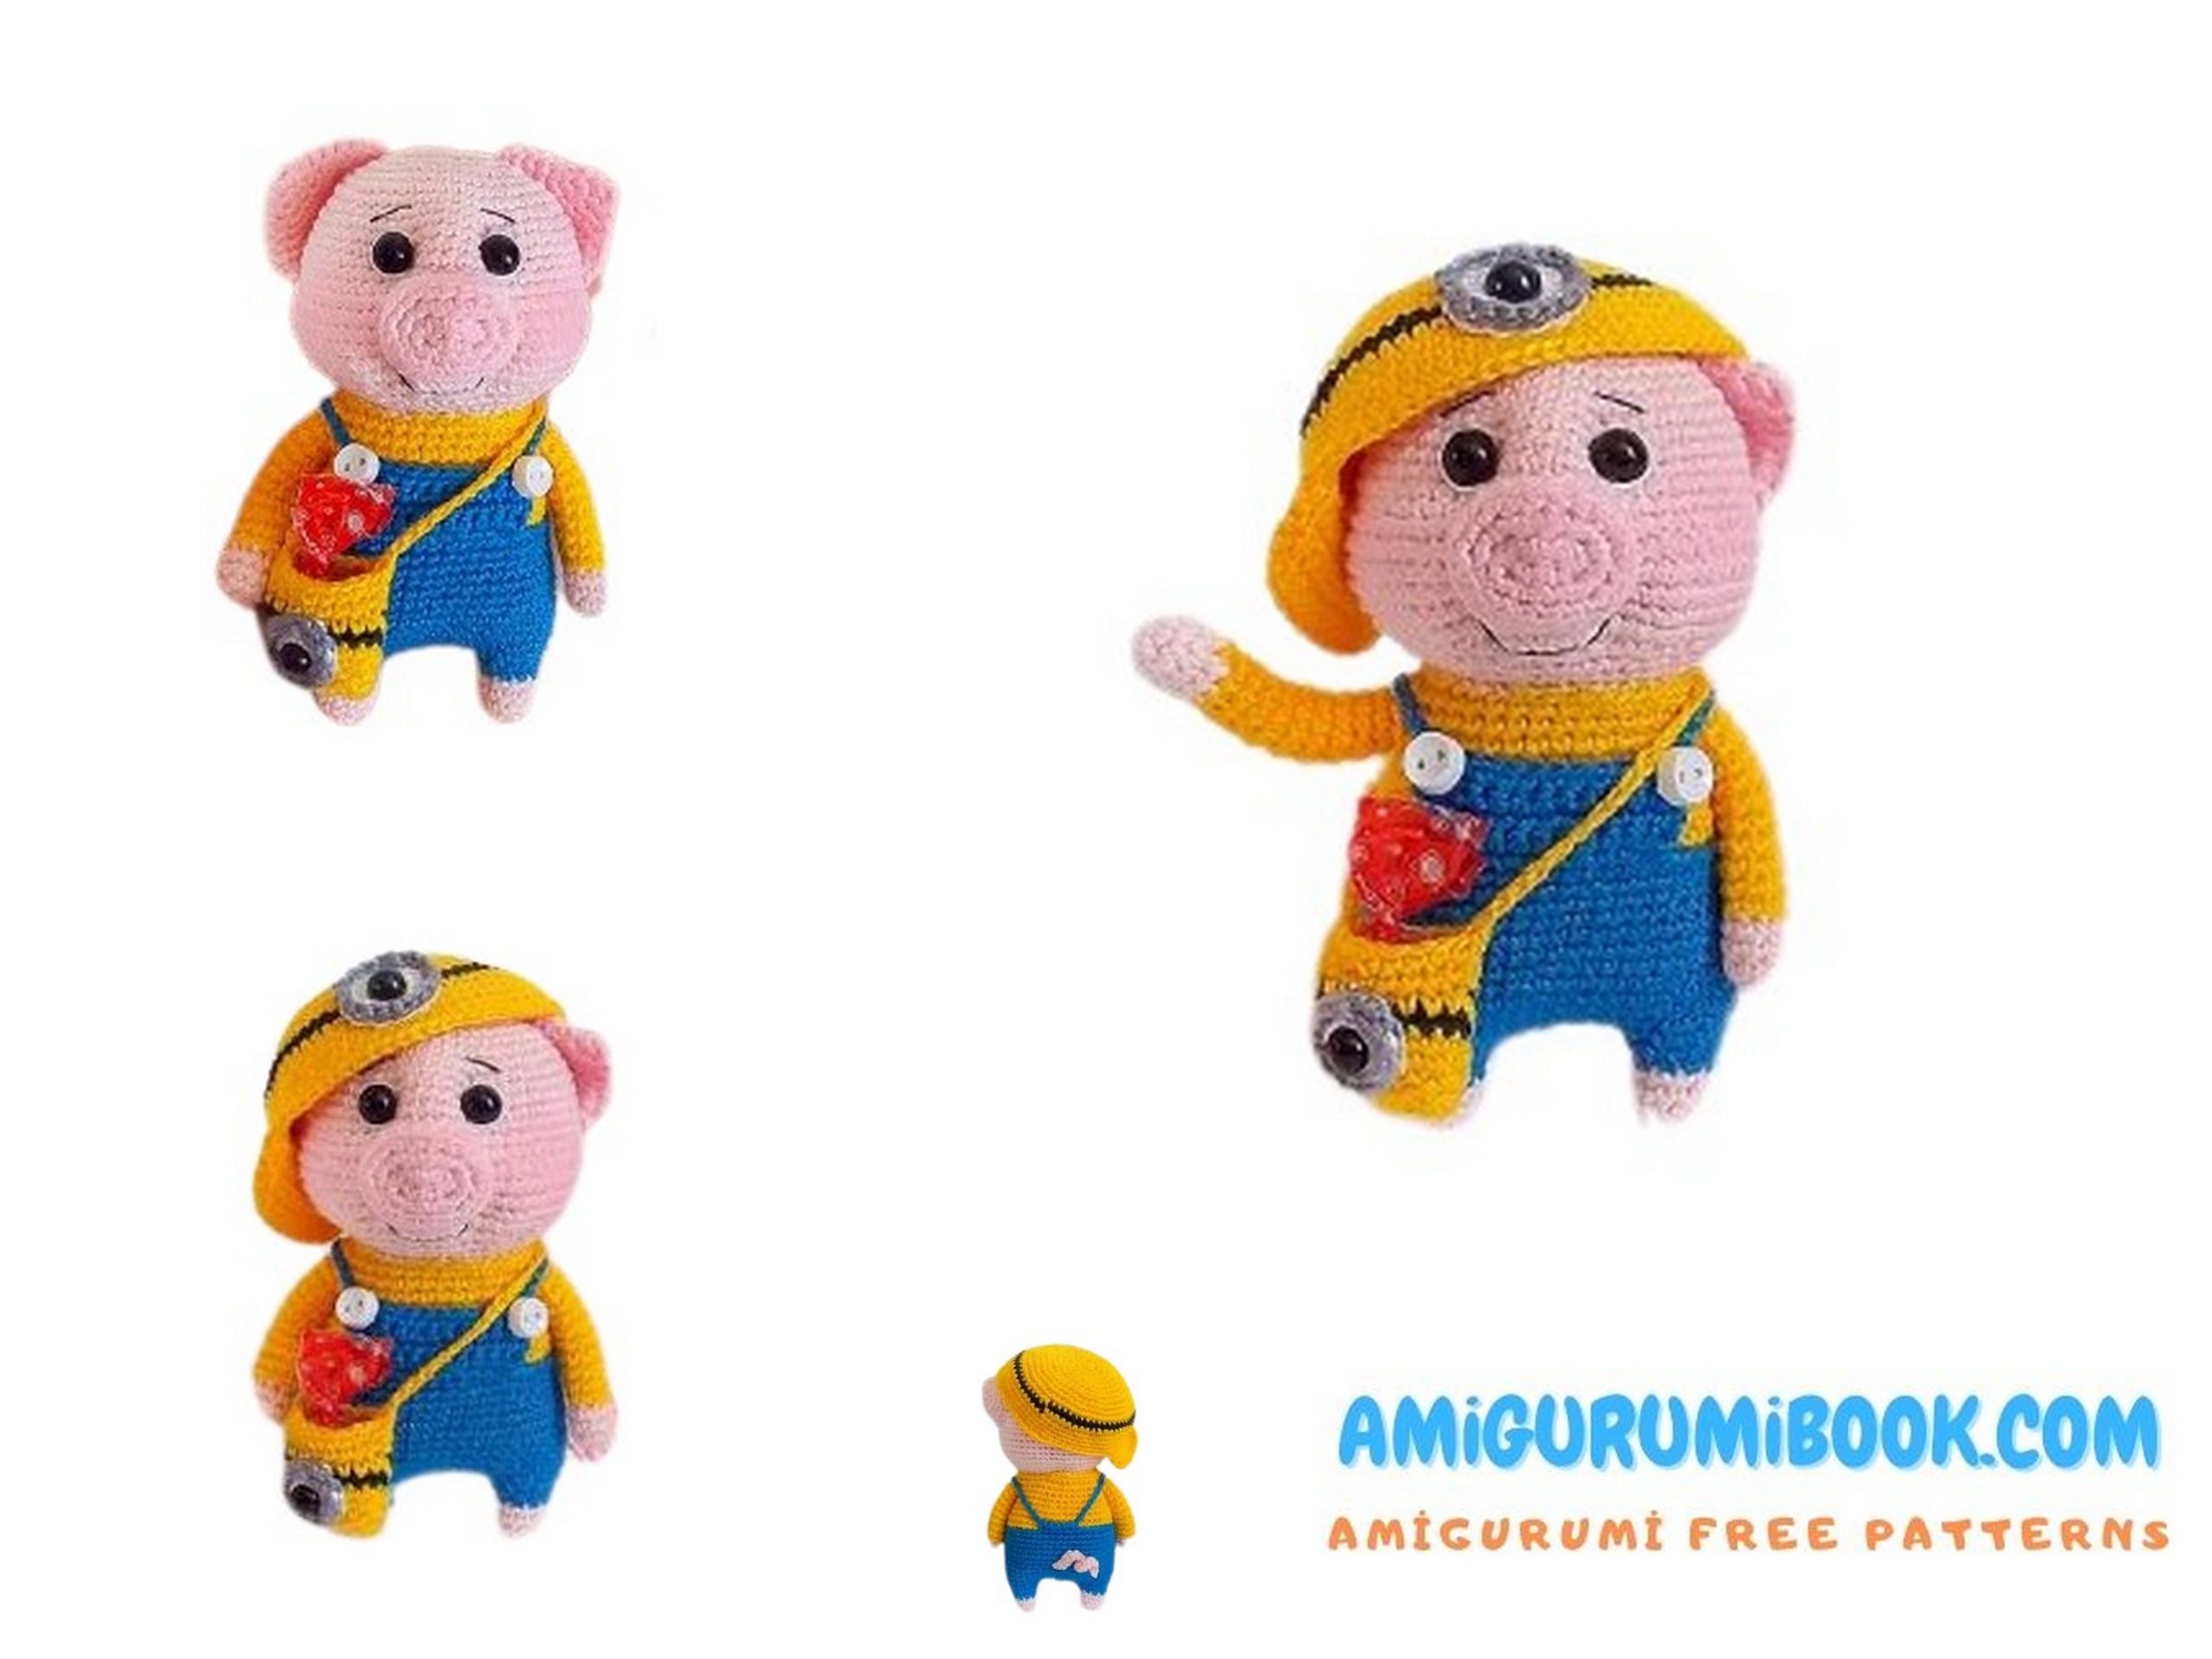
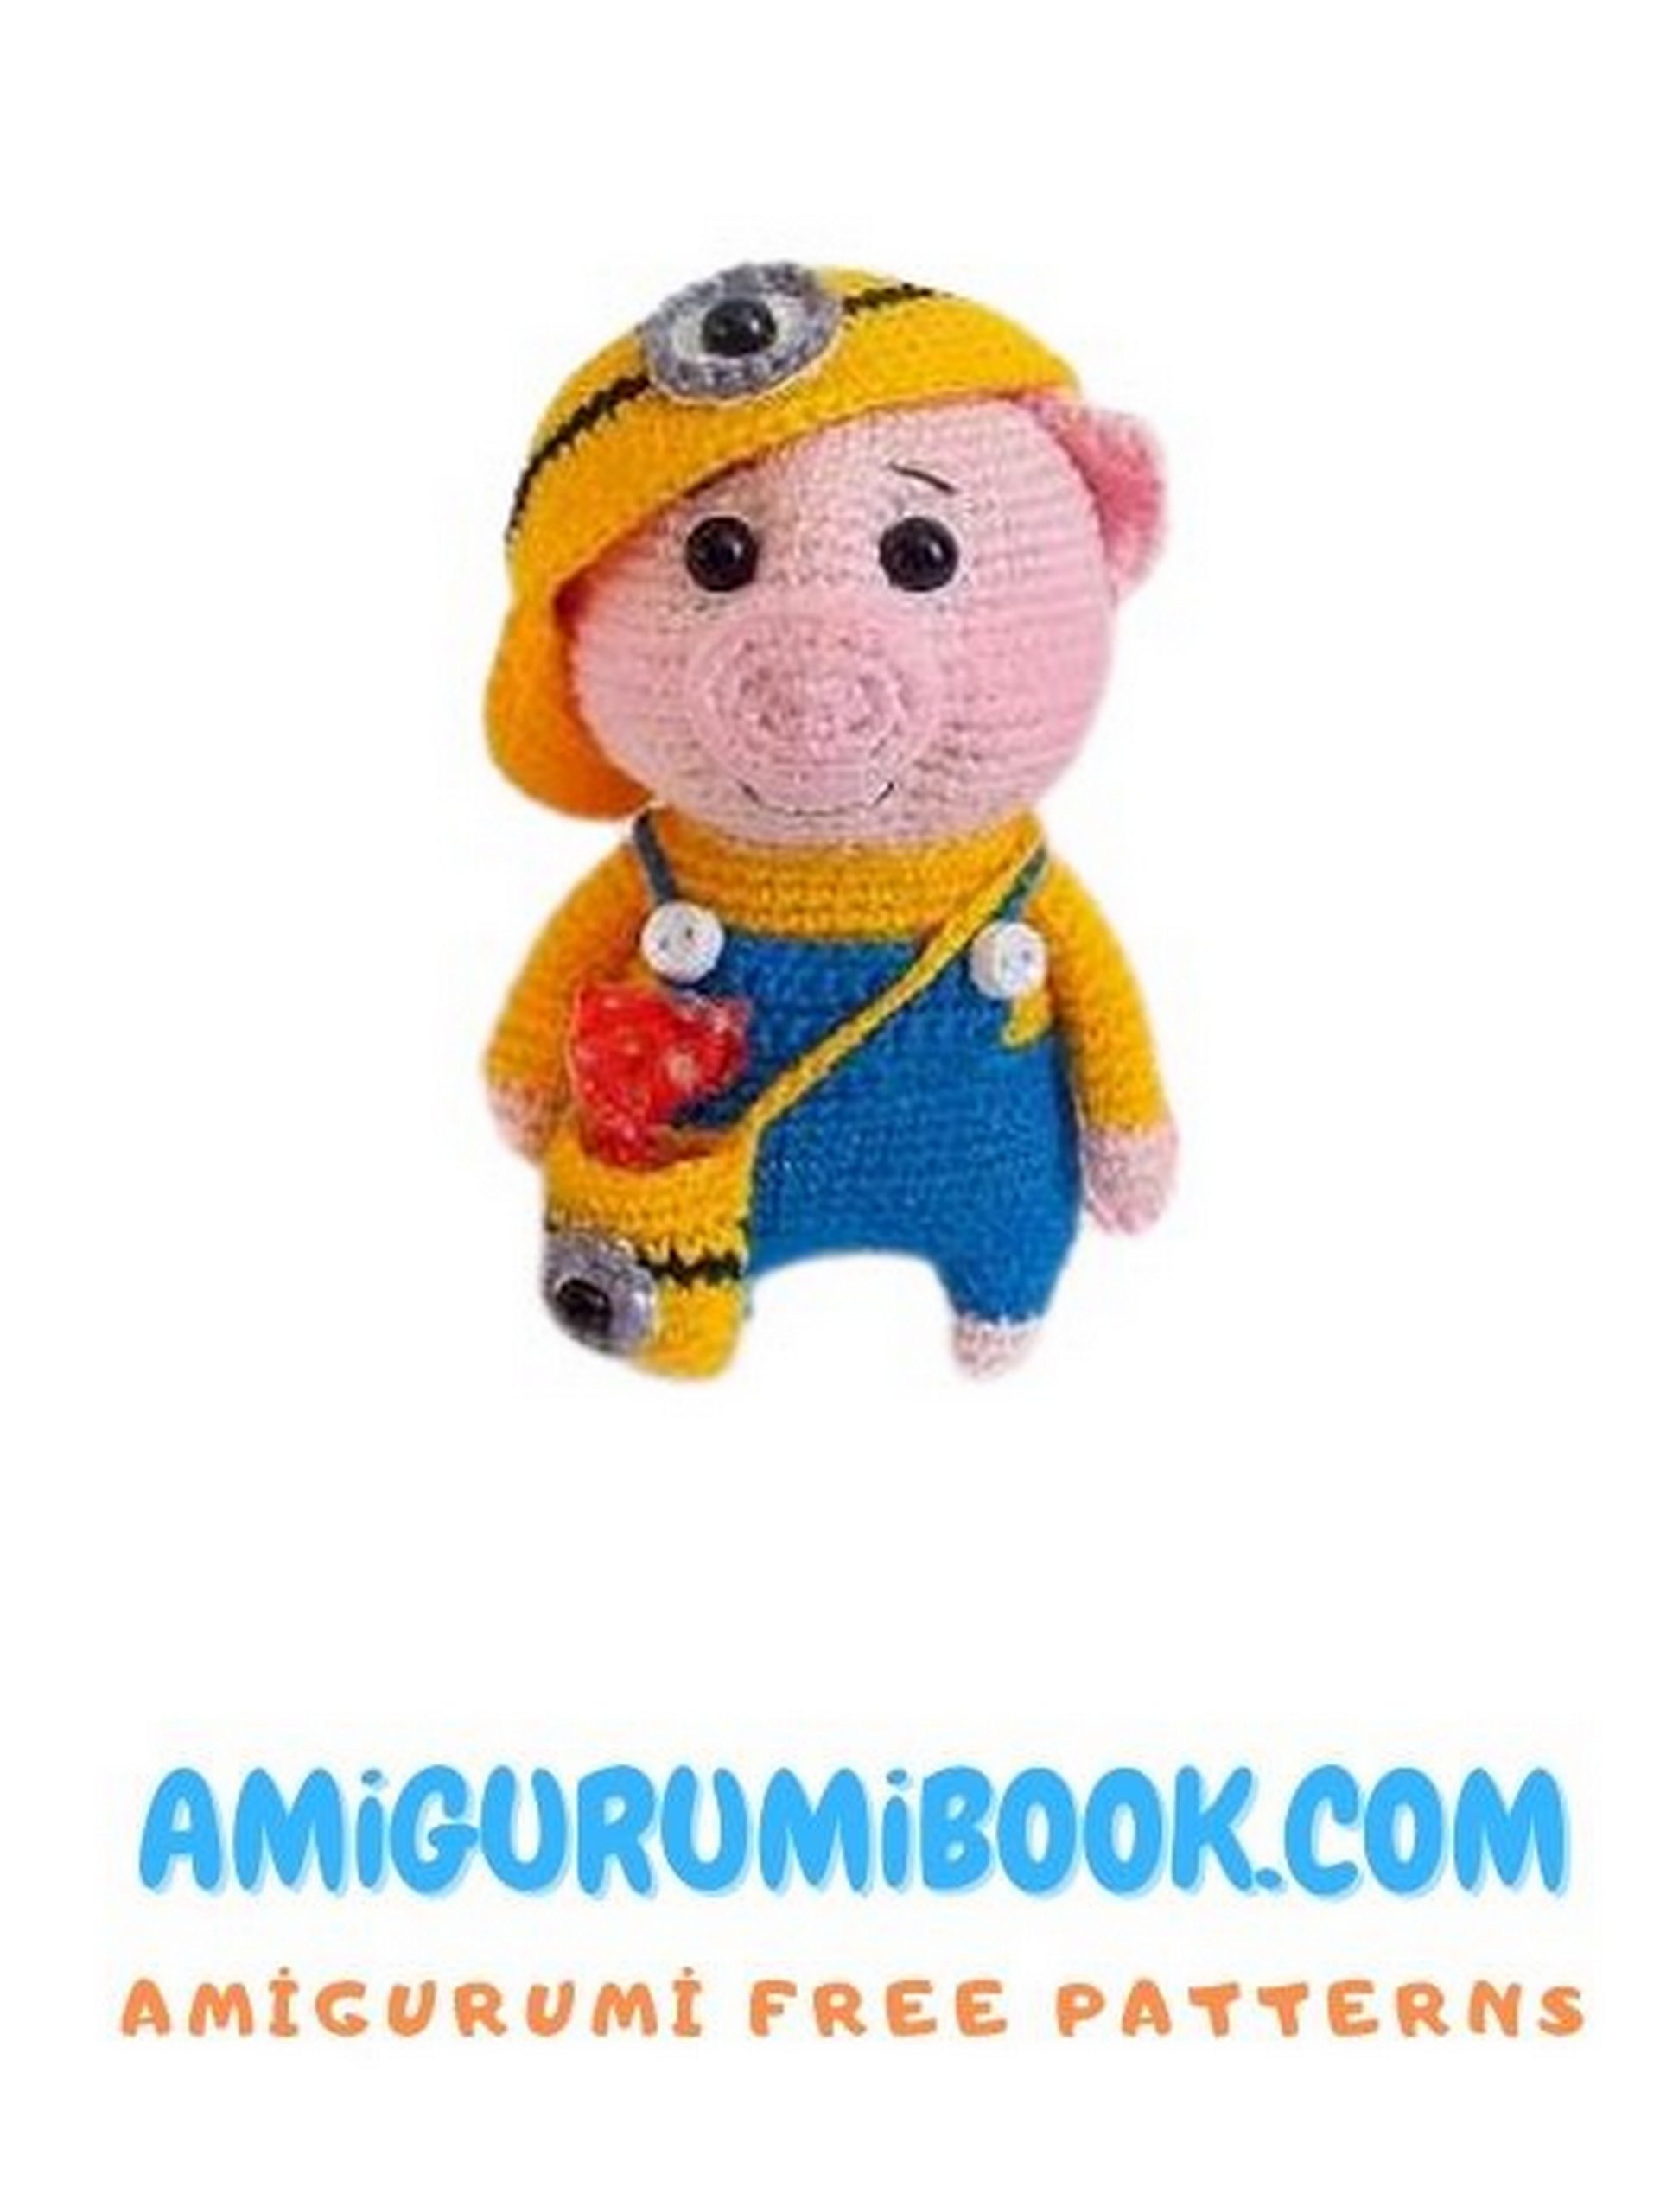
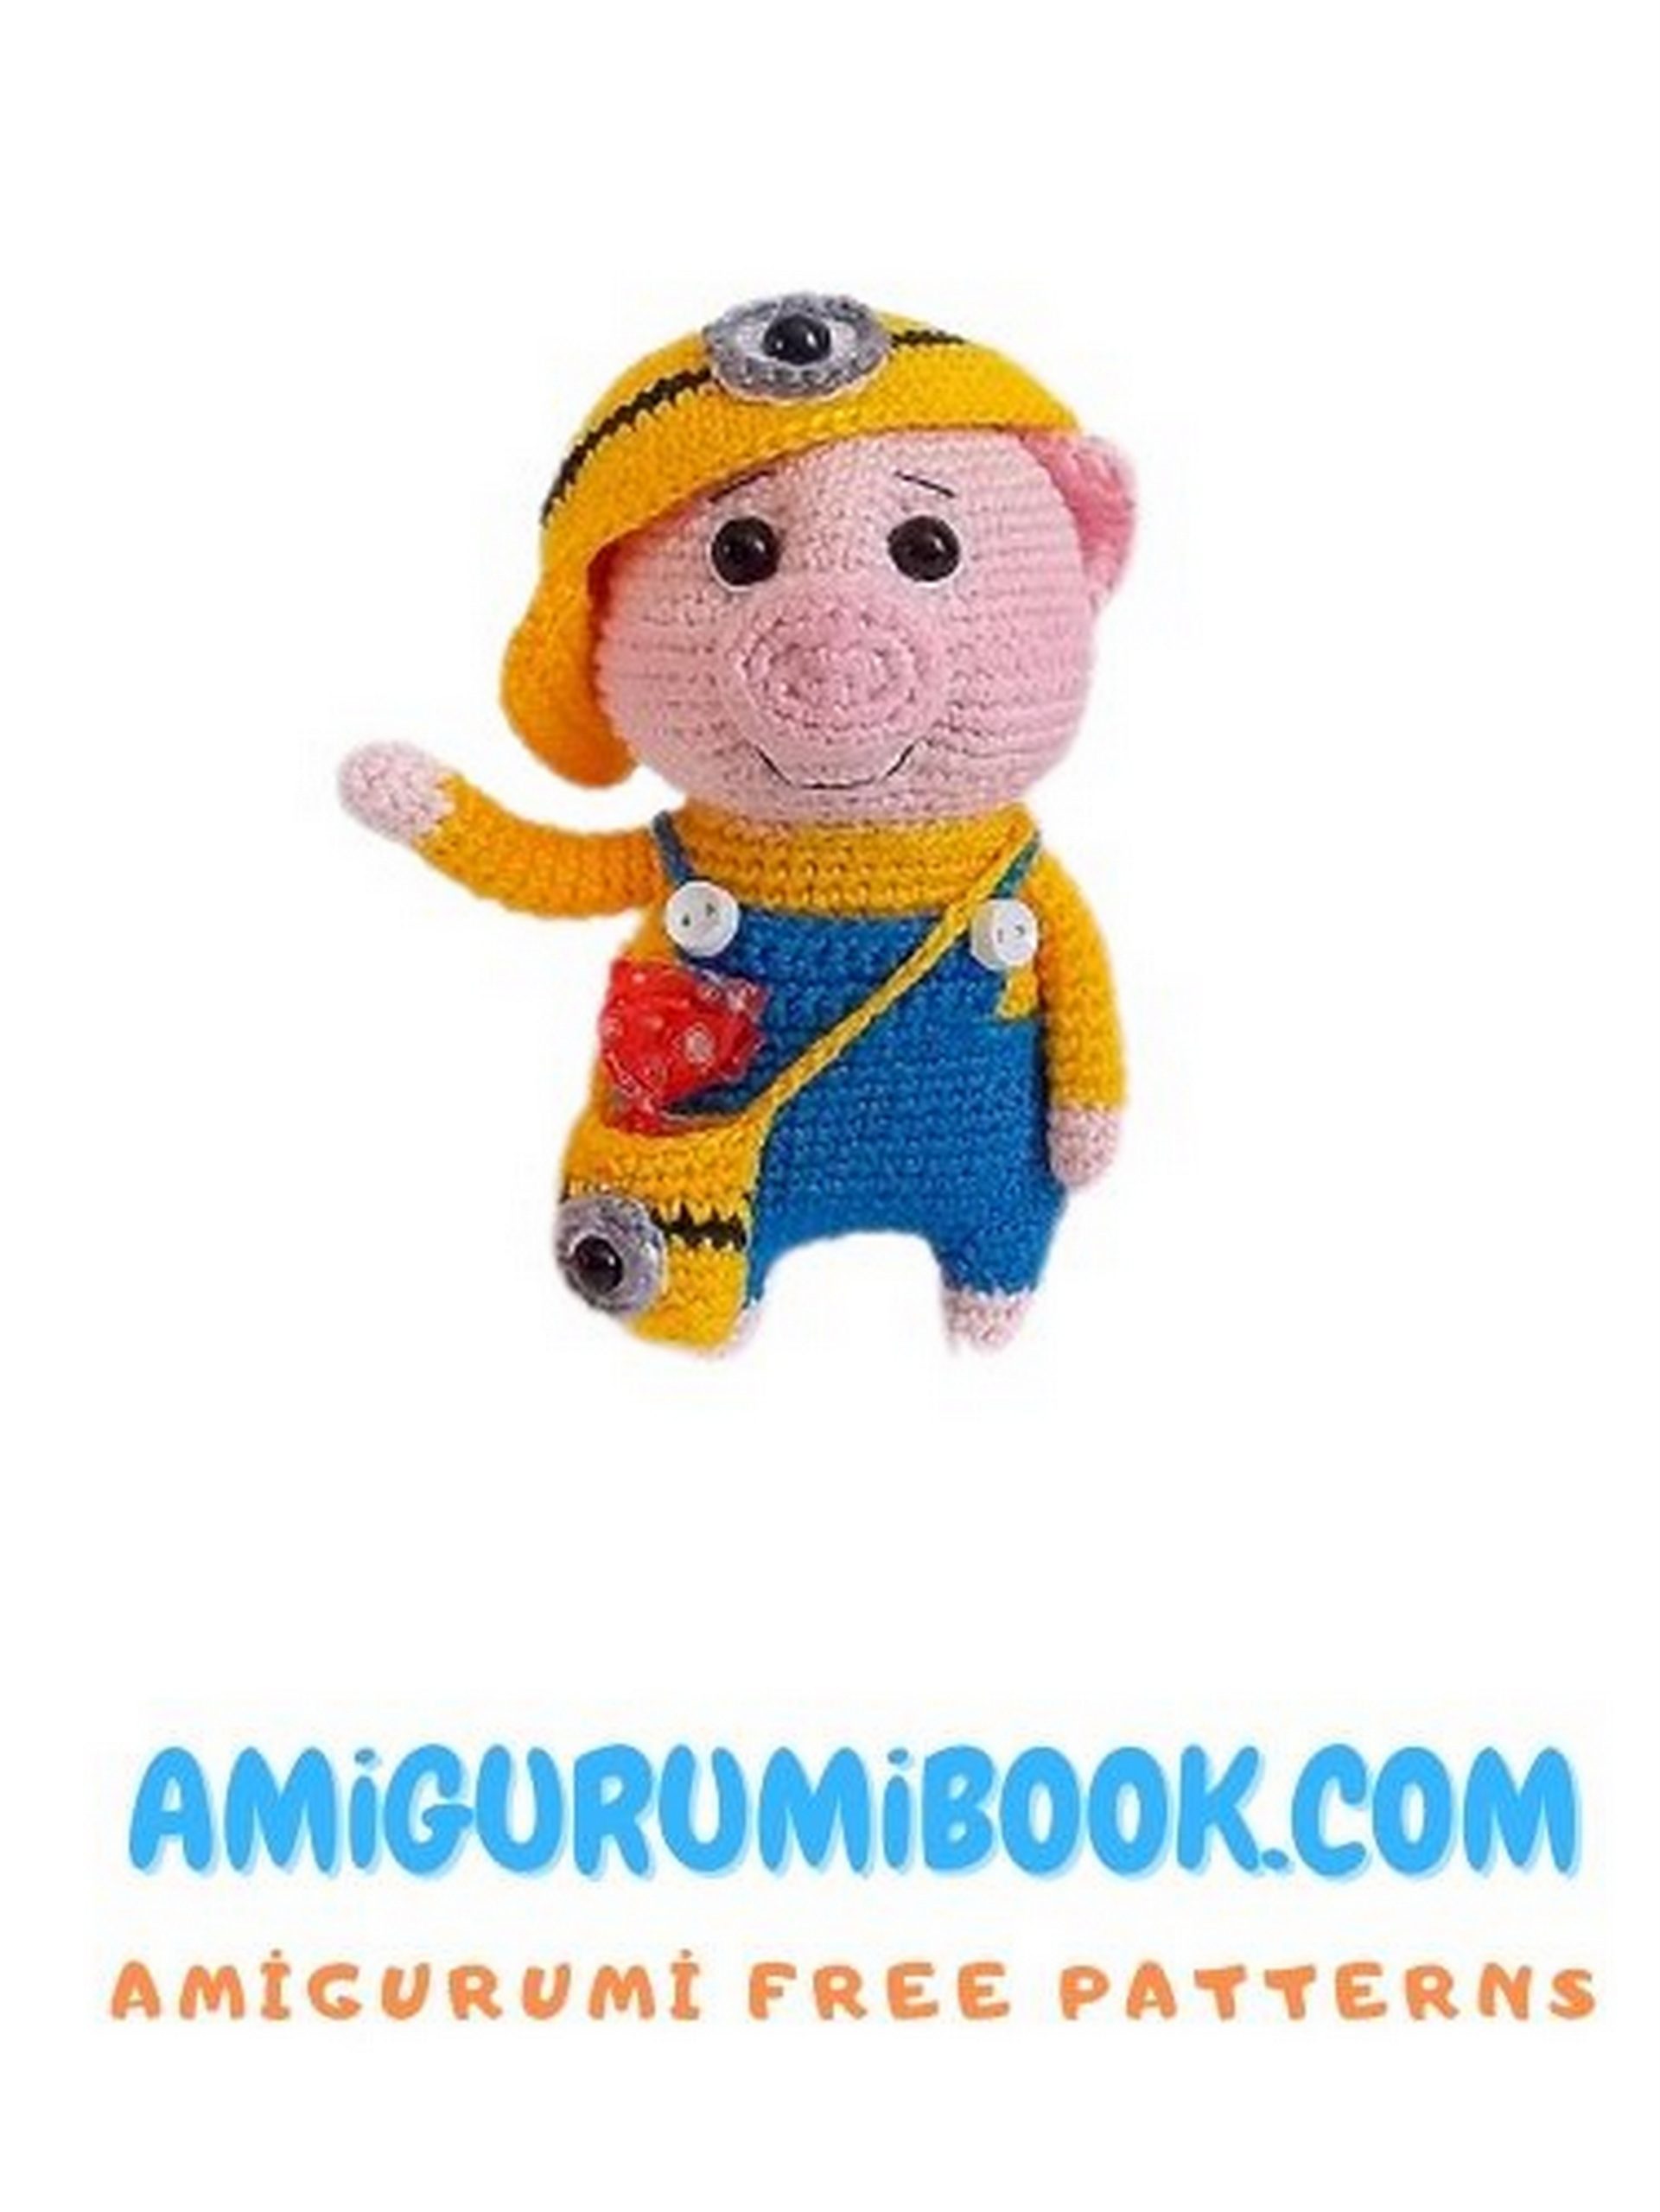
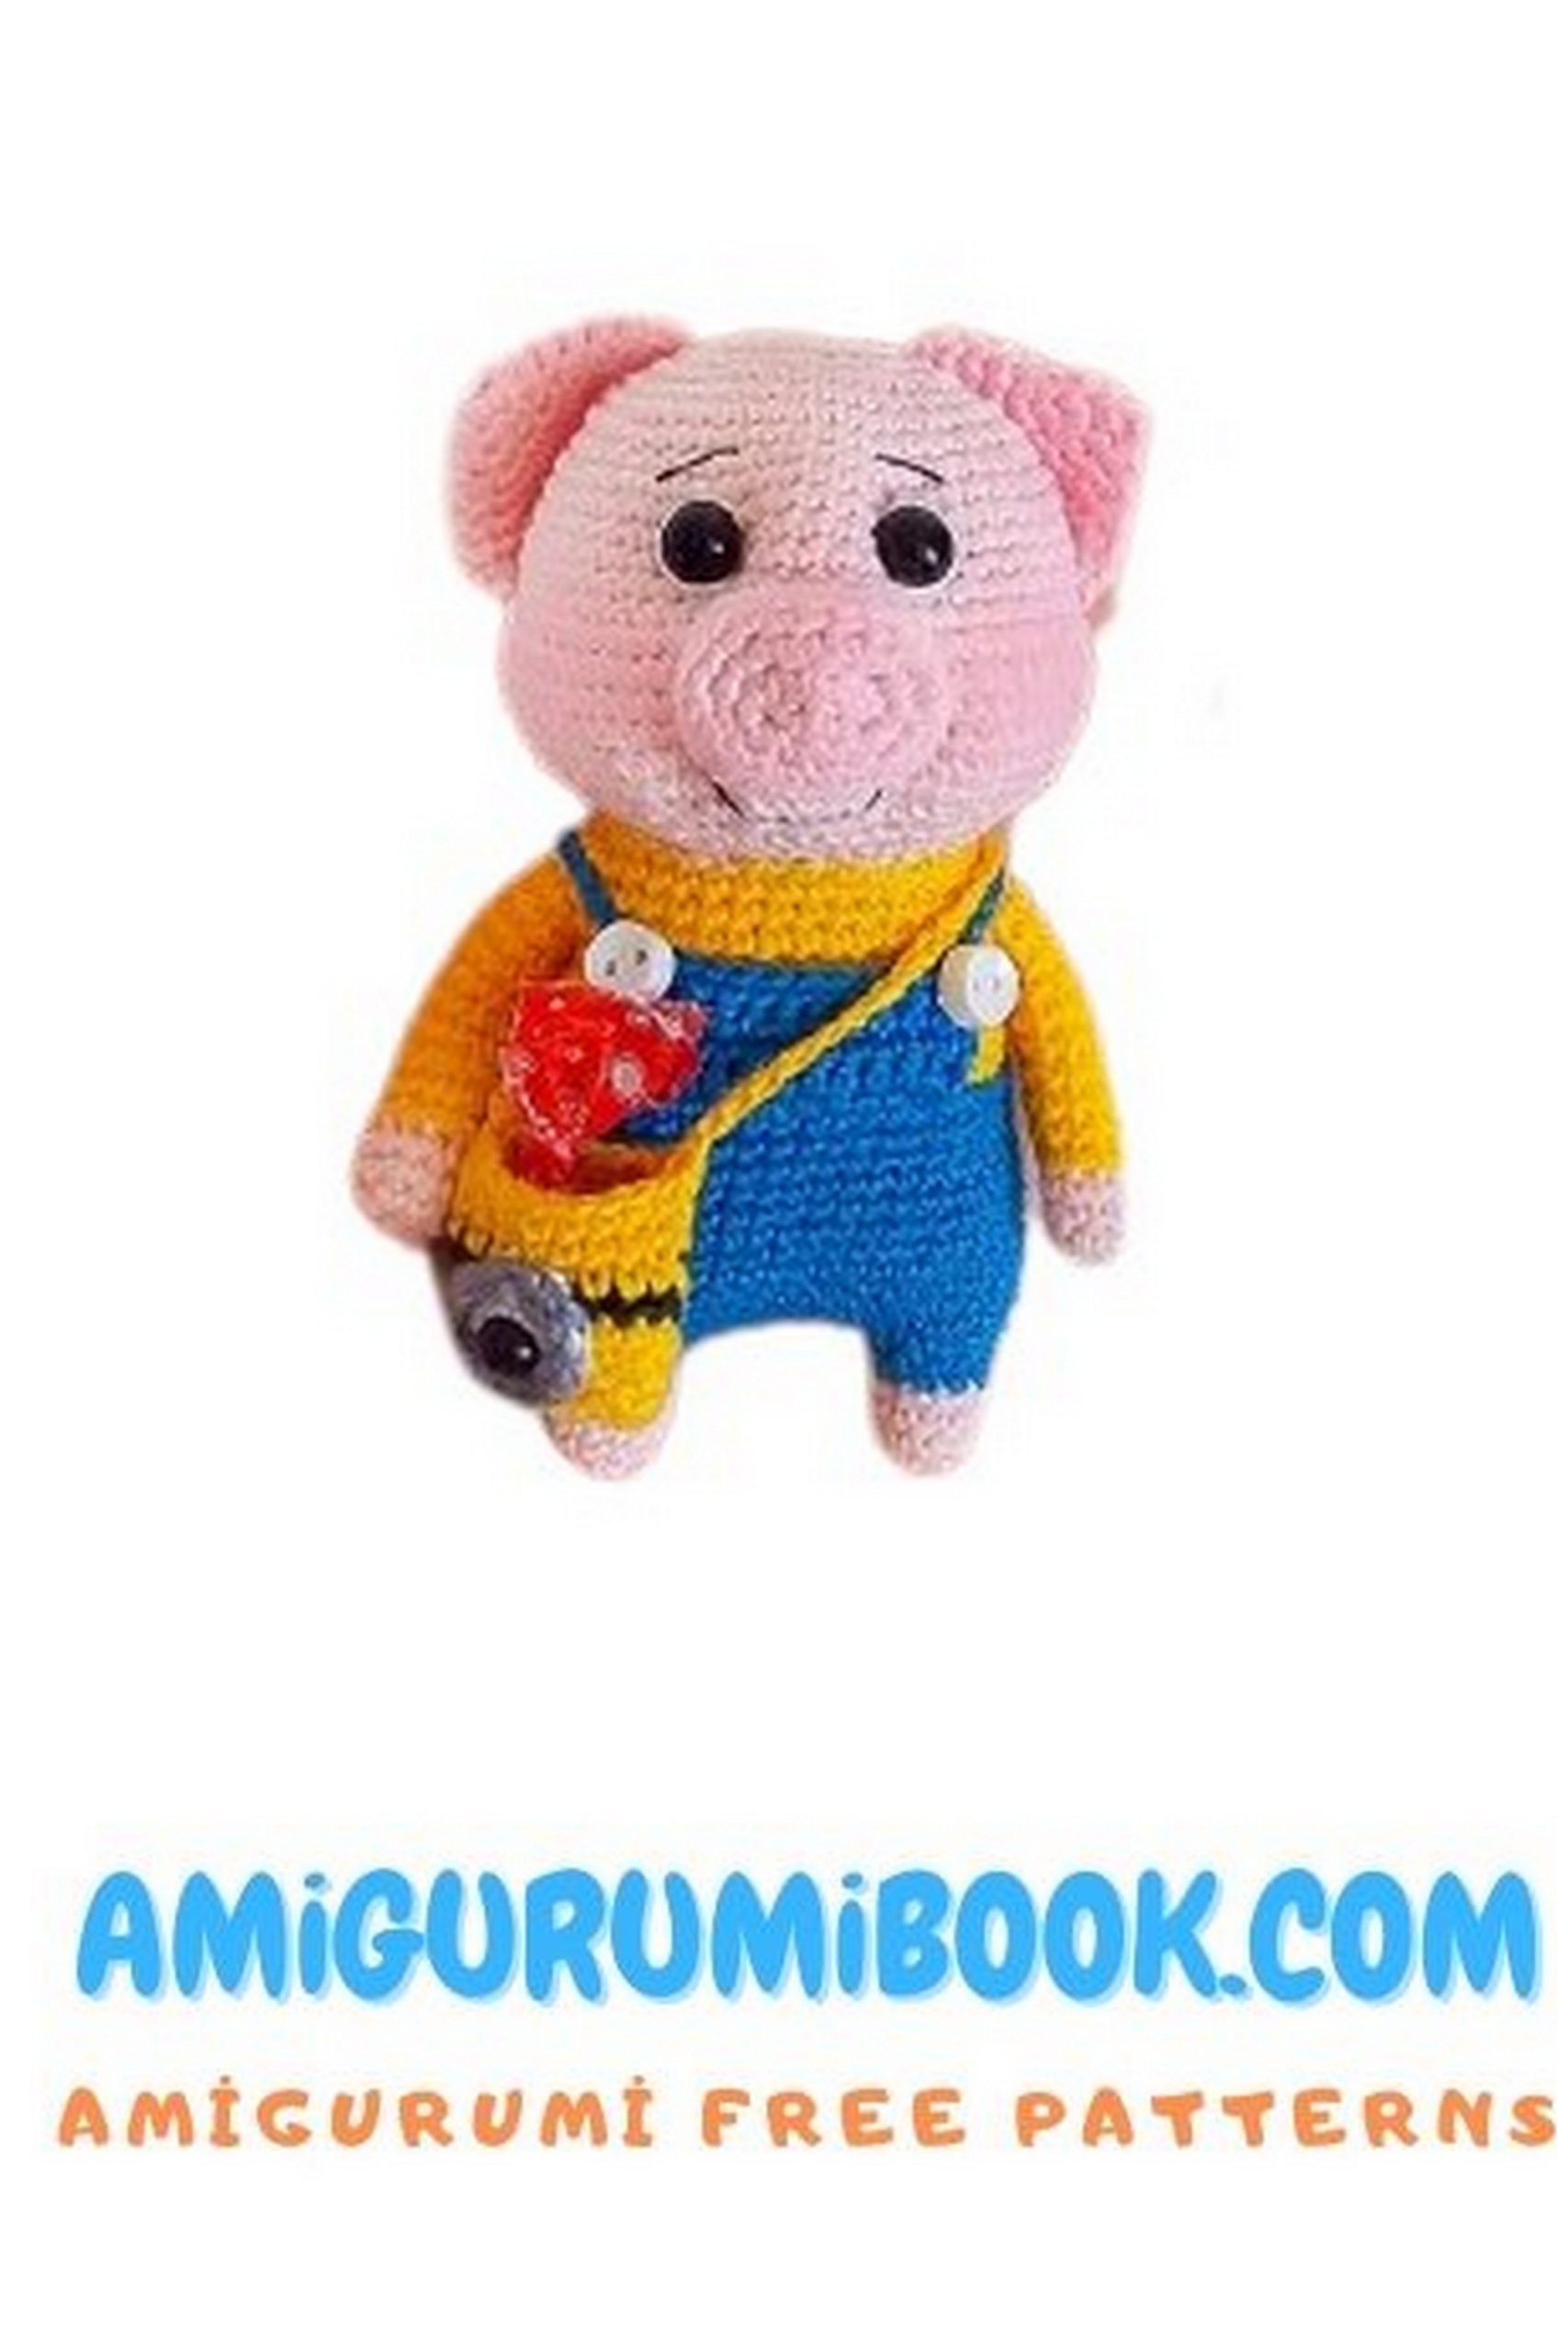
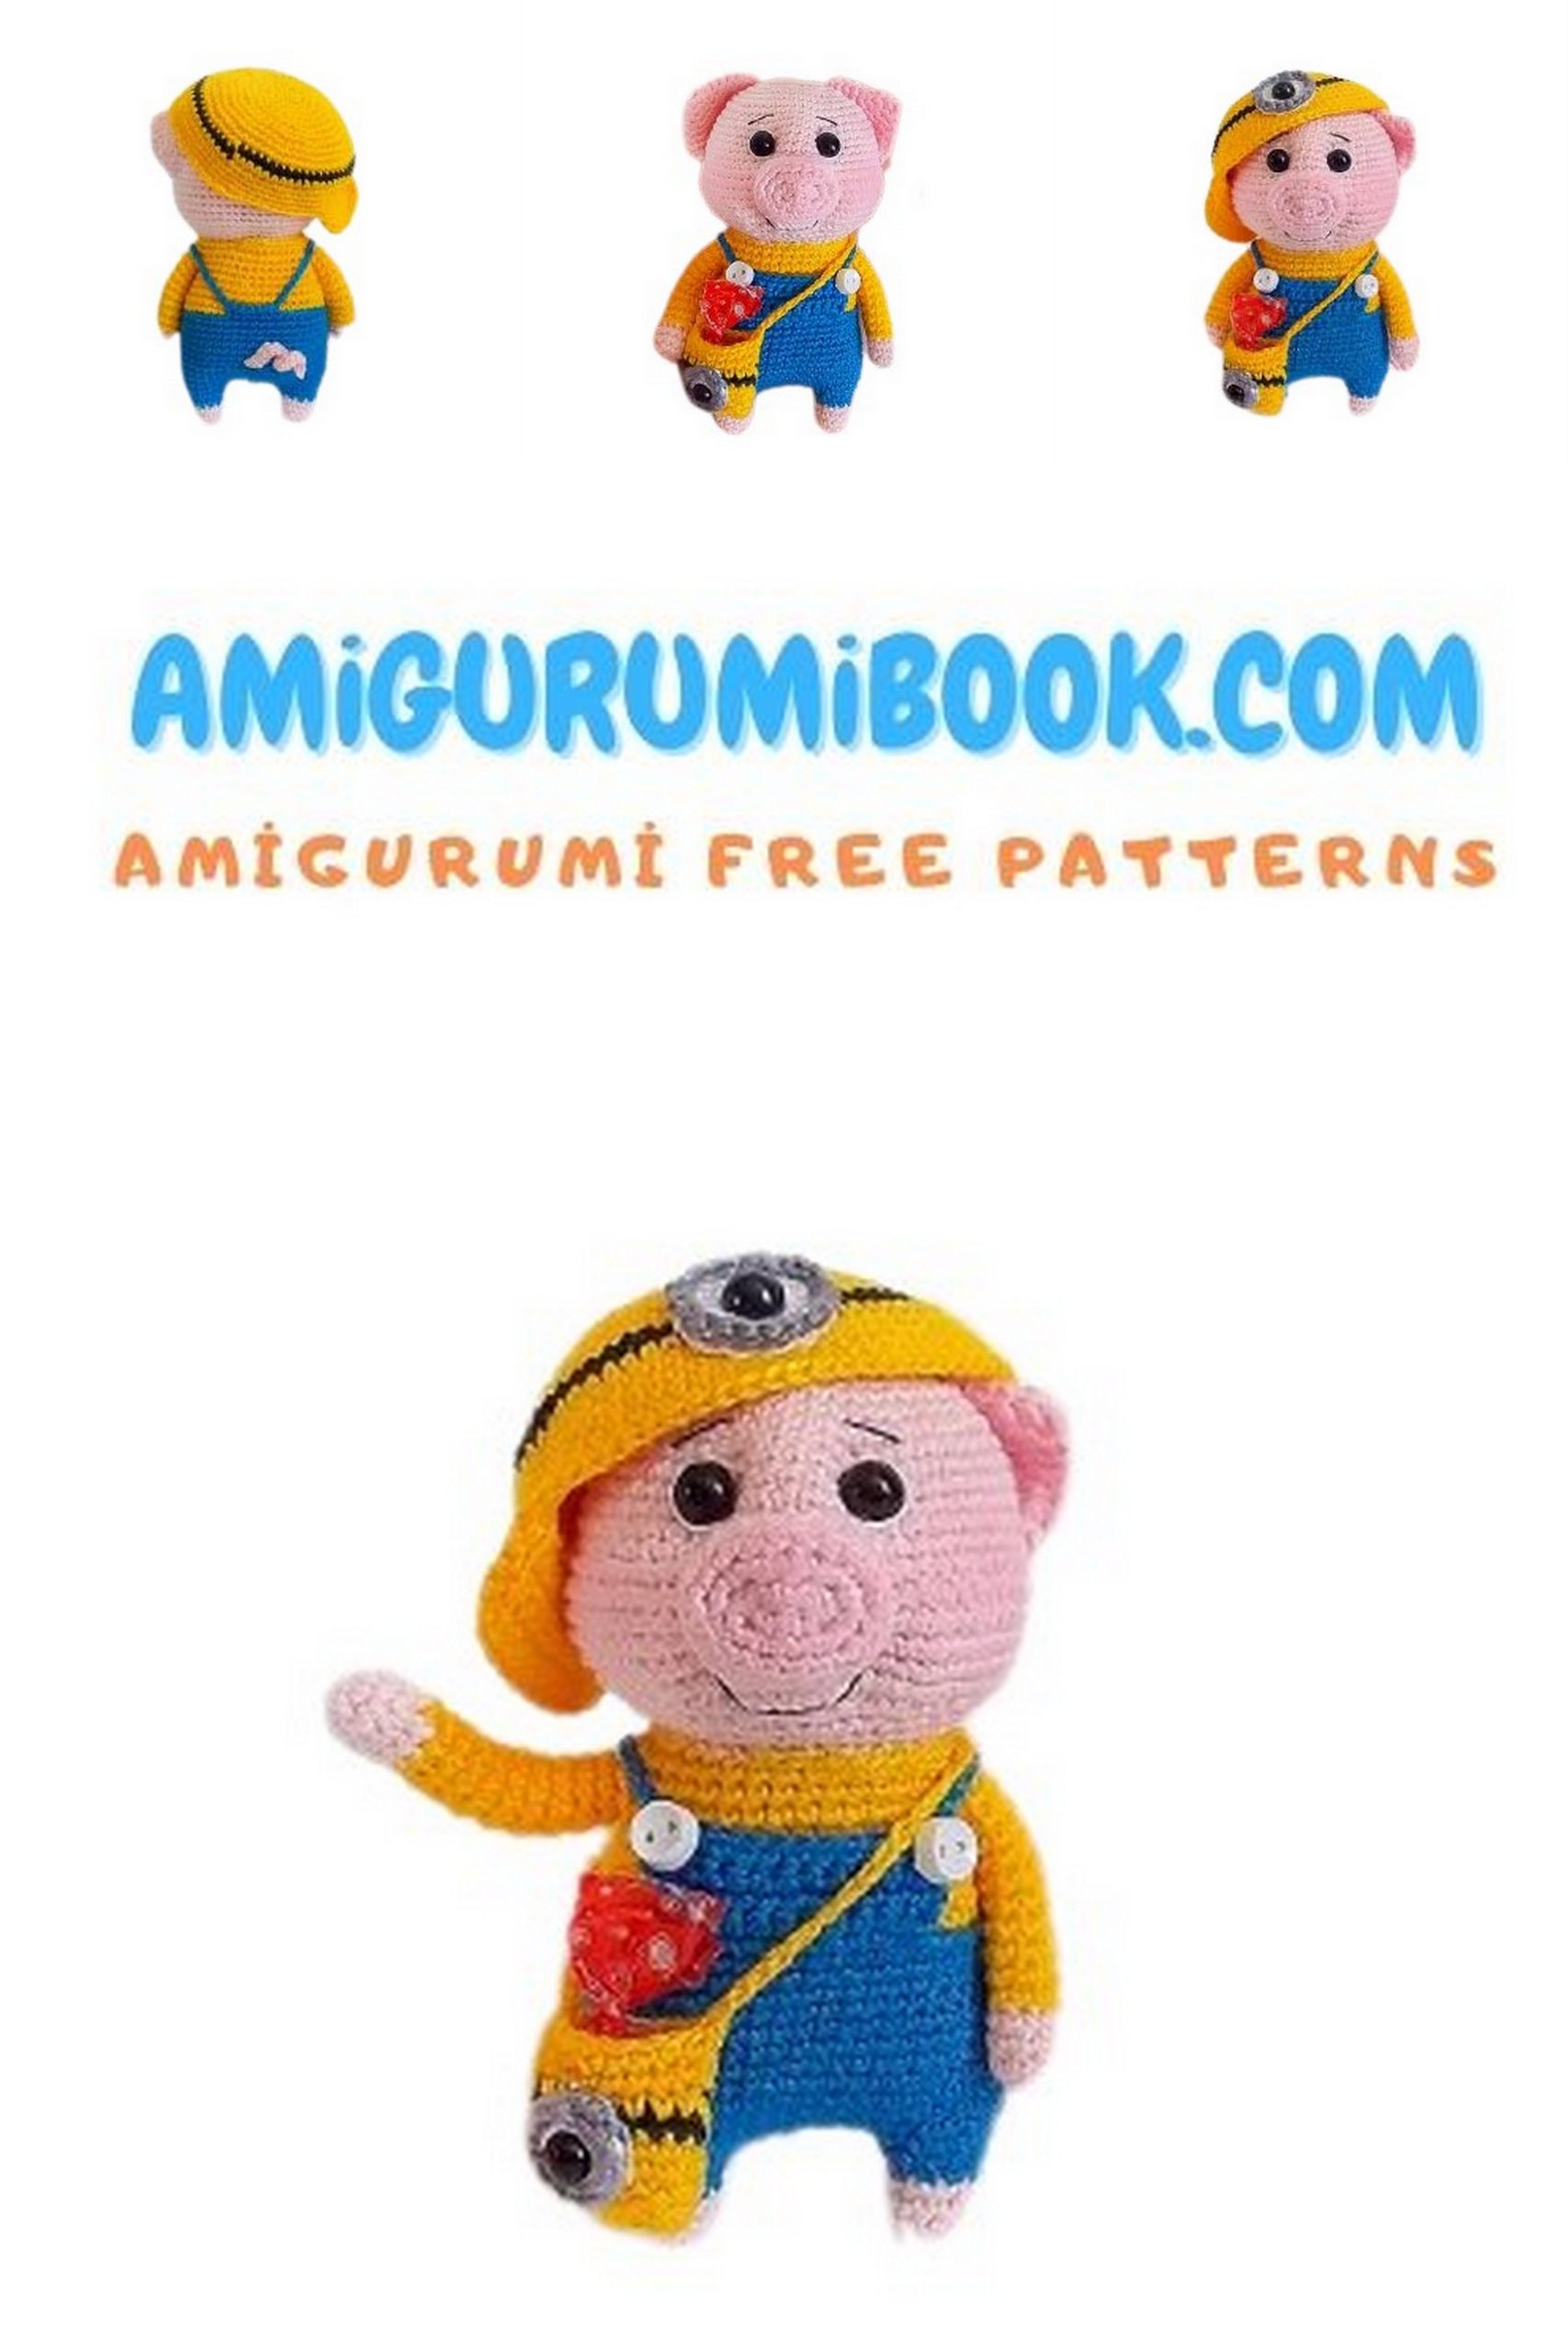
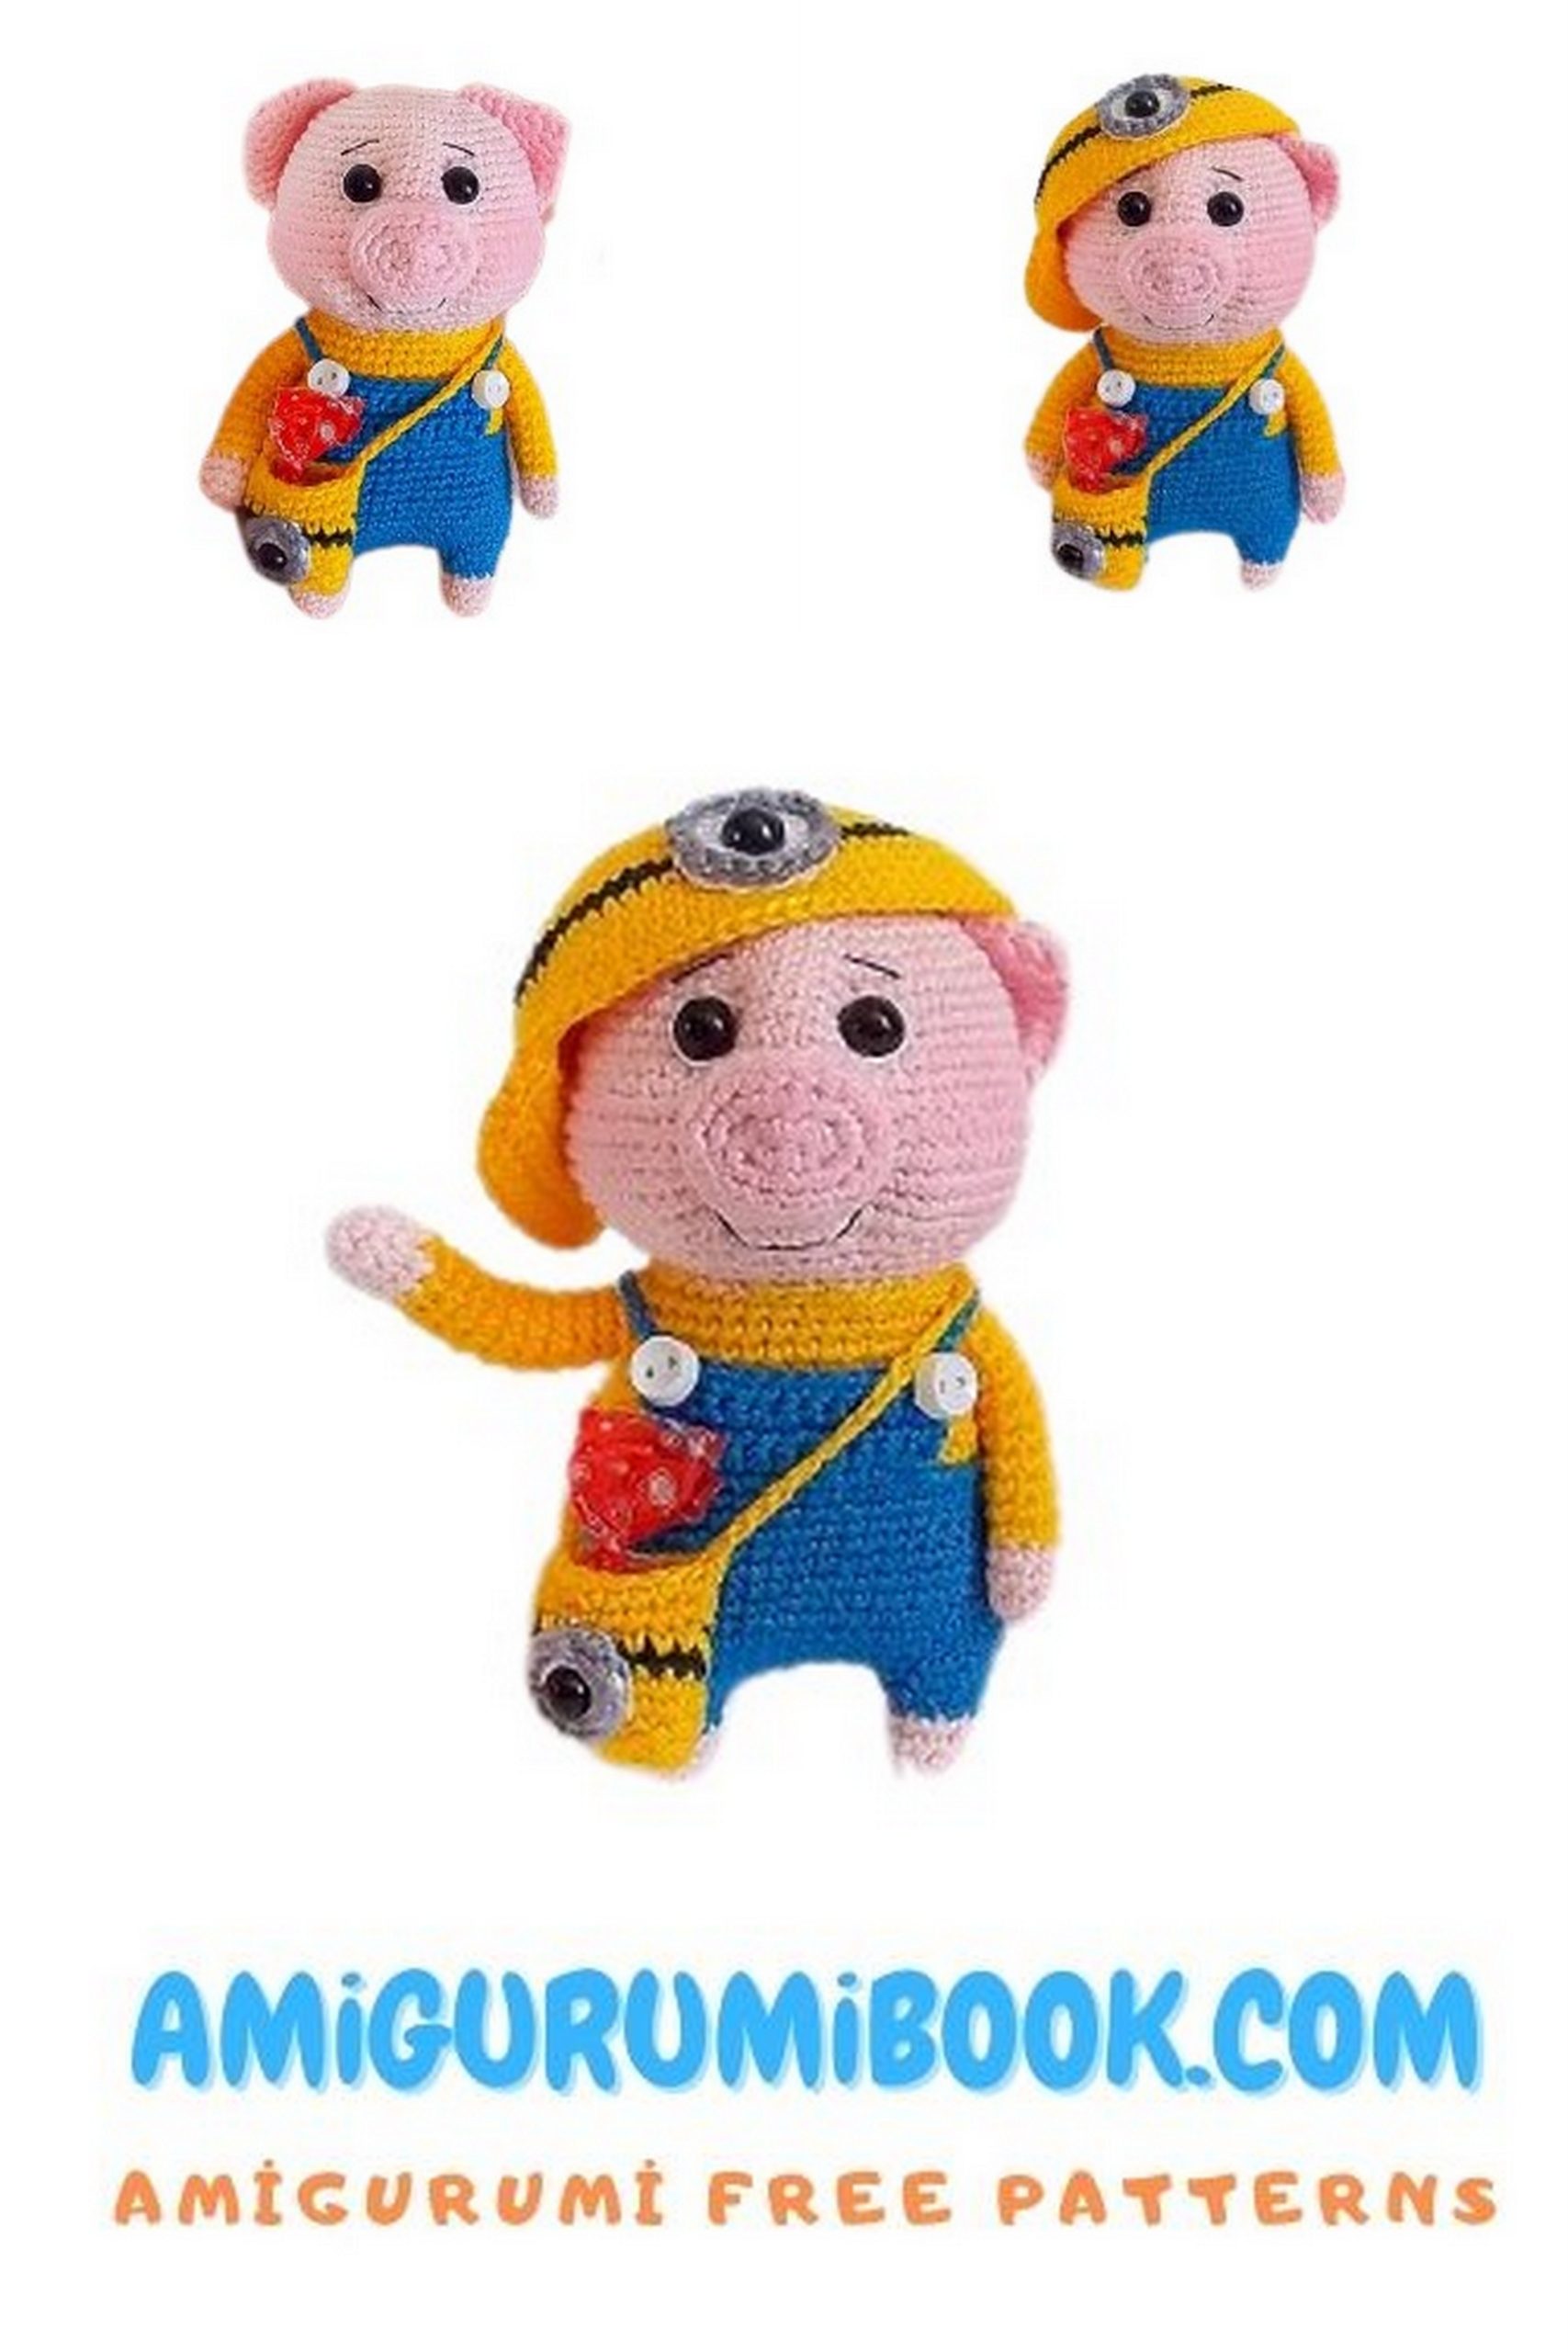
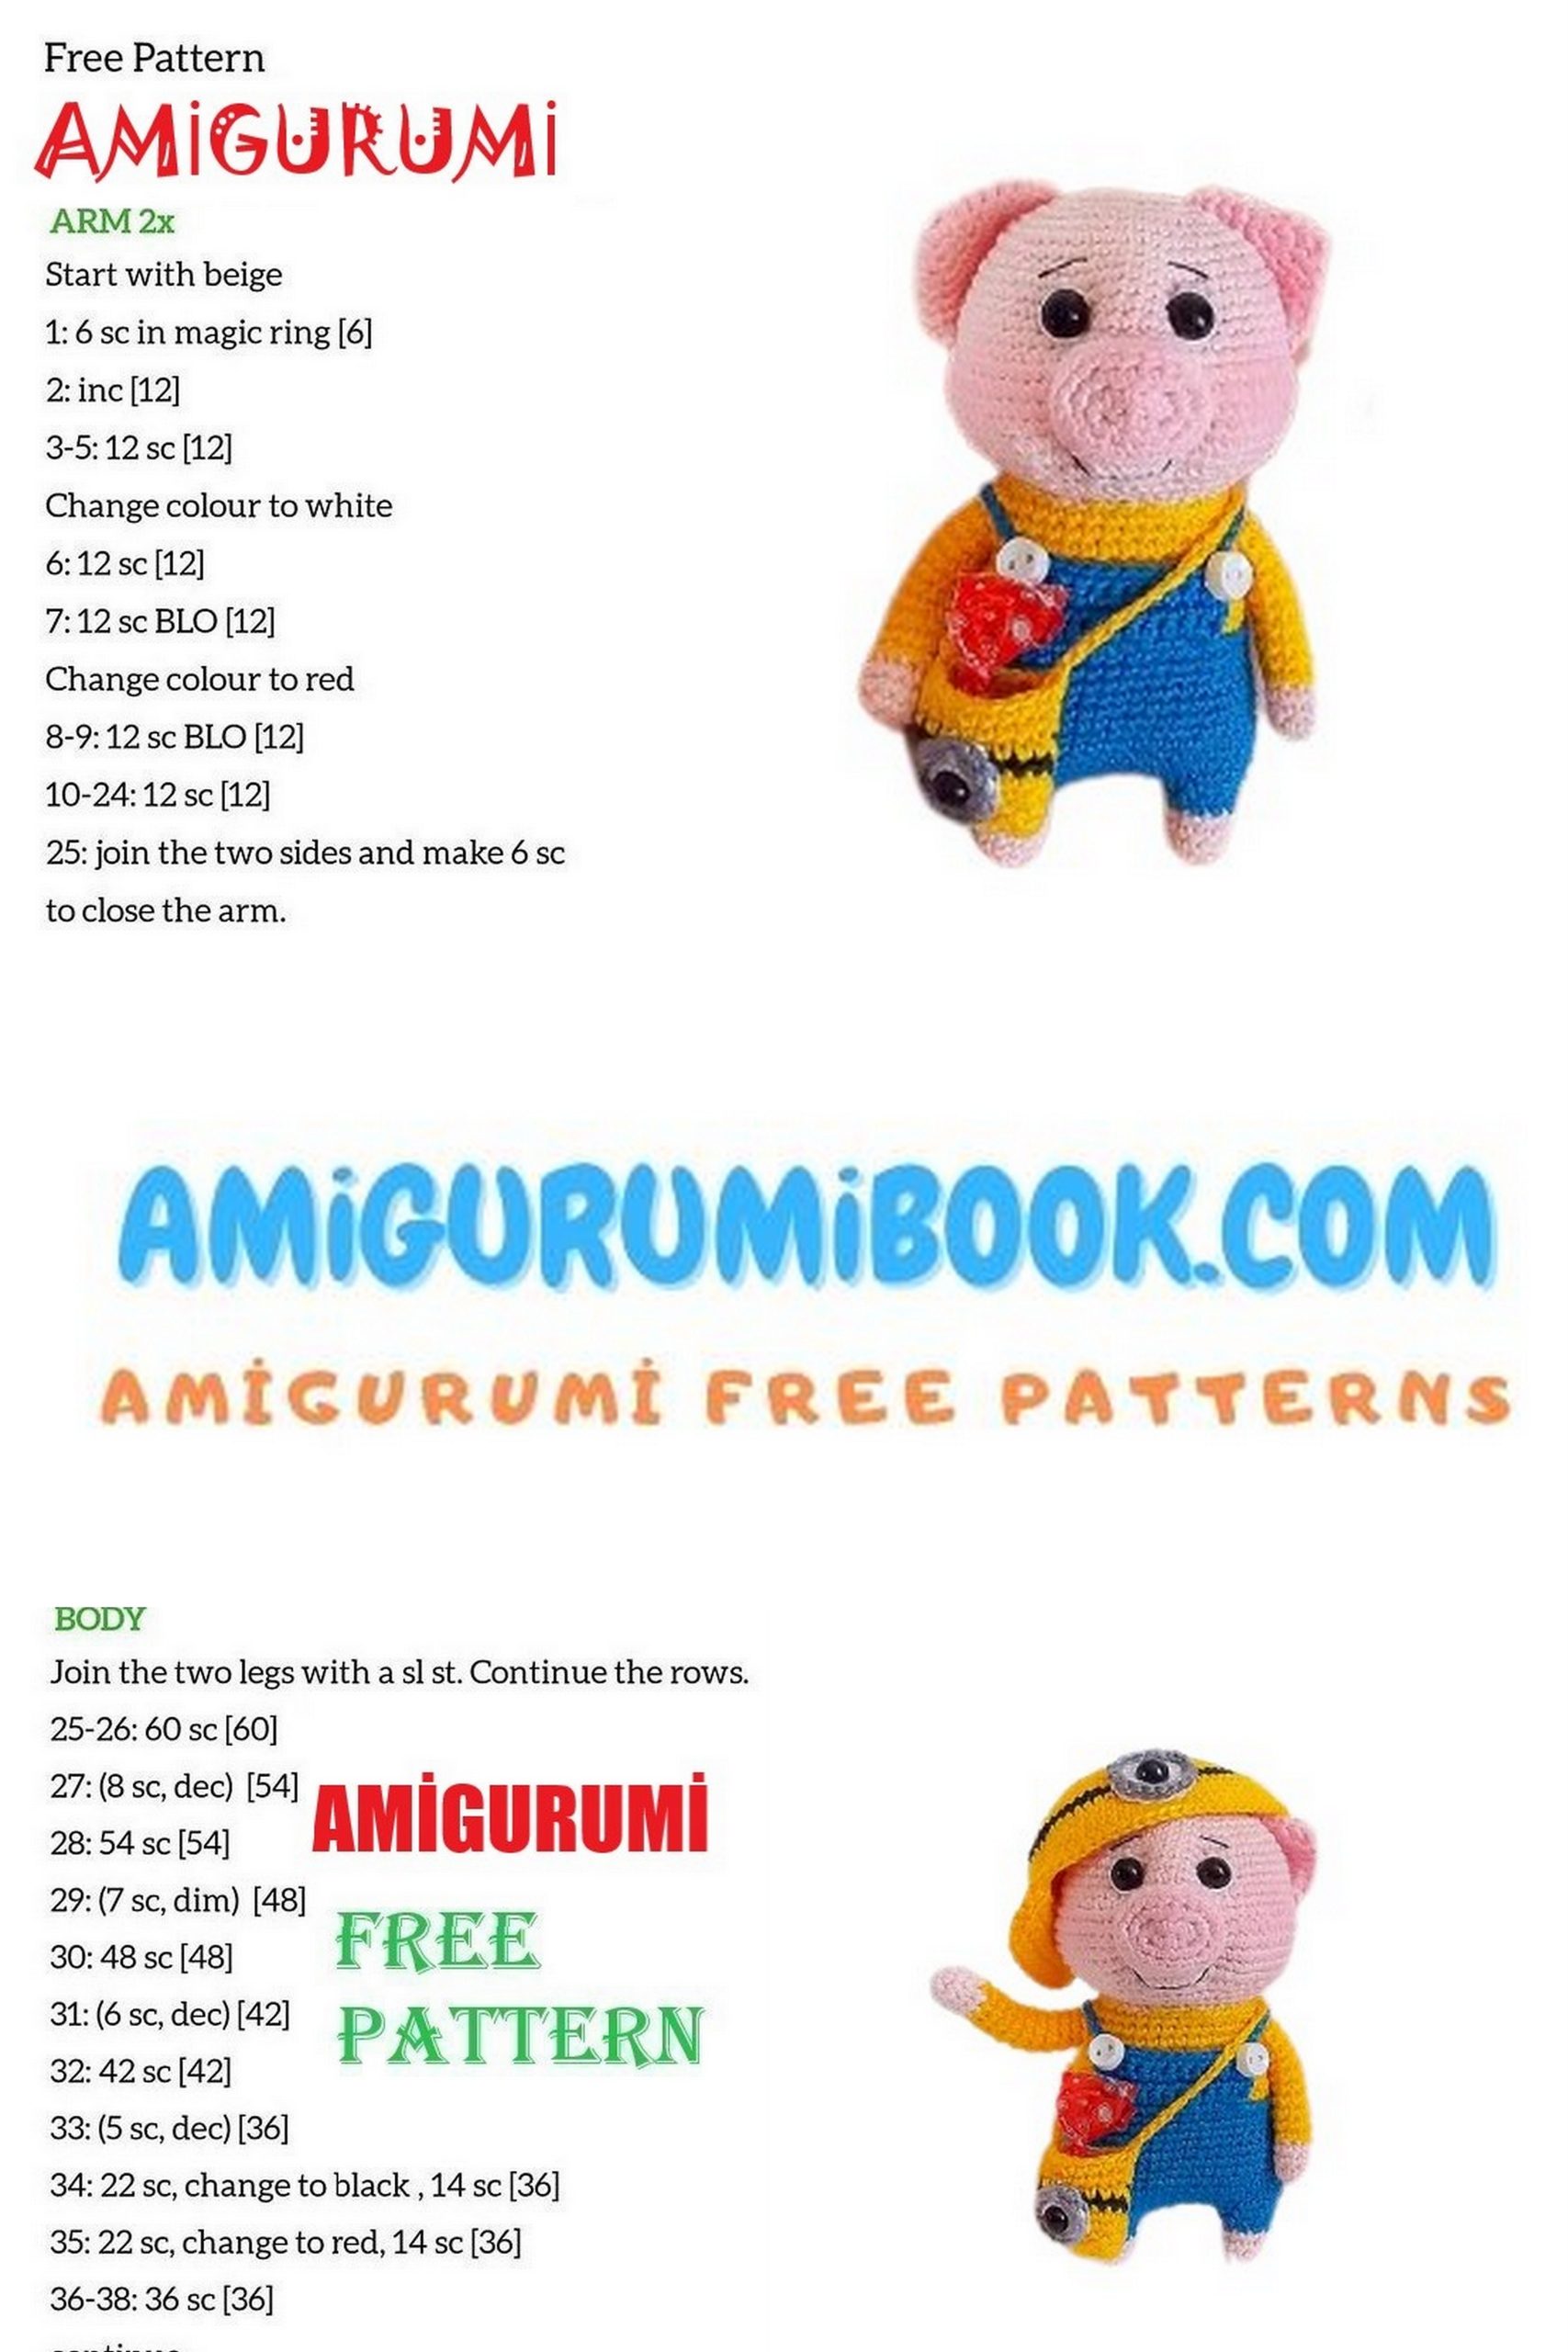
If you’re looking for a fun and unique crochet project, this Minion Costume Pig Amigurumi is the perfect choice. This adorable pig dressed in a playful Minion-style outfit will instantly become a favorite among amigurumi lovers and crochet enthusiasts.
In this free amigurumi pattern, you’ll learn how to create a cute handmade pig toy step by step. Grab your yarn and crochet hook and enjoy making this charming DIY crochet project that’s perfect for gifts, decorations, or your amigurumi collection.
If you want to access 1000+ free amigurumi patterns, you can download our application from this link!
Materials
To make this cute Minion costume pig amigurumi, you will need the following materials:
- Cotton yarn in pink, yellow, blue, black and white
- Crochet hook suitable for your yarn (usually 2.0–2.5 mm)
- Safety eyes
- Polyester fiberfill stuffing
- Yarn needle for sewing parts
- Scissors
- Stitch marker
Abbreviations
tr – treble crochet
ch – chain
sc – single crochet
inc – increase (usually 2 single crochets in the same stitch)
dec – decrease (usually single crochet two stitches together)
sl st – slip stitch
st(s) – stitch(es)
sk – skip
rep – repeat
BLO – back loop only
FLO – front loop only
MC – magic circle (magic ring / adjustable ring)
FO – fasten off
Rnd – round
HDC – half double crochet
DC – double crochet
Head (Flesh Color)
1: 8 sc in MC (8)
2: 8 inc (16)
3: (1 sc, inc) x8 (24)
4: (2 sc, inc) x8 (32)
5: (1 sc, inc, 2 sc) x8 (40)
6: 40 sc (40)
7: (4 sc, inc) x8 (48)
8: 48 sc (48)
9: (2 sc, inc, 3 sc) x8 (56)
10–15: 56 sc (6 rows)
16: (inc, 1 sc) x14, 14 sc (70)
17–21: 70 sc (5 rows)
22: (dec, 1 sc) x14, 14 sc (56)
23: (5 dec) x8 (48)
24: (4 dec) x8 (40)
25: (3 dec) x8 in BLO (32)
26: (2 dec) x8 (24)
27: 12 dec (12)
28: 6 dec (6)
Fasten off, cut the yarn and hide the tail.
Heel (Flesh or Pink Color)
1: Ch 5. Starting from the 2nd ch from the hook:
3 sc, 3 sc in one stitch, 2 sc, inc (10)
2: inc, 2 sc, 3 inc, 2 sc, 2 inc (16)
3: 1 sc, inc, 2 sc, (1 sc, inc) x3, 2 sc, (1 sc, inc) x2 (22)
4: 22 sc in BLO (22)
5: 9 sc, dec, 9 sc, dec (20)
Fasten off leaving a long tail for sewing.
Ears (2 pieces) – Flesh Color
1: 6 sc in MC (6)
2: (1 sc, inc) x3 (9)
3: (2 sc, inc) x3 (12)
4: (1 sc, inc) x6 (18)
5: (2 sc, inc) x6 (24)
6: (3 sc, inc) x6 (30)
7: 30 sc (30)
8: Fold the piece in half and crochet 15 sc through both sides (15)
Fasten off, cut the yarn and leave a tail for sewing.
Arms (2 pieces)
1: 5 sc in MC – flesh color (5)
2: 5 inc (10)
3–4: 10 sc (10)
5–13: Change to yellow yarn, 10 sc (9 rows)
Lightly stuff the arms.
Fasten off leaving a long tail for sewing.
If you plan to insert wire, do not cut the yarn yet.
Alternative version:
At round 12, fold the piece in half and crochet 5 sc through both sides.
The arms will be attached to the body during assembly.
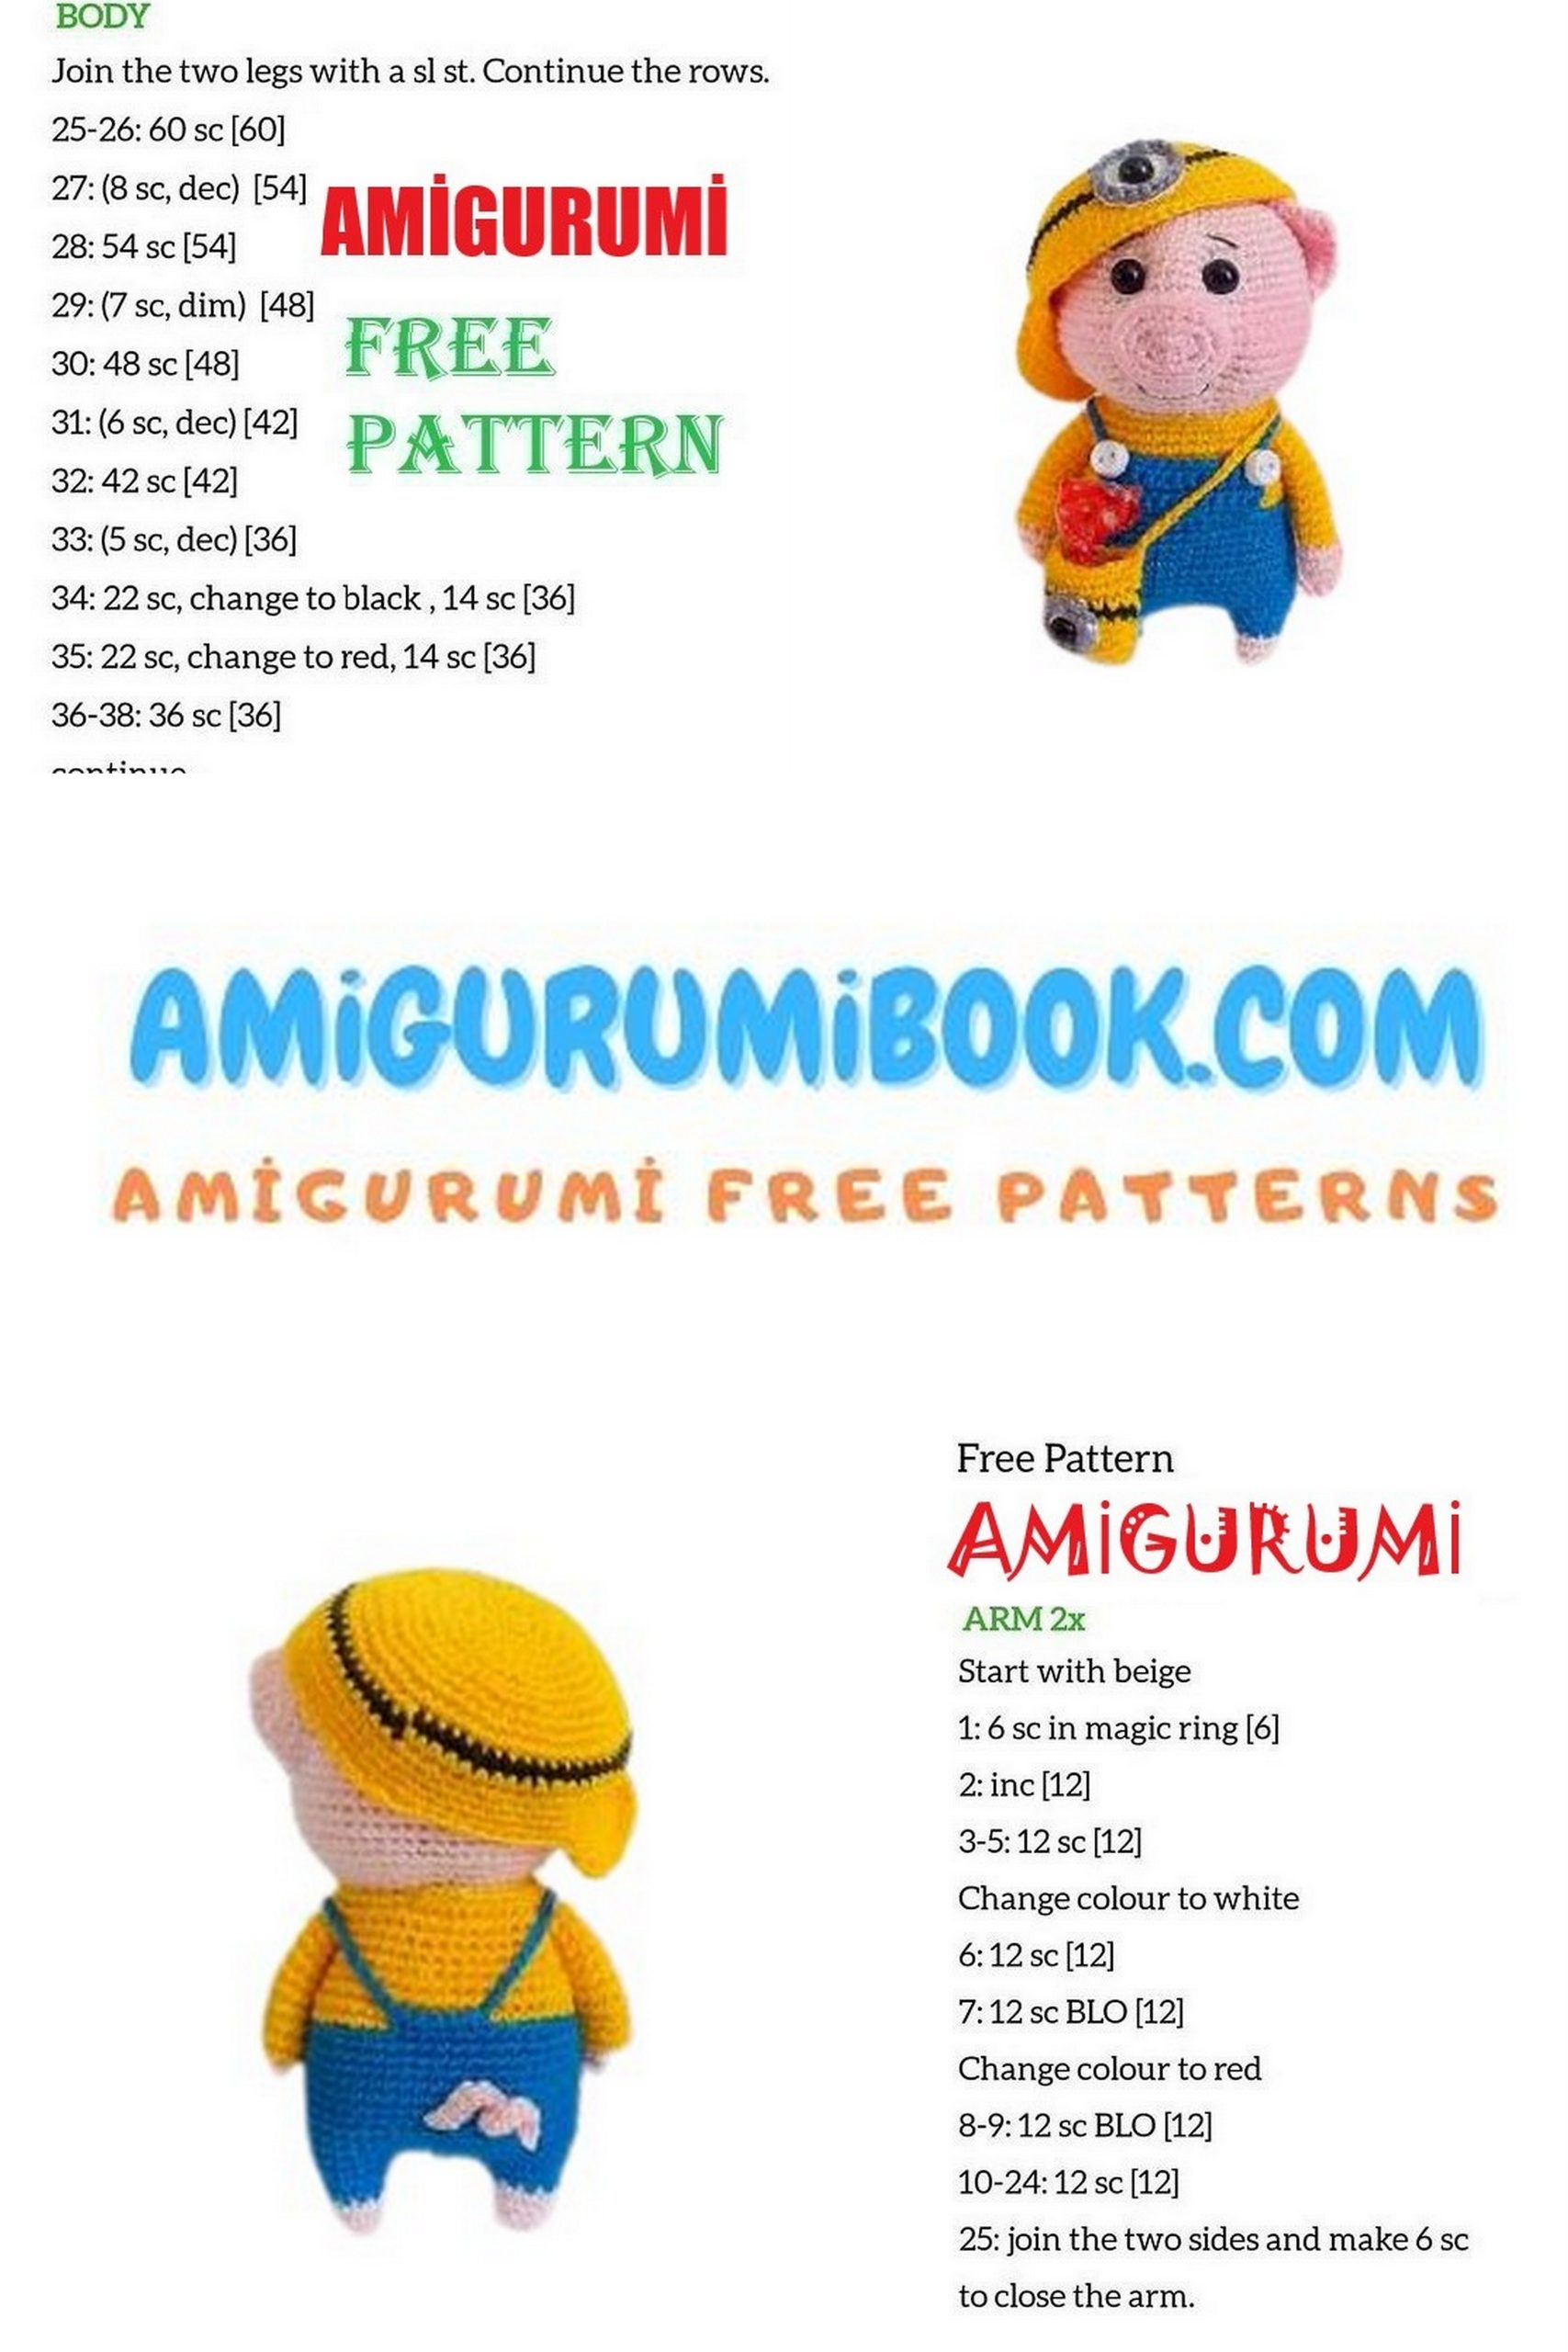
Body + Legs
1: Start with the first leg (flesh color) – 5 sc in MC (5)
2: 5 inc (10)
3–4: 10 sc (10)
5: Change to blue yarn
• First leg: (4 sc, inc), cut the yarn (12)
• Second leg: (inc, 4 sc), do not cut the yarn (12)
6:
• First leg: 12 sc, fasten off
• Second leg: 12 sc (continue working)
Fasten off the first leg.
From the second leg ch 6 and join to the first leg with sc.
7: 12 sc, 6 sc in chain, 12 sc on the other leg (36)
8: (5 sc, inc) x6 (42)
9–18: 42 sc (10 rows)
19: Change to yellow yarn, 42 sc in BLO (42)
20: 42 sc (42)
21: 6 sc, dec, 23 sc, dec, 15 sc (46)
22: 5 sc, dec, 22 sc, dec, 15 sc (44)
23: (9 sc, dec) x4 (40)
24: Attach the arms:
6 sc, 5 sc through arm and body together,
14 sc, 5 sc through second arm and body,
10 sc (40)
25: 6 sc, 5 sc on remaining arm loops,
14 sc, 5 sc on second arm loops,
10 sc (40)
26: Lightly stuff the body and adjust arm stuffing if needed (40)
Optionally insert wire into the arms.
Fasten off leaving a long tail for sewing.
Attach Head
Sew the body to the back loops of round 40 of the head.
If you are not using wire, you can simply sew the arms directly to the body.
Tail (Flesh Color)
Ch 15. Starting from the 2nd ch from the hook, crochet:
1: 14 sc
Fasten off and leave a tail for sewing.
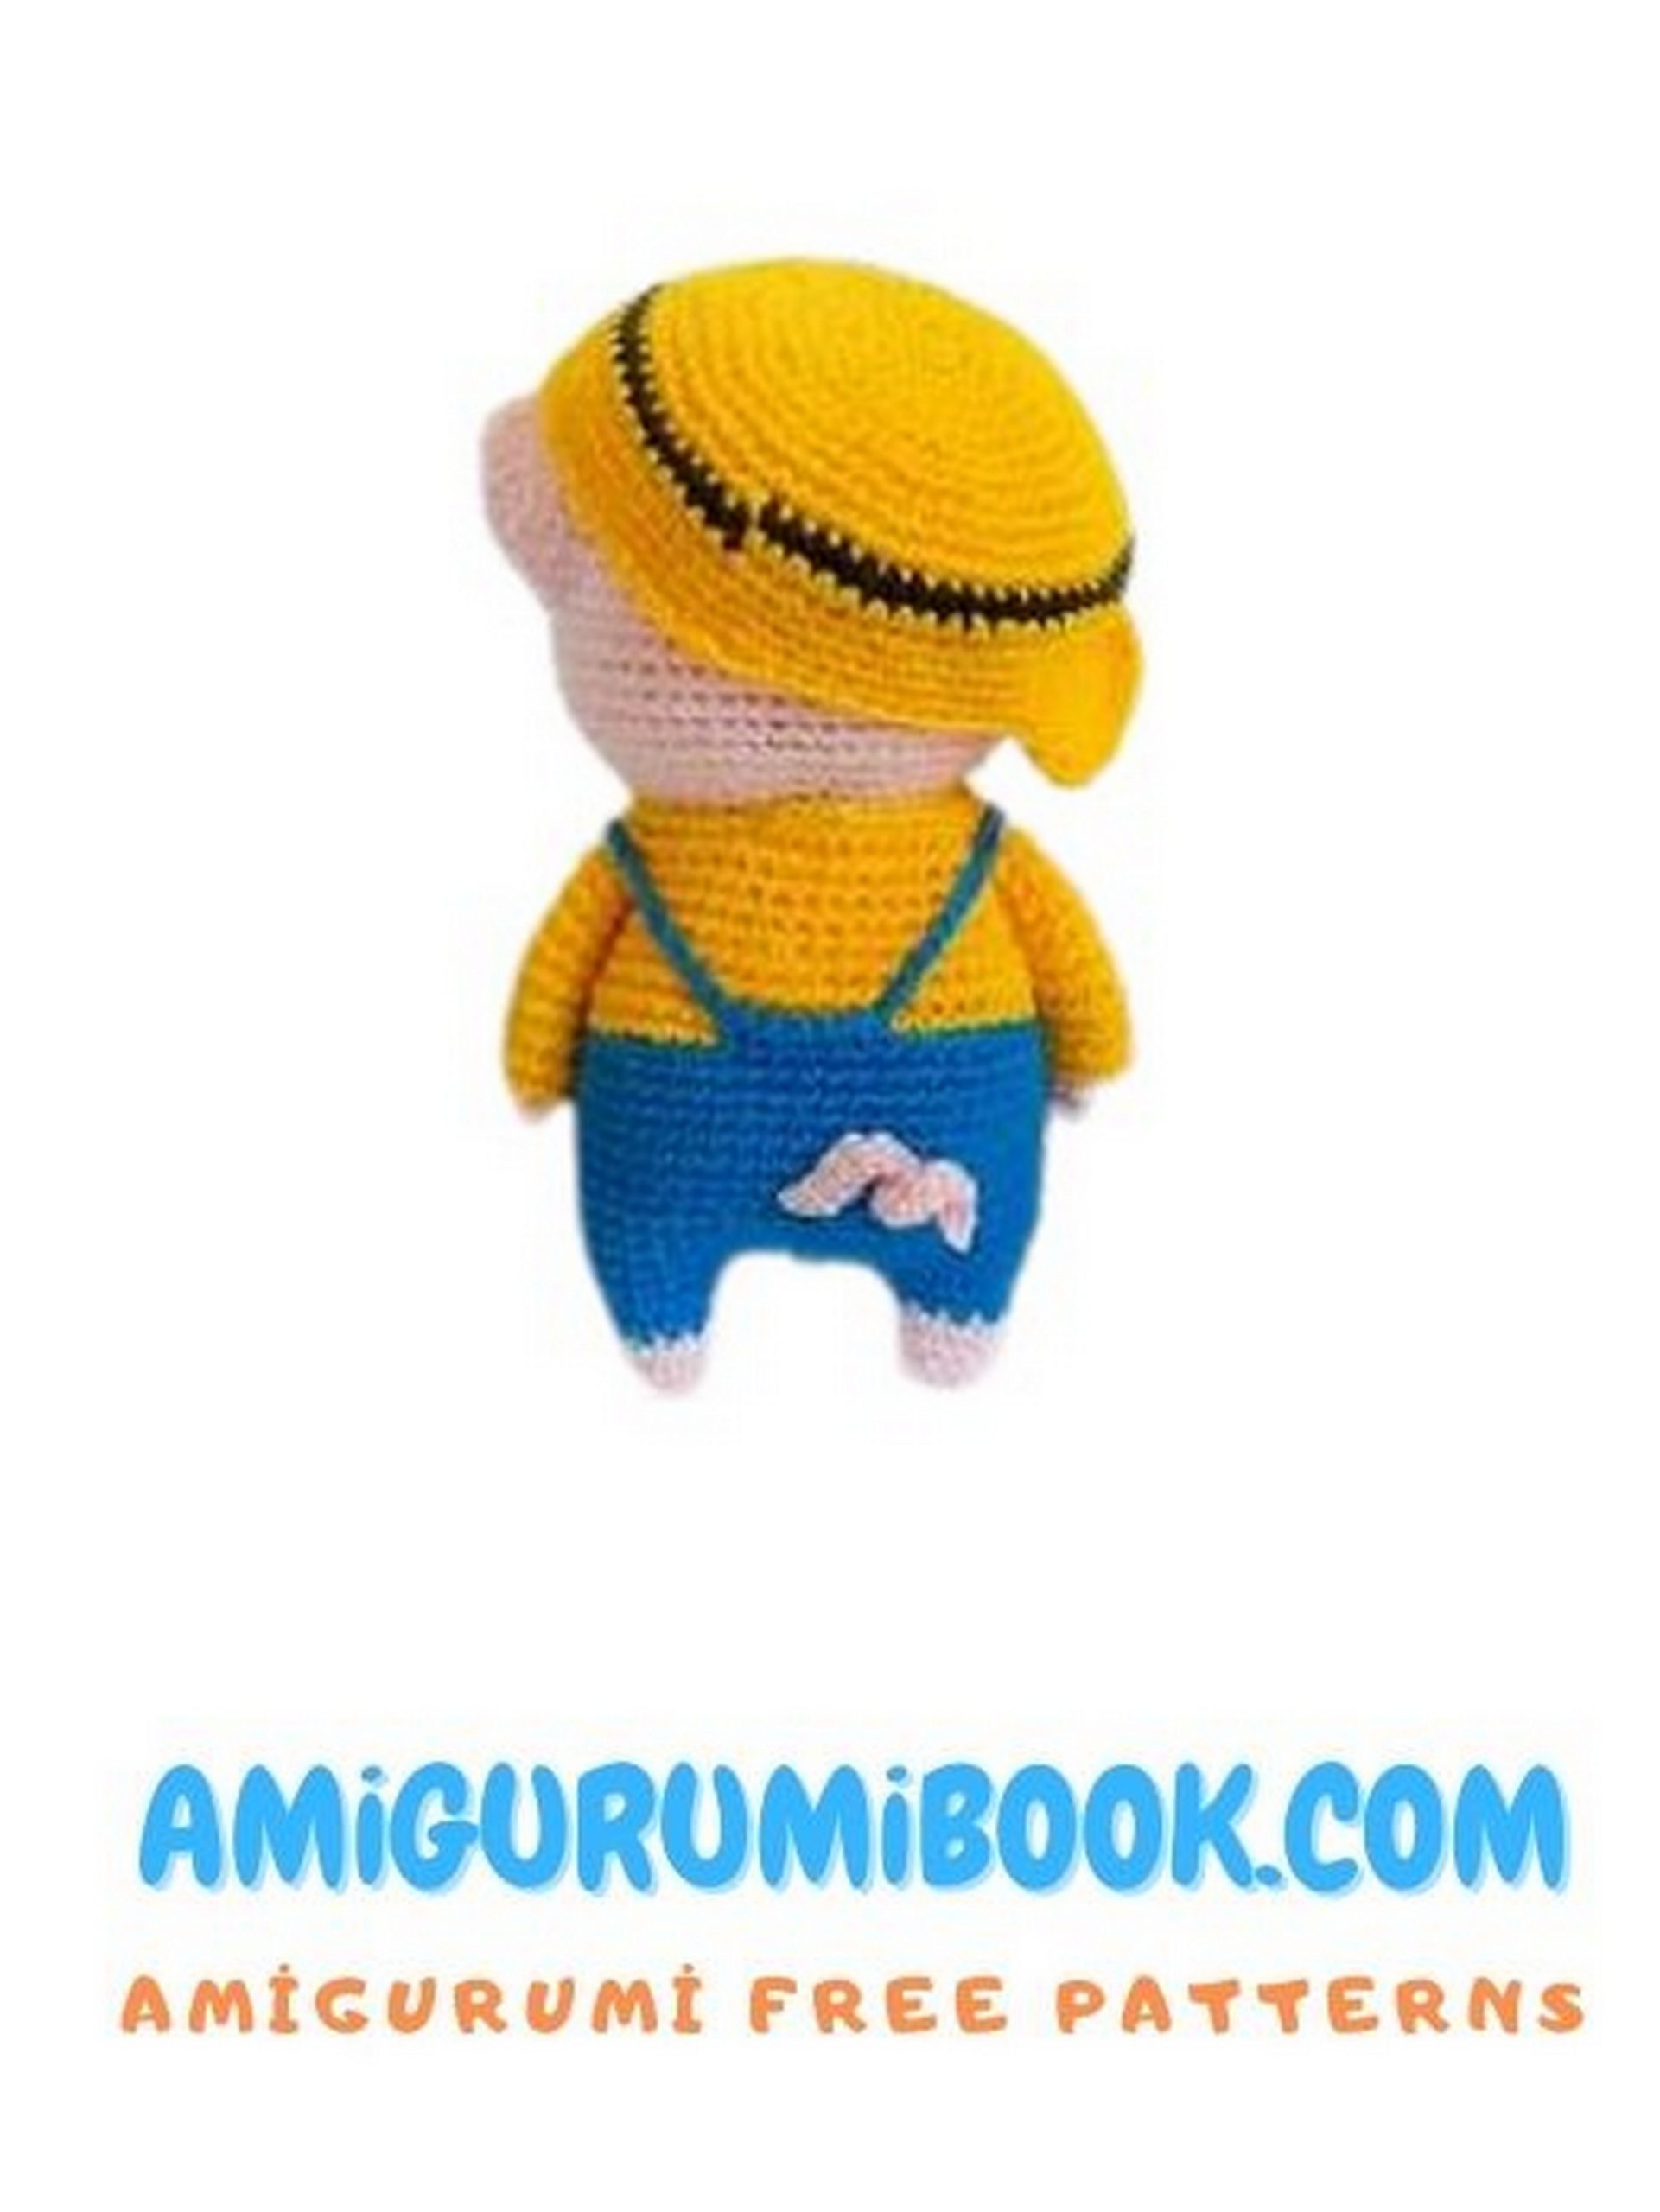
Straps for Pants (Blue Color)
1: 12 sc in the middle of the belly, working into the BLO of the pants (12)
2: Ch 1, turn, 12 sc (12)
3–5: 12 sc (3 rows)
Without cutting the yarn:
- Ch ~15 and bring the strap over the right shoulder and across the back
- Crochet 6 sc in the center of the back through the BLO of the pants
- Ch ~15 again and bring the strap over the left shoulder
- Join to the belly with sc
Sew buttons onto the straps.
Baseball Cap (Yellow Color)
1: 6 sc in MC (6)
2: Ch 1, 10 sc in FLO (10)
3: Ch 1, turn, 8 sc (8)
4: Edge the cap with 16 sc, finish with sl st (16)
Cap Visor (Yellow Color)
1: 12 sc in FLO (12)
2: Ch 1, turn, 10 sc (10)
3: Ch 1, turn, 8 sc (8)
4: Edge the visor with 16 sc, finish with sl st (16)
Eye on the Cap
1: 6 sc in MC – white yarn (6)
2: 6 inc (12)
3: (1 sc, inc) x6 (18)
4: 18 sc in FLO – gray yarn (18)
Attach a half bead in the center and sew the eye onto the cap.
Bag (Yellow Color)
1: Ch 8. Starting from the 2nd ch from hook:
6 sc, 3 sc in one stitch, 5 sc, inc (16)
2: inc, 6 sc, inc, 8 sc (18)
3–5: 18 sc (18)
6: 18 sc – black yarn (18)
7–8: 18 sc – yellow yarn (18)
Without cutting the yarn:
Ch ~40 to create the shoulder strap, then attach it to the bag with sl st.
Eye on the Bag
1: 6 sc in MC – white yarn (6)
2: 6 inc (12)
3: (1 sc, inc) x6 (18)
4: 18 sc in FLO – gray yarn (18)
Attach a half bead to the center and sew the eye onto the bag.
Place a small candy inside the bag for a cute finishing touch 🍬