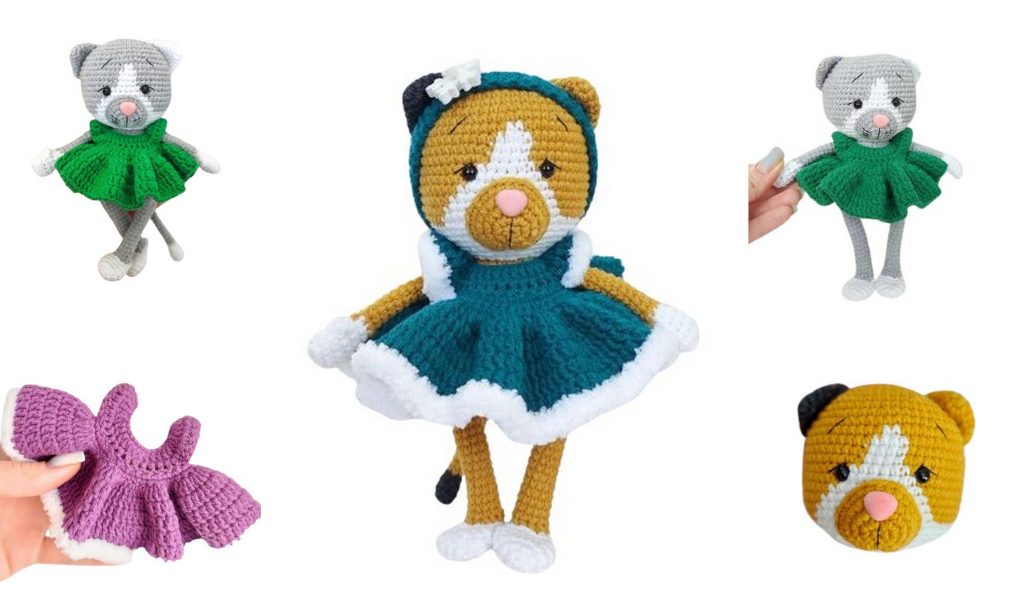
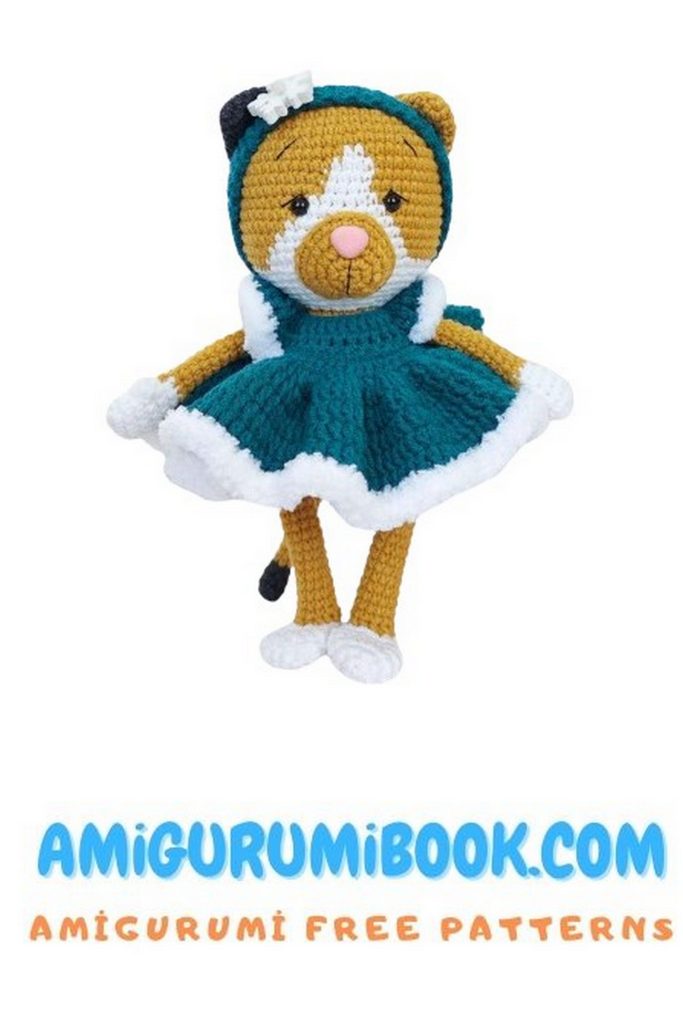
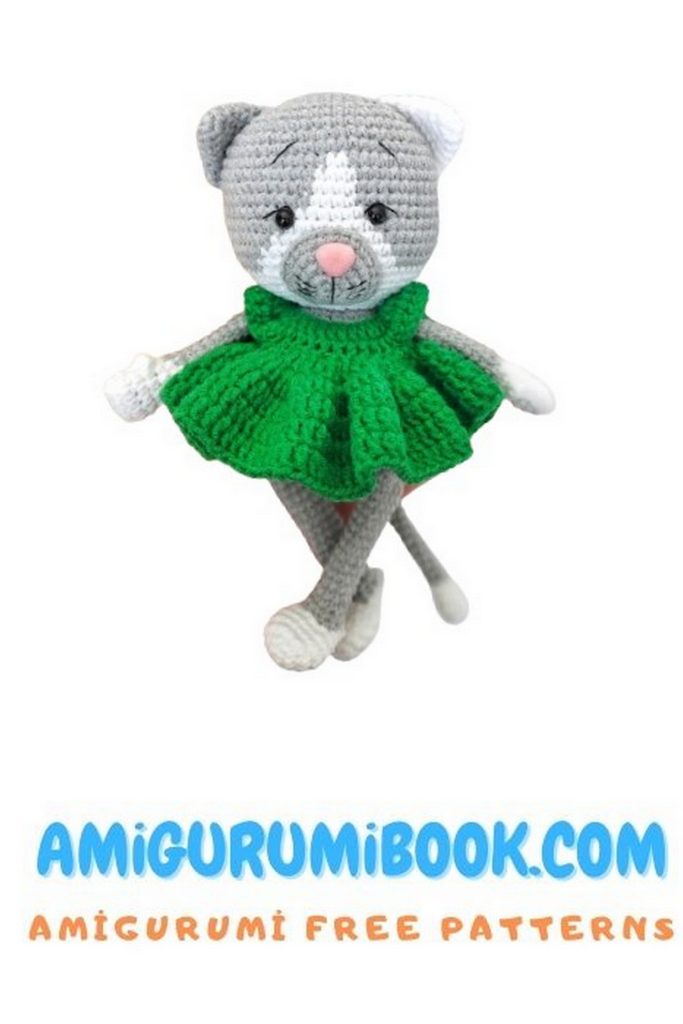
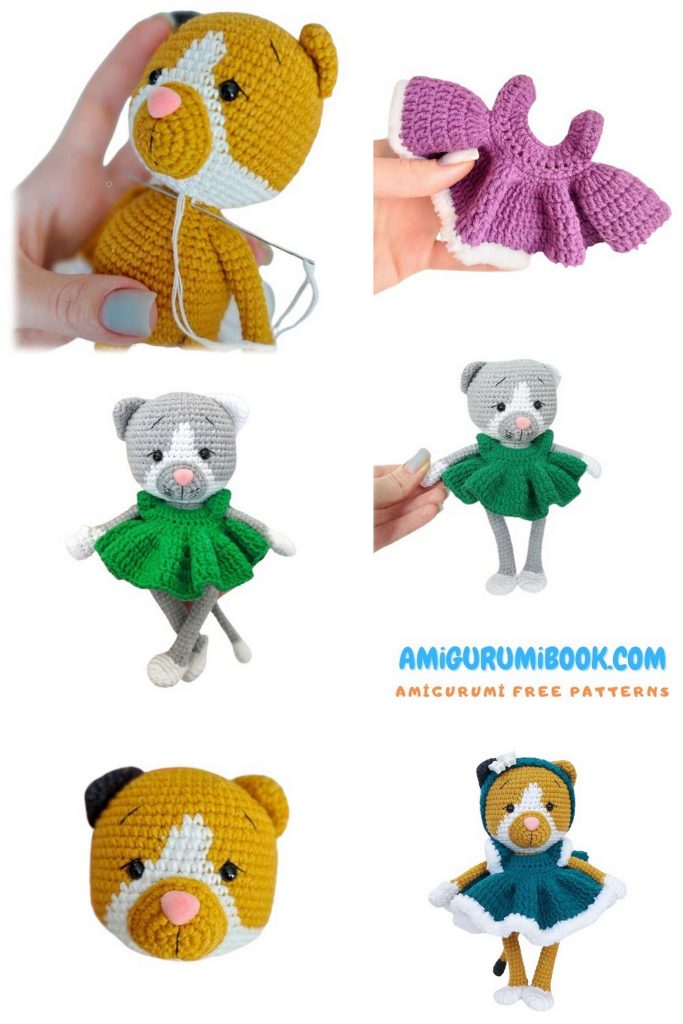
Enter the enchanting world of crochet with our free Lady Cat Amigurumi pattern and crochet tutorial. Designed for both beginners and seasoned crafters, this comprehensive guide offers step-by-step instructions and detailed images to help you bring this elegant feline to life. Whether you’re making it as a gift or for your own amigurumi collection, crafting the Lady Cat Amigurumi is a delightful experience that’s sure to bring joy to your crafting journey. Start stitching today and let your creativity soar!
1000+ Amigurumi Free Patterns: Mobile App Download
Materials Needed:
1: YarnArt Jeans yarn:
a) Emerald (color 63)
b) Mustard (color 84)
c) Snow White (color 62)
d) Dark Grey Melange (color 28)
2: Alize Softy plus yarn
a) White (color 55)
3: Safety eyes 5-6mm
4: Nose 12*10mm (mine is pink)
5: Stuffing
6: Crochet hook 2.0
7: Fine black thread for facial features
8: Sewing needle
9: Scissors
10: Snowflake button for headband decoration
11: Dress button (10-12mm)
When using these materials, the toy size is approximately 20 cm.
Lady Cat Amigurumi Pattern
Abbreviations:
MR – magic ring
Ch – chain stitch
Sc – single crochet
Inc – increase (2 sc in one stitch)
Dec – decrease (sc 2 together)
Hdc – half double crochet
Dc – double crochet
Sl st – slip stitch
(…) – number of stitches in a row
Lady Cat – Head:
Crochet with Mustard color:
1: 8 sc in MR
2: (1 sc, 3 inc)*2 (14)
3: 2 sc, 3 inc, 4 sc, 3 inc, 2 sc (20)
4: 2 sc, (1 sc, inc)*3, 4 sc, (1 sc, inc)*3, 2 sc (26)
5: 2 sc, (inc, 2 sc)*3, 4 sc, (inc, 2 sc)*3, 2 sc (32)
6: 2 sc, (3 sc, inc)*3, 4 sc, (3 sc, inc)*3, 2 sc (38)
7: 2 sc, (inc, 4 sc)*3, 4 sc, (inc, 4 sc)*3, 2 sc (44)
8: 10 sc, 2 inc, 20 sc, 2 inc, 10 sc (48)
9: (7 sc, inc)*6 (54)
10: 4 sc, inc, (8 sc, inc)*5, 4 sc (60)
11: 29 sc, 2 sc in White, 29 sc (60)
12-14: 28 sc, 4 sc in White, 28 sc (60) (3 rows)
15: 27 sc, 6 sc in White, 27 sc (60)
16: 26 sc, 8 sc in White, 26 sc (60)
17: 25 sc, 10 sc in White, 25 sc (60)
18: 24 sc, 12 sc in White, 24 sc (60)
19: 23 sc, 14 sc in White, 23 sc (60)
20: 22 sc, 16 sc in White, 22 sc (60)
Switch to White color:
21: 4 sc, dec, (8 sc, dec)*5, 4 sc (54)
22: (7 sc, dec)*6 (48)
If using safety eyes, place them between rows 15 and 16, about 8-9 stitches apart.
23: 3 sc, dec, (6 sc, dec)*5, 3 sc (42)
24: (5 sc, dec)*6 (36)
25: 2 sc, dec, (4 sc, dec)*5, 2 sc (30)
26: (3 sc, dec)*6 (24)
Start stuffing the piece.
27: 1 sc, dec, (2 sc, dec)*5, 1 sc (18)
Fasten off, leaving a long tail for sewing.
Lady Cat – Legs:
Do not stuff.
Crochet with White color:
1: 6 sc in MR
2: 6 inc (12)
3: (1 sc, inc)*6 (18)
4-5: 18 sc (2 rows)
6: (1 sc, dec)*6 (12)
7-9: 12 sc (3 rows)
10: 6 dec
Fasten off, close the hole, and weave in the end.
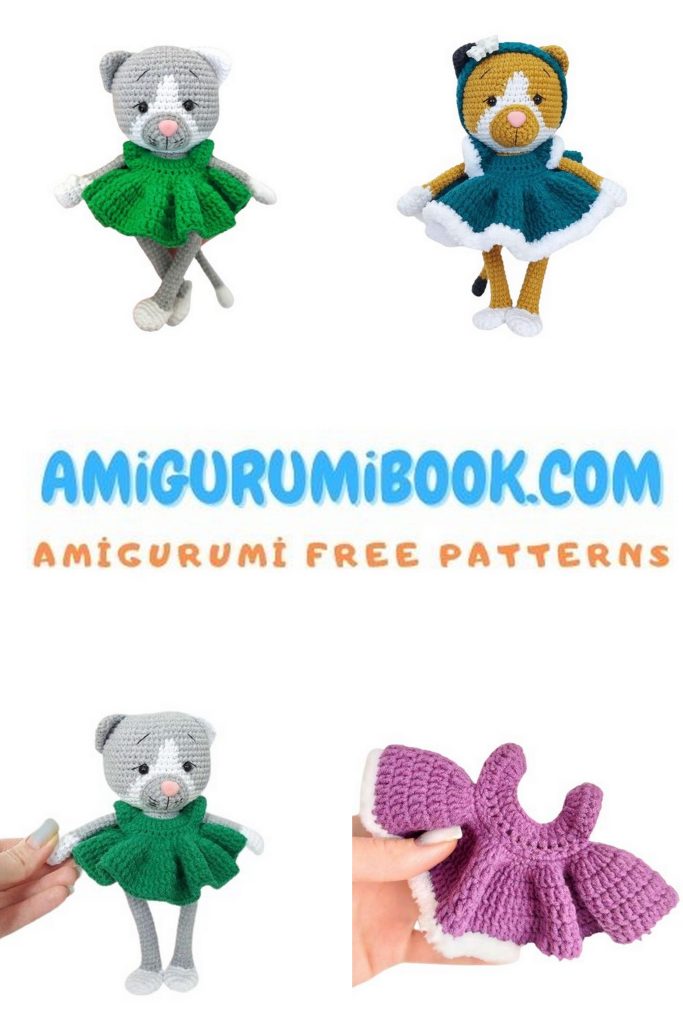
Attach Mustard color yarn to the foot (as shown in the photo).
Crochet clockwise in rounds:
1-20: 12 sc (20 rounds)
21: If needed, create stitches offset to make this round parallel to the foot length. (I added +3 sc). Fold the two sides of the piece together and crochet 6 sc together.
Crochet the second leg in the same way.
Lady Cat – Tail:
Stuff up to the 10th round.
Crochet with Dark Grey color:
1: 6 sc in MR
2: (2 sc, inc)*2 (8)
3-4: 8 sc (2 rows)
5: (2 sc, dec)*2 (6)
Switch to Mustard color:
6-26: 6 sc (21 rounds)
Fold the edges of the piece and crochet 3 sc through both loops. Fasten off and weave in the end. Tail will be sewn on.
Lady Cat – Arms:
Start with White color:
Stuff only halfway through the piece!
Chain 5, starting from the second chain from the hook, crochet:
1: Inc, 2 sc, 4 sc in one, 2 sc, inc (12)
2-4: 12 sc (3 rows)
5: 3 hdc in one stitch, 11 sc (12)
6: (dec, 4 sc)*2 (10)
Switch to Mustard color:
7: 10 sc
8: (dec, 3 sc)*2 (8)
9: 8 sc
10-19: 8 sc (10 rows)
Fold the two sides of the stitches and crochet 4 sc together. If necessary, create offsets before this to align with the initial chain. I added +2 sc before.
Crochet the second arm similarly. Arms will be sewn on.
Lady Cat – Body:
Crochet with Mustard color:
1: 6 sc in MR
2: 6 inc (12)
3: (1 sc, inc)*6 (18)
4: 1 sc, inc, (2 sc, inc)*5, 1 sc (24)
5: (3 sc, inc)*6 (30)
6: 2 sc, inc, (4 sc, inc)*5, 2 sc (36)
7: (5 sc, inc)*6 (42)
8: 3 sc, inc, (6 sc, inc)*5, 3 sc (48)
9: (7 sc, inc)*6 (54)
10: 10 sc, join with the left leg by 6 sc, 22 sc, join with the right leg by 6 sc, 8 sc, 2 sc with the tail (54)
11: 1 sc with the tail, 53 sc (54)
12-14: 54 sc (3 rows)
15: (7 sc, dec)*6 (48)
16: 3 sc, dec, (6 sc, dec)*5, 3 sc (42)
17: 42 sc
18: (5 sc, dec)*6 (36)
19: 2 sc, dec, (4 sc, dec)*5, 2 sc (30)
20: Align the marker at the middle of the back (I added +1 sc):
5 sc, 4 sc together with the left arm, 12 sc, 4 sc together with the right arm, 5 sc (30)
21: (3 sc, dec)*6 (24)
22: 1 sc, dec, (2 sc, dec)*5, 1 sc (18)
23: 18 sc
Stuff the body.
Fasten off, weave in the end.
Lady Cat – Muzzle:
Do not stuff.
Crochet with White color:
1: 6 sc in MR
2: 6 inc (12)
3: (1 sc, inc)*6 (18)
4: (2 sc, inc)*6 (24)
5: 24 sc
Fasten off, leaving a long tail for sewing.
Sew the muzzle between rows 16-25 of the head.
Lady Cat – Ears:
Crochet one ear with Mustard color, the other with Dark Grey:
1: 6 sc in MR
2: (1 sc, inc)*3 (9)
3: (2 sc, inc)*3 (12)
4: (3 sc, inc)*3 (15)
5: (4 sc, inc)*3 (18)
6: (5 sc, inc)*3 (21)
Fold the two sides of stitches and crochet 10 sc. Sew the ears, leaving a space of 4-5 rows from the magic ring on both sides.
Dress and Headband:
Leave a tail of approximately 30 cm (to make a loop for the button later).
Chain 34 + 3 chains for turning, starting from the 4th chain from the hook, crochet:
1: 6 hdc, (inc in 3 hdc)*5, 12 hdc, (inc in 3 hdc)*5, 6 hdc, turn (54)
2: 3 chains, 54 hdc (54)
3: 1 chain, 6 inc in sc, 4 chains, skip 15 stitches, 12 inc in sc, 4 chains, skip 15 stitches, 6 inc in sc (56)
4: 1 chain, 56 sc, turn
Join in the round with a slip stitch, turn
5: 3 chains, 3 hdc in each stitch (168)
6-9: 3 chains, 168 hdc, join with sl st (168) (4 rows)
Switch to Alize Softy+ yarn and crochet 168 sc. Fasten off, cut the yarn, and hide.
With the leftover yarn from the beginning, make a loop for the button.
Chain 8, skip 1 stitch on the piece, and secure the loop with a slip stitch in the next stitch. Sew a button on the opposite side.
Attach Alize Softy+ yarn to the “lanterns” of the sleeves and make single crochet edging only on the top part.
Headband:
1: Chain 2, crochet 3 sc in the first chain, turn (3)
2: Chain 1, 3 sc, turn (3)
3: Chain 1, inc, 1 sc, inc, turn (5)
4: Chain 1, 5 sc, turn (5)
5: Chain 1, inc, 3 sc, inc, turn (7)
6: Chain 1, 7 sc, turn (7)
7: Chain 1, dec, 3 sc, dec, turn (5)
8: Chain 1, 5 sc, turn (5)
9: Chain 1, dec, 1 sc, dec, turn (3)
10-75: Chain 1, 3 sc, turn (3) (66 rows, approximately 30 cm)
76: Chain 1, inc, 1 sc, inc, turn (5)
77: Chain 1, 5 sc, turn (5)
78: Chain 1, inc, 3 sc, inc, turn (7)
79: Chain 1, 7 sc, turn (7)
80: Chain 1, dec, 3 sc, dec, turn (5)
81: Chain 1, 5 sc, turn (5)
82: Chain 1, dec, 1 sc, dec, turn (3)
Attach Alize Softy+ yarn and single crochet edging on the two “ears” of the headband.
Finishing Touches:
1: Embroider eyebrows, eyelashes, and a vertical line from the nose to the end of the muzzle using thin black thread.
2: Sew the head to the body.
3: Sew the button to the headband (mine is a snowflake button) and a button for the loop.
Your lady cat amigurumi toy is ready!