
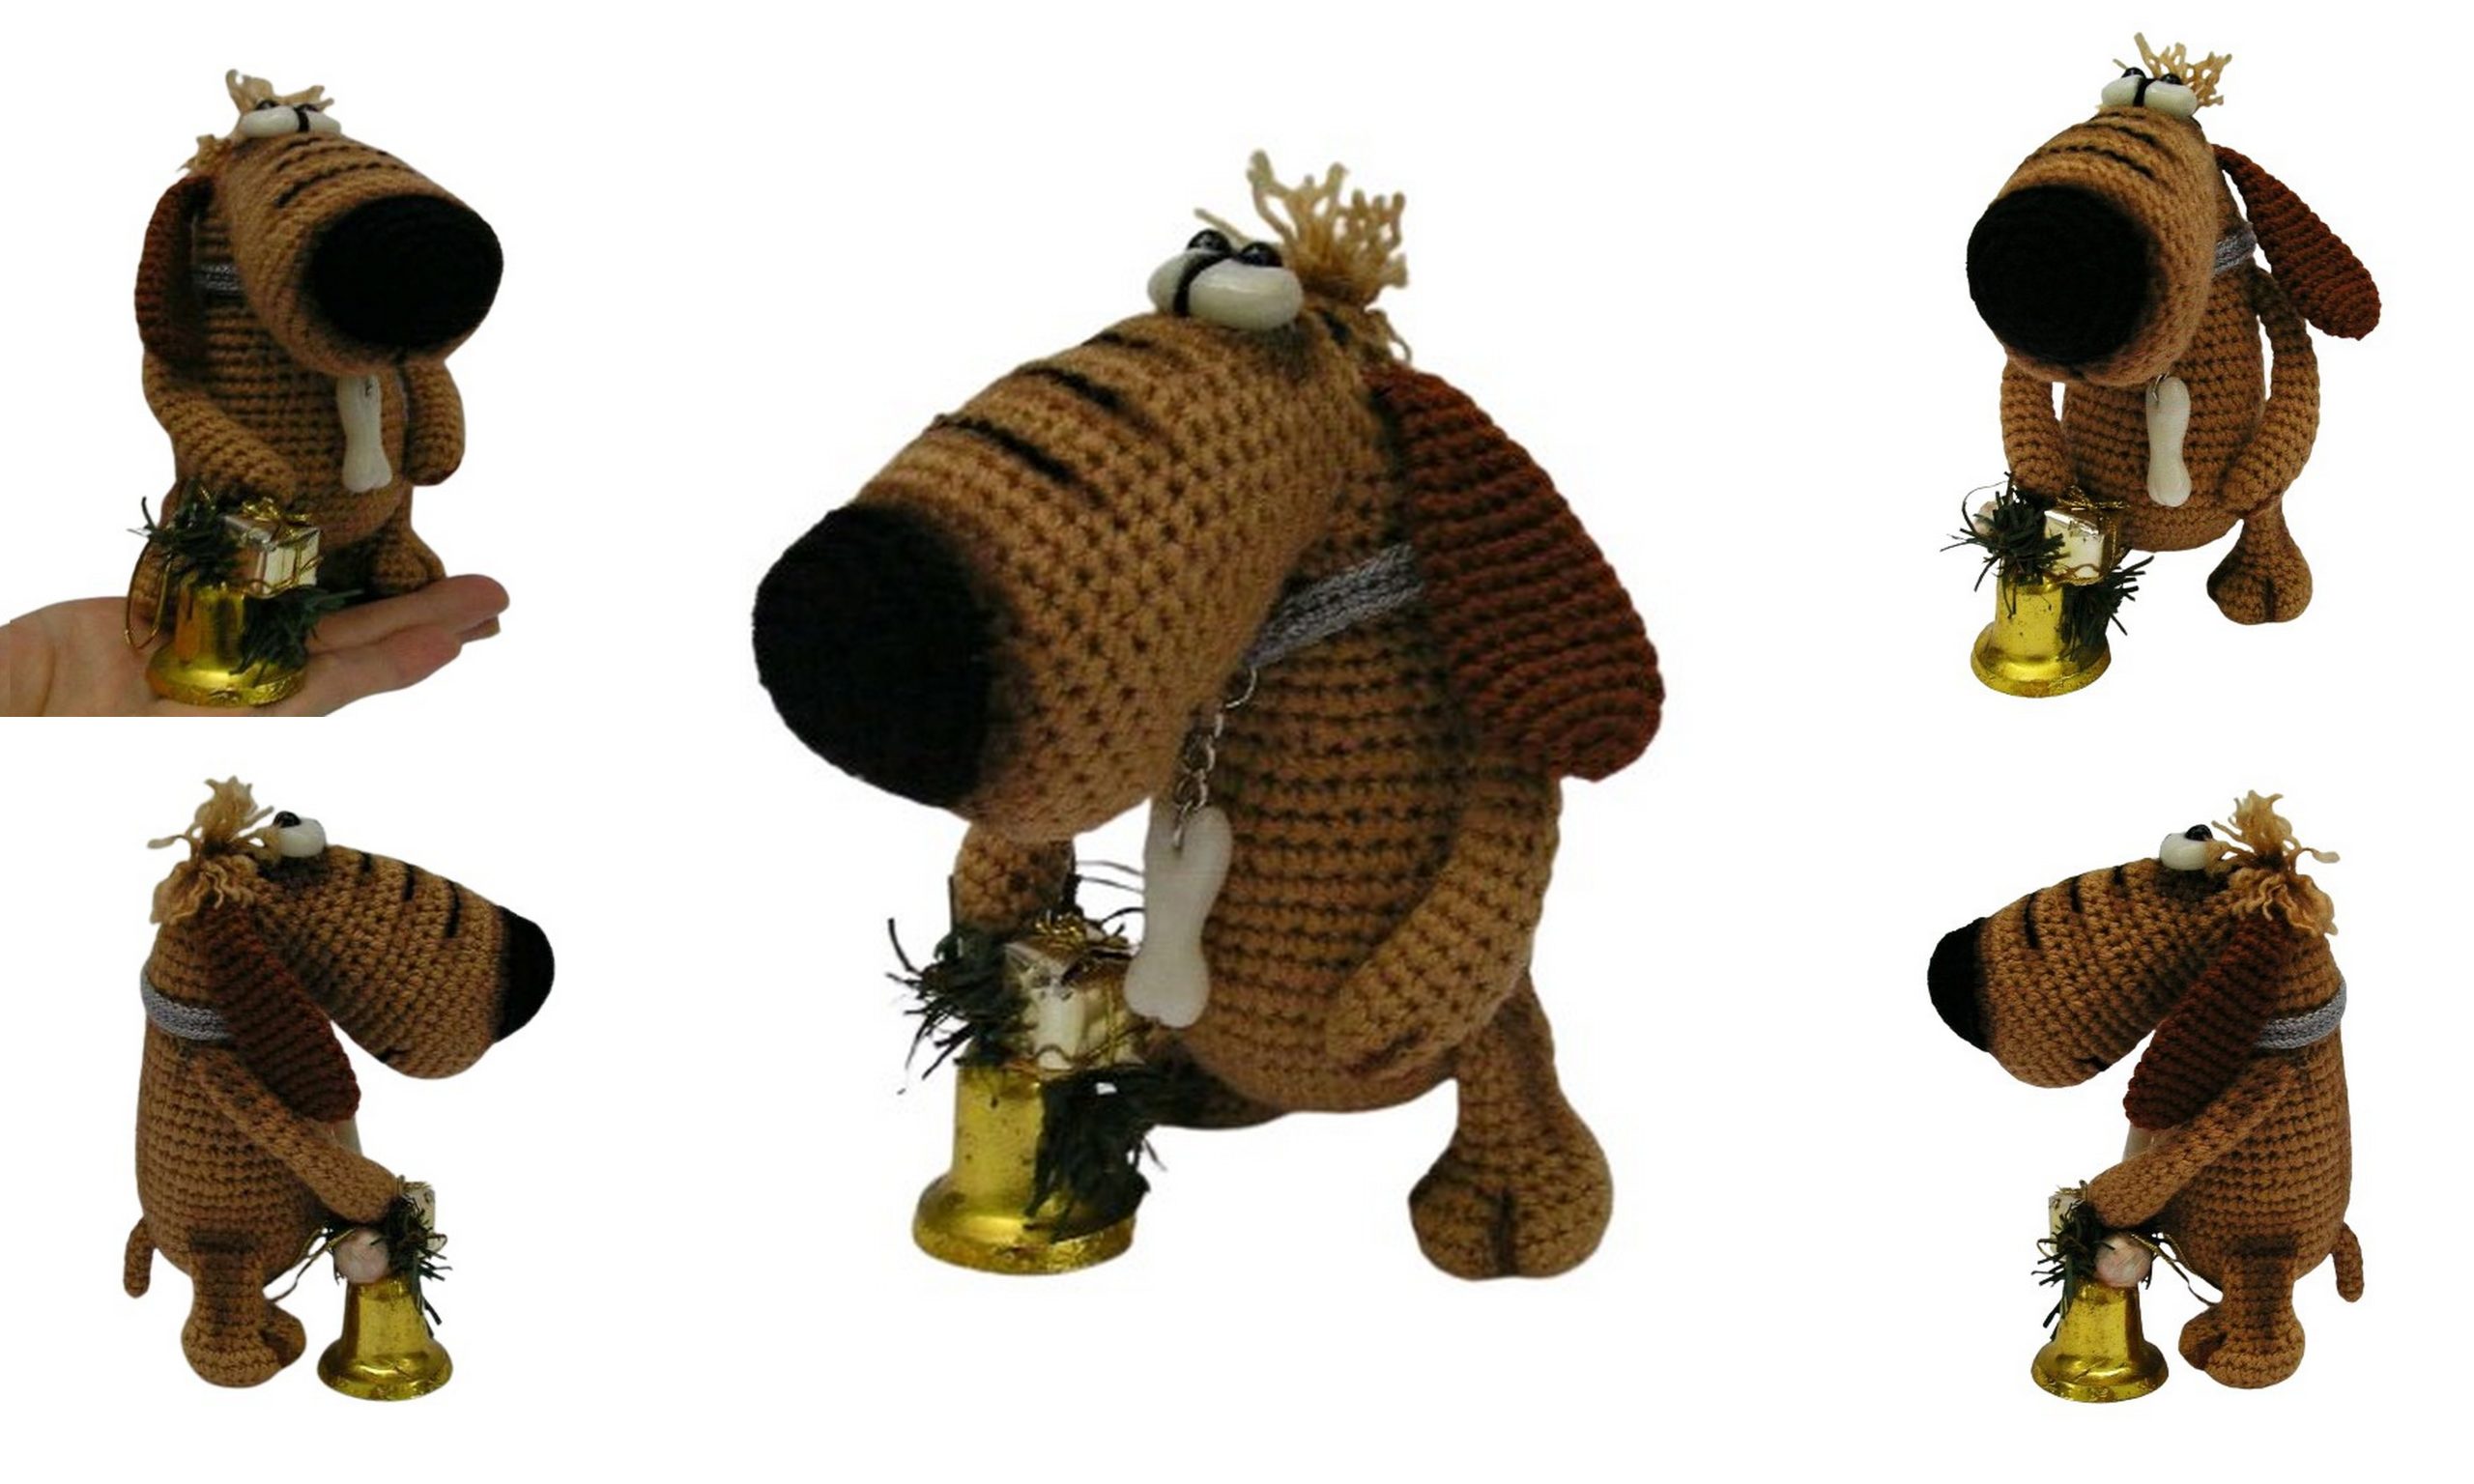
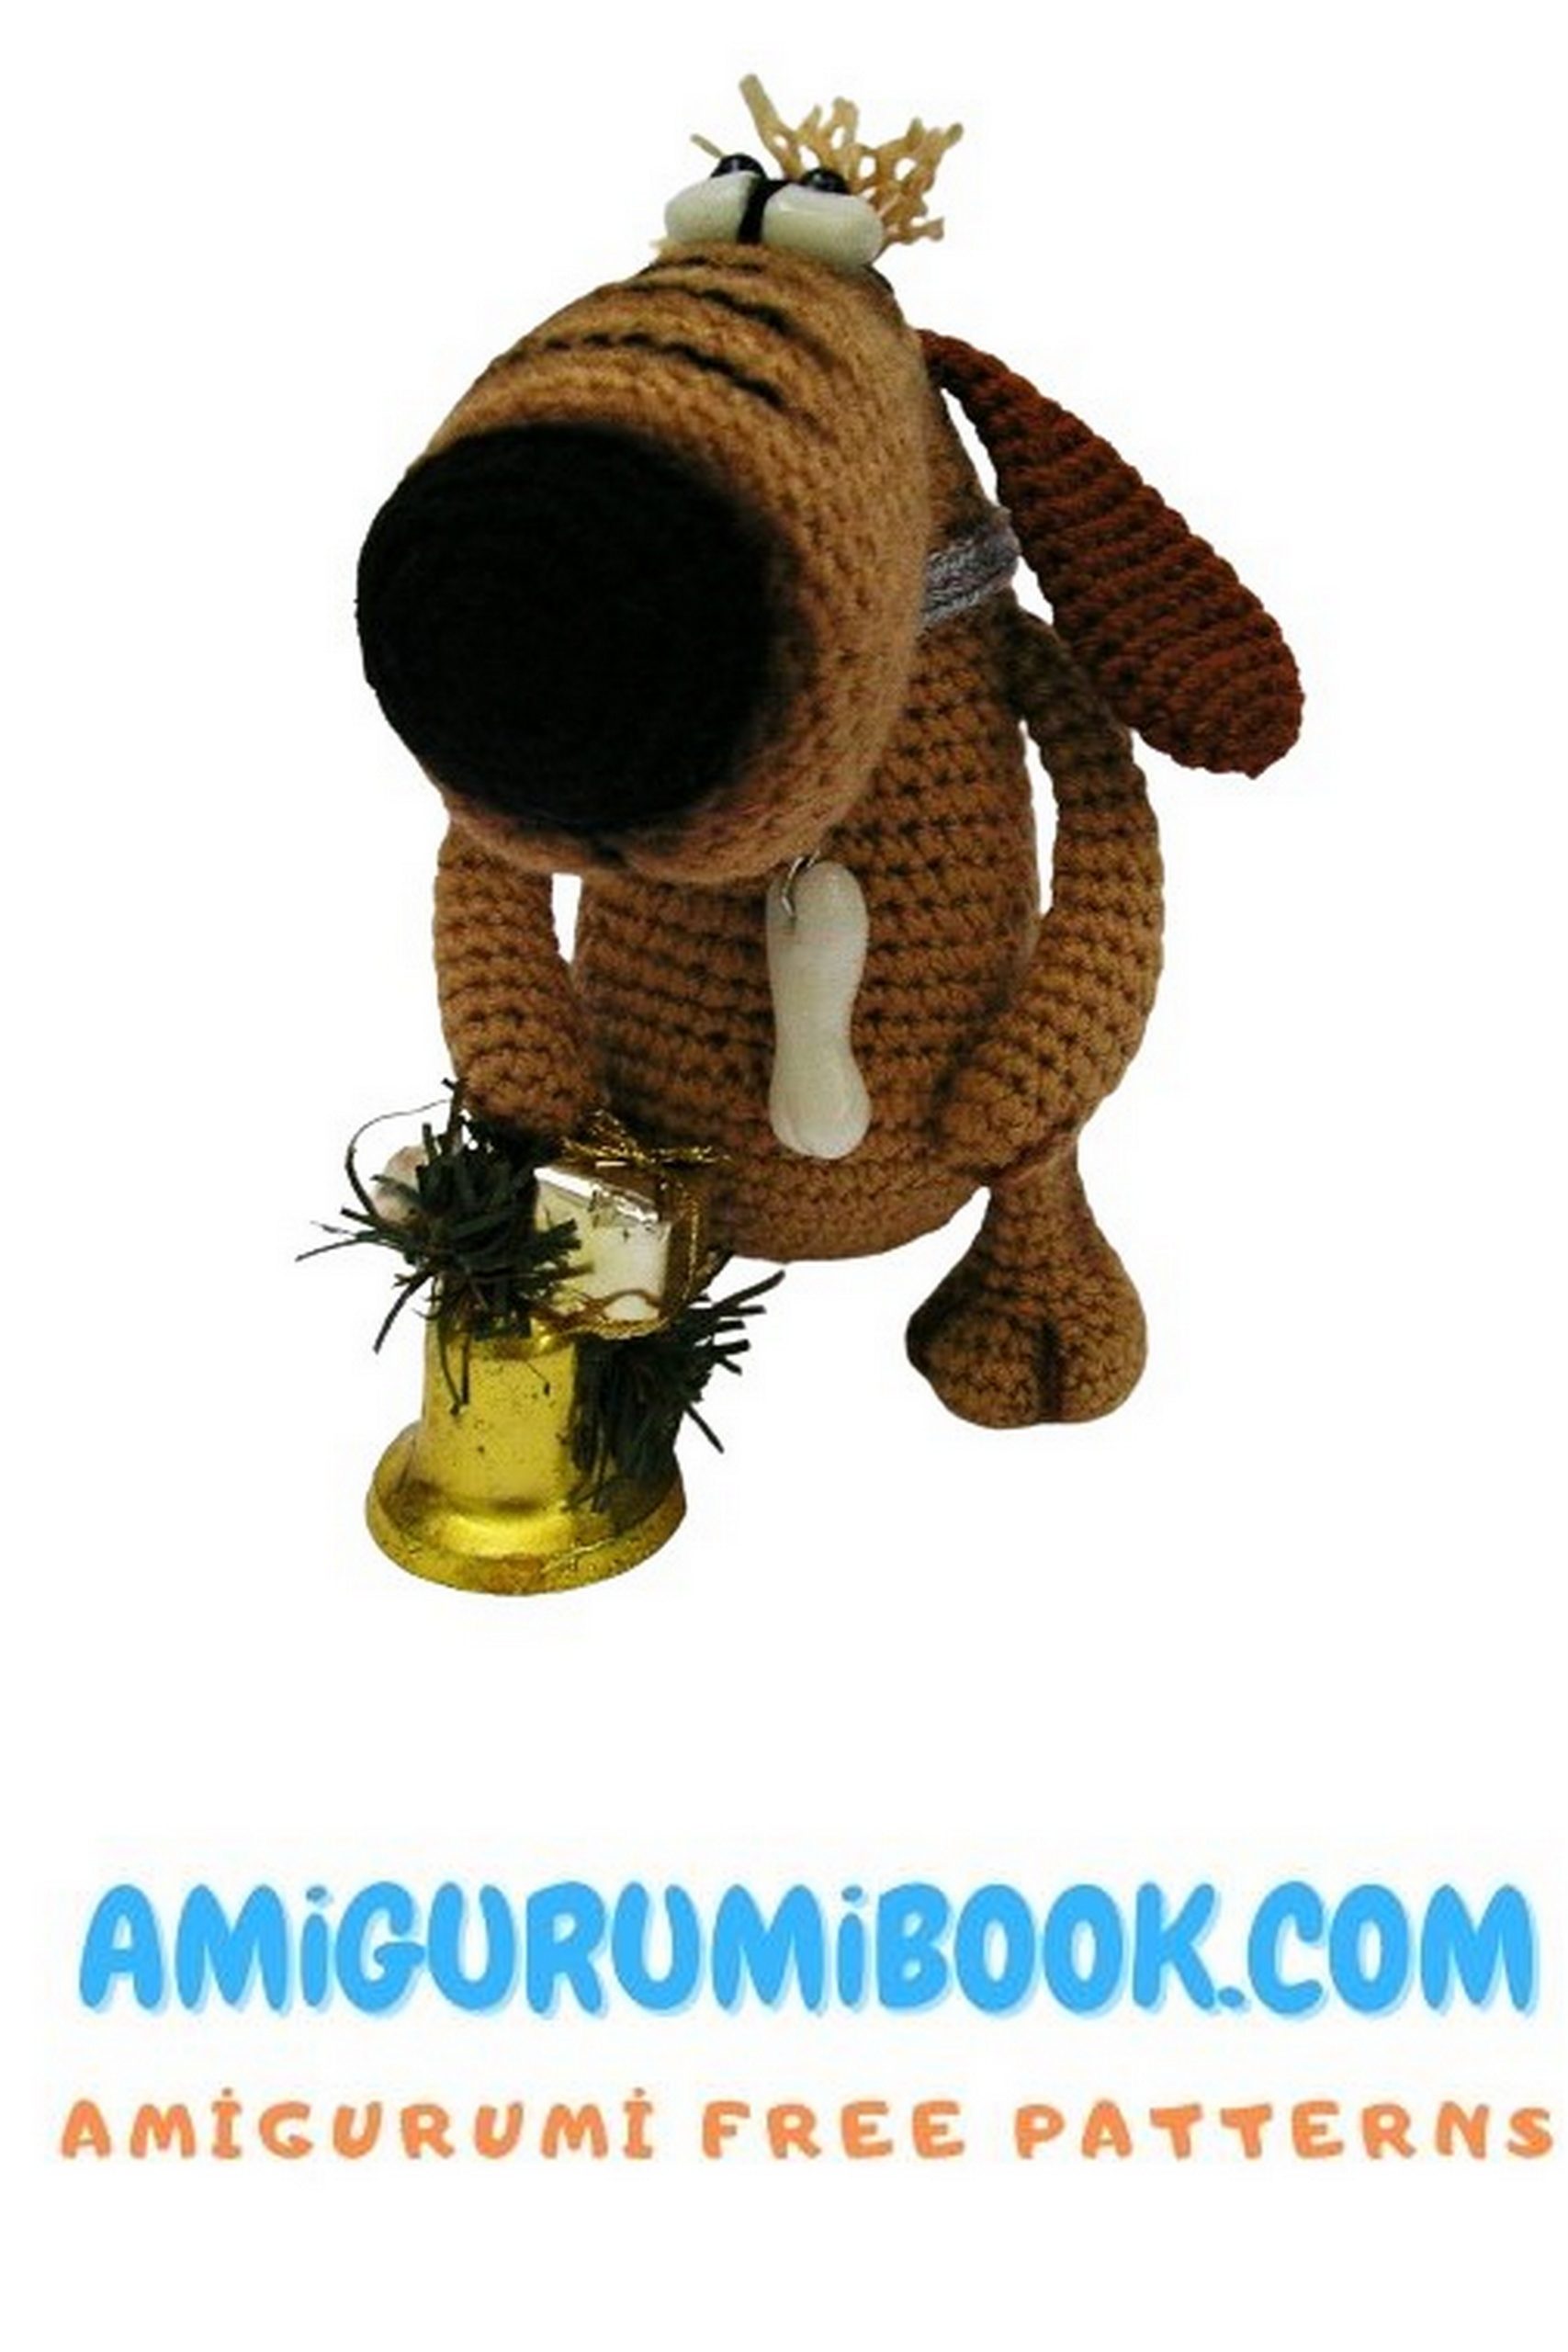
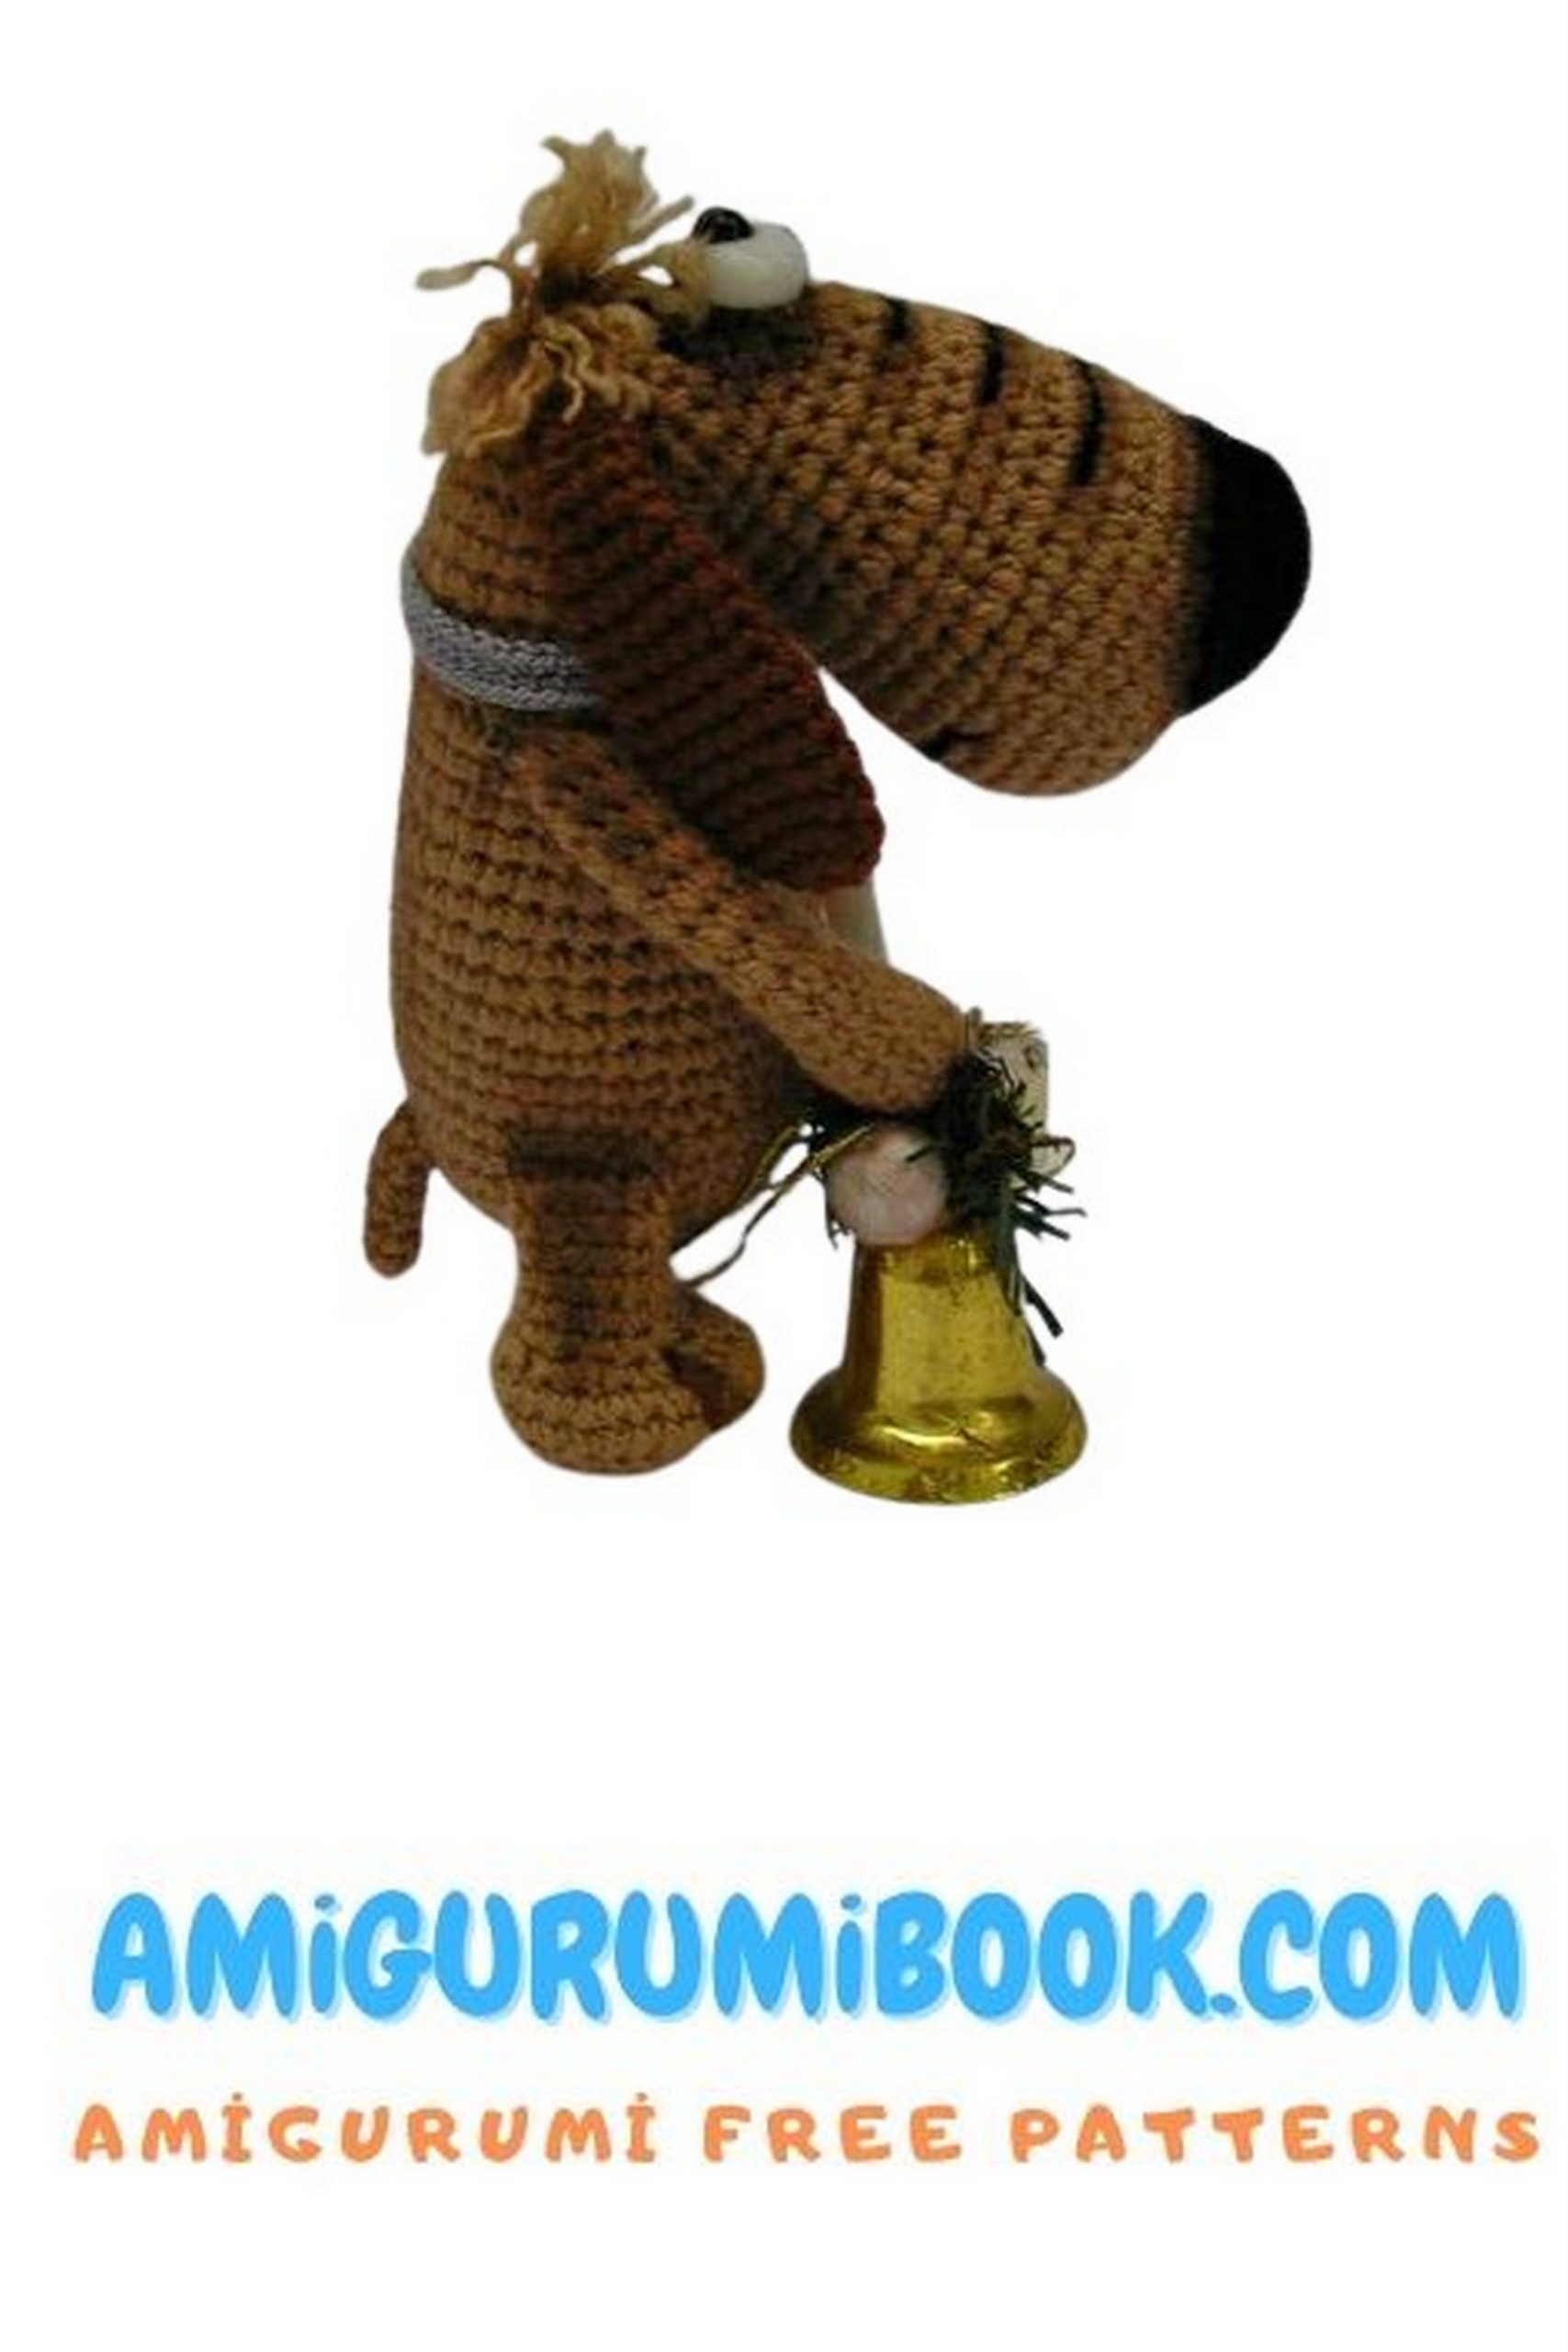
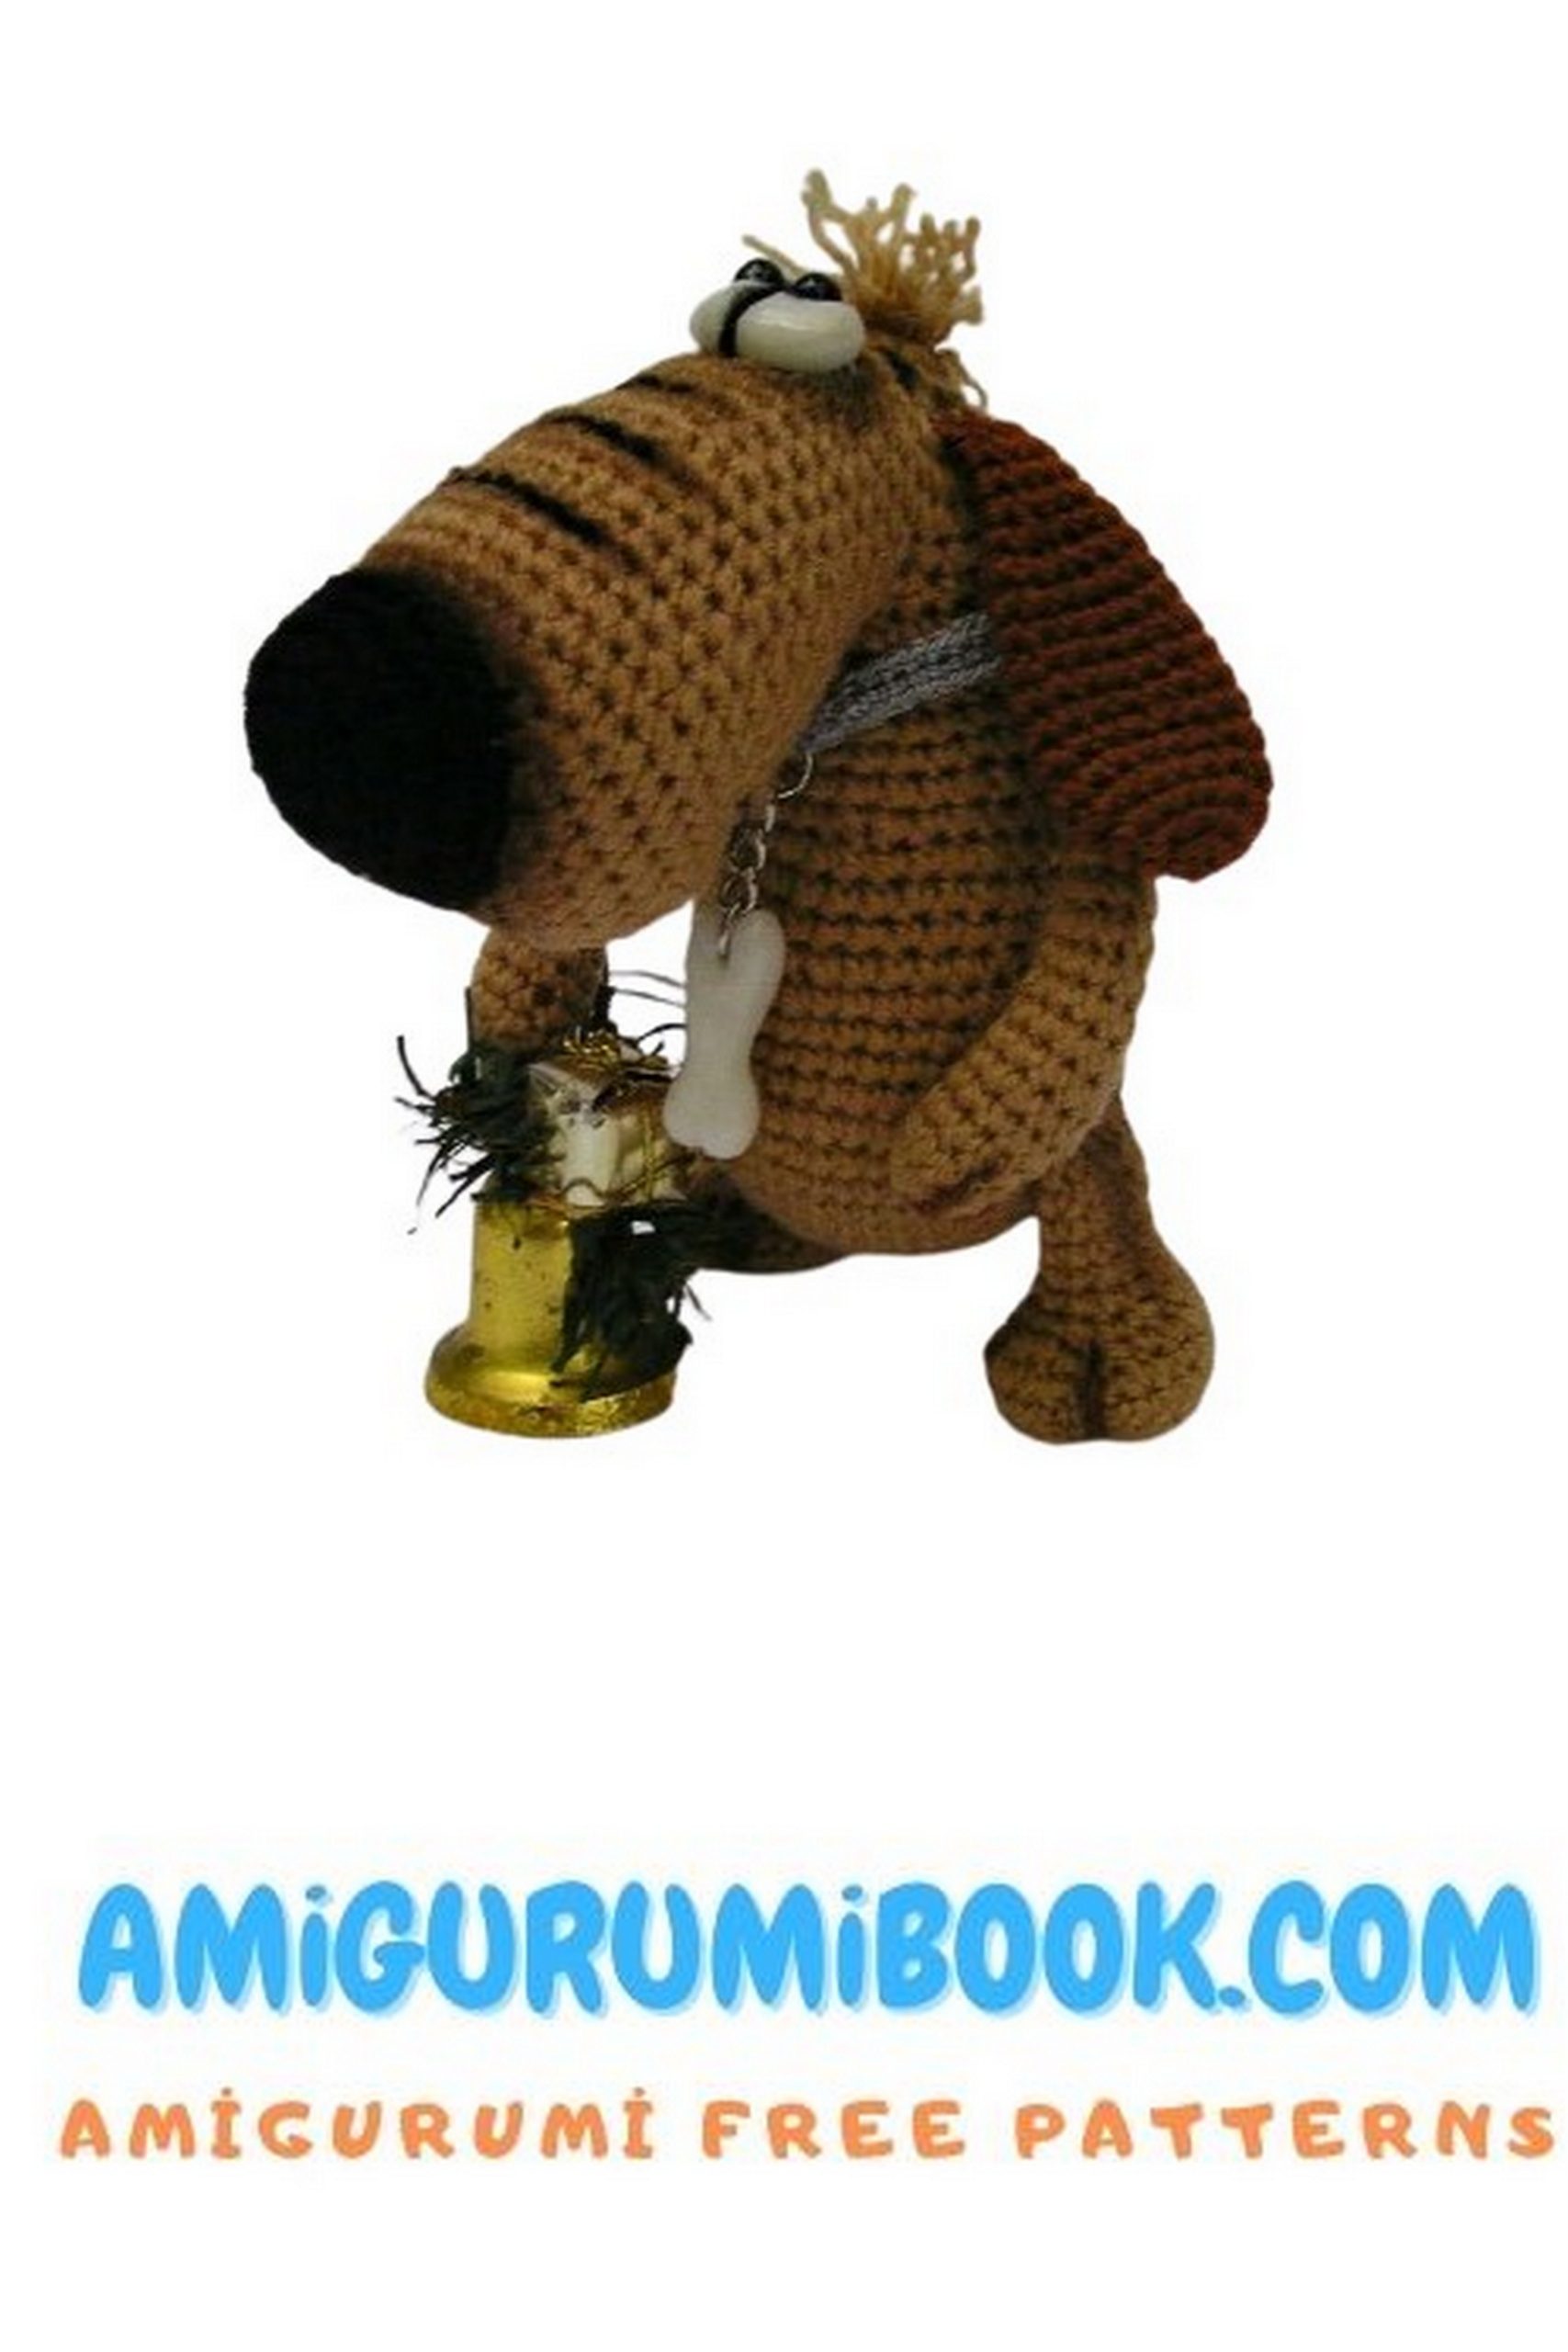
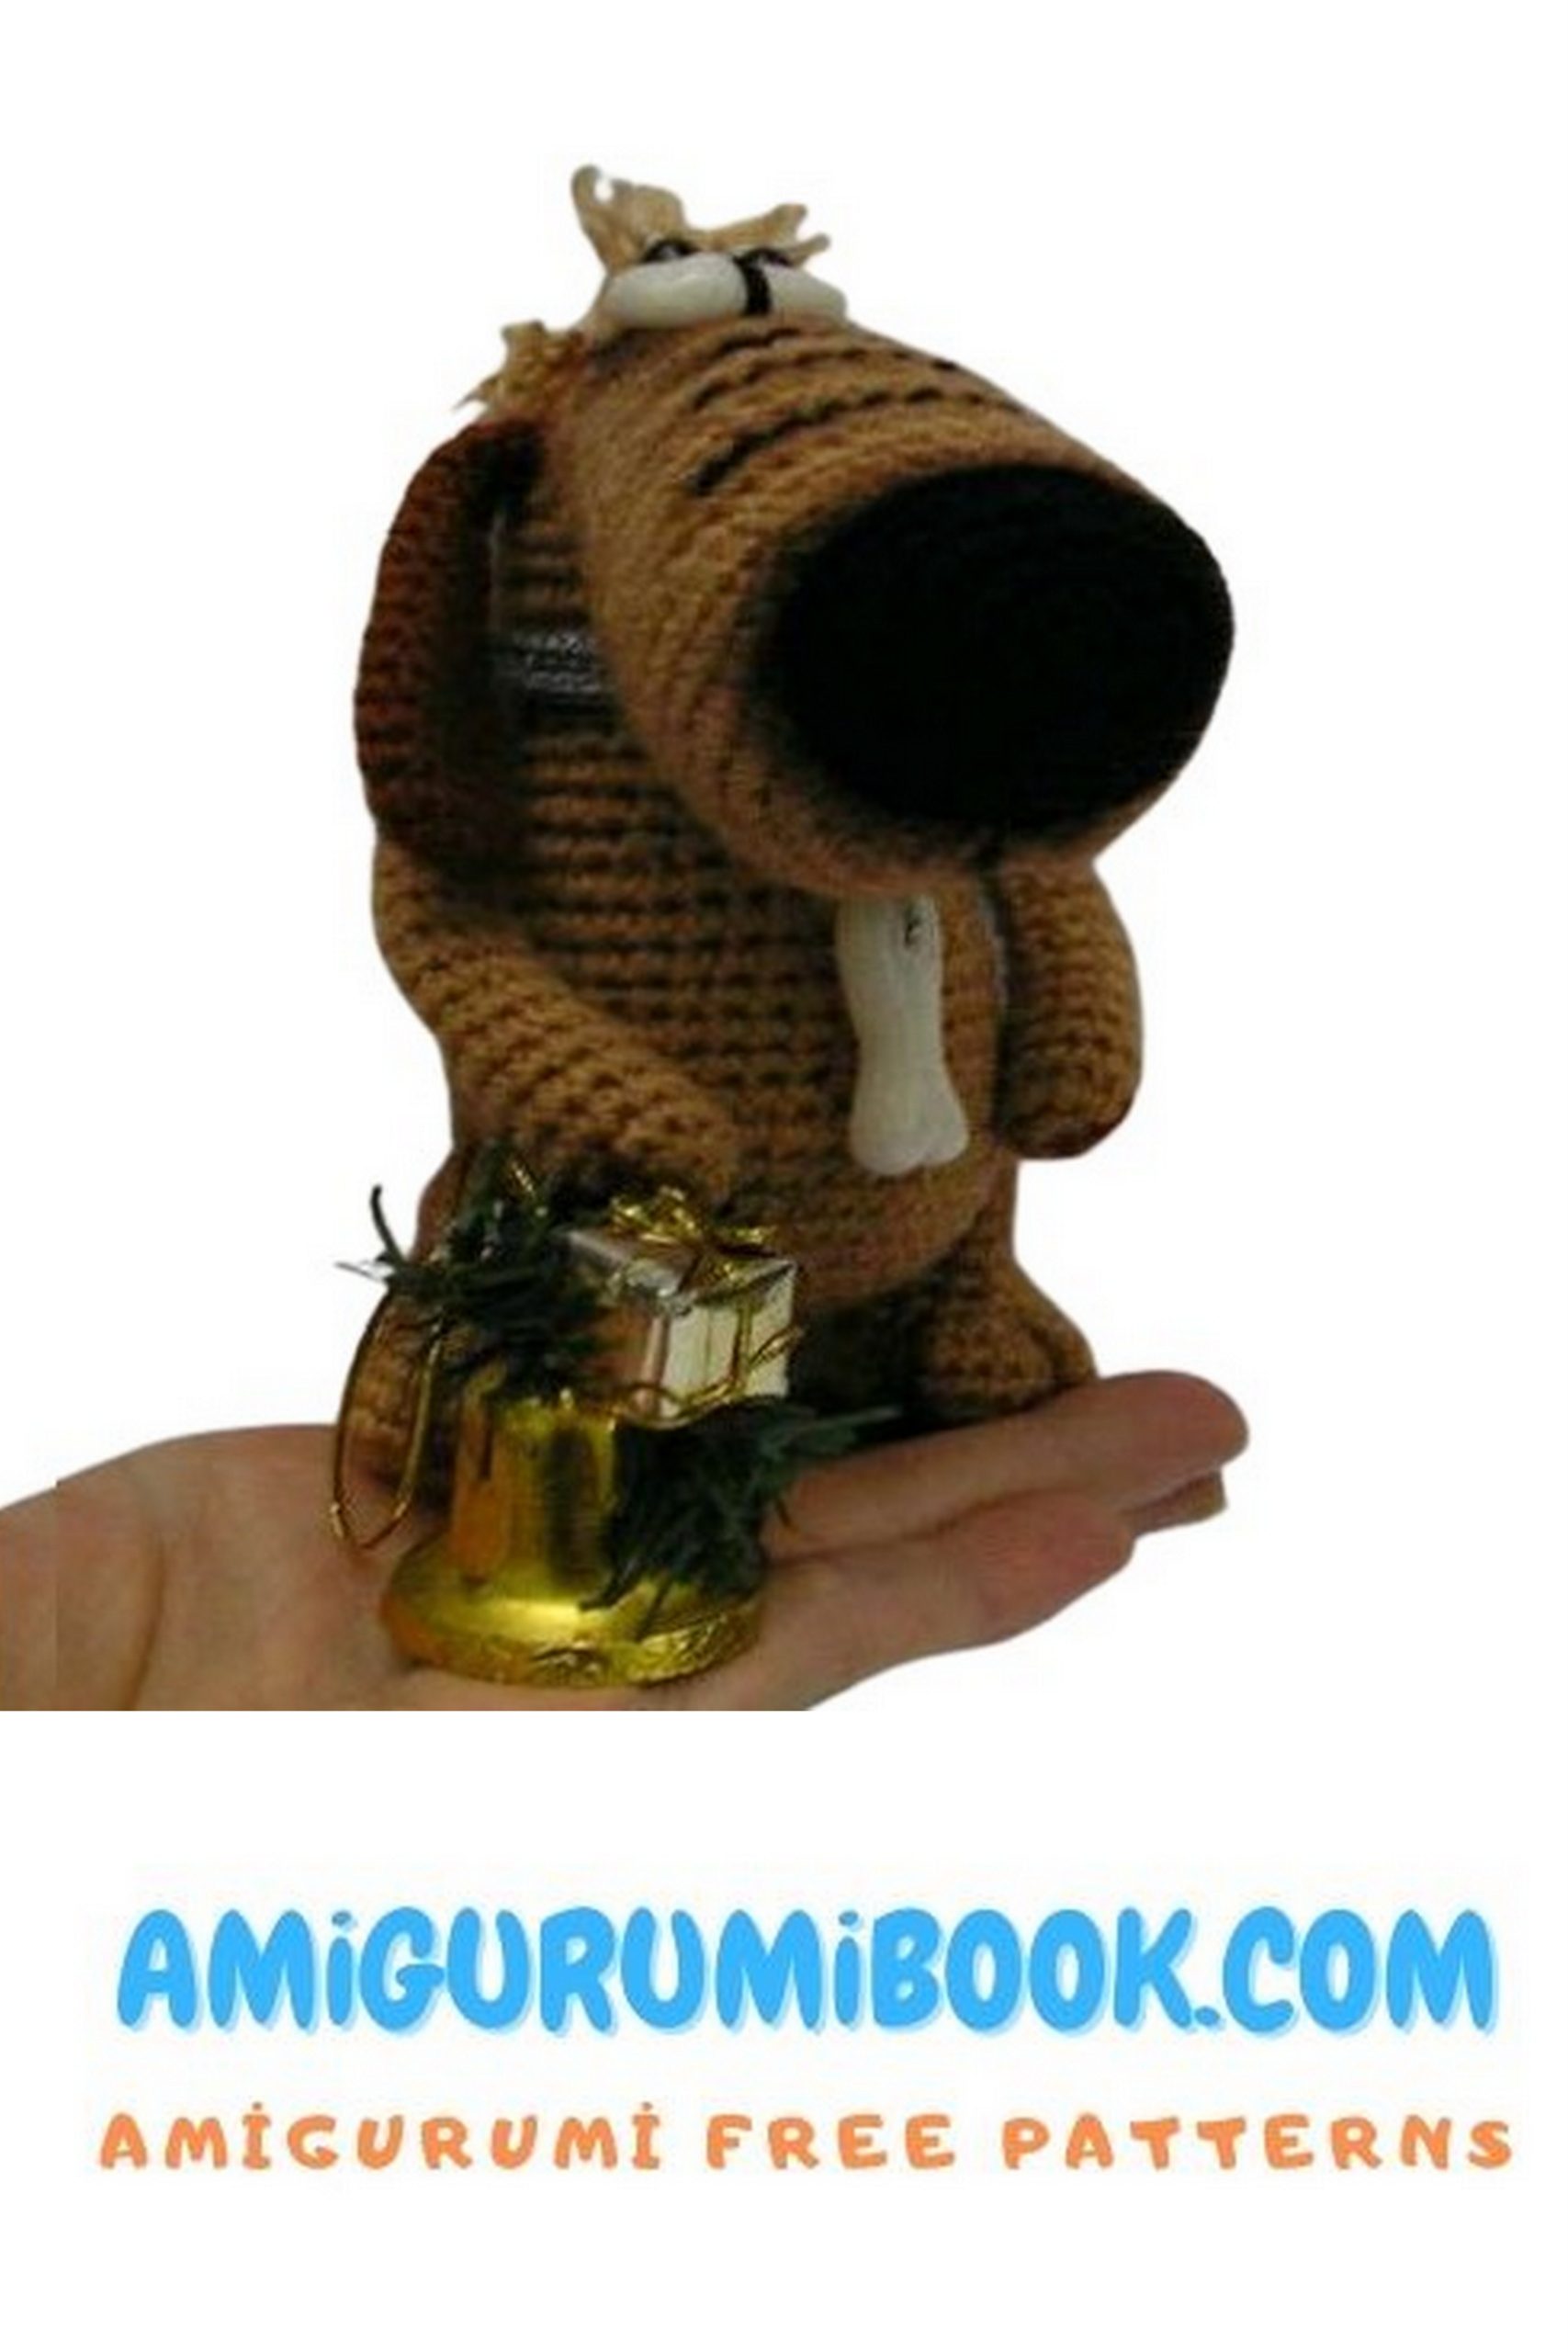
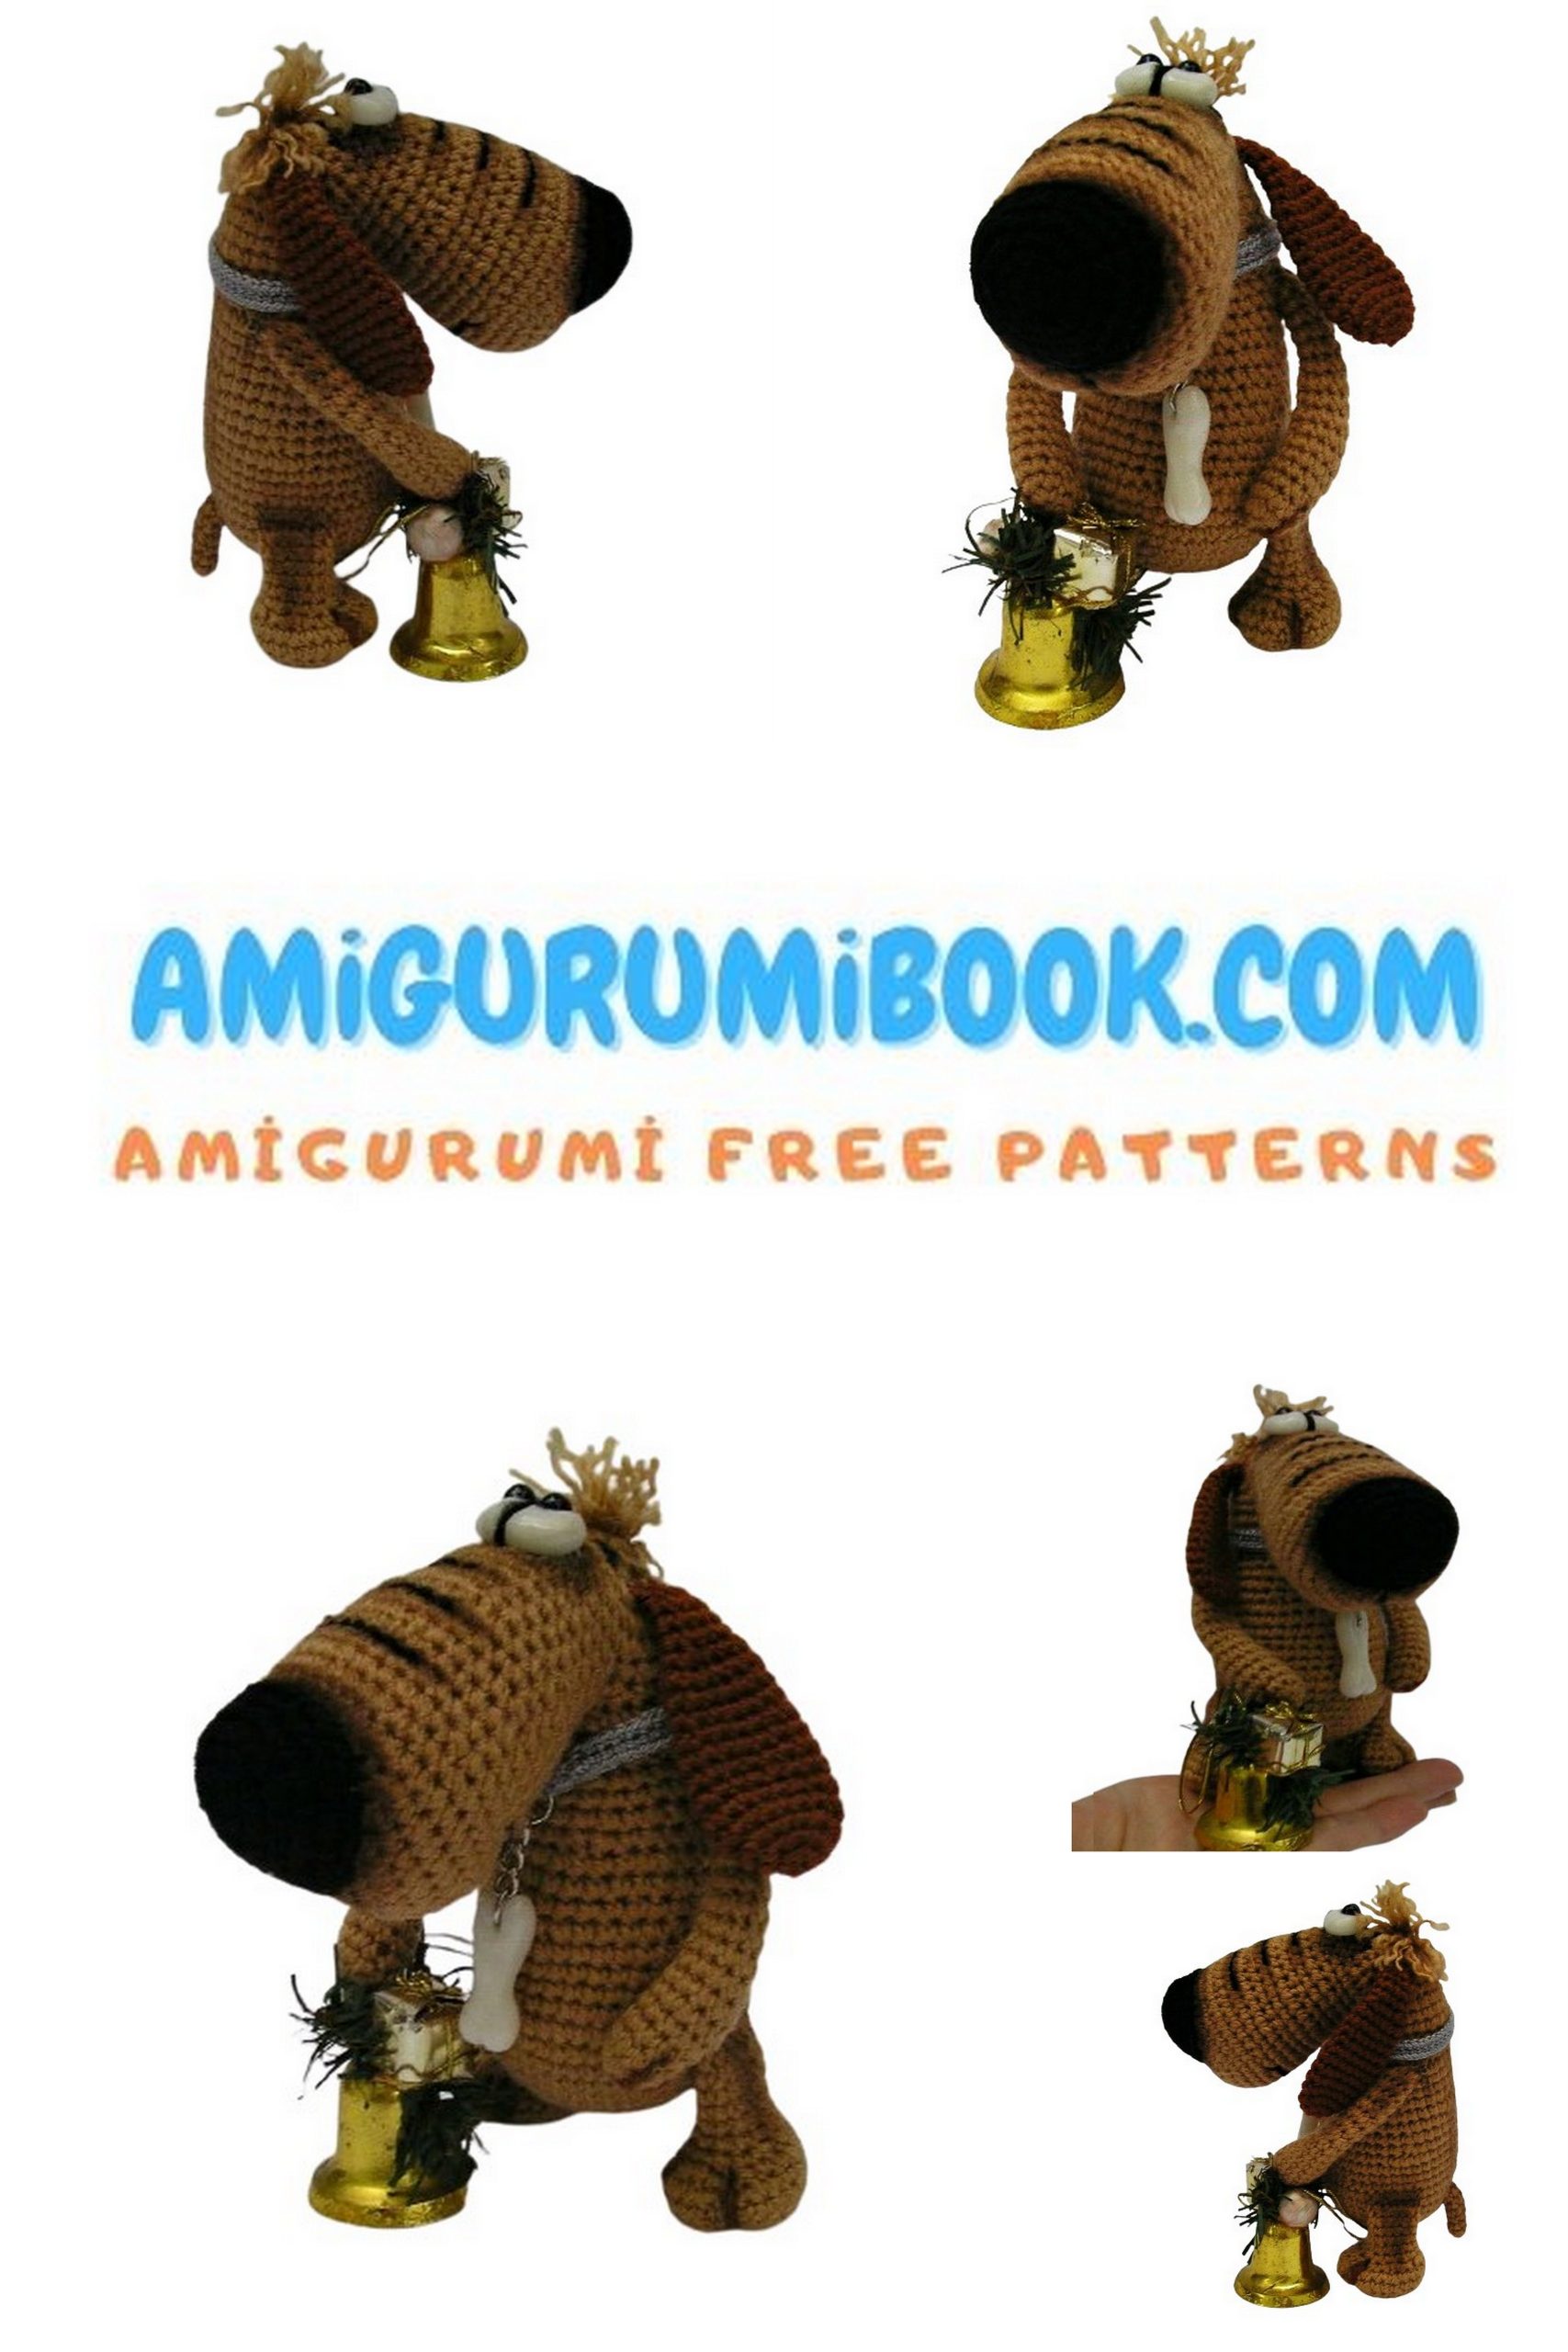
Welcome to our cozy corner of crochet delights! If you adore amigurumi and have a soft spot for cute creations, you’re in for a treat. Today, we’re thrilled to present a heartwarming amigurumi free pattern for crafting your very own little brown dog amigurumi. Whether you’re an experienced crocheter or just starting your yarn journey, this project is tailor-made for bringing joy to crafters of all levels. So, grab your crochet hook and let’s weave some magic as we create a precious pup that’s sure to steal hearts!
Let me give you an indispensable suggestion for your amigurumi dog collection. You should definitely see amigurumi snoopy dog.
If you want to access 1000+ free amigurumi patterns, you can download our application from this link!
Materials Used
1: YarnArt BABY yarn (150m/50g)
2: Crochet hook No. 1.9 (When using a crochet hook No. 1.75, the toy will measure 11.5 cm)
3: Stuffing (polyester fiberfill)
4: Wire frame for upper limbs
5: Sewing needle for attaching details
6: Polymer clay (for eyes and bone)
7: Half beads for eyes
8: Super glue
9: Moment Crystal glue
10: Dry pastels for shading
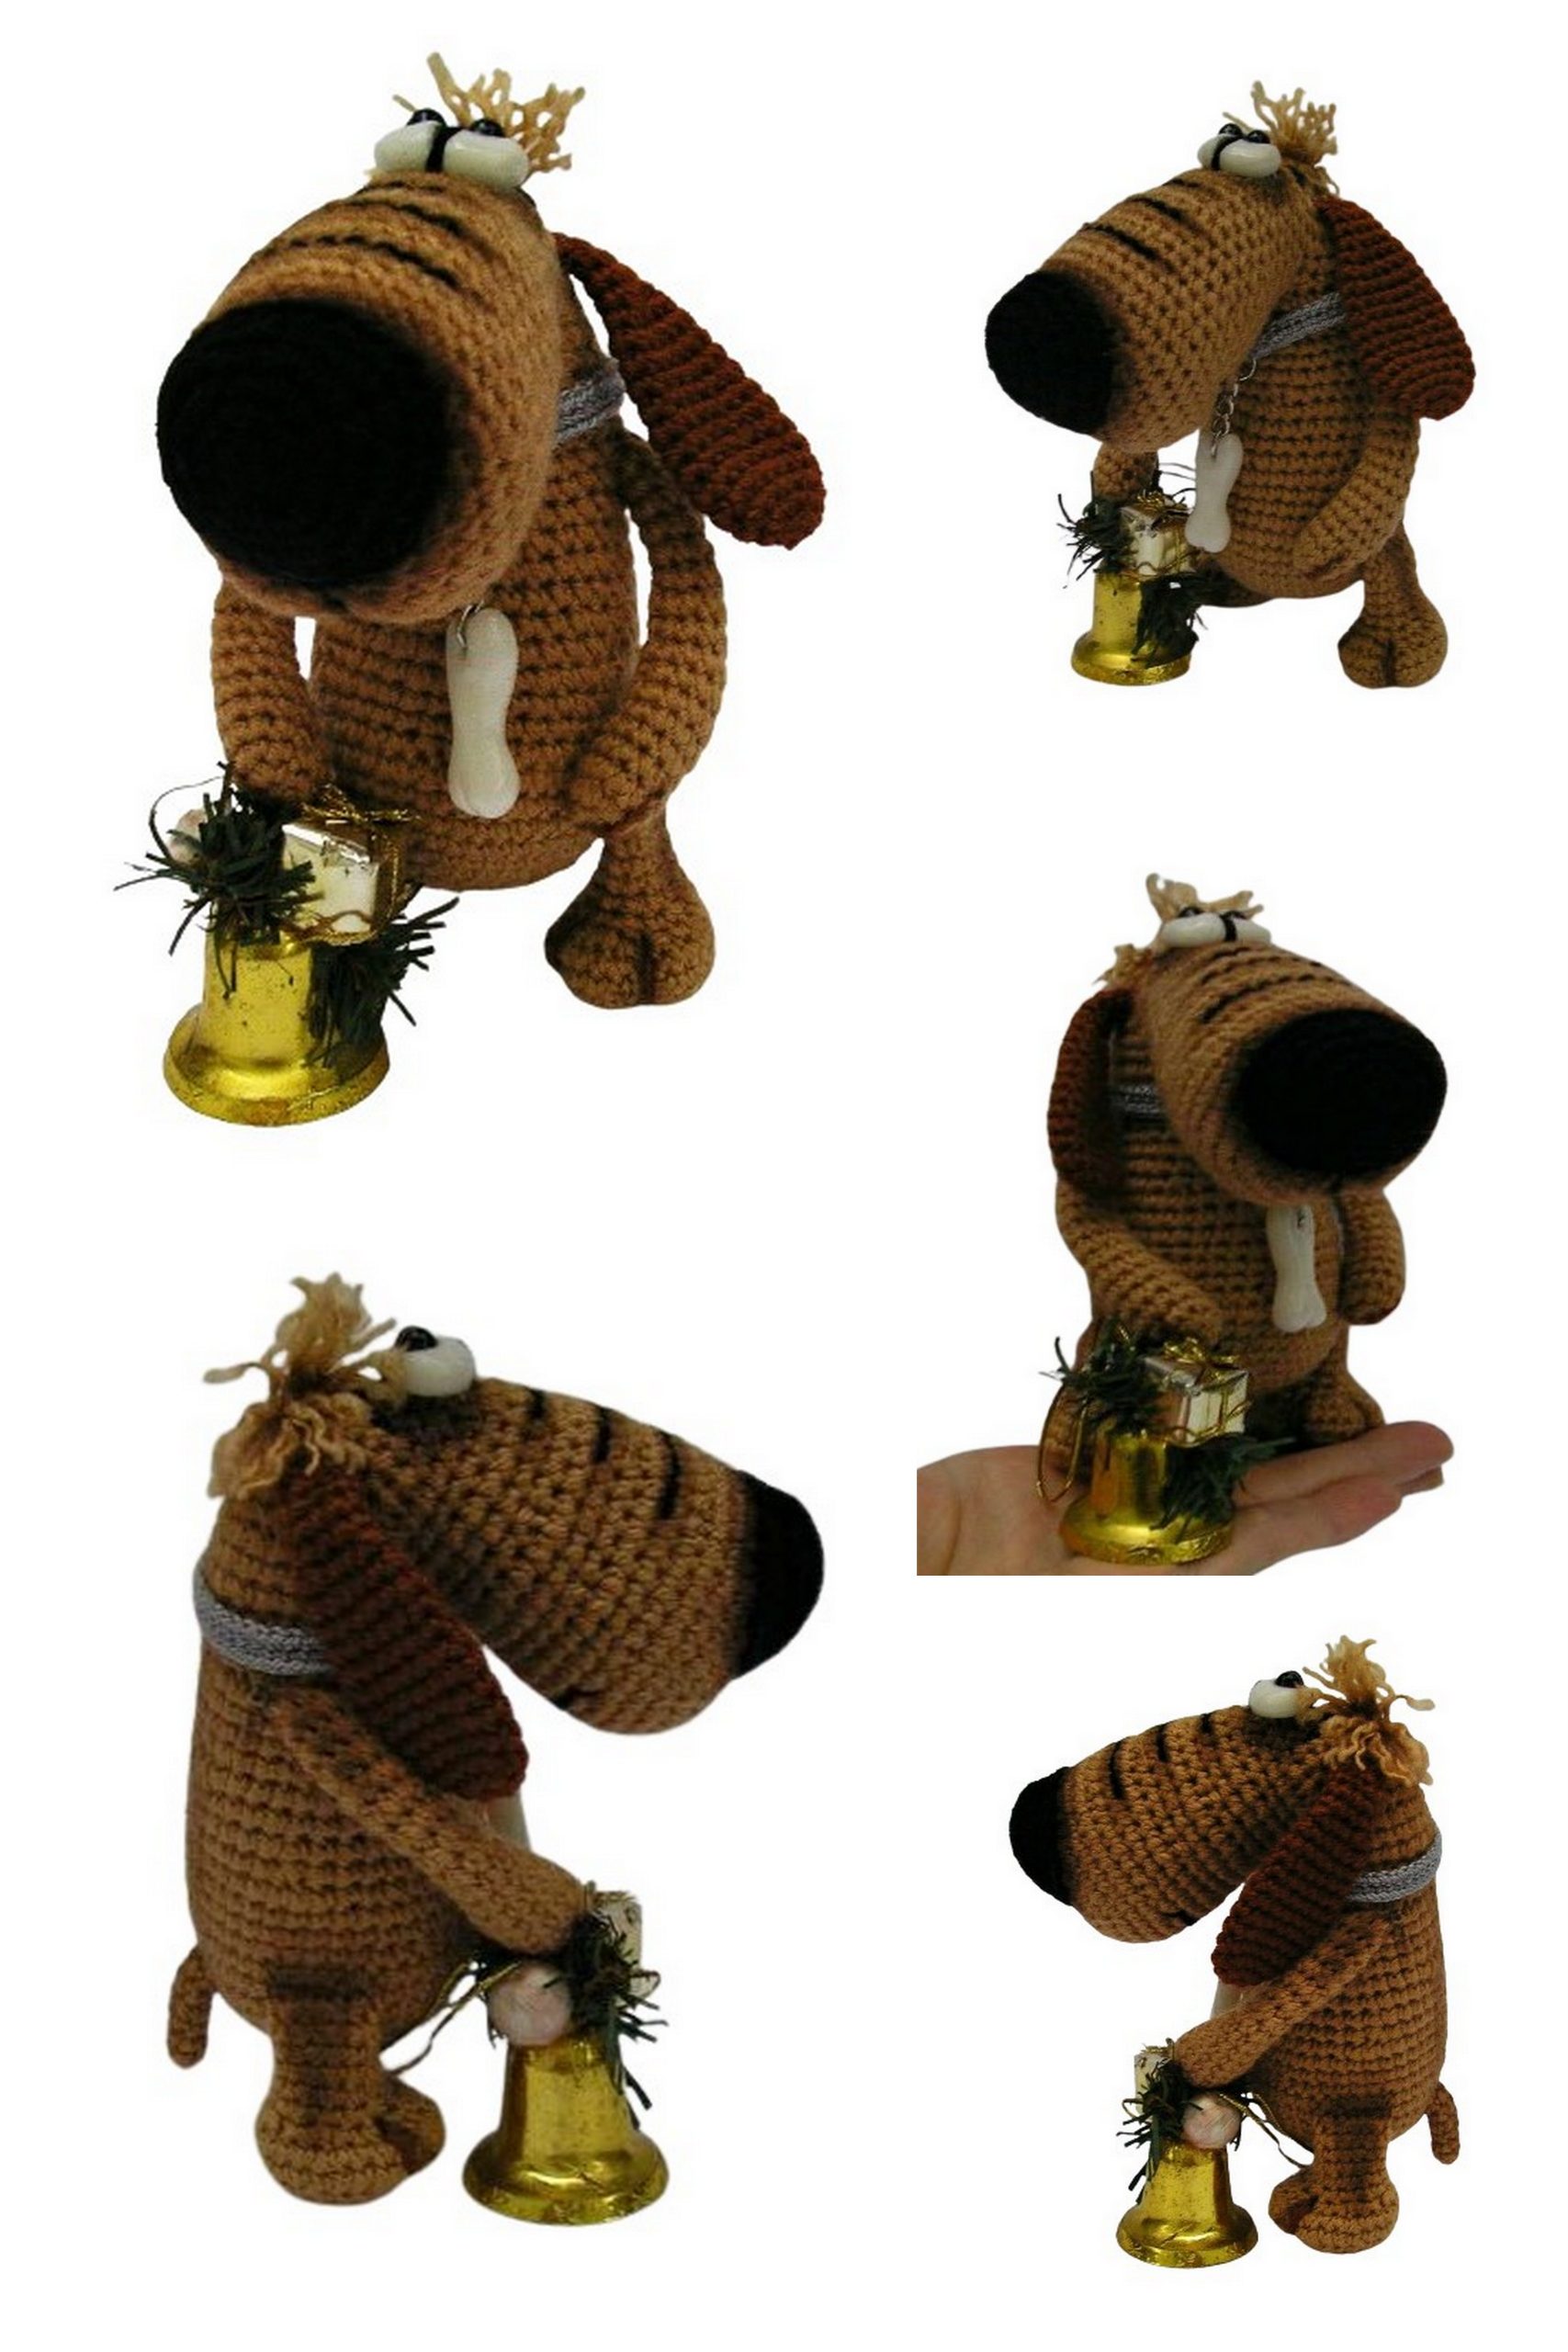
When using the recommended materials, the toy will measure 13 cm.
Brown Dog Pattern
Muzzle
1: 6 sc in MR (6)
2: 6 inc (12)
3: (sc, inc) x 6 (18)
4: (2 sc, inc) x 6 (24)
5: (3 sc, inc) x 6 (30)
6: (4 sc, inc) x 6 (36)
7: (5 sc, inc) x 6 (42)
8-9: (2 rows) 42 sc (42)
10: (5 sc, dec) x 6 (36)
11-12: (2 rows) 36 sc (36)
13: (4 sc, dec) x 6 (30)
14-15: (2 rows) 30 sc (30)
16: (3 sc, dec) x 6 (24)
17-18: (2 rows) 24 sc (24), sl st. Fasten off and cut the yarn.
Brown Dog Body
1: 6 sc in MR (6)
2: 6 inc (12)
3: (sc, inc) x 6 (18)
4: (2 sc, inc) x 6 (24)
5: (3 sc, inc) x 6 (30)
6: (4 sc, inc) x 6 (36)
7: (5 sc, inc) x 6 (42)
8: (6 sc, inc) x 6 (48)
9-11: (3 rows) 48 sc (48)
12: (6 sc, dec) x 6 (42)
13-15: (3 rows) 42 sc (42)
16: (5 sc, dec) x 6 (36)
17-19: (3 rows) 36 sc (36)
20: (4 sc, dec) x 6 (30)
21-23: (3 rows) 30 sc (30)
24: (3 sc, dec) x 6 (24)
25-27: (3 rows) 24 sc (24)
Now attach the muzzle to the body and join both pieces: crochet 6 sc simultaneously on muzzle + body. In this process, the muzzle should be in front of the body, and stitches should connect the pieces “from the inside”. Move the marker. Now counting will start from the first sc of the body.
28: 18 sc around the body, 18 sc around the muzzle (36)
29: 36 sc (36)
30: (4 sc, dec) x 6 (30)
31: (3 sc, dec) x 6 (24)
32: 24 sc (24)
33: (2 sc, dec) x 6 (18)
34: (sc, dec) x 6 (12)
35: 6 dec (6) Close the opening at the top.
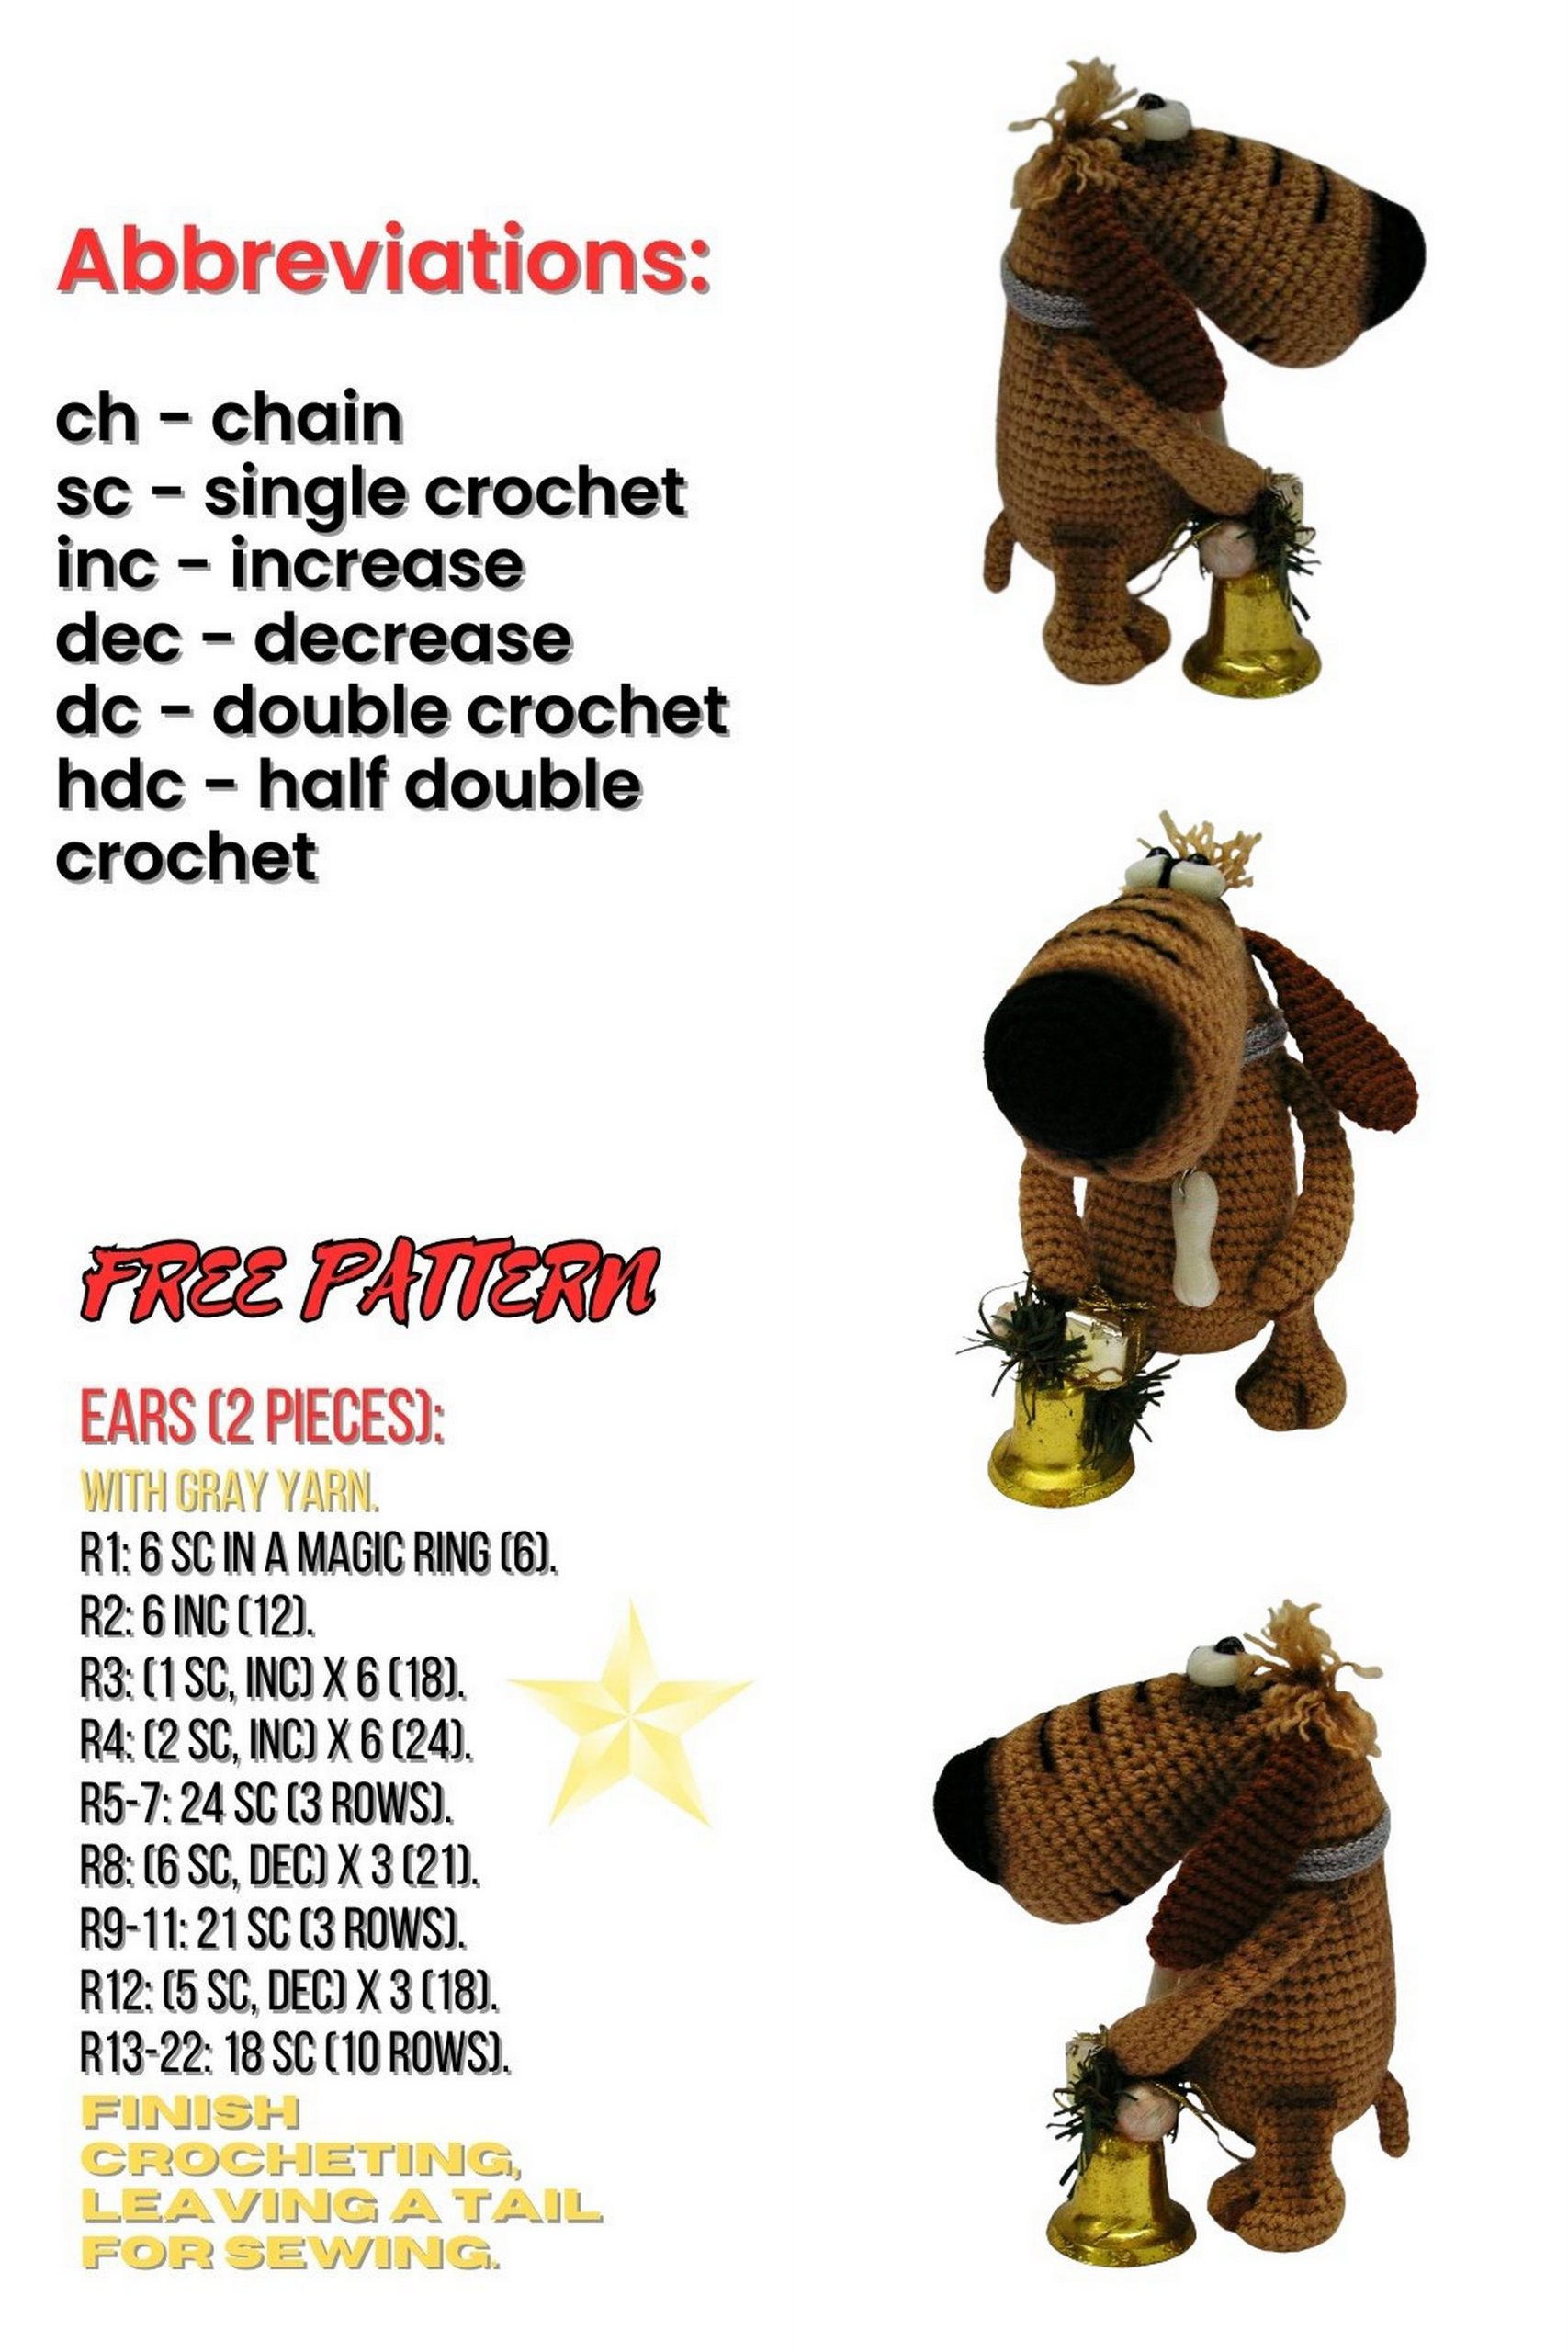
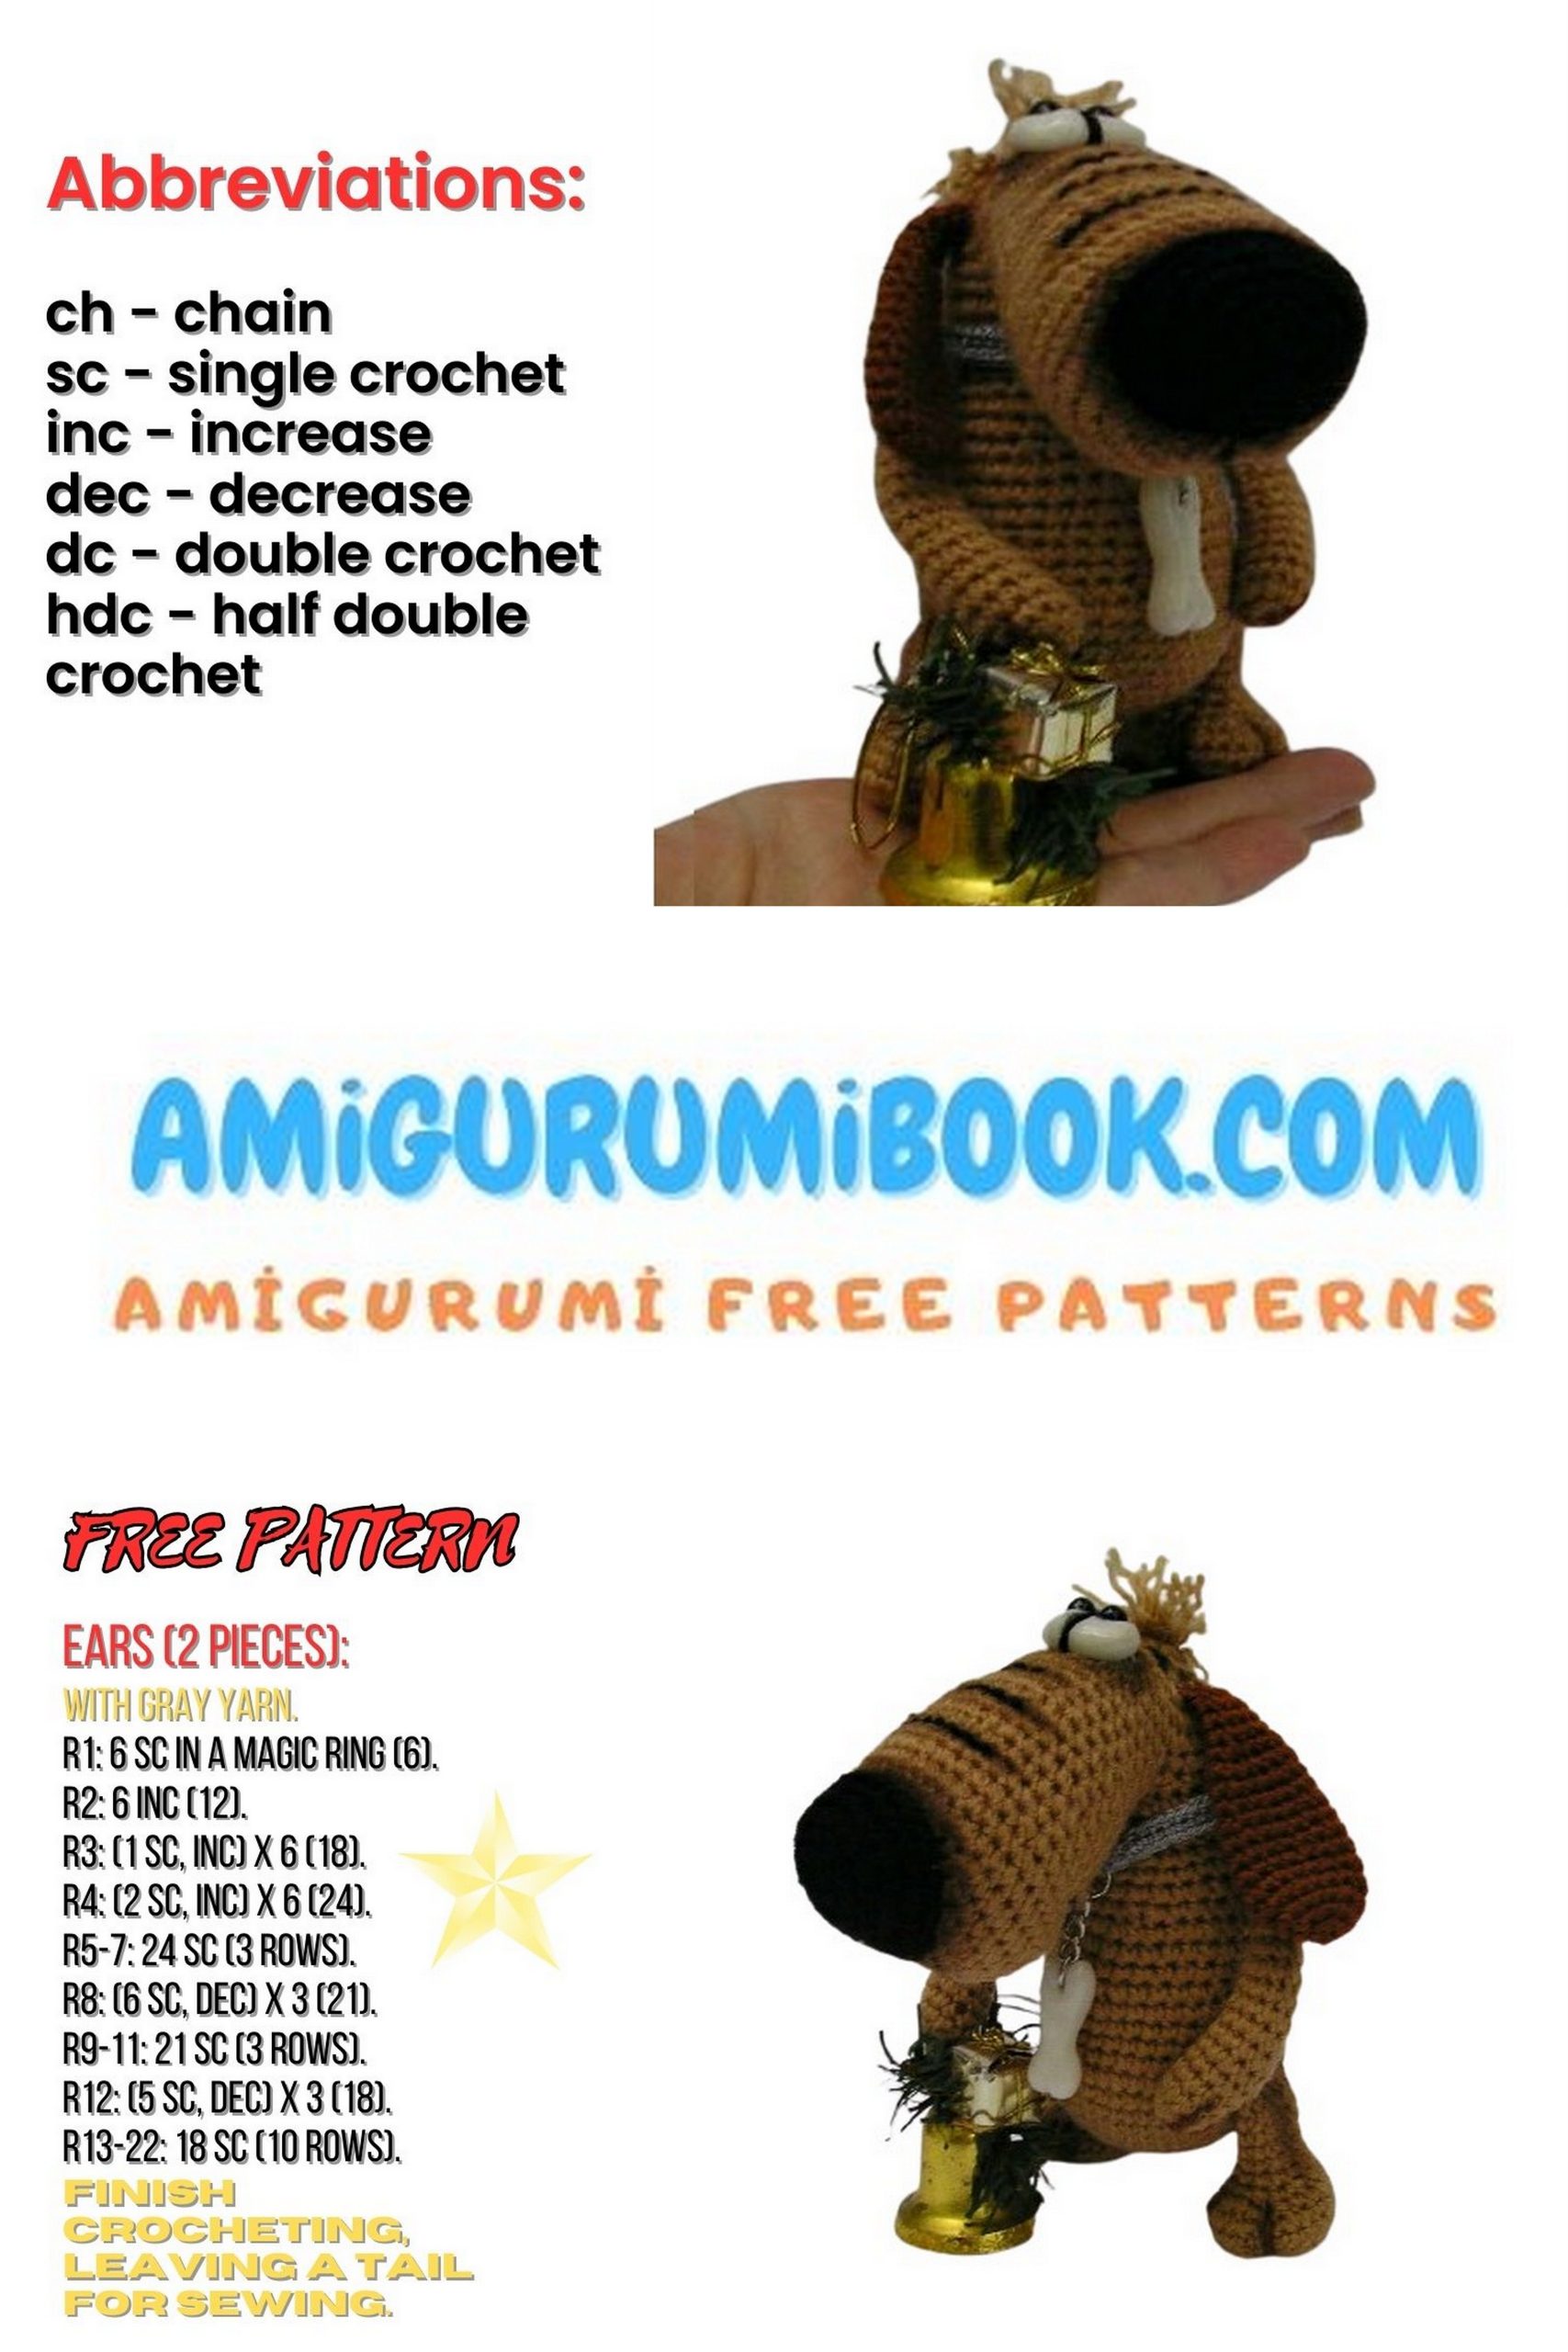
Brown Dog Ears (2 pieces)
1: 6 sc in MR (6)
2: 6 inc (12)
3: (3 sc, inc) x 3 (15)
4-6: (3 rows) 15 sc (15)
7: 13 sc, dec (14)
8: 14 sc (14)
9: 12 sc, dec (13)
10: 13 sc (13)
11: 11 sc, dec (12)
12: 12 sc (12)
13: (2 sc, dec) x 3 (9)
14: 9 sc (9)
15: 7 sc, dec (8)
16: 8 sc (8)
Fold in half, simultaneously crochet 4 sc on both sides (4)
Brown Dog Upper Limbs (2 pieces)
1: 6 sc in MR (6)
2: 6 inc (12)
3-5: (3 rows) 12 sc (12)
6: 10 sc, dec (11)
7: 11 sc (11)
8: 9 sc, dec (10)
9: 10 sc (10)
10: 8 sc, dec (9) Stuff the palm.
11: 9 sc (9)
12: 7 sc, dec (8)
13-17: (5 rows) 8 sc (8), sl st. Fasten off, leave for sewing.
Brown Dog Lower Limbs (2 pieces)
1: 6 sc in MR (6)
2: 6 inc (12)
3: (sc, inc) x 6 (18)
4: (2 sc, inc) x 6 (24)
5-6: (2 rows) 24 sc (24)
7: 6 sc, 6 dec, 6 sc (18)
For the second limb, crochet the 7th row as follows: 12 sc, 6 dec (18)
8: (sc, dec) x 6 (12) Stuff the foot.
9-13: (5 rows) 12 sc (12)
Fold in half, simultaneously crochet 6 sc on both sides (6)
Brown Dog Nose
1: 6 sc in MR (6)
2: 6 inc (12)
3: (sc, inc) x 6 (18)
4: (2 sc, inc) x 6 (24)
5: (3 sc, inc) x 6 (30)
6: 30 sc (30), sl st. Fasten off, leave for sewing.
Brown Dog Tail
1: 5 sc in MR (5)
2: 5 sc (5)
3: 4 sc, inc (6)
4: 5 sc, inc (7)
5: 6 sc, inc (8)
6-7: (2 rows) 8 sc (8), sl st. Do not stuff the piece. Fasten off, leave for sewing.
Assembly and Finishing
Once our pieces are ready, we proceed with assembly:
1: Sew the lower limbs at the level of the 10th row of the body.
2: Sew the upper limbs at the level of the 23 – 24th rows of the body. I inserted wire frames into the upper limbs.
3: Sew the ears at your discretion – I sewed them 4 rows before the top of the head.
4: Sew the tail at the level of the 8 – 9th rows of the body. If sewn correctly, it will give stability to the toy.
5: Mold the eyes and bone from plastic clay, attach the eyes with Moment Crystal glue, pulling them in the middle. Attach the pupils with super glue.
6: Cut yarn into 4 cm pieces (5-6 pieces), make a “hairstyle” 🙂
7: Sew the nose according to the photo, giving it a slightly oval shape, and don’t forget about the stuffing.
8: Shade around the eyes, nose, back, tail, and paws, as well as the “wrinkles” on the muzzle.
9: Use black yarn to make stitches on the muzzle, weight on the paws, and under the nose, and make stitches for the eyebrows.
10: Crochet a collar and attach the bone.
11: Our guy is ready 🙂
Enjoy the result!