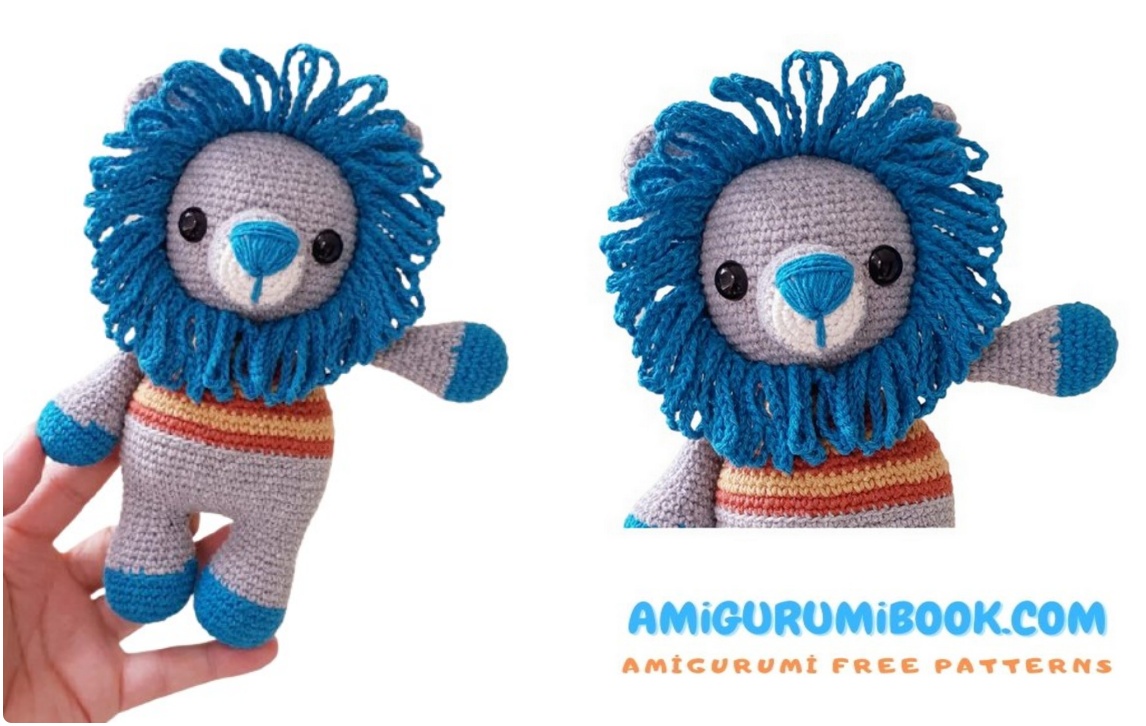
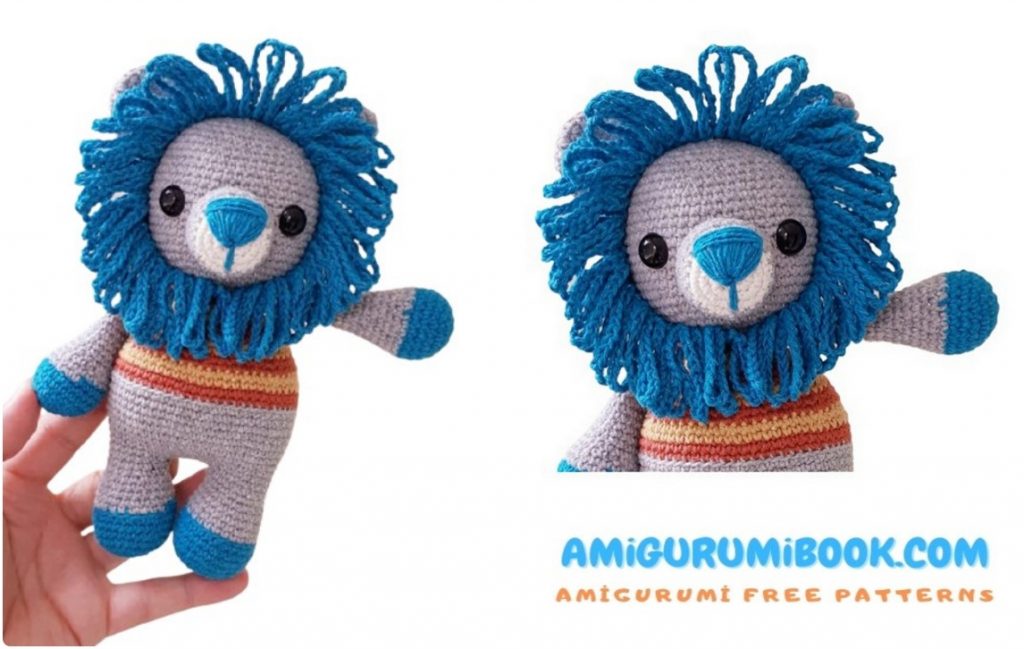
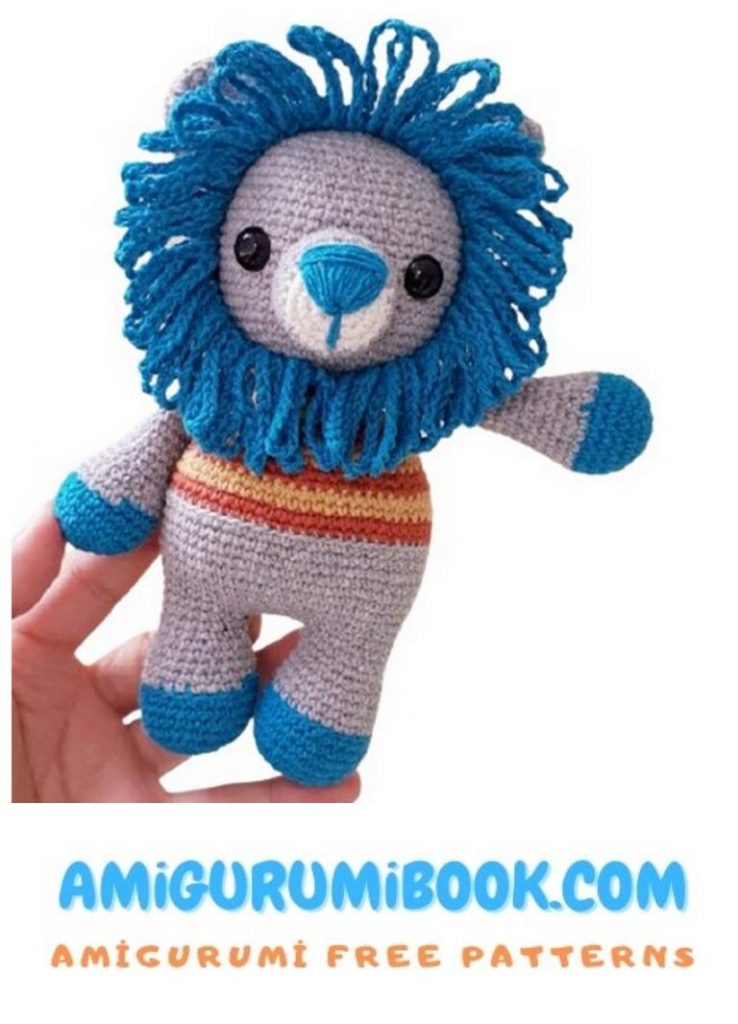
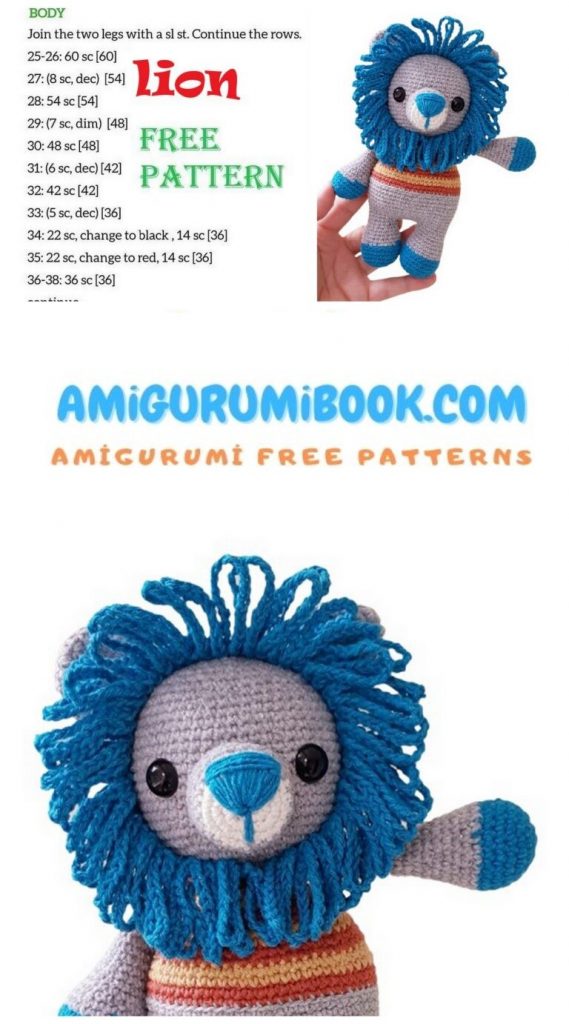
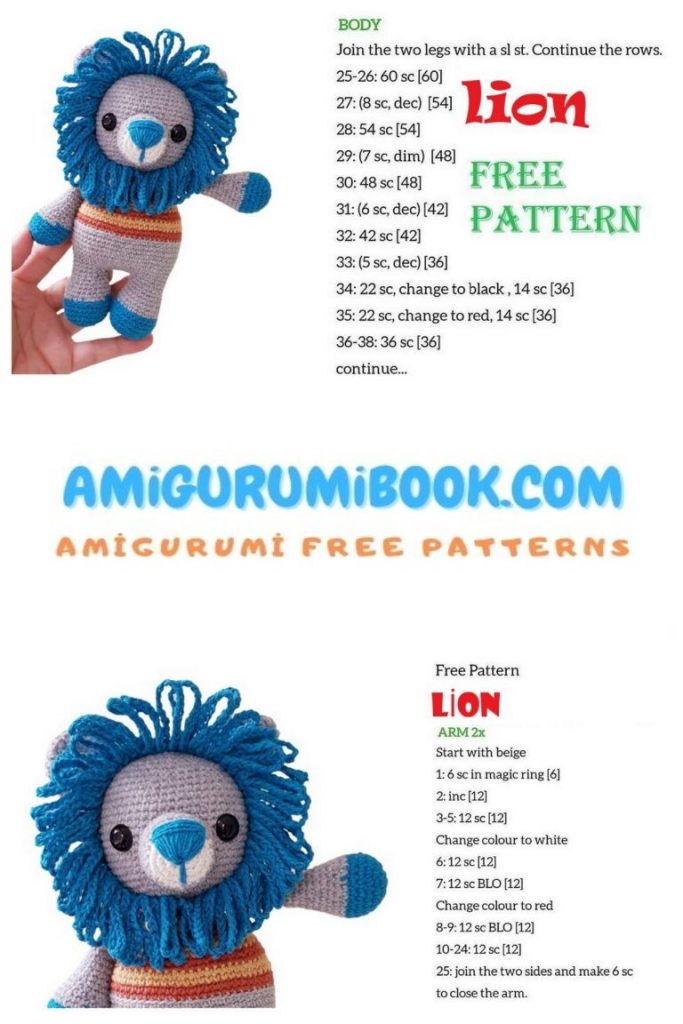
Discover the joy of crafting with this adorable little cute lion amigurumi free pattern, perfect for both beginners and experienced crocheters. This charming handmade lion makes a delightful gift or a cozy companion for any animal lover. free crochet patterns – Velvet Cat Amigurumi Free Pattern
You may also like more amigurumi patterns.
In this article, we are waiting for you amigurumi cute lion free pattern. Amigurumi organic toys free patterns.
Material:
01 Euroroma Passione in colors 270 – Gray, 901 – Pool Blue, 710 – Tile, 470 – Mustard and 100 – Raw;
2.5mm needle;
Silicone fiber;
Eyes with safety lock No. 15;
Scissors;
Universal glue for crafts;
Tapestry needle.
Size: 20 cm.
Abbreviations:
ch – chain
sc – single crochet
DC – double crochet
inc – increase
dec – decrease
sl-st – slip stitch
FLO – front stitch hinges
BLO – back loops of a column
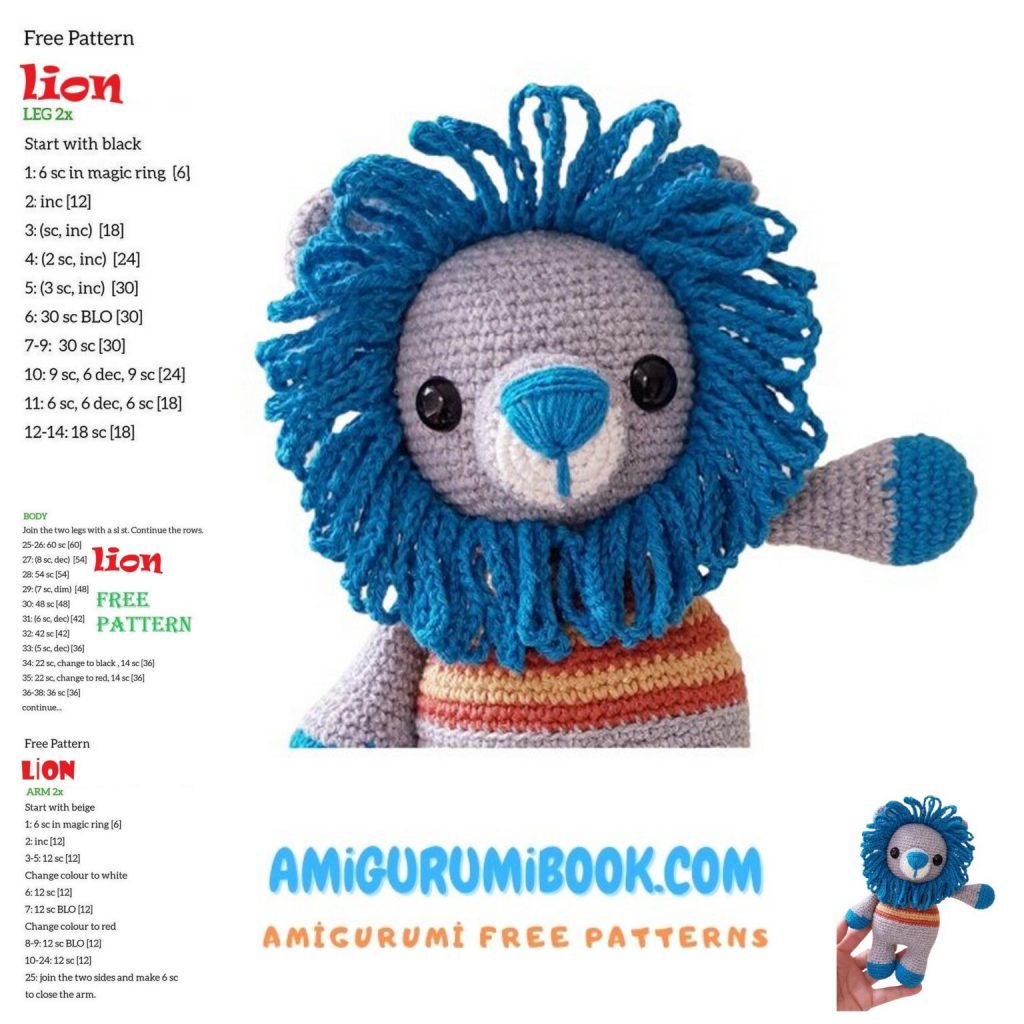
PATTERN
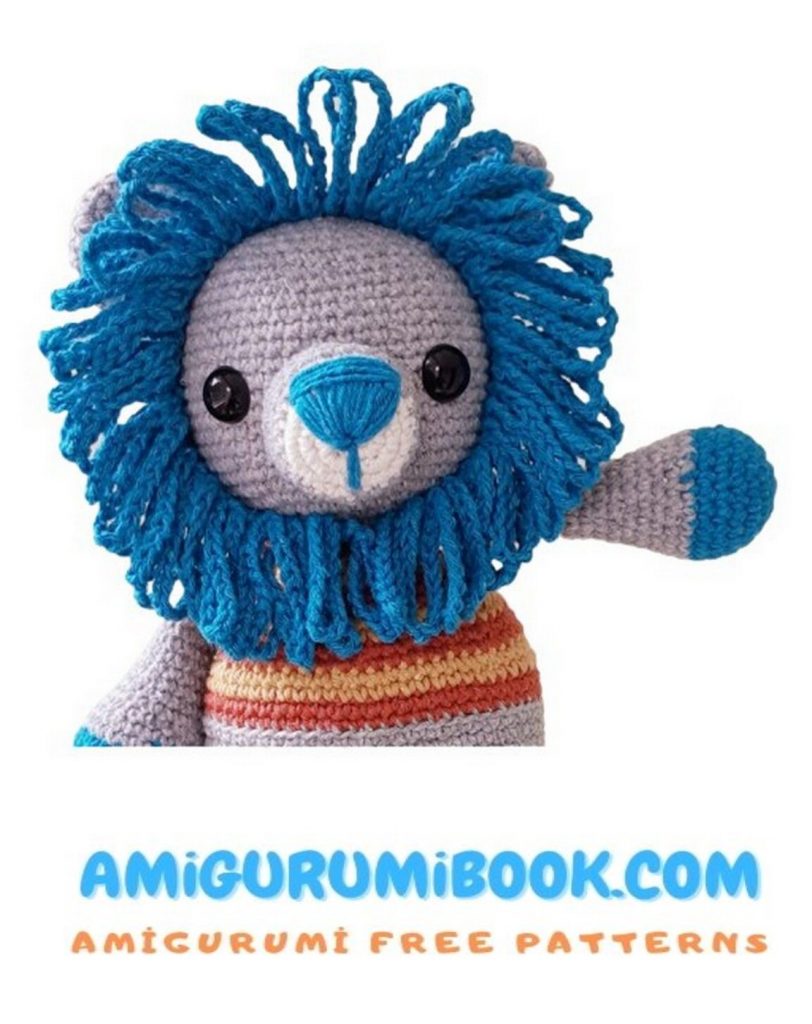
Execution:
Snout
Start with 100 – Cru;
1st row: 6 sc into magic ring
2nd row: 1 inc x 6 (12)
3rd row: (1sc, 1 inc) x 6 (18)
4th row: (2 sc, 1 inc) x 6 (24)
Change to color 270 – Gray;
5th row: 24 sc (24).
6 – 7: 24 sc (24)
Round off with sl st.
Embroider the nose with the color Pool Blue. Between rows 4 and 5, mark eight points apart (width of the nose). Embroider with double thread between the first and the eighth stitch, passing the needle through the middle of the circle (see photo). Finish the wire and set it aside.
Legs, body and head of the Lion Mane
Leg 1
With the color Pool Blue:
1st row: Magic ring (6)
2nd row: 1 inc x 6 (12)
3rd row: (1 sc, 1 inc) x 6 (18)
4th row: (2 sc, 1 inc) x 6 (24)
5th row: (3 sc, 1 inc) x 6 (30)
6th to 8th row: 30 sc (30)
9th row (3 sc, 1 dec) x 6 (24)
Switch to Gray
10th to 13th row: 24 sc (24).
14th row (2 sc, 1 dec) (18)
15th and 16th row: 18 sc (18)
End with sl-st Reserve.
Leg 2: Repeat rows 1 through 16 of leg 1.
Make six little chains and join in the end of the other leg with 1 sc. Continue doing 17 sc, 6 sc on each front loop of the six little chains, 18 sc on the other leg, 6 sc on the unworked loops on the six little chains (48 sc). You have completed career 17.
18th row to 19th: 48 sc (48)
20th row: (7 sc, 1 inc) x 6 (54)
21st row: 54 sc (54)
22nd row: (8 sc, 1 inc) x 6 (60)
23rd row to 27th: 60 sc (60)
From now on, alternate colors 710 – Tile and 470 – Mustard every two rows to make the shirt. Start with the tile color.
28th row: 60 sc blo
29th row to 30th: 60 sc
31st row: (8 sc, 1 dec) x 6 (54)
32nd row: 54 sc (54)
33rd row: (7 sc, 1 dec) x 6 (48)
34th row: 48 sc (48)
35th row: (6 sc, 1 dec) x 6 (42)
36th row: 42 sc (42)
37th row: (5 sc, 1 dec) x 6 (36)
38th row: 36 sc (36)
39th row: (4 sc, 1 dec) x 6 (30)
40th row: 30 sc
41st row: (3 sc, 1 dec) x 6 (24)
Switch to Gray
42nd row: 24 sc (24)
43rd row: 1 inc x 24 (48) (ADD)
44th row: 48 sc (48)
45th row: (7 sc, 1 inc) x 6 (54)
46th row: (8 sc, 1 inc) x 6 (60)
47th row to 59th: 60 sc (60)
60th row: (8 SC, 1 DEC) X6 (54)
61st row: 54 SC
62nd row: (7 SC, 1 DEC) X6 (48)
63rd row: 48 SC
Place the eyes with safety lock between rows 53 and 54, with a distance of 13 sc between them.
Do this: place the first eye, count 13 points and place the second eye. Make sure it centered correctly.
64th row: (6 SC, 1 DEC) X 6 (42)
65th row: (5 SC, 1 DEC) X 6 (36)
66th row: (4 SC, 1 DEC) x 6 (30)
67th row: (3 sc, 1 dec) x 6 (24)
68th row: (2 sc, 1 dec) x 6 (18)
69th row: (1 sc, 1 dec) x 6 (12)
70th row: 6 dec (6). Finish off.
Ears
1st row: 6 sc into magic ring
2nd row: 1 inc x 6 (12)
3rd row: (1sc, 1 inc) x 6 (18)
4th row: (2 sc, 1 inc) x 6 (24)
5th car to 8th: 24 sc (24)
9th row: (2 sc, 1 dec) x 6 (18)
10th row: 18 sc (18)
Finish with sl-st Join the two sides of the ear and sew with the tapestry needle.
Sew the ears on top of the head, one on each side, in the same line as the initial Magic ring.
Arms
With color 901 – Pool Blue;
1st row: 6 sc into magic ring
2nd row: 1 inc x 6 (12)
3rd row: (1sc, 1 inc) x 6 (18)
4th row: (2 sc, 1 inc) x 6 (24)
5th row to 7th row: 24 sc (24)
Change to color 100 – Raw;
8th row: 24 sc (24)
9th row: (2sc, 1 dec) x 6 (18)
10th row to 12th: 18 sc (18)
13th row: (2sc, 1 dec) x 6, 2bp (14)
14th row to 18th: 14 sc (14)
From now on, switch between colors 710 – Tile and 470 – Mustard every 2 rows. Start with the tile color.
19th car to 24th: 14 sc (18)
Join the two sides together and sew with a tapestry needle. Leave a long thread to sew the arms on the Lion’s body at the height of the last rows of color 710 – Tile before changing to color 270 – Gray (head).
Mane
Make 57 little chains. On the second chain after the needle, do 56 low stitches. Turn.
After making the last low stitch, make 20 chains and attach to the next base point with sl st .. Repeat for the entire length of the piece. Finish off with a long thread to sew. The mane should be placed around the head, so that the tips are close to the neck. Position the right side of the mane (front) around the head, so that the tips are below the muzzle. Use pins to keep it pinned while sewing.
Tip: Use universal glue to glue the mane to the lion’s head before sewing it on the head. Use pins to help secure it. Universal adhesives are very efficient. There is no need to sew the mane on the head depending on the use of the amigurumi.
Tail
With the color Gray, make 13 little chains. In the second little chain after the needle, make 12 sc. Finish off. Sew the tail on the back, below the shirt. With the color Pool Blue, cut five strips and make a knot at the end of the tail (see photo).
Sew the muzzle between the eyes, taking care that the top is sewn at row 56.
Leão Jubinha is ready!
