
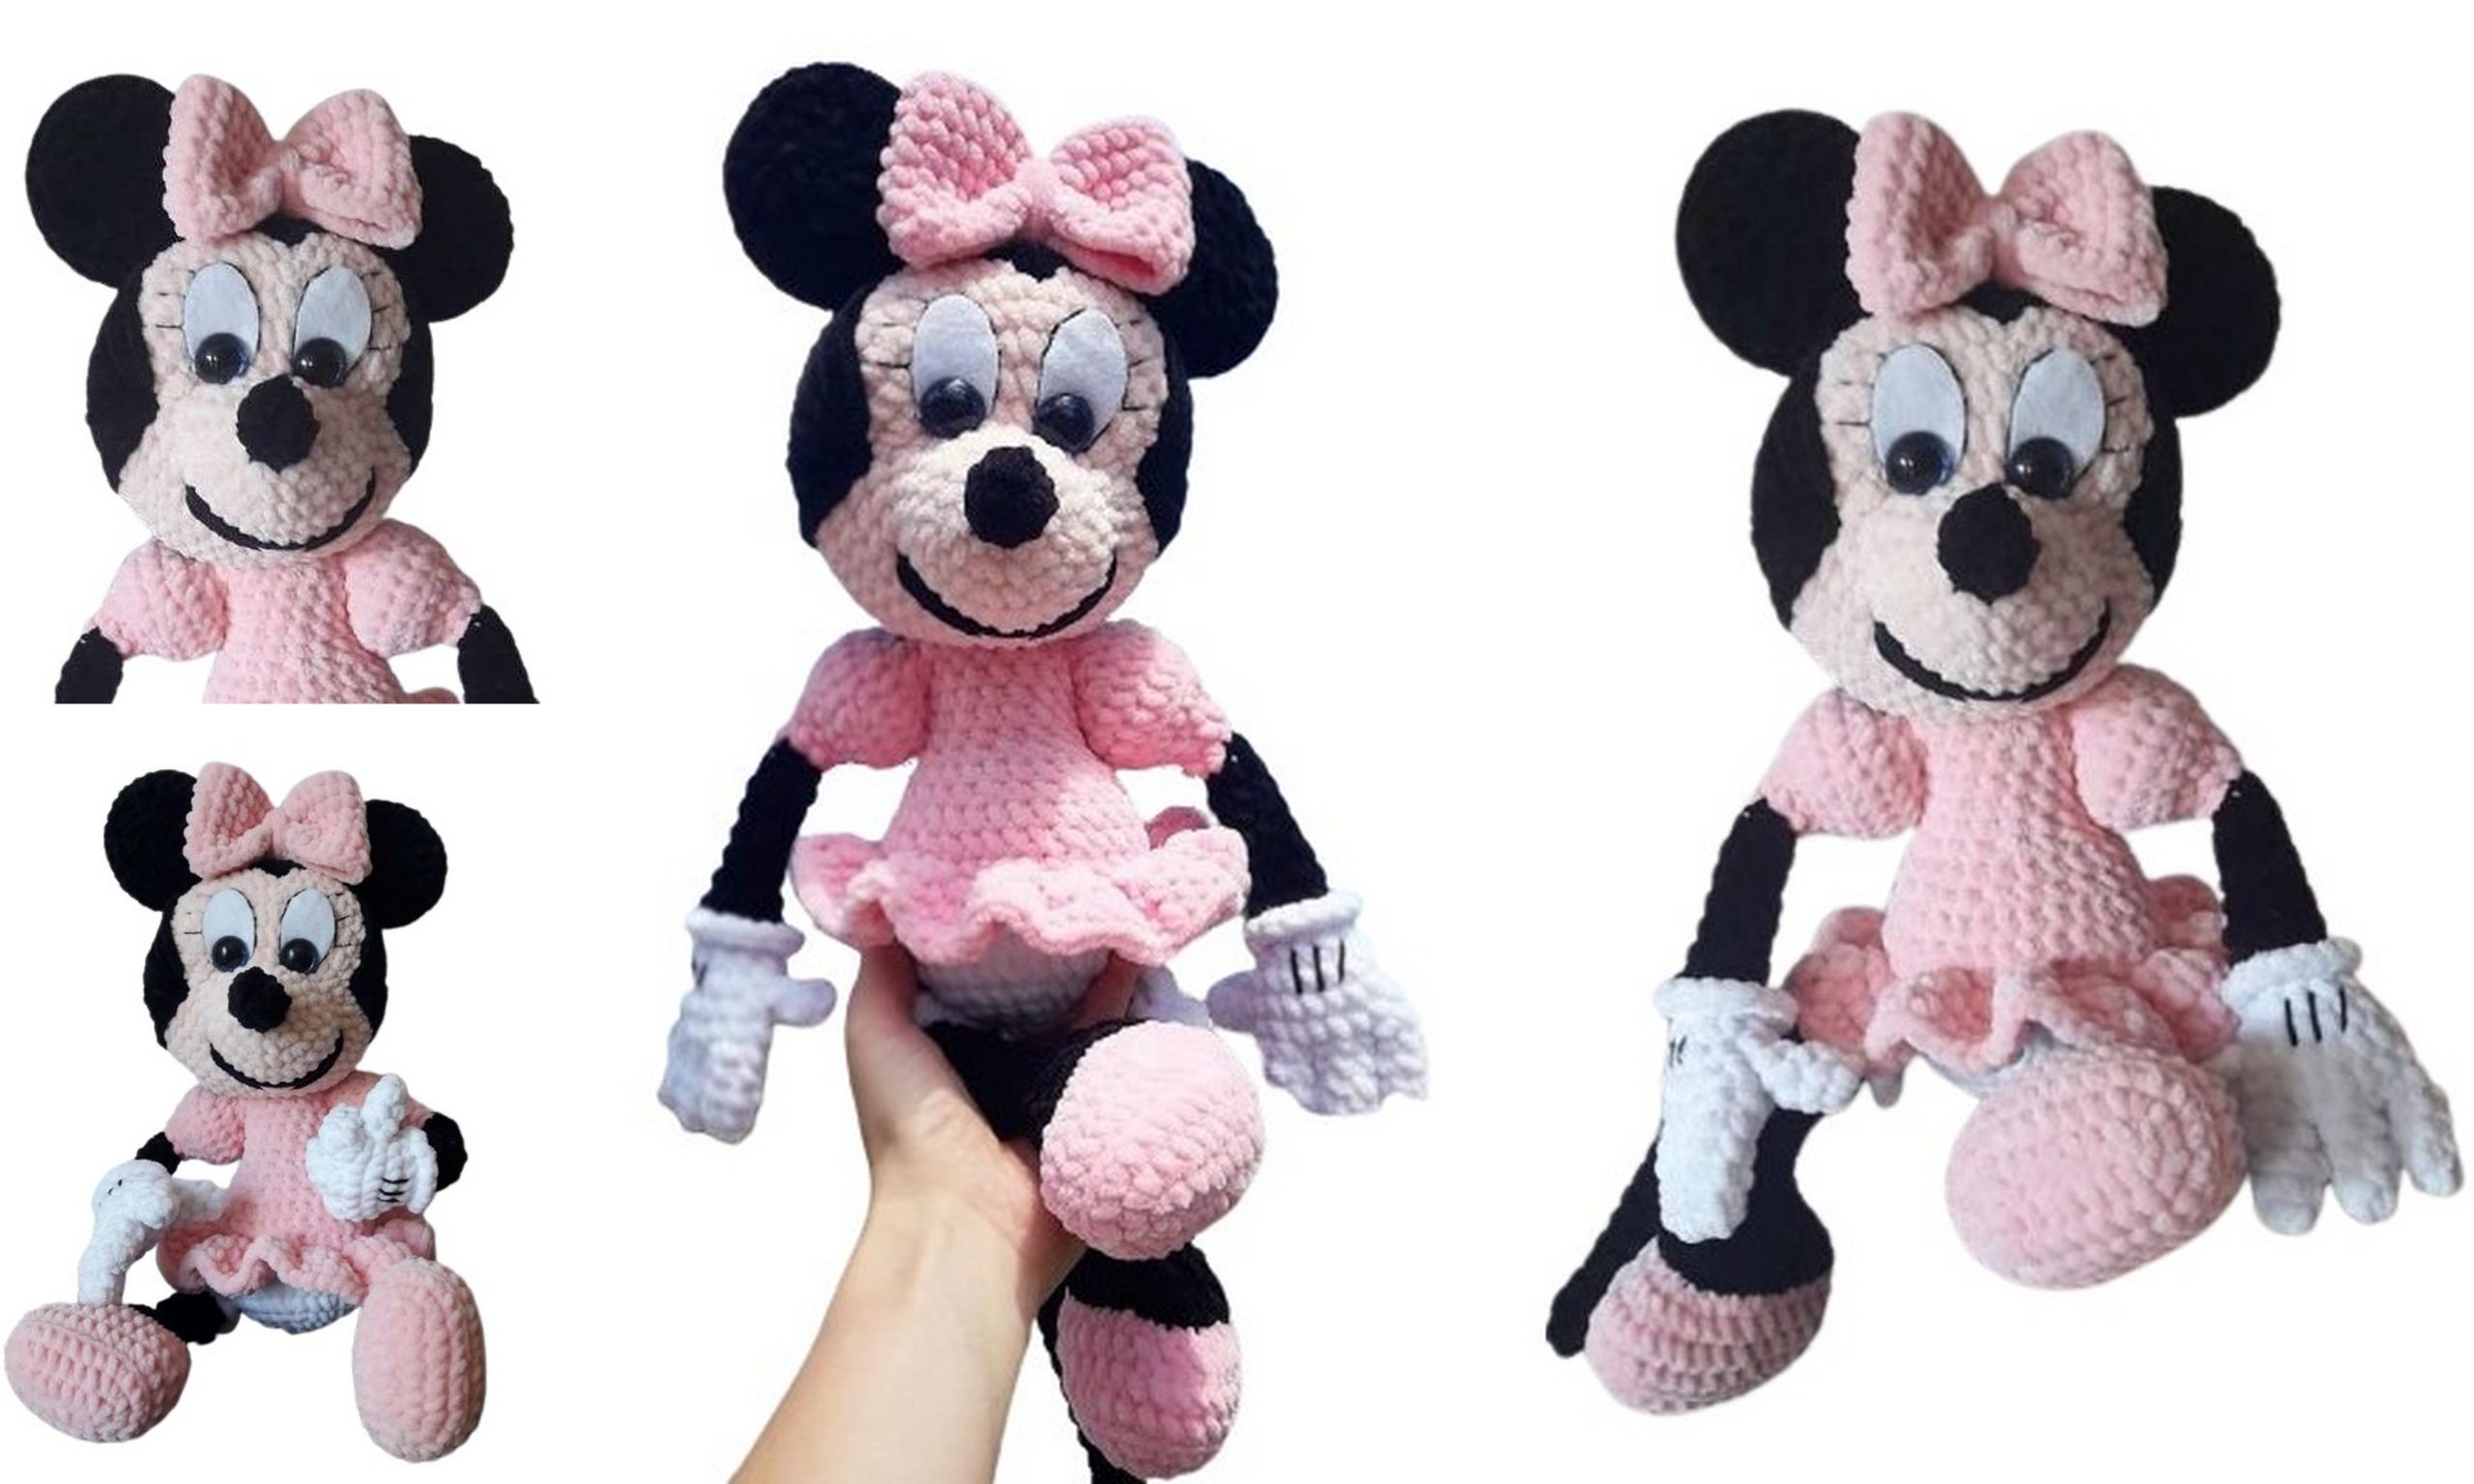
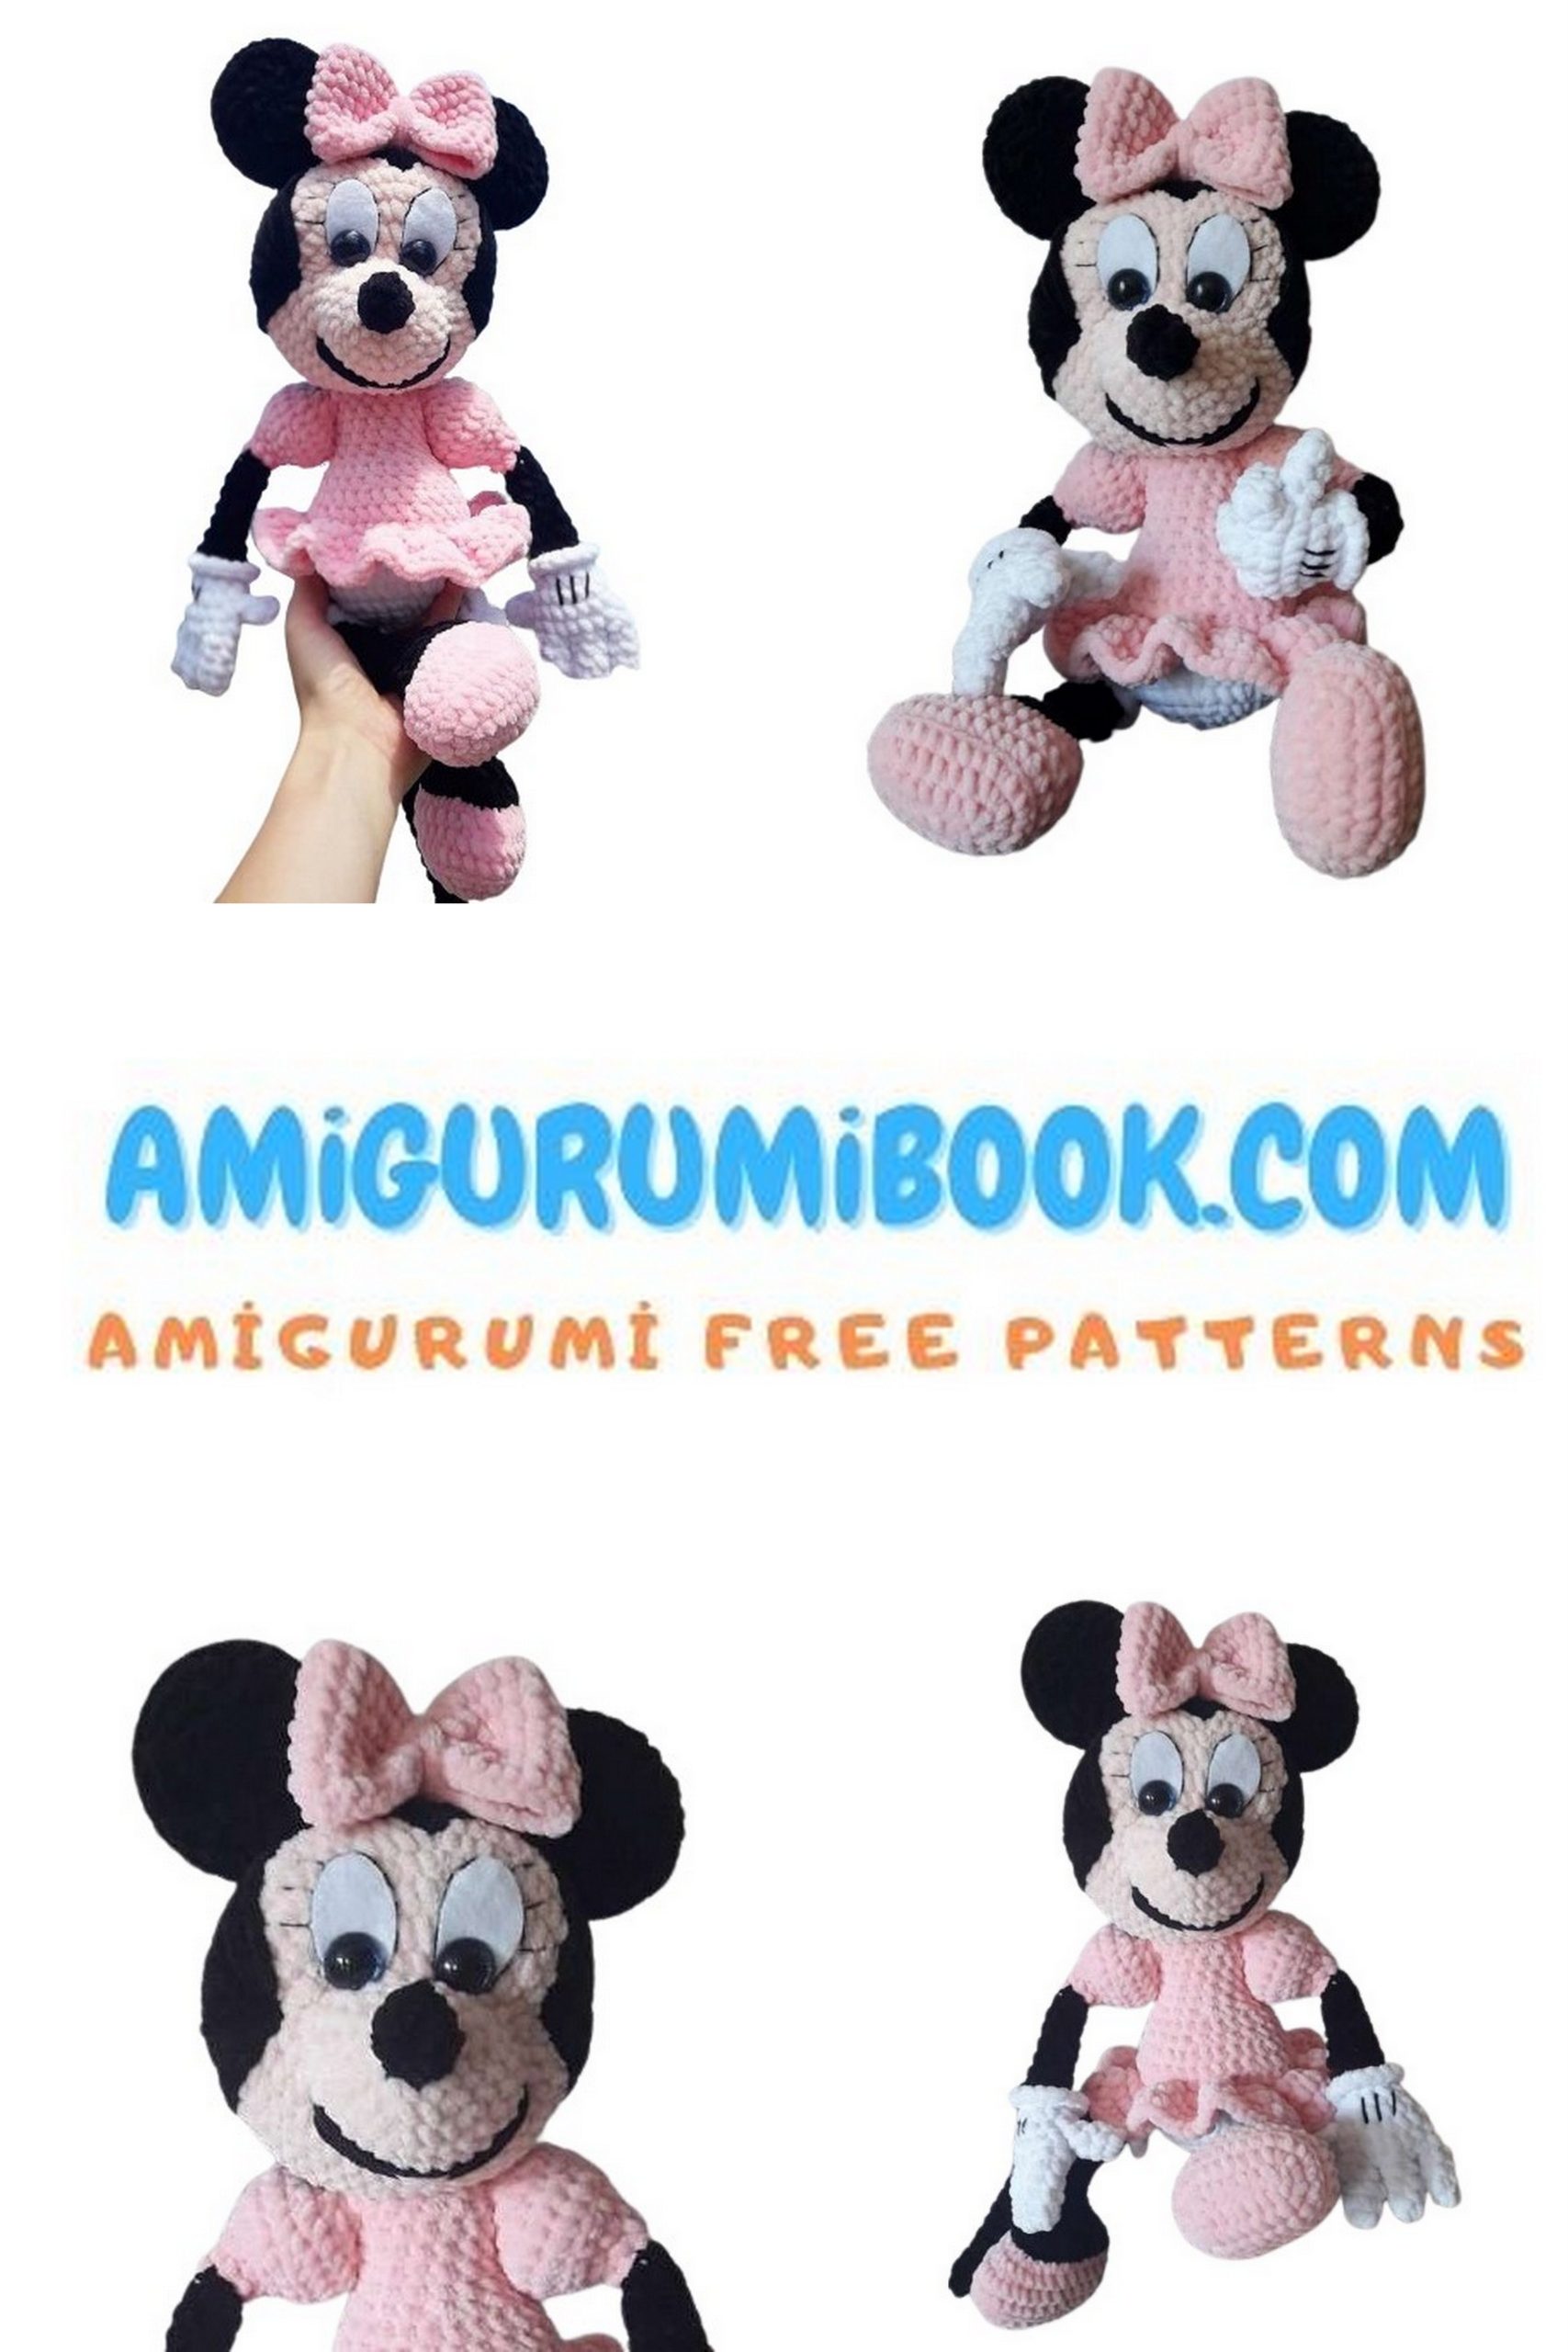
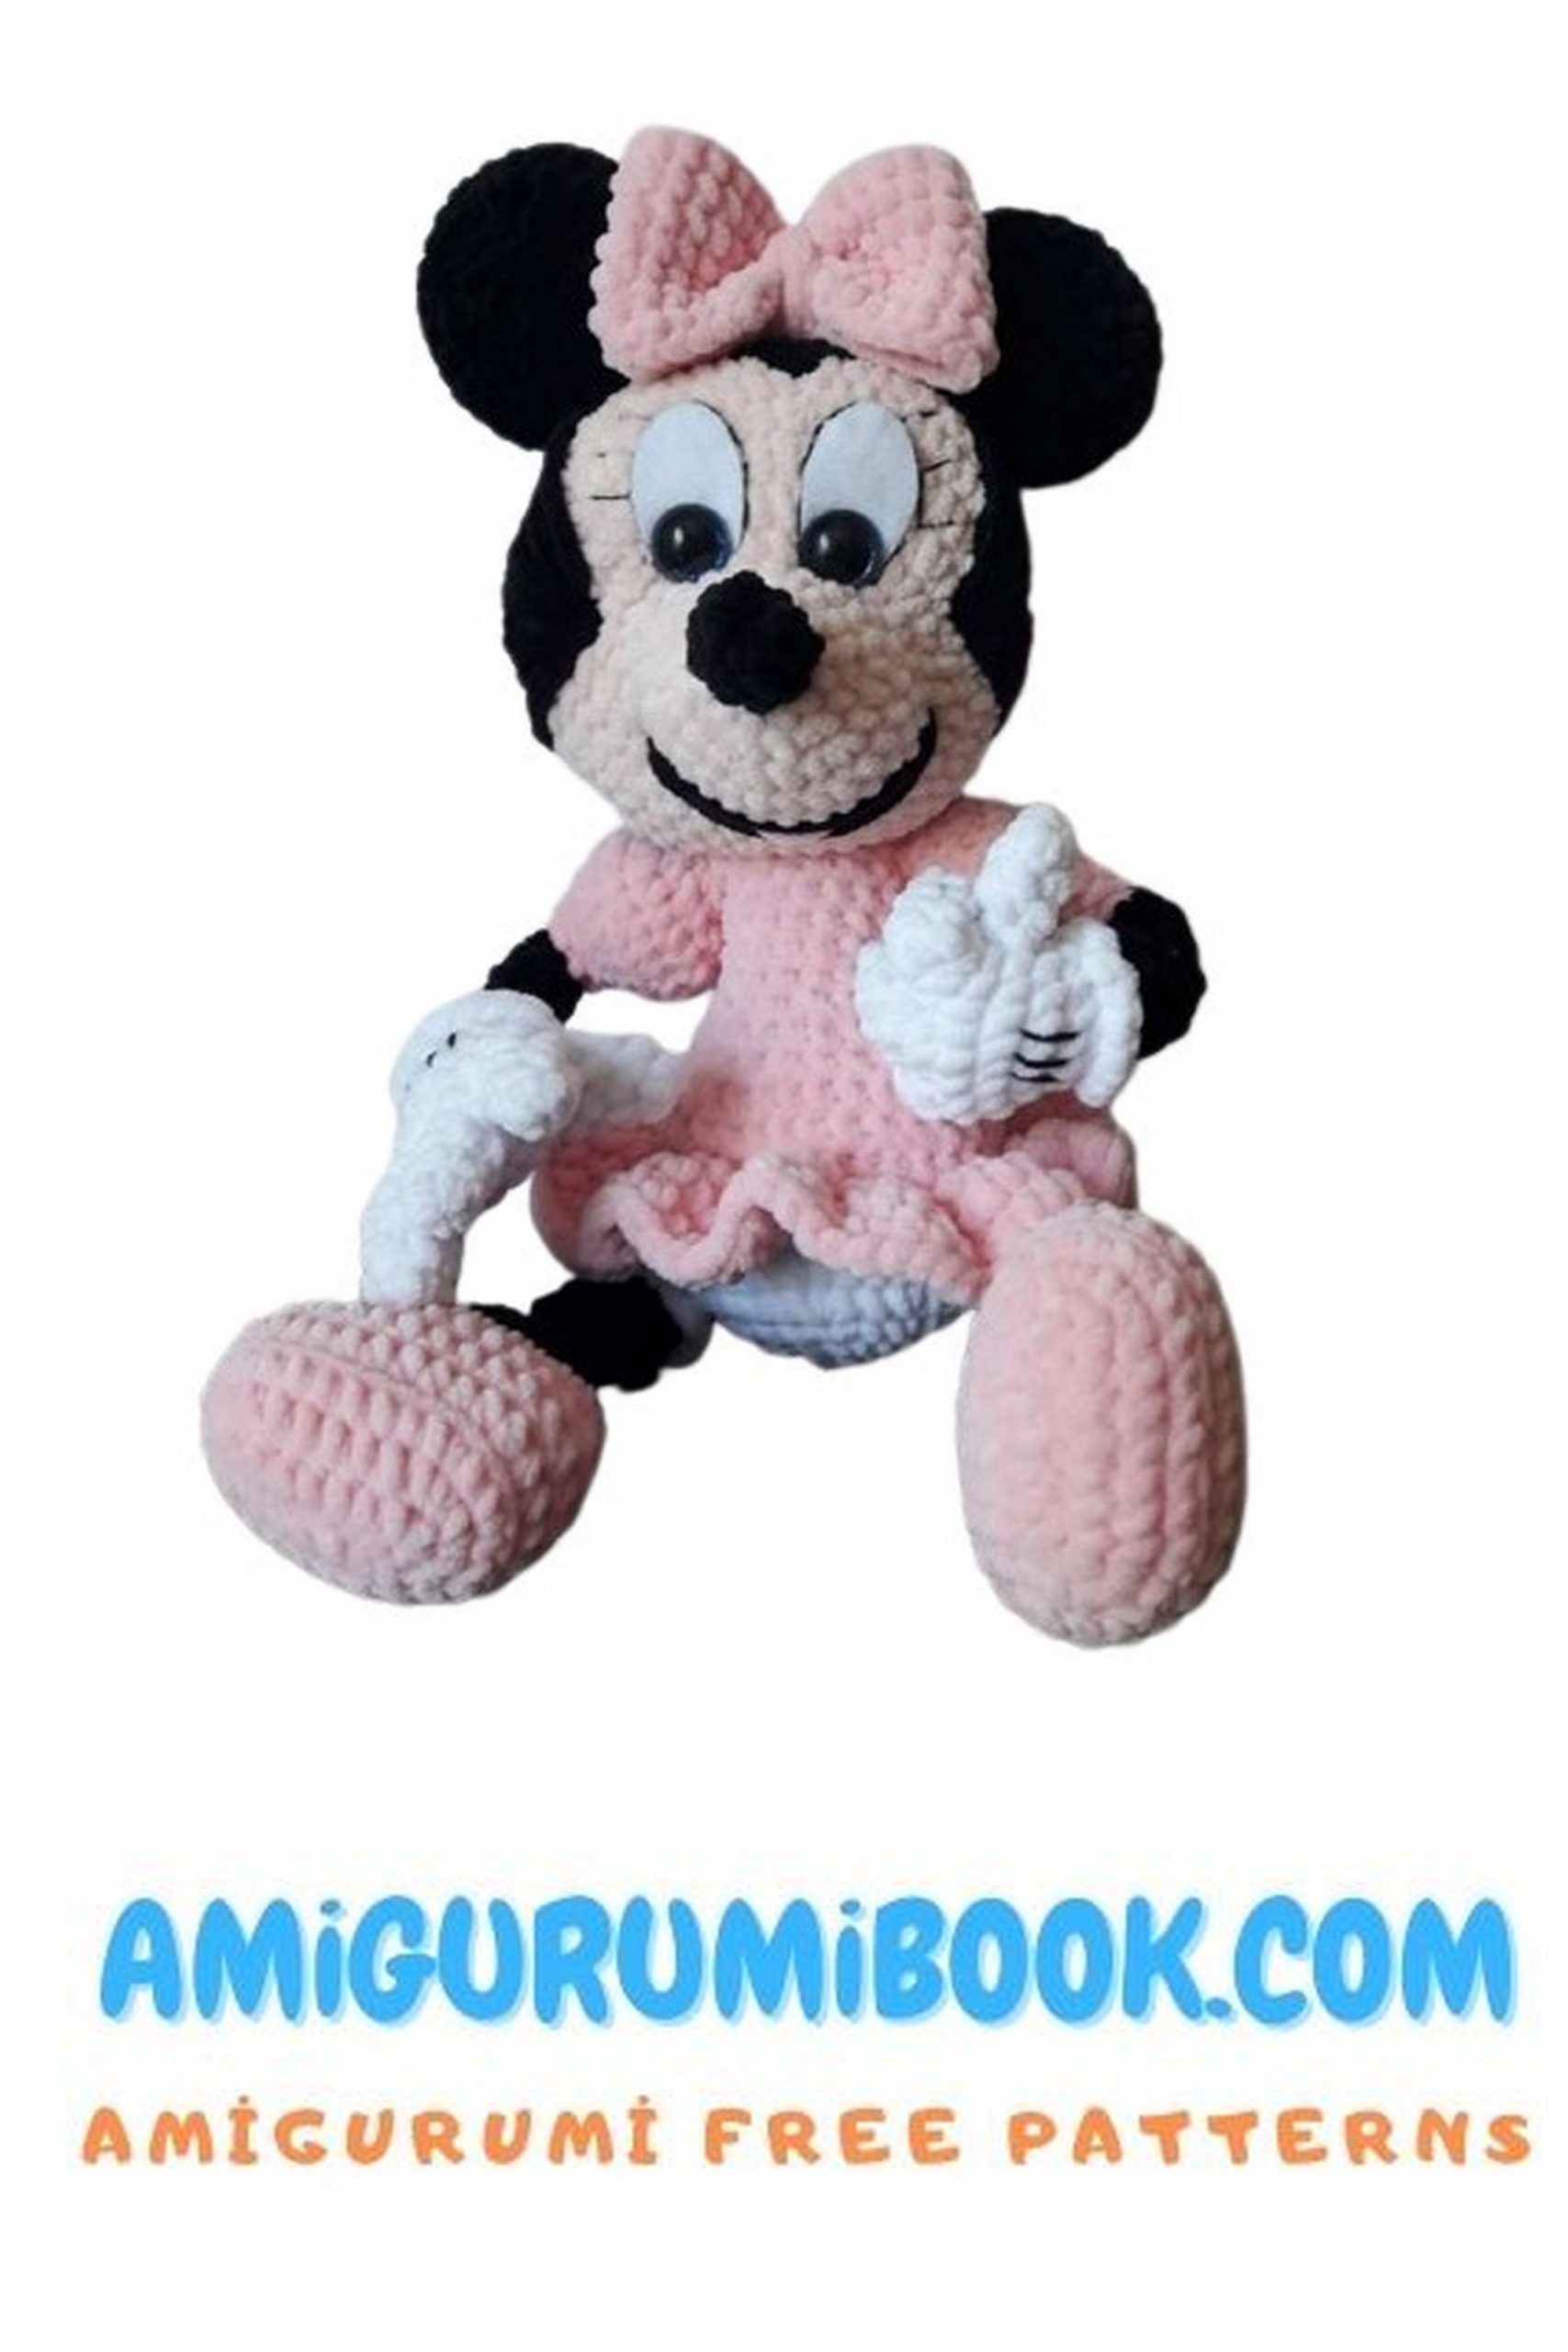
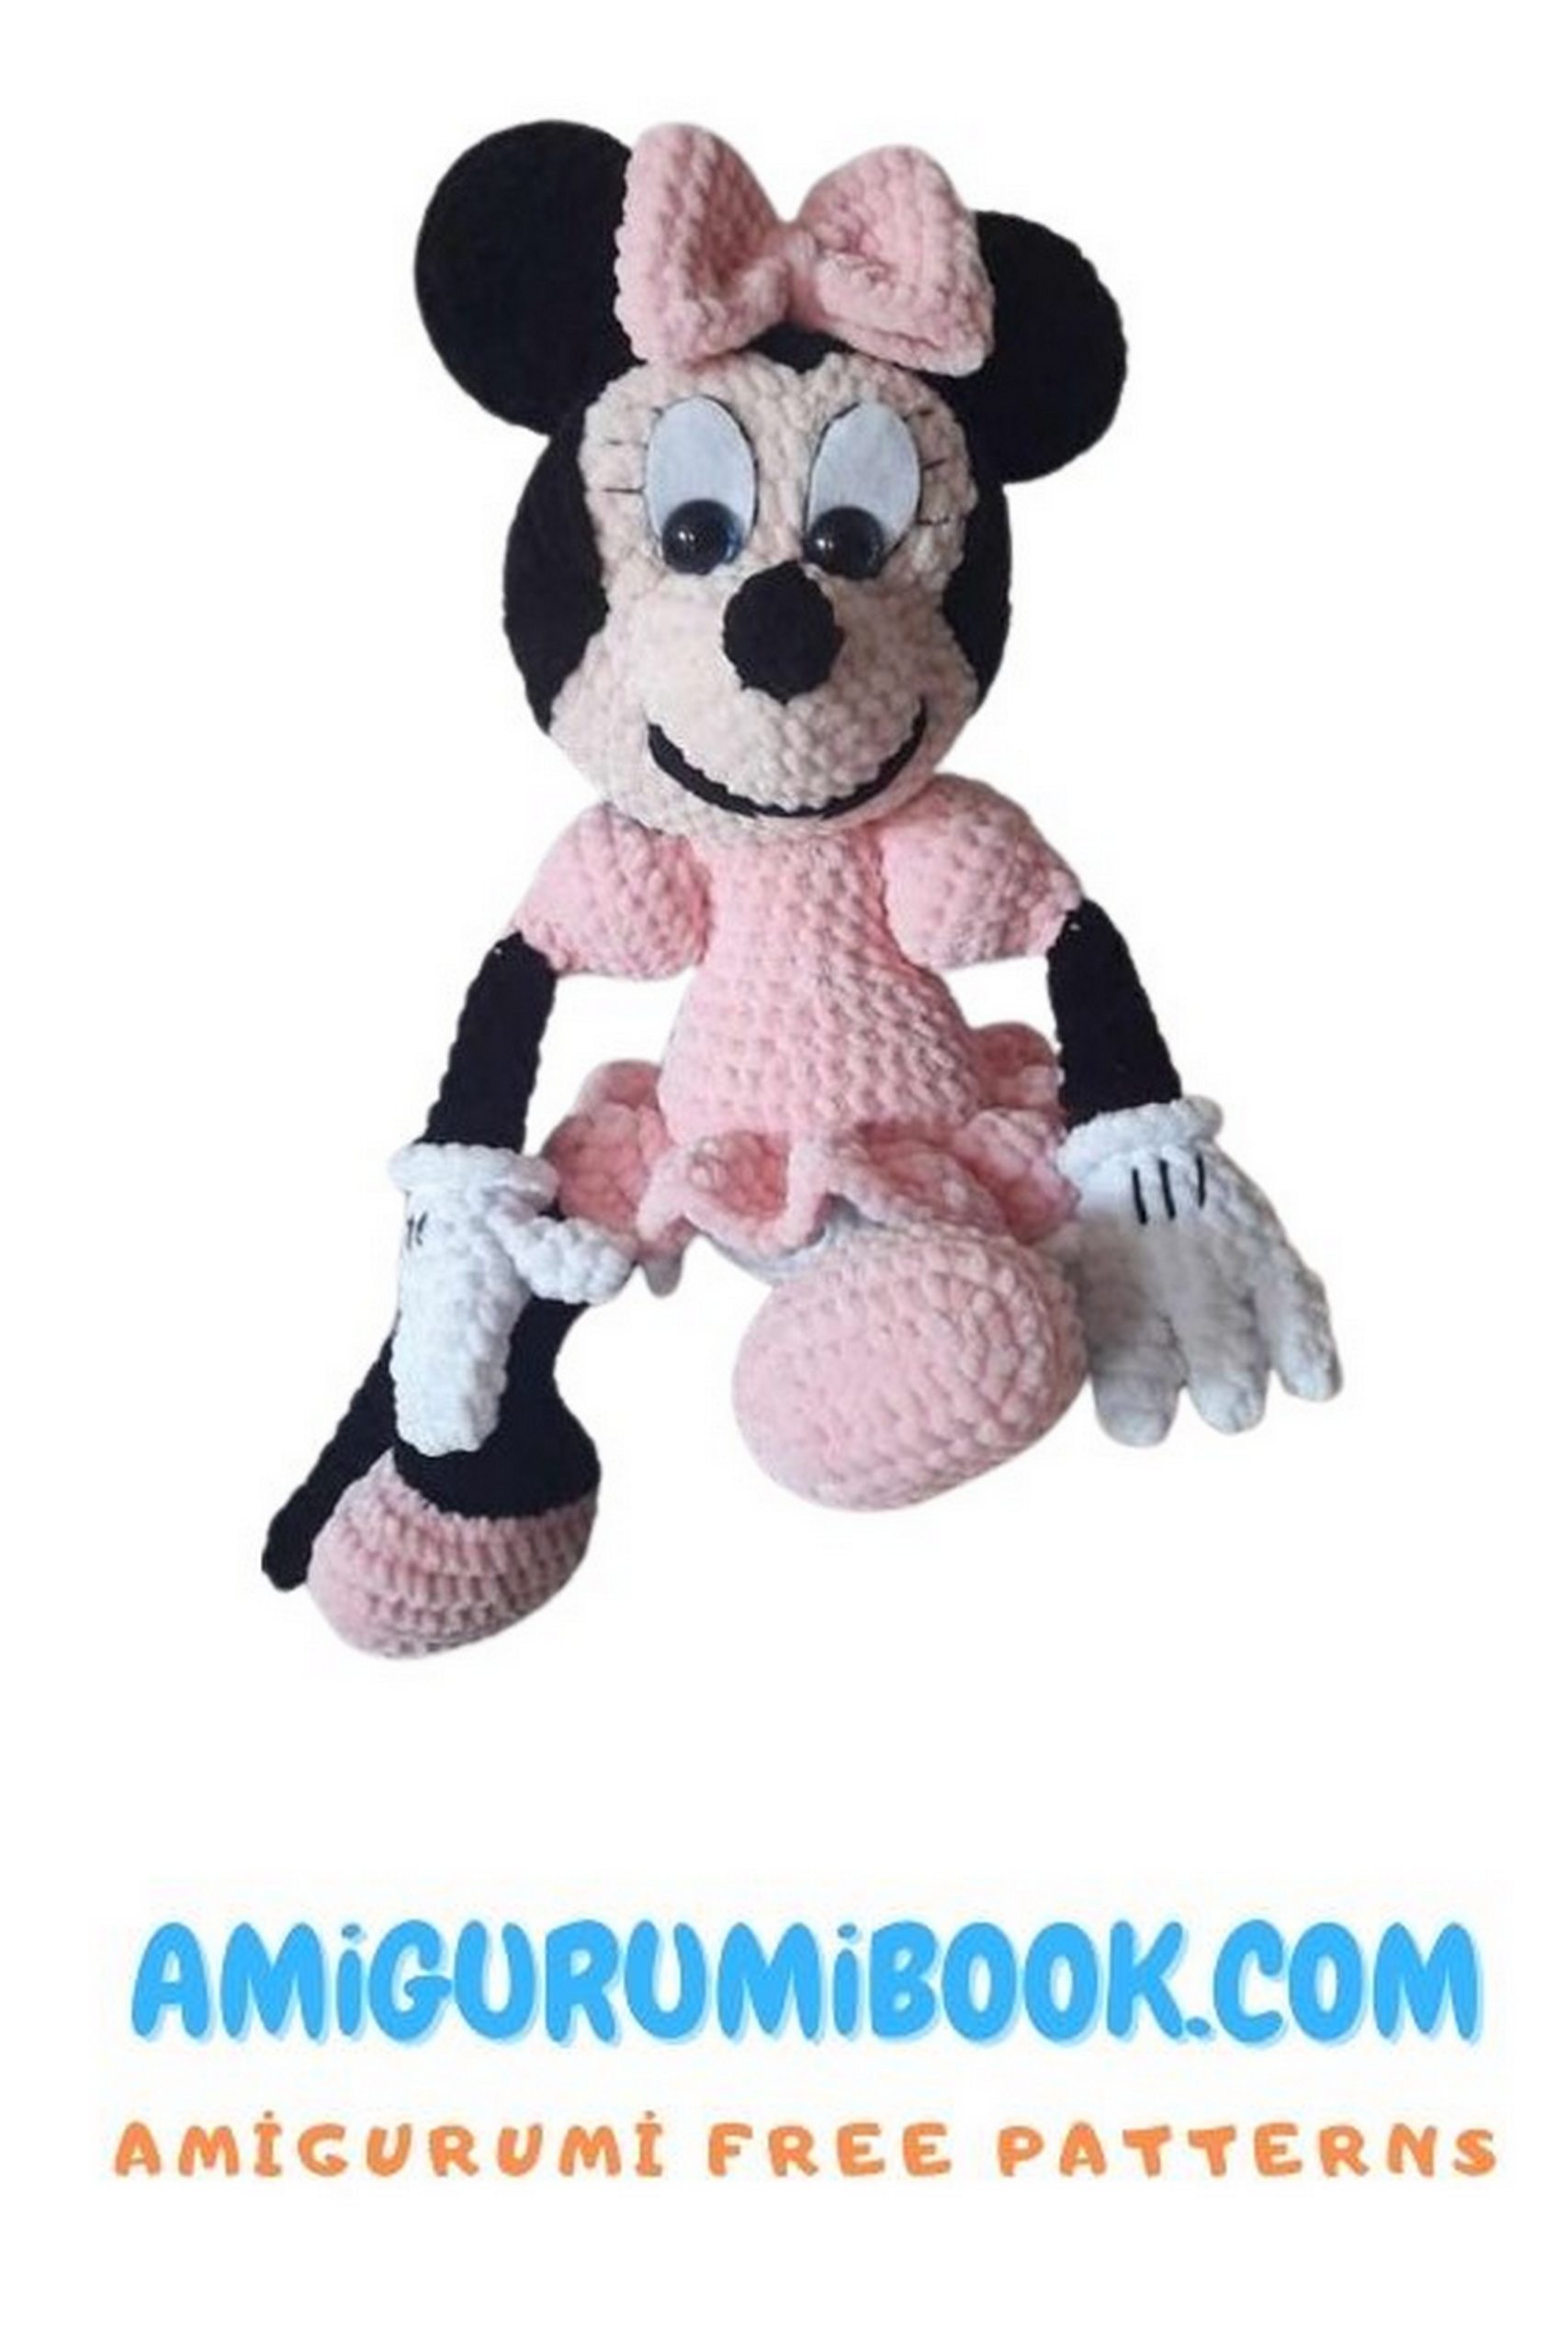
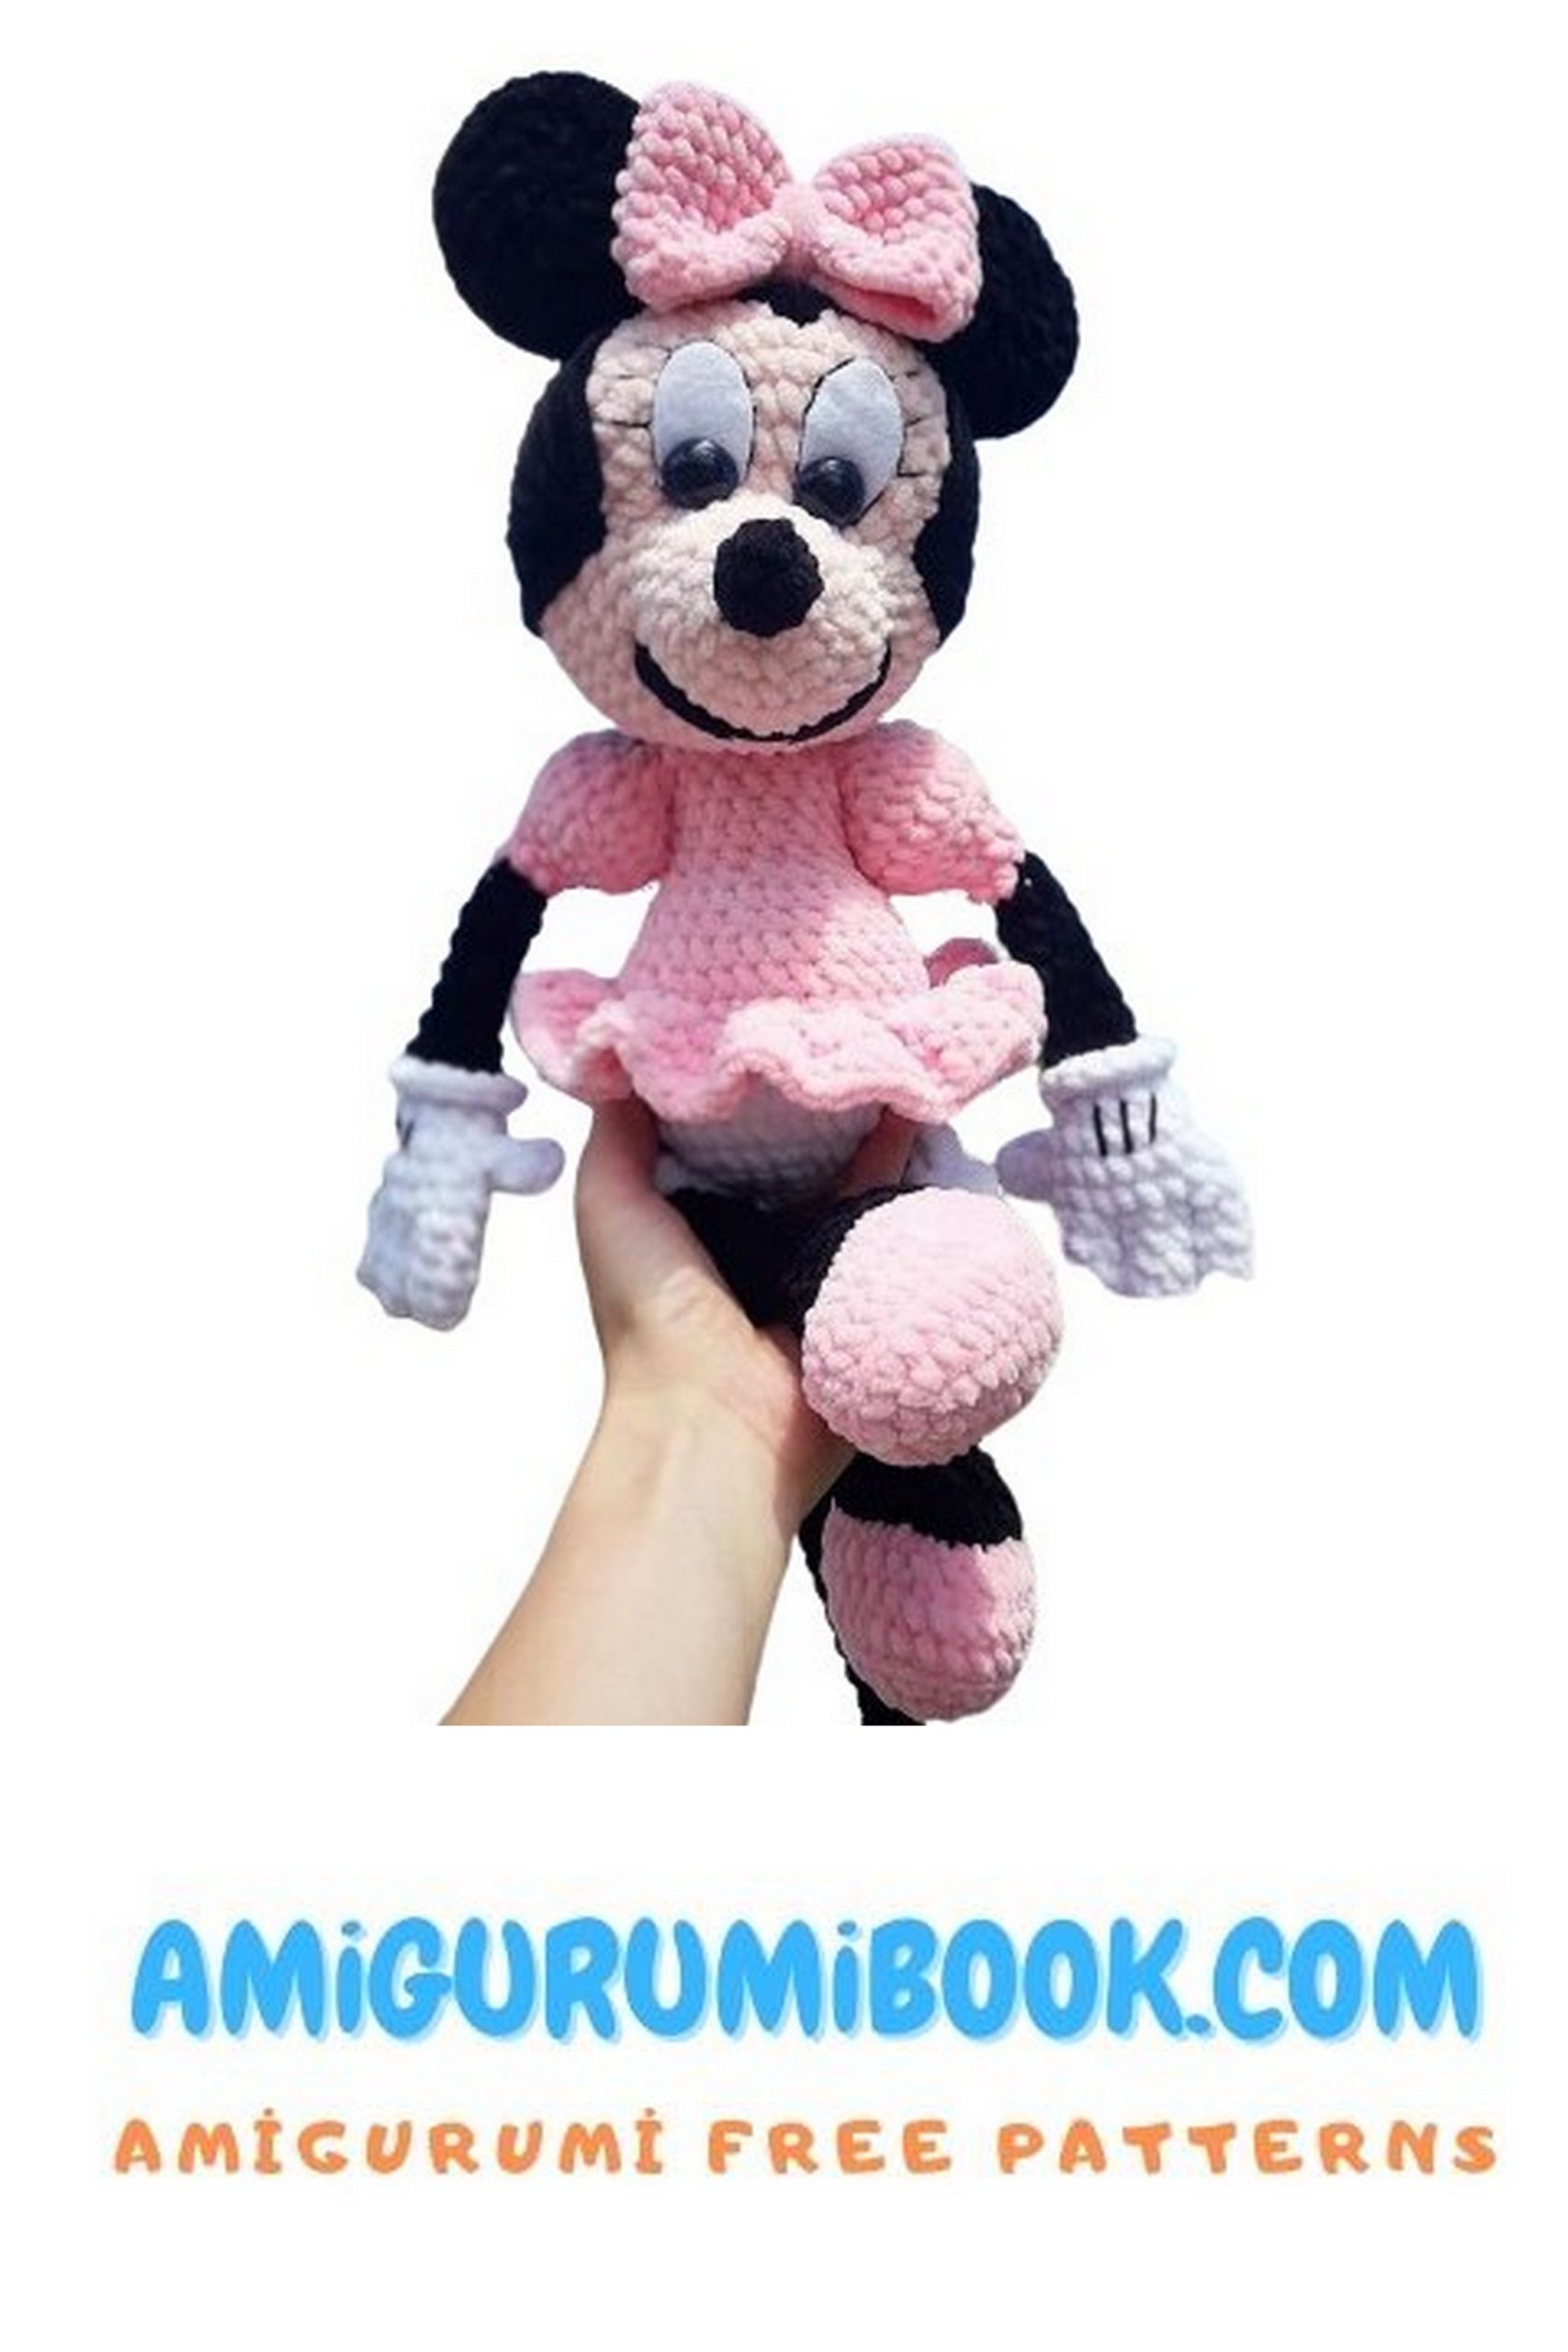
Crochet enthusiasts, get ready to bring the magic of Disney into your hands with our Minnie Mouse Amigurumi Free Pattern! This adorable crochet pattern allows you to create your very own cuddly Minnie Mouse, perfect for Disney fans of all ages. Whether you’re a beginner or an experienced crocheter, this pattern is sure to delight you with its simplicity and charm. Follow along with our step-by-step instructions and soon you’ll have your own Minnie Mouse to cherish and cuddle. Let the magic of crochet bring this beloved Disney character to life in the comfort of your own home!
Since you like the amigurumi minnie mouse toy, you should also see his best friend, amigurumi mickey mouse.
If you want to access 1000+ free amigurumi patterns, you can download our application from this link!
For crocheting, you will need:
yarn. I usually crochet from plush yarn
Himalaya Dolphin baby, or YarnArt Dolce.
Colors: black, light peach, soft pink, white.
hook No. 4, 4.5.
black thread for eyelash embroidery, I use Alize
cotton Gold. (I pulled out one
thin strand from the thread and embroidered with it), embroidered on the paws
with the same thread without separating it.
blunt-ended needle.
eyes on screw or other attachments. I have
14 mm, 16 mm;
felt for eyes;
glue, I have instant gel glue (it does not
leave yellow stains)
scissors.
stuffing (synthetic padding or holofiber).
marker or contrasting thread.
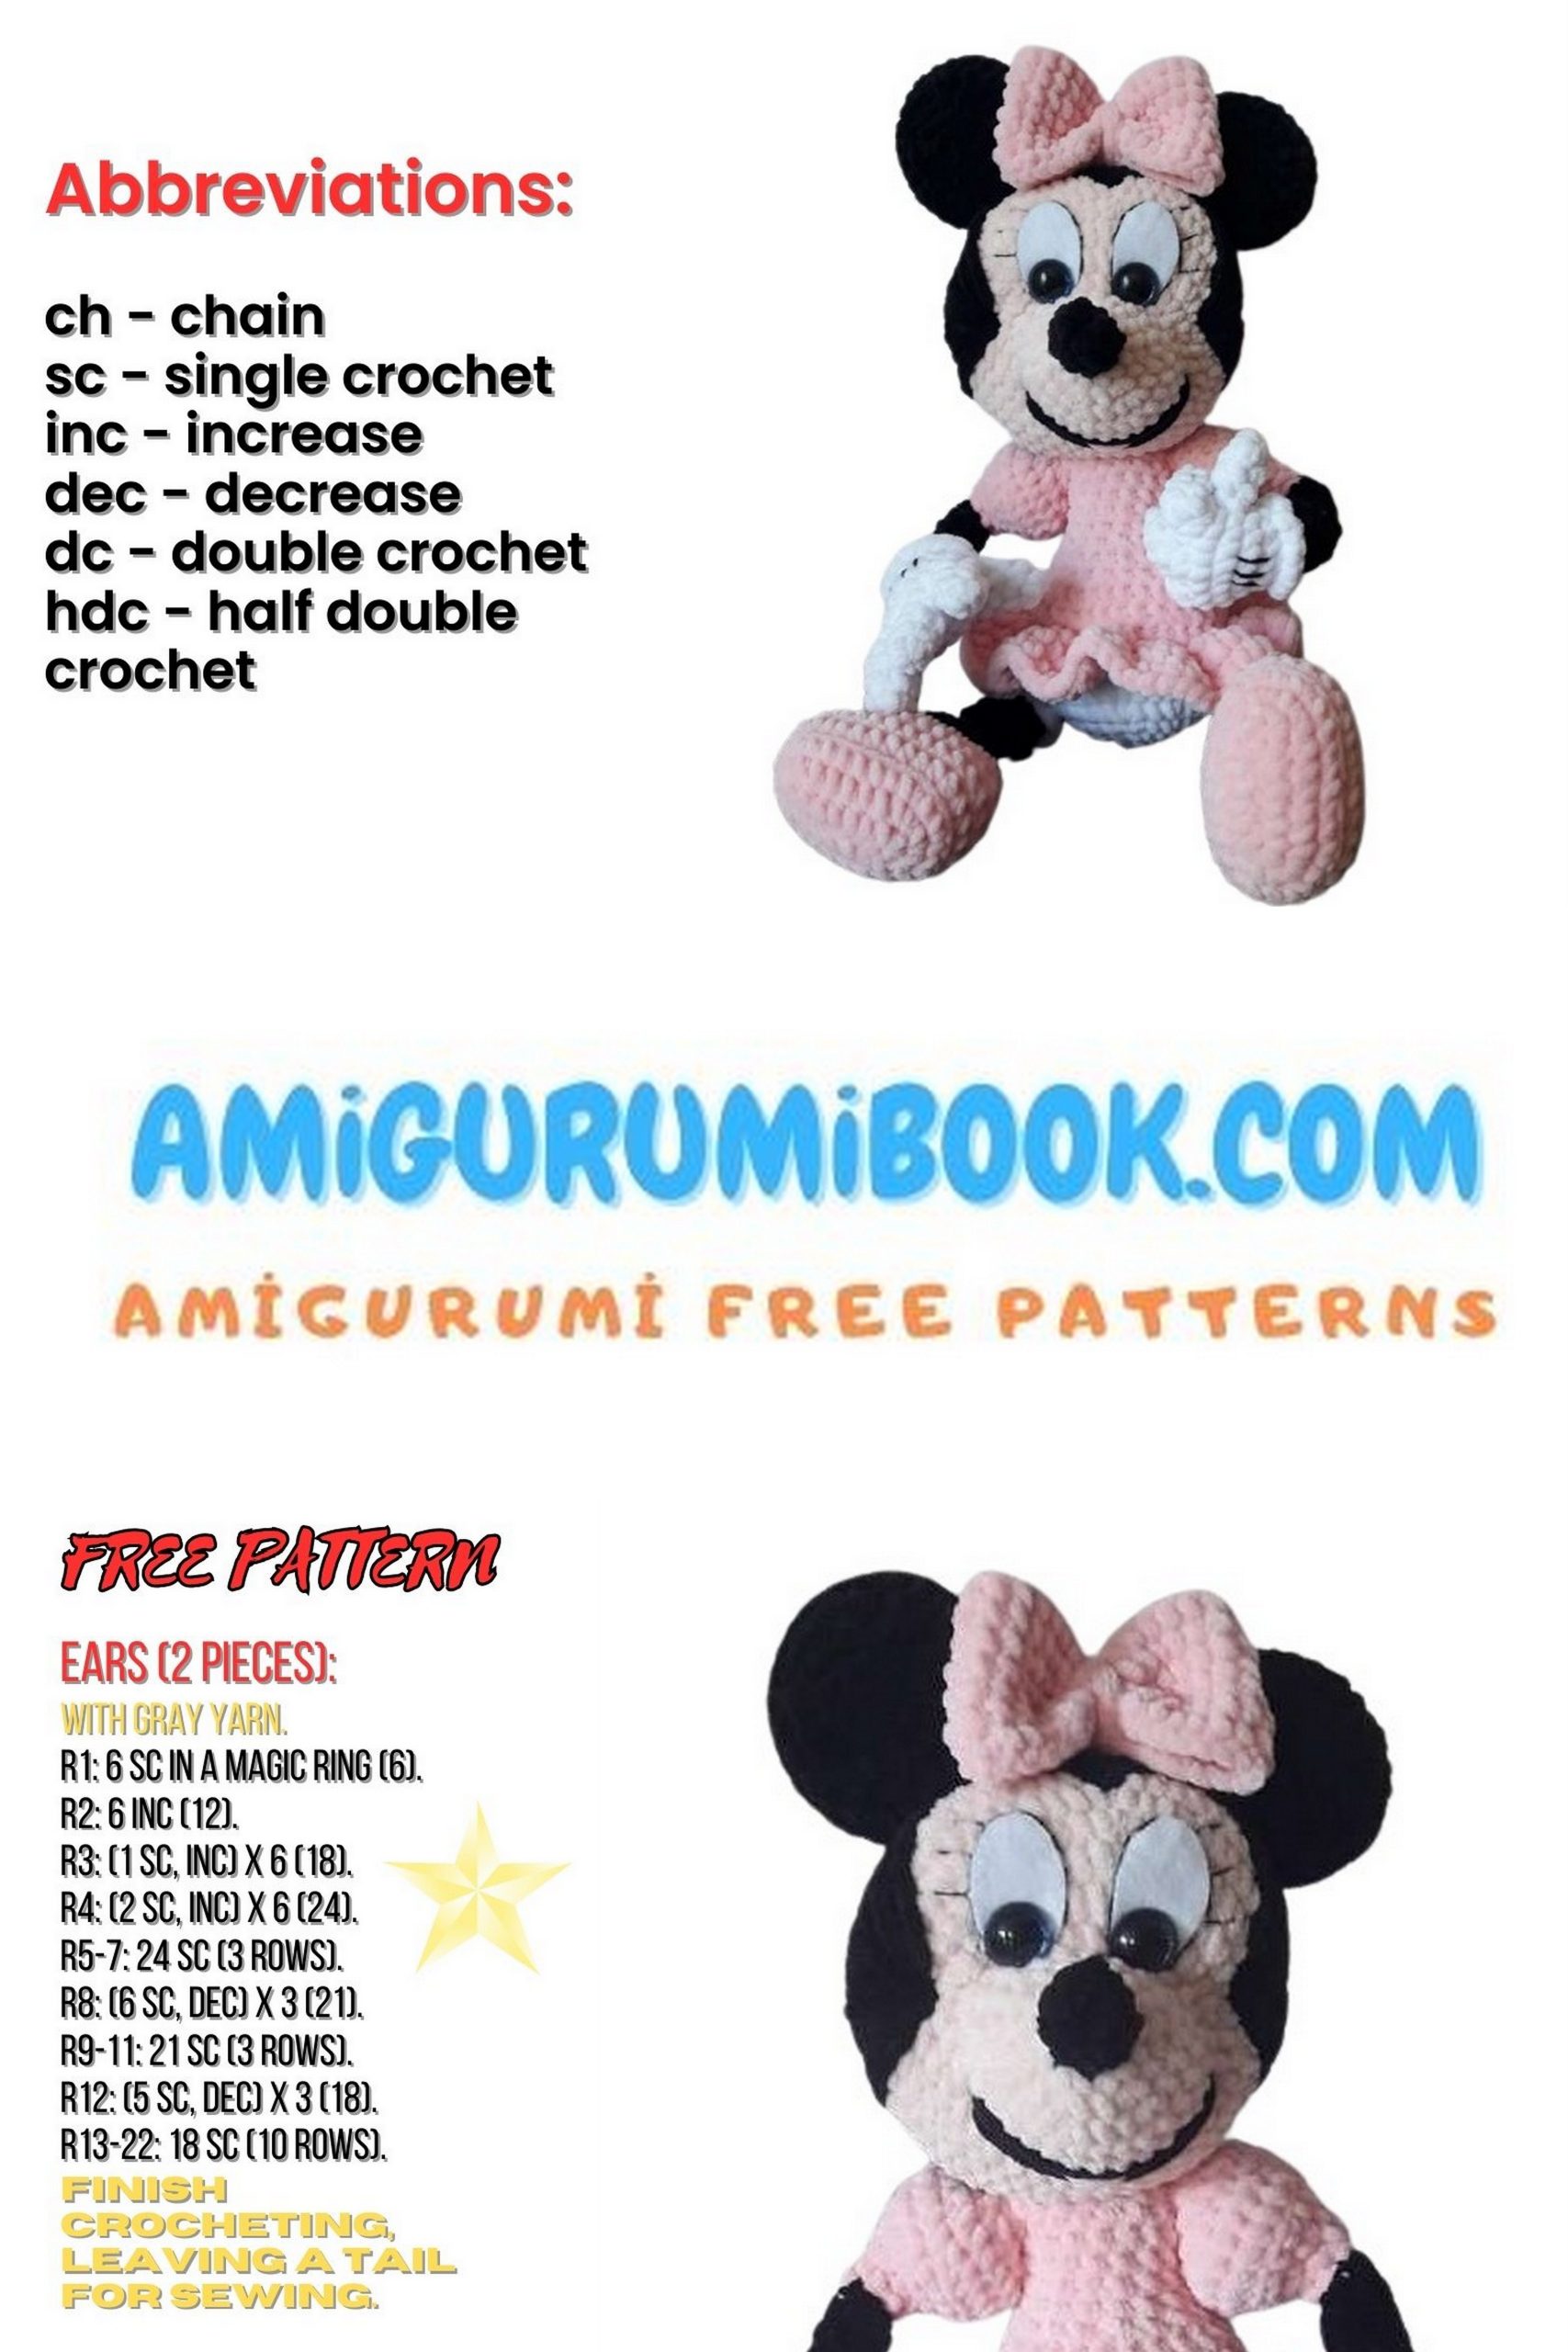
ABBREVİATİONS:
sc – slip stitch;
ch – chain stitch;
sc – single crochet;
hdc – half double crochet;
dc – double crochet;
dec – decrease – crochet 2 stitches together; I usually make decreases
catching only the front loop of the stitch. First, the first one, then
the second, and then the working yarn. (if not stated otherwise).
inc – increase, crochet 2 stitches into one;
MR – magic ring.
() * – repeat what is in parentheses the specified number of times.
The toy is crocheted in a spiral without chains. If not stated
otherwise.
Do not stuff fingers:
PATTERN
3 fingers on each hand: 6 pieces.
1 Row: 4sc in MR
2 Row: inc, 3sc (5)
3-4 Row: 5sc
Big fingers 2 pcs:
1 Row: 4 in MR
2 Row: inc, 1sc, inc, 1sc (6)
3-4 Row: 6sc
Arms – 2 parts: stuff only the sleeves.
I recommend starting with the big finger first, then the top 2 fingers,
then the third one, and without cutting the thread, start crocheting the arm.
Then do the same for the second one.
Skip the threads from the beginning of the finger (from MR) inside the finger and tie
with a tail at the top. Do not cut all the tails, leave them inside the palm
of the hand.
Arms – 2 parts: Minnie Mouse
stuff only the sleeves.
1 Row: continue crocheting along the 1st finger 3sc, take the 2nd finger, crochet along
it 3sc, take the 3rd finger crochet along it 5sc, crochet 1sc in
the place of joining the fingers (insert the hook into the 1st loop of the 3rd finger
and pull the yarn – you’ll have 2 loops on the hook. Insert the hook into the last
stitched loop of the 2nd finger, pull the yarn. Crochet 3 loops on the hook into one), to avoid holes. 2sc along the 2nd
finger. 1sc in the joining place, 1sc along the 1st finger, inc (18)
2-3 Row: 18sc
4 (left hand) attach the big finger by crocheting 3sc through 3 layers
(2 layers of the finger and 1 arm), 15sc (18)
4 Row: (right hand) 6sc, 3sc through 3 layers (2 fingers, 1 arm), 9sc (18)
5 Row: (1sc, dec) * 6 (12)
6 Row: 12sc, change color in the last stitch of the 6th row.
7 Row: 12sc through the back loops in black color. Through the front loops
crochet in white (1sc, inc) * 6, sl st. Thread the white yarn down and inside,
tie with a black tail.
8 Row: (1sc, dec) * 4 (8)
9-13 Row: 8sc, change color to pink in the last stitch of the 13th row.
14th row in two threads: bring up black, bring out pink.
14 Row: 8sc
15 Row: 8sc through the back loops
16 Row: inc in each stitch (16)
17 Row: (1sc, inc) * 8 (24)
18th row through the back loops.
18-19 Row: 24sc
20 Row: (1sc, dec) * 8 (16)
21 Row: 8dec (8)
Video: crocheting fingers
Video: continuation
Legs – 2 parts: Minnie Mouse
stuff only the bottom.
1 Row: 9ch, in the second ch from the hook:
3sc in one ch, 6sc, 3sc in one ch, 6sc on the other side of the chain
(18)
2 Row: 3inc, 6sc, 3inc, 6sc (24)
3 Row: (1sc, inc) * 3, 6sc, (1sc, inc) * 3, 6sc (30)
4 Row: 30sc through the back loops
5 Row: 30sc
Move the marker to the middle of the heel, crochet 4sc or as many as
you need. Now the beginning of the row is here.
6 Row: 12sc, 3dec, 12sc (27) change the yarn in the last stitch of the 6th row. Row 7
crochet in 2 threads. Bring up pink, bring out black.
Change of color
7 Row: 10sc, 3dec, 11sc (24) tie the tails inside, between each other.
8 Row: through the back loops (2sc, dec) * 6 (18), decreases are not hidden, but
regular, only through the back loops.
9 Row: (1sc, dec) * 6 (12)
10 Row: (1sc, dec) * 4 (8)
11-17 Row: 8sc, change color in the last stitch of the 17th row. 18th row in two threads
bring up black, pull through white.
18 Row: 8sc
19 Row: 8sc through the back loops
crochet through the front loops: (sl st, ch, 2sl st in one loop) * 4, sl st and
continue crocheting the leg.
20 Row: 8sc
21 Row: fold in half and crochet 4sc through 2 layers.
Tail: Minnie Mouse
1 Row: 4sc in MR
2 Row: inc, 3sc (5)
3-25 Row: 5sc
26 Row: fold in half and crochet
2sc through 2 layers of the tail.
Body: Minnie Mouse
stuff tightly
1 Row: 6sc in MR
2 Row: 6inc (12)
3 Row: (1sc, inc) * 6 (18)
4 Row: (1sc, inc) * 9 (27)
5 Row: (2sc, inc) * 9 (36)
6 Row: 7sc, dec with leg, 5sc, 2sc with tail, 5sc, dec with leg, 9sc (36)
7 Row: (5sc, inc) * 6 (42)
crochet 11sc in the 12th row, change color. Place a marker; now the beginning of the row is here. Crochet in two threads
bring up white, pull out pink. 9th row through the back loops.
8 – 9 Row: 42sc
10 Row: (5sc, dec) * 6 (36)
11 Row: 36sc
12 Row: (2sc, dec) * 9 (27)
13 Row: 27sc
14 Row: (1sc, dec) * 9 (18)
15-17 Row: 18sc
crochet until the middle of the back (I have 4sc). Place a marker.
18 Row: 2sc, 4sc in the arm for one side of the arm (make sure the arm is in the correct position – the thumb forward)
7sc, 4sc in the arm for one side of the arm, 1sc (18)
19 Row: 2sc, 1sc (crochet as decrease, insert the hook into the joining place of the arm with the body, pull out the yarn, then insert into the arm, pull out the yarn and crochet) 3sc along the arm, 1sc (also catching the joining place), 6sc, 4sc along the arm (the first
sc also catching the joining place of the arm with the body), 1sc (18)
Adjustments depend on the yarn and the density of crocheting. Follow your mouse.
Leave a long tail for sewing the head.
Video: crocheting arms
Video: continuation
Skirt: Minnie Mouse
Turn the mouse towards you with the head,
and legs away from you. Find the place of color change.
1 Row: Insert the hook under the front loop
of the stitch, pull out the yarn, ch, make 3hdc,
make 2hdc in the next stitch, continue until the end (3hdc, 2hdc), sl st, ch.
2 Row: hdc in each stitch, sl st.
You can finish here, or you can crochet one more row. Ch, hdc in each stitch, sl st. If you want
a longer skirt.
Ears – 2 parts: Minnie Mouse
stuff.
1 Row: 6sc in MR
2 Row: 6inc (12)
3 Row: (1sc, inc) * 6 (18)
4 Row: (2sc, inc) * 6 (24)
5 Row: 24sc through the back loops
6 Row: (2sc, dec) * 6
(18)
7 Row: (1sc, dec) * 6 (12)
8 Row: 6dec.
Secure the thread, hide it.
Head: Minnie Mouse
Stuff tightly.
Start with black yarn for the nose.
1 Row: 6sc in MR (Magic Ring).
2 Row: (2sc, inc) * 2 (8).
3 Row: 8sc.
4 Row: (2sc, dec) * 2 (6), change to flesh-colored yarn in the last stitch of the 4th row.
5 Row: 6inc in the back loops (12), stuff the nose slightly.
6 Row: (1sc, inc) * 6 (18).
7 Row: (2sc, inc) * 6 (24).
8-9 Row: 24sc, crochet 4 inc, place a marker, now the beginning of the row is here. To ensure precise attachment of the eyes.
10 Row: 4 inc, 16sc, (1sc, inc) * 4 (36).
11 Row: (1sc, inc) * 4, 16sc, (2sc, inc) * 4 (44).
12 Row: (2sc, inc) * 4, 16sc, place another marker. Now the beginning is here. Leave the previous marker, but crochet according to this one.
13 Row: (7sc, inc) * 6 (54).
14 Row: 54sc.
15 Row: crochet 3sc, change yarn in the 4th, place a marker. Crochet 54sc with two strands, using flesh-colored yarn.
16 Row: 54sc in the back loops.
17-19 Row: 54sc.
20 Row: (7sc, dec) * 6 (48).
21 Row: (6sc, dec) * 6 (42).
22 Row: (5sc, dec) * 6 (36).
23 (4sc, dec) * 6 (30).
24 (3sc, dec) * 6 (24).
25 Row: (2sc, dec) * 6 (18).
26 Row: (1sc, dec) * 6 (12).
27 Row: 6 dec.
I tighten the hole after shaping the head. Pull threads there.

Head embellishment:
Embroider with thin black thread around the eyes and lashes.
Embroider bangs. Find the center, count 3 stitches to the right and 3 to the left. Bangs are worked over 2 rows. Insert the needle under the black stitches. Tie off and hide the ends.
Count 4 stitches from the edge of the bangs along the black border – this is the start of the sideburns. Go down 11 stitches – the lower point of the sideburns. The width of the sideburns is 4 rows.
Pull back the eyes. Insert a needle with flesh-colored yarn into the back of the head, pull out to the outer lower corner of the left eye. Pull out the thread, leaving a tail for tying. Insert the needle into the inner lower corner of the eye. Pull out to the back of the head. Tighten. Insert into the back of the head. Pull out to the outer lower corner of the right eye. Pull out the thread. Insert the needle into the inner lower corner of the eye. Pull out to the back of the head. Tighten. Tie several knots. Hide the ends.
Embroider the mouth with black plush yarn and the tongue with pink. Sew the head to the body.
Videos: Eyes, Bangs, Sideburns, Tightening, Smile.
Attaching the head using the example of a teddy bear.
Bow: Minnie Mouse
Chain 31.
Make a slip stitch into the first chain to form a loop.
Rows 1-7: Crochet 31sc in a spiral.
Crochet 2 more sc to ensure the tails are even – one above the other.
Cut a long thread. Secure the crochet. Wrap around 7 rows.
Tie the ends together. Sew to the head. Hide the ends.
The mouse is ready!
Congratulations!!!