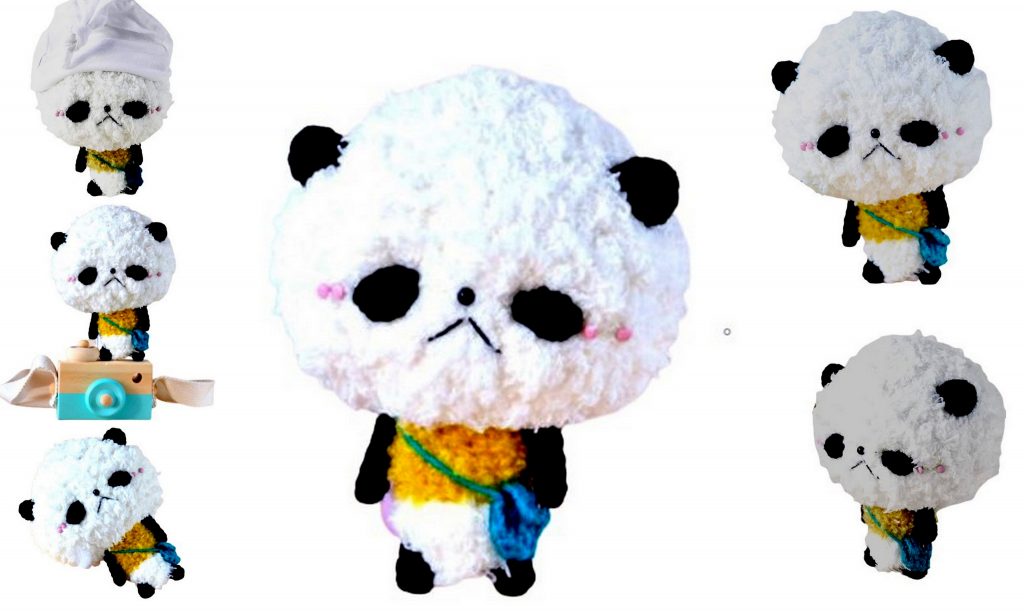
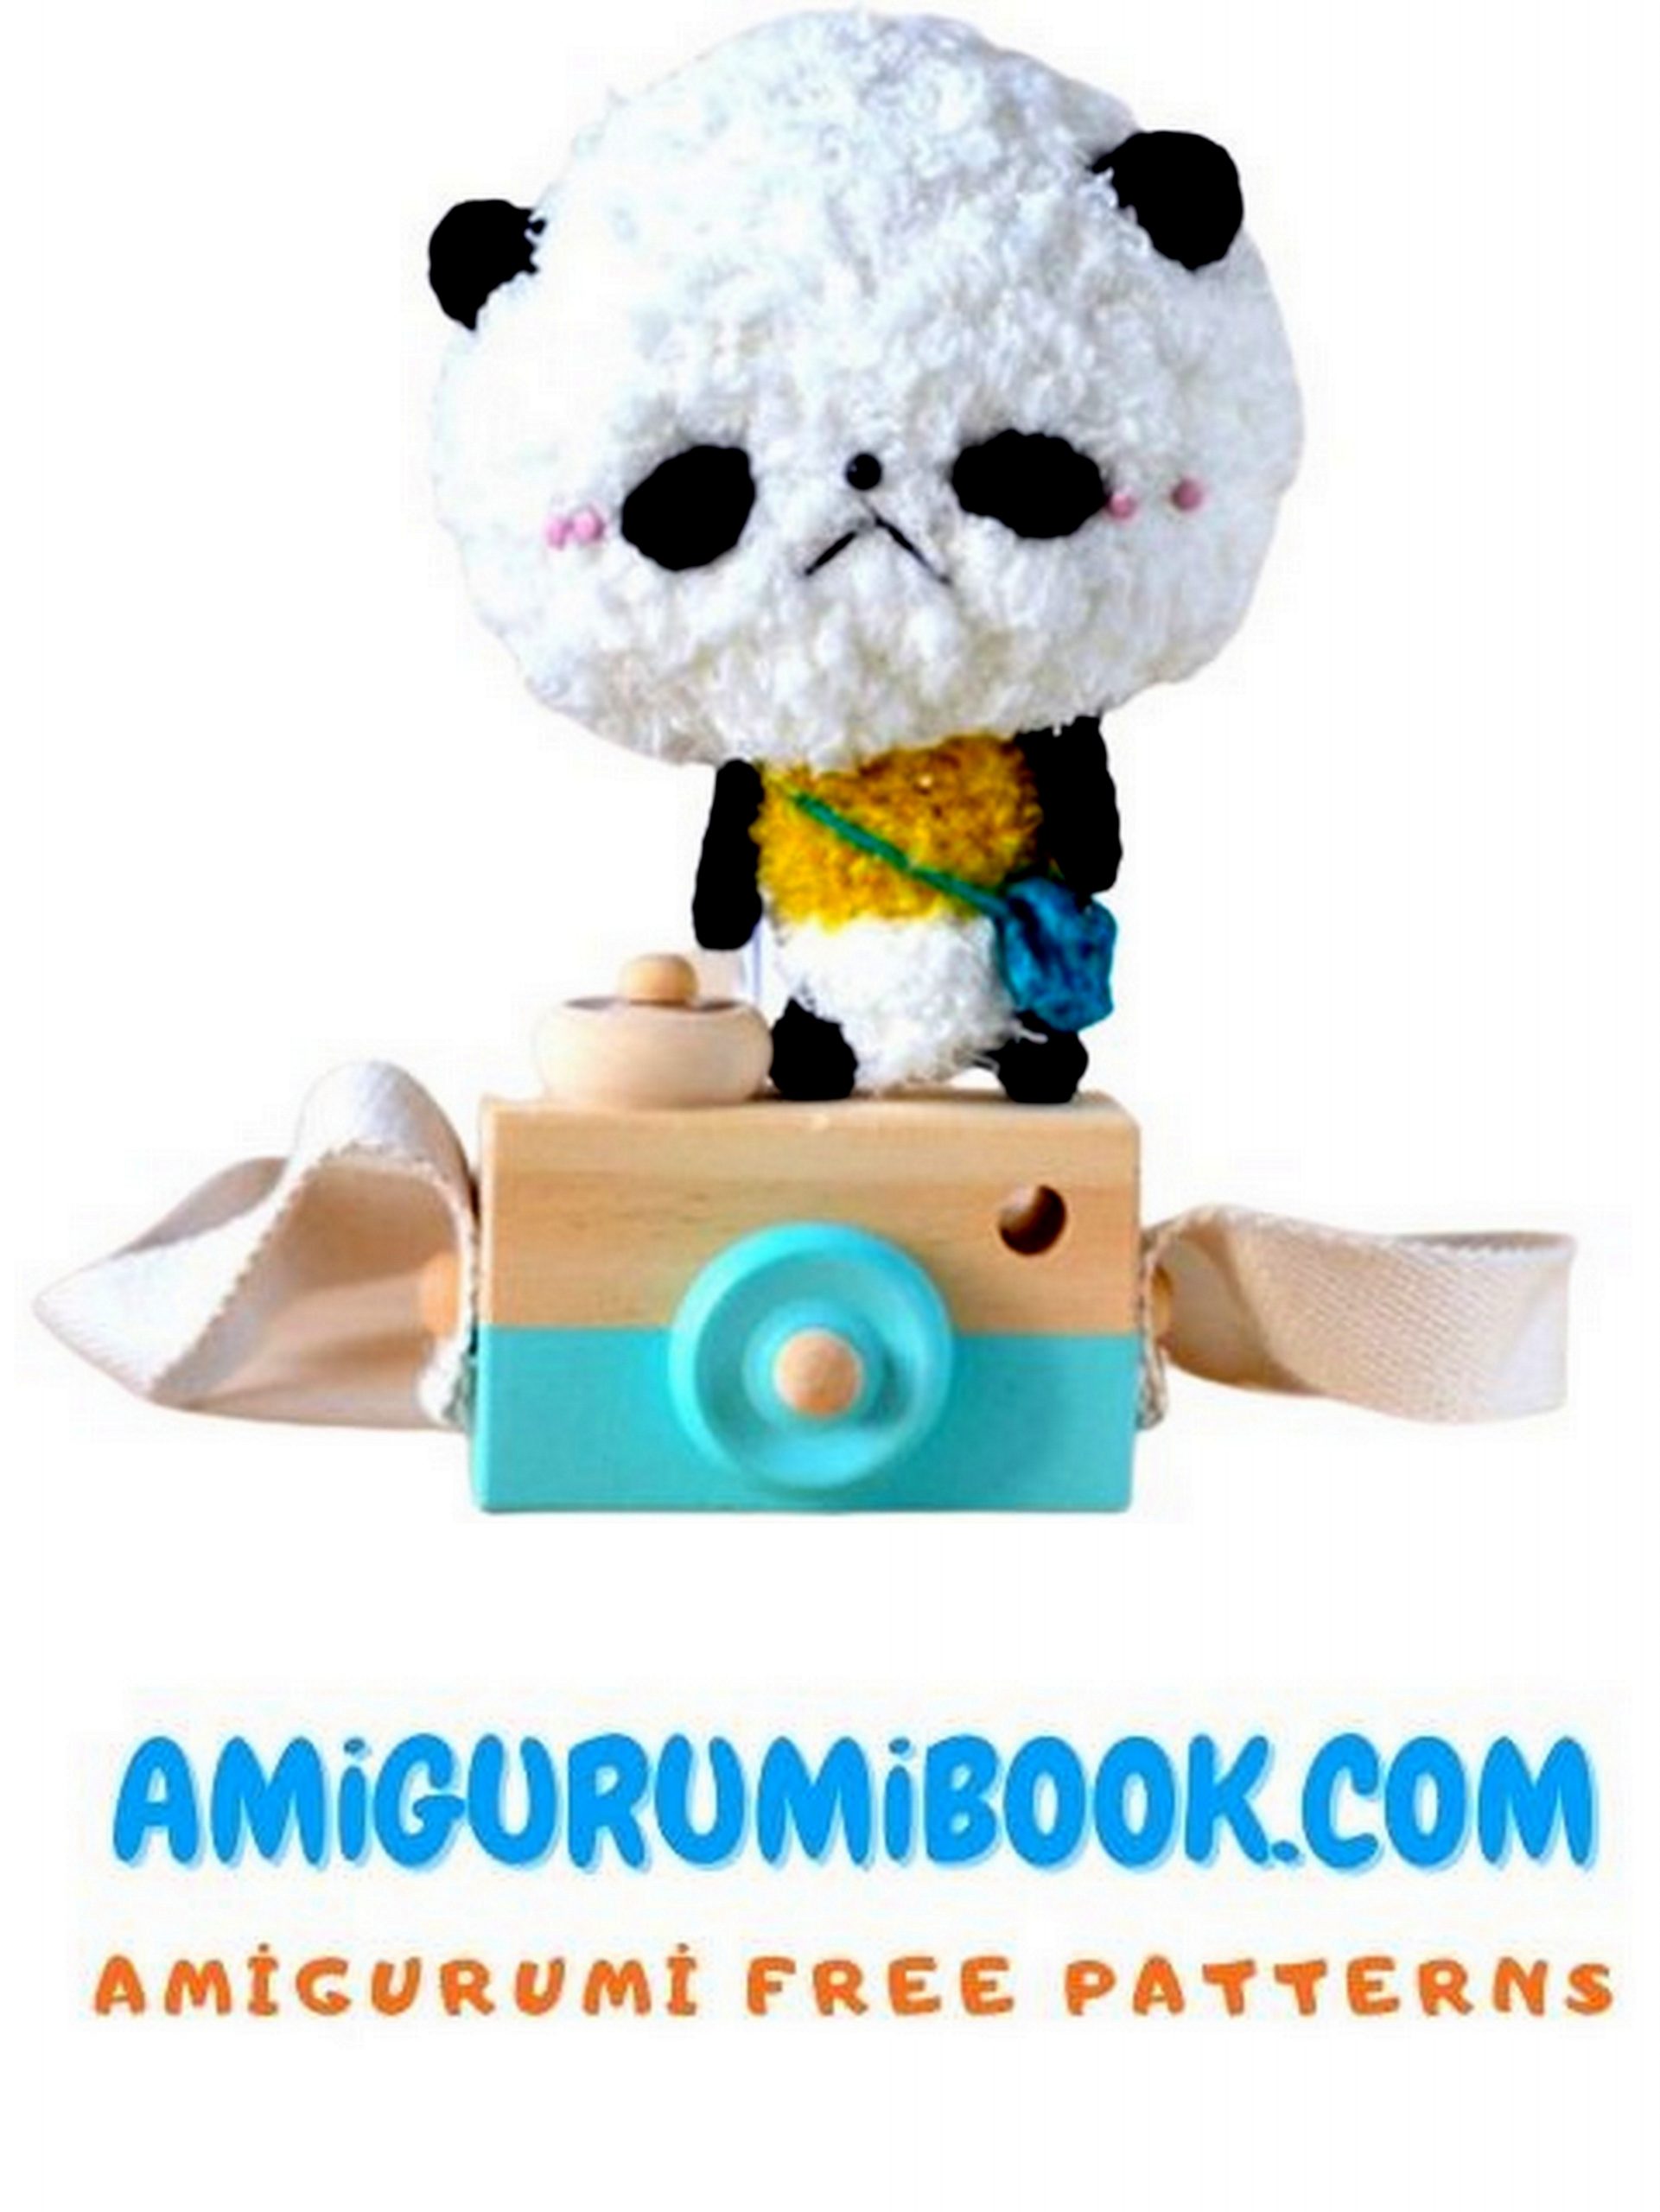
The Panda Pan-San Amigurumi free pattern is a delightful project for crochet enthusiasts looking to create an adorable panda toy. This easy-to-follow pattern is perfect for beginners and offers a fun way to craft a cuddly companion. free crochet patterns – Santa Claus Amigurumi Free Pattern
You may also like more amigurumi patterns.
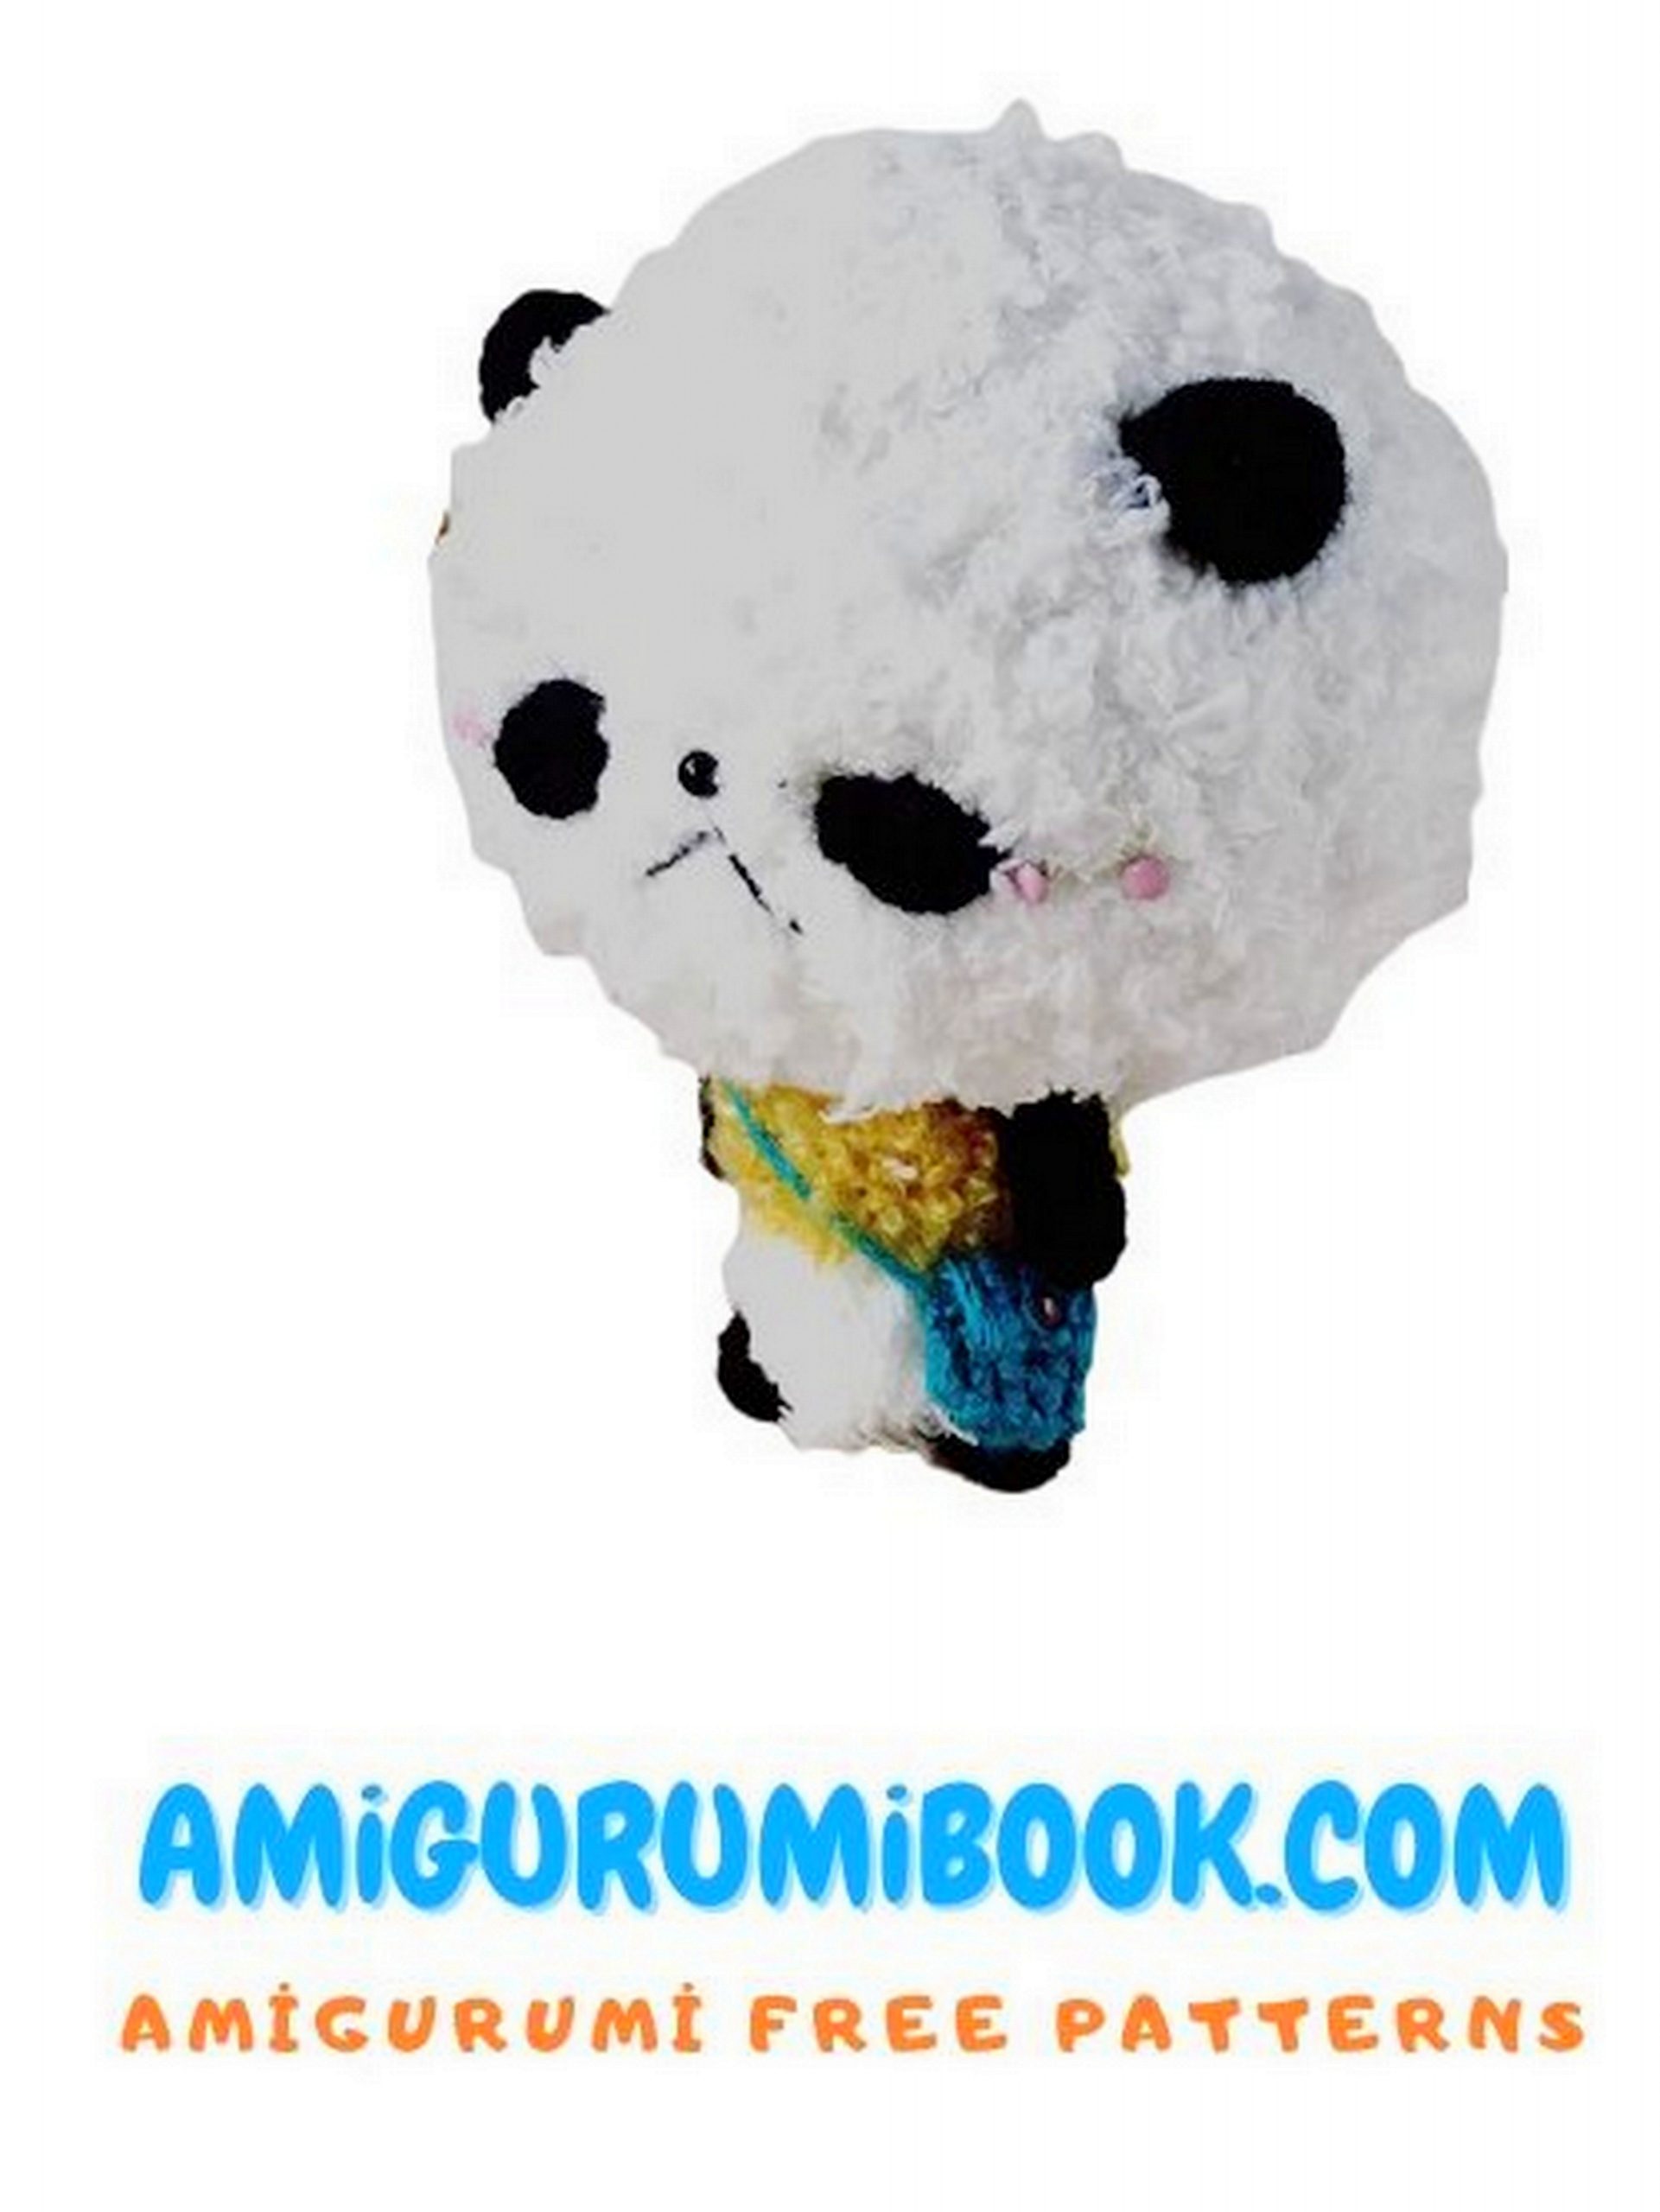
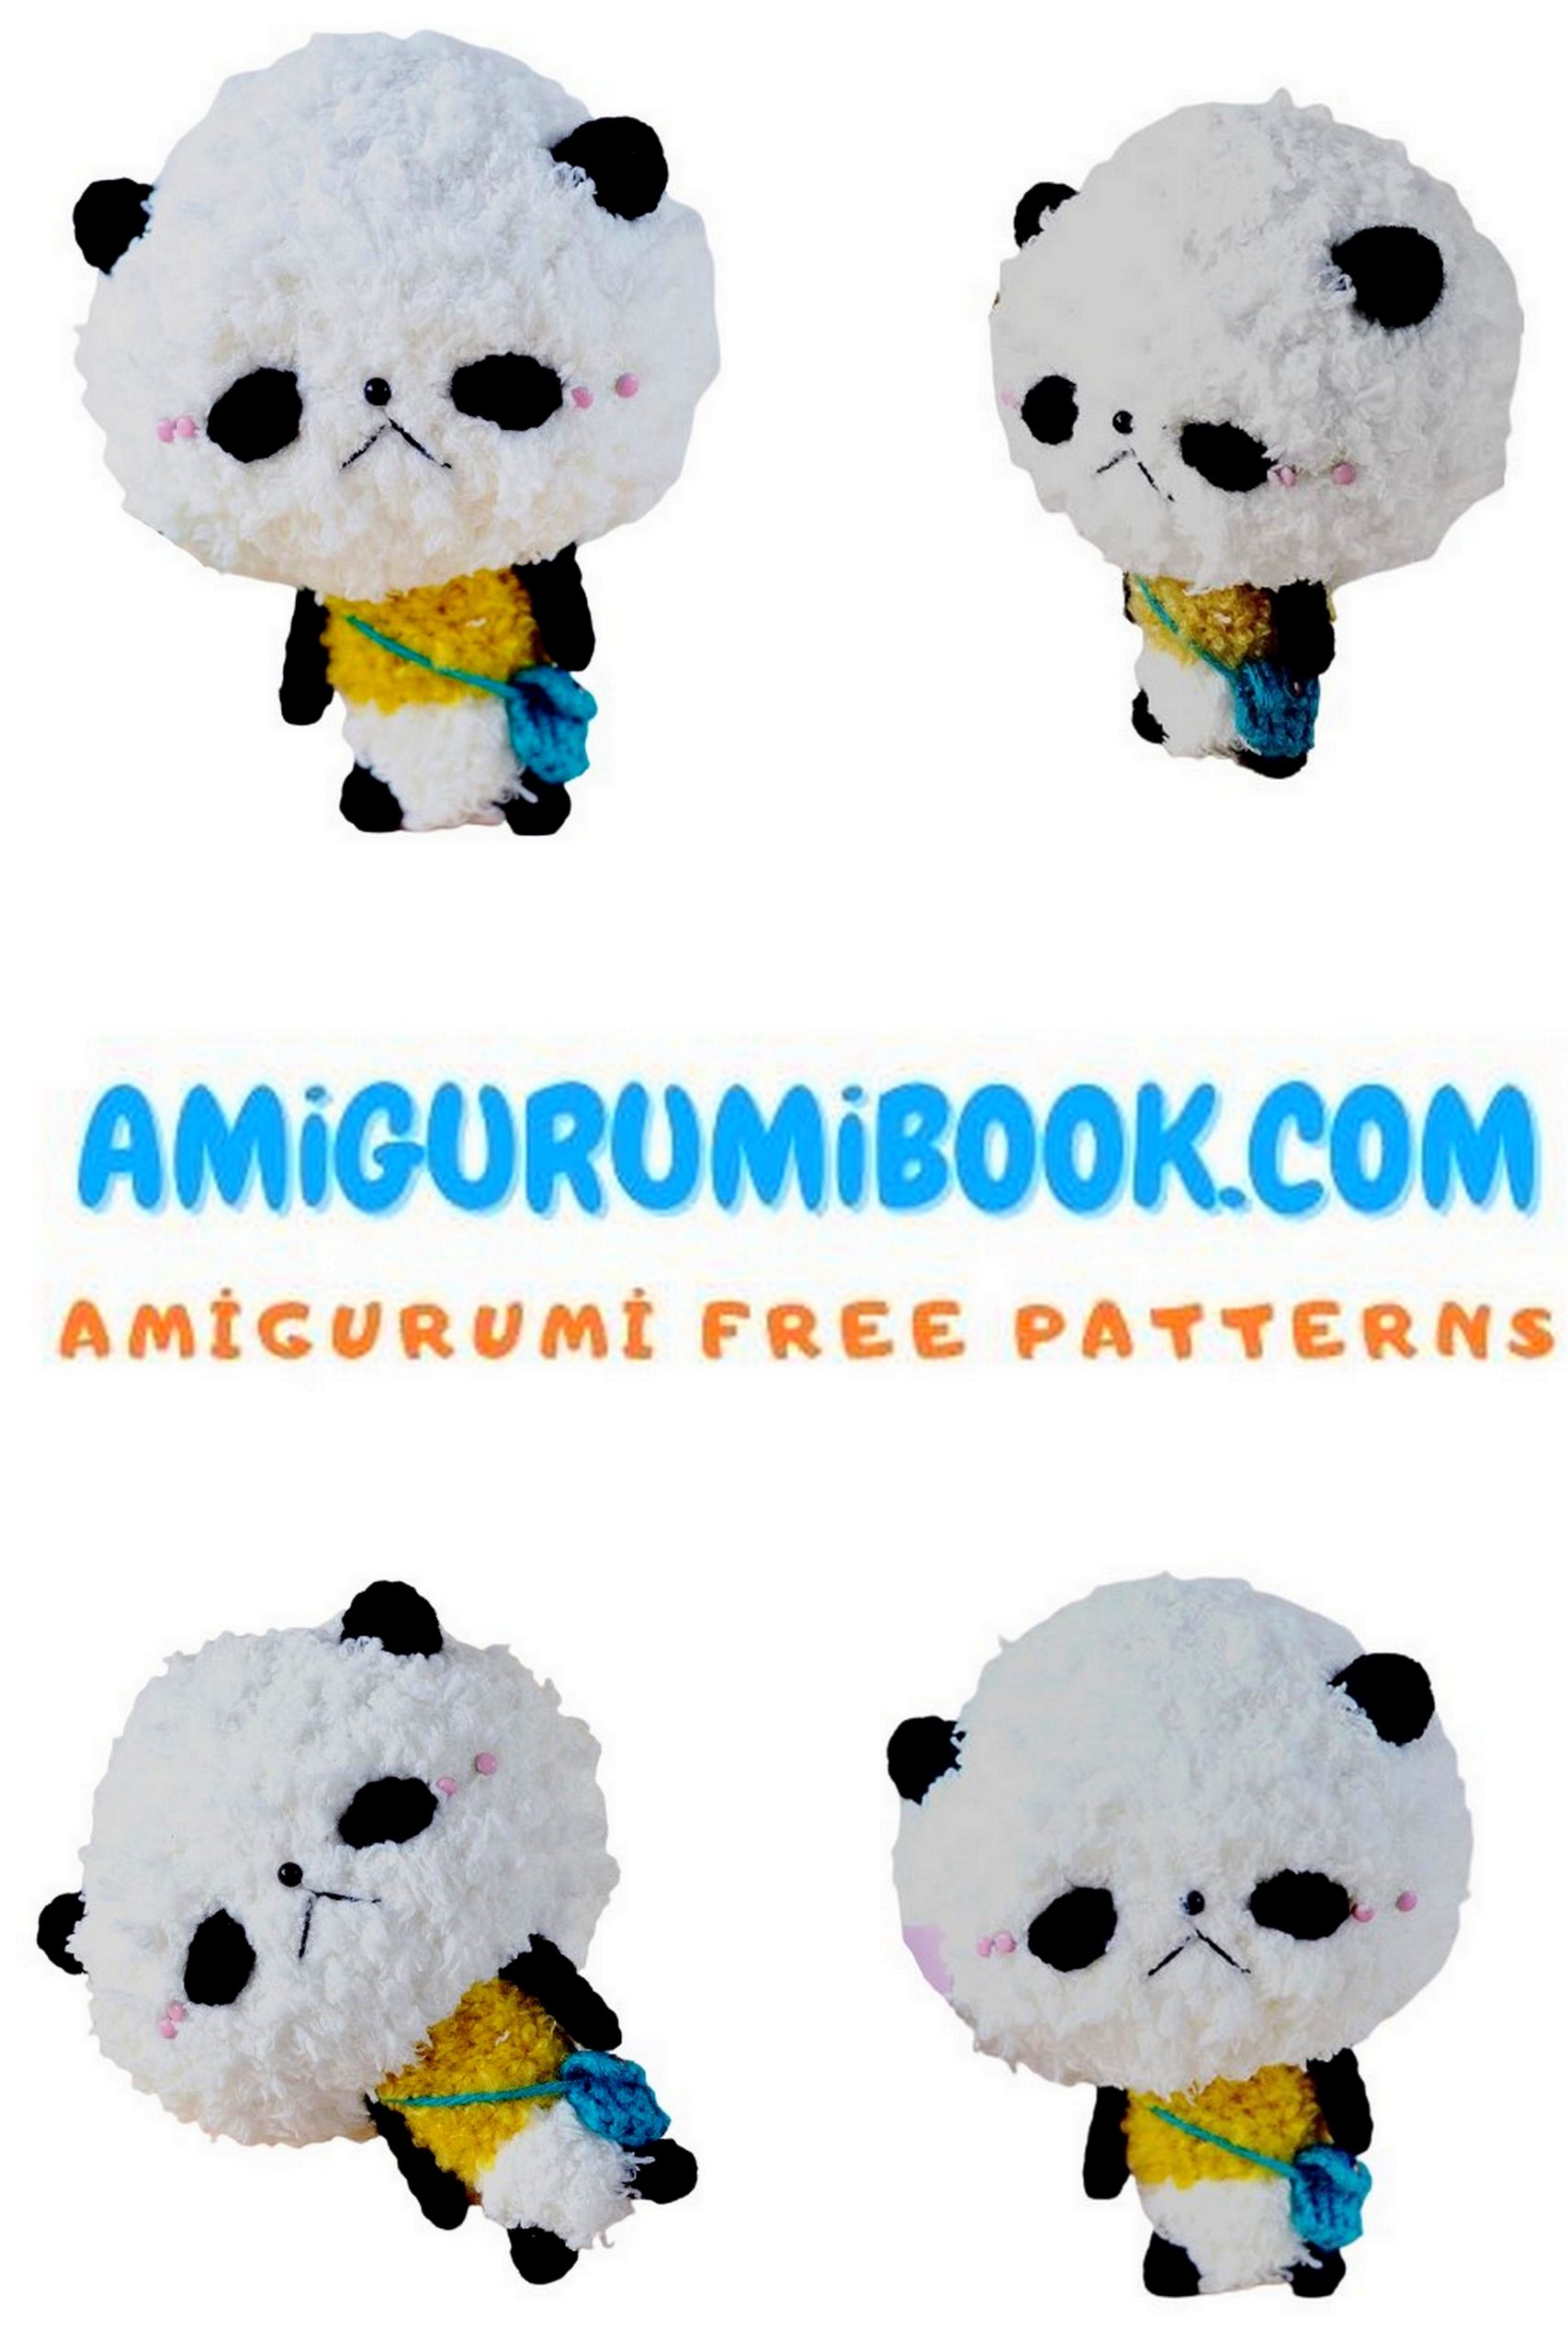
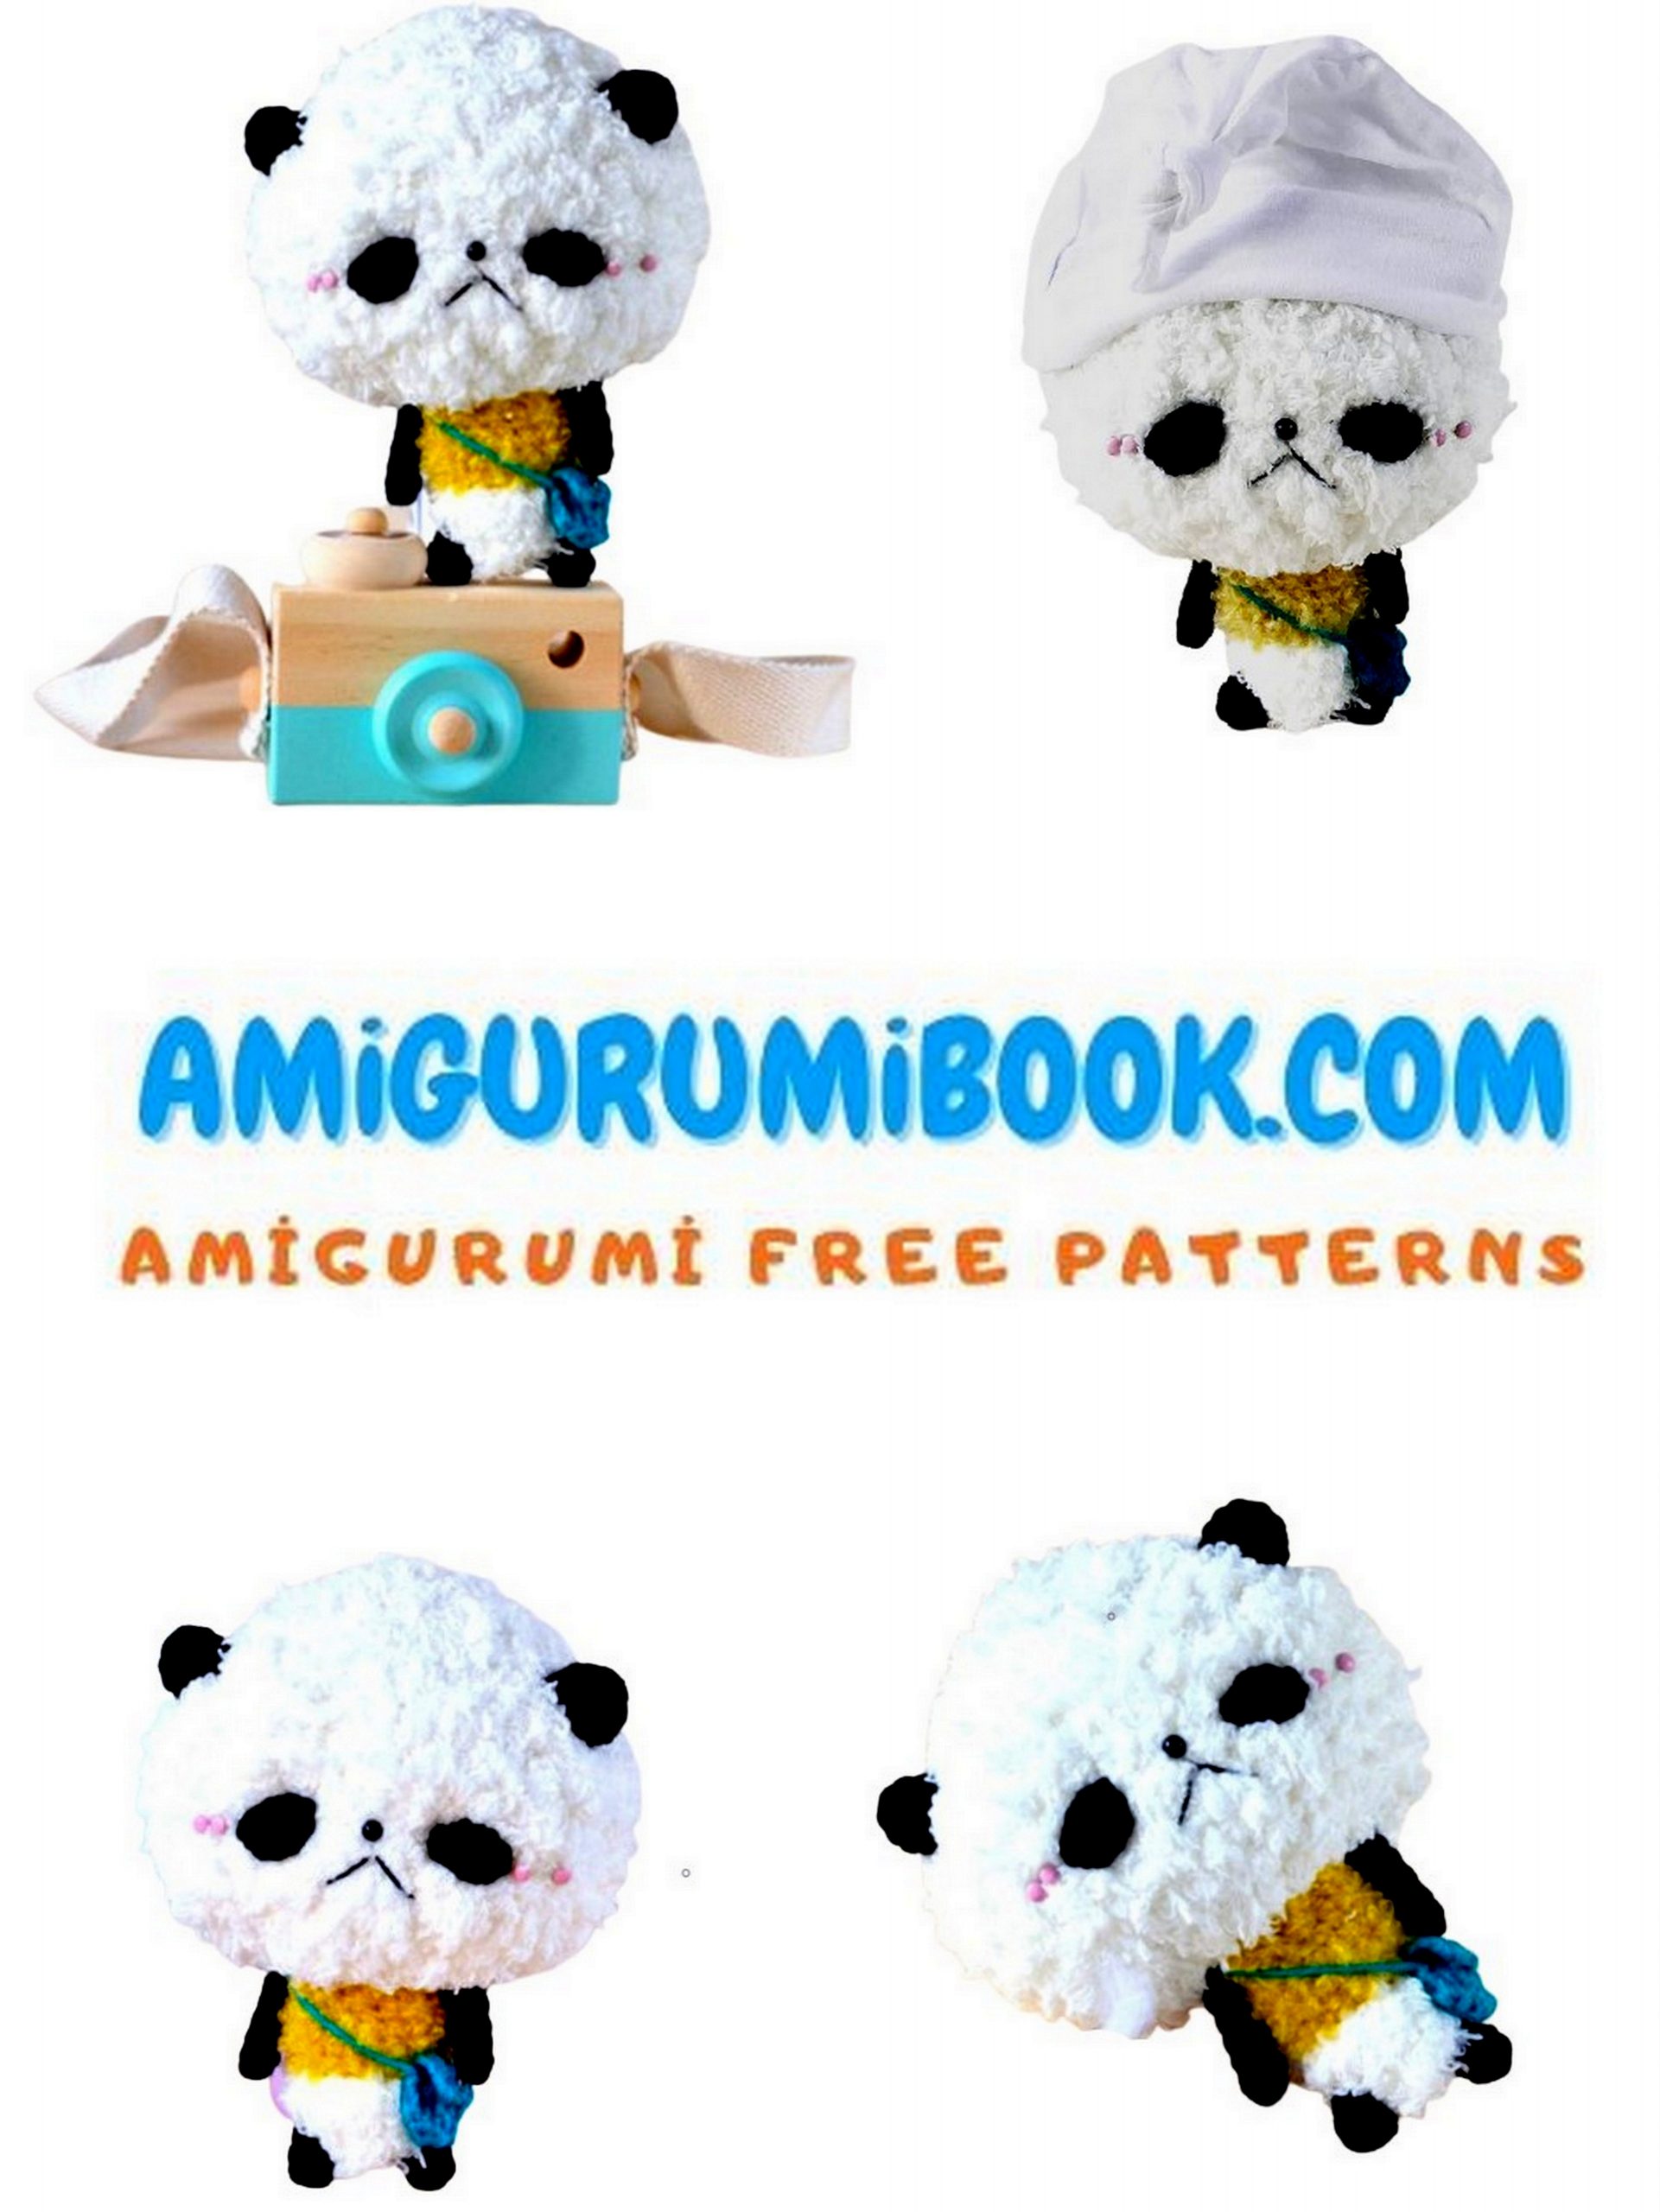
I am sharing cute little amigurumi animal patterns with you for free. You will love this wonderful amigurumi panda pattern.
Materials
Fuzzy yarn in white and yellow
Acrylic yarn in white, black and teal
Black embroidery floss/crochet thread
4mm Black doll’s nose (round)
4mm Pink brads x 4
4mm Brown brad x 1
Tools
2.5mm hook
4mm hook
Darning needle
Polyester fiberfill
Instructions
Abbreviations
Ch: chain
Sc: single crochet
Dc: double crochet
Dec: decrease
Pan-san

Head
When working with fuzzy yarn, it is always easier to pair it up with another ball of acrylic yarn of the same color.
With white yarn (from two different balls of yarn: one fuzzy, one normal) and 4mm hook
Round 1: Ch 2, sc 6 in the second ch from hook {6}.
From here onwards, you will crochet in the back loops only.
Round 2: [Inc] *6 {12}.
Round 3: [Inc, sc 1] *6 {18}.
Round 4: [Inc, sc 2] *6 {24}.
Round 5: [Inc, sc 3] *6 {30}.
Round 6: [Inc, sc 4] *6 {36}.
Round 7: [Inc, sc 5] *6 {42}.
Round 8: [Inc, sc 6] *6 {48}.
Round 9: [Inc, sc 7] *6 {54}.
Rounds 10-13 (4 rounds altogether): Sc around {54}.
Round 14: [Dec, sc 7] *6 {48}.
Round 15: [Dec, sc 6] *6 {42}.
Round 16: [Dec, sc 5] *6 {36}.
Round 17: [Dec, sc 4] *6 {30}.
Round 18: [Dec, sc 3] *6 {24}.
Round 19: [Dec, sc 2] *6 {18}.
Fill with stuffing.
Round 16: [Dec, sc 1] *6 {12}.
Round 17: [Dec] *6 {6}.
Fasten off and weave in ends.
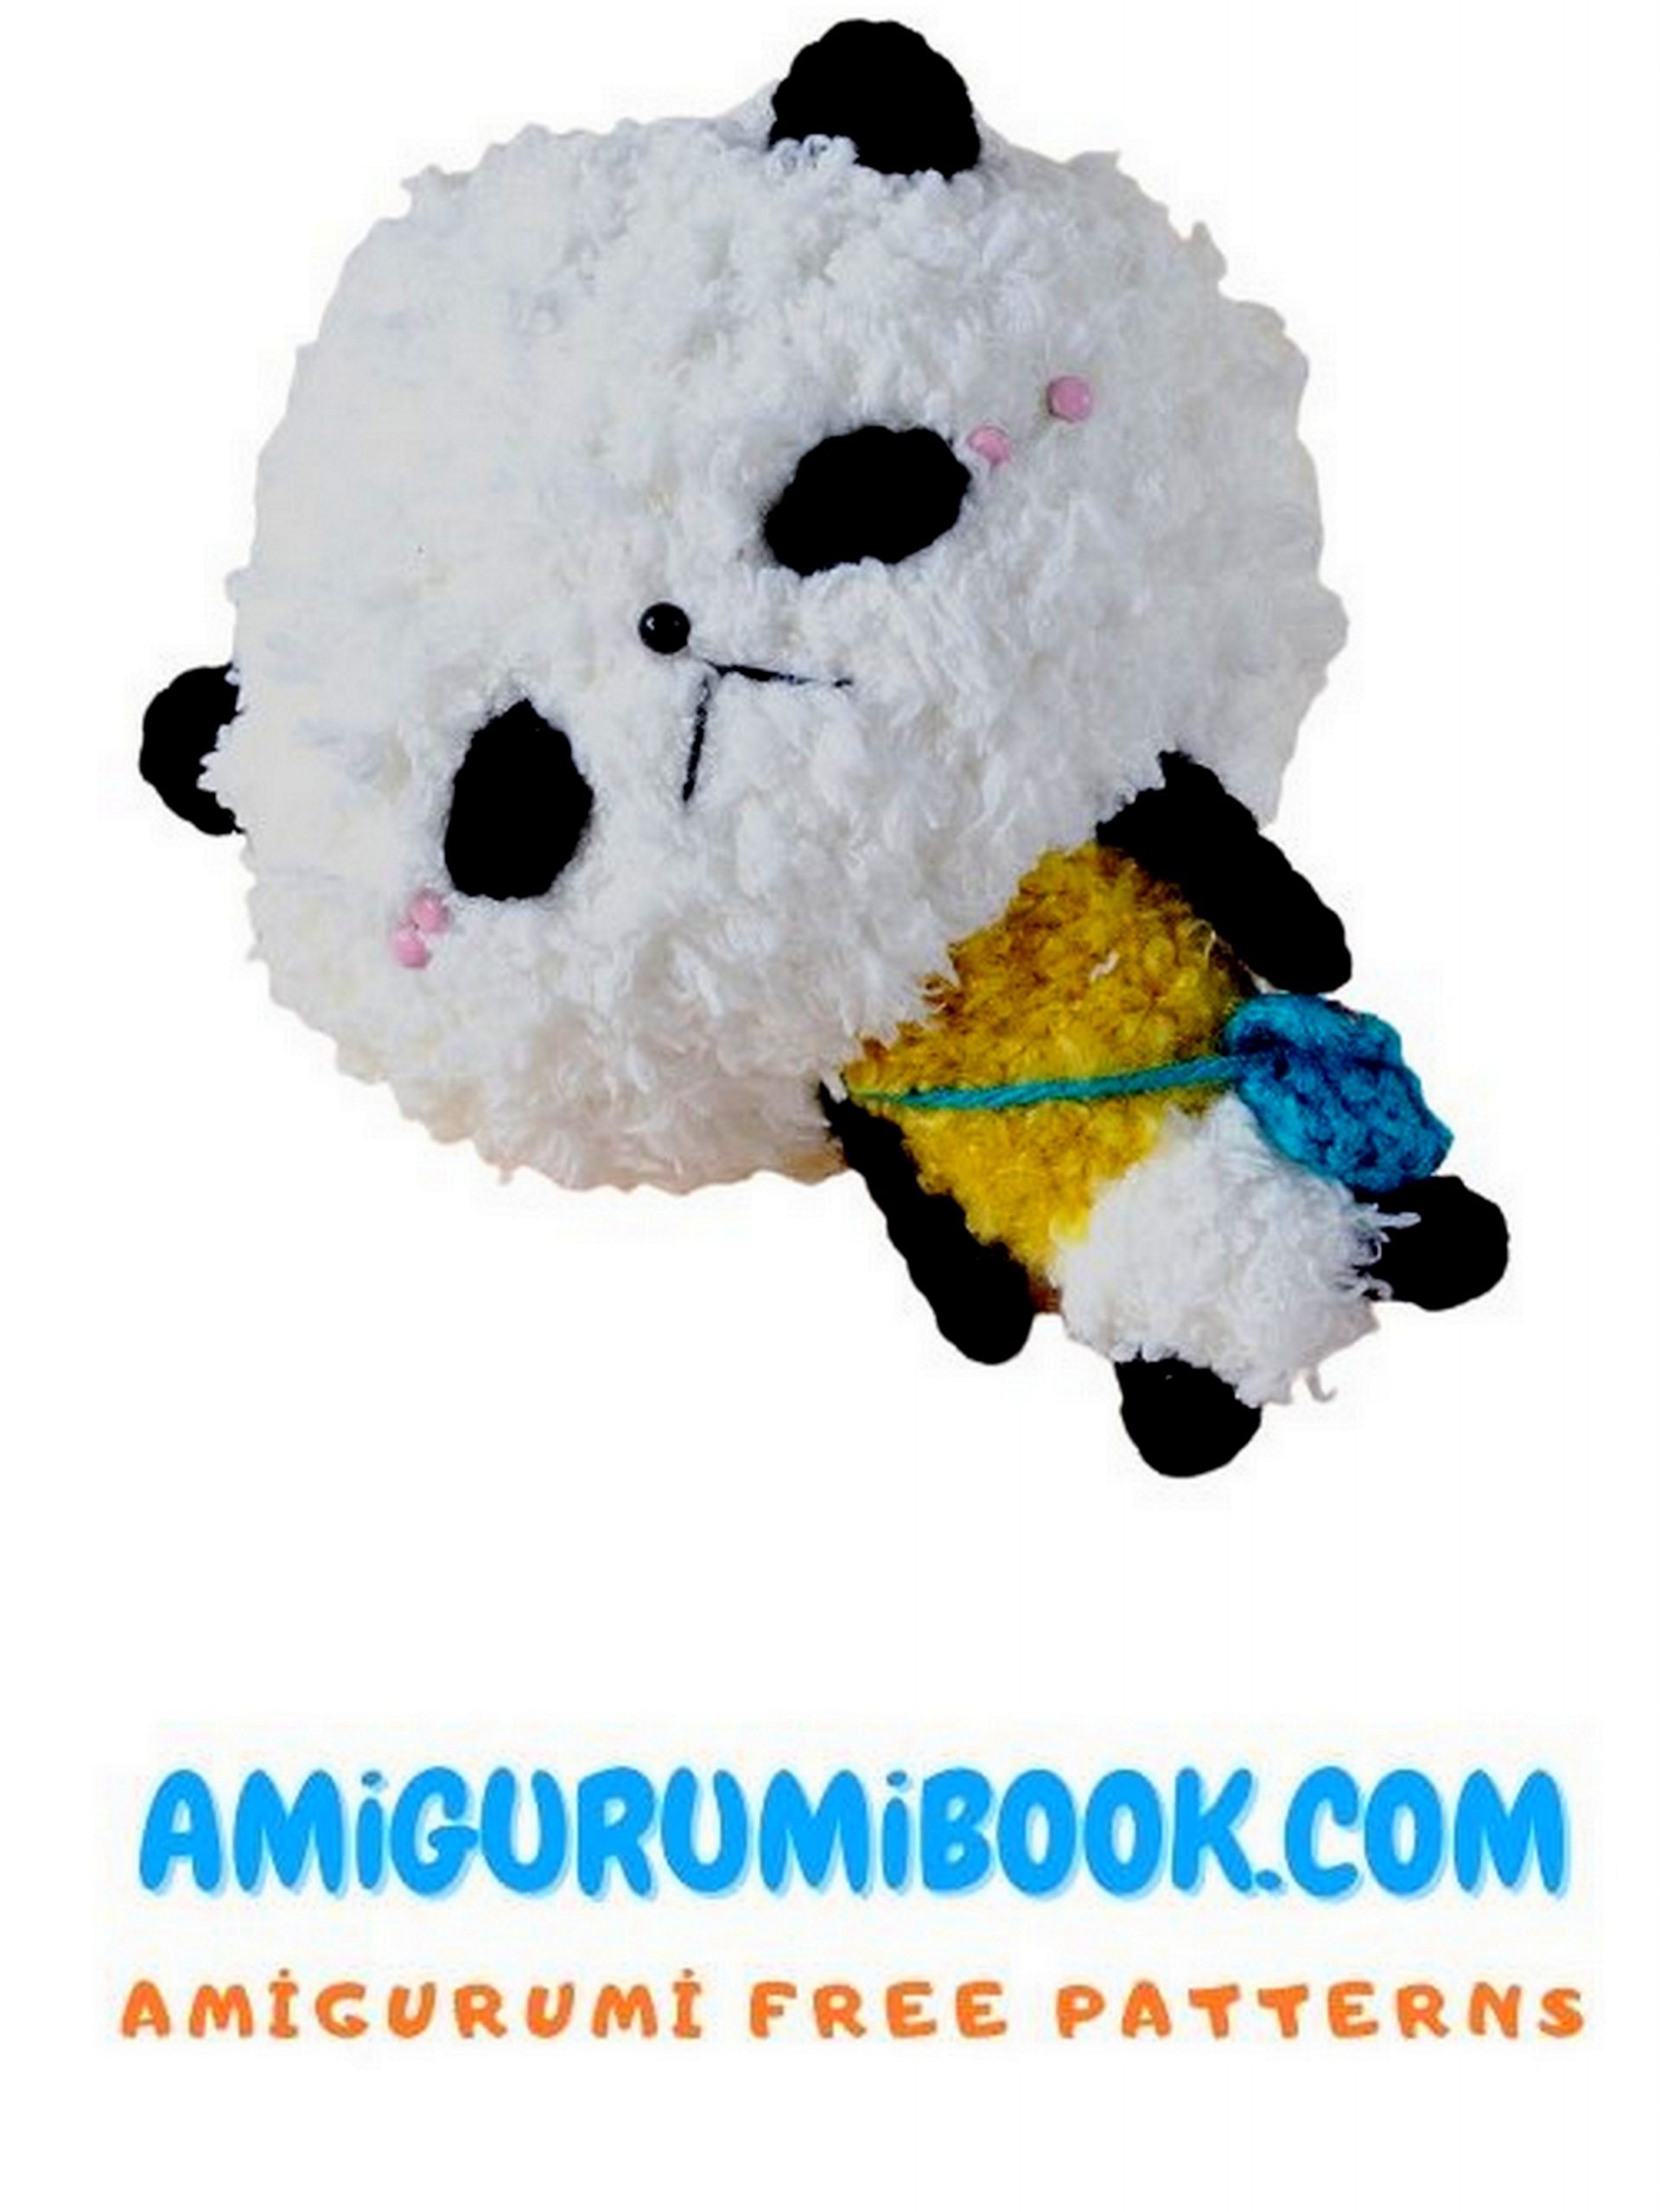
Use your hands to mold the head into shape. We gave Pan-san a flatter, oblong look.
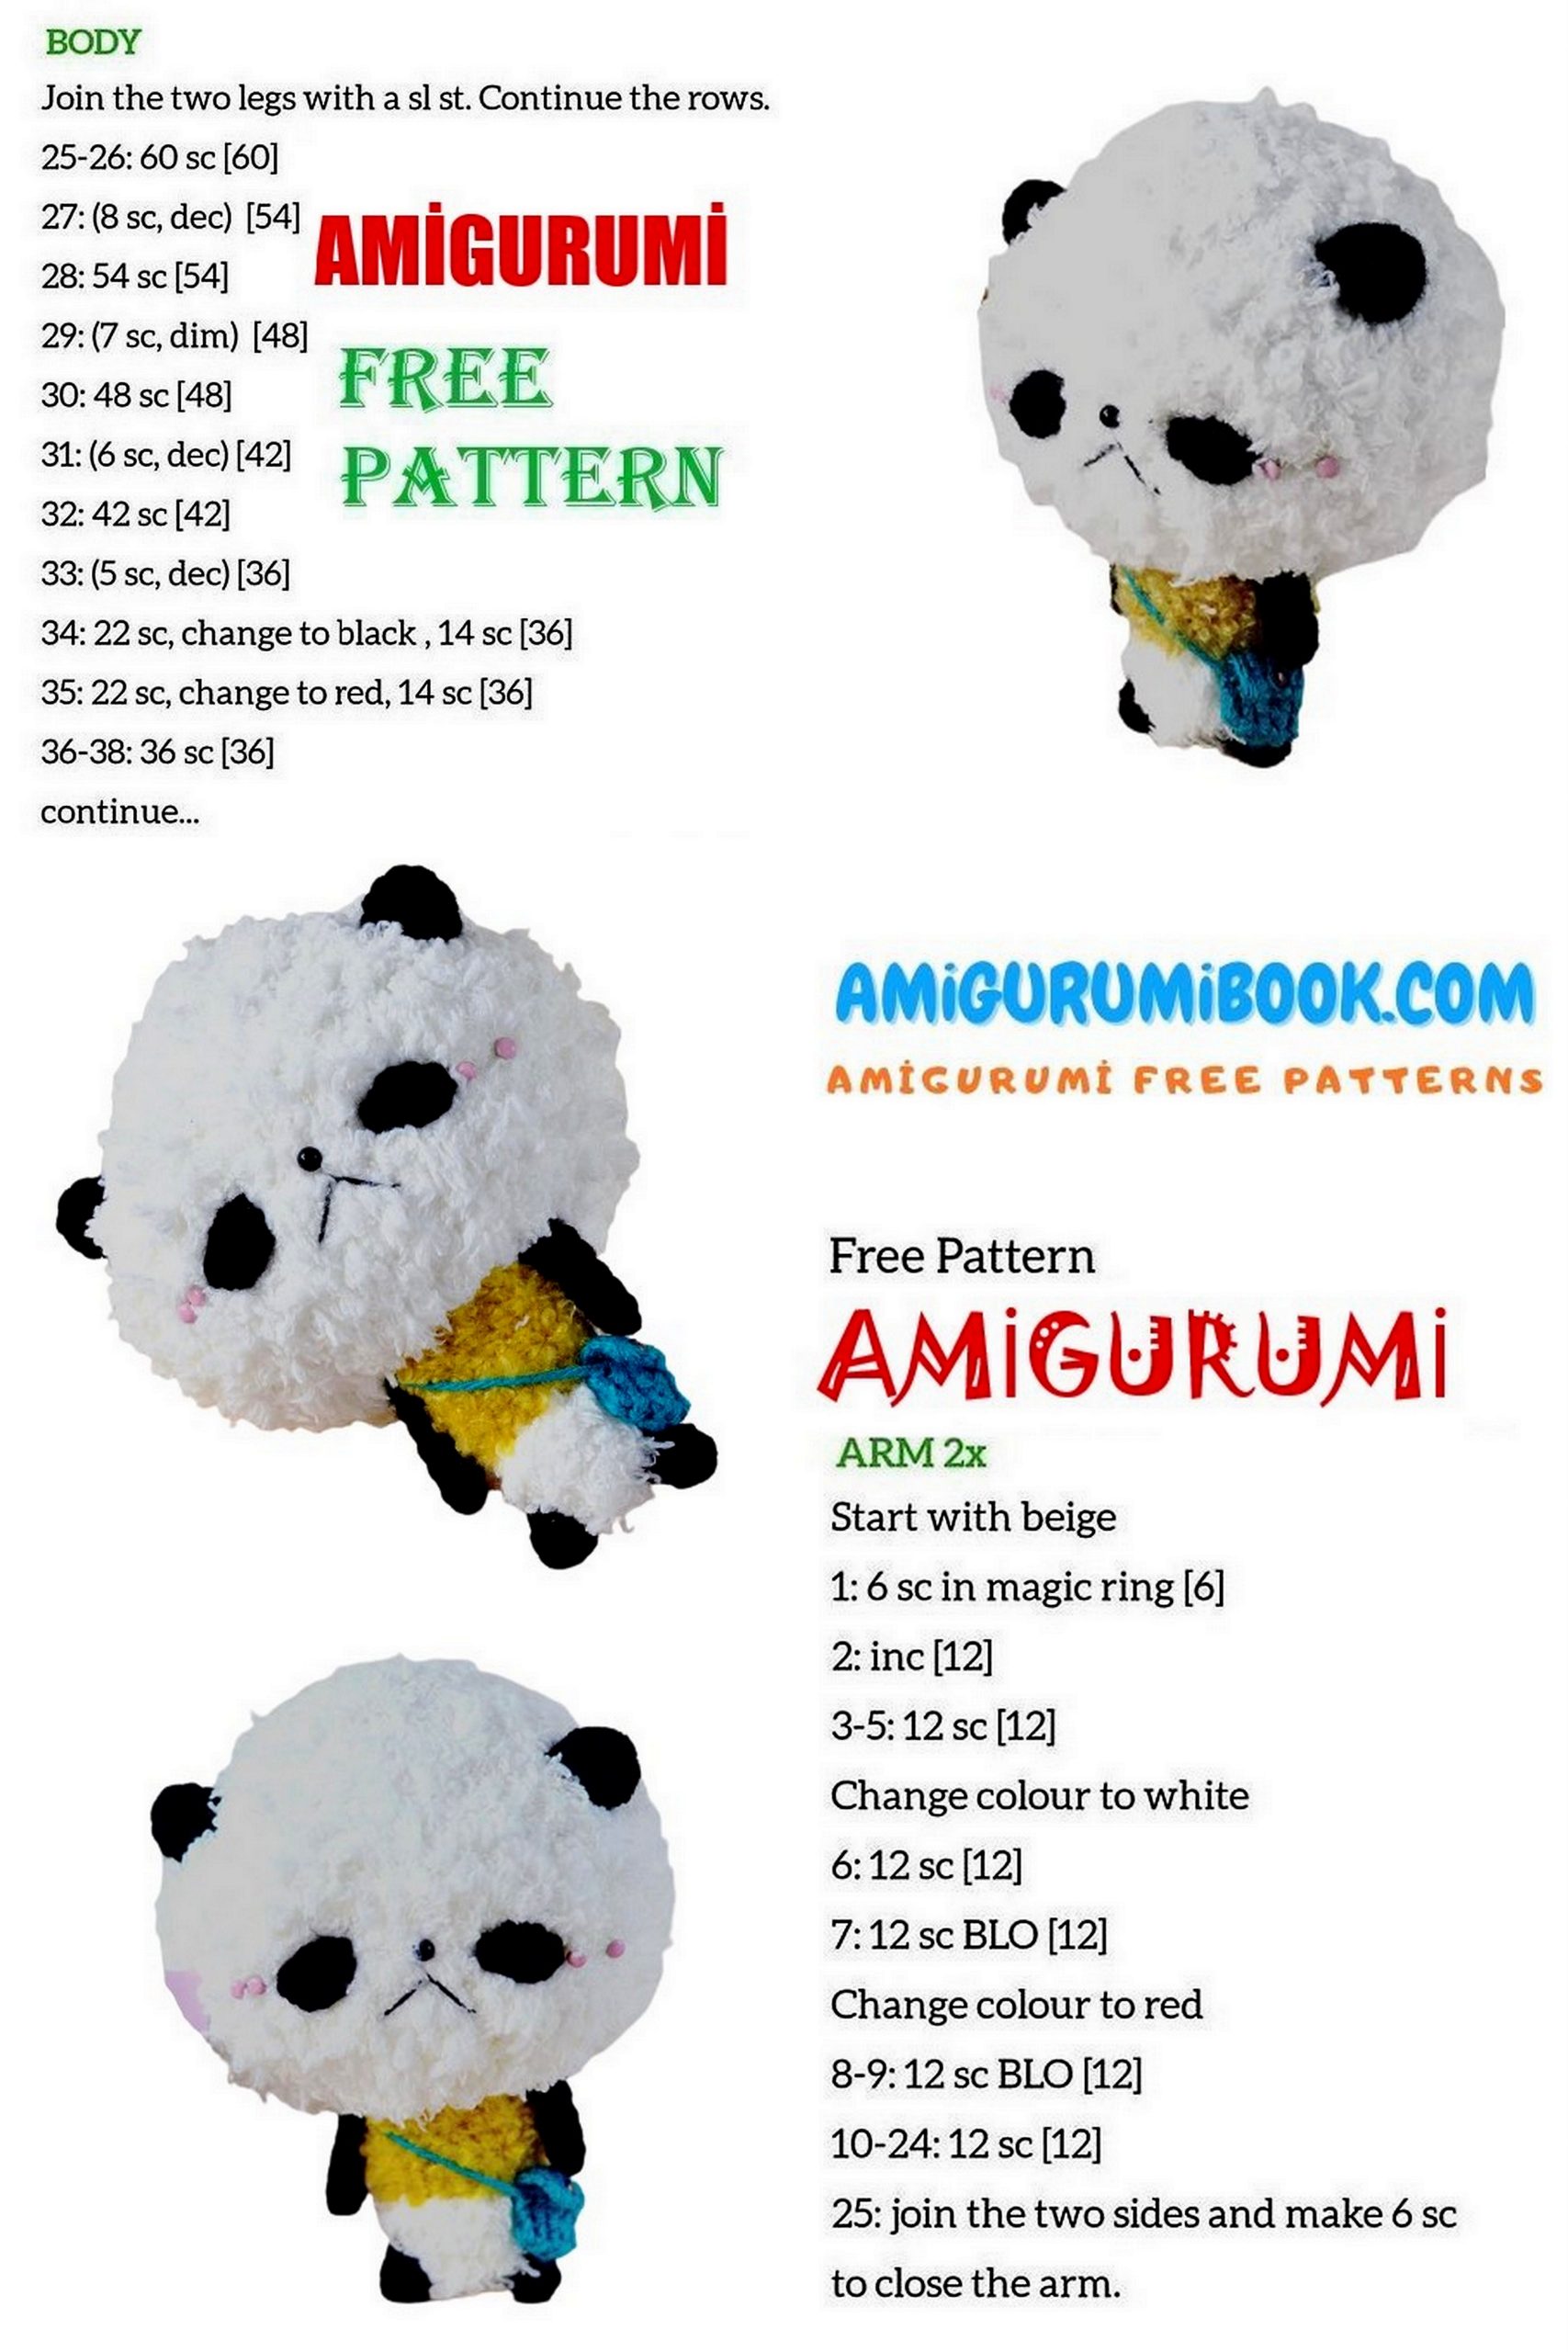
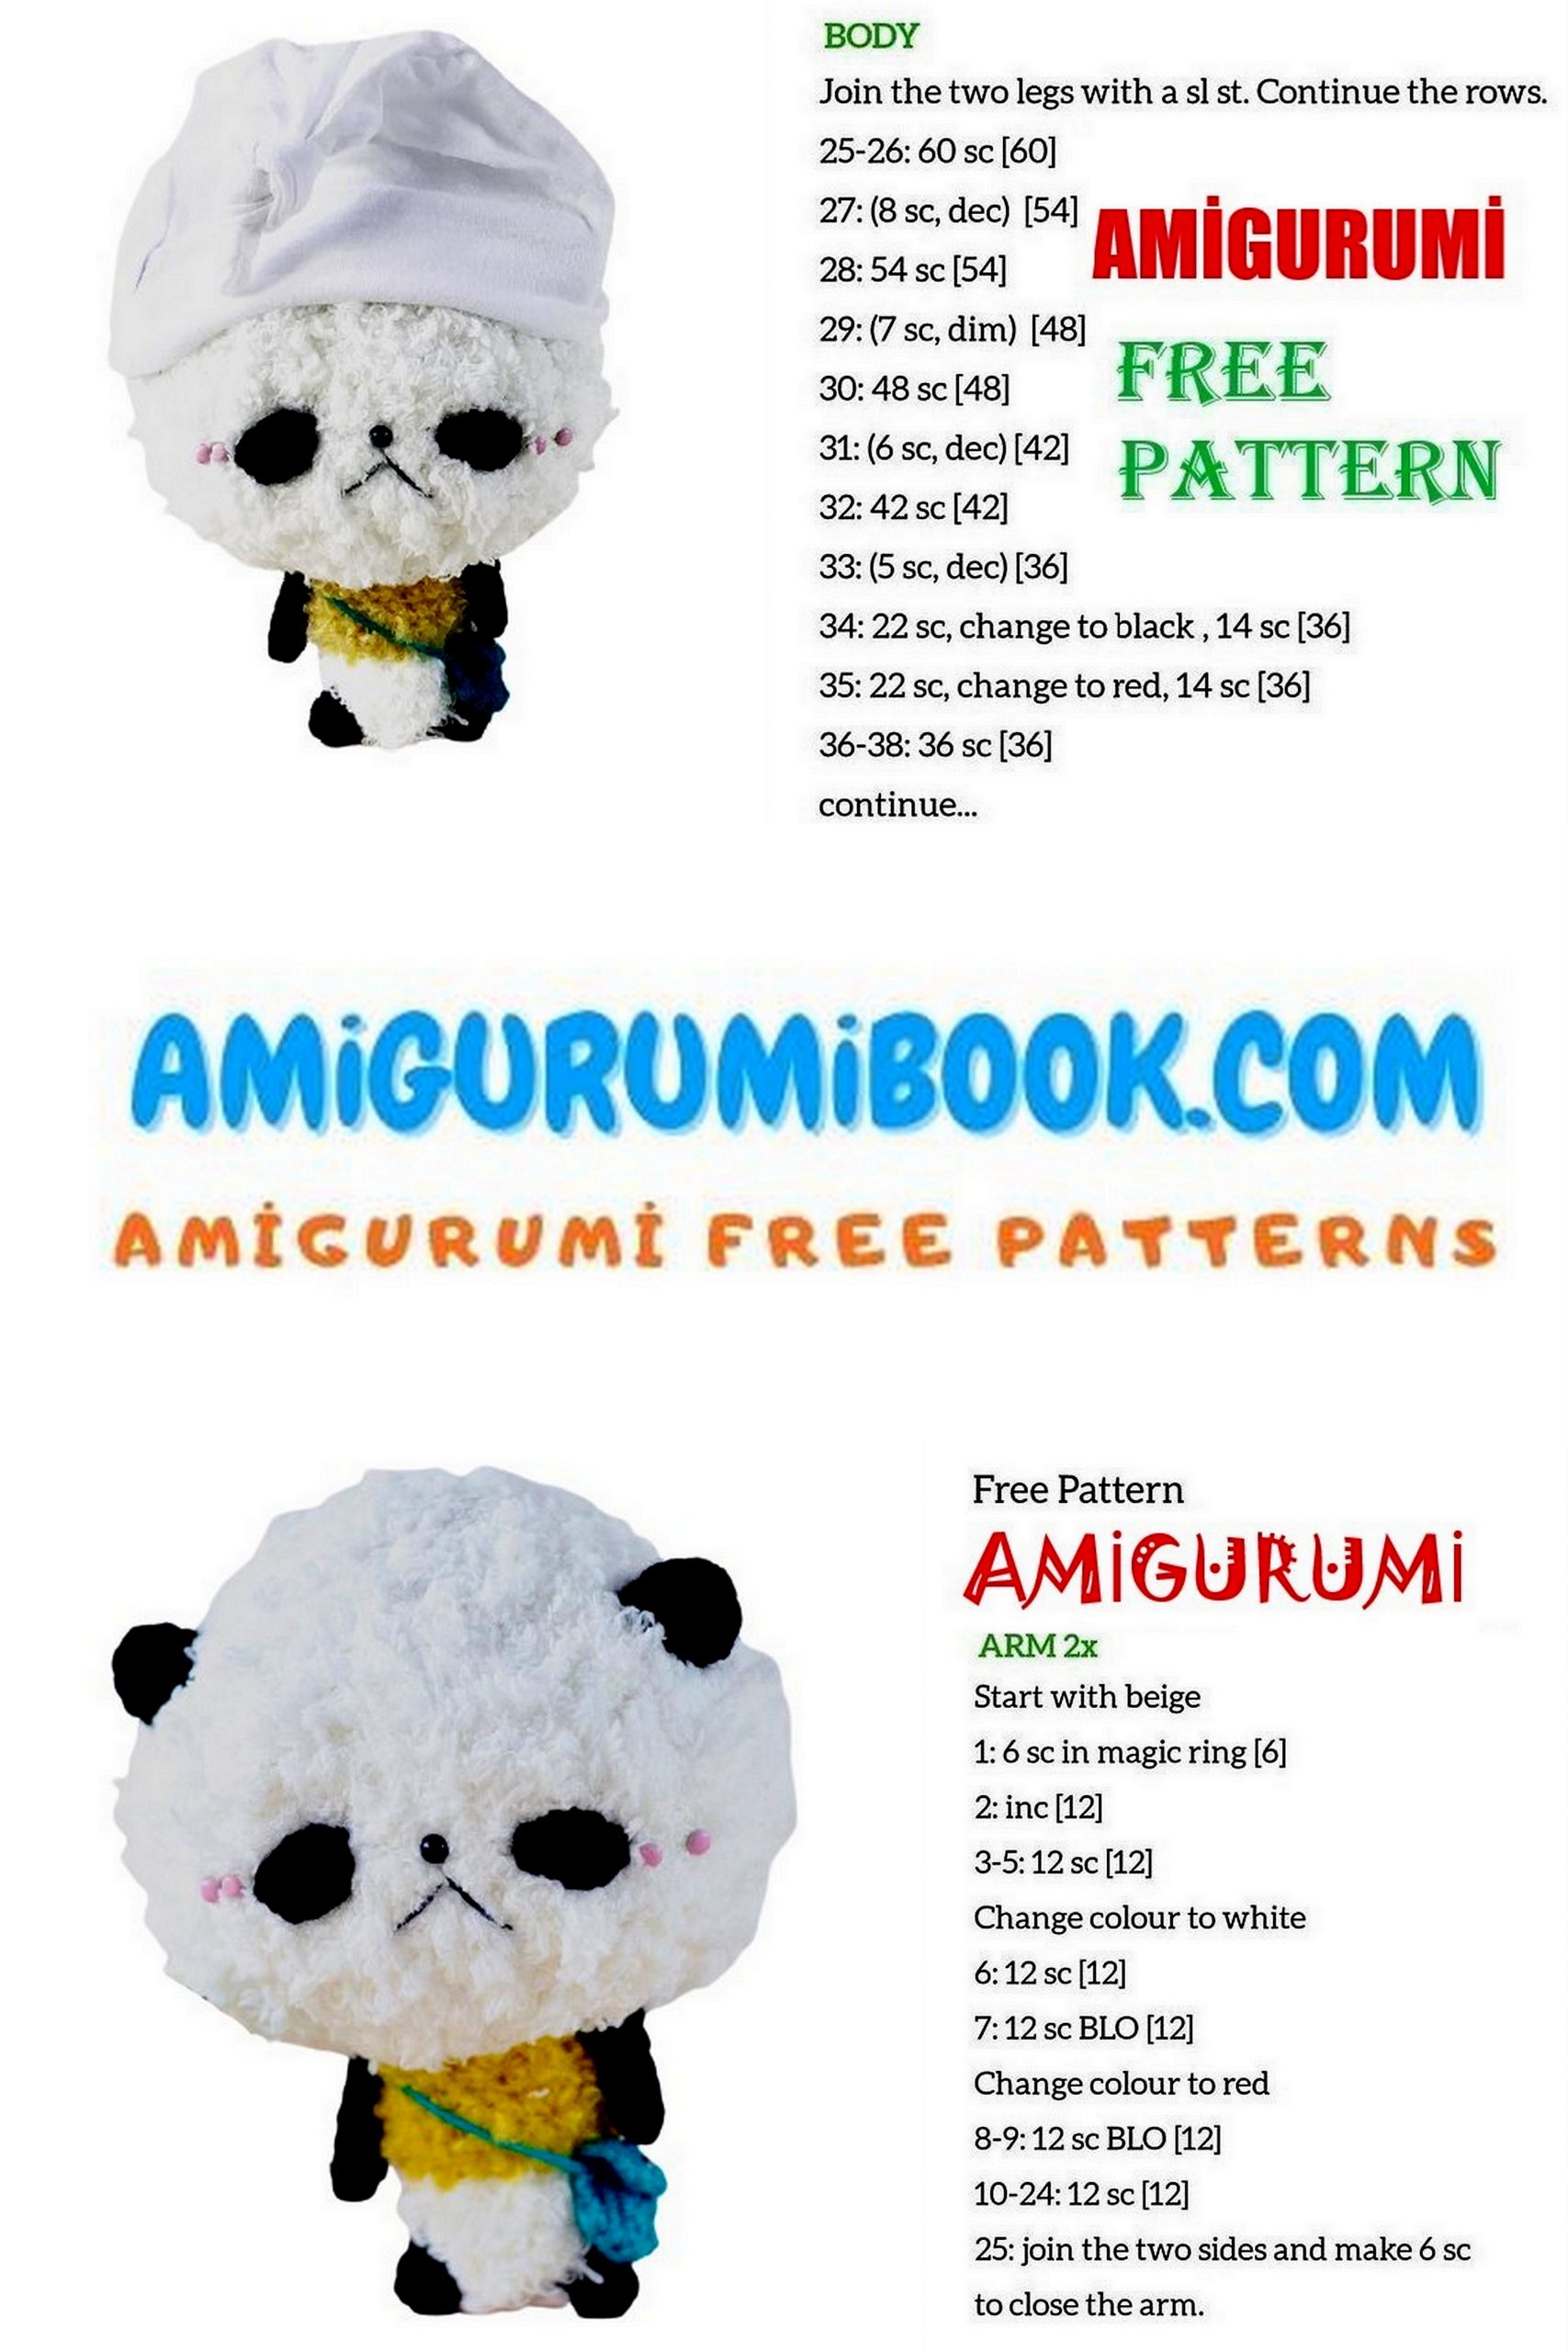
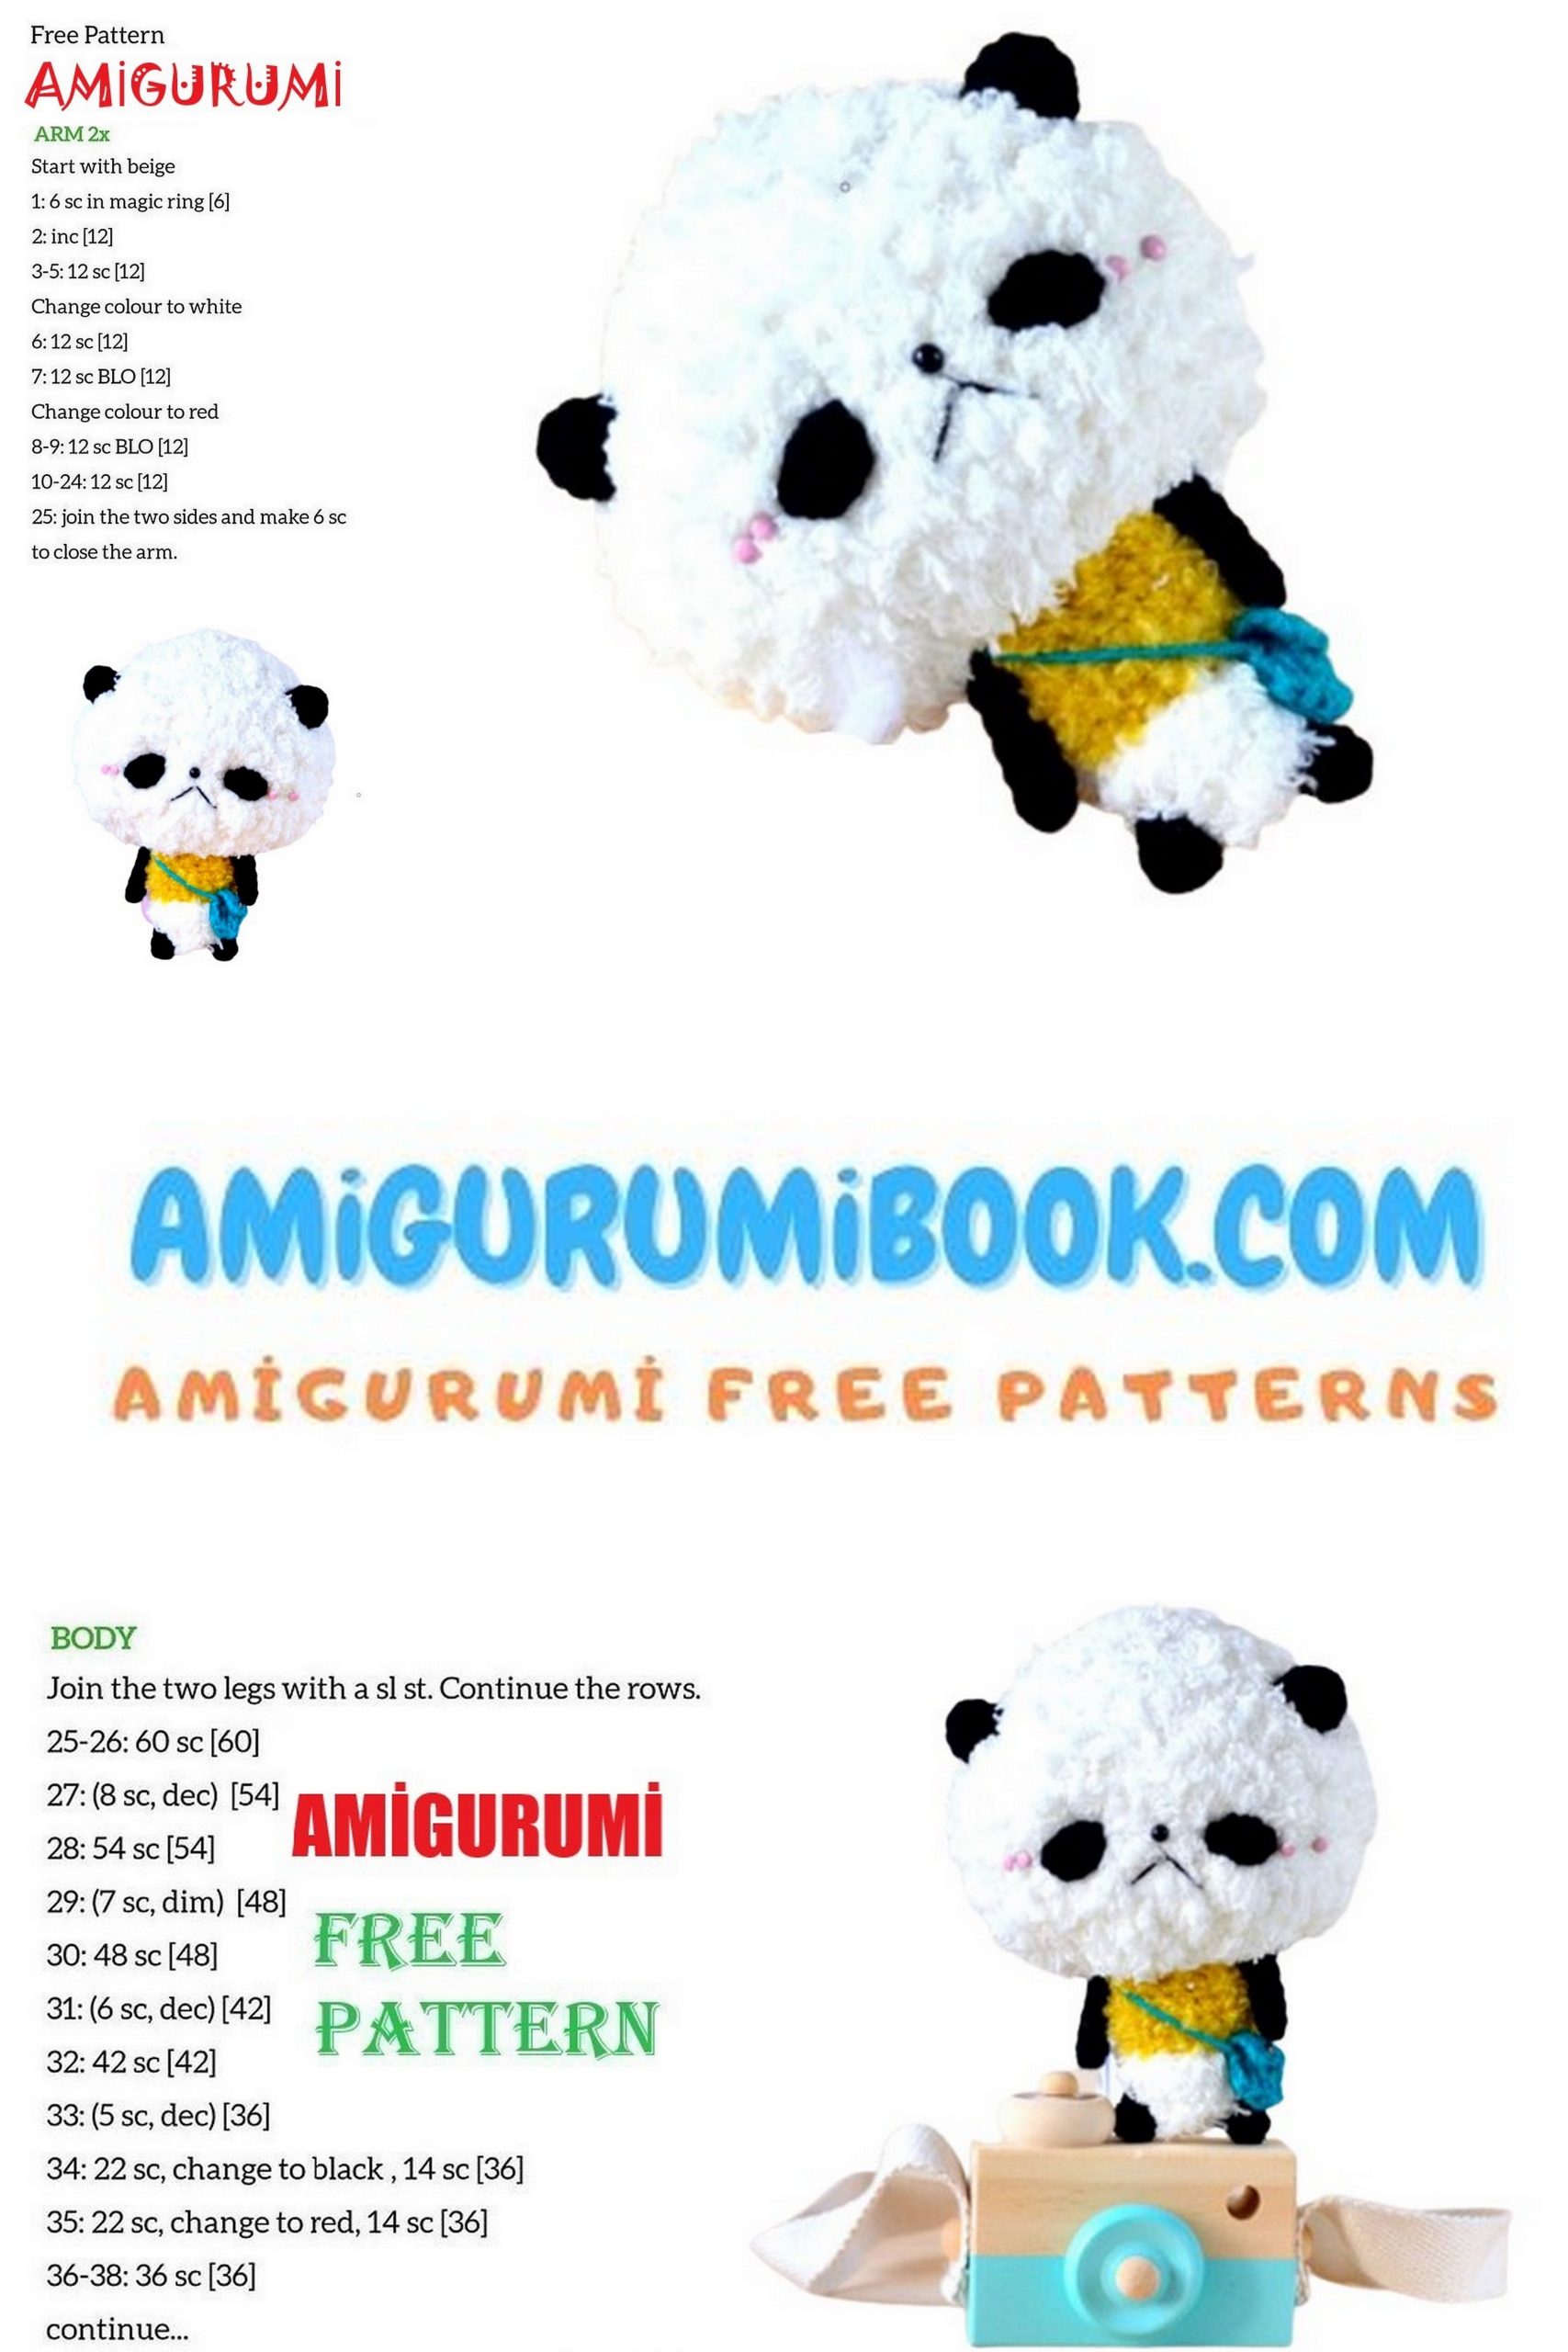
Body
With white yarn (from two different balls of yarn: one fuzzy, one normal) and 4mm hook
Round 1: Ch 2, sc 6 in the second ch from hook {6}.
From here onwards, you will crochet in the back loops only.
Round 2: [Inc] *6 {12}.
Rounds 3-4 (2 rounds altogether): Sc around {12}.
Change to fuzzy yellow yarn. Our yarn was much thinner so we made 2scs in each scs onwards.
Round 5: [Inc] around {24}.
Rounds 6-10 (5 rounds altogether): Sc around {24}.
Fasten off and leave a long end for sewing.
Fill with stuffing.
Eyes (Make 2)
With black yarn and 2.5mm hook
Row 1: Ch 5.
Row 2: Sc 3, 3 sc in last st. Rotate work.
Row 3: Sc 4, 2 sc in last st.
Fasten off and leave a long end for sewing.
Ears (Make 2)
With black yarn and 2.5mm hook:
Round 1: Sc 6 in magic ring {6}.
Round 2: [Inc] *6 {12}.
Rounds 3-4 (2 rounds altogether): Sc around {12}.
Fasten off and leave a long end for sewing.

Arms (Make 2)
With black yarn and 2.5mm hook
Round 1: Sc 6 in magic ring {6}.
Rounds 2-6 (5 rounds altogether): Sc around {6}.
Fasten off and leave a long end for sewing.
Legs (Make 2)
With black yarn and 2.5mm hook
Round 1: Sc 7 in magic ring {7}.
Round 2-3 (2 rounds altogether): Sc around {7}.
Fasten off and leave a long end for sewing.
Bag
With teal yarn and 2.5mm hook
Row 1: Ch 12. Turn work.
Row 2: Sc 11. Ch 1, turn work.
Row 3: Sc 11.
Fasten off and leave a long end for sewing (and also for the strap).
Assembly
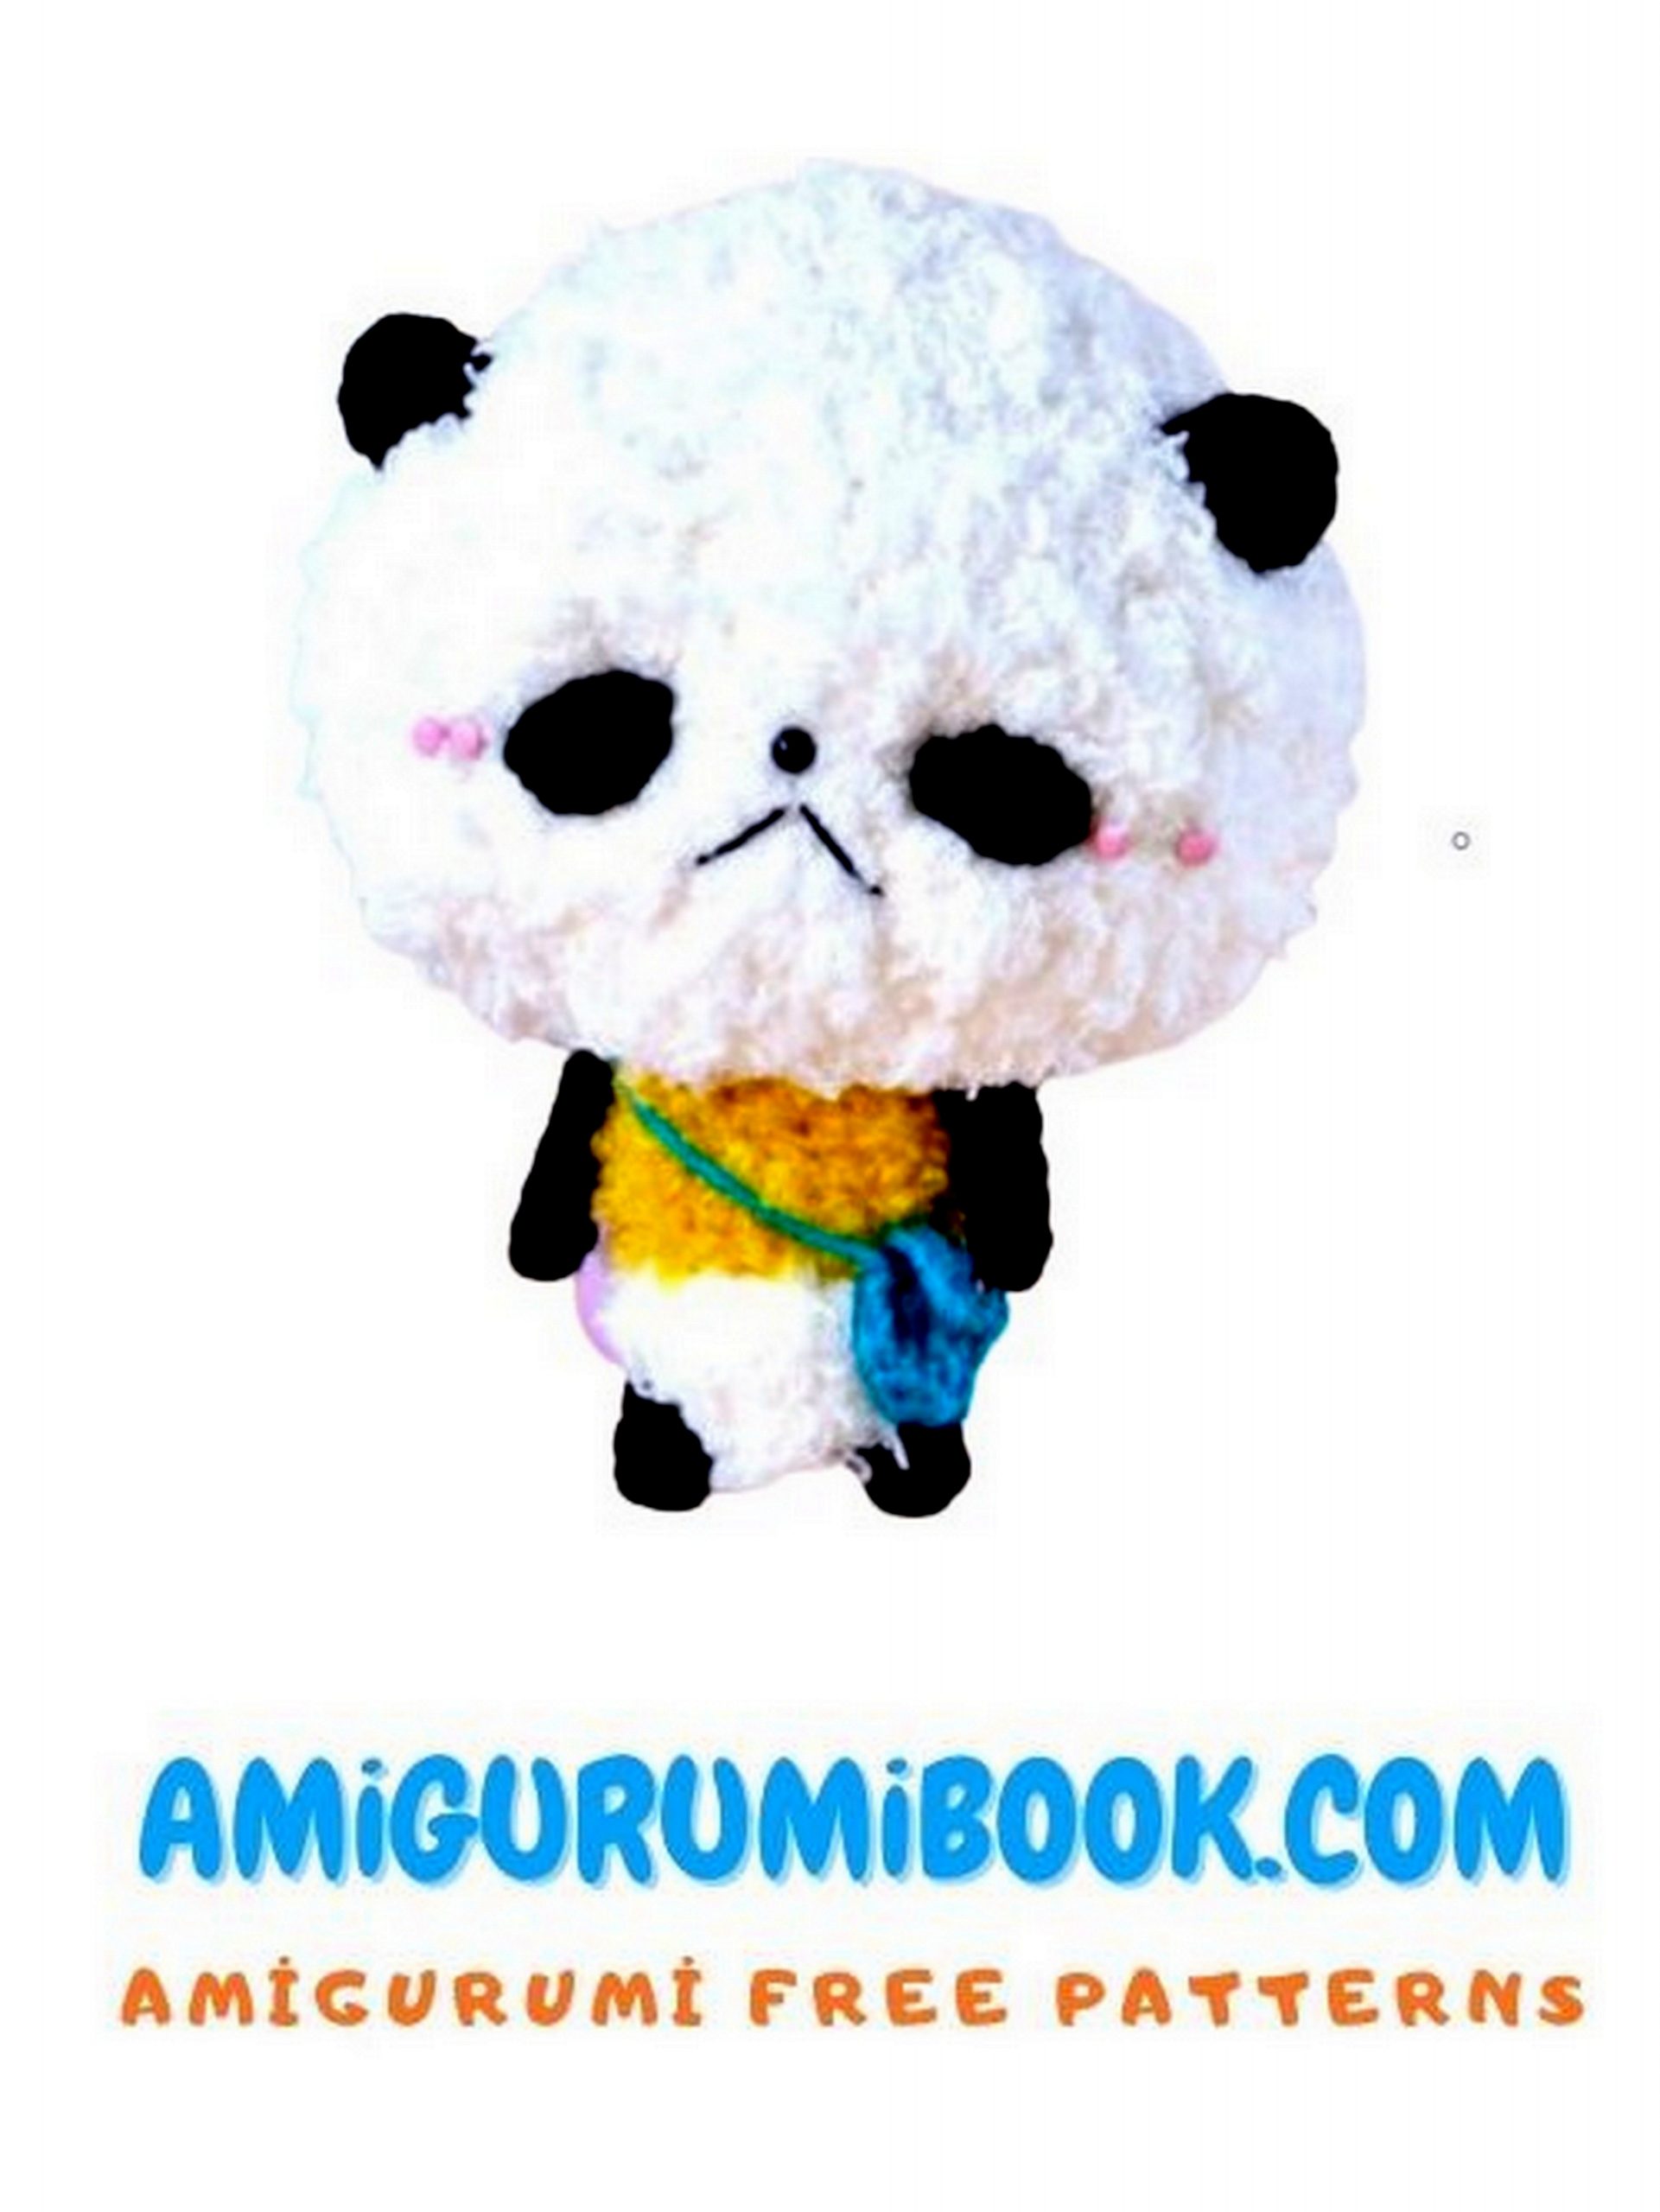
Glue nose onto the center of Pan-san’s head.
Sew on the eyes with backstitches. Make sure you end your stitches at the bottom of the head, then give it a slight tug to give the eyes light indentations (which make for a cuter look).
Sew an upside-down “V” with black crochet thread to form the lips.
Glue on pink brads to give Pan-san a pop of blush on the cheeks.
Sew on the ears.
Sew body onto the head.
Sew on the arms and legs.
Assemble the bag by folding one end to the center of the piece then make backstitches to secure in place. This will be the bottom of the bag. Fold the other end over the top and “button up” with a brad. To create a sling bag look, make sure the strap is passed through Pan-san’s right arm near the neck. The strap should exit at the back of the arm and looped back onto the bag with a knot.
You may lightly trim the surface of Pan-san’s face to give the features more definition