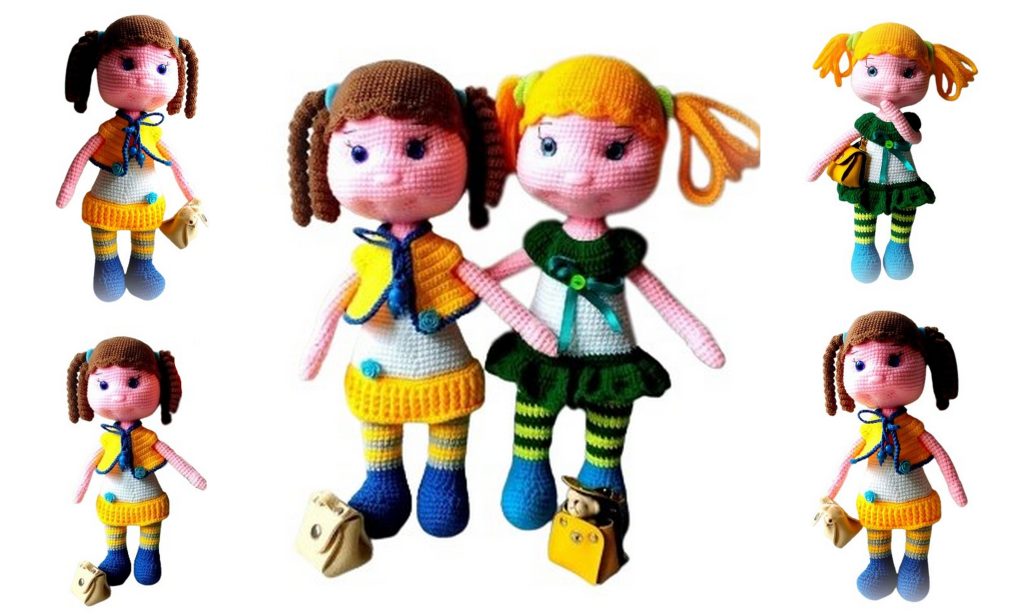
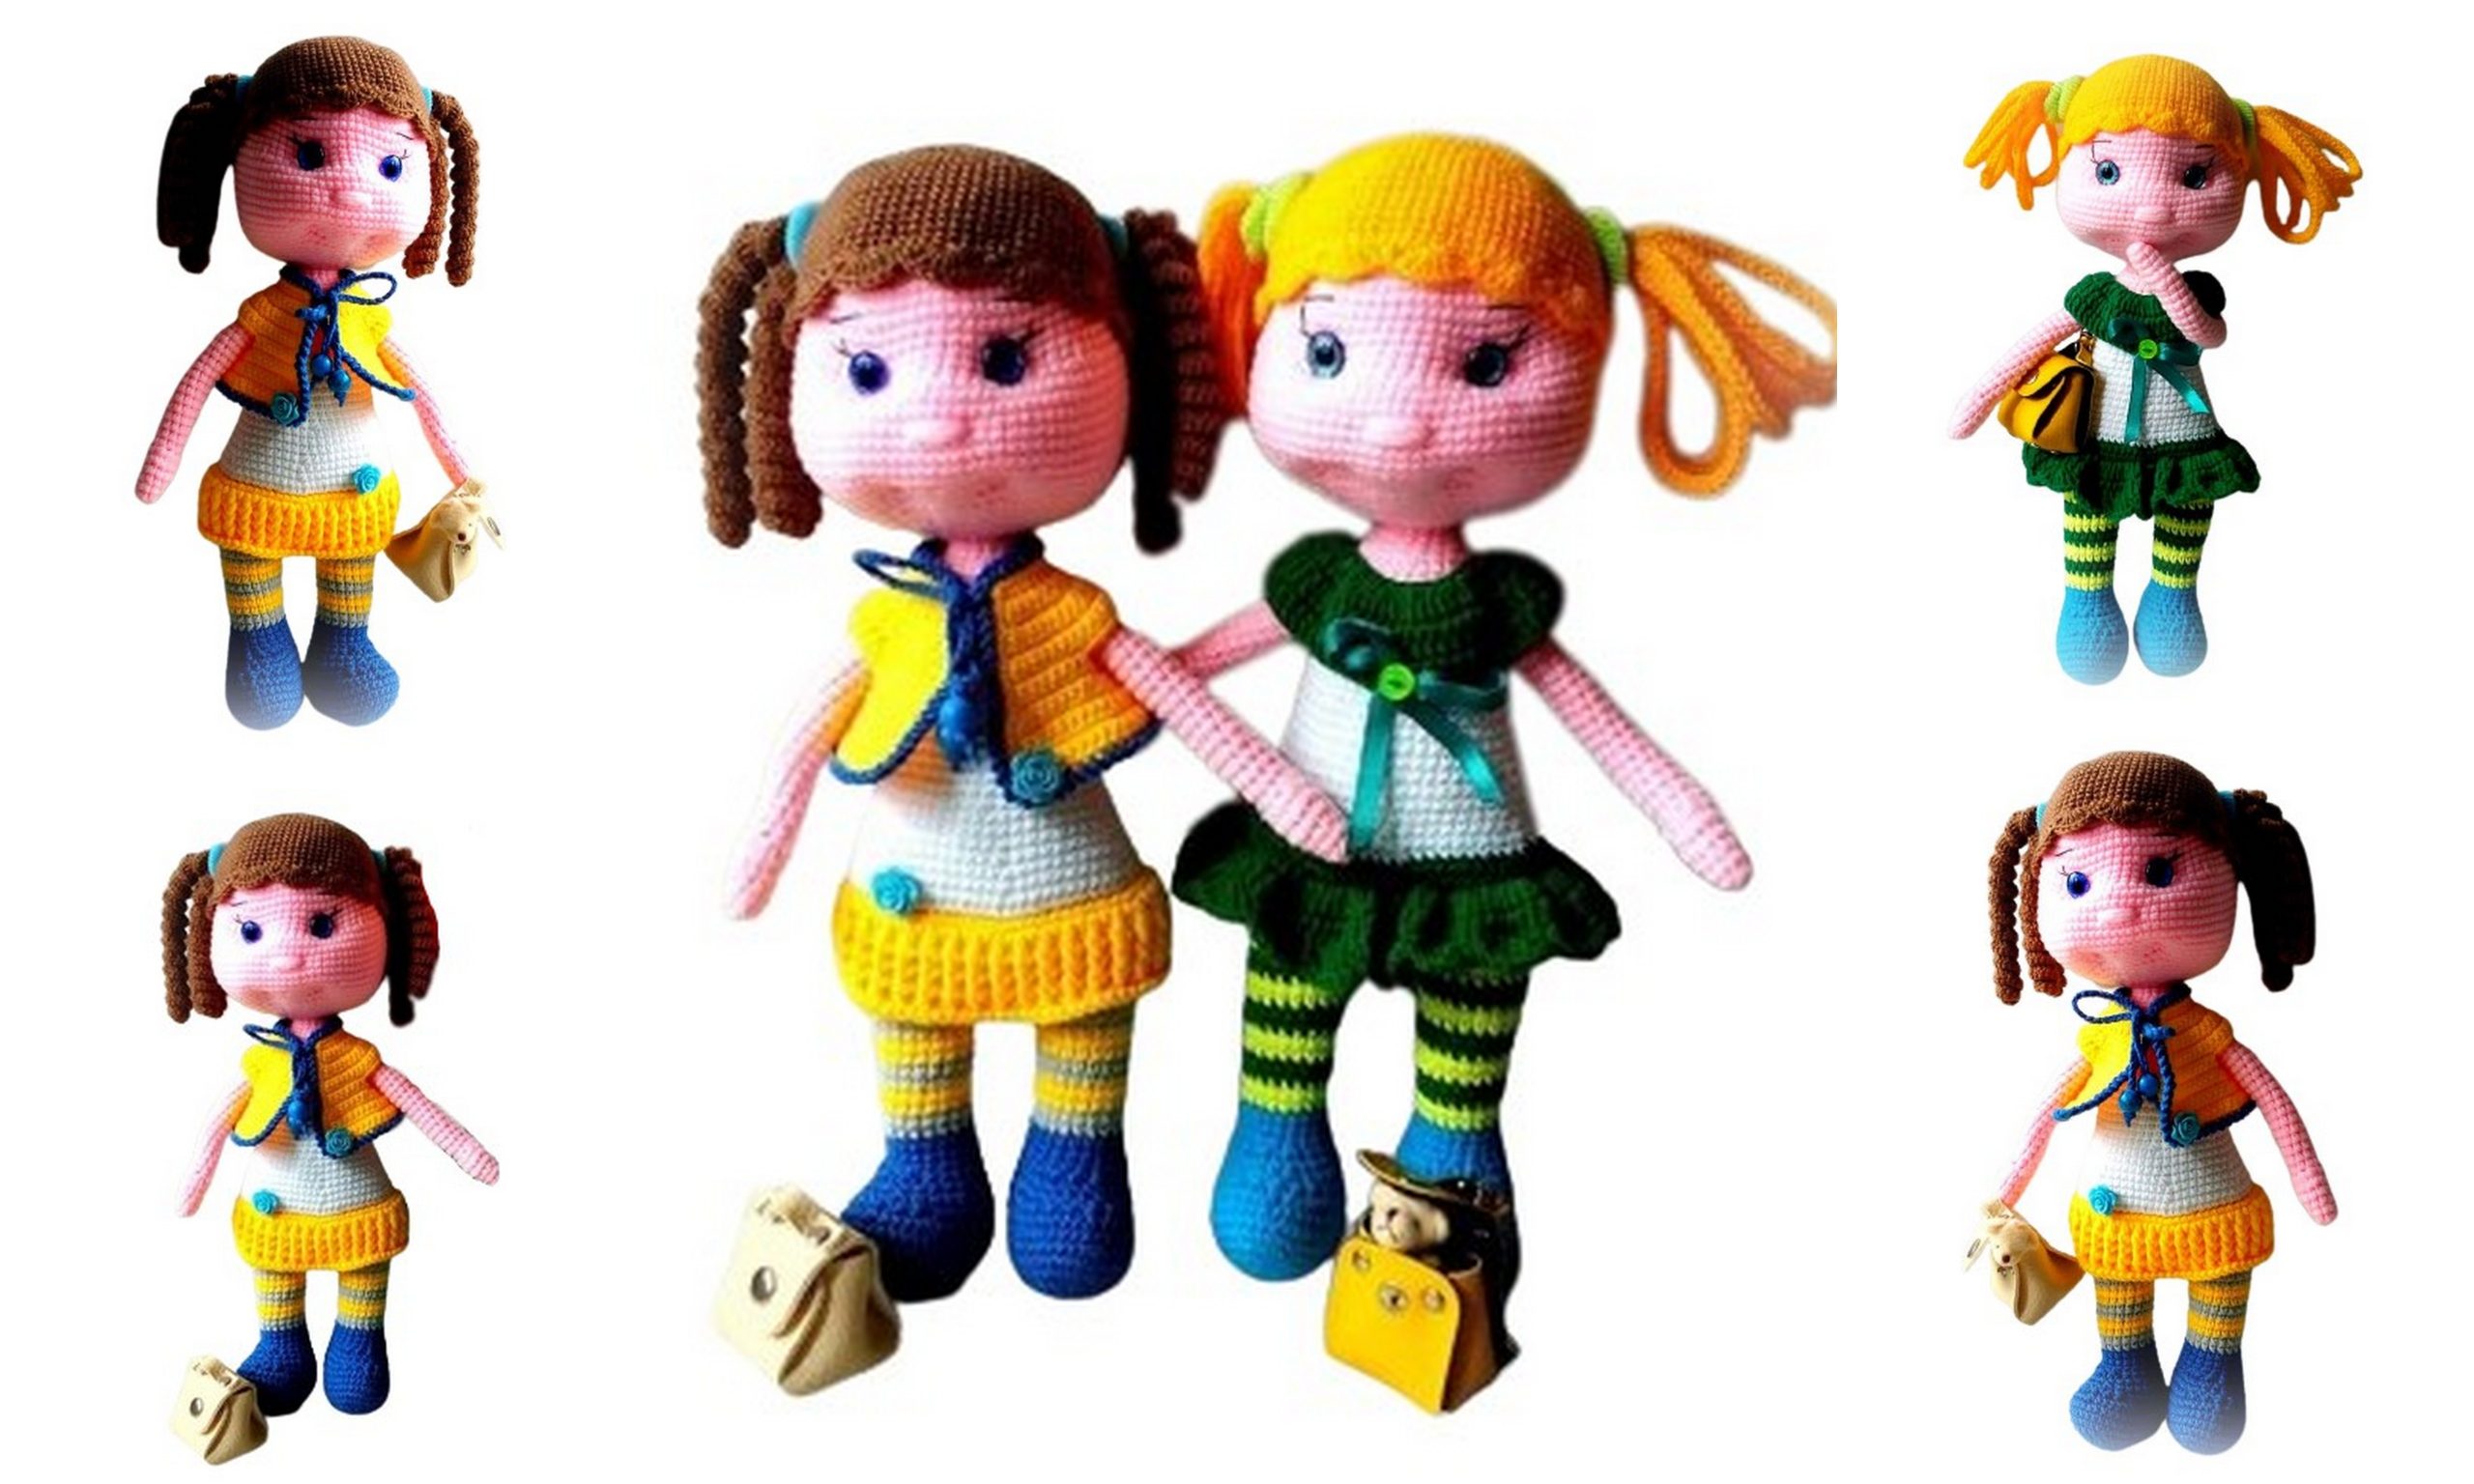
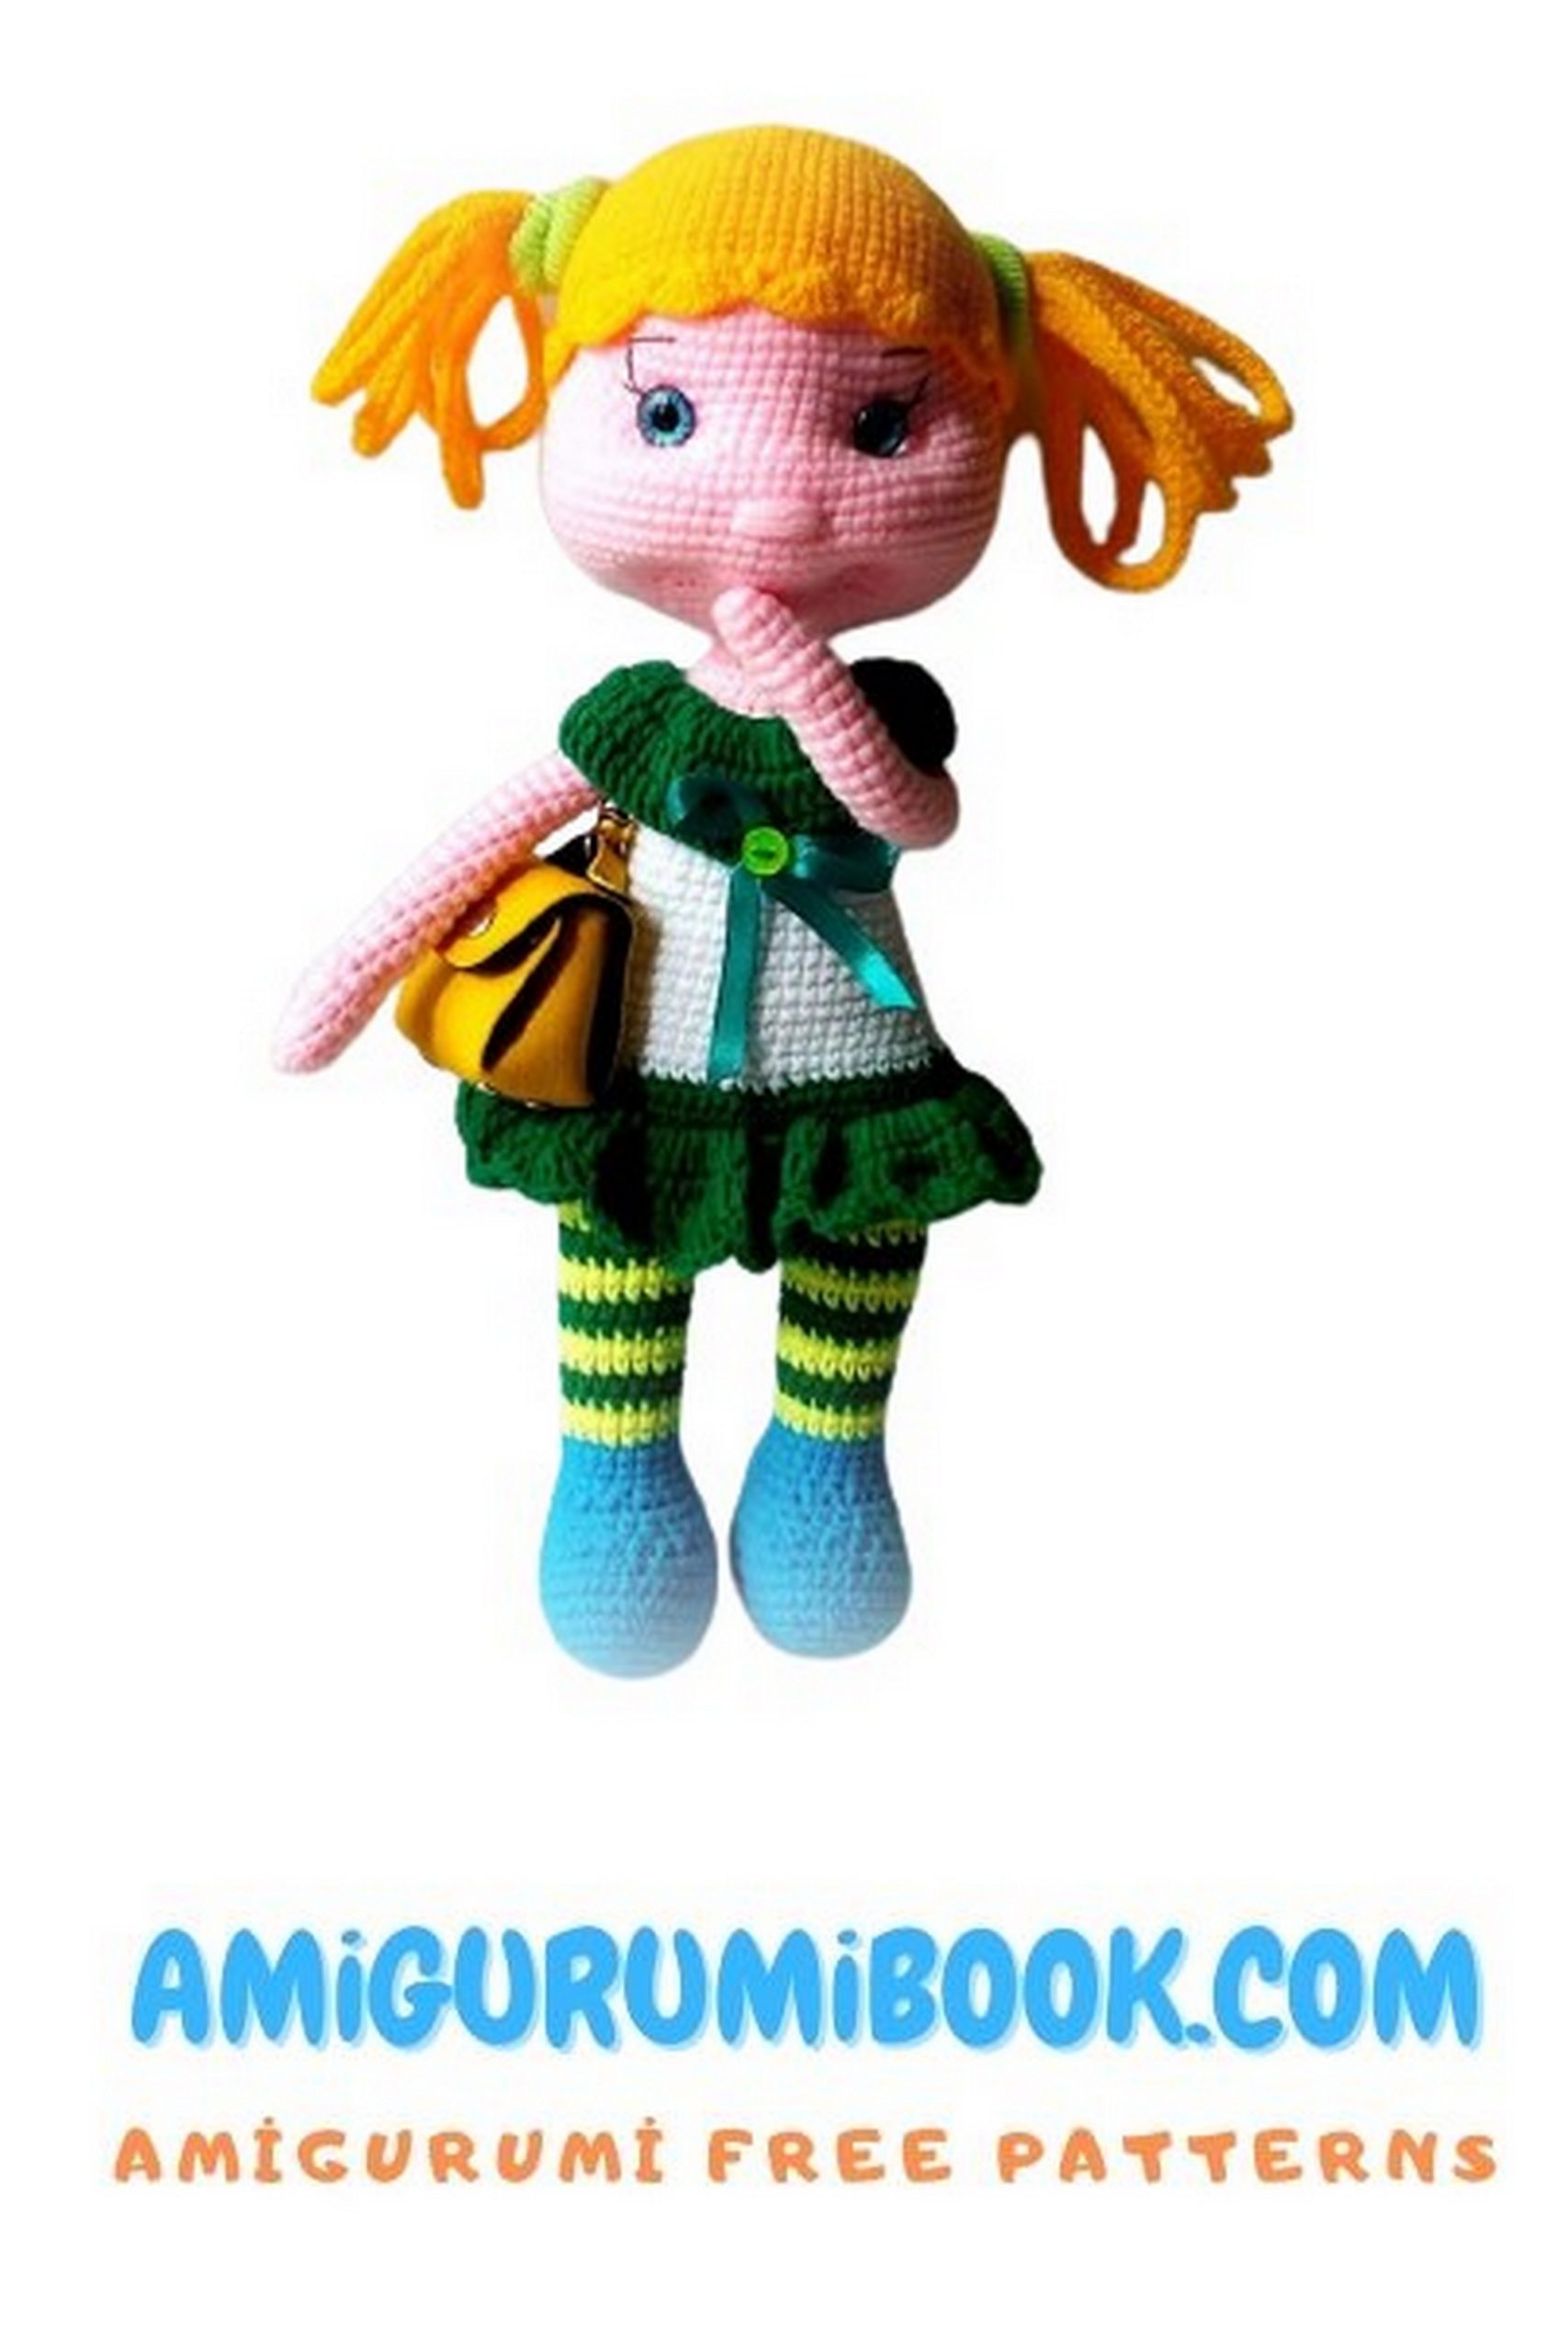
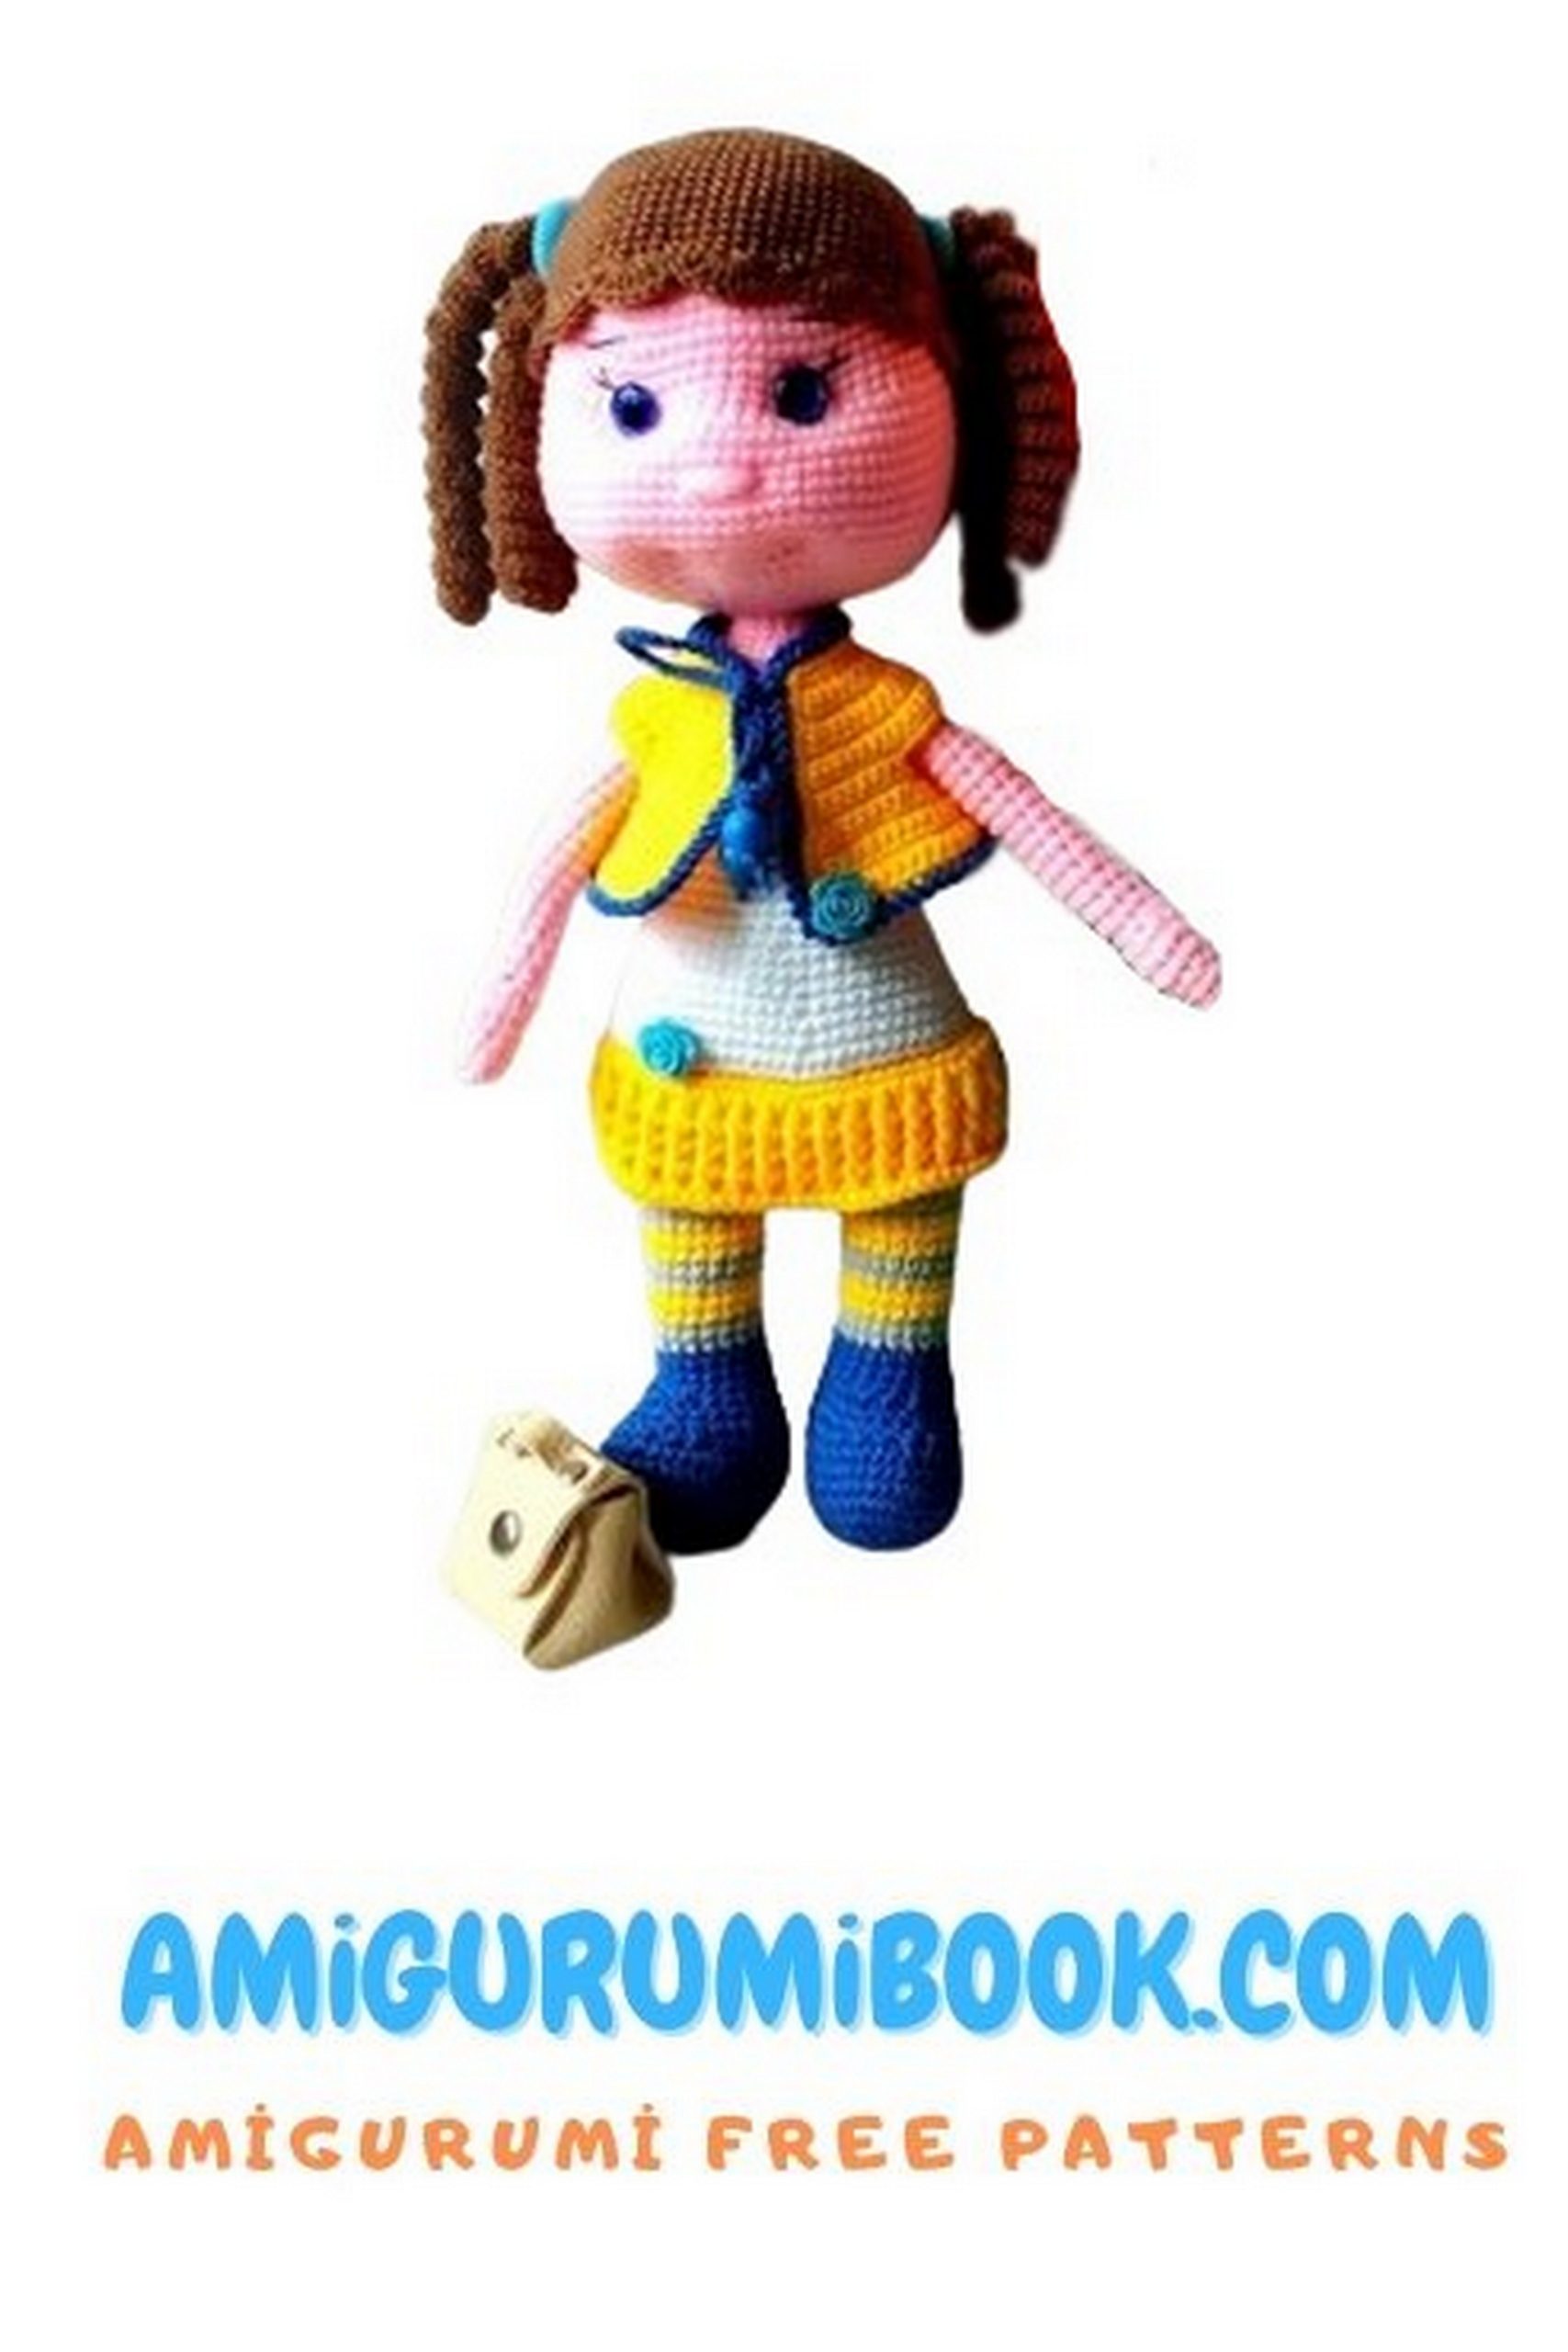
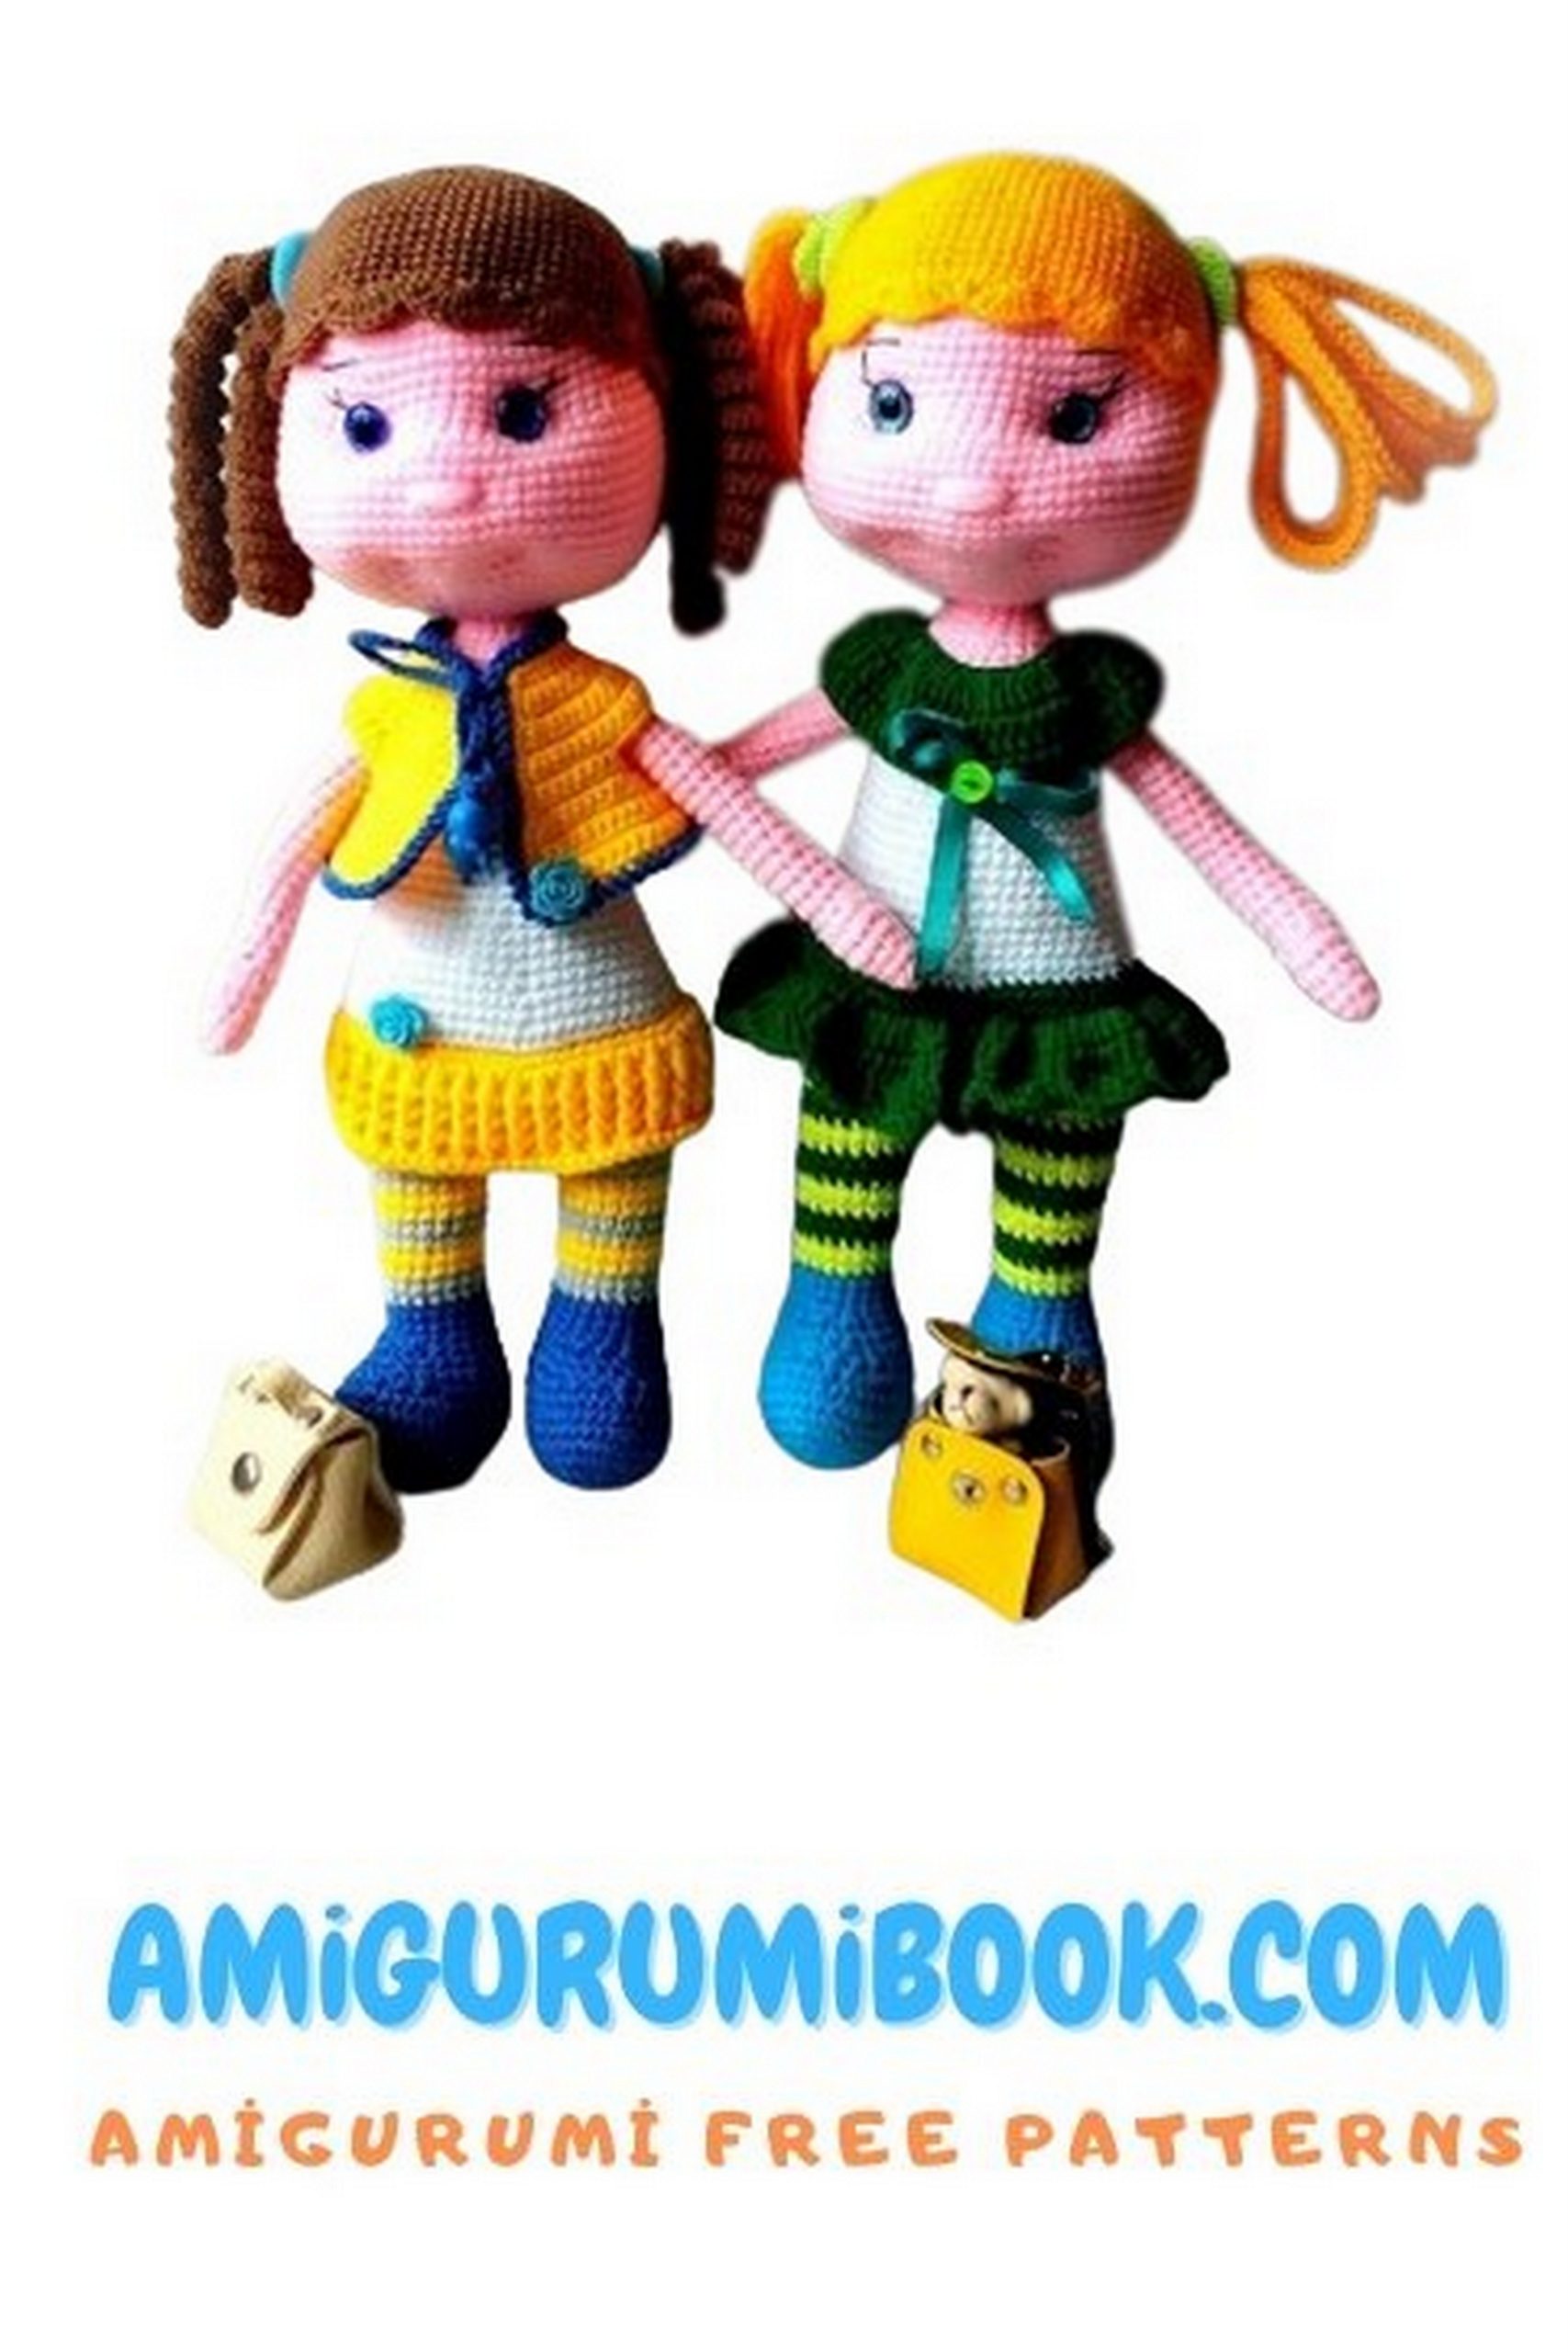
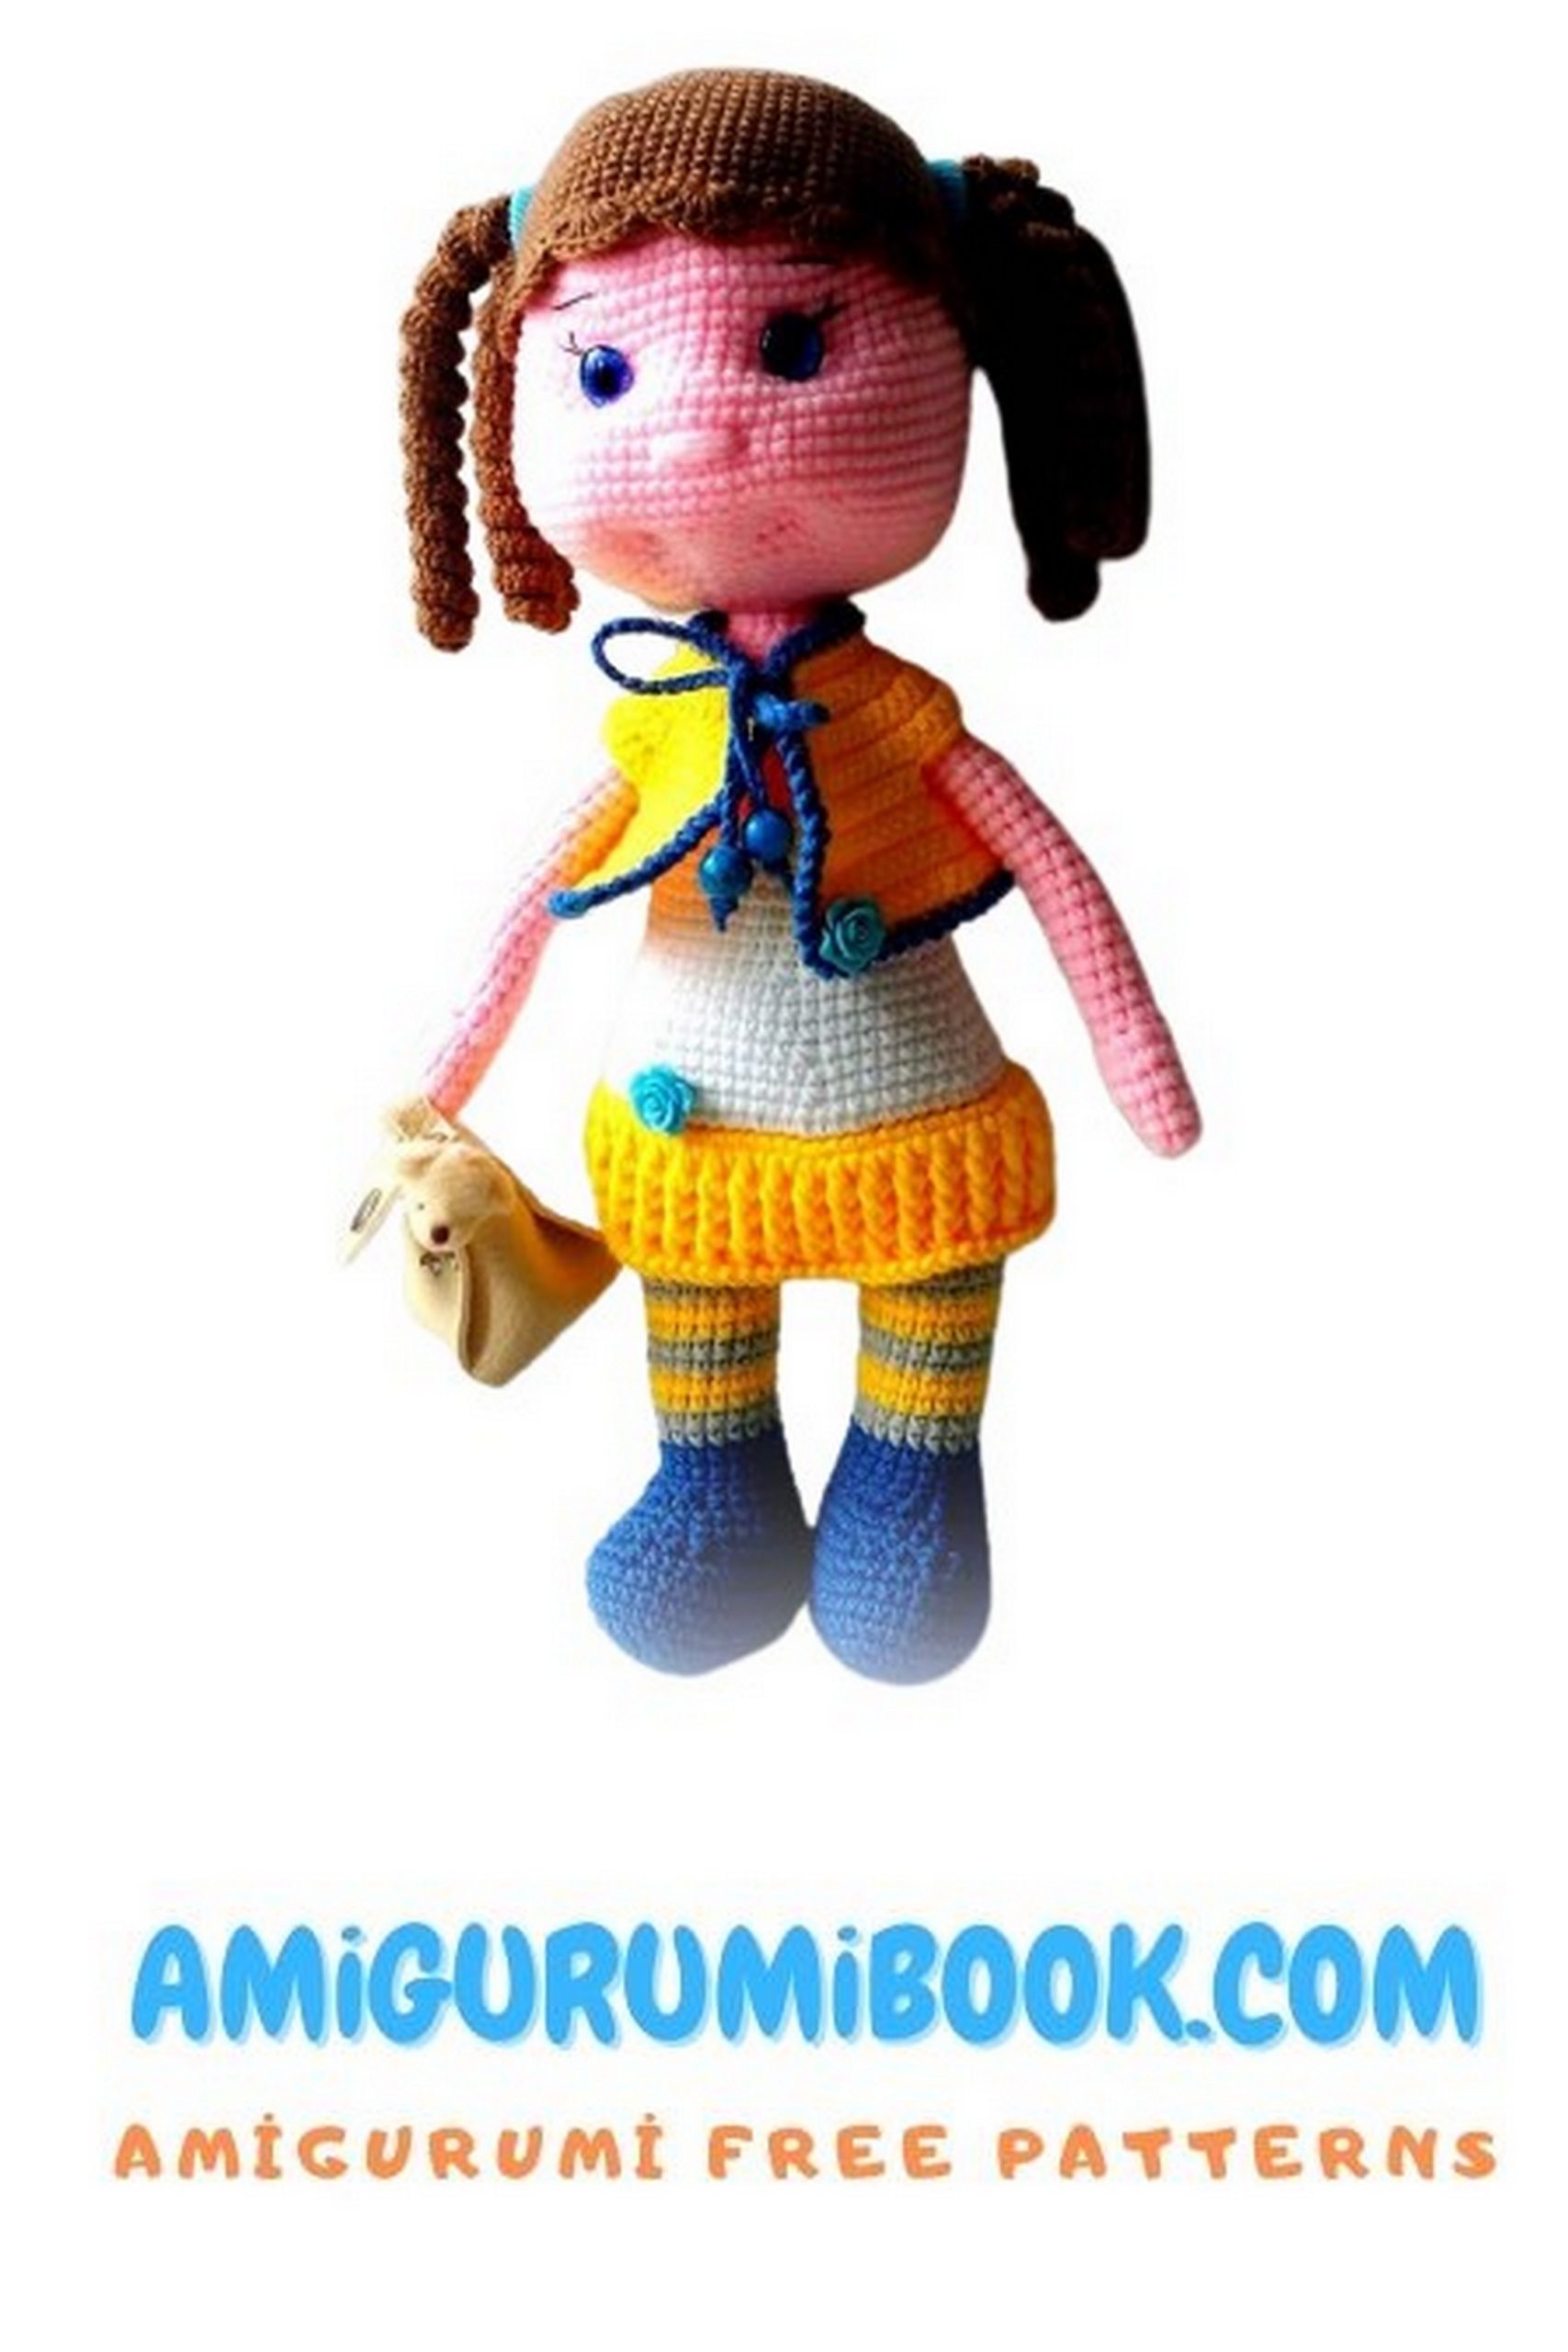
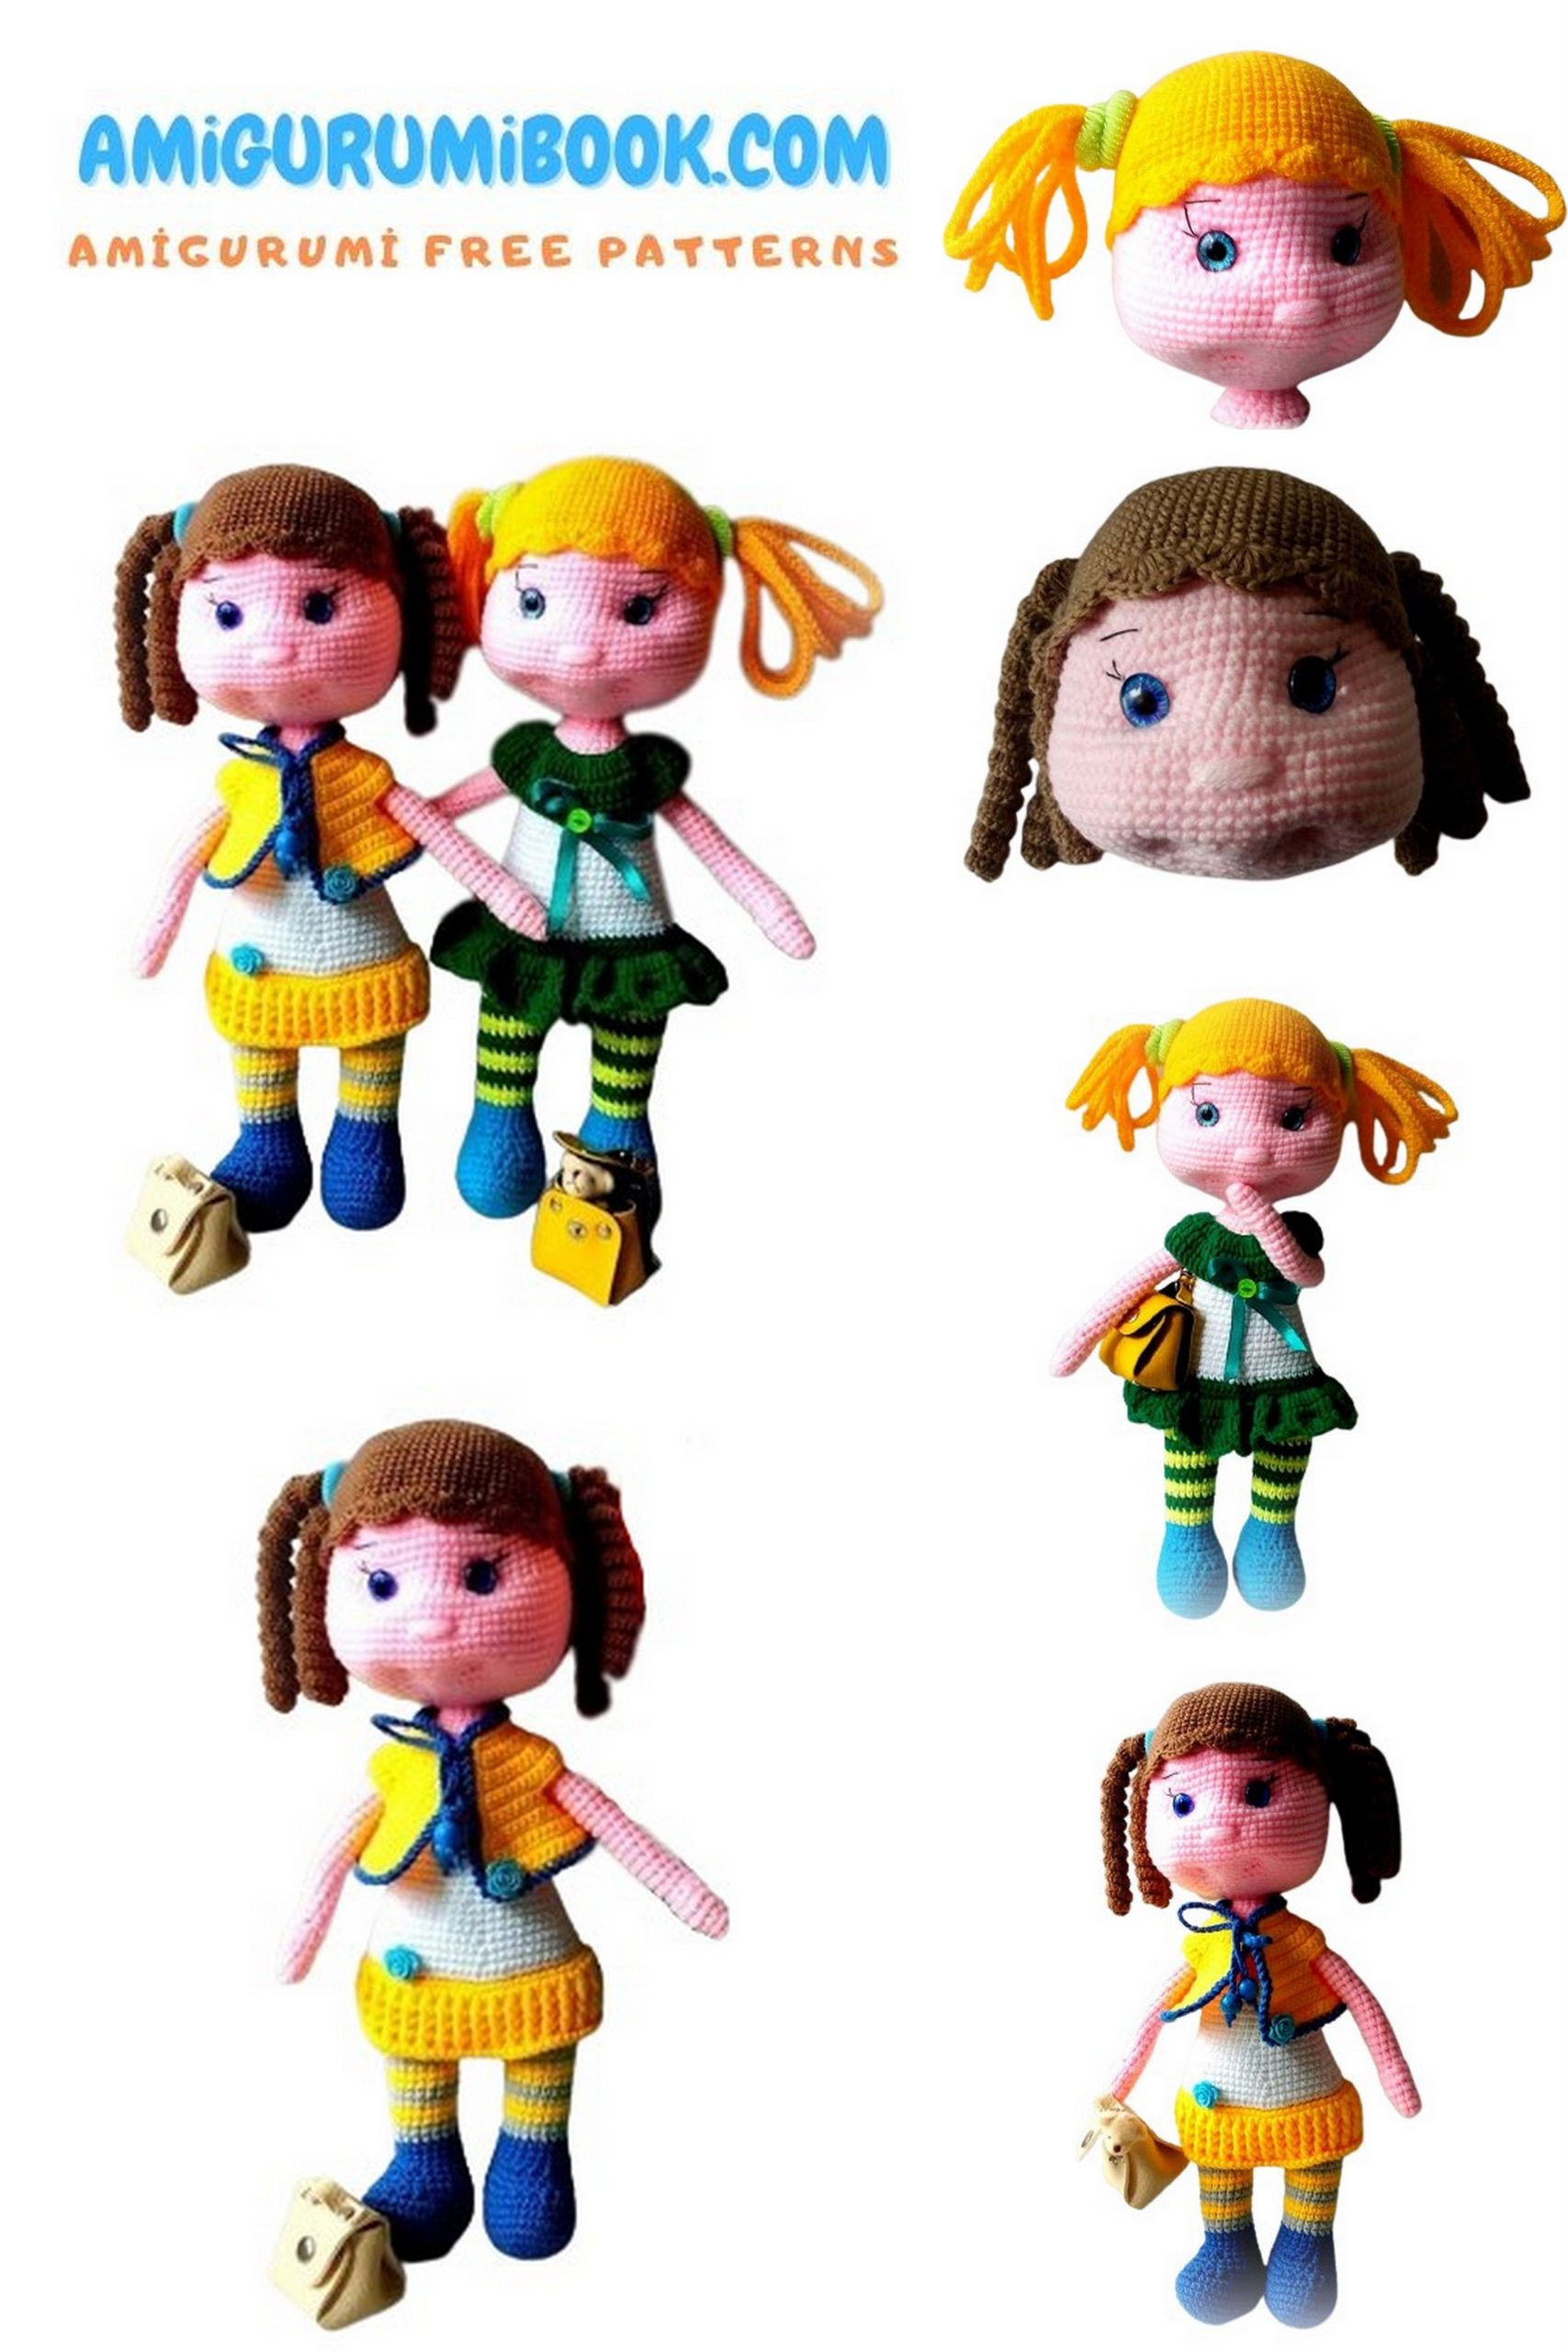
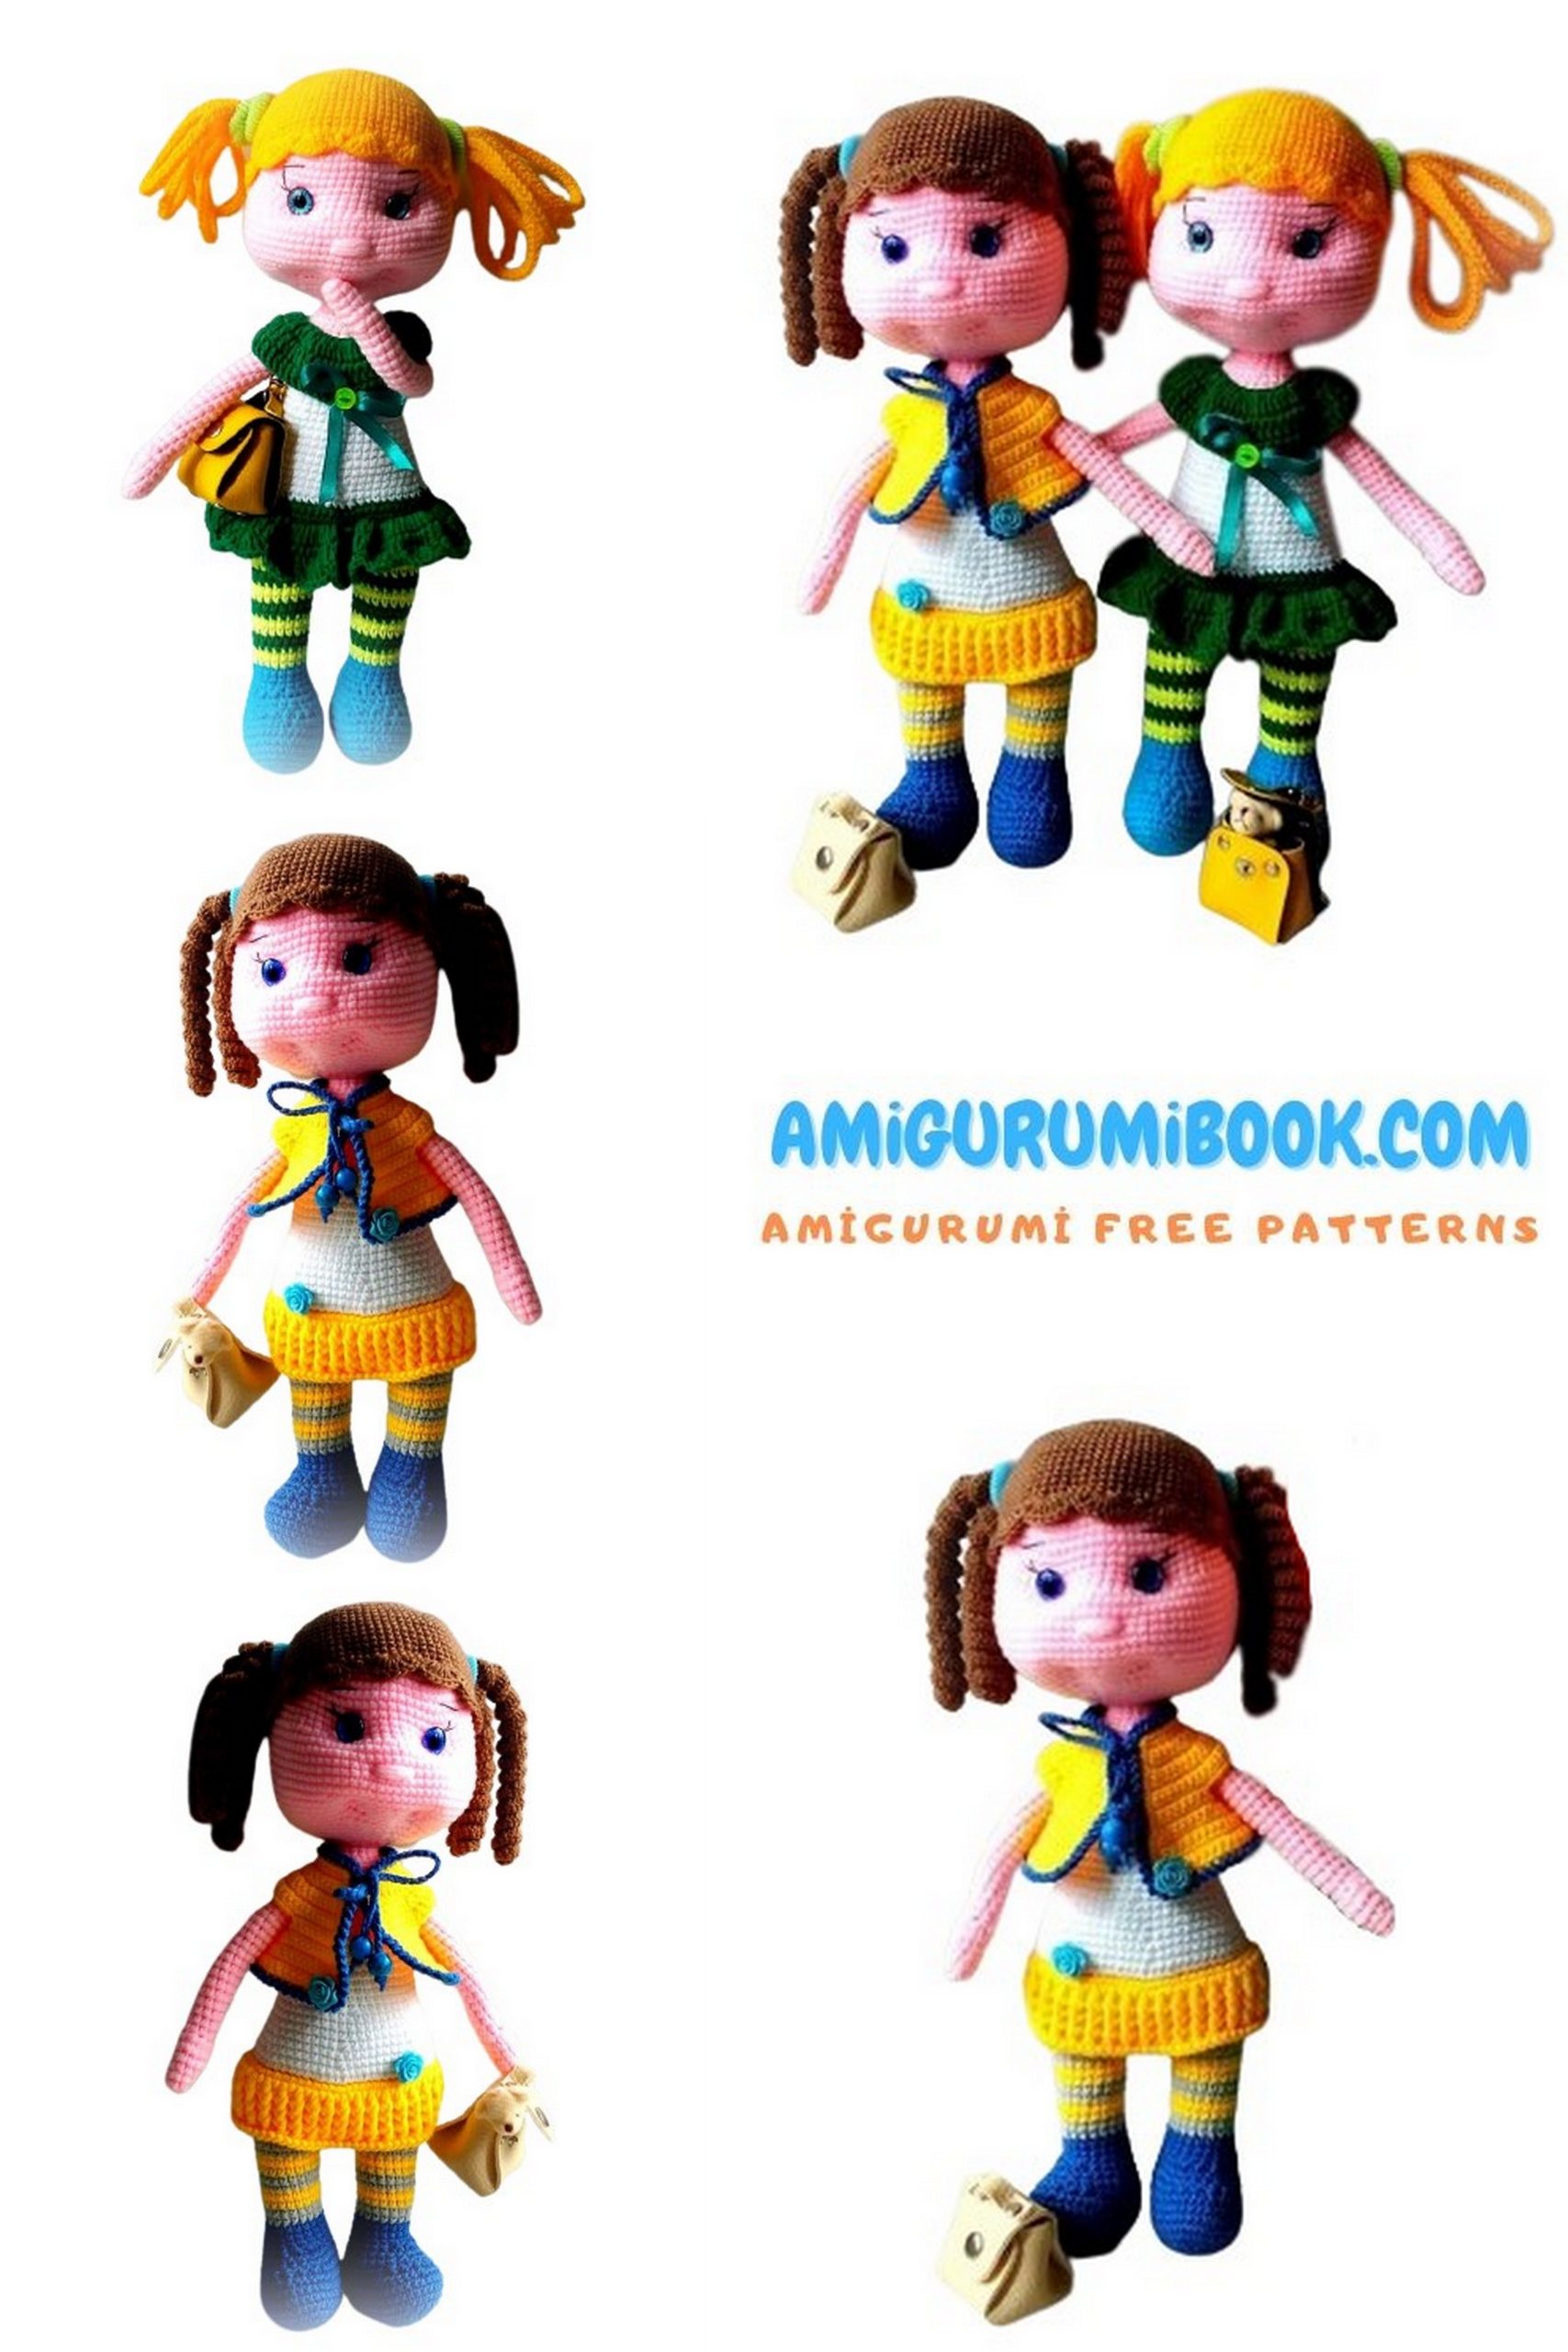
Discover the charm of handmade creativity with the Short Skirt Fashionista Doll Amigurumi free pattern, perfect for crochet enthusiasts of all skill levels. This adorable doll features a stylish short skirt and trendy details, making it a delightful project to add to your collection or gift to a loved one. free crochet patternsYou may also like more amigurumi patterns.Meet the trendsetter of the amigurumi world – the Short Skirt Fashionista Doll! This free amigurumi pattern allows you to create a stylish and chic amigurumi doll with a short skirt, perfect for any fashion-forward crochet enthusiast. Whether you’re a novice or a seasoned crocheter, our step-by-step guide will help you craft this fashionable doll with ease. Get ready to infuse your amigurumi collection with a dose of haute couture flair!
If you want to access 1000+ free amigurumi patterns, you can download our application from this link!
MATERIALS FOR CROCHETING AMIGURUMI
Yarn (choose one):
- Acacia yarn (Troitsk factory)
- Milk Cotton yarn
- YarnArt Jeans
Note: Acacia yarn is thinner.
- Use 1–1.5 mm hook for Acacia
- Use 1.5 mm hook for Milk Cotton / YarnArt Jeans
Other Materials:
- Crochet hook suitable for yarn
- Polyester fiberfill
- Copper wire (1–1.3 mm, max 30 cm)
- Safety eyes / half beads / beads
- Scissors
- Glue
- Sewing needle
IMPORTANT NOTES
- Toy size depends on yarn thickness and hook size
- Always use a smaller hook than recommended on the yarn label
- Crochet either:
- in a spiral (use stitch marker), or
- in finished rows (ch 1 + sl st at row end)
- Follow the parts in the given order
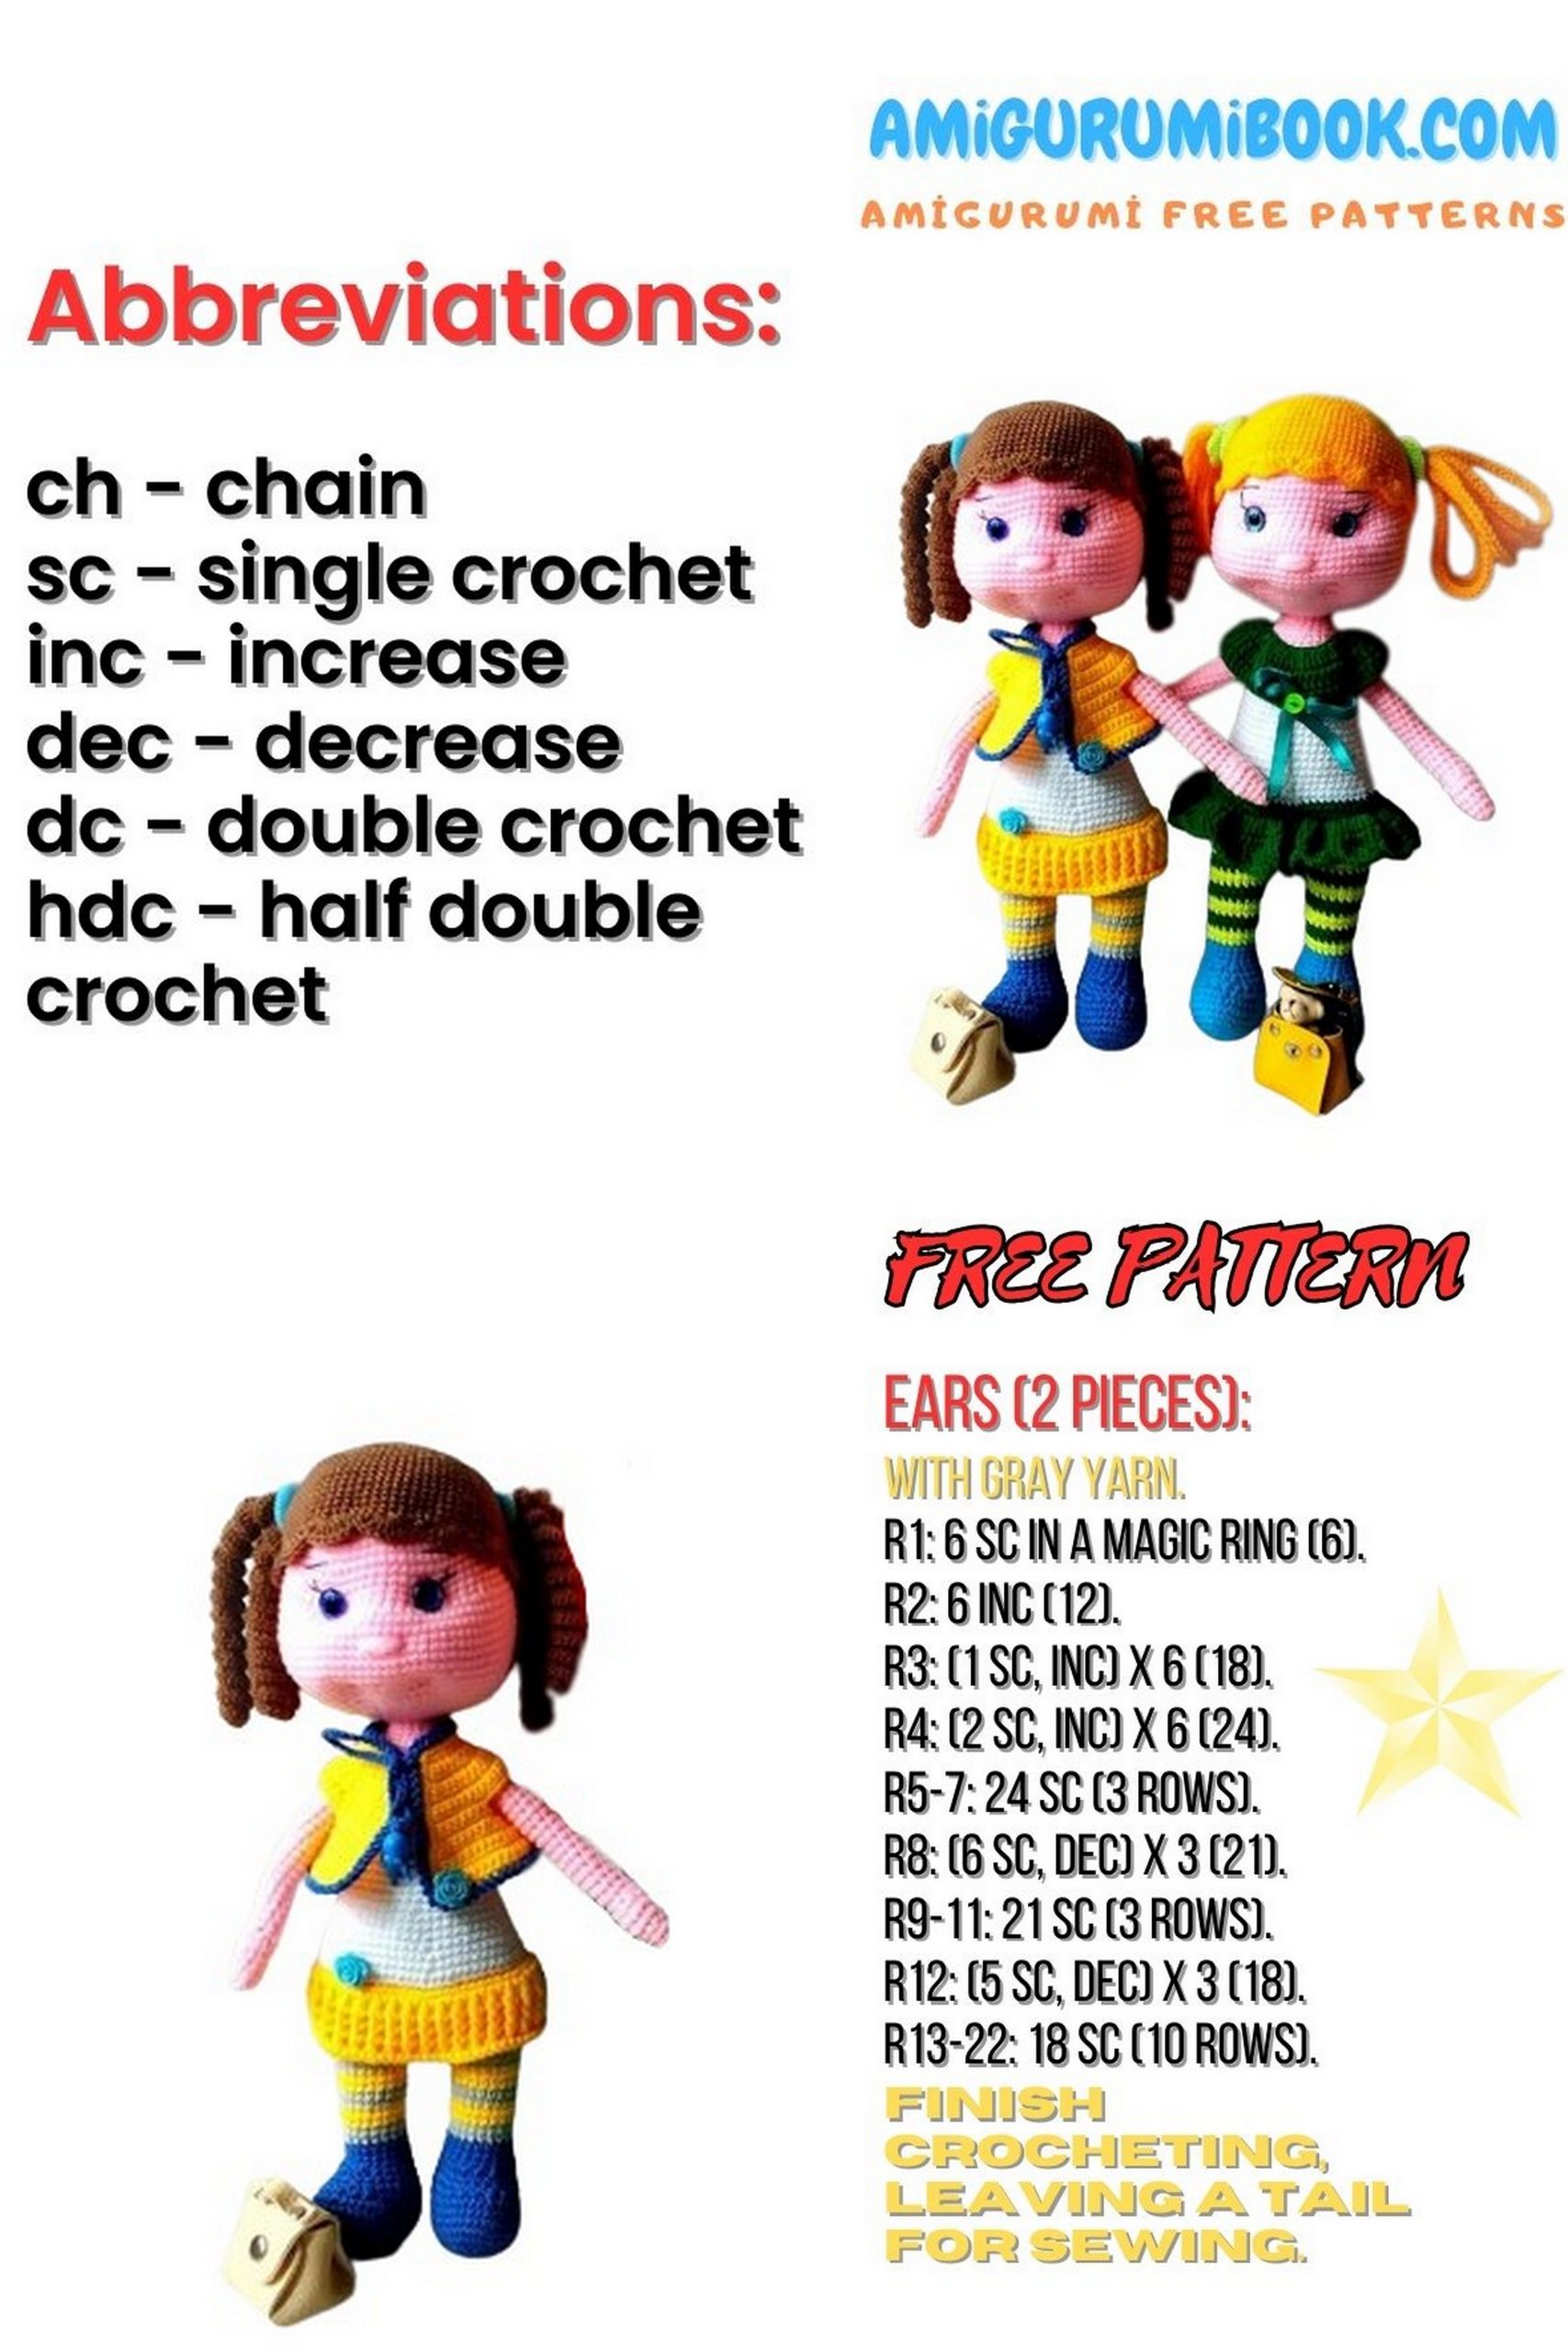
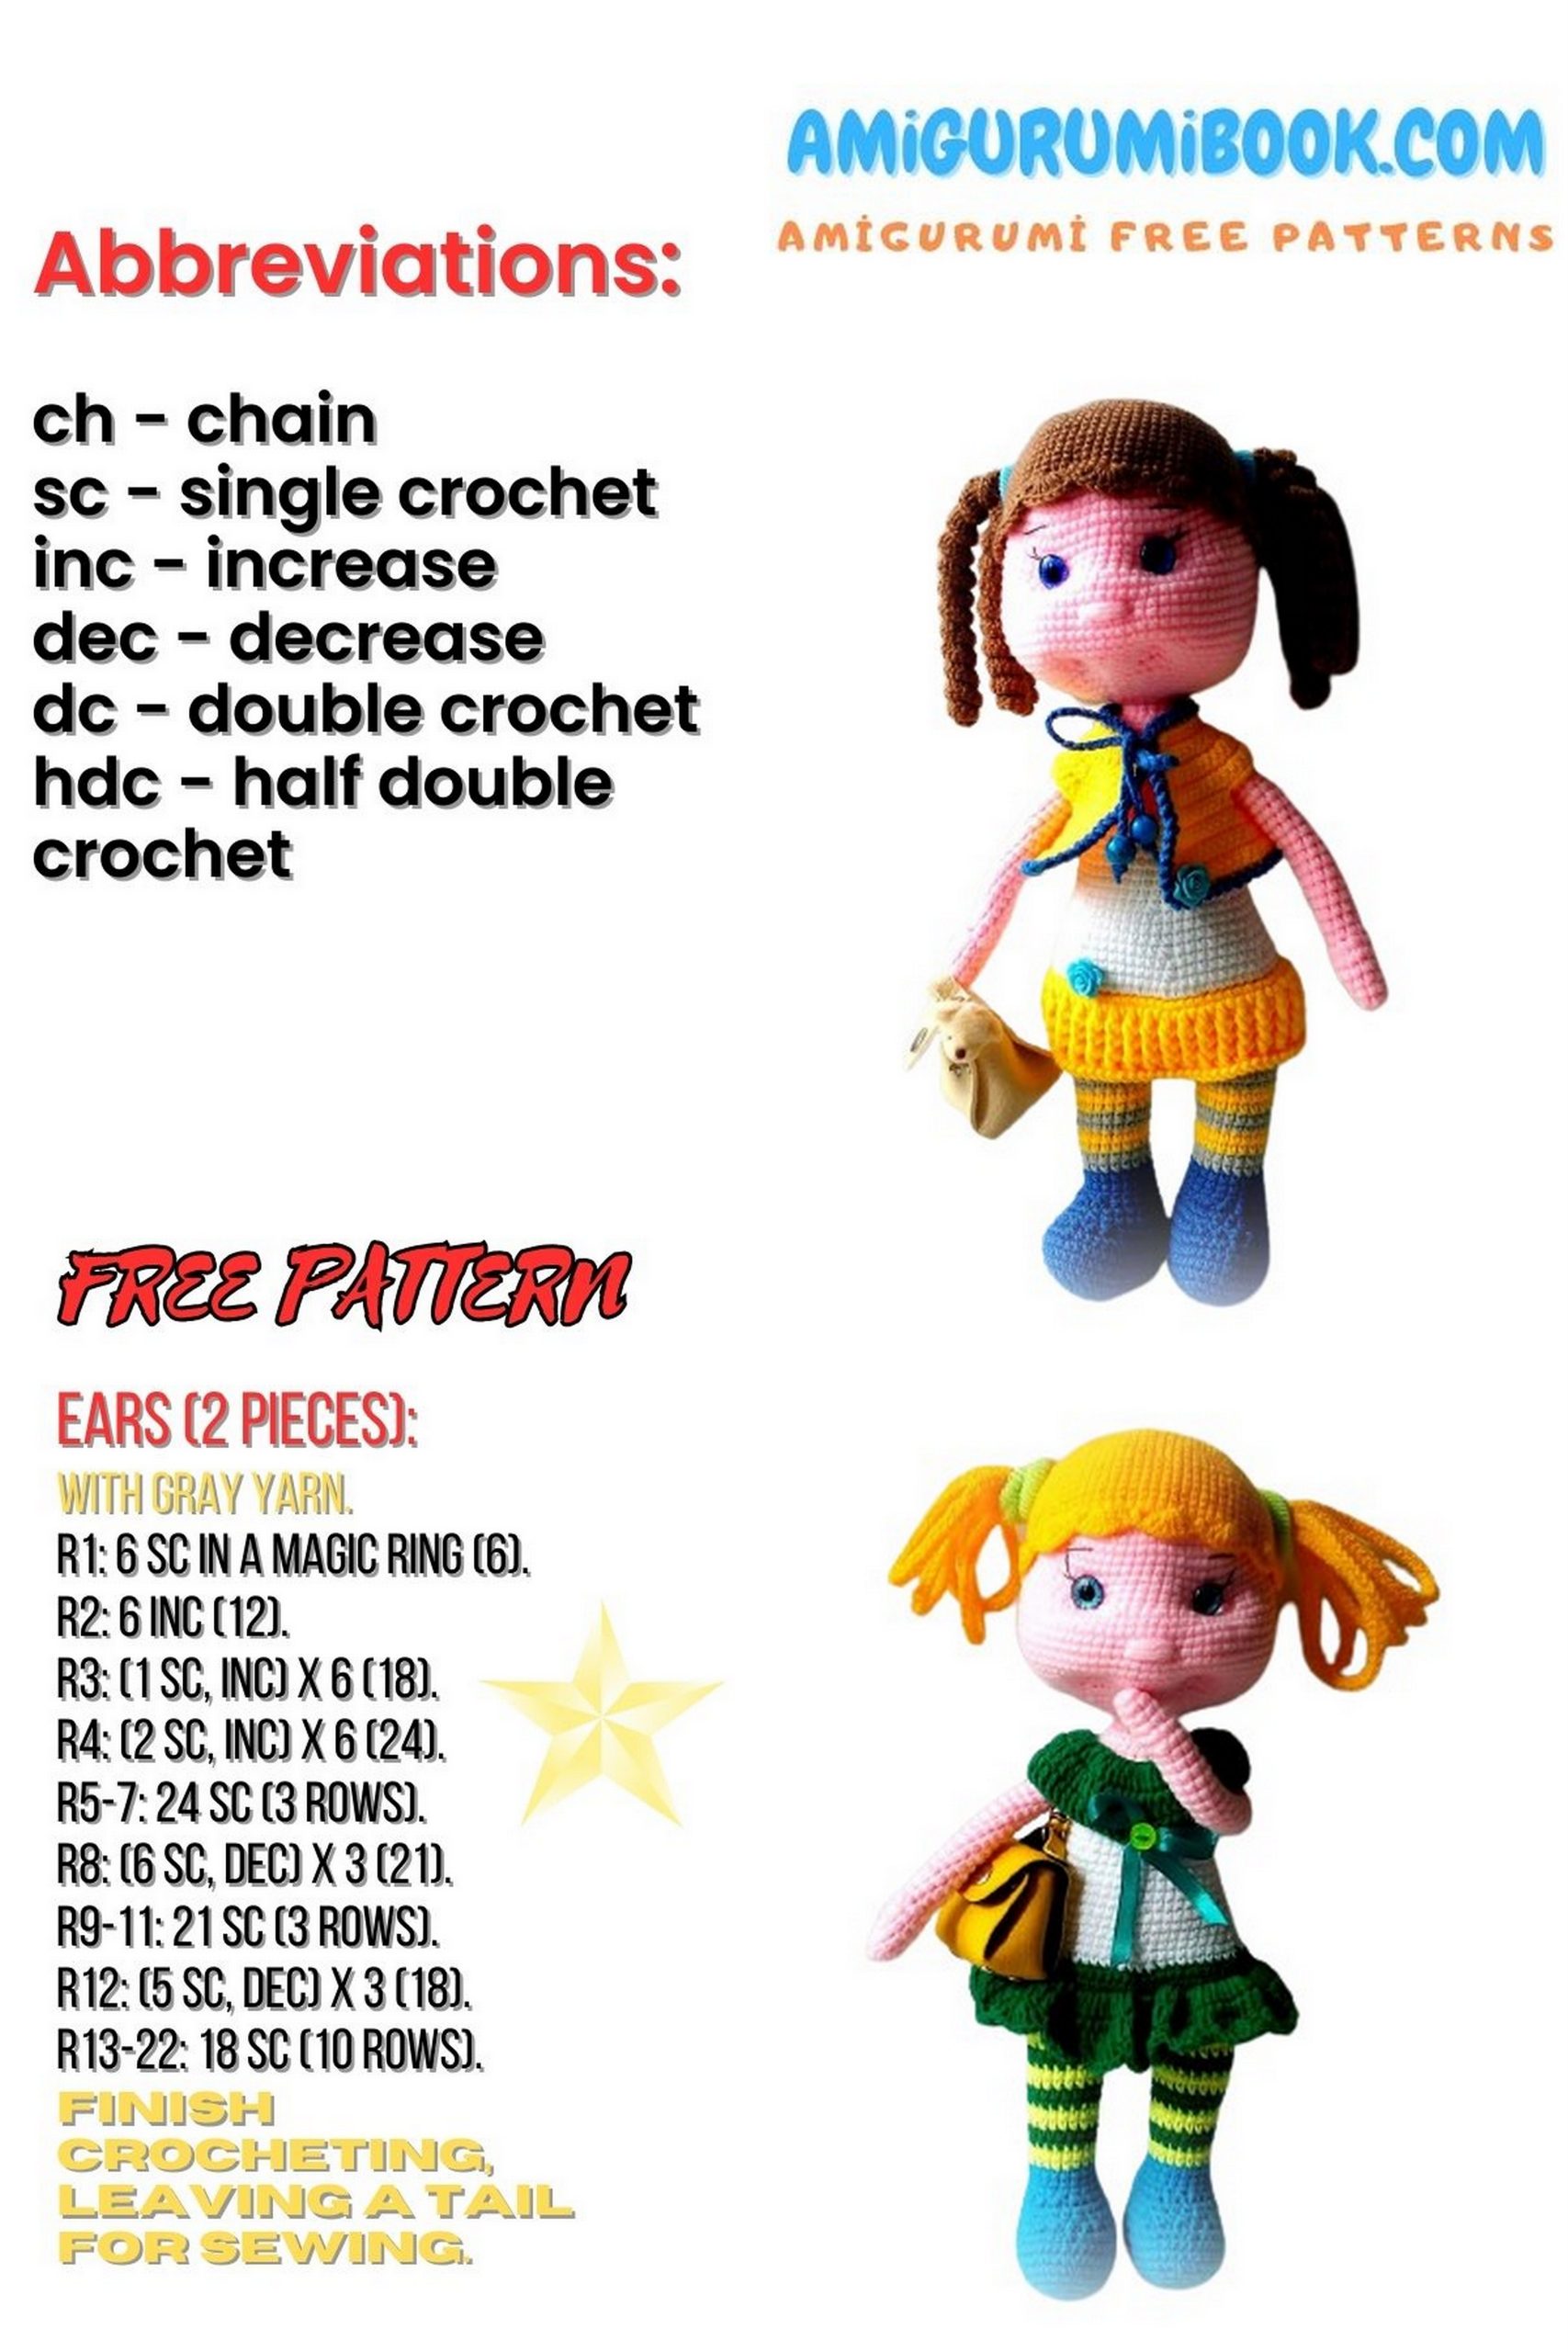
ABBREVIATIONS
- sc – single crochet
- inc – increase
- dec – decrease
- ch – chain
- hdc inc – half double crochet increase
- sl st – slip stitch
- crab st – crab stitch (reverse sc)
Special decrease:
Work sc in FLO of next stitch, skip one stitch from previous row, work sc again.
ARMS (make 2)
1: 6 sc in MR (6)
2: 1 sc, inc × repeat (9)
3: 9 sc (9)
4: 2 sc, inc × repeat (12)
5: 3 sc, inc × repeat (15)
6: 3 sc, dec × repeat (12)
7: dec, dec, 8 sc (10)
8–26: 10 sc
27: dec, 6 sc, dec (8)
Fasten off.
LEGS (make 2)
Start with 7 ch
1: From 2nd ch – hdc inc, 4 sc, 4 sc in last ch, 4 sc, hdc inc (16)
2: hdc inc, 6 sc, 2 hdc inc, 6 sc, hdc inc (20)
3: hdc inc, 8 sc, 3 hdc inc, 6 sc, 2 hdc inc (26)
4: 2 hdc inc, 9 sc, 4 hdc inc, 9 sc, 2 hdc inc (34)
5: 2 hdc inc, 13 sc, 4 hdc inc, 13 sc, 2 hdc inc (42)
6–8: 42 sc
9: 5 sc, dec × repeat (36)
10: 12 sc, 6 dec, 12 sc (30)
11: 3 sc, dec × repeat (24)
12: 24 sc
13: 10 sc, 4 dec, 6 sc (20)
14–16: 20 sc
Change color if making striped stockings.
Stuff firmly. Fasten off.
JOIN LEGS & BODY
31: 17 sc (left leg), 4 ch, 1 sc (right leg), 19 sc, 4 sc in ch, 3 sc (48)
32: 48 sc
33: 7 sc, inc × repeat (54)
34: 8 sc, inc × repeat (60)
35–36: 60 sc
SKIRT
37: 60 sc (skirt color), ch 1, turn
Auxiliary rows:
1: 9 sc, inc × repeat (66)
2: 66 sl st
3–5: alternate FLO/BLO sl st
6: crab stitch edge
Optional fuller skirt:
- 2nd aux row: inc in each st (132)
UPPER BODY
38: 60 sc (spiral)
39: 60 sc
40: 8 sc, dec × repeat (54)
41: 54 sc
42: 7 sc, dec × repeat (48)
43–45: 48 sc
46: 6 sc, dec × repeat (42)
47–50: 42 sc
51: 5 sc, dec × repeat (36)
52: 36 sc
53: 36 sc (body color)
54: 4 sc, dec × repeat (30)
55–57: 30 sc
Fold in half.
58: Attach arms with 4 sc (30)
59: 4 sc over arms (30)
60–61: 30 sc
62: 3 sc, dec × repeat (24)
63: 2 sc, dec × repeat (18)
64–65: 18 sc
Leave yarn for head attachment.
HEAD
1: 6 sc in MR (6)
2: inc ×6 (12)
3: 1 sc, inc × repeat (18)
4: 2 sc, inc × repeat (24)
5: 3 sc, inc × repeat (30)
6: 4 sc, inc × repeat (36)
7: 5 sc, inc × repeat (42)
8: 6 sc, inc × repeat (48)
9: 7 sc, inc × repeat (54)
10: 8 sc, inc × repeat (60)
11: 9 sc, inc × repeat (66)
12: 10 sc, inc × repeat (72)
13–20: 72 sc
21: 19 sc, inc, (2 sc, inc) ×11, 19 sc (84)
22–28: 84 sc
29: 12 sc, dec × repeat (78)
30: 11 sc, dec × repeat (72)
31: 10 sc, dec × repeat (66)
32: 9 sc, dec × repeat (60)
33: 8 sc, dec × repeat (54)
34: 7 sc, dec × repeat (48)
35: 6 sc, dec × repeat (42)
36: 5 sc, dec × repeat (36)
37: 4 sc, dec × repeat (30)
38: 3 sc, dec × repeat (24)
39: 2 sc, dec × repeat (18)
Leave yarn for sewing.
HAIR
- Make cap to fit head
- Crochet spiral curls:
- ch 60
- 3 sc in each ch
- Sew curls to cap
- Attach cap to head
VEST
Worked in turned rows.
1: ch 31, 30 sc
2: 4 sc, inc × repeat (36)
3: 5 sc, inc × repeat (42)
4–6: 42 sc
7: 6 sc, inc × repeat (48)
8: 48 sc
9: 7 sc, inc × repeat (54)
10: 54 sc
11: 8 sc, ch 5, skip 10, 18 sc, ch 5, skip 10, 8 sc
12: 8 sc, 7 sc in ch space, 18 sc, 7 sc, 8 sc
13: 7 sc, inc × repeat (54)
14–15: 54 sc
16: 8 sc, inc × repeat (60)
17–18: 60 sc
Finish with sc + crab stitch border.