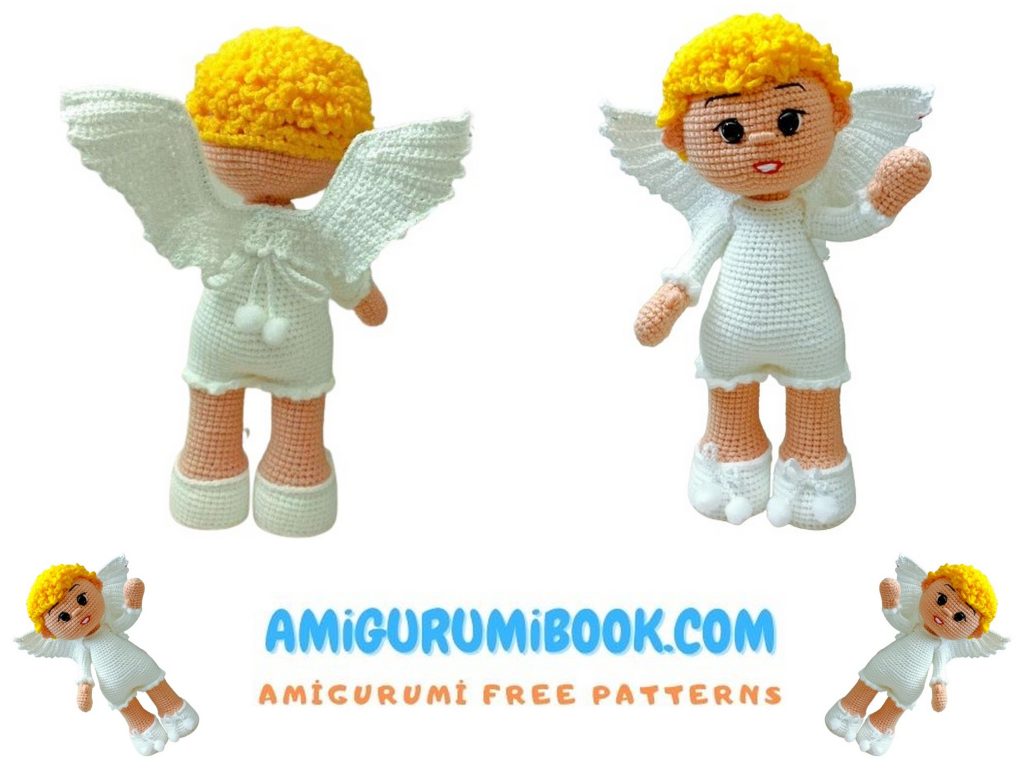
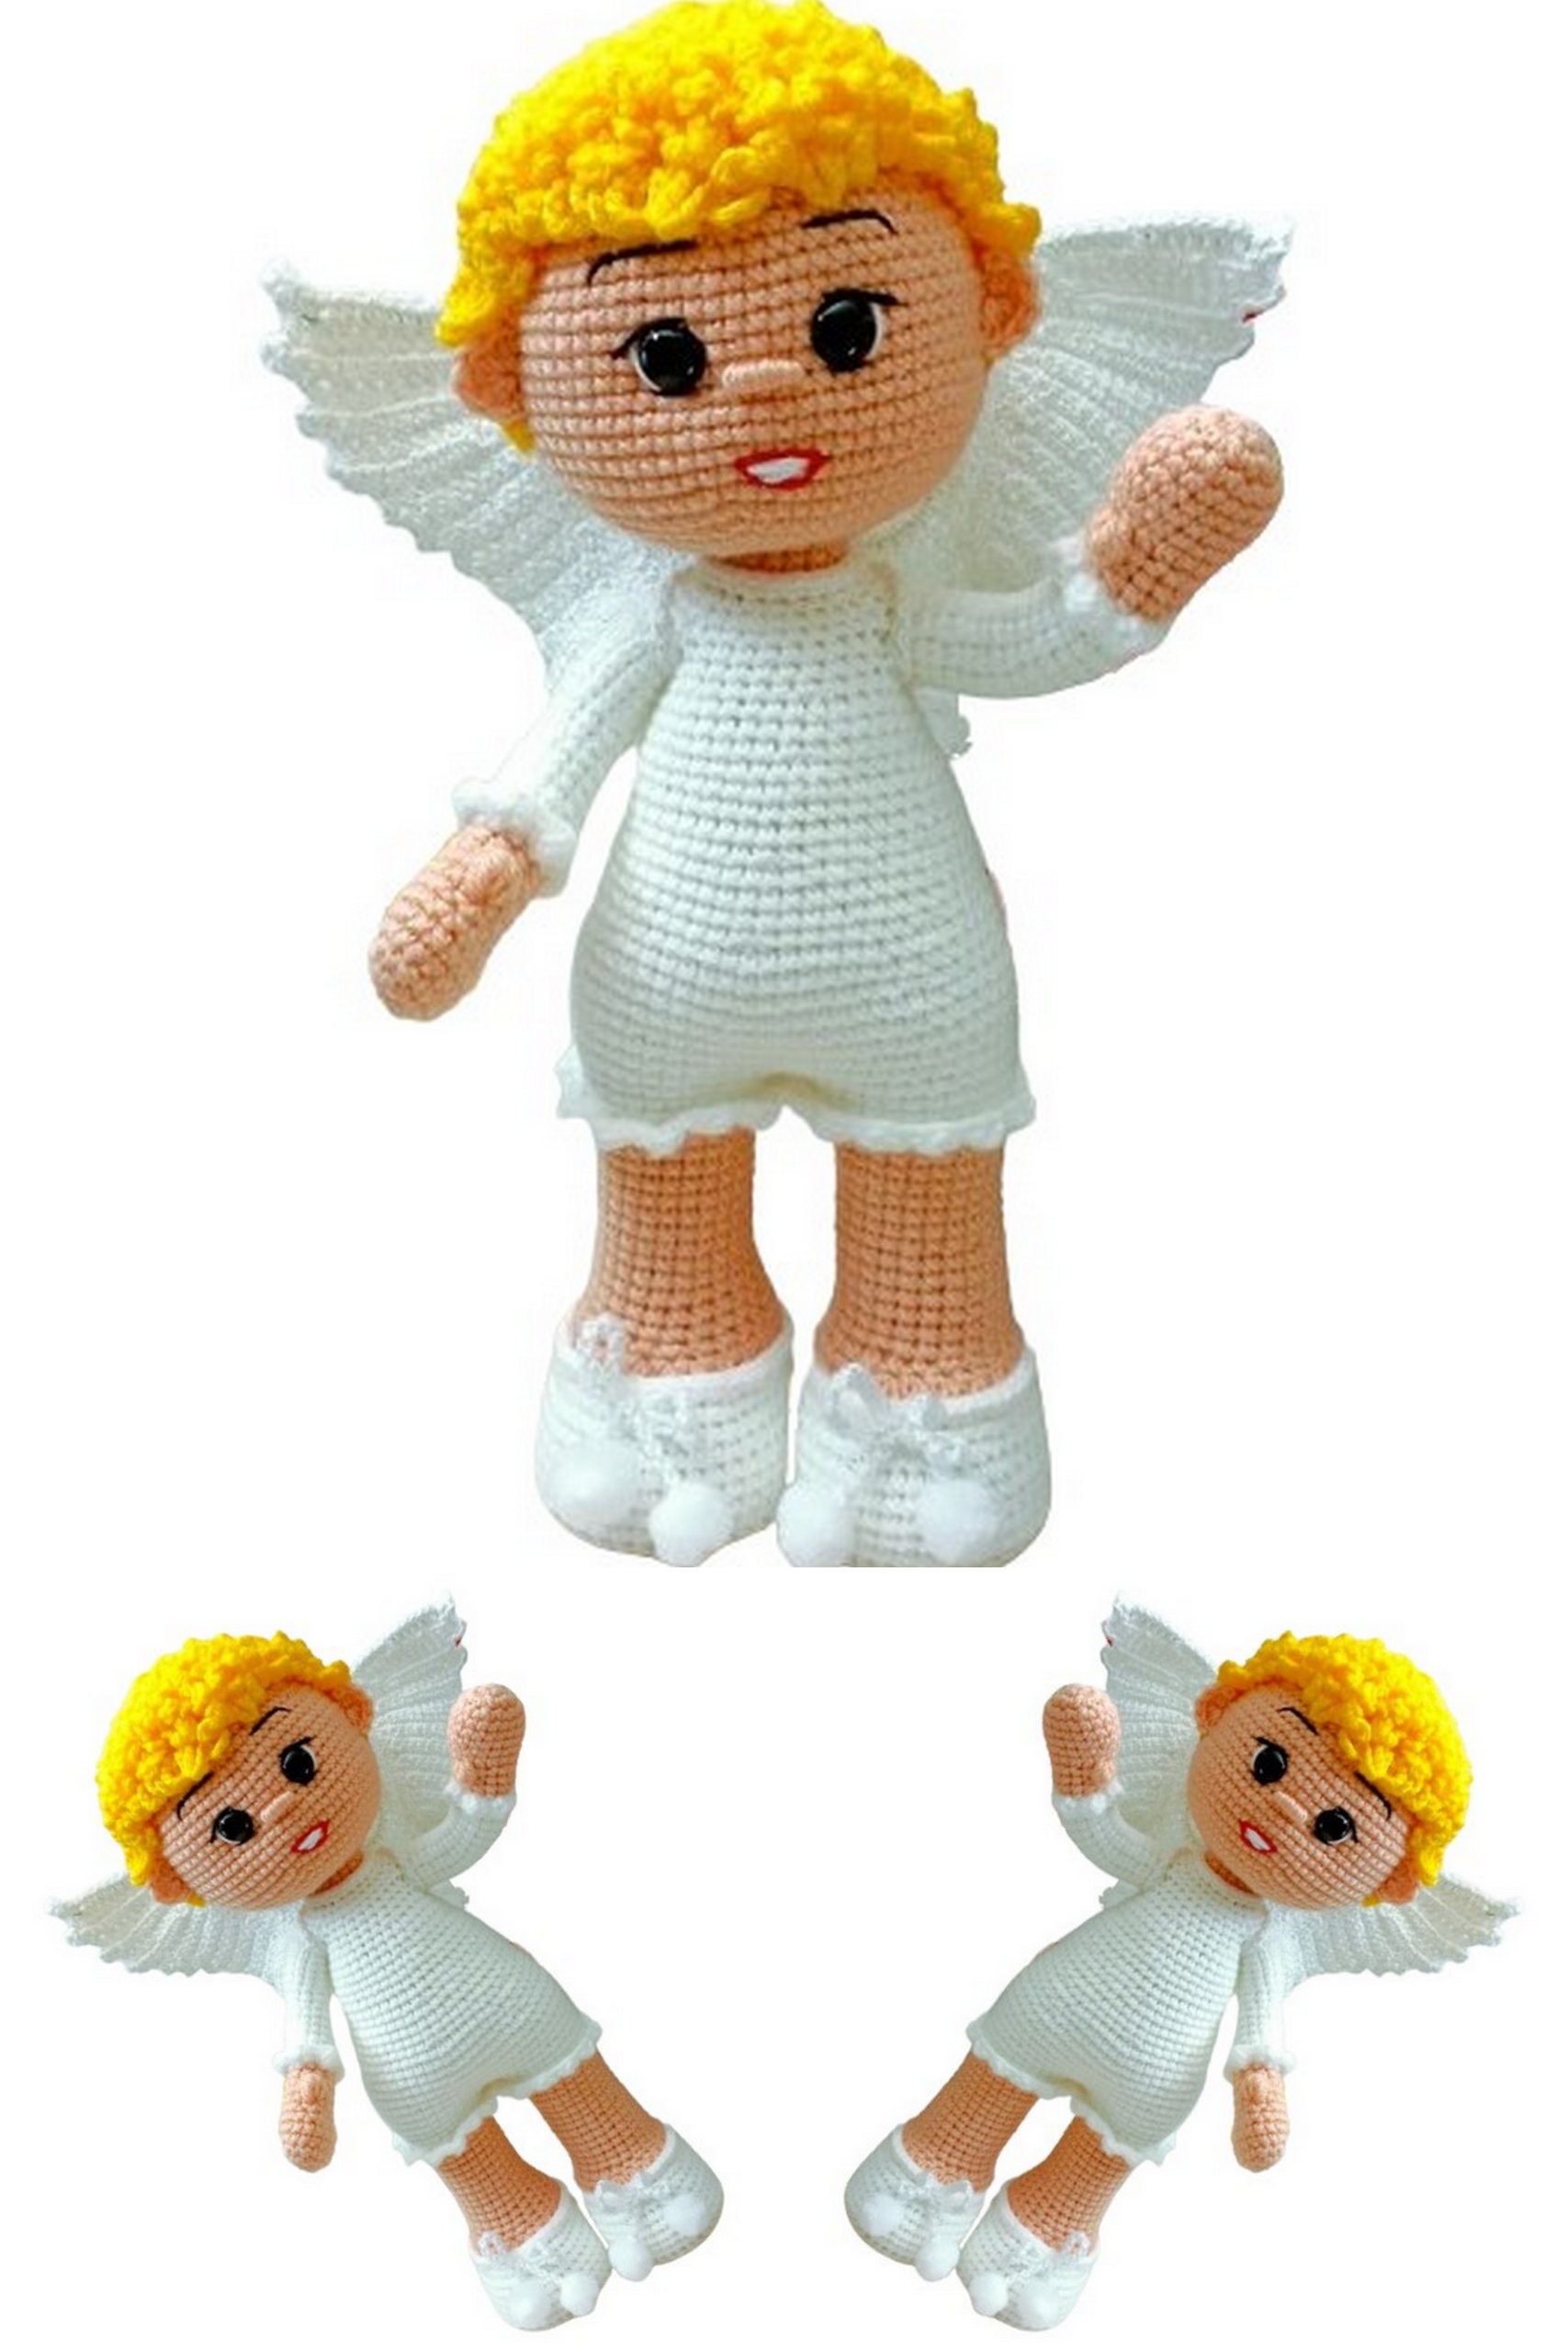
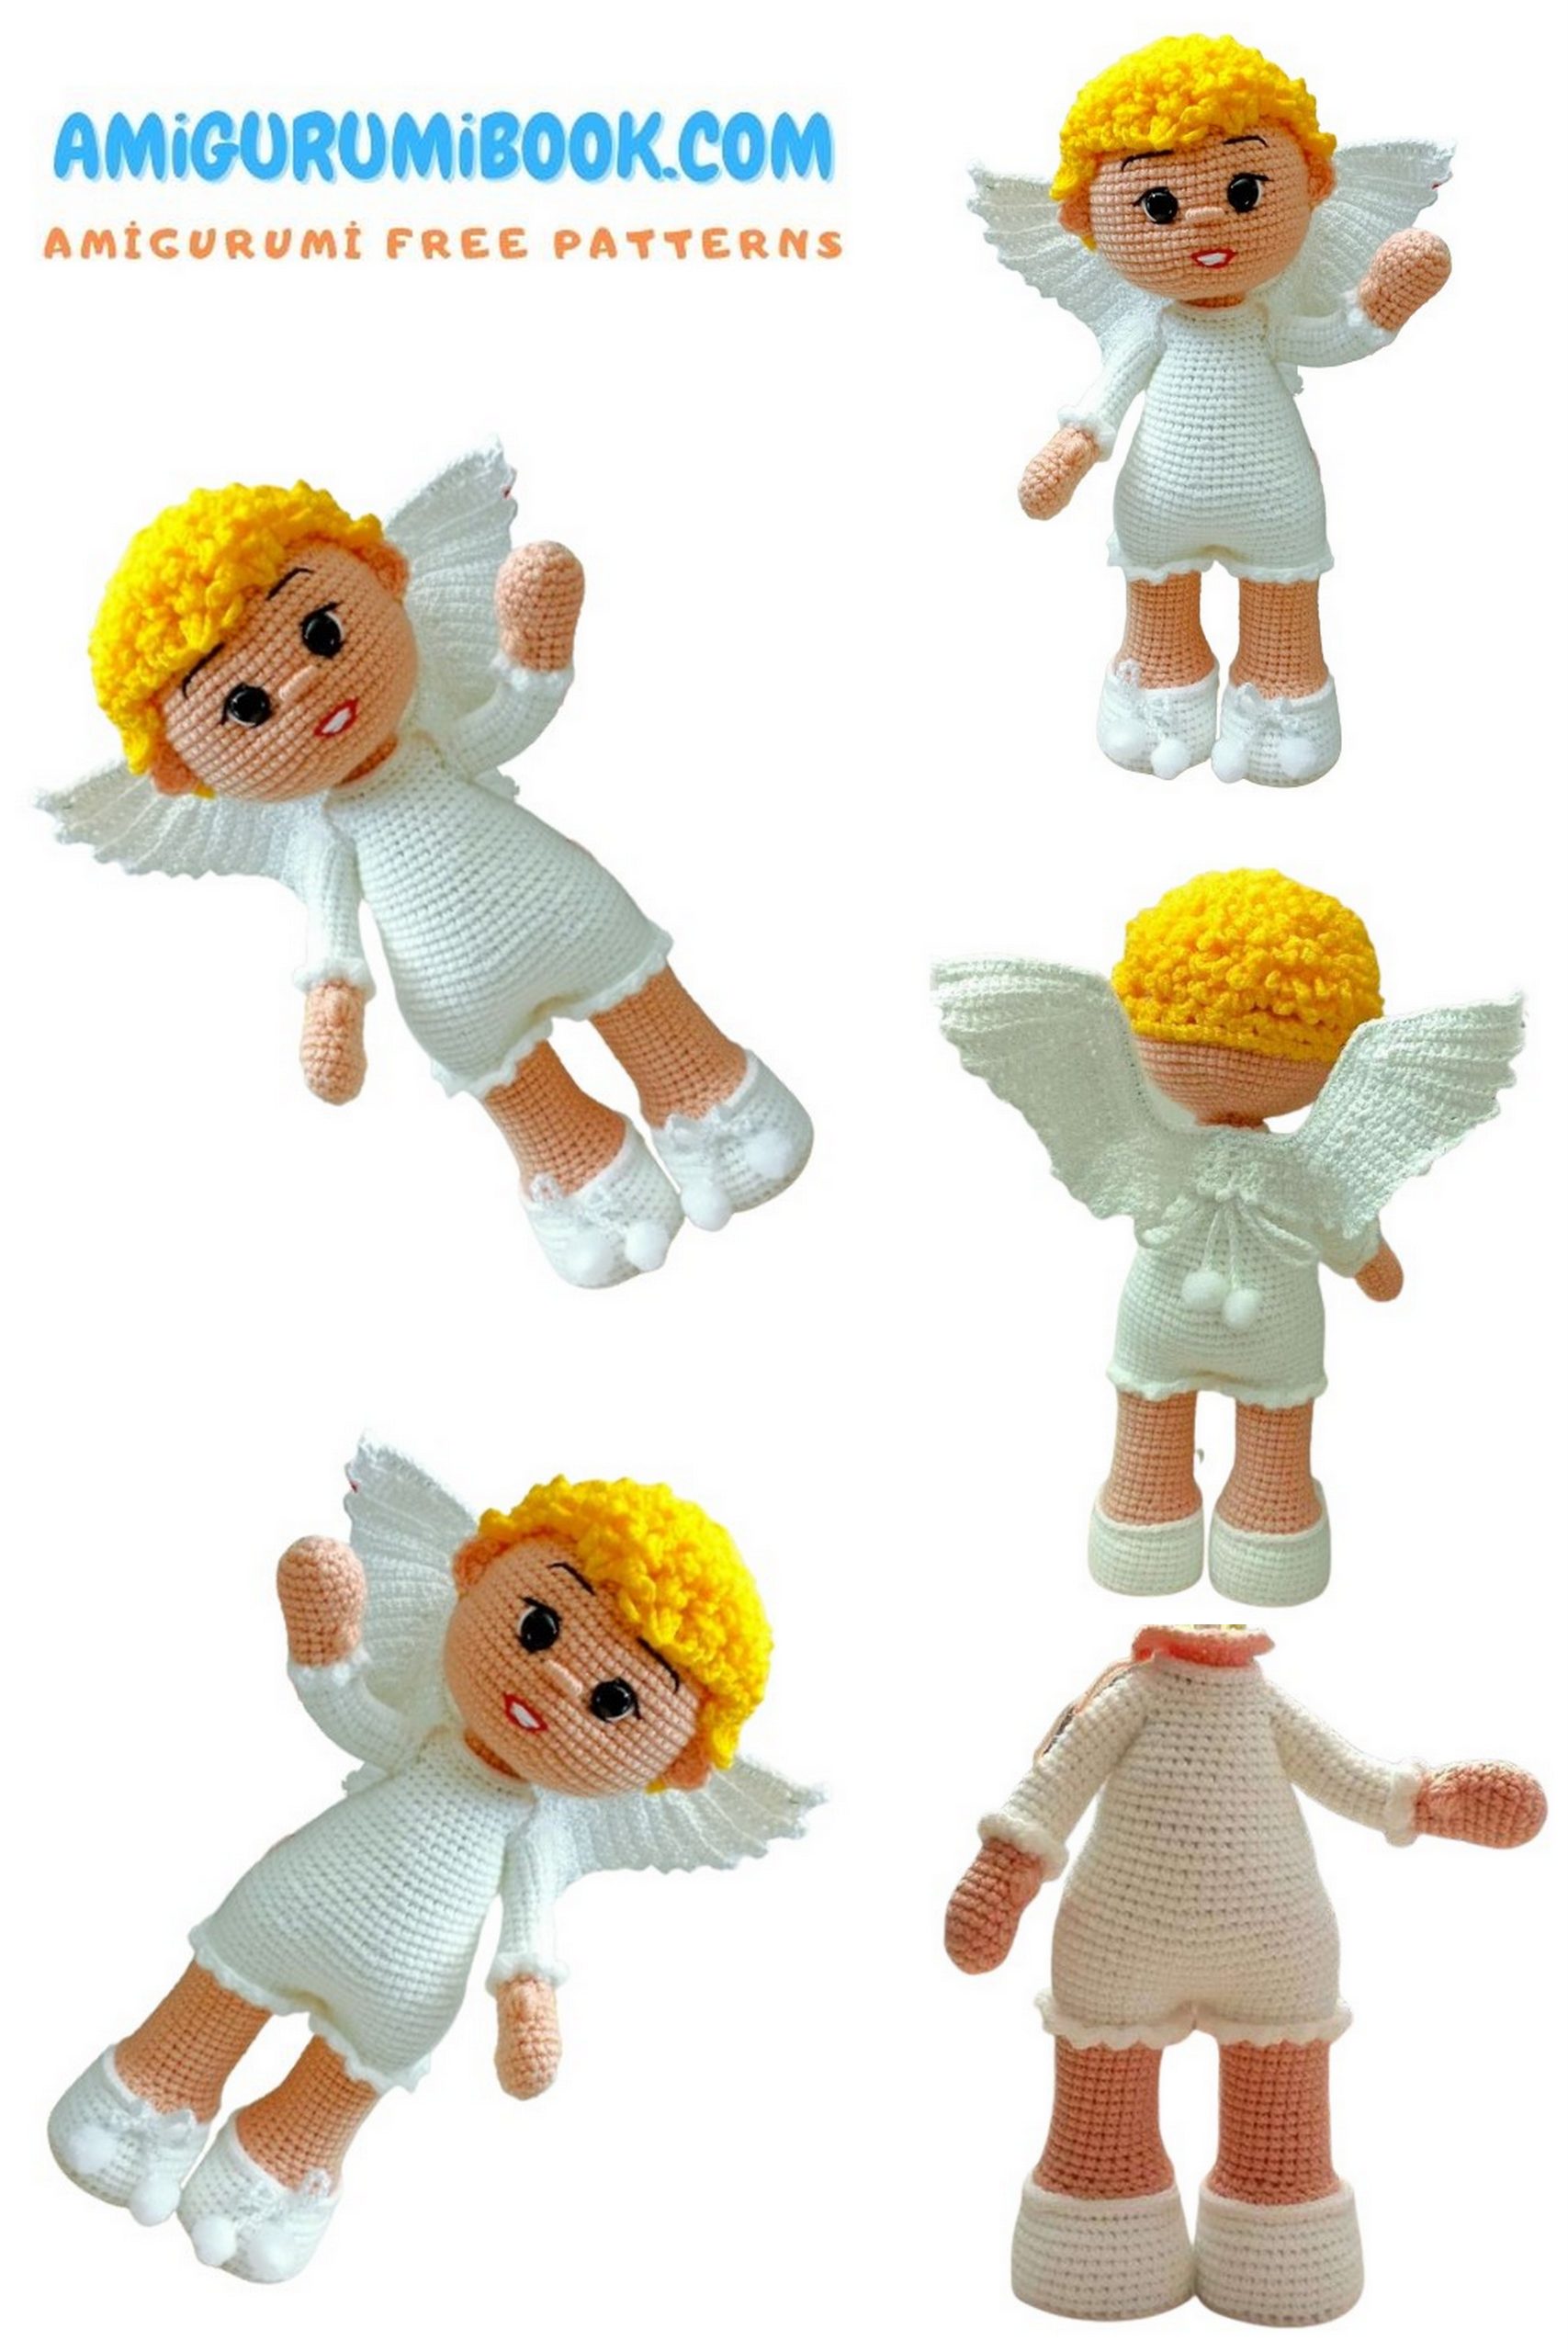
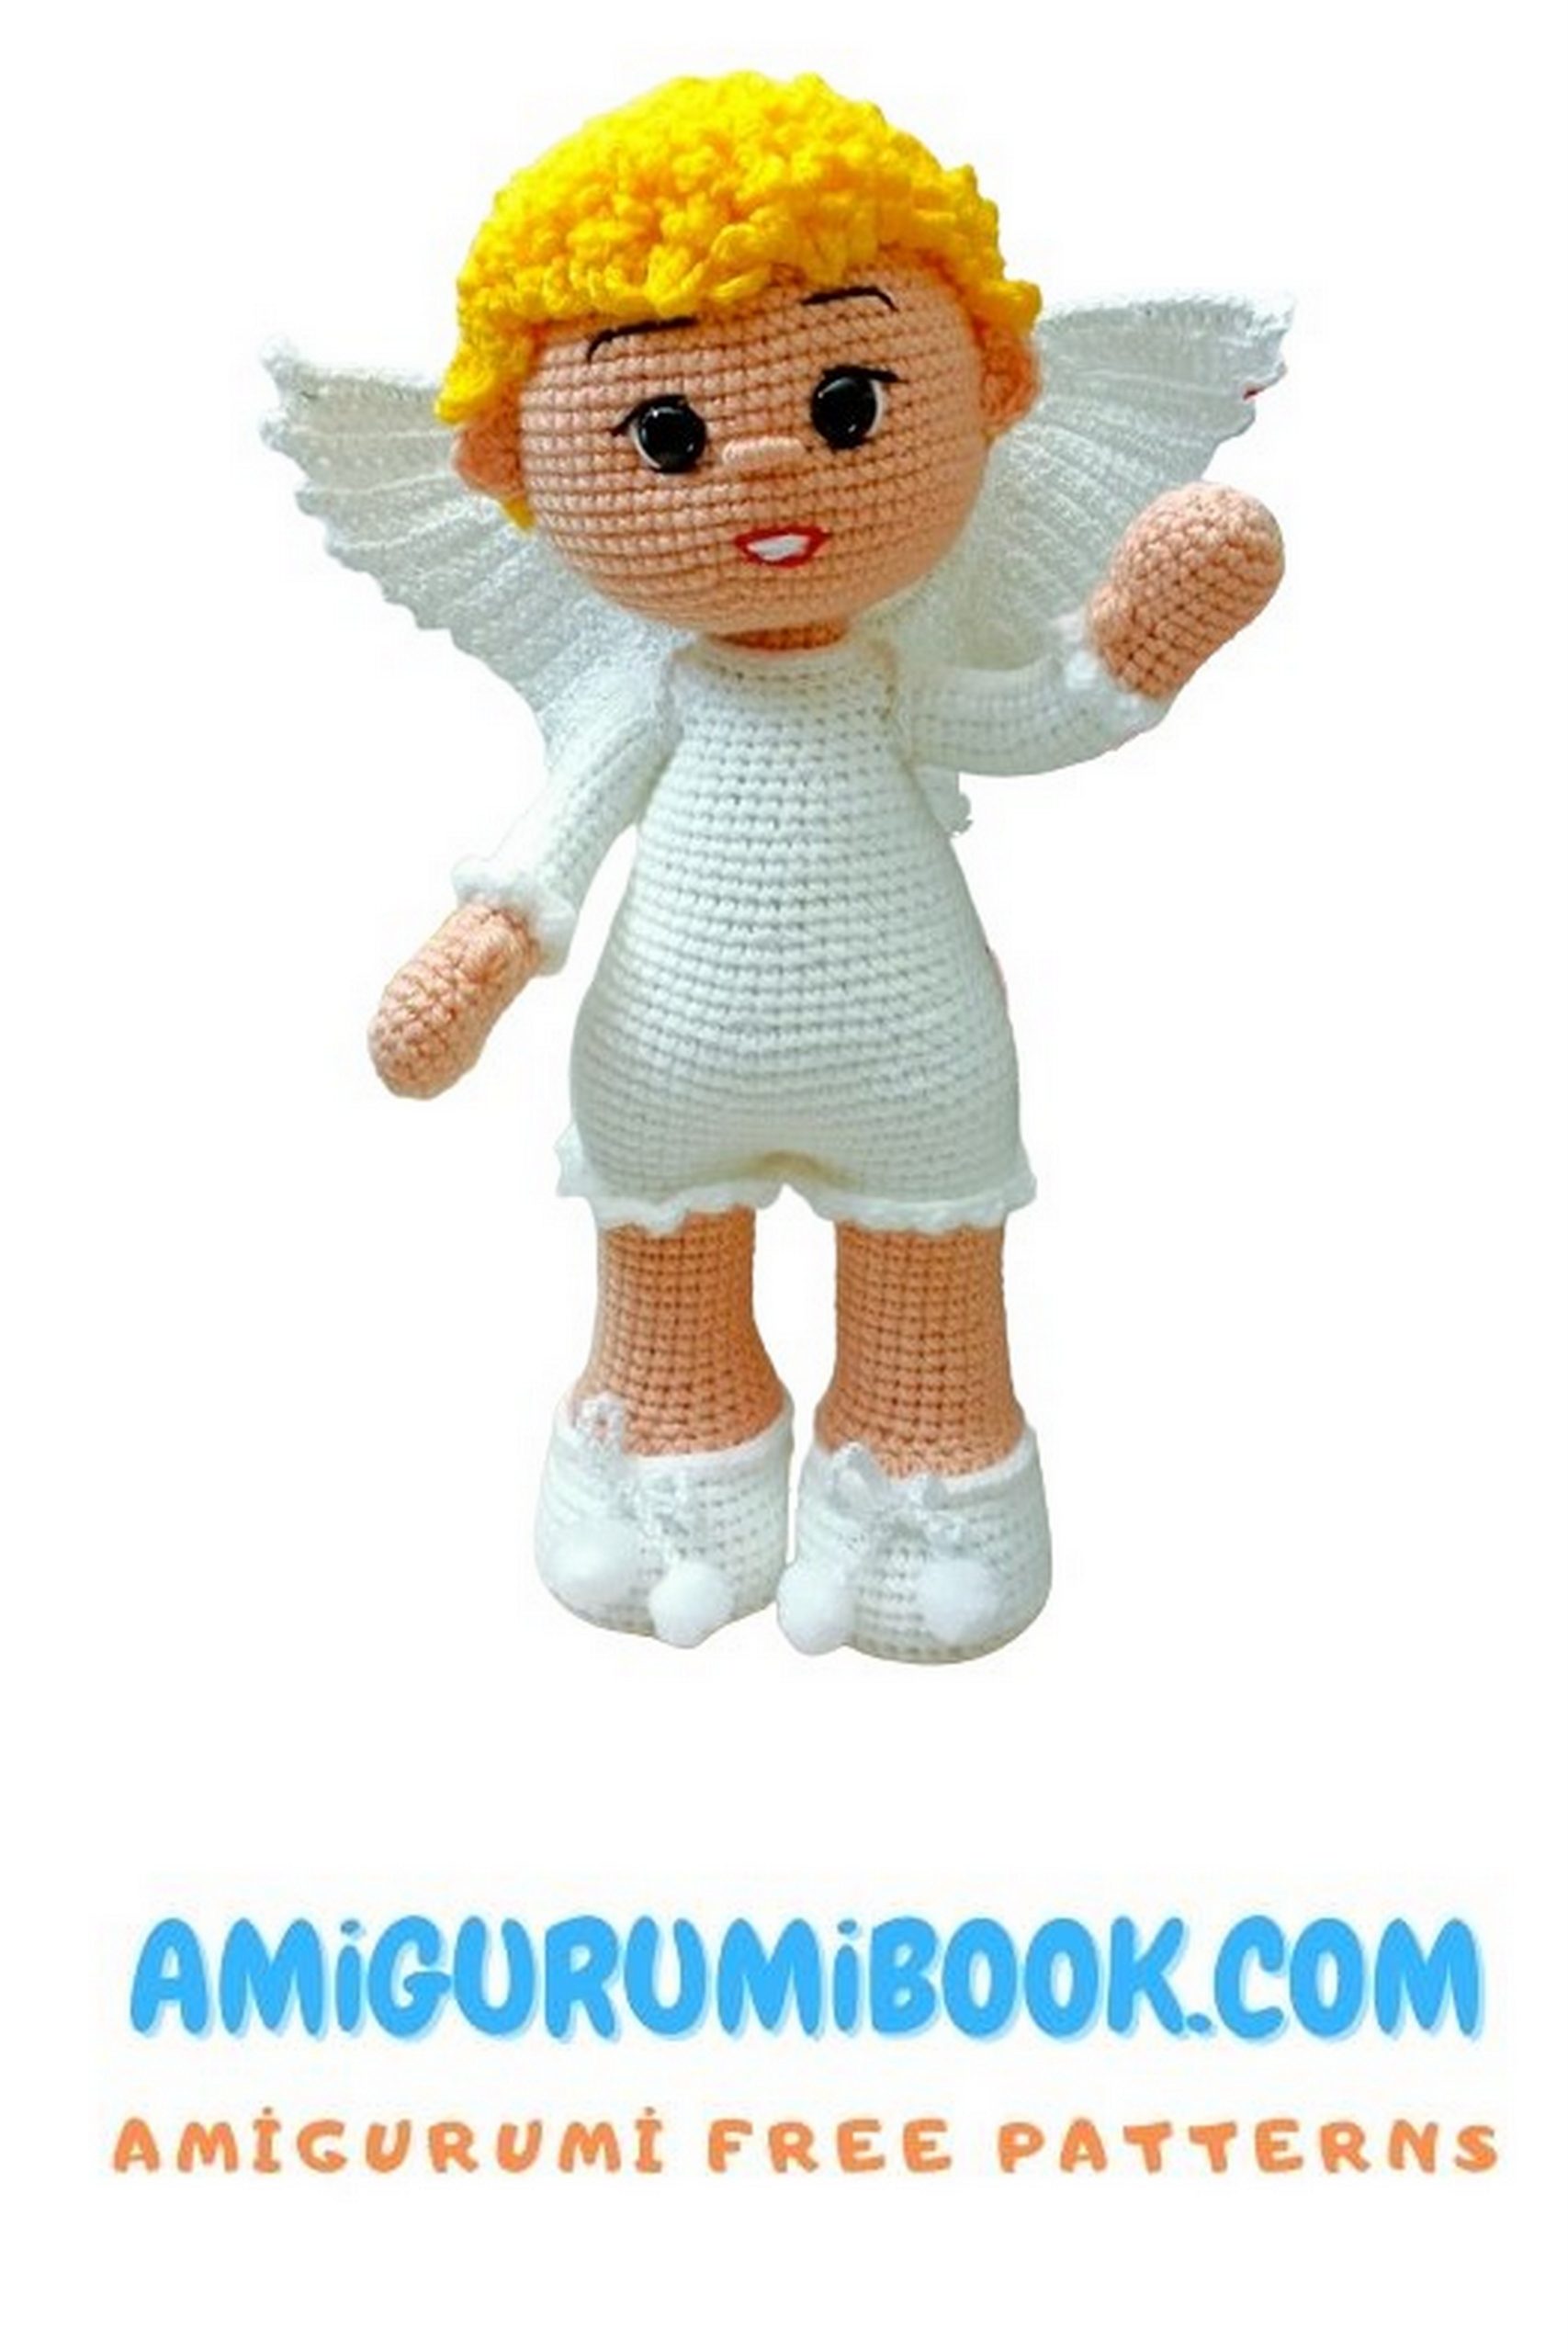
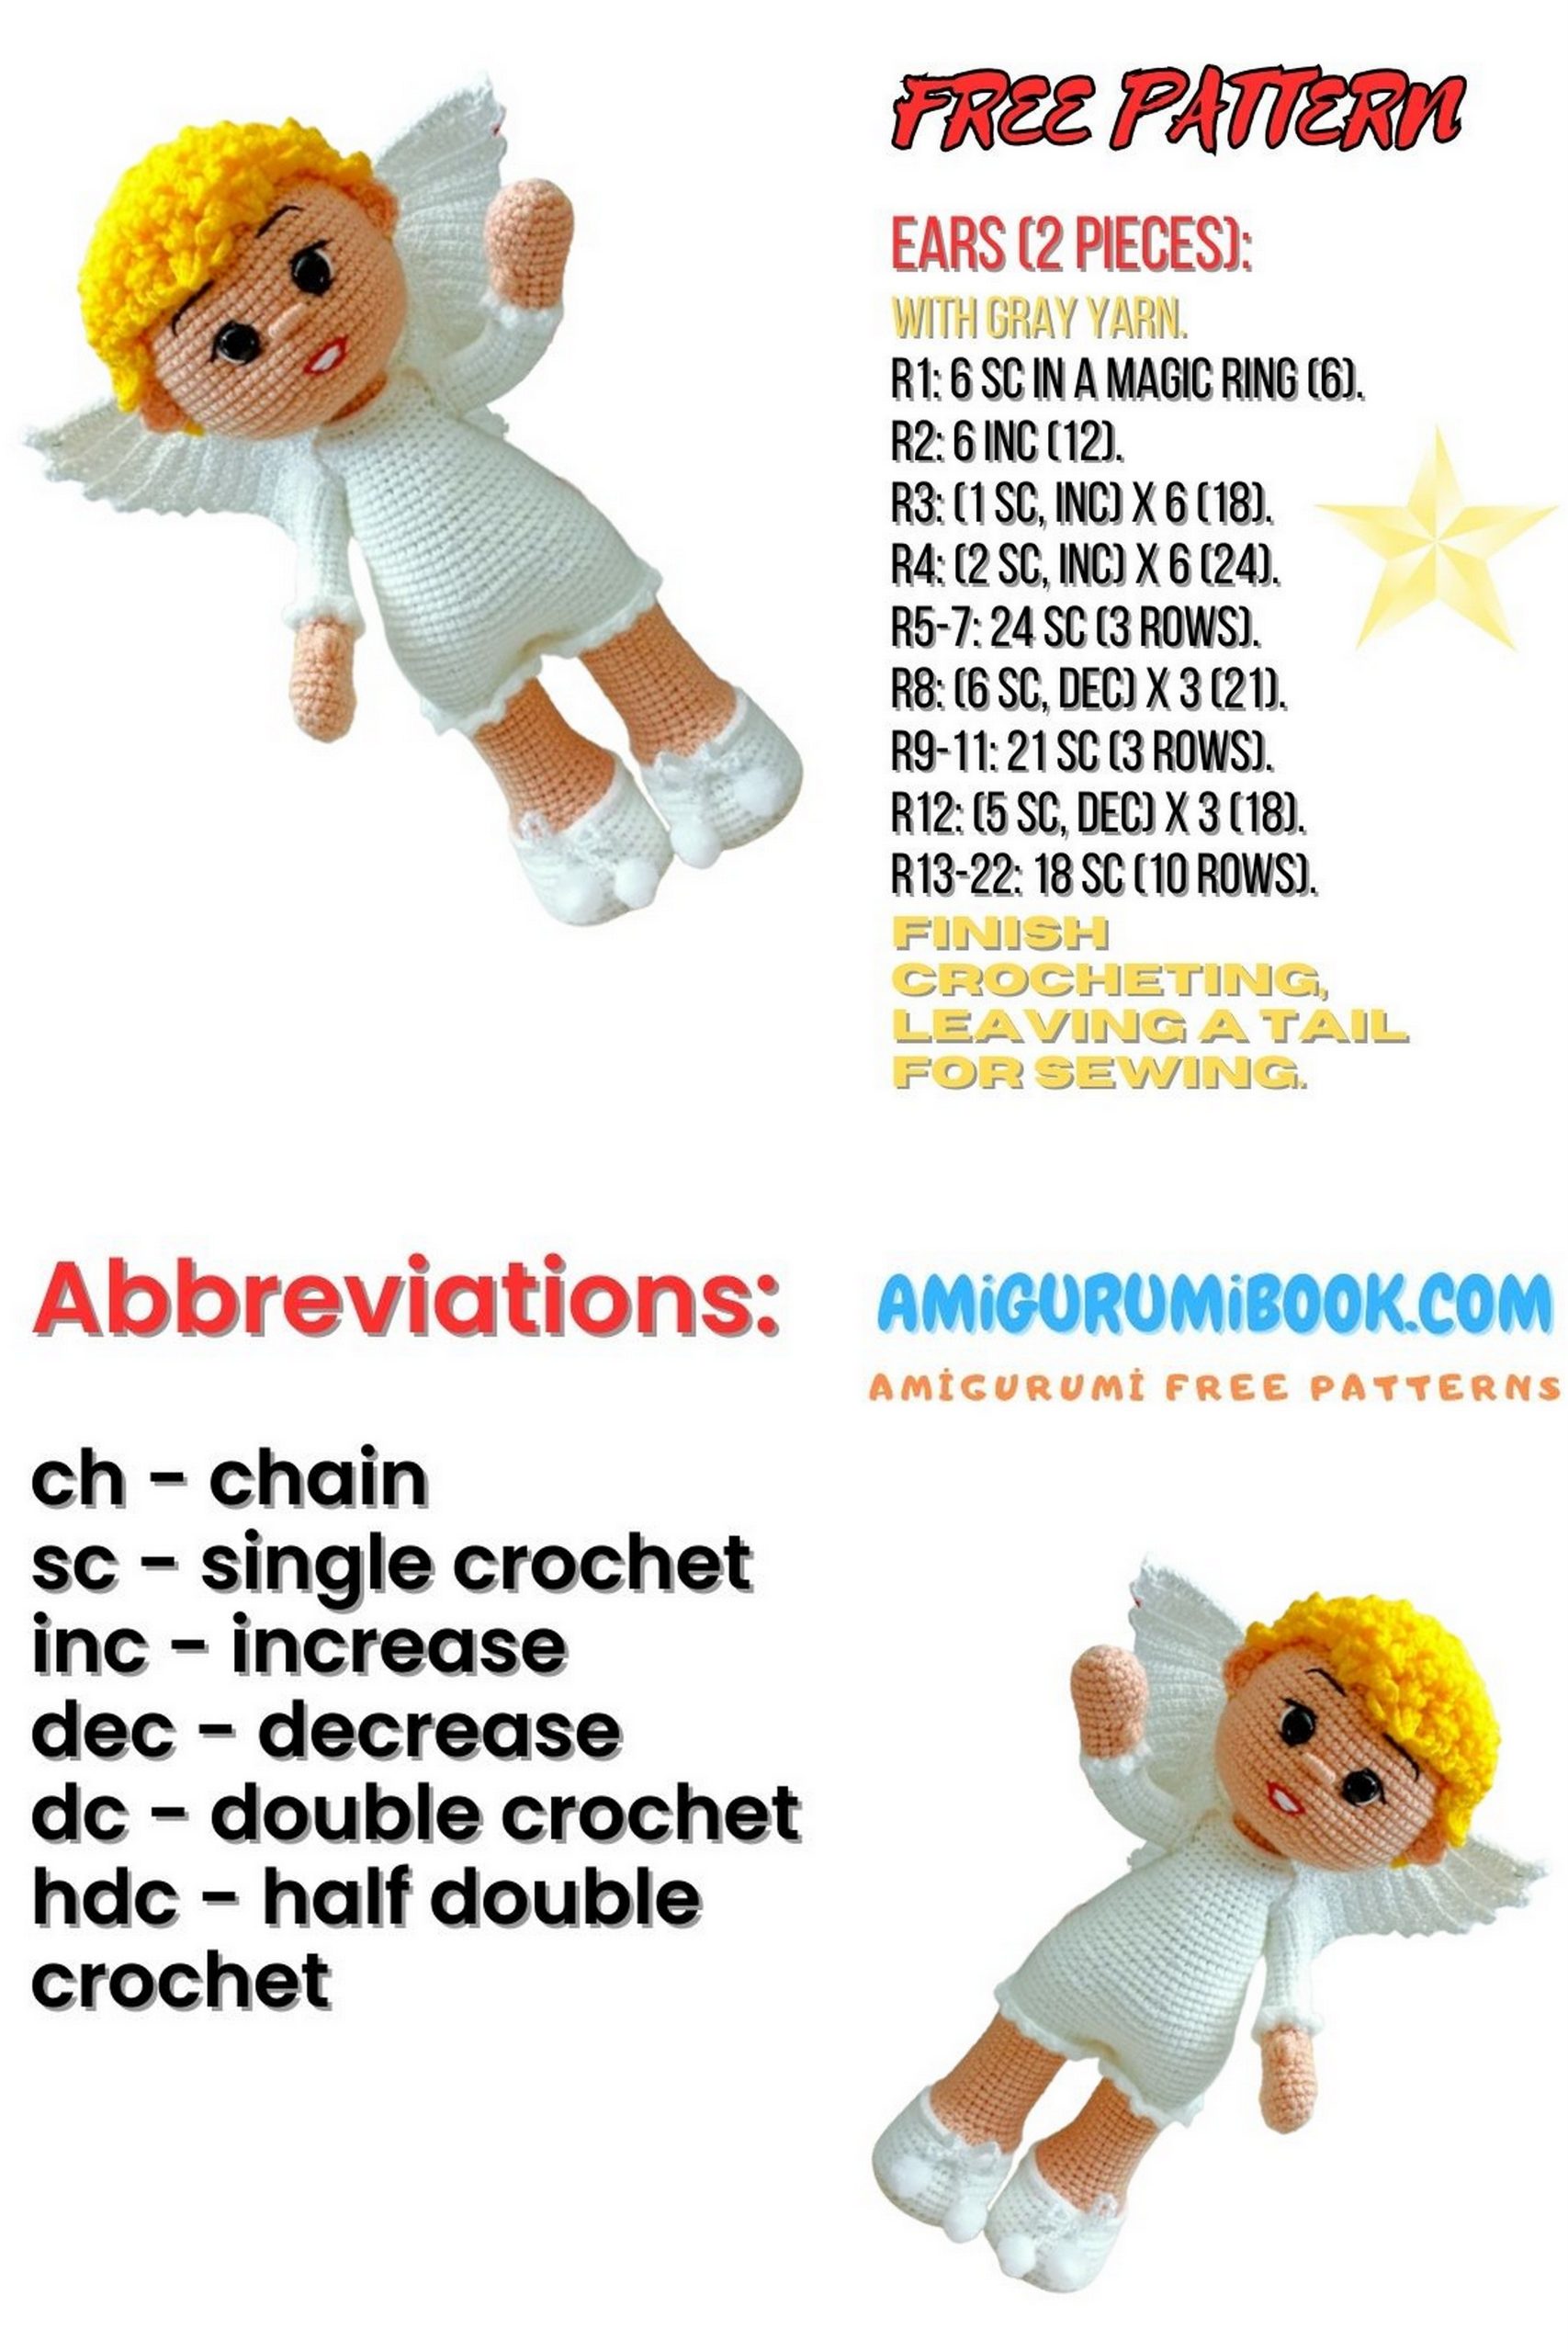
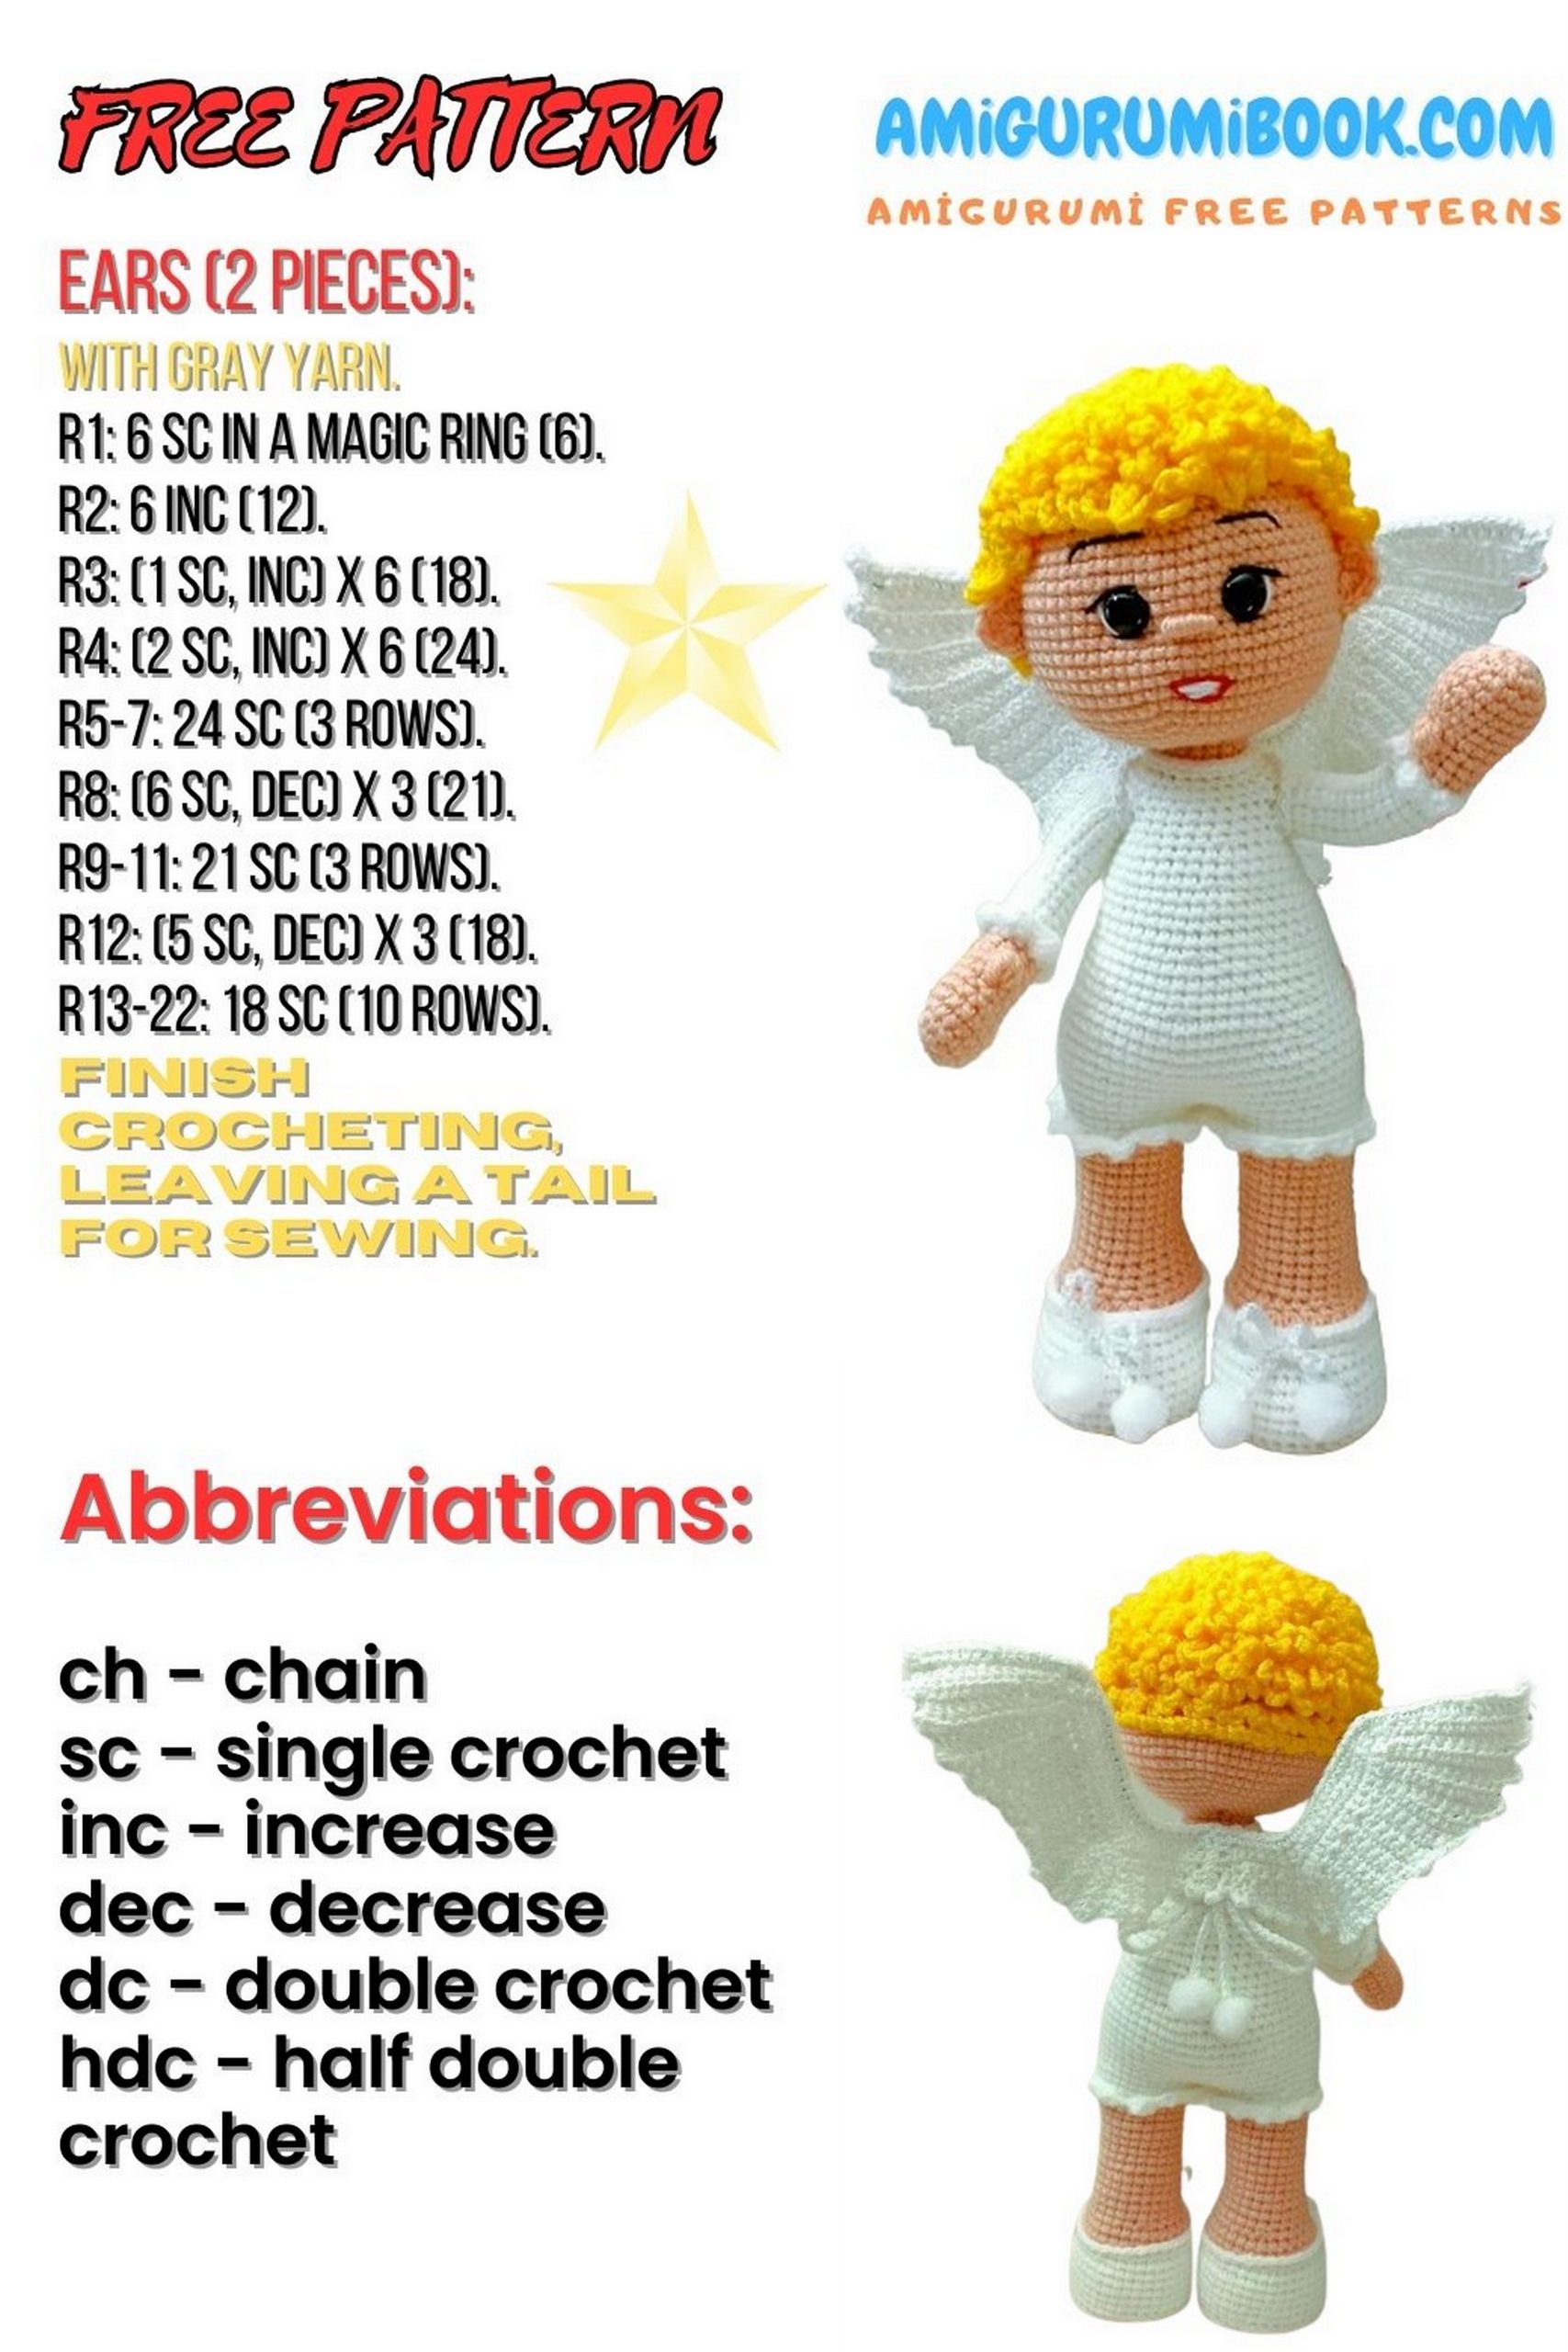
Bring a touch of romance to your crochet projects with our delightful Cupid Amigurumi pattern! Perfect for Valentine’s Day or any occasion celebrating love, this adorable amigurumi design will melt hearts with its charming details. Whether you’re a seasoned crocheter or just starting out, our free pattern provides step-by-step instructions to create your own cupid figurine. Get ready to spread love and joy with every stitch!
If you want to access 1000+ free amigurumi patterns, you can download our application from this link!
Abbreviations:
CA – magic ring
ch – chain
sc – single crochet
hdc – half double crochet
dc – double crochet
inc – increase (2 sc in one stitch)
dec – decrease (sc2tog)
sl st – slip stitch
BLO – back loop only
Materials:
crochet hook size 2
scissors
yarn needle
stuffing
“Detkids Novelty” yarn by Pekhorka
clothing – white (01)
body – peach (18)
hair – yellow (12)
12 mm safety eyes
When using “Detkids Novelty” yarn, the toy measures approximately 26-27 cm in height.
PATTERN

Hands: Cupid Amigurumi
Begin crocheting with the body color yarn.
1: 6 sc in magic ring (6)
2: 6 inc (12)
3: (1 sc, dec)*6 (18)
4-6: work even 18 sc for 3 rows (18)
7: (4 sc, dec)*3 (15)
8: work even 15 sc (15)
Crochet the finger:
For the left hand:
8: 9 sc, finger – 4 hdc in one stitch, 5 sc (15)
For the right hand:
8: 5 sc, finger – 4 hdc in one stitch, 9 sc (15)
9: (3 sc, dec)*3 (12)
10: work even 12 sc (12)
Cut the yarn and finish off.
Join white yarn into the last stitch with a long tail of approximately 110 cm for edging.
11: (3 sc, inc)*3 (15)
12: sc in back loops only of 15 stitches (15)
For the front loops, make an edging as for pants.
13-16: work even 15 sc for 4 rows (15)
17: dec, 5 sc, dec, 6 sc (13)
18-20: work even 13 sc for 3 rows (13)
21: 6 sc, dec, 5 sc (12)
22-25: work even 12 sc for 4 rows (12), 2 sl st
If desired, insert wire into the arms. Bend the end in the palm, wrap with tape (see photo).

Feet: Cupid Amigurumi
Work the sole:
Ch 5, in the second ch from hook
1: inc, 2 sc, 4 sc in one st, 2 sc, inc (12)
2: 2 inc, 2 sc, 4 inc, 2 sc, 2 inc (20)
3: (1 sc, inc)*2, 2 sc, (1 hdc, inc)*4, 2 sc, (1 sc, inc)*2 (28)
4: (2 sc, inc)*2, 2 sc, (2 hdc, inc)*4, 2 sc, (2 sc, inc)*2 (36)
5: (3 sc, inc)*2, 2 sc, (3 hdc, inc)*4, 2 sc, (2 sc, inc)*2 (44)
6: work even 44 sc (44), 1 sl st
At this stage, cut out the insole. For the insole, I use thick plastic.
Work the upper part of the shoe:
7: shape the insole of the shoe (work in the round) 44 sc (44)
8-13: work even 44 sc for 6 rows (44), 1 sl st
Insert the insole.
14: 2 sc, dec, 36 sc, dec, 2 sc (42)
Switch to body color yarn, leaving a long tail of white yarn for further edging.
15: work in back loops only of 42 sc (42)
Continue working on the front loops, as for pants, and fill the foot with stuffing using 42 sc. Cut the yarn, fasten off, and hide the end inside the piece.
16-30: work even 24 sc for 13 rows (24)
Stuff the foot as you go.
Switch to white yarn. Cut the body color yarn.
31: 24 sc (24)
32: work in back loops only of 24 sc (24)
Join white yarn into the last stitch from the inside of the foot.
(1 sc, hdc, dc, hdc, sc)*12
Connect the feet and crochet the body
Position the feet as desired: straight, toes together, or toes apart (I have straight feet).
Use markers to mark the points of contact for convenience. Start crocheting with the left foot (the marker goes behind the left foot).
1: 25 sc (along the left foot), 30 sc (along the right foot), 5 sc (along the left foot) (60)
2-7: work even 60 sc for 6 rows (60)
8: (8 sc, dec)*6 (54)
9-10: work even 54 sc for 2 rows (54)
11: (7 sc, dec)*6 (48)
12-14: work even 48 sc for 3 rows (48)
15: (6 sc, dec)*6 (42)
16-19: work even 42 sc for 4 rows (42)
20: (5 sc, dec)*6 (36)
21-22: work even 36 sc for 2 rows (36)
23: (4 sc, dec)*6 (30)
Crochet the arms evenly on both sides
24: 6 sc (across the back), 5 sc (across the arm), 10 sc (across the chest), 5 sc (across the arm), 4 sc (across the back) (30)
25: 6 sc (across the back), 7 sc (across the arm), 10 sc (across the chest), 7 sc (across the arm), 4 sc (across the back) (34)
Bend the wire. Twist and wrap with tape. Fill the body with stuffing
26: work even 34 sc (34)
27: 5 sc, dec, 5 sc, dec, 8 sc, dec, 5 sc, dec, 3 sc (30)
Row 28: (3 sc, dec)*6 (24)
Switch yarn, join body color yarn into the last stitch. Leave the white yarn; we will use it for further edging.
29: work in back loops only of 30 sc (30)
30-32: work even 18 sc for 3 rows (18)
Head: Cupid Amigurumi
33: 18 inc (36)
34: (5 sc, inc)*6 (42)
35: (6 sc, inc)*6 (48)
36: (7 sc, inc)*6 (54)
Fill the shoulders and neck
37: (8 sc, inc)*6 (60)
38: (9 sc, inc)*6 (66)
39-45: work even 66 sc for 7 rows (66)
Leave openings for the eyes
46: 36 sc, ch 1 – skip 1 st, 8 sc, ch 1 – skip 1 st, 20 sc (66)
47-50: work even 66 sc for 4 rows (66)
51: (9 sc, dec)*6 (60)
52: (8 sc, dec)*6 (54)
53: (7 sc, dec)*6 (48)
54: (6 sc, dec)*6 (42)
55: (5 sc, dec)*6 (36)
Fill the head
56: (4 sc, dec)*6 (30)
57: (3 sc, dec)*6 (24)
58: (2 sc, dec)*6 (18)
59: (1 sc, dec)*6 (12)
Add stuffing to the head. Pay attention to the forehead
60: 6 dec (6)
Cut the yarn. Draw the opening closed and hide the end inside the head
Ears:
In magic ring, ch 2, 6 hdc. Cut the yarn, tie off the ends.
Sew the ears at eye level, counting 8-9 stitches from the eyes. Hide the ends inside the head
Hair: Cupid Amigurumi
Join yellow yarn at the top of the head
Ch 7 (or more) and join to the gap between rows (I joined into each gap, but you can also skip every other row)
Continue crocheting spirally until only 3 rows remain above the eyebrows
Then crochet rows behind the ears, decreasing the length of the strand. Instead of 7 ch, make 5 ch, then 3 ch, and finally 1 ch (see photo)