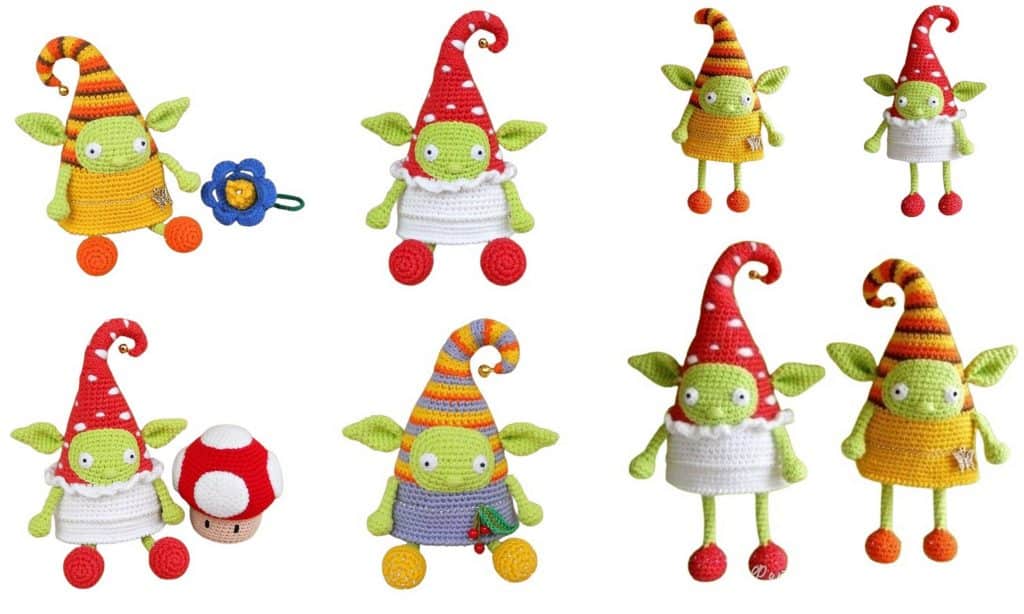
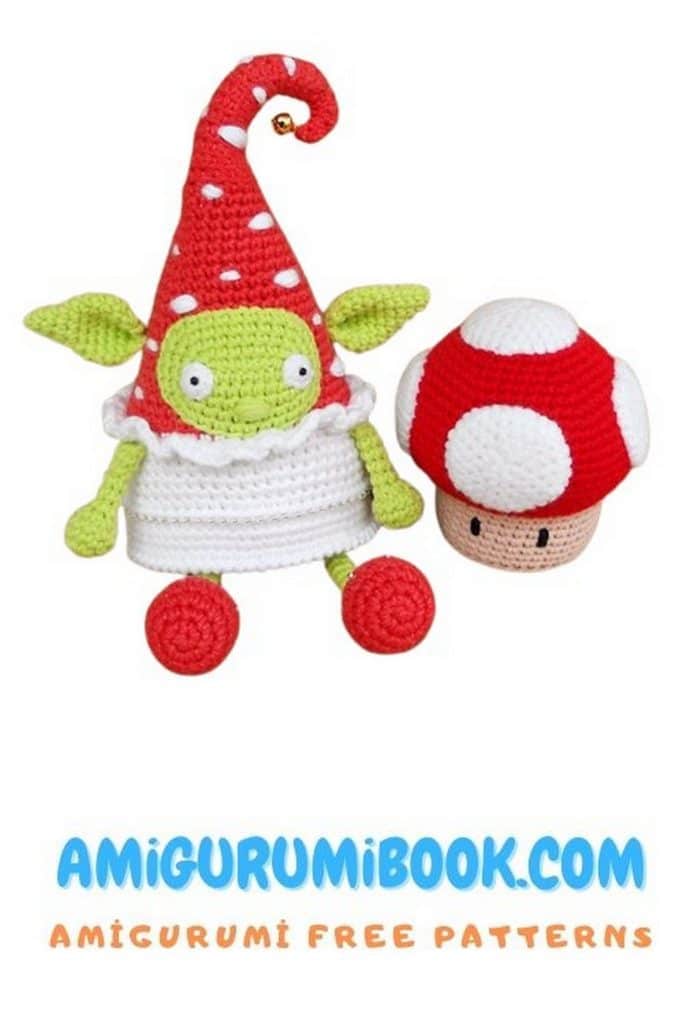
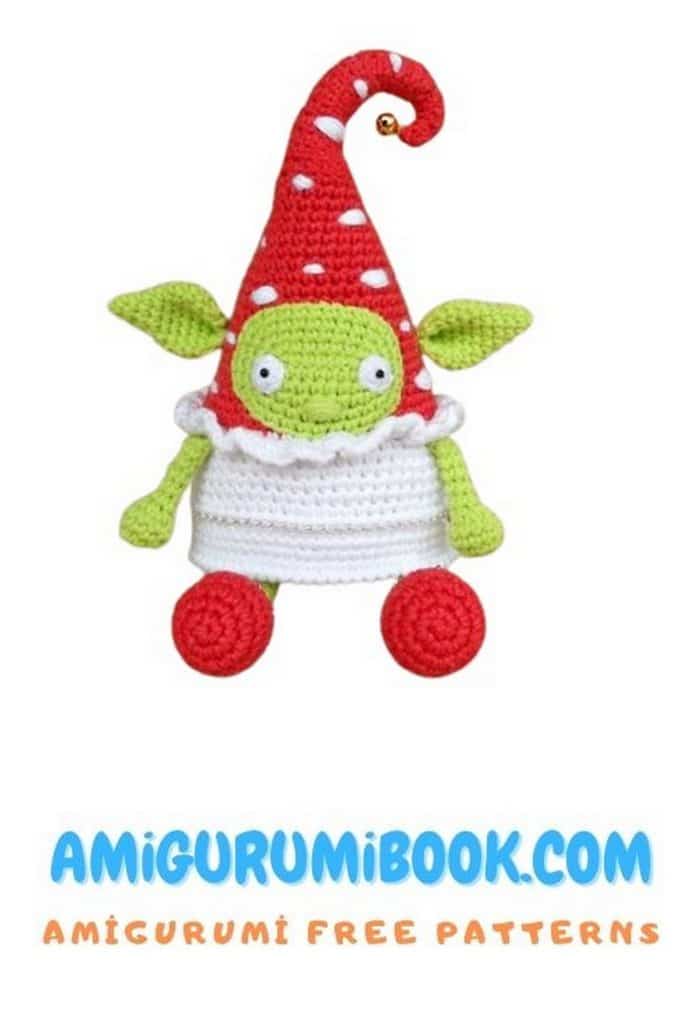
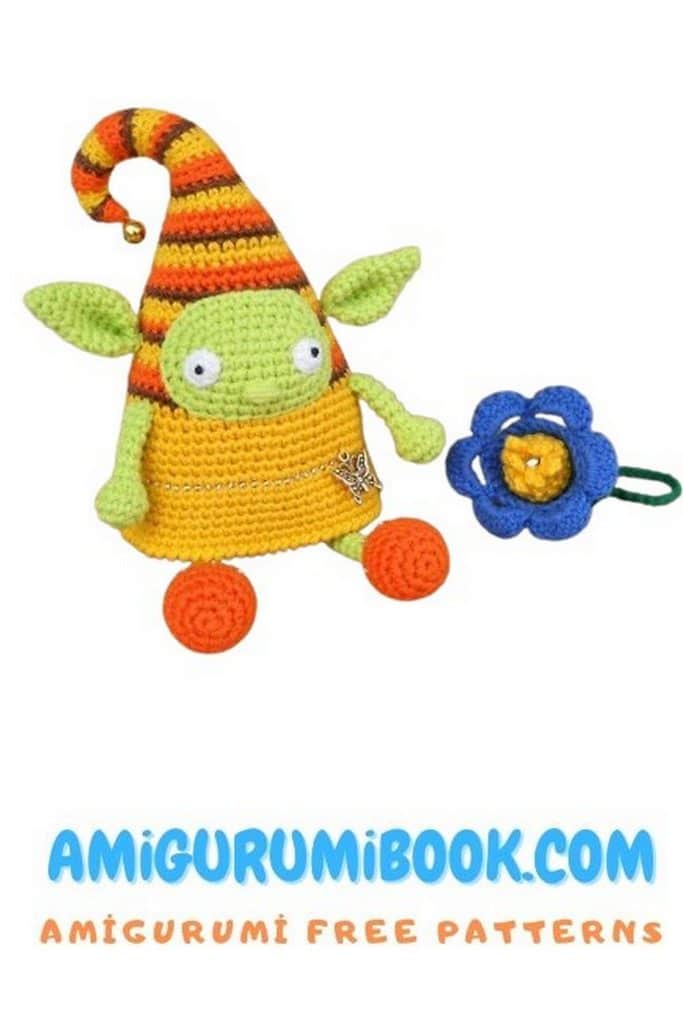
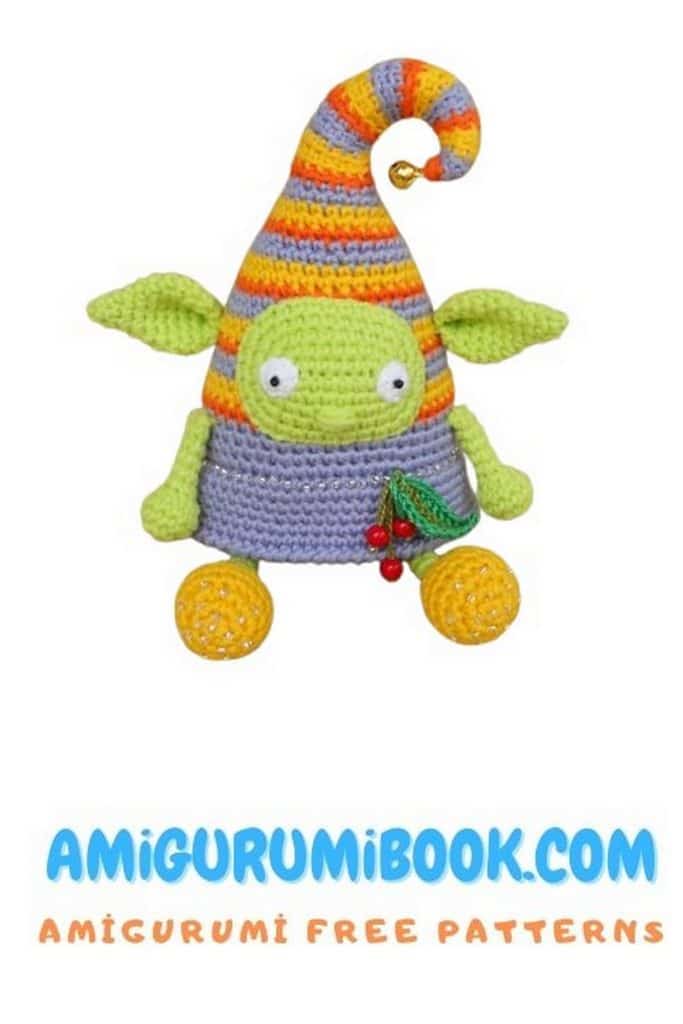
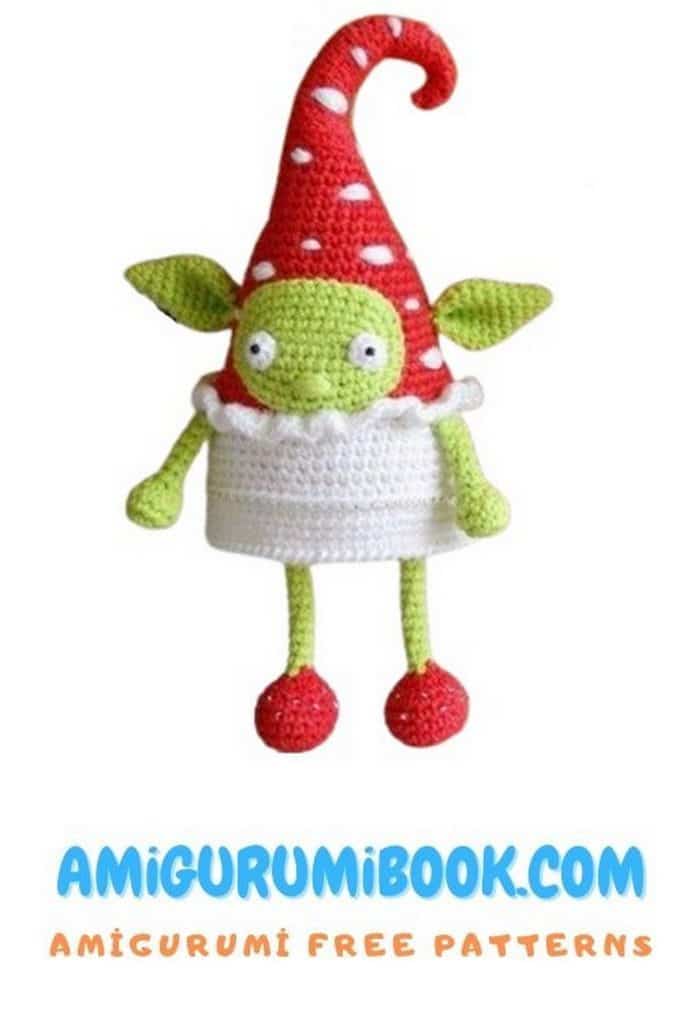
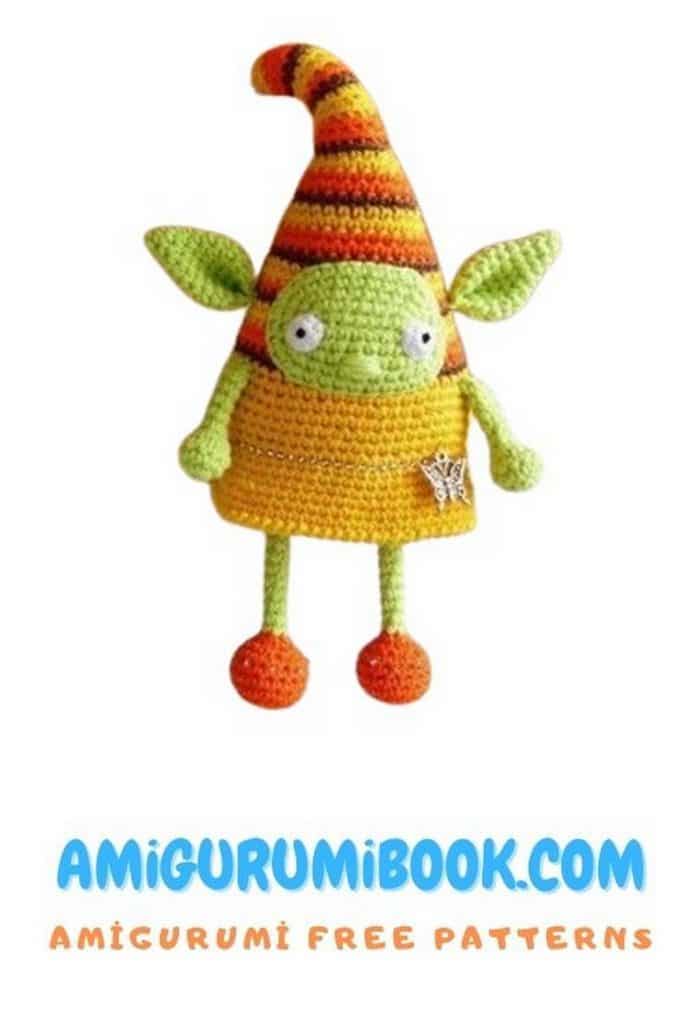
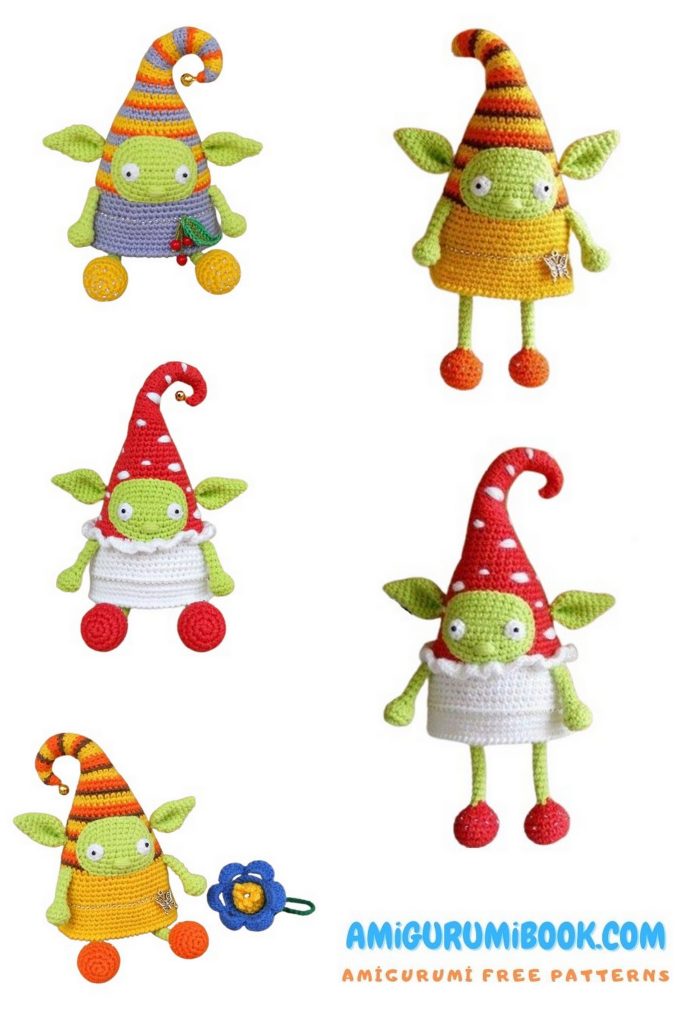
Welcome the freshness of spring into your crochet collection with this Spring Elf Amigurumi Free Pattern! This delightful crochet tutorial will guide you through crafting a whimsical elf character, complete with a cute hat, floral details, and cheerful colors that embody the magic of the season. Perfect for both decorative displays and imaginative play, this pattern is ideal for beginner to intermediate crocheters. Discover step-by-step instructions, amigurumi techniques, and seasonal inspiration in this must-try free pattern!
If you want to access 1000+ free amigurumi patterns, you can download our application from this link!
🧶 Materials:
Light green yarn (I used Alize Cotton Gold) and three additional colors of your choice (I used lilac, orange, and yellow – Gazzal Baby Cotton)
Crochet hook size 2 mm
A thin stick or hook for stuffing small parts
Tapestry needle for sewing parts
Sewing thread in matching colors (or monofilament) and sewing needle
Scissors
Stuffing (polyester fiberfill)
Black beads (for eyes)
A pair of large beads to weight the legs (optional)
Colorful beads, a bell or pretty bead for the hat tip, additional beads or charms for decoration
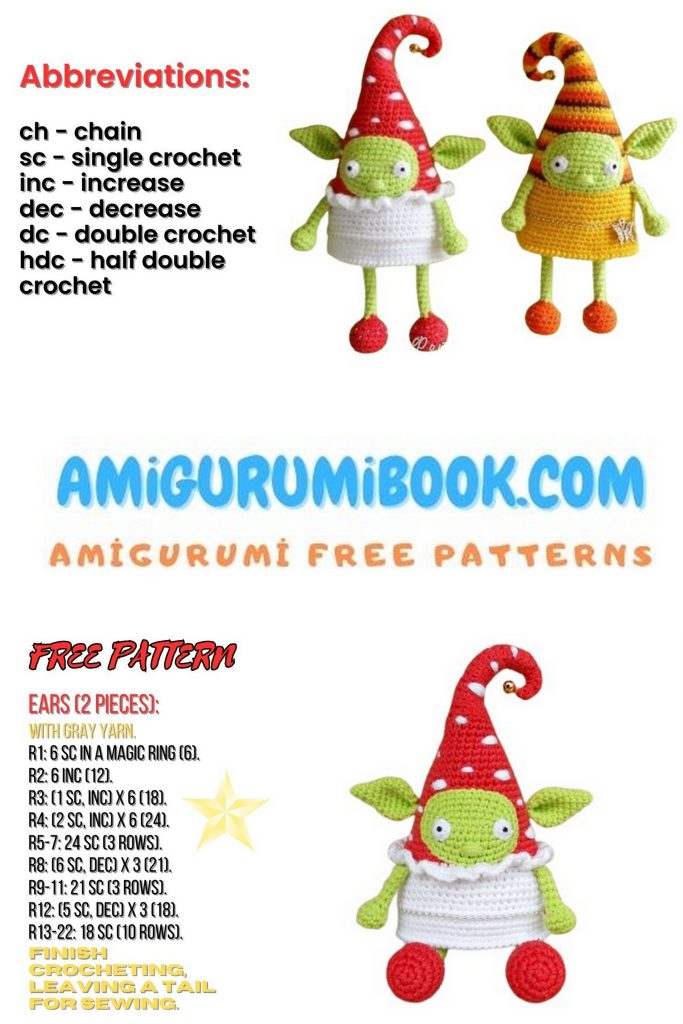
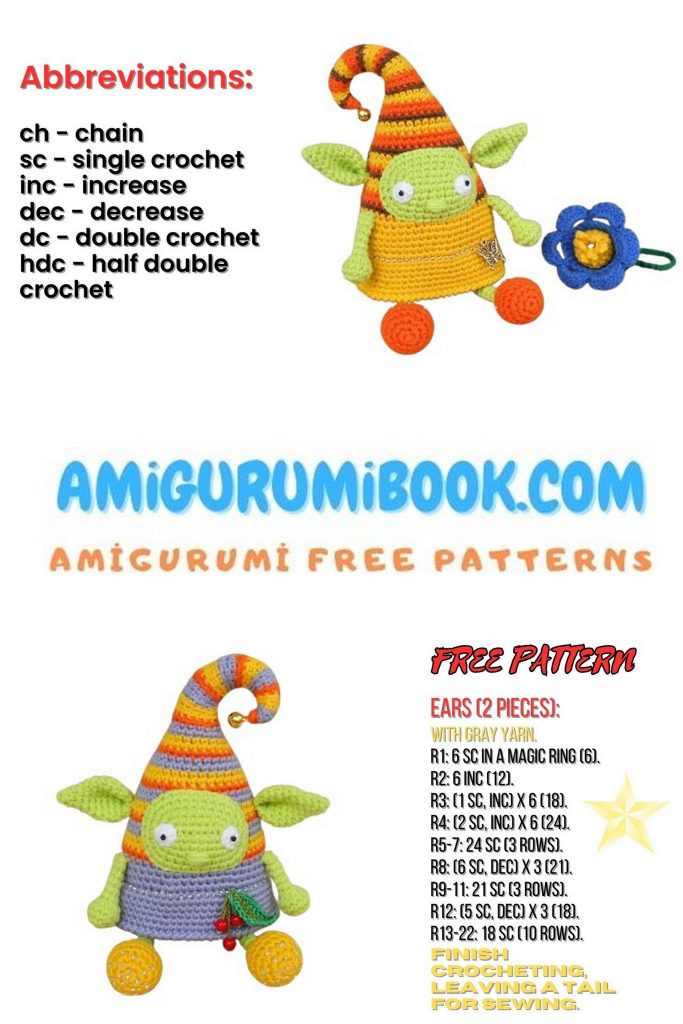
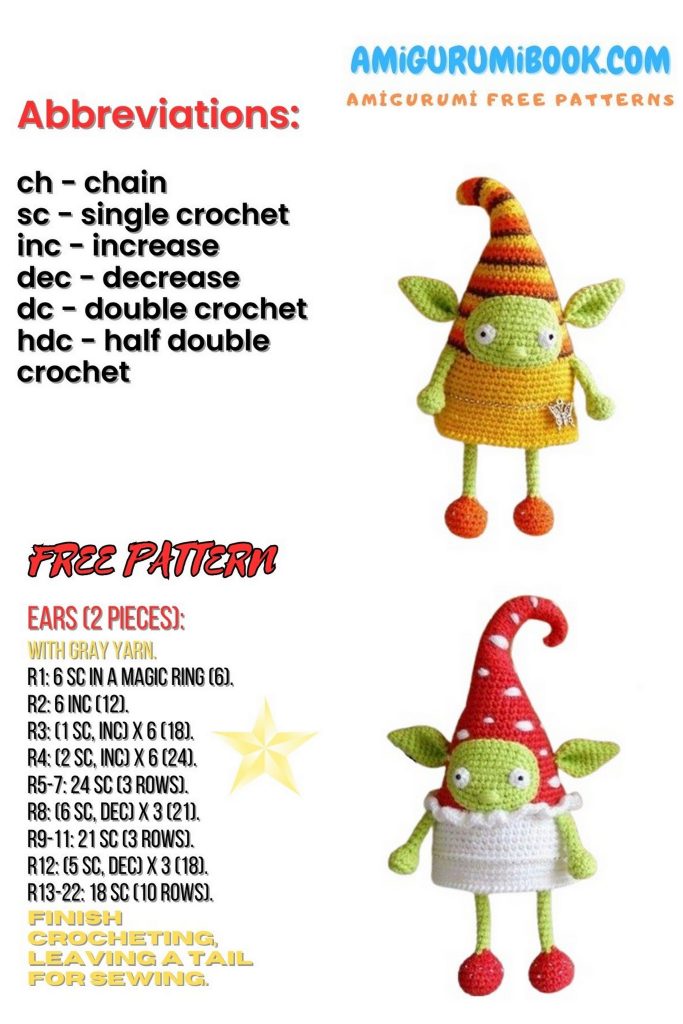
✨ Abbreviations (US terms):
MR – Magic ring
sc – Single crochet
inc – Increase (2 sc in the same stitch)
dec – Decrease (single crochet 2 together)
ch – Chain
BLO – Back loop only
FLO – Front loop only
PATTERN – Amigurumi Elf
🎩 Hat and Body – Amigurumi Elf:
Make a magic ring and leave a long yarn tail. Pull this tail outside through the ring’s center – you’ll use it later to shape the hat tip.
Work Rounds 1–22 of the striped hat in BLO. Stuff as you go, firmly but shaping it into a slightly flattened pillow shape.
You can choose your own stripe sequence. If you want the same as mine:
Round 1: orange
Rounds 2–3: lilac (main color)
Rounds 4–5: yellow
Repeat the color sequence above.
This way, Round 41 will be orange and Round 42 (the body start) will be lilac.
Hat (Rounds 1–22 in BLO) – Amigurumi Elf:
1: 4 sc in MR
2: 4 sc
3: (1 sc, inc) ×2 = 6
4–5: 6 sc
6: (2 sc, inc) ×2 = 8
7–10: 8 sc
11: (3 sc, inc) ×2 = 10
12–15: 10 sc
16: (4 sc, inc) ×2 = 12
17–18: 12 sc
19: (5 sc, inc) ×2 = 14
20: 14 sc
21: (6 sc, inc) ×2 = 16
22: 16 sc
Continue in both loops:
23: (7 sc, inc) ×2 = 18
24: (8 sc, inc) ×2 = 20
25: (9 sc, inc) ×2 = 22
26: (10 sc, inc) ×2 = 24
27: (11 sc, inc) ×2 = 26
28: (12 sc, inc) ×2 = 28
29: (13 sc, inc) ×2 = 30
30: (14 sc, inc) ×2 = 32
31: (15 sc, inc) ×2 = 34
32: (16 sc, inc) ×2 = 36
33–35: 36 sc
36: (5 sc, inc) ×6 = 42
37–39: 42 sc
40: (6 sc, inc) ×6 = 48
41: 48 sc

Body (single color) – Amigurumi Elf:
42–43: 48 sc
44: (7 sc, inc) ×6 = 54
45–47: 54 sc
48: (8 sc, inc) ×6 = 60
49: 60 sc in FLO → This marks the waistline.
50–52: 60 sc
53: (9 sc, inc) ×6 = 66
54: 66 sc
55: 66 sc in reverse single crochet (crab stitch)
Fasten off, cut and hide the yarn.
🍑 Lower Body and Legs – Amigurumi Elf:
Use the same yarn color as the body. Go back to the back loops of Round 48 to form the bottom:
1: 60 sc
2: (8 sc, dec) ×6 = 54
3: (7 sc, dec) ×6 = 48
4: (6 sc, dec) ×6 = 42
5: (5 sc, dec) ×6 = 36
6: (4 sc, dec) ×6 = 30
Stuff firmly now!
7: (3 sc, dec) ×6 = 24
8: (2 sc, dec) ×6 = 18
9: (1 sc, dec) ×6 = 12
Cut yarn, leaving a long tail. Weave it through and close the hole. Body is complete!

🦶 Legs – Amigurumi Elf:
Start with a color of your choice. Only stuff the bottom of the leg – you can place a bead inside to weigh it.
1: 6 sc in MR
2: 6 inc = 12
3: (1 sc, inc) ×6 = 18
4–7: 18 sc
8: (1 sc, dec) ×6 = 12
9: 6 dec = 6
Switch to light green yarn.
10–20: 6 sc (do not stuff)
Fold flat and crochet edges together. Leave a tail for sewing. Repeat for second leg.
✋ Arms – Amigurumi Elf:
Light green yarn. Only stuff the bottom, or insert a bead.
1: 6 sc in MR
2: 6 inc = 12
3–4: 12 sc
5: 6 dec = 6
6–10: 6 sc
Fold in half and crochet edges together. Leave a tail for sewing. Repeat.
👂 Ears (not stuffed) – Amigurumi Elf:
1: 4 sc in MR
2: (1 sc, inc) ×2 = 6
3: (2 sc, inc) ×2 = 8
4: (3 sc, inc) ×2 = 10
5: (4 sc, inc) ×2 = 12
6: (5 sc, inc) ×2 = 14
7: (6 sc, inc) ×2 = 16
8–9: 16 sc
10: (6 sc, dec) ×2 = 14
Fold in half, crochet edges together. Before attaching, fold again so the ear curves nicely. Leave a long tail for hanging the elf.
😊 Face – Amigurumi Elf:
Light green yarn, worked as an oval:
1: ch 8, starting in 2nd ch from hook: inc, 5 sc, 3 sc in last ch; turn, 6 sc along other side
2: 1 sc, inc, 5 sc, inc, 1 sc, inc, 5 sc, inc
3: 2 sc, inc, 6 sc, inc, 2 sc, inc, 6 sc, inc
4: 3 sc, inc, 7 sc, inc, 3 sc, inc, 7 sc, inc
5: 4 sc, inc, 8 sc, inc, 4 sc, inc, 8 sc, inc
Eyes – Amigurumi Elf:
White yarn, 6 sc in MR. Secure, cut yarn. Sew a black bead to the center. Attach to the face with thread. Optional: use safety eyes.
Nose – Amigurumi Elf:
With green yarn, make a few straight stitches between the 2nd and 3rd rows from the bottom of the face. Stitch back and forth until the nose is slightly raised.
🧵 Assembly:
Use the long tail from the tip of the hat to shape it:
Thread the needle with the tail and pass it through the raised front loops from the tip downward (approx. to Round 20). Pull tightly to round the tip. Tie off securely and hide the tail inside the elf.
Assembly order:
1.Sew on the face – place a bit of stuffing underneath to puff it slightly. Align the bottom edge of the face one round below the end of the hat.
2.Attach arms – on the front side just under the hat.
3.Attach ears – fold and sew slightly above the eye line on both sides.
4.Attach legs – in the middle of the underside. Align them with the eye line for symmetry.
5.Use beads or ribbon to decorate the waistline (where the FLO round is).
6.Add a bell or bead to the hat tip. You can also decorate the legs with beads.
🎀 Optional Hanging Cord:
Pull the two long green yarn tails from the ears through the top of the hat, spacing them one stitch apart. Add two colorful strands. Braid each side and tie them together at the top – creating a colorful hanging loop.