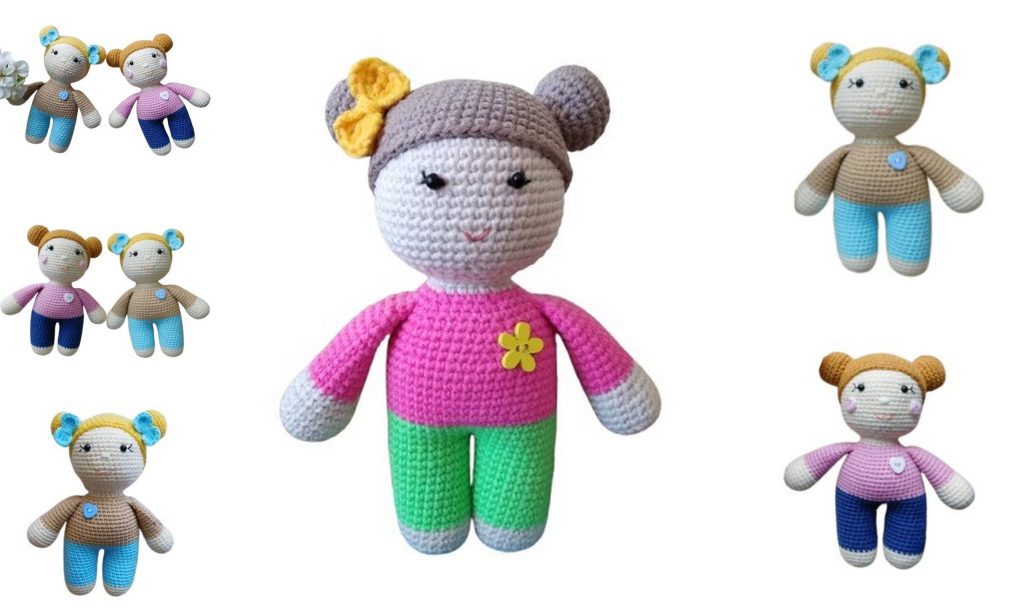
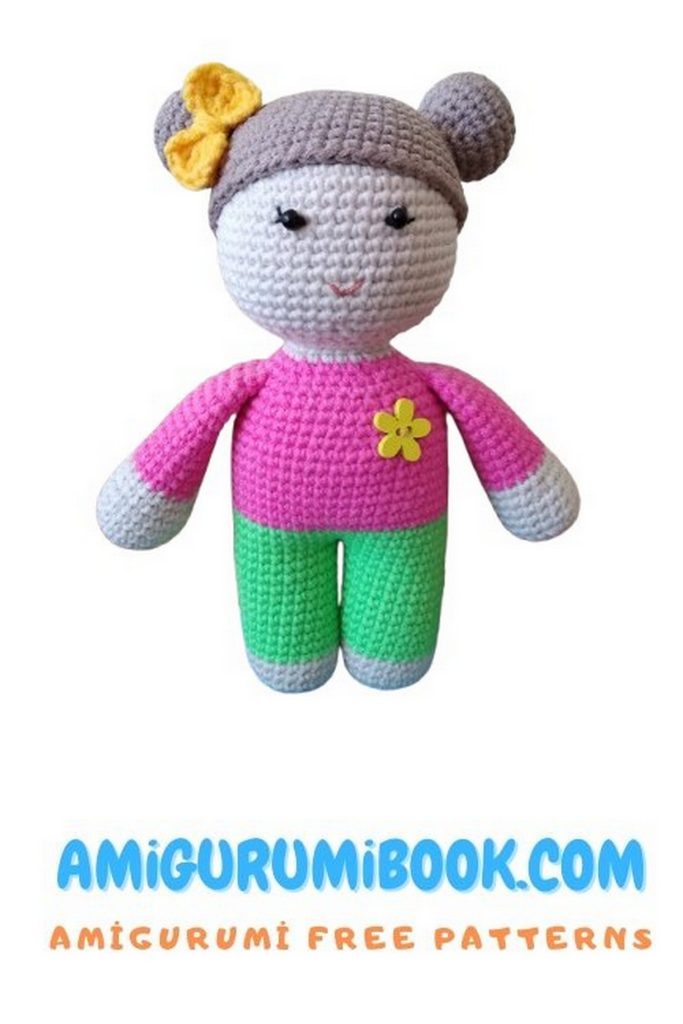
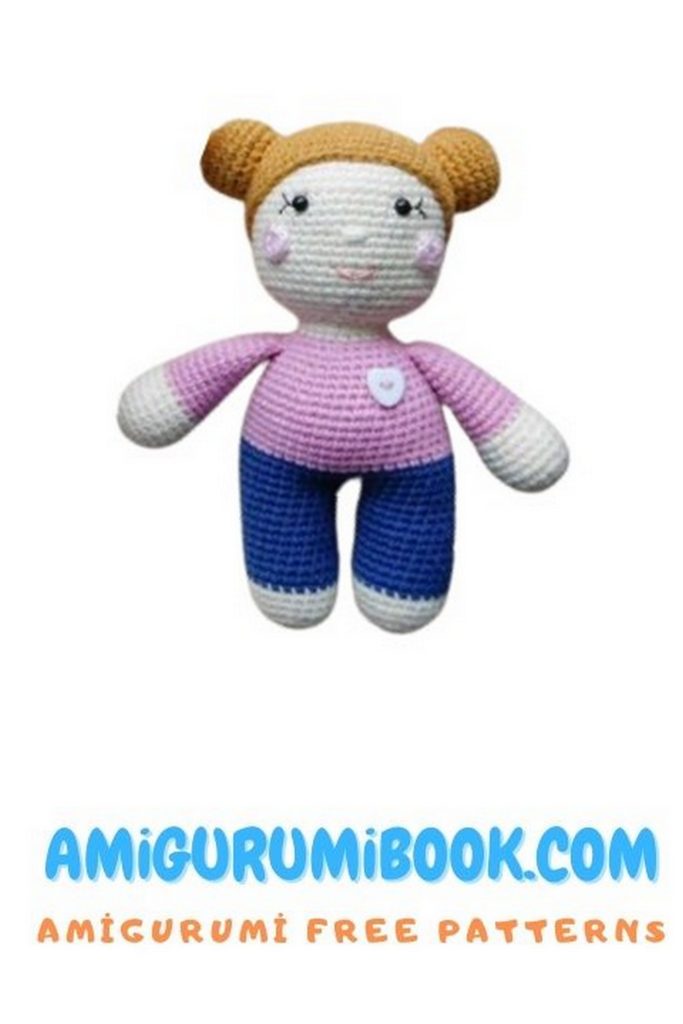
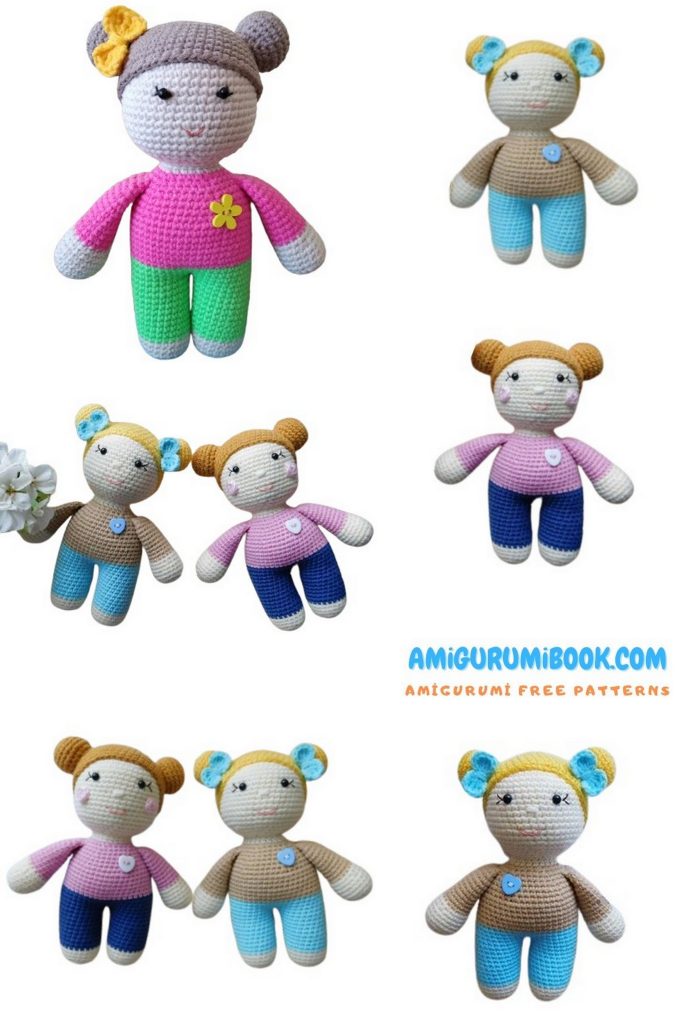
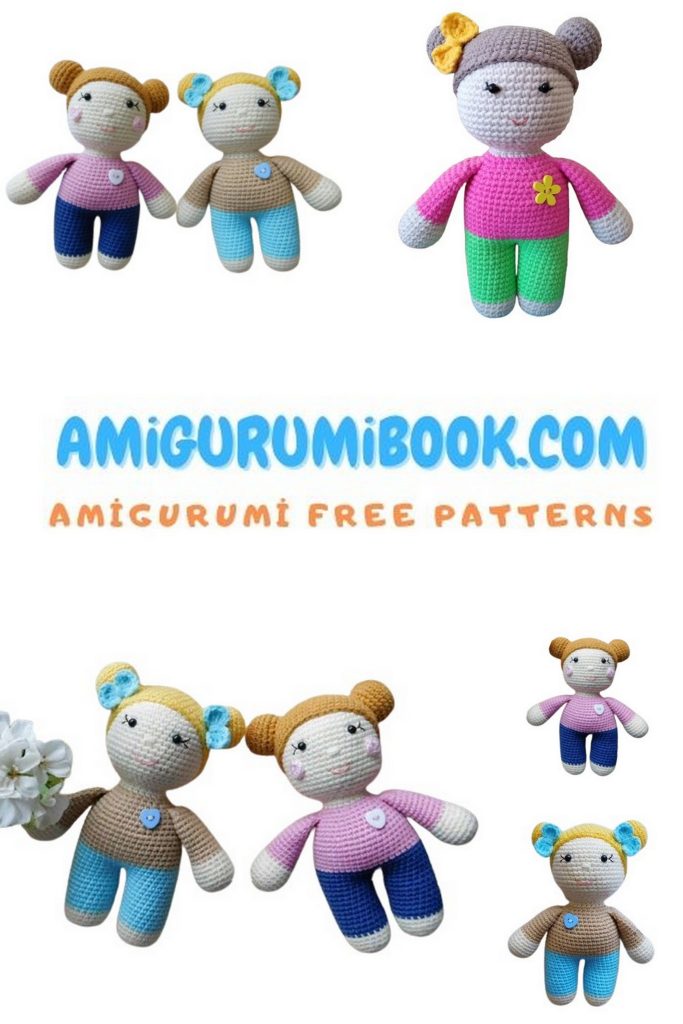
Bring the elegant Stesa Amigurumi Doll Free Pattern and tutorial! With her graceful style and charming details, Stesa makes a wonderful handmade gift or collectible. The pattern is beginner-friendly and includes clear, step-by-step instructions to help you create this beautiful amigurumi doll with ease.
If you want to access 1000+ free amigurumi patterns, you can download our application from this link!
🧵 Materials Needed:
Stuffing (polyester fiberfill, synthetic down, or holofiber)
Yarn (any composition, preferably cotton blend)
Safety eyes (4 mm) or small beads for eyes
Small colorful buttons to decorate the doll’s clothing
Crochet hook size 1.5 – 2.0 mm
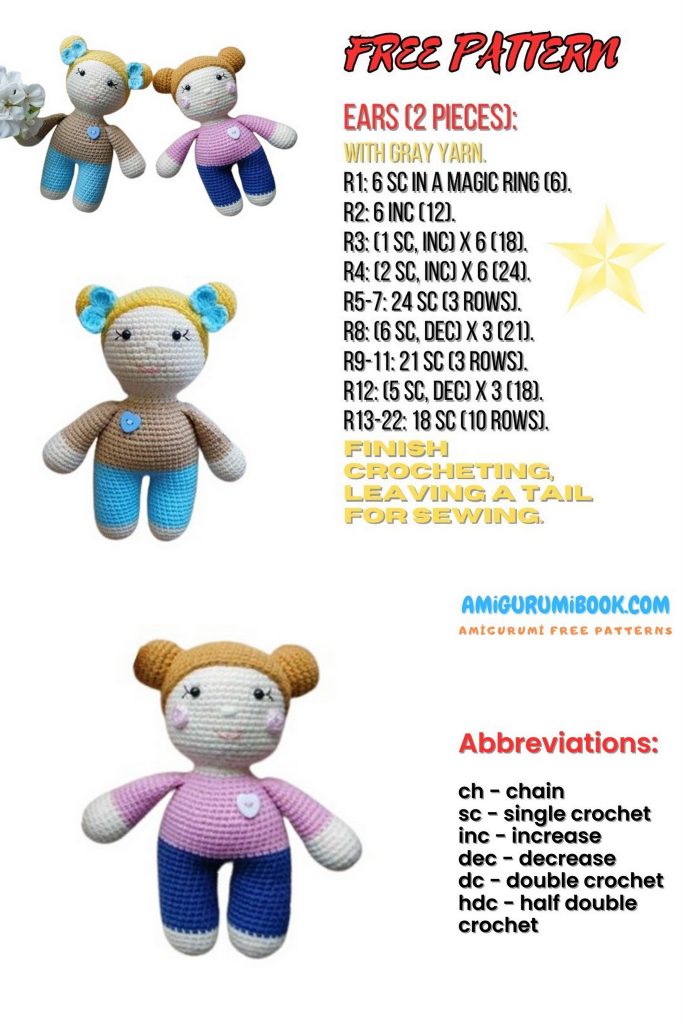
🔁 Abbreviations (US Terms):
sc – single crochet
inc – increase (2 sc in the same stitch)
dec – decrease (single crochet 2 stitches together)
sl st – slip stitch
ch – chain
rnd(s) – round(s)
FO – fasten off
PATTERN – Amigurumi Doll Stesa
🧠 Head – Amigurumi Doll
Crochet as a separate piece, starting from the crown.
1: 6 sc in magic ring
2: inc x 6 = 12 sc
3: (1 sc, inc) x 6 = 18 sc
4: (2 sc, inc) x 6 = 24 sc
5: (3 sc, inc) x 6 = 30 sc
6: (4 sc, inc) x 6 = 36 sc
7: (5 sc, inc) x 6 = 42 sc
8: (6 sc, inc) x 6 = 48 sc
9–20: 48 sc (12 rounds)
21: (6 sc, dec) x 6 = 42 sc
22: 2 sc, dec, (5 sc, dec) x 5, 3 sc = 36 sc
23: (4 sc, dec) x 6 = 30 sc
24: 1 sc, dec, (3 sc, dec) x 5, 2 sc = 24 sc
➤ Insert safety eyes between rounds 12 and 13, spacing them 6–7 stitches apart (as preferred). Use 4 mm eyes.
✋ Arms (make 2) – Amigurumi Doll
Use skin tone color for the beginning.
1: 6 sc in magic ring
2: inc x 6 = 12 sc
3: (1 sc, inc) x 6 = 18 sc
4: (5 sc, inc) x 3 = 21 sc
5–7: 21 sc
8: (5 sc, dec) x 3 = 18 sc
9: 18 sc
Change to clothing color.
10–18: 18 sc (9 rounds)
19: (4 sc, dec) x 3 = 15 sc
20: (3 sc, dec) x 3 = 12 sc
21: Fold the top of the arm in half and sc 5 across both edges to close.
➤ Leave a long tail for sewing.
Optional: Instead of sewing, you can crochet the arms directly into the body during assembly.
If sewing: attach between rounds 33 and 34 of the body.
If crocheting in: do this during round 33.
🦵 Left Leg – Amigurumi Doll
Use skin tone color.
1: 6 sc in magic ring
2: inc x 6 = 12 sc
3: (1 sc, inc) x 6 = 18 sc
4: (2 sc, inc) x 6 = 24 sc
5–7: 24 sc
Change to clothing color (blue/denim for jeans).
8–17: 24 sc (10 rounds)
At the end of round 17:
ch 1, cut the yarn, and pull through the loop to fasten off.
🦵 Right Leg – Amigurumi Doll
Same as left leg:
1: 6 sc in magic ring
2: inc x 6 = 12 sc
3: (1 sc, inc) x 6 = 18 sc
4: (2 sc, inc) x 6 = 24 sc
5–7: 24 sc
Change to jeans color
8–17: 24 sc
🧍♀️ Join Legs and Start Body
Place both legs side by side. Continue crocheting across both.
Mark the new beginning of the round on the back side of the left leg.
18: 24 sc on left leg, 24 sc on right leg = 48 sc total
➤ If a gap forms between the legs, sew it shut with a yarn tail.
Alternative method to avoid a gap:
Join legs with a decrease at the back
23 sc on left leg
Join legs with a decrease at the front
23 sc on right leg
= 48 sc
19–21: 48 sc
Change to sweater color.
22–28: 48 sc
29: (6 sc, dec) x 6 = 42 sc
30–31: 42 sc
32: (5 sc, dec) x 6 = 36 sc
33: 36 sc — attach arms in this round if crocheting them in
34: (4 sc, dec) x 6 = 30 sc
35: (3 sc, dec) x 6 = 24 sc
Change to skin tone.
36–37: 24 sc
➤ Leave a long yarn tail for sewing.
💇 Hair – Wig Cap – Amigurumi Doll
1: 6 sc in magic ring
2: inc x 6 = 12 sc
3: (1 sc, inc) x 6 = 18 sc
4: (2 sc, inc) x 6 = 24 sc
5: (3 sc, inc) x 6 = 30 sc
6: (4 sc, inc) x 6 = 36 sc
7: (5 sc, inc) x 6 = 42 sc
8: (6 sc, inc) x 6 = 48 sc
9–16: 48 sc (8 rounds)
💁♀️ Hair – “Donuts” (Make 2) – Amigurumi Doll
1: 6 sc in magic ring
2: inc x 6 = 12 sc
3: (1 sc, inc) x 6 = 18 sc
4: (2 sc, inc) x 6 = 24 sc
5–7: 48 sc
8: (2 sc, dec) x 6 = 18 sc
9: (4 sc, dec) x 3 = 15 sc

🧵 Assembly
1.Sew the head to the body.
2.Sew on the arms, if you didn’t crochet them into the body earlier.
3.Sew the wig cap onto the head, then sew the donut buns on top.
Decorate the outfit with a button.
Style the hair with crocheted bows or ribbons.
Embroider the nose, mouth, and eyelashes.
Thank you for crocheting this amigurumi doll with me! 💖