
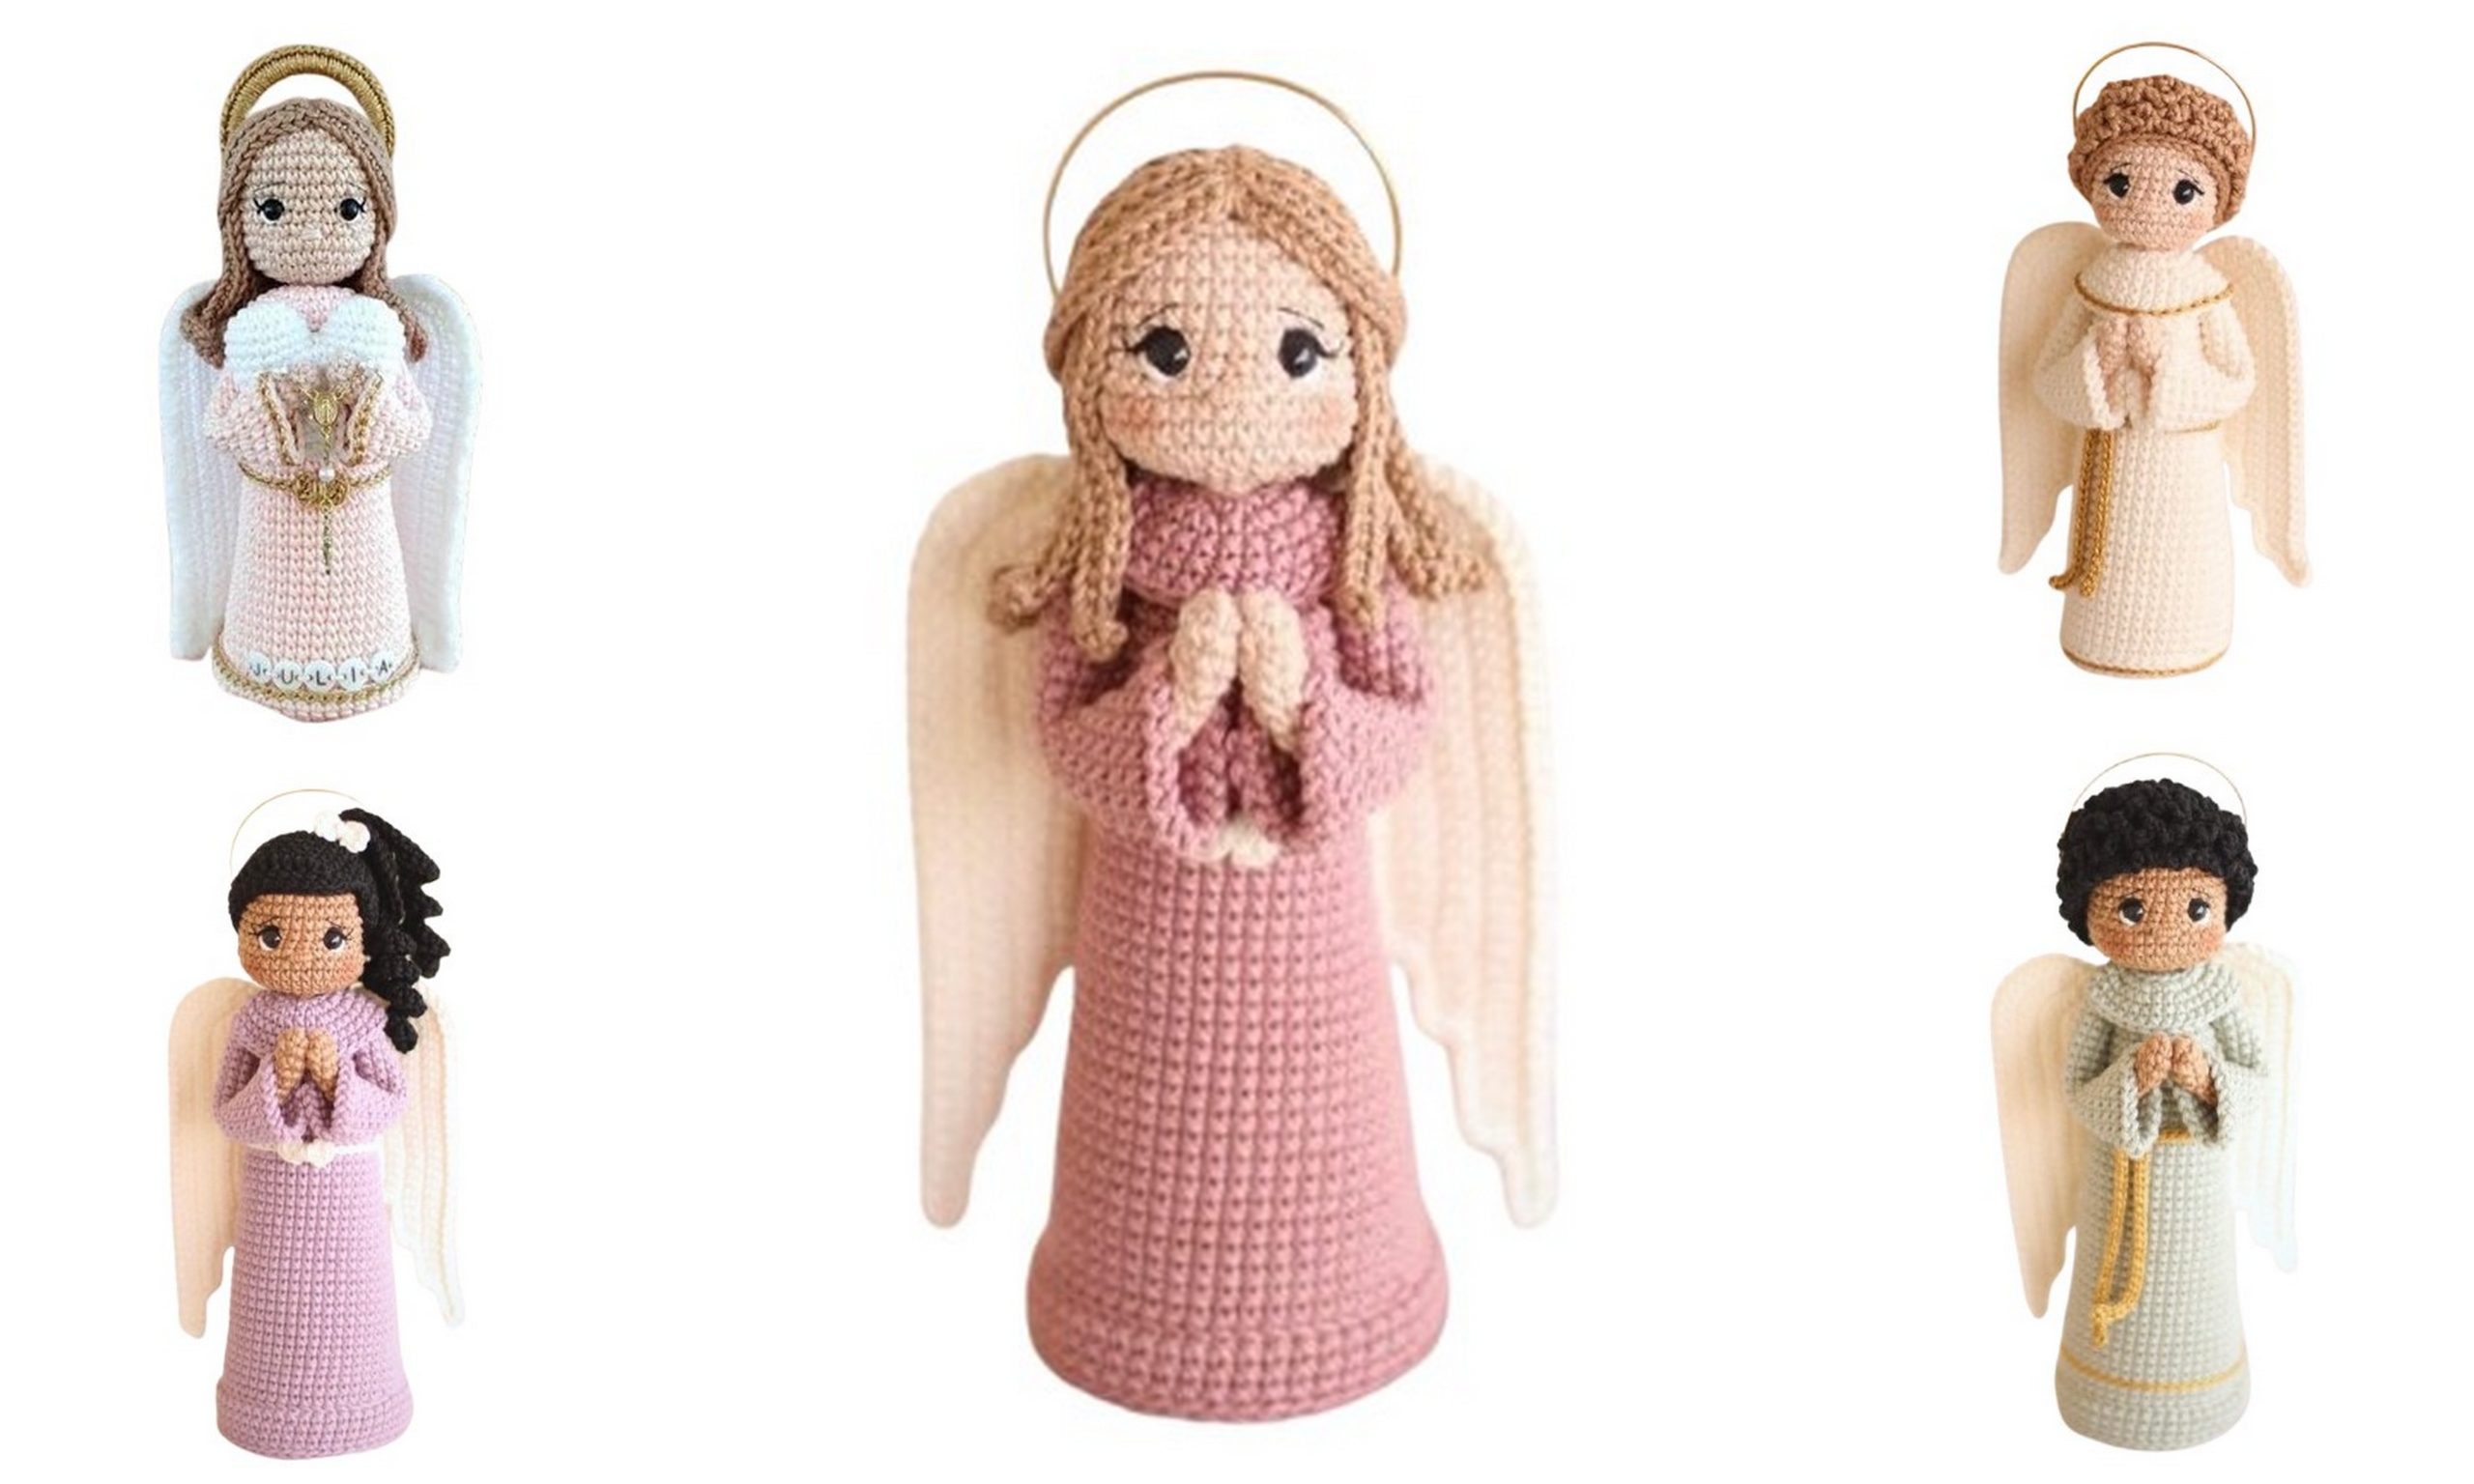
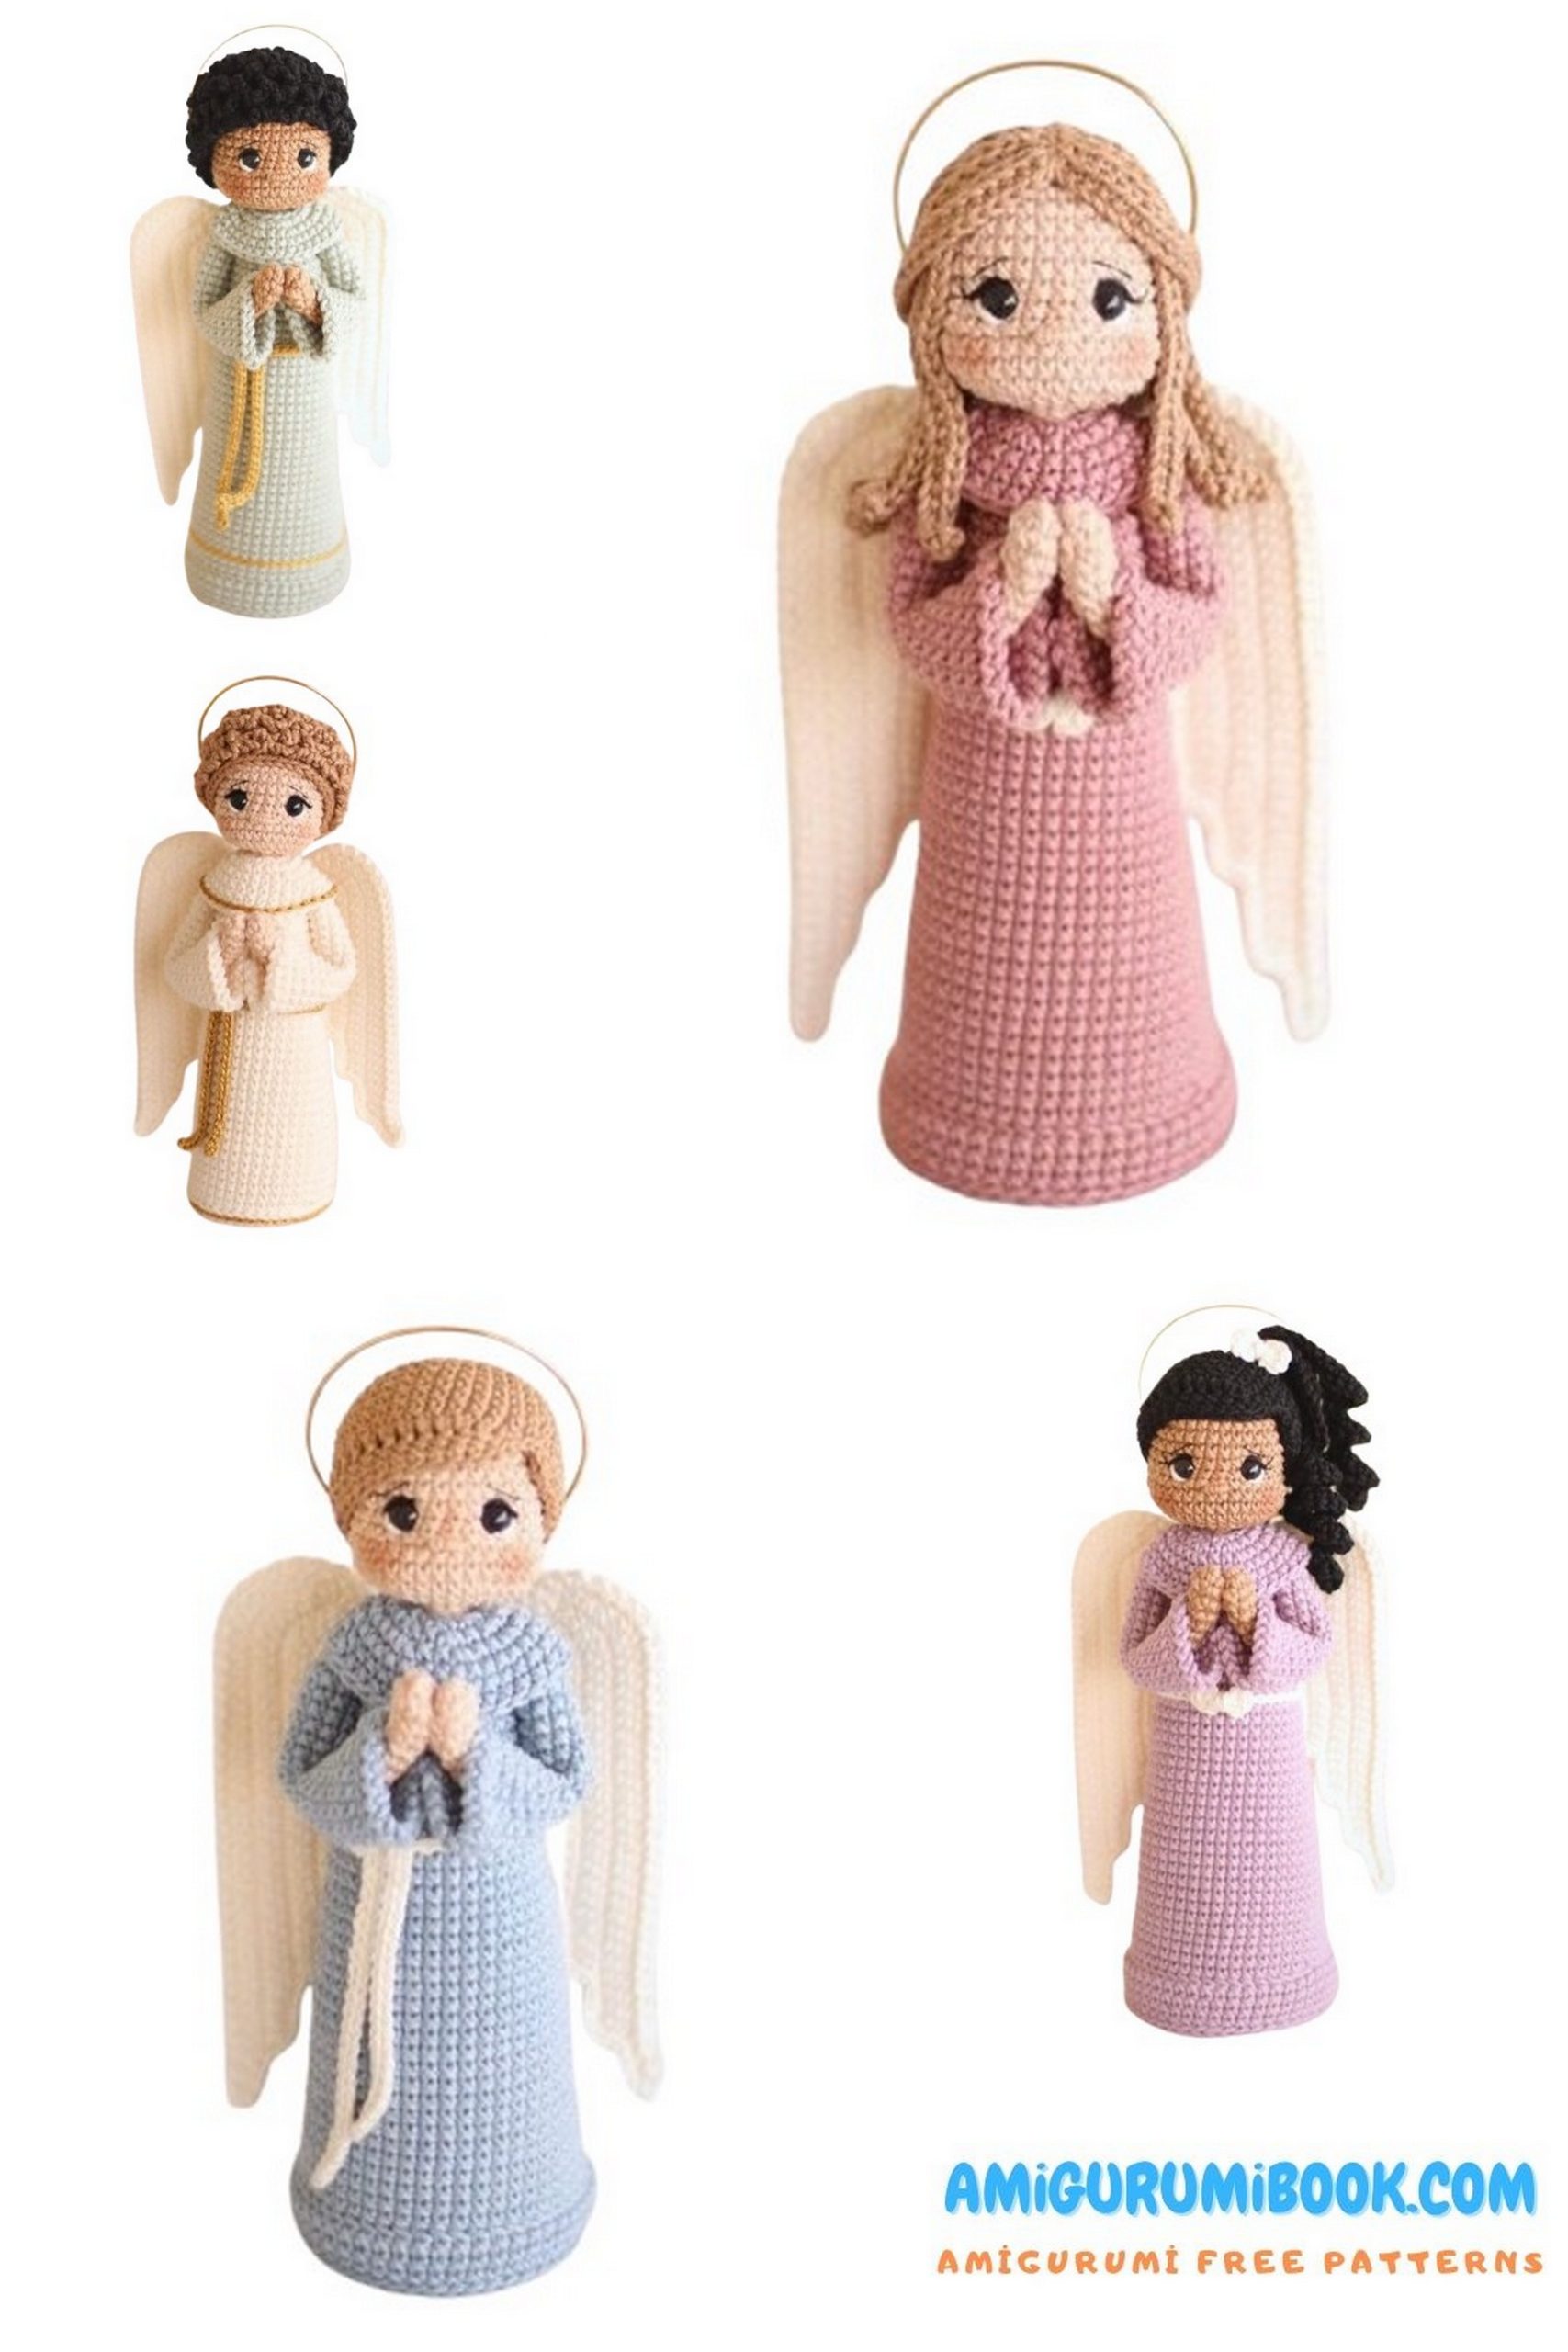
Create a celestial masterpiece with our free Sweet Angel Amigurumi pattern and crochet tutorial. Ideal for crocheters of all levels, this detailed guide features step-by-step instructions and clear photos to help you craft a beautiful angelic doll. Perfect for holiday gifts, decorations, or as a charming addition to your amigurumi collection, this project brings a touch of divine sweetness to your crochet creations. Start your Sweet Angel Amigurumi project today and let your creativity soar to heavenly heights!
If you want to access 1000+ free amigurumi patterns, you can download our application from this link!
Materials
1.75 mm crochet hook by Círculo Produtos. You can choose a different hook size, but the final size may vary.
Bella Fashion black yarn for embroidering the eyes.
Black sewing thread for embroidering the eyelashes and eyebrows.
Tapestry needle.
Sewing needle.
Scissors.
Stuffing.
Fabric glue by Círculo Produtos or any other fabric glue you’re accustomed to using.
A balloon straw or any plastic stick.
7 mm safety eyes.
Wire No. 16.
The yarn used is listed on the next page.
Yarn and Colors
1: Fio Amigurumi, Skin Tone (7563)
2: Fio Amigurumi, Milk White (8176)
3: Fio Amigurumi, Chestnut Brown (7625)
4: Fio Amigurumi, Pink (3077)
5: Fio Amigurumi, Black (8990)
6: Fio Amigurumi, Milk White (8176)
7: Fio Amigurumi, Chestnut Brown (7625)
8: Fio Amigurumi, Lilac (6802)
9: Fio Amigurumi, Black (8990)
10: Fio Amigurumi, Milk White (8176)
11: Fio Amigurumi, Chestnut Brown (7625)
12: Fio Amigurumi, Eucalyptus (5745)
13: Thin golden yarn Encanto
14: Fio Amigurumi, Skin Tone (7563)
15: Fio Amigurumi, White (8176)
16: Fio Amigurumi, Chestnut Brown (7625)
17: Fio Amigurumi, Blue (2927)
18: Fio Amigurumi, Skin Tone (7563)
19: Fio Amigurumi, White (8176)
20: Fio Amigurumi, Brown (7625)
21: Thin golden yarn Encanto
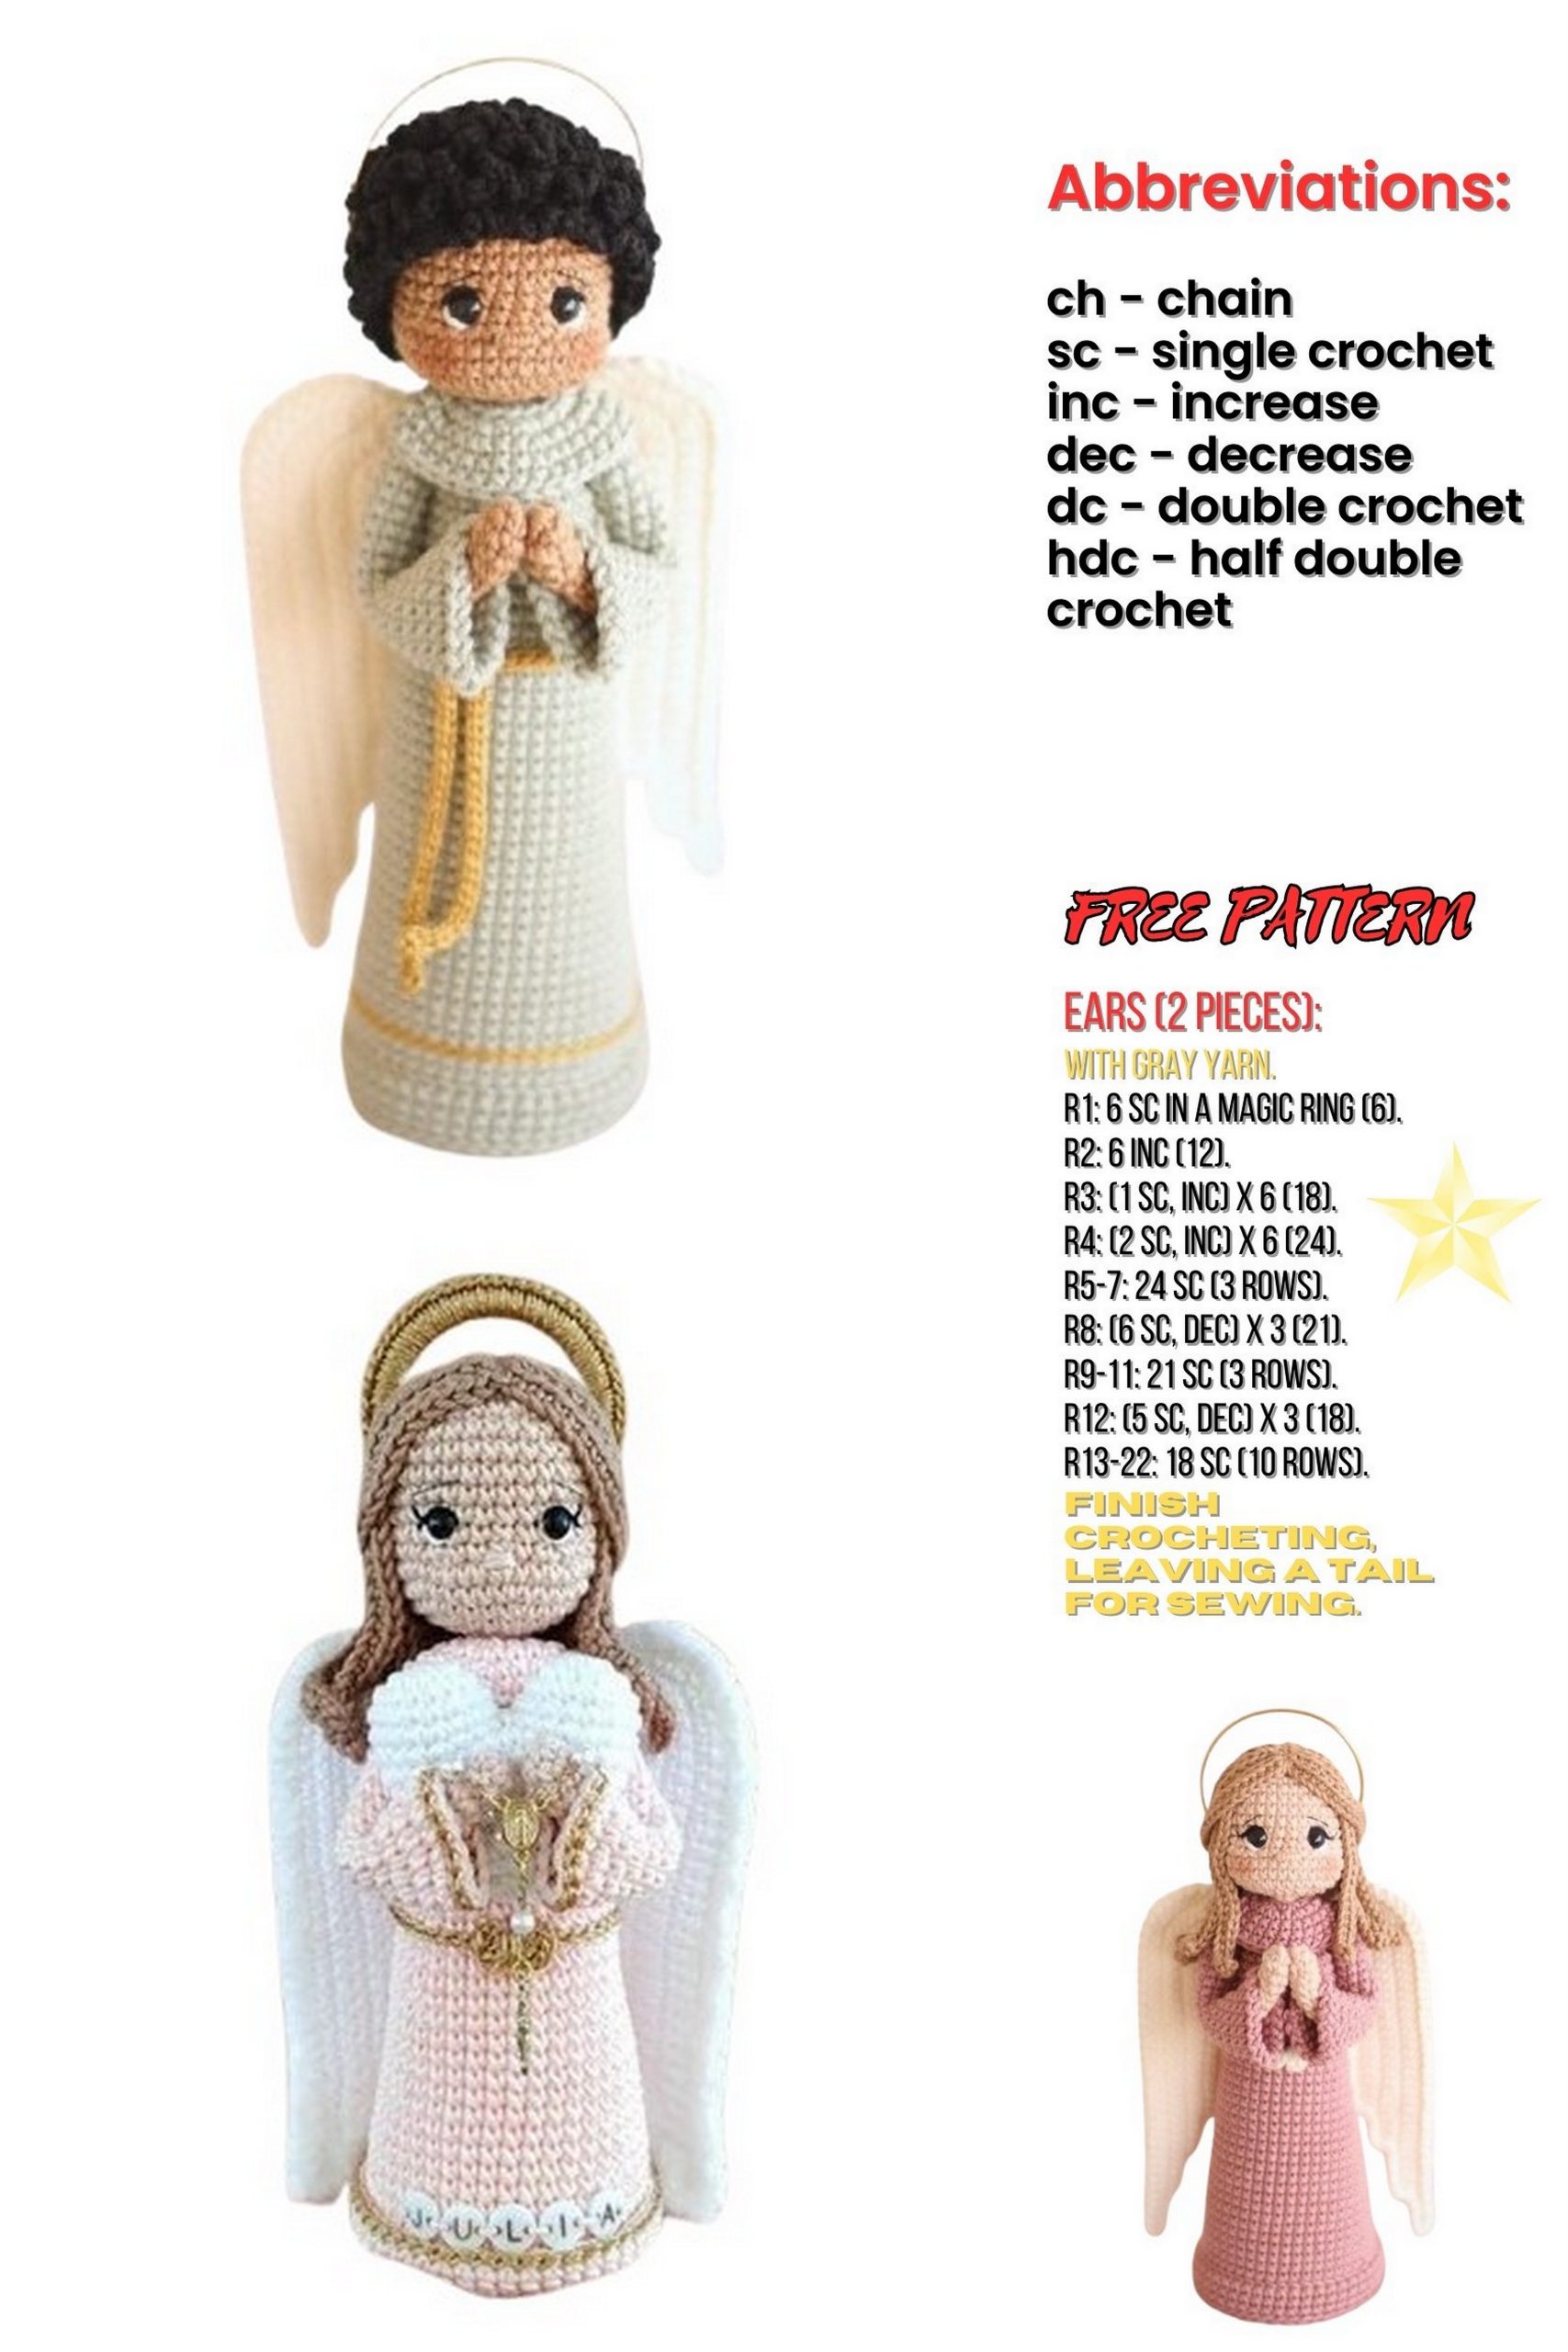
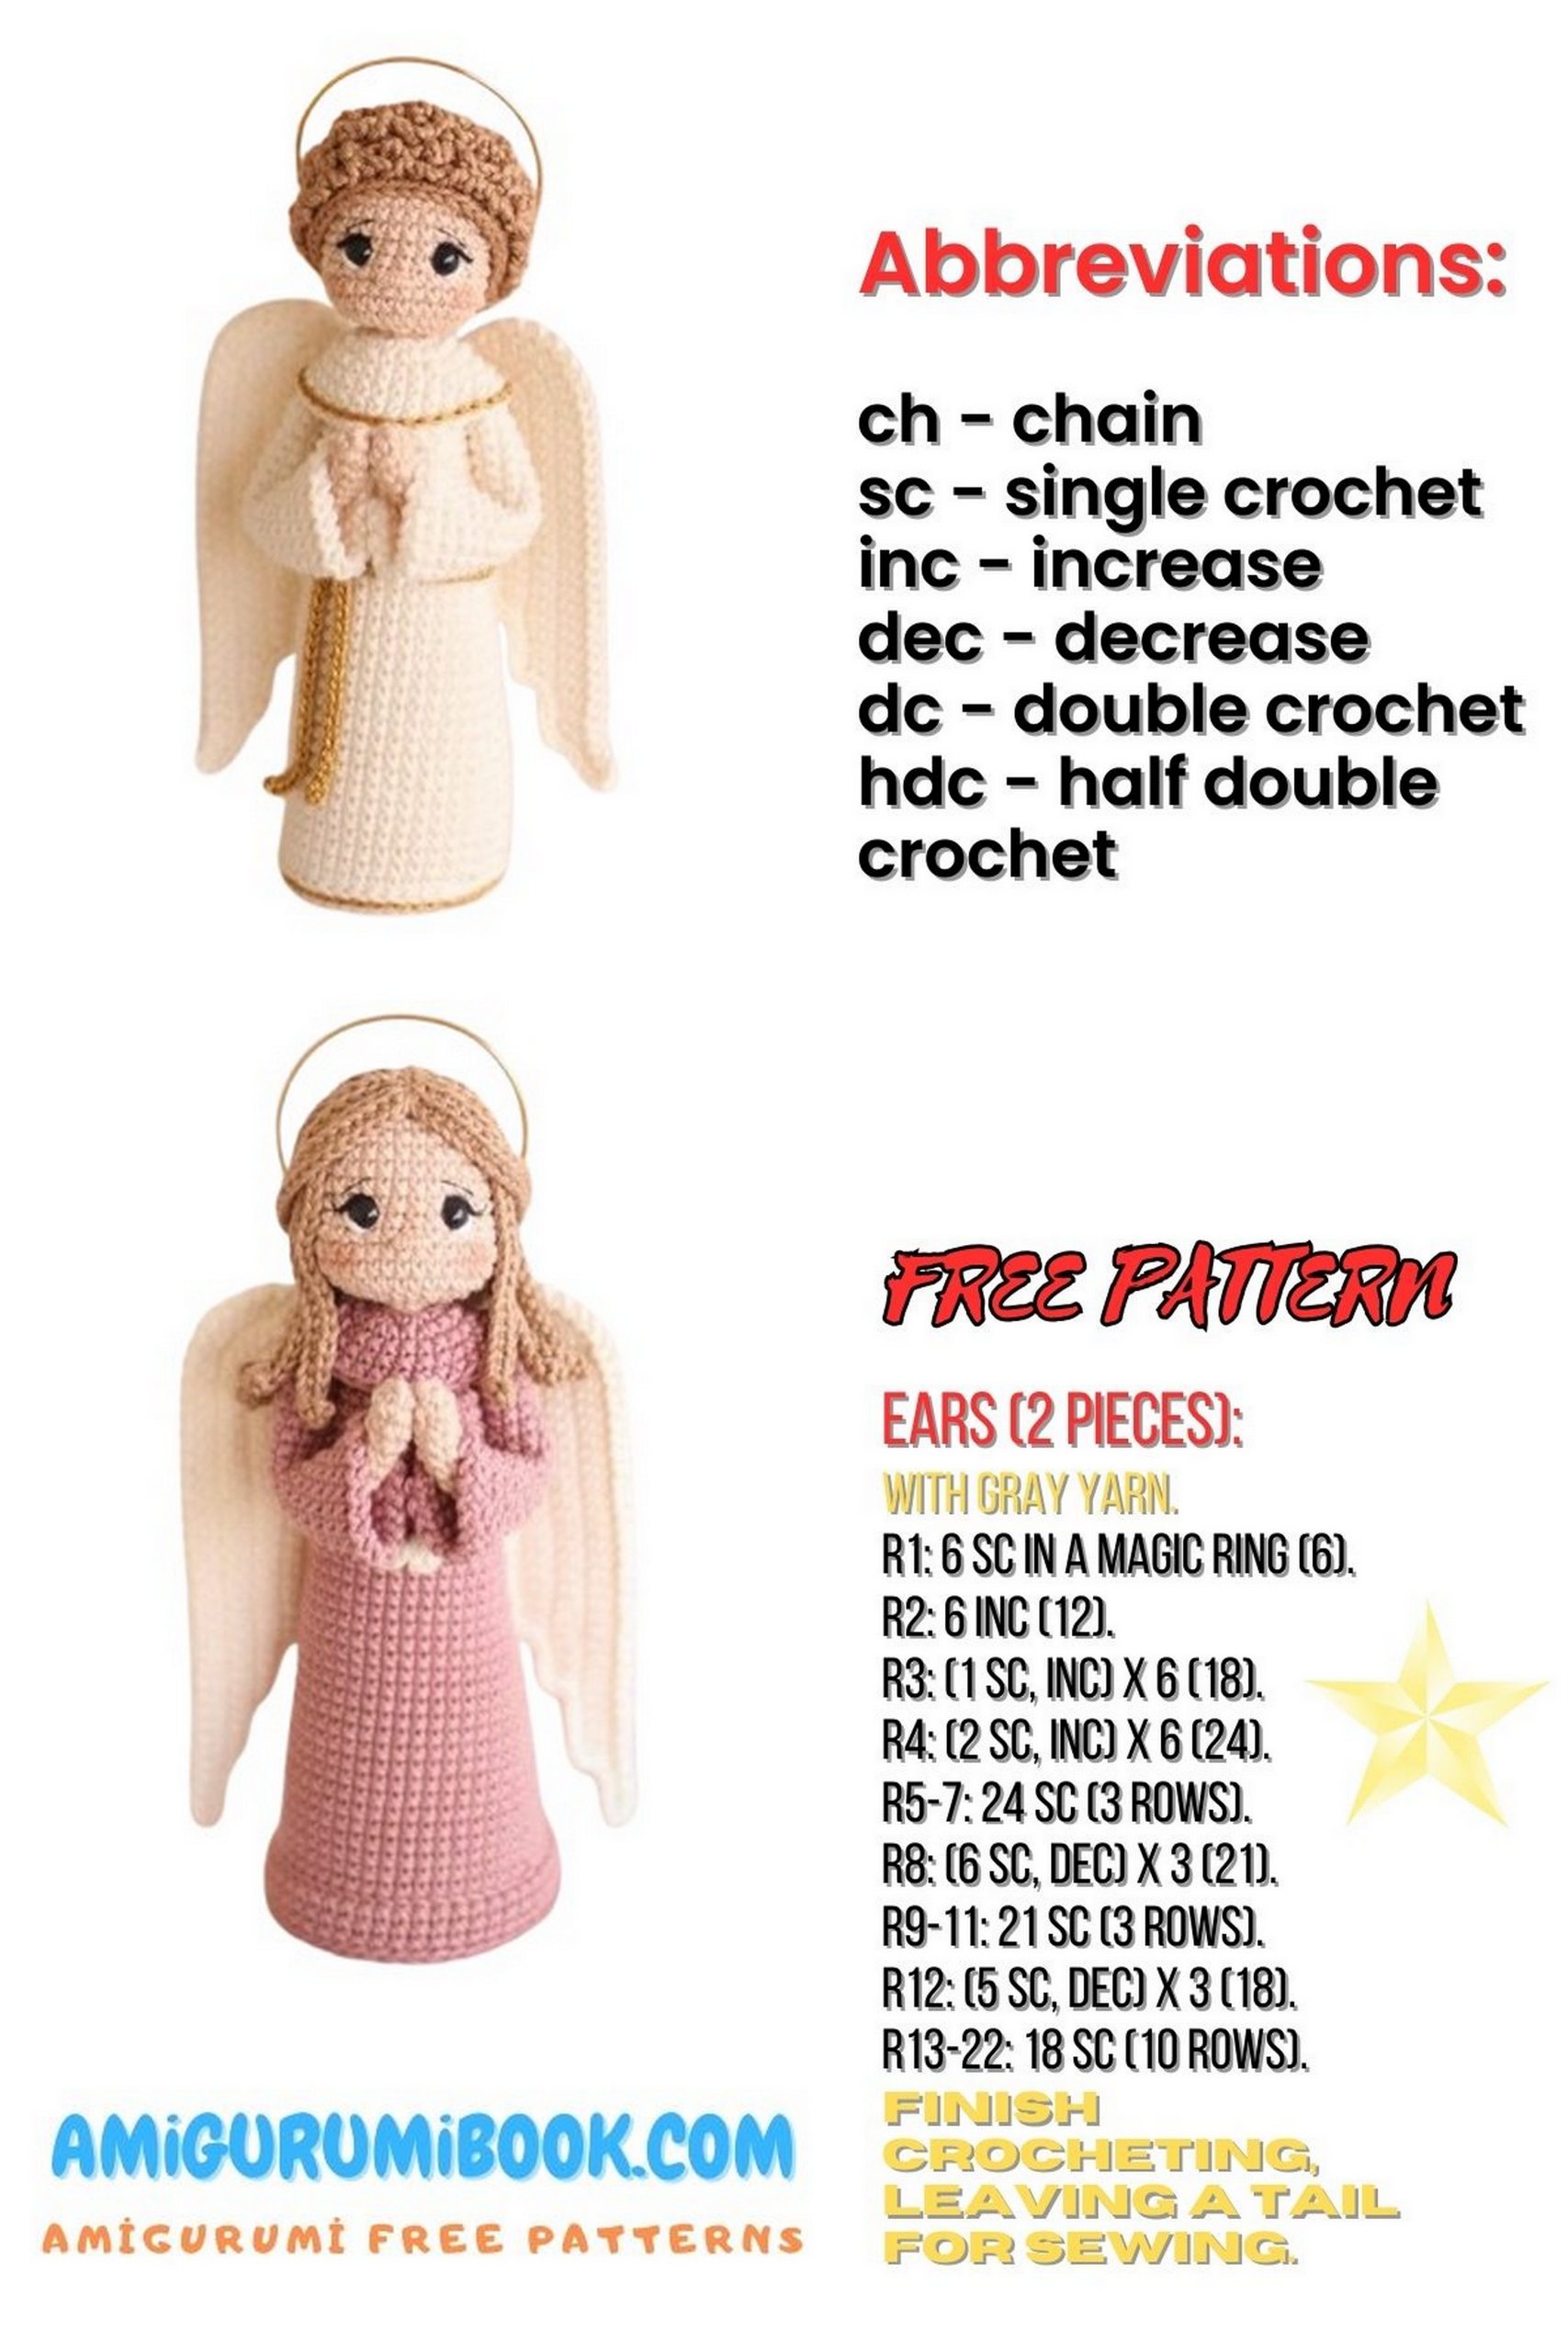
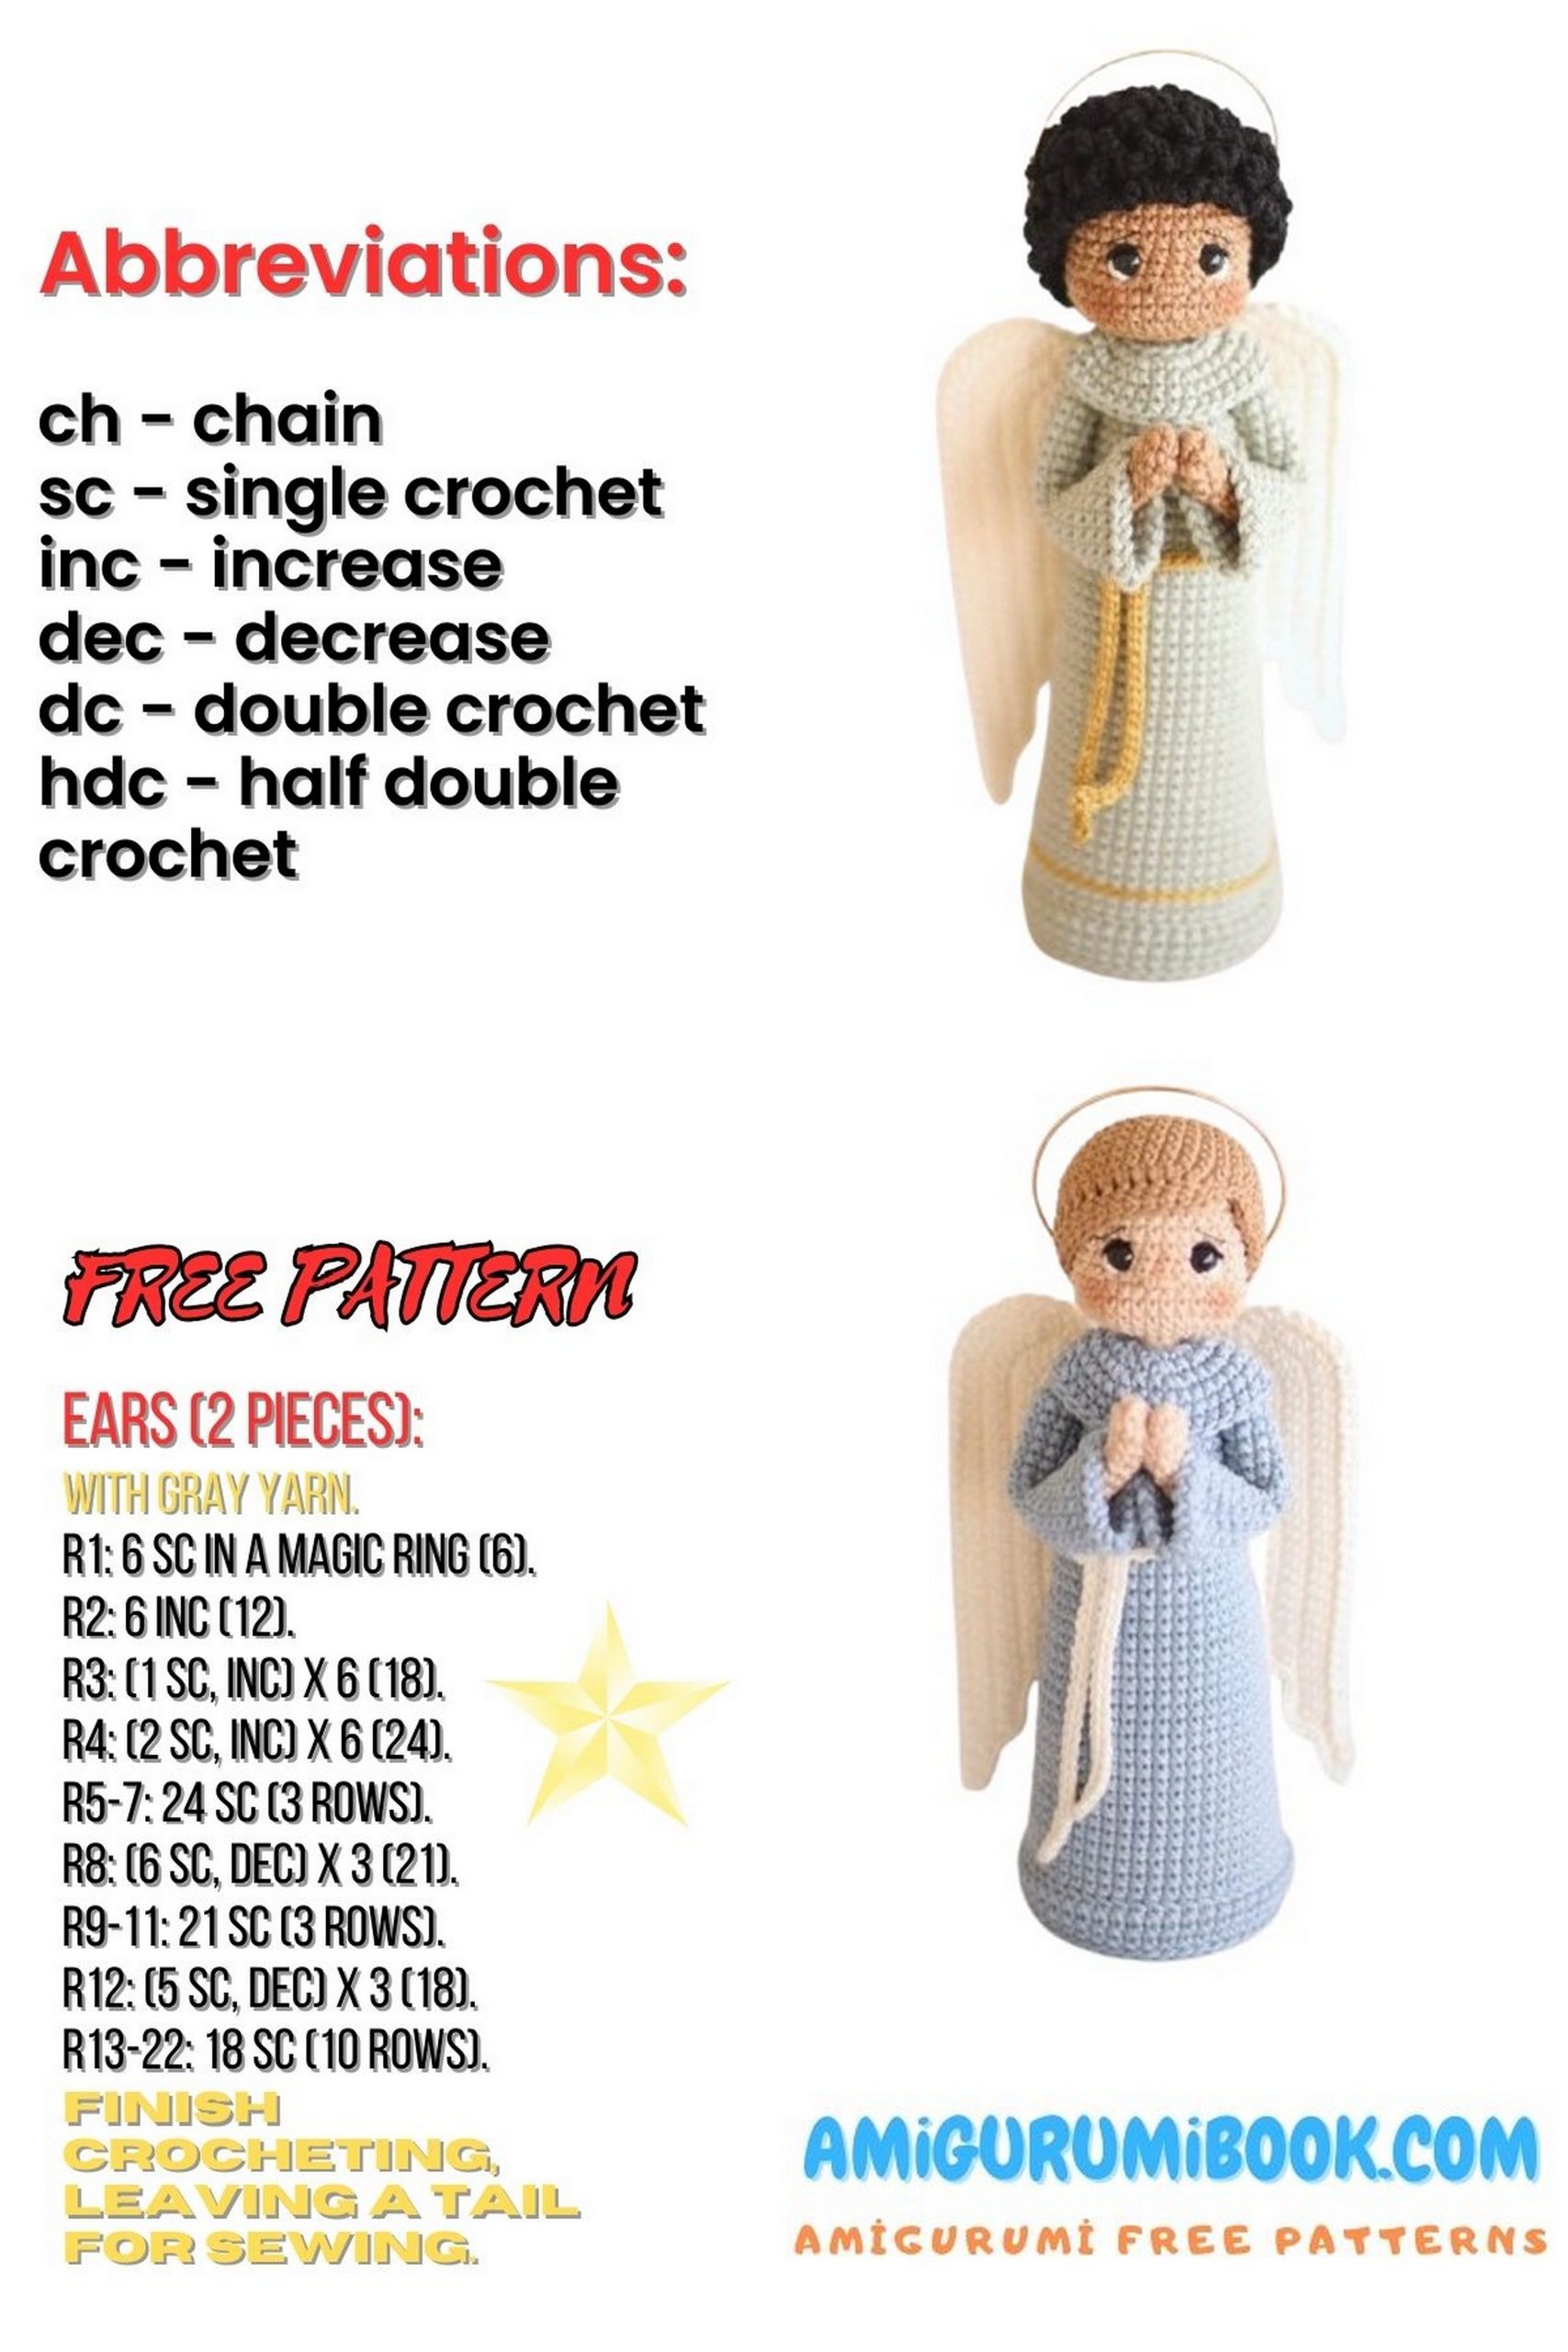
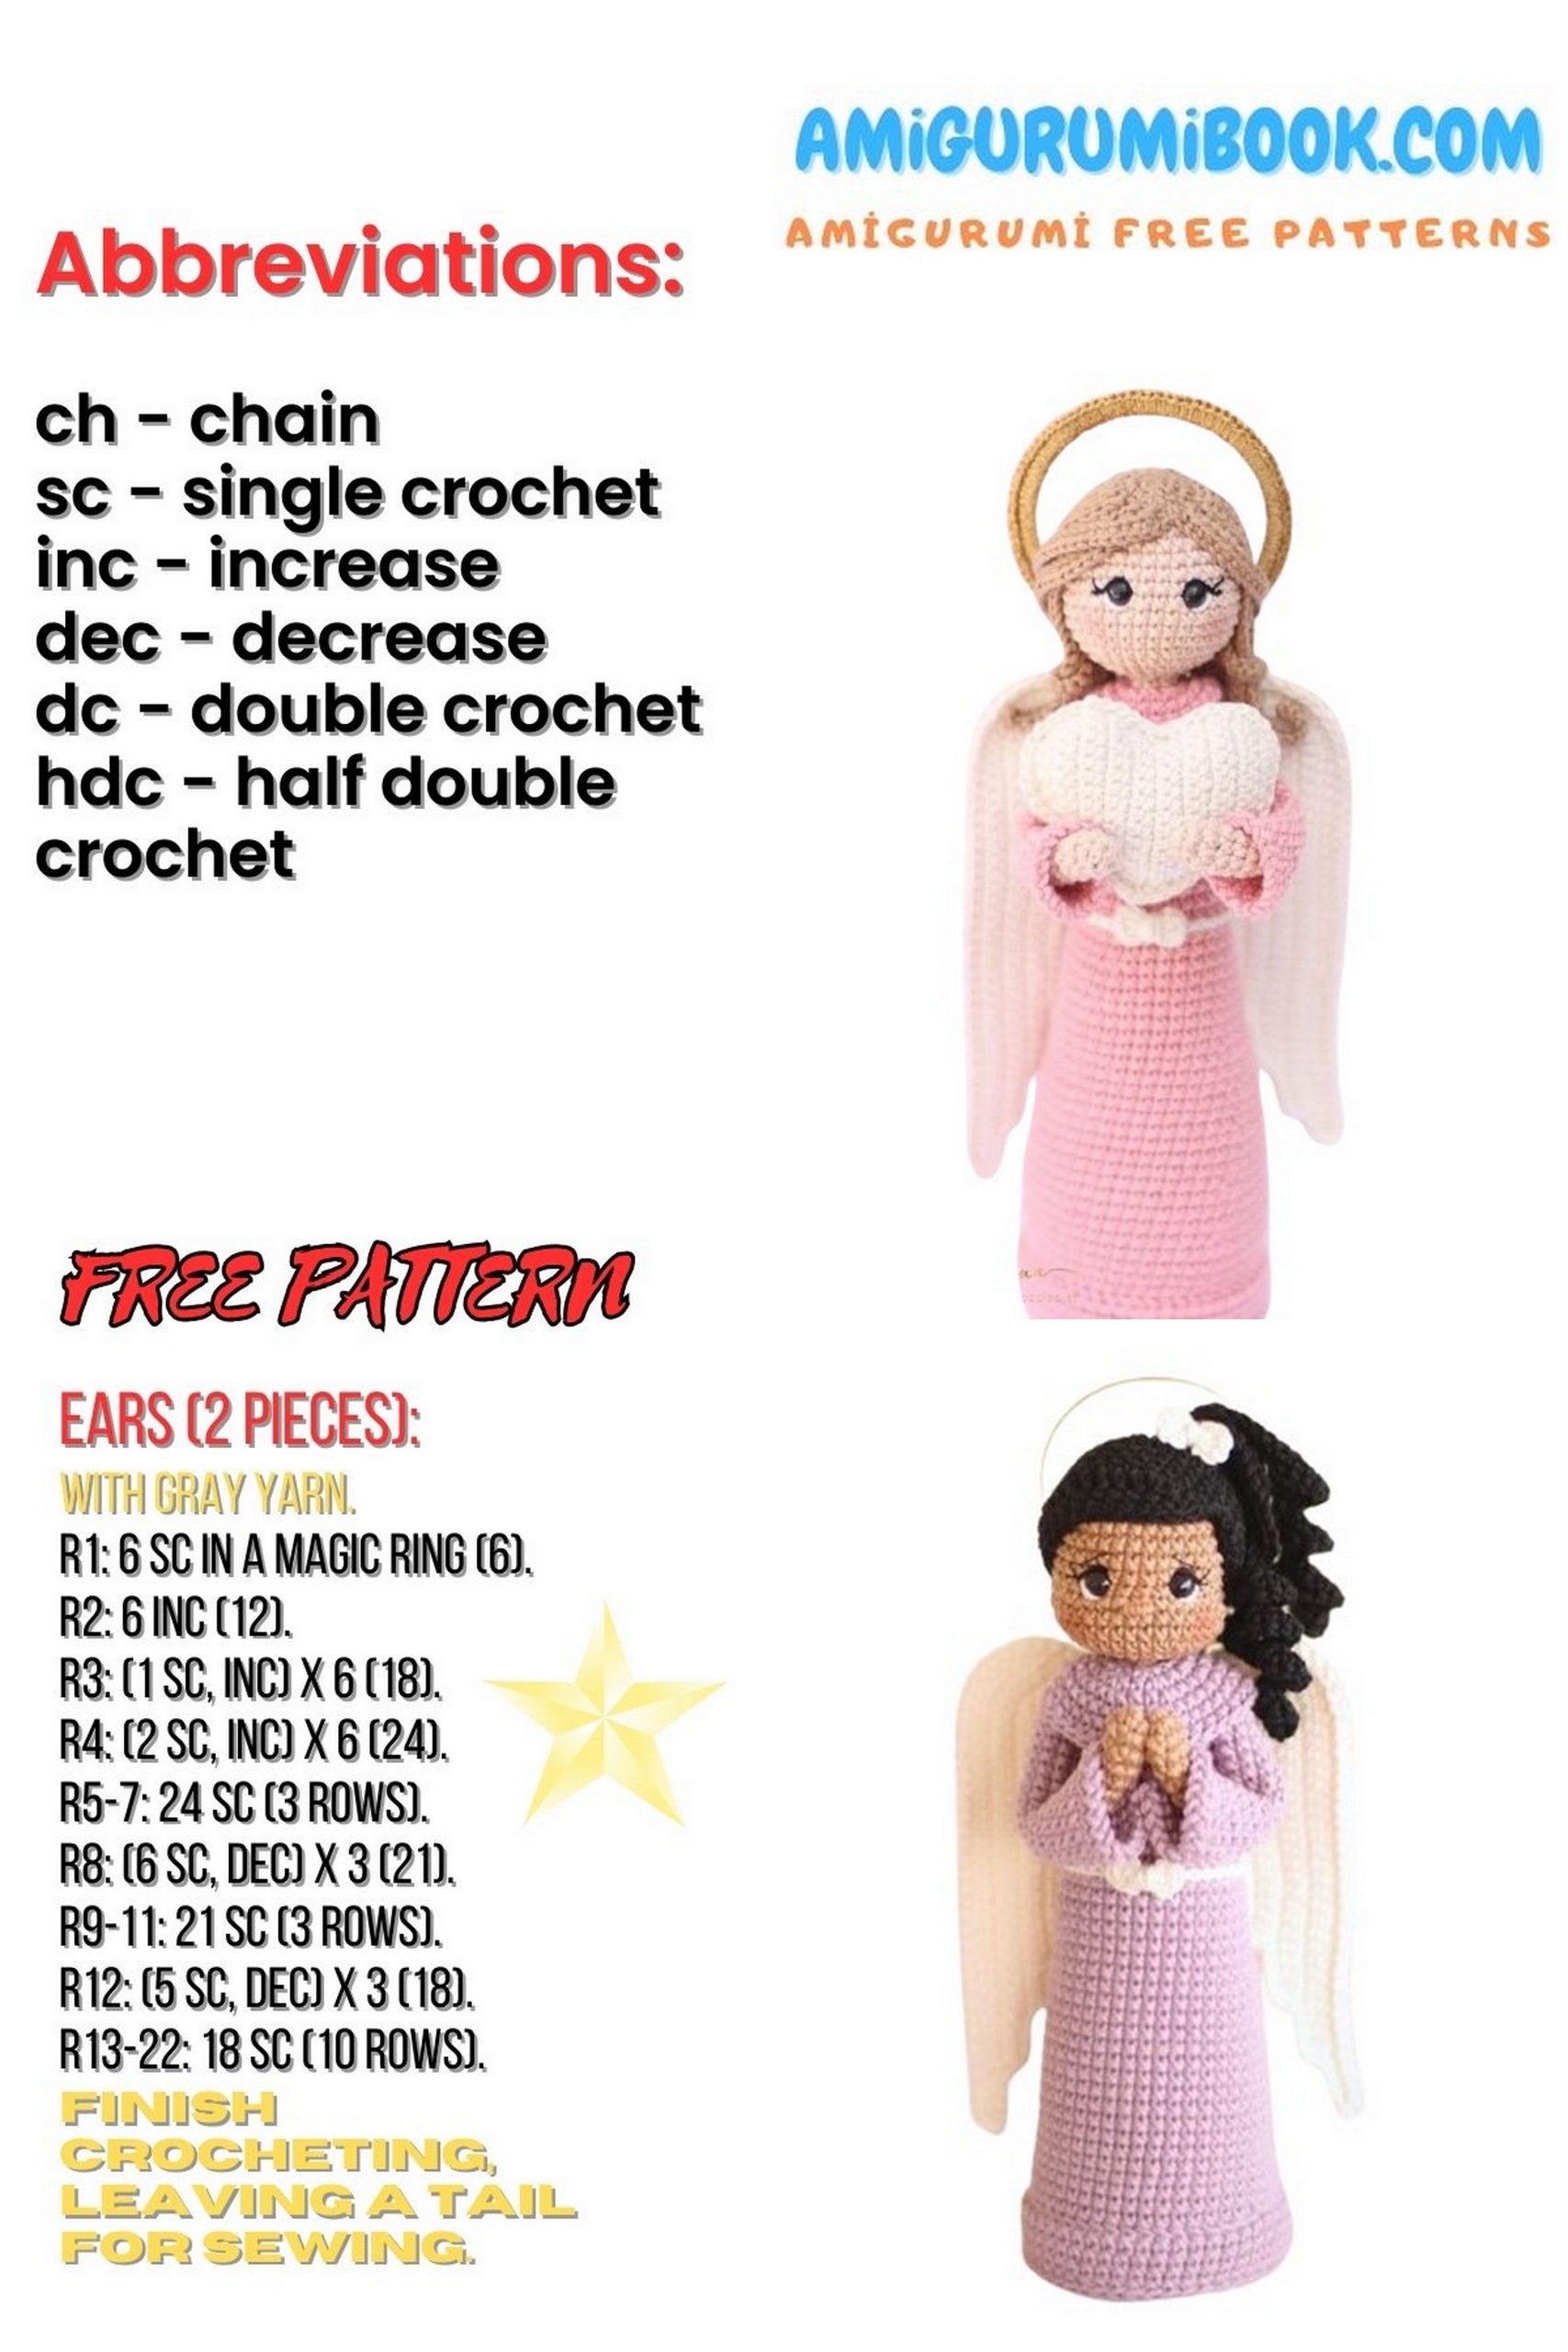
Abbreviations
MR – Magic Ring
CH – Chain
SC – Single Crochet
SL ST – Slip Stitch
INC – Increase
DEC – Decrease
BLO – Back Loops Only
FLO – Front Loops Only
More pattern translations are available with a subscription to the private “VIP Hook Club” on VK and Telegram! Ask the group administrator.
Before you start, let me explain how to hide decreases along the sides of the piece.
I primarily used counting to align the decreases along the sides.
At the beginning of each highlighted row, crochet an extra double crochet. This extra stitch will NOT be counted. The stitch marker will always indicate the beginning of the next row, excluding the extra SC.
Note:
The “extra” SC is NOT an increase. It is simply a stitch used to move the marker when aligning decreases.
Amigurumi Angel Pattern:
For example:
Work Row 39 as usual, then continue crocheting an SC for adjustment, then start Row 40 and insert the marker to indicate the beginning of the row.
How I Embroider Eyes…
Cut 2 pieces of felt and make a hole in the middle. Place this felt between the eye and the stopper on the inside of the piece.
The eyes should be inserted directly below the increases in the central part of the head in Row 11 (for the large angel) and Row 10 (for the Christmas angel).
There should be 4 stitches between the eyes.
Before inserting the eyes, I thread the yarn through the hole where the eyes will be placed. Lay the white thread down and the black thread diagonally upward, as shown in the photo.
First, insert the eye, then add the felt, and finally the stopper. Embroider the white part of the eye at the lower part of the eye, and lastly, use Bella Fashion black yarn to embroider the black arrow.
Repeat the same for the other eye.
How I Embroider the Nose…
With skin-colored yarn, embroider the nose right in the center of the decrease in Row 9 (for the large angel) or Row 8 (for the Christmas angel).
Make one horizontal stitch, then 7 or 8 vertical wraps around this stitch.
Now, use black thread and a sewing needle to embroider the eyelashes and eyebrows.
Reinforcing the Head
For support inside the head, I use a piece of a balloon straw or any very sturdy stick. I cut the straw diagonally to sharpen it, making it easier to push through the body. Rotate the straw until it is inserted deep enough into the head.
To maintain the shape of the cheeks, you can roll a tight ball in your hands, place it in the cheek area, and slide one end onto the straw.
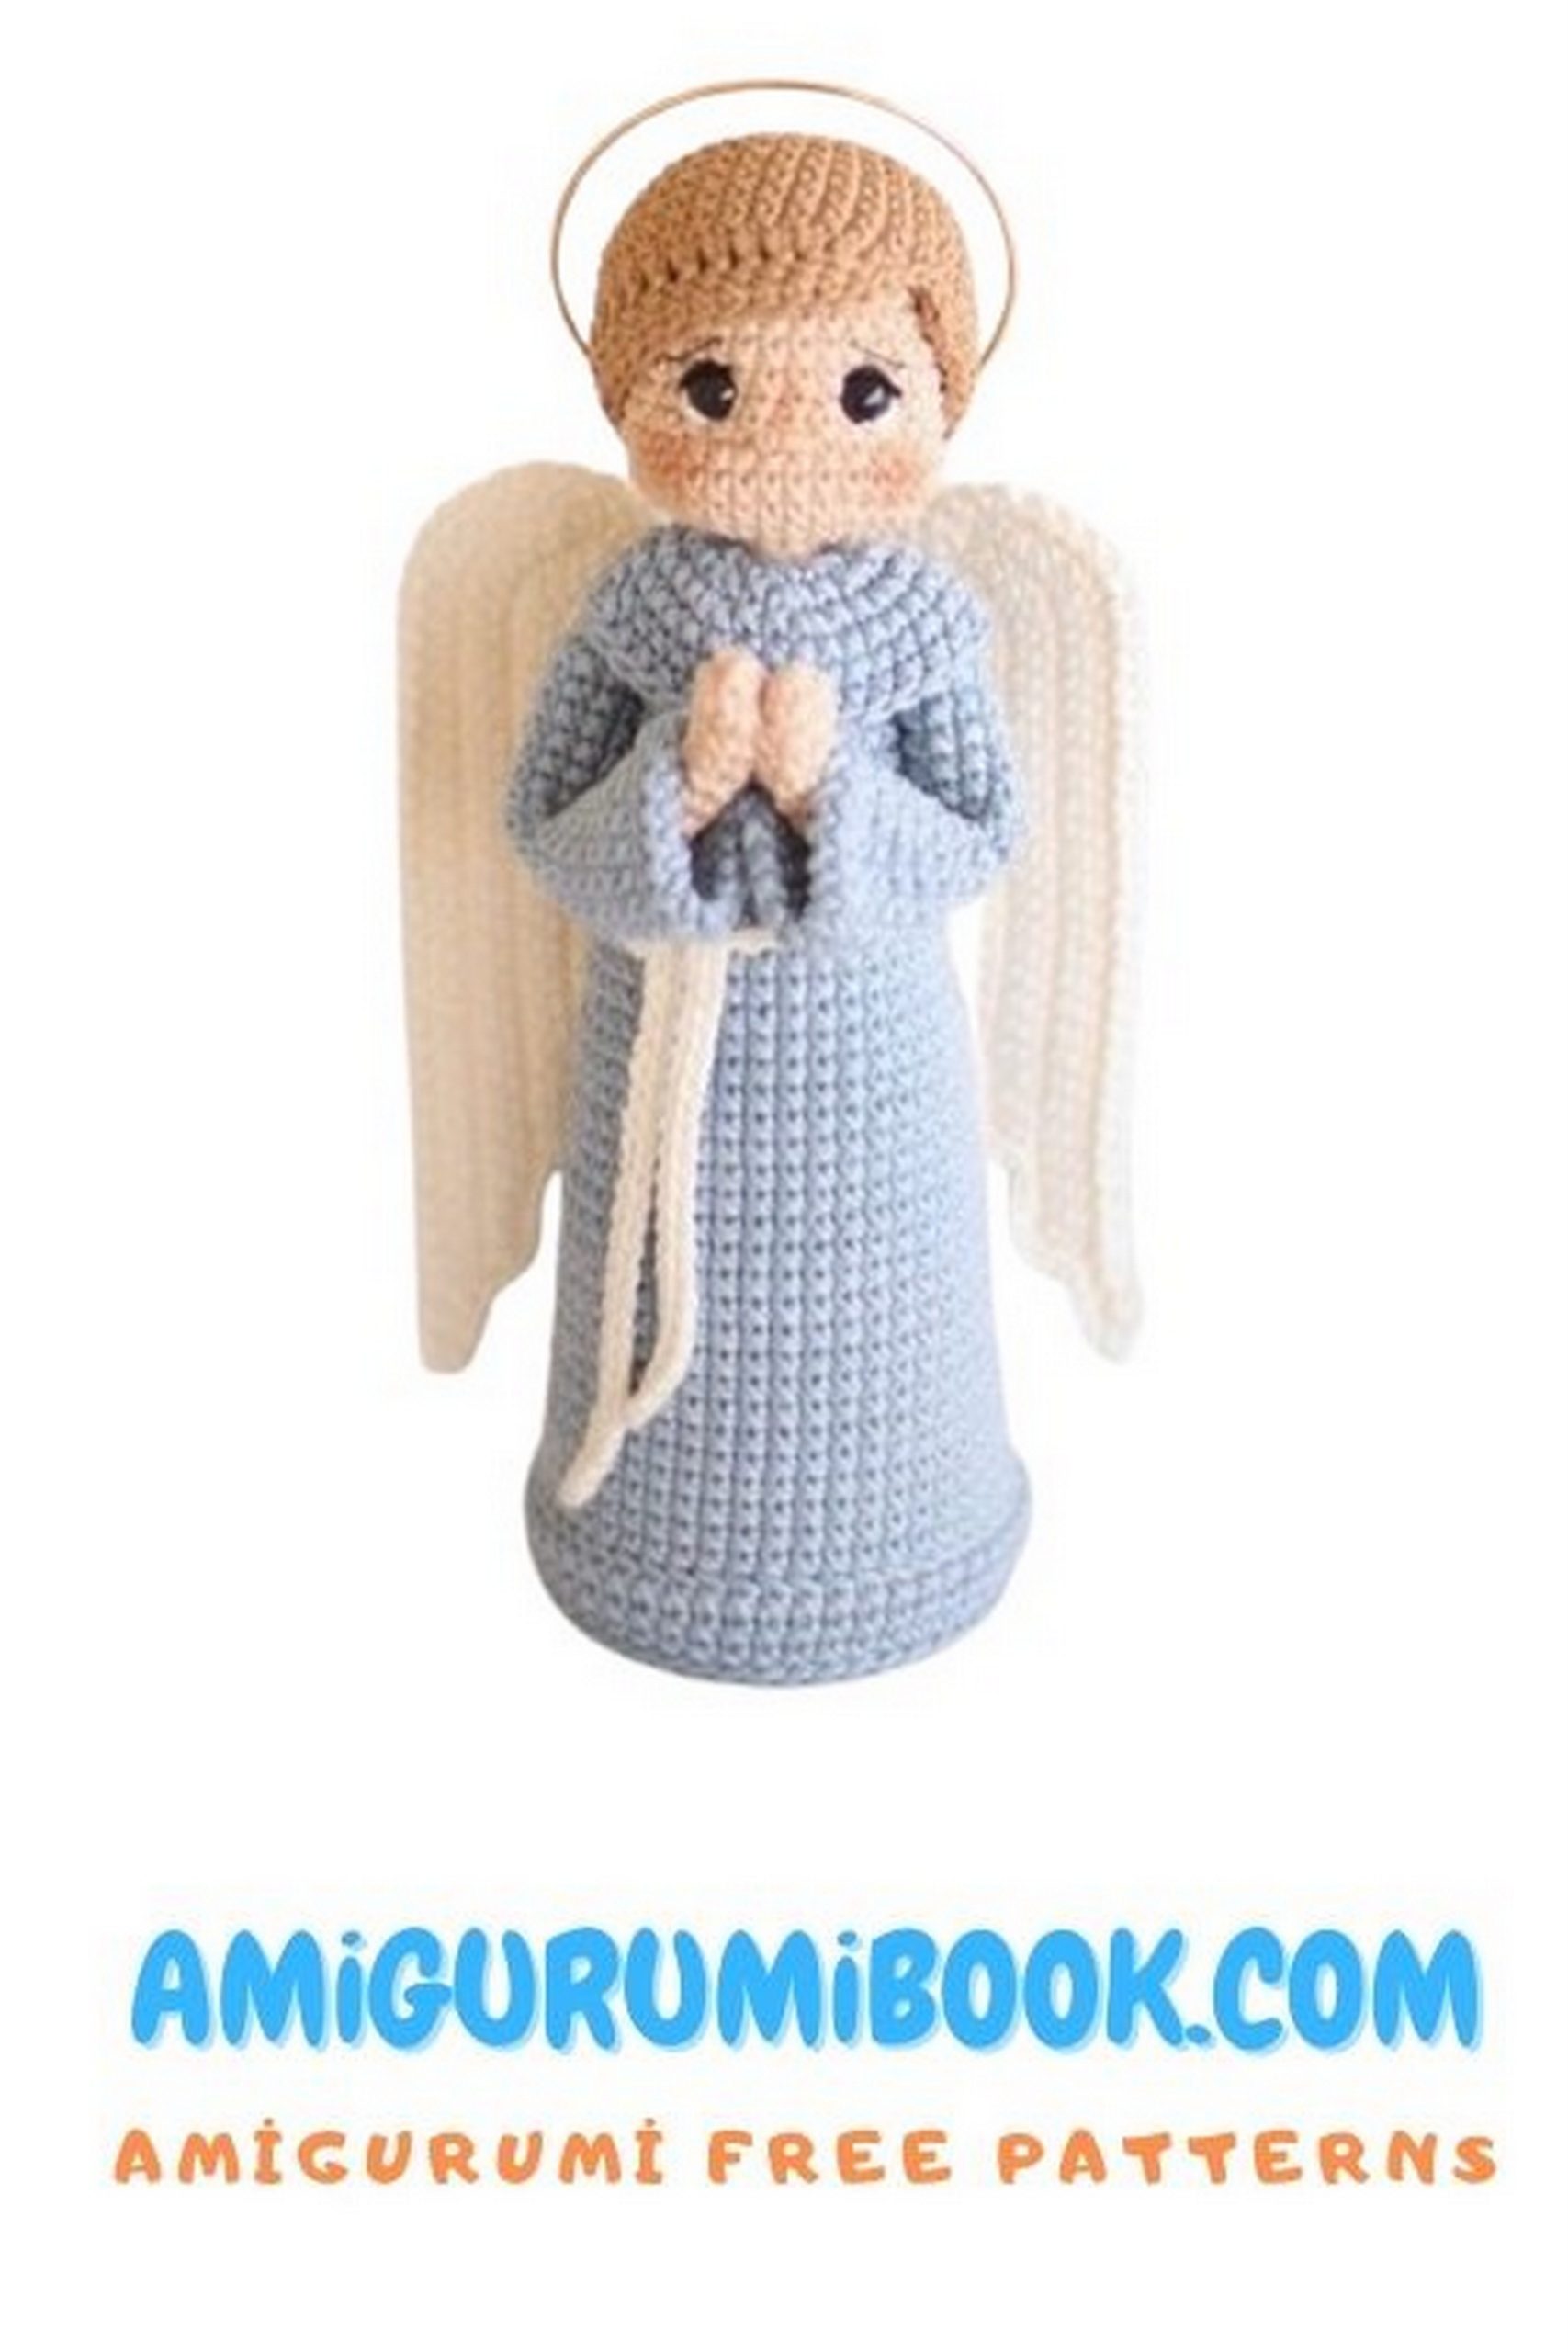
Large Amigurumi Angel Base (22 cm)
Start with the yarn chosen for the base color.
1: 6 sc into MR
2: 6 inc (12)
3: (1 sc, inc) x6 (18)
4: (2 sc, inc) x6 (24)
5: (3 sc, inc) x6 (30)
6: (4 sc, inc) x6 (36)
7: (5 sc, inc) x6 (42)
8: (6 sc, inc) x6 (48)
9: 3 sc, inc, (6 sc, inc) x5, 1 sc, 2 sl st (48)
Note: I like to finish the base with two sl st to make the edge of the detail more even before working the next row in back loops only (BLO).
10: 48 sc (BLO)
11: 48 sc
12: 48 sc
13: 48 sc
14: (22 sc, dec) x2 (46)
15: 46 sc
16: 46 sc
17: 46 sc
For support, I always insert a plastic lid, such as from Toddy or Nutella, into the bottom of the base. You can also cut a base from a yogurt or ice cream lid. There are also special acrylic bases available in craft stores.
Large Amigurumi Angel Base (22 cm)
Make an additional sc and move the marker to the beginning of the next row
18: (21 sc, dec) x2 (44)
19: 44 sc
20: 44 sc
21: 44 sc
22: (20 sc, dec) x2 (42)
23: 42 sc
24: 42 sc
25: 42 sc
Make an additional sc and move the marker to the beginning of the next row
26: (19 sc, dec) x2 (40)
27: 40 sc
28: 40 sc
29: (18 sc, dec) x2 (38)
30: 38 sc
31: 38 sc
Make an additional sc and move the marker to the beginning of the next row
32: (17 sc, dec) x2 (36)
33: 36 sc
34: 36 sc
35: (16 sc, dec) x2 (34)
36: 34 sc
Make an additional sc and move the marker to the beginning of the next row
37: (15 sc, dec) x2 (32)
38: 32 sc
39: (14 sc, dec) x2 (30)
40: 30 sc
Make an additional sc and move the marker to the beginning of the next row
41: (13 sc, dec) x2 (28)
42: 28 sc
43: (12 sc, dec) x2 (26)
44: 26 sc
Make an additional sc and move the marker to the beginning of the next row
45: (11 sc, dec) x2 (24)
46: 24 sc
47: (2 sc, dec) x6 (18)
48: (1 sc, dec) x6 (12)
49: (1 sc, dec) x4 (8)
50: 8 sl st
Change color in the last sl st to start working on the head.
Stuff the base lightly
Large Amigurumi Angel Head (22 cm)
1: 8 sl st (BLO)
2: 8 sc (BLO)
3: 8 inc (FLO) (16)
4: (1 sc, inc) x8 (24)
5: (3 sc, inc) x6 (30)
6: (4 sc, inc) x6 (36)
7: 36 sc
8: 36 sc
9: 5 sc, dec, 1 sc, dec, 2 sc, dec, 2 sc, dec, 1 sc, dec, 15 sc (31)
10: 31 sc
11: inc, 7 sc, inc, 4 sc, inc, 7 sc, inc, 4 sc, inc, 4 sc (36)
Insert the eyes as described at the beginning of the tutorial.
12: 36 sc
13: 36 sc
14: 36 sc
15: (4 sc, dec) x6 (30)
16: (3 sc, dec) x6 (24)
17: (2 sc, dec) x6 (18)
18: (1 sc, dec) x6 (12)
19: 6 dec (6)
20: Close the hole with a needle and finish off.
Return to the 3rd or 4th row from the edge of the base. Hold the piece upside down and start crocheting the edge by making sc around the entire perimeter. Make sure to crochet through the entire stitch of the base.
On the opposite side of the piece, go up one stitch diagonally to align the border.
Continue crocheting sc rows until you reach the height of the piece or slightly beyond. Once you reach the desired height, make a row of sl st.
Now make ANOTHER row of sl st on top of the previous sl st row. This will create a straight and sturdy base for your angels.
Hands and Sleeves (x2)
Hands – Amigurumi Angel:
Start crocheting the hand with flesh-colored yarn.
1: 5 sc into MR
2: inc, 2 sc, inc, 1 sc (7)
3: inc, 6 sc (8)
4: 8 sc
5: dec, 6 sc (7)
6: dec, 5 sc (6)
7-11: 6 sc (5 rows)
Finish off
Sleeves – Amigurumi Angel:
Crochet the sleeves with the same yarn as the angel’s base.
1: 6 sc into MR
2: (inc, sc) x3 (9)
3-10: 9 sc (8 rows)
11: 8 sc, inc (10)
12: (4 sc, inc) x2 (12)
13: (5 sc, inc) x2 (14)
14: 14 sc
15: (6 sc, inc) x2 (16)
16: 16 sc
17: (7 sc, inc) x2 (18)
18: Decorative edge (sl st, ch) – repeat until the end of the row
Finish off.
Assembling the Hand
Cut 2 pieces of wire. Bend one end of the wire and insert it inside the angel’s hand.
Fit the hand into the sleeve before bending the other end of the wire. You might need to trim the wire a bit more.
Note: The hand should be on the outside of the sleeve, while the rest of the arm should be inside the sleeve.
You can either sew or glue the hands inside the sleeve. I always glue them. I apply a large amount of glue inside the sleeve, place the hand inside, wait for it to dry for about 20 minutes before sewing the hands to the body.
Attaching the Hands
Cut a piece of amigurumi yarn in the same color as the base for sewing the hands.
Pin the hands to the body 3-4 rows below the neck.
Thread the yarn through the back of the piece, passing it through 2 stitches on one hand, then through 2 stitches on the other hand.
Bring the yarn out at the same spot where it was inserted into the back, tie two or three knots, and hide the knots inside the piece. If desired, repeat the process to make the hands more secure.
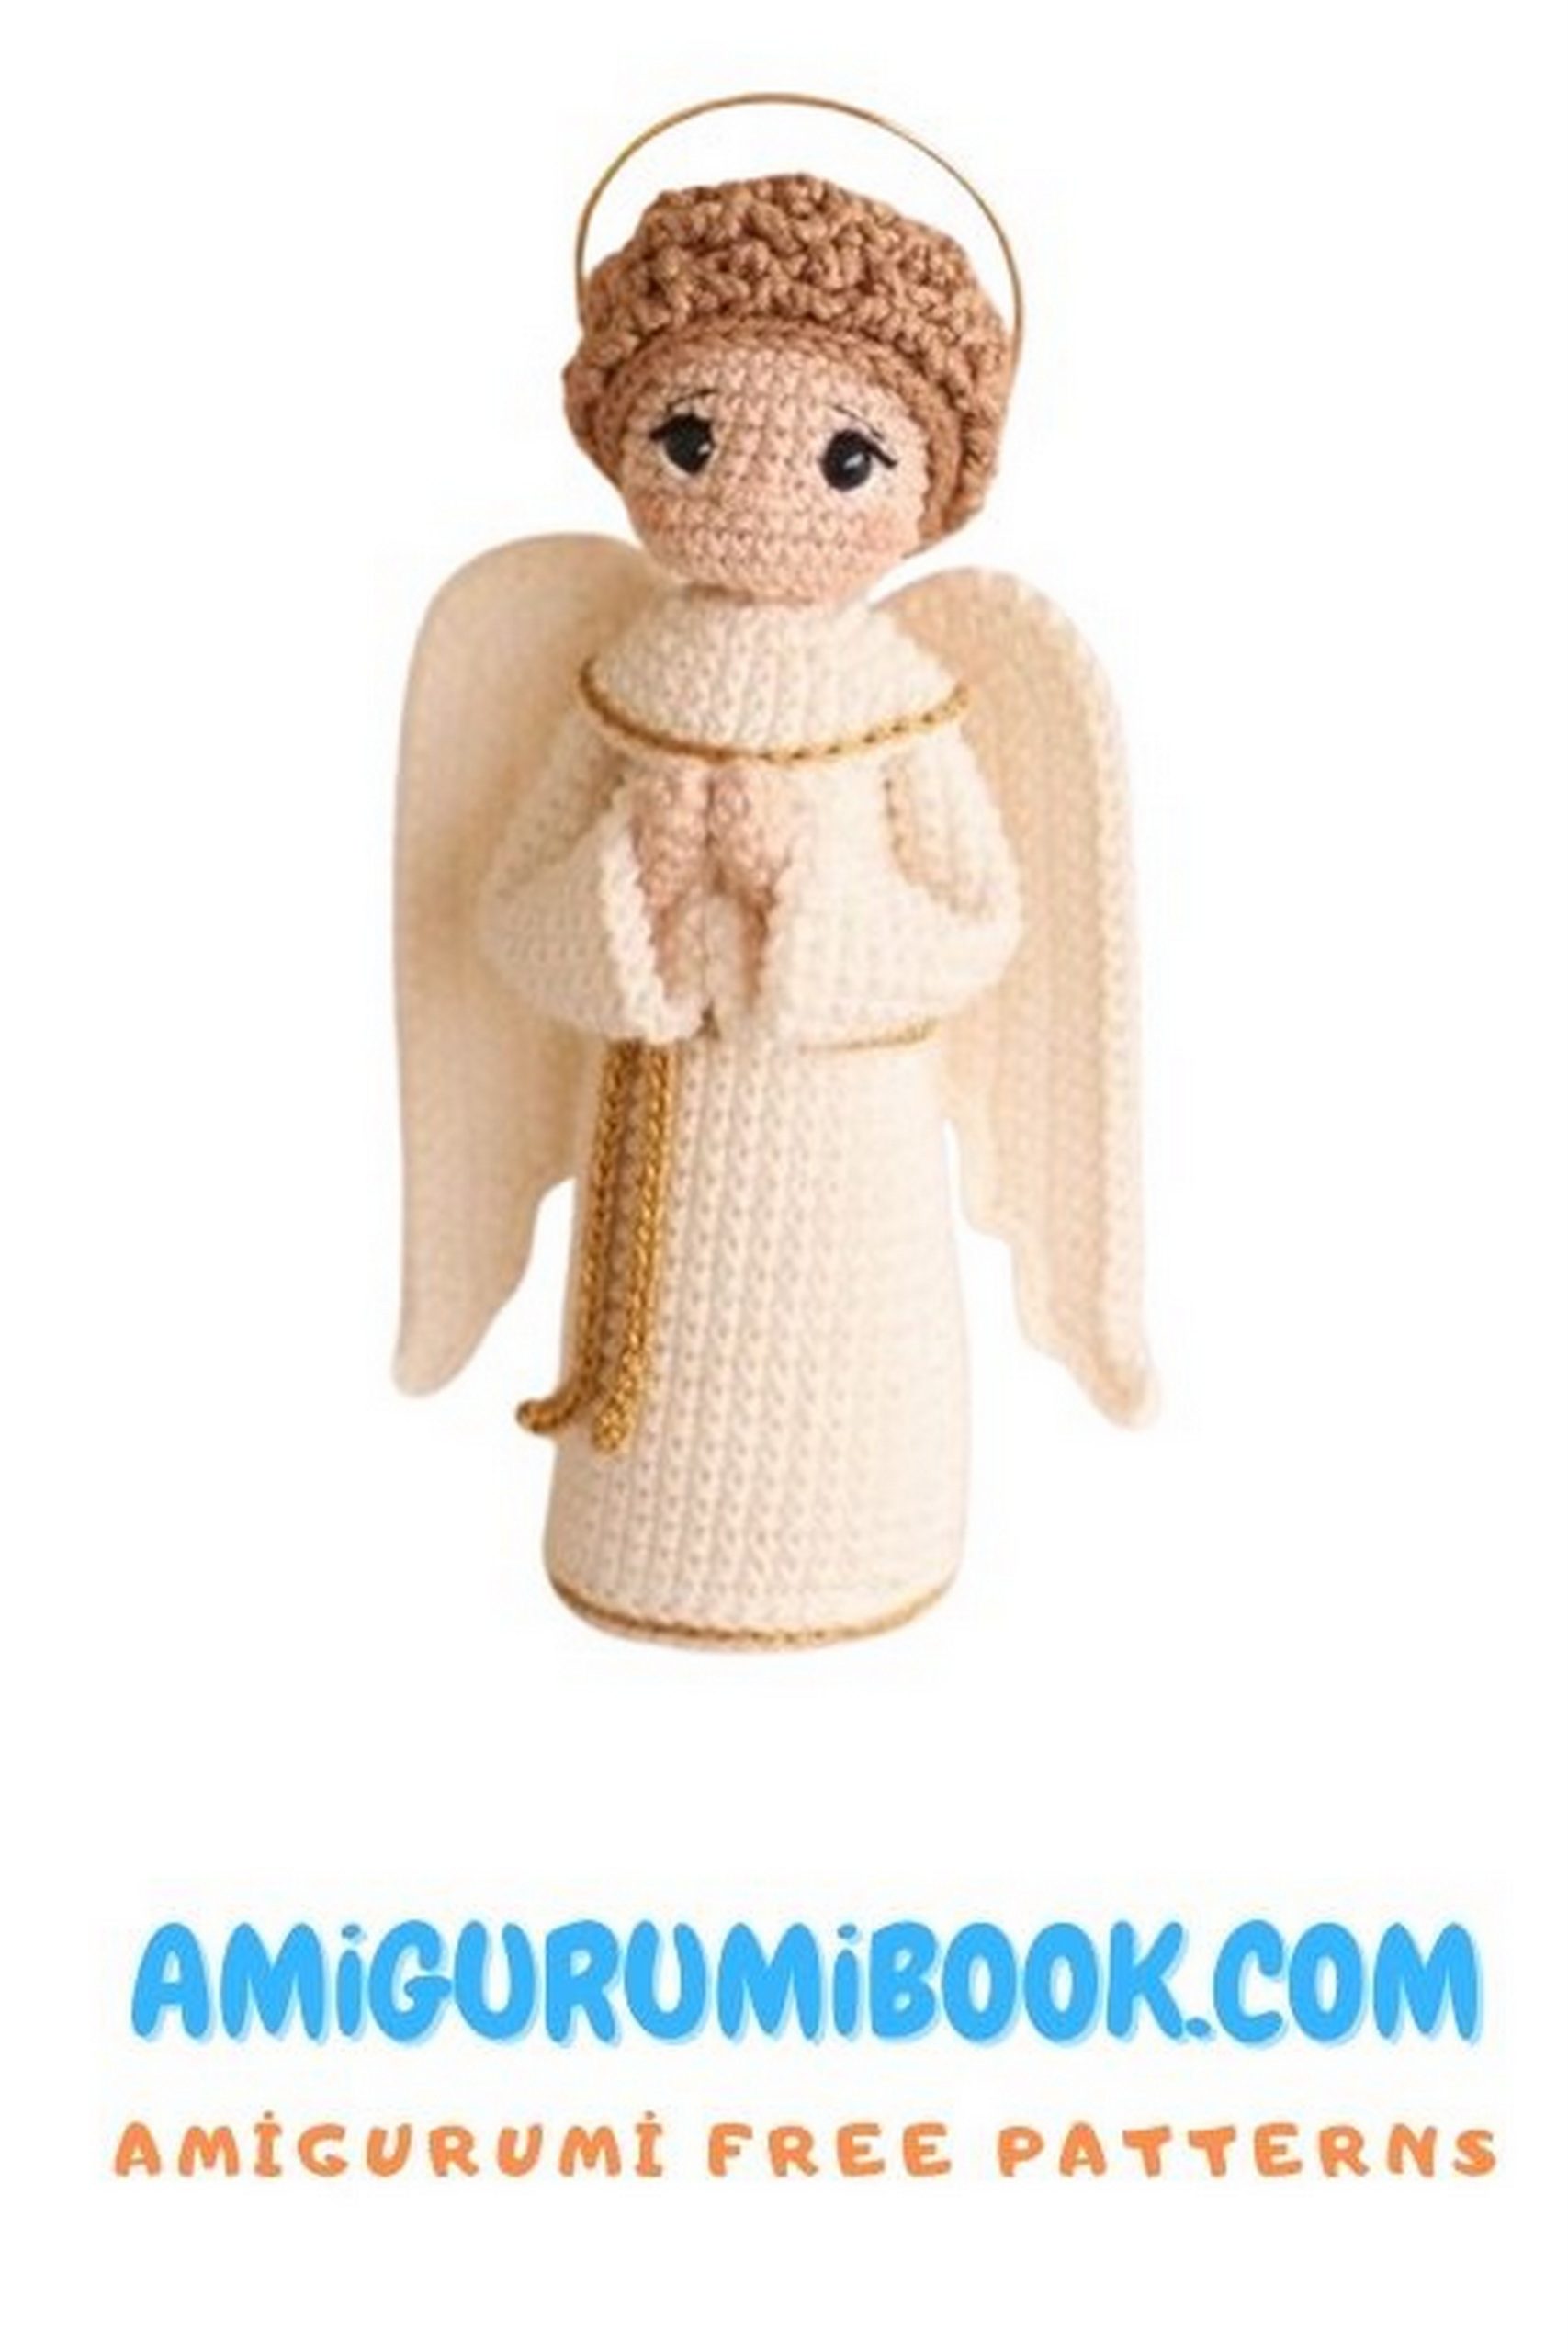
Collar – Amigurumi Angel
Turn the piece upside down, insert the hook from the back into the last row between the clothing and the neck.
1: 8 sc
2: 8 inc (BLO) (16)
3: (1 sc, inc) x8 (24)
4: (2 sc, inc) x8 (32)
5: 32 sc
6: 32 sc
7: 32 sc
Finish off.
If you want the collar to be longer, crochet one or two more rows. Remember, the collar should cover the shoulders of the arms.
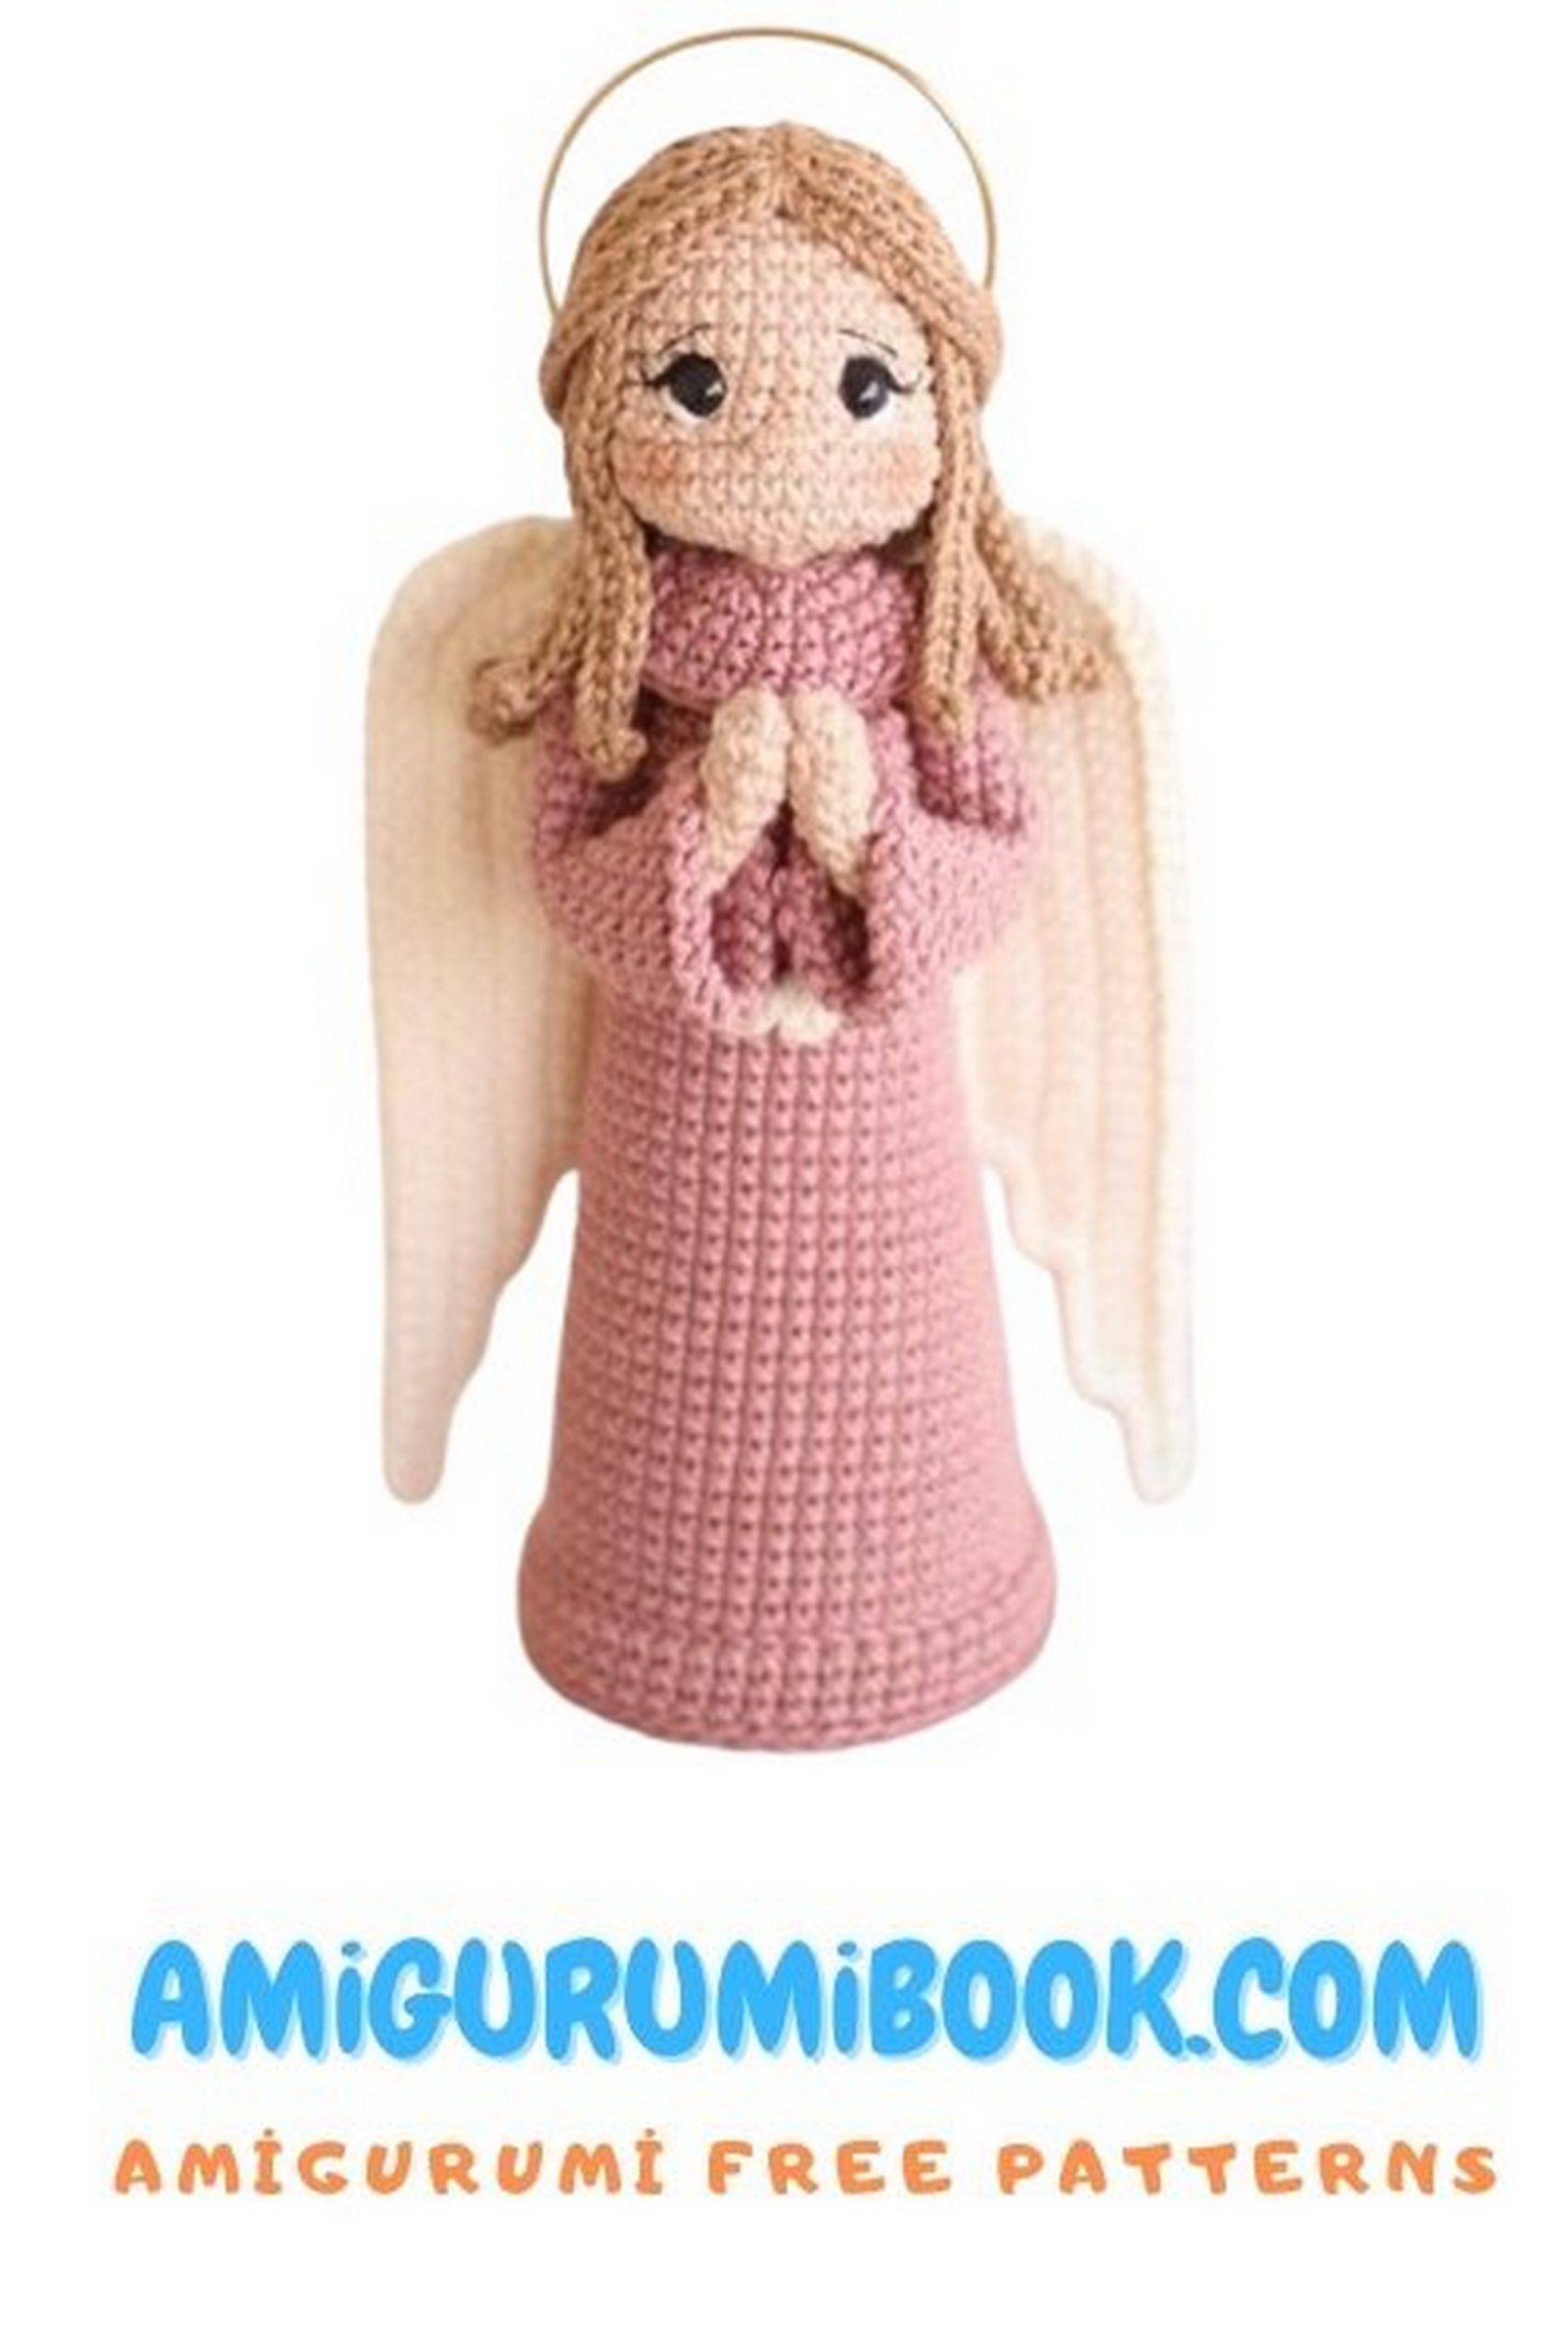
Waist with Bow
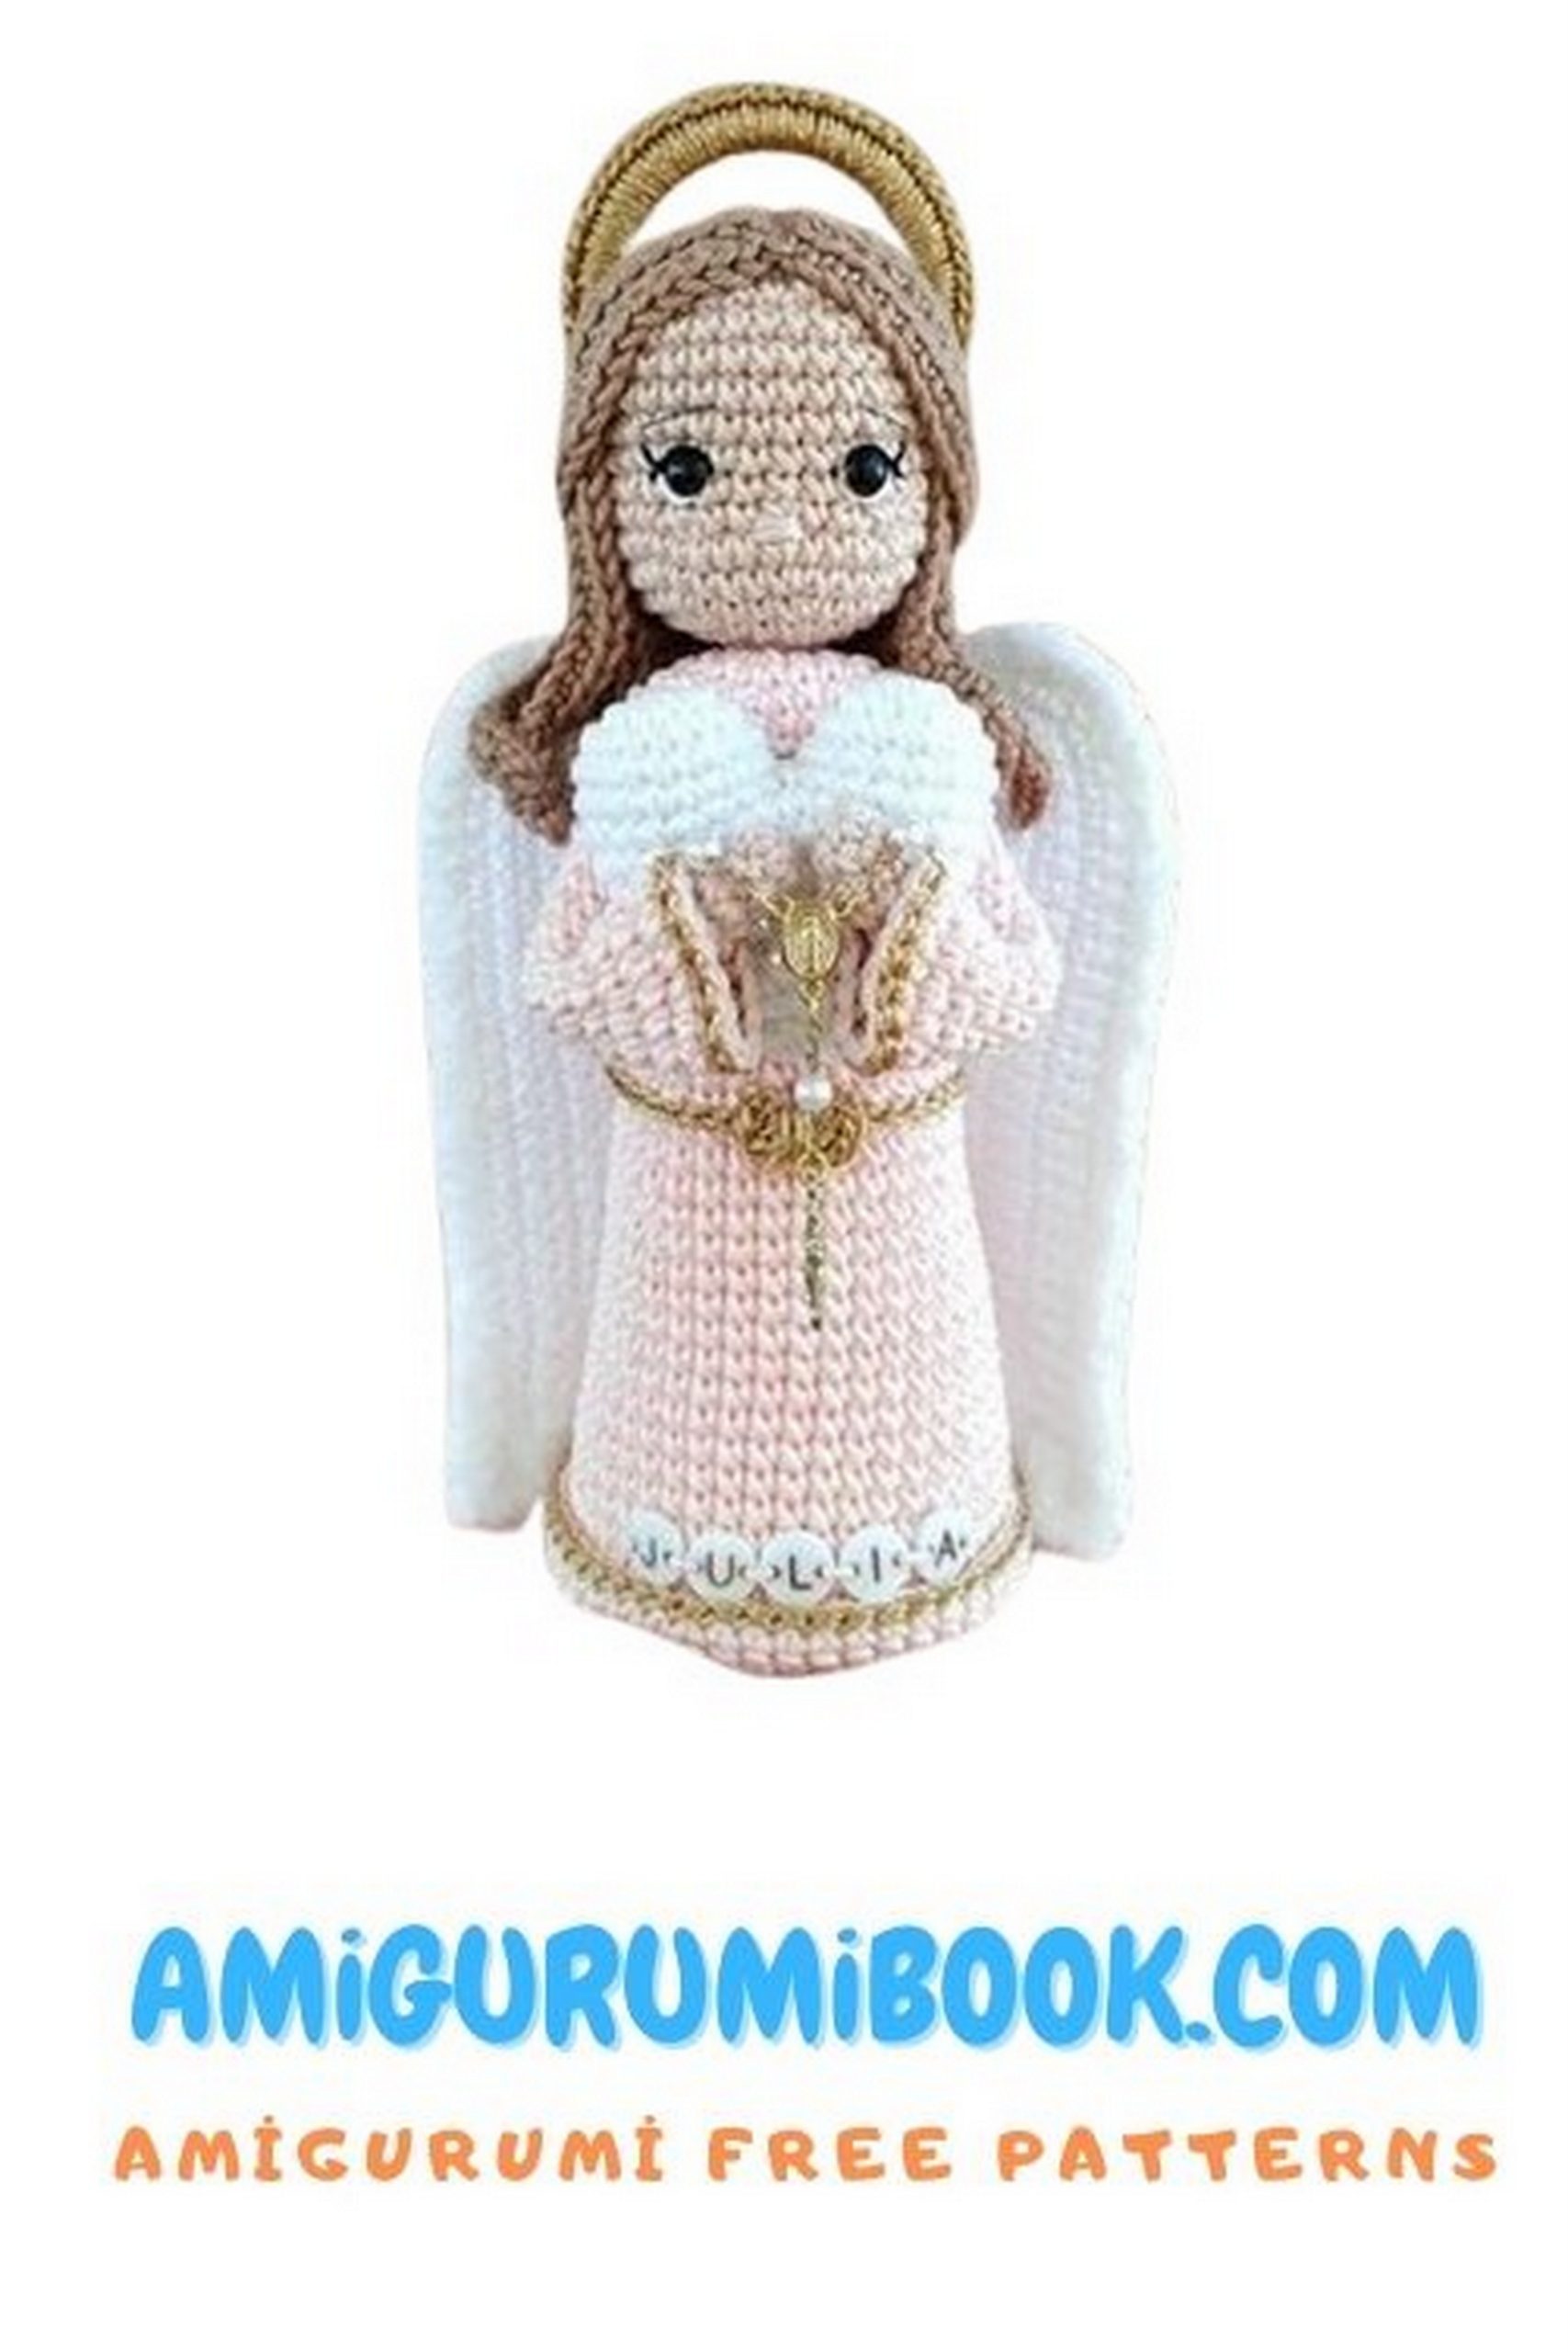
First, fold the hands into a prayer pose to determine the height of the waist. Pin the waistline to make it visible.
Start from the back and crochet one row of sl st along the pinned waistline with milk-white yarn.
Bow – Amigurumi Angel:
1: Into MR: 2 ch, dc, 2 ch, join with sl st
2: 2 ch, dc, 2 ch, join with sl st
Pull the MR tight, and with the remaining yarn, make 2 or 3 wraps to mark the center of the bow.
Sew or glue the bow to the center of the waist.
Large Amigurumi Angel Wings (22 cm)
Initial Part:
1: 6 ch, turn, from the 2nd ch from hook: 4 sc, into last ch: 4 sc, on the other side of the chain: 3 sc, into last ch: 3 sc (14)
2: inc, 3 sc, 4 inc, 3 sc, 3 inc (22)
Continue crocheting the wings in rows with turns.
Continue from the initial part, make 1 sc to start the first wing…
3: 4 ch, turn
Work back: 7 sc, inc, 1 sc, 1 sl st, ch, turn
4: Skip the first ch, 1 sc, inc, 8 sc, 10 ch, turn
Work back: 16 sc, inc, 2 sc, 1 sl st, ch, turn
5: Skip the first ch, 2 sc, inc, 17 sc, 5 ch, turn
Work back: 21 sc, inc, 2 sc, 1 sl st, ch, turn
6: Skip the first ch, 2 sc, inc, 22 sc, 5 ch, turn
Work back: 25 sc, inc, 3 sc, 1 sl st, ch, turn
7: Skip the first ch, 3 sc, inc, 26 sc, 5 ch, turn
Work back: 31 sc, inc
8: Crochet sc until there are only 5 free stitches left in the center of the piece, make 4 ch and repeat the process to crochet the second wing.
When the second wing is finished, edge around the wings with a lace pattern (sl st, ch) on the outer side of the wings, and just crochet sl st on the inner side of the wings, as shown in the last photo.
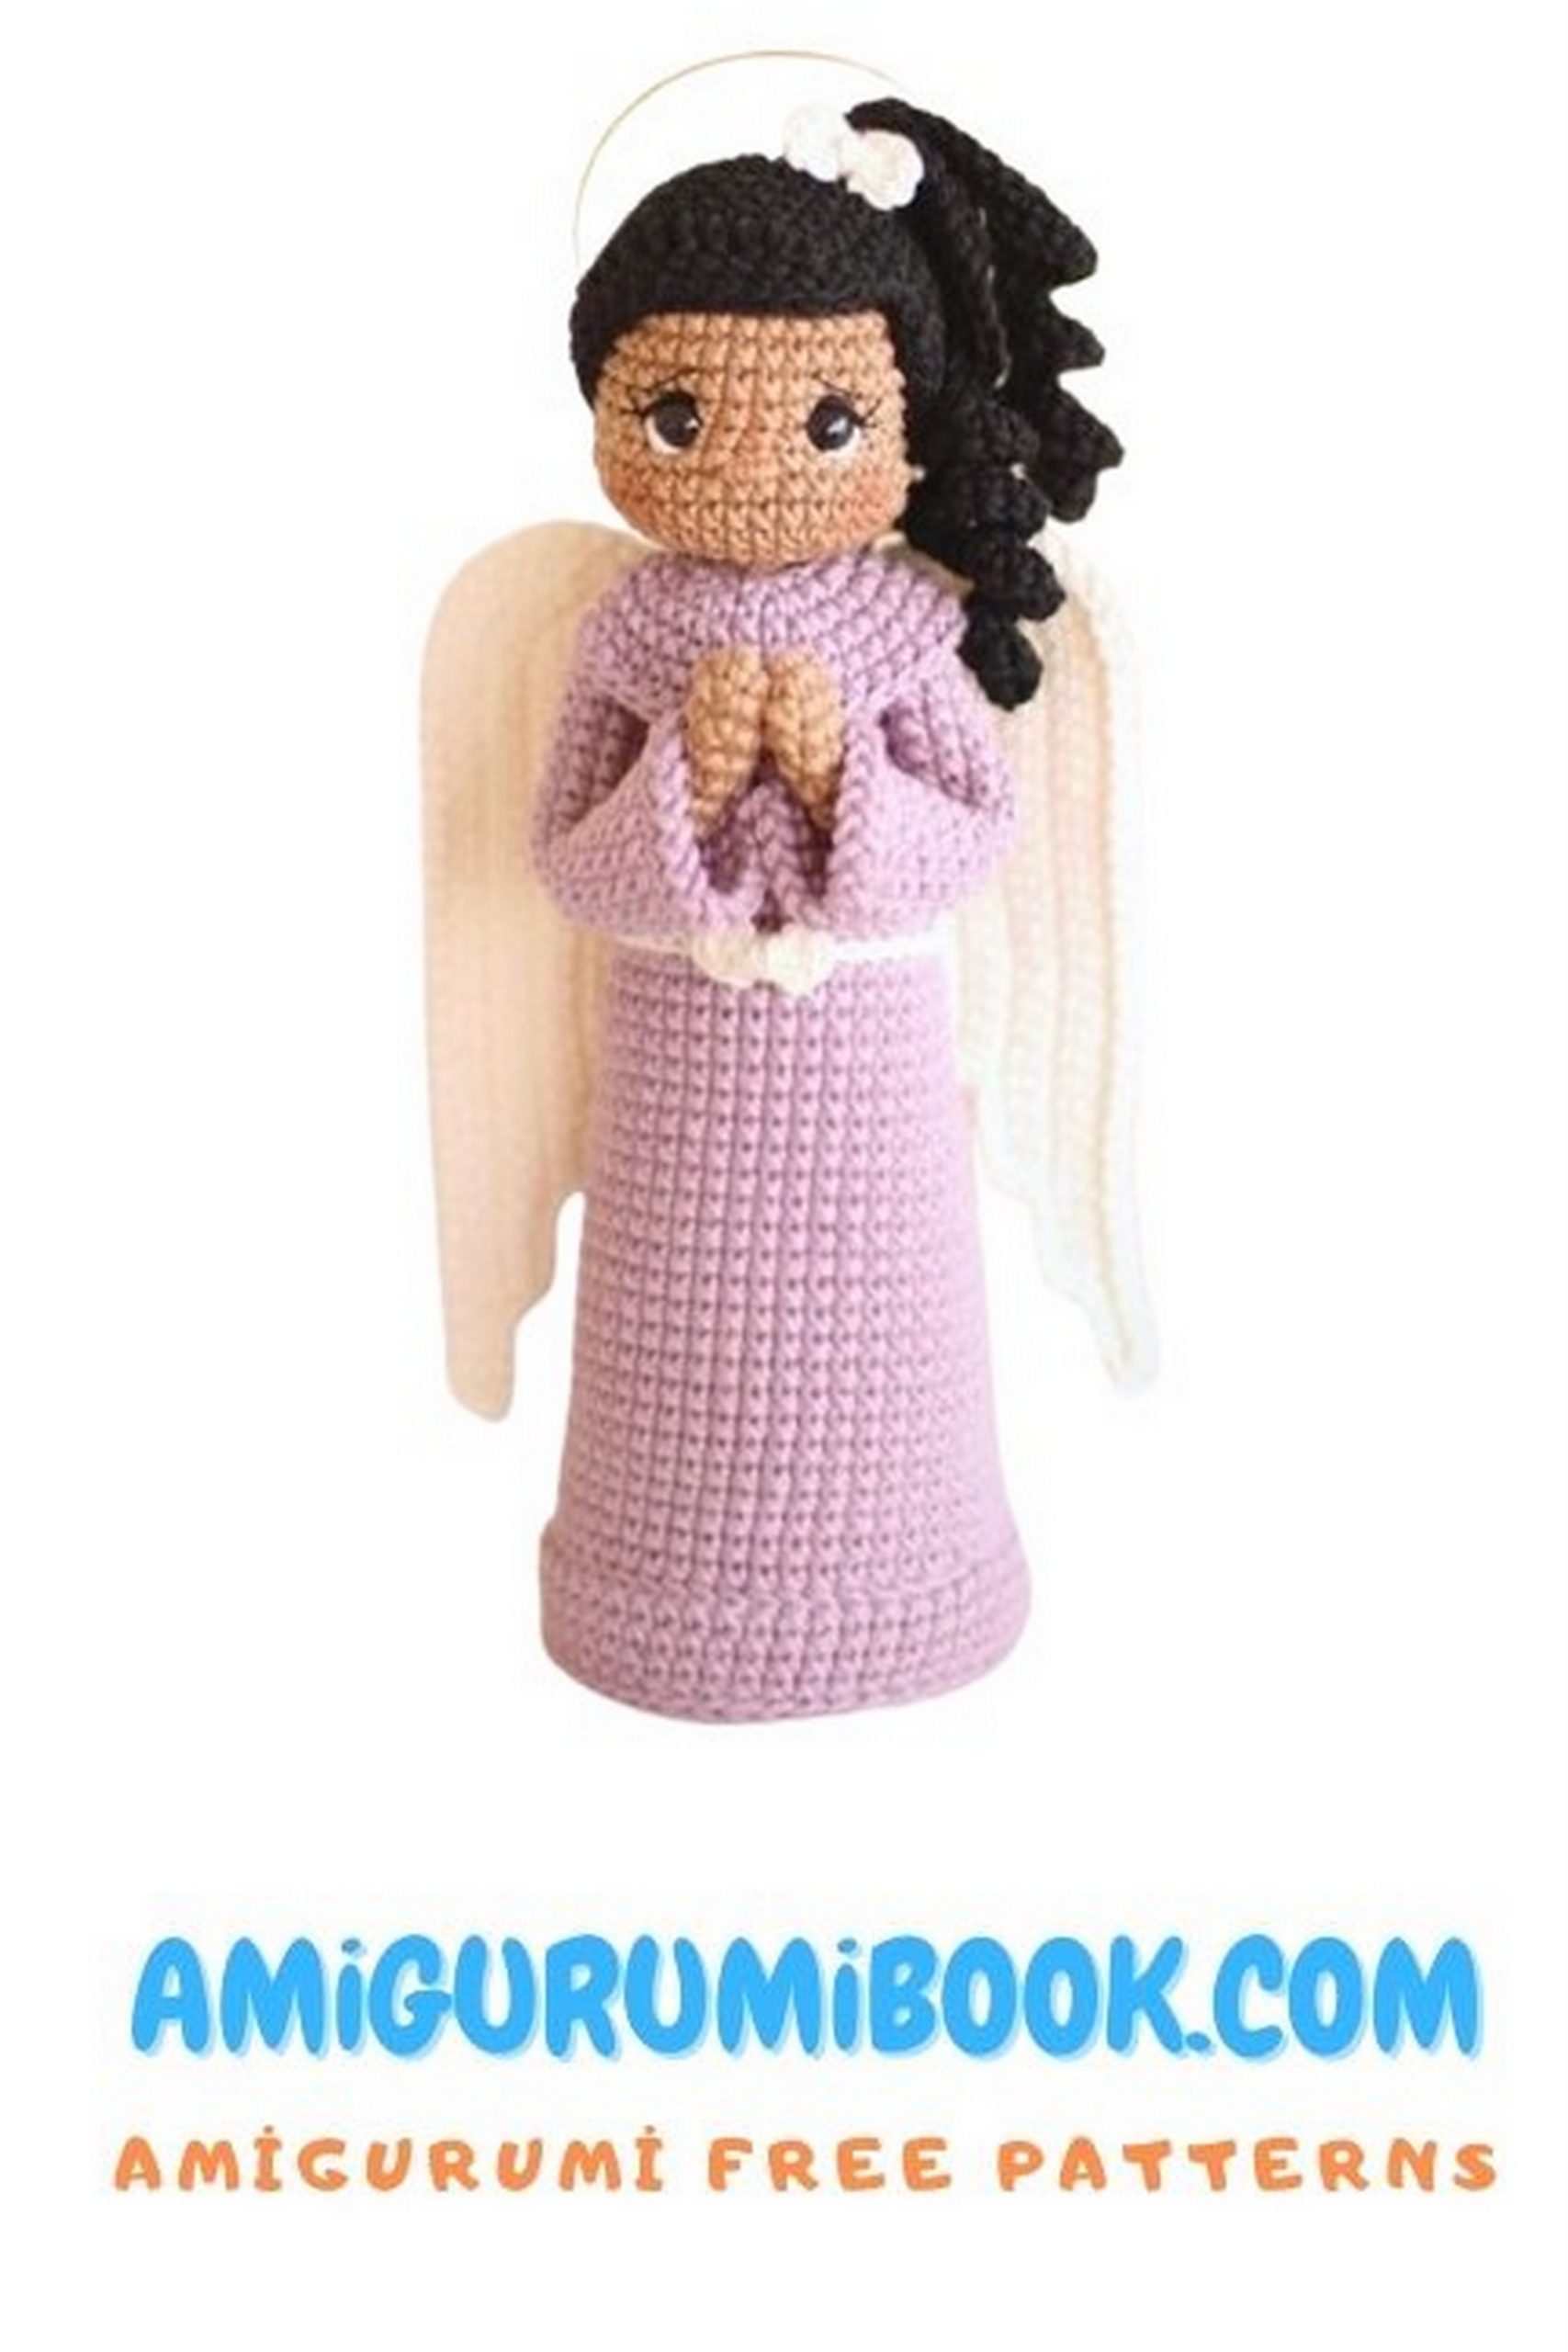
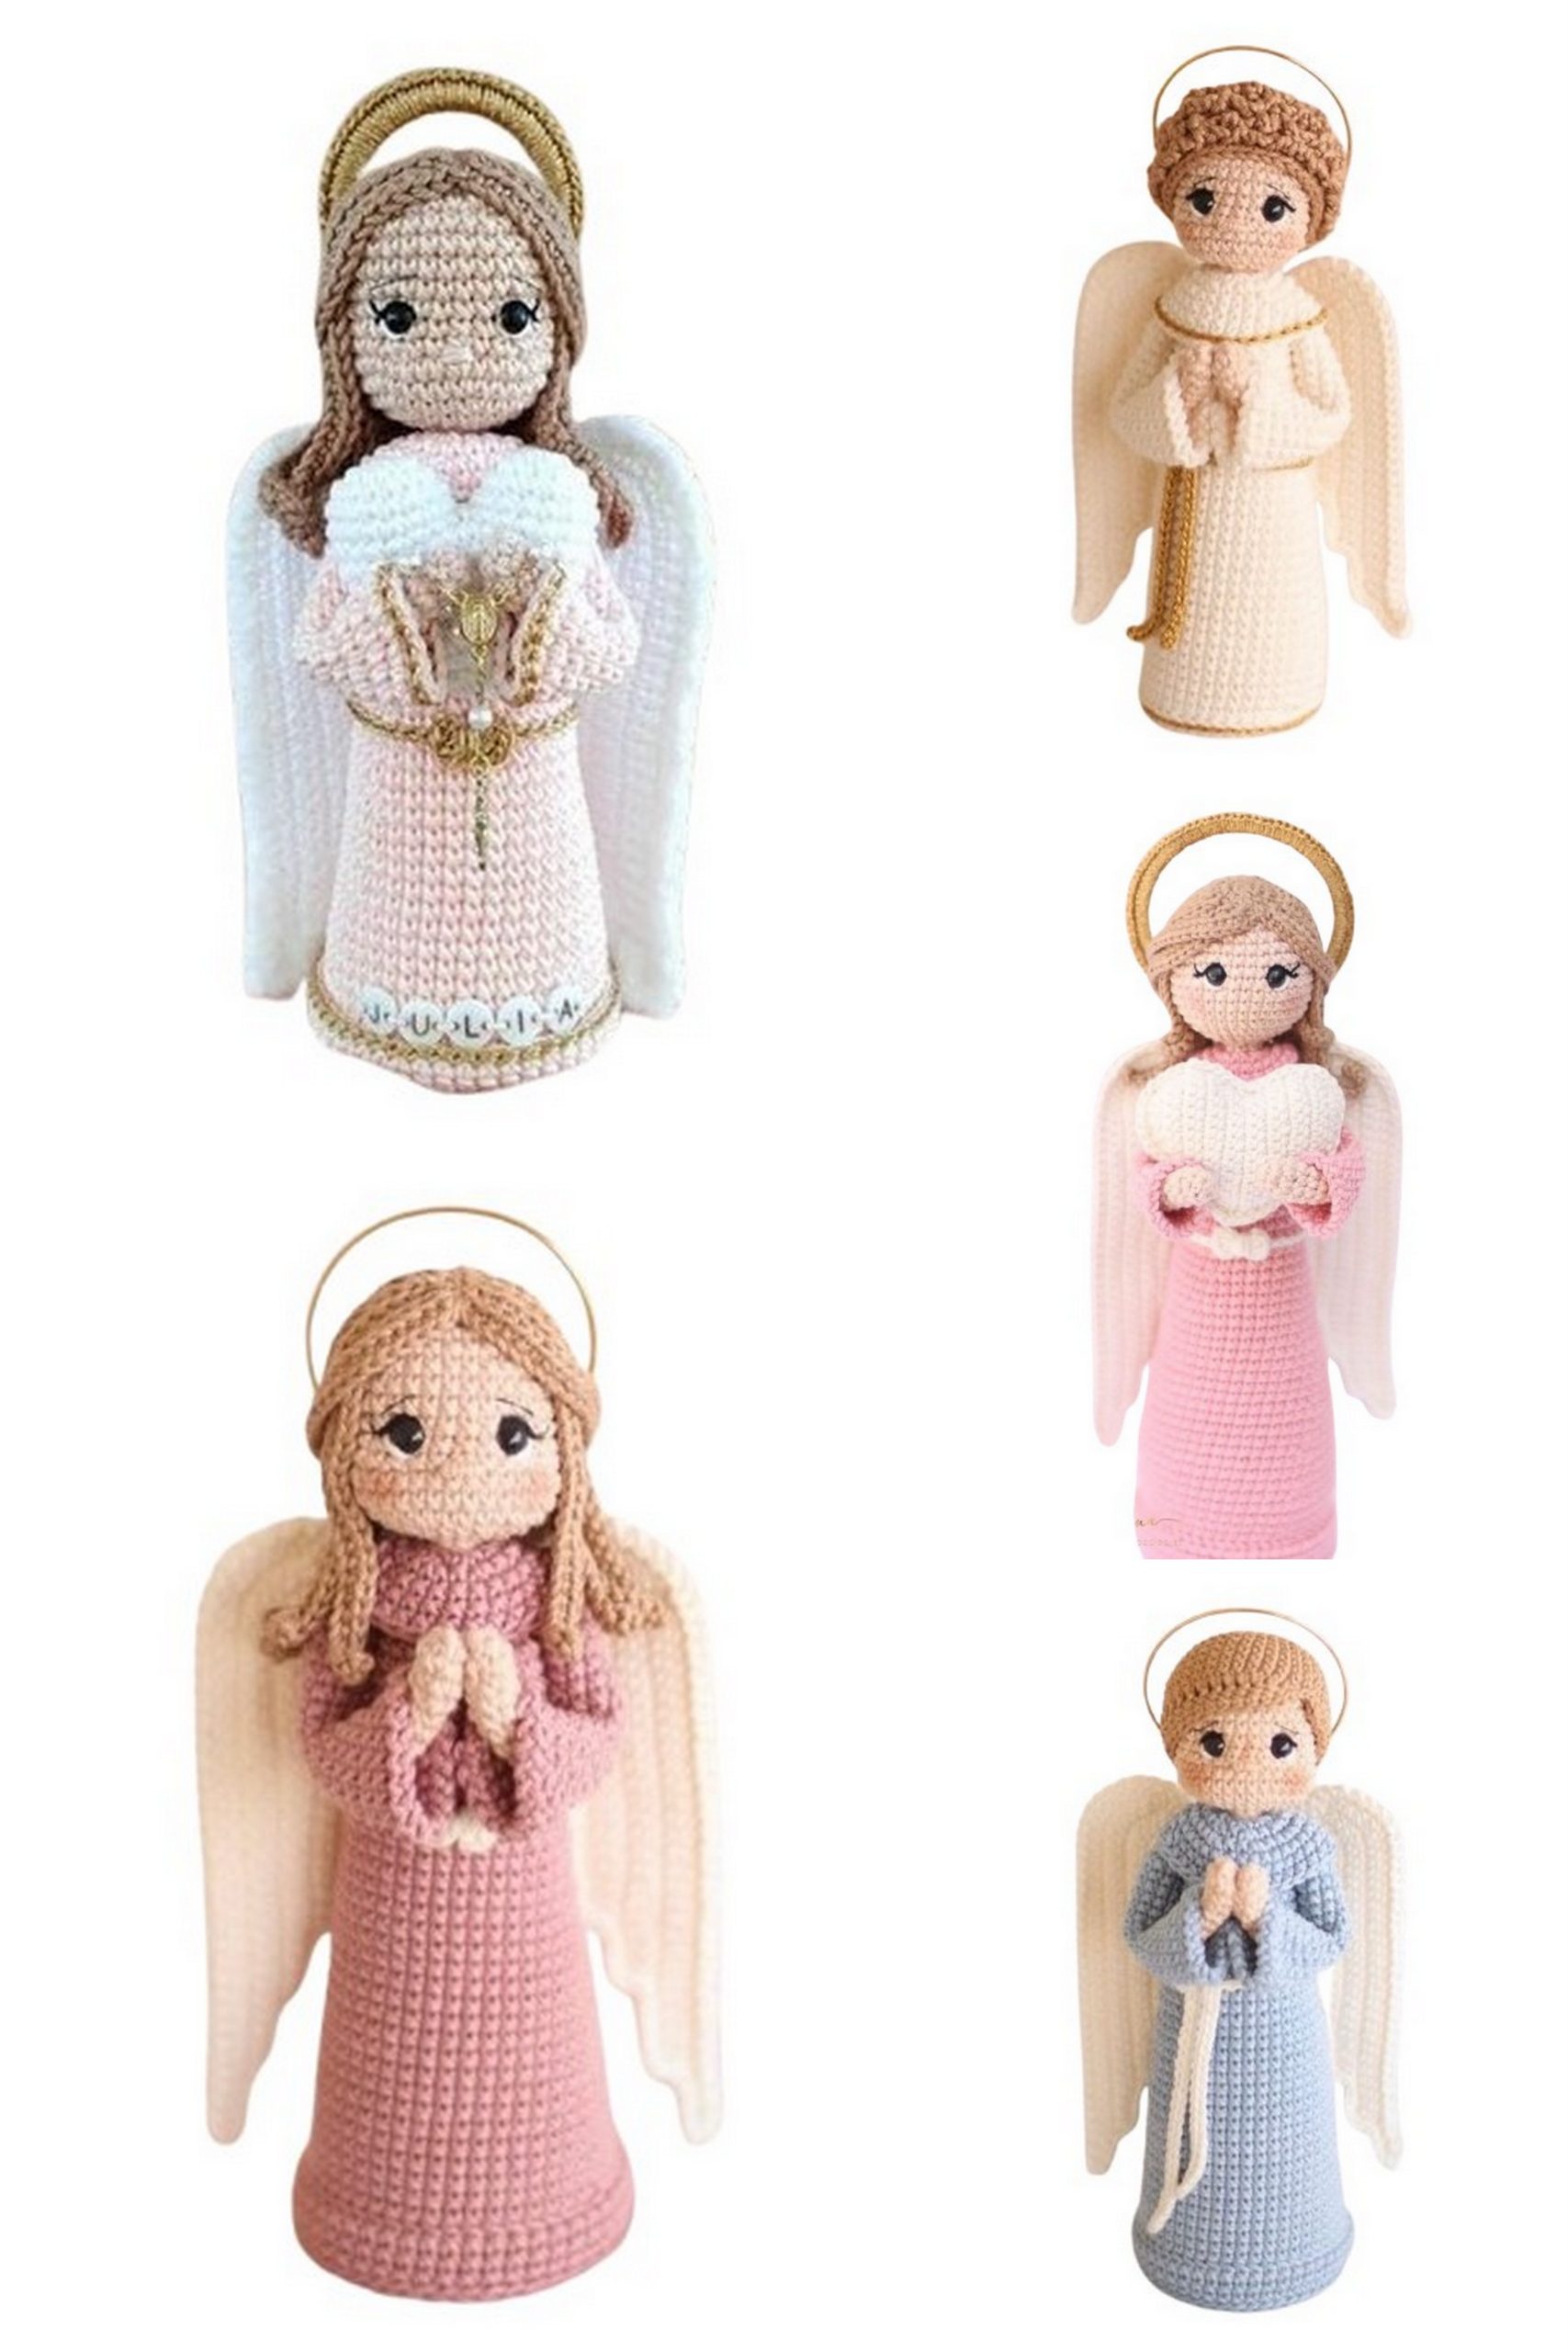
Loose Hair for the Pink Amigurumi Angel Girl
1: 10 ch, turn, from the 2nd ch from hook: 9 sl st.
2: 25 ch, turn, 24 sc, join with sl st in the central stitch.
3: 25 ch, turn, 24 sc, join with sl st in the same stitch.
Note: The first two strands will be the central strands of the head, which will be crocheted together to form the bangs.
Continue crocheting 8 more strands on each side in the same manner: 25 ch, 24 sc, and join with sl st in the next stitch of the base.
Attach the wig to the head: start with the central part, then strand by strand, pinning them in place.
Leave the two front strands free and attach them last.
Straight Hair for the Blue Amigurumi Angel Boy
1: 6 sc into MR
2: 6 inc (12)
3: (1 sc, inc) x6 (18)
4: (2 sc, inc) x6 (24)
5: (3 sc, inc) x6 (30)
6: (4 sc, inc) x6 (36)
7-12: 36 sc (6 rows)
Note: Depending on your crochet tension, 5 rows might be enough. Before crocheting the bangs, try the wig on the head.
Turn, without making ch, from the 2nd ch from the hook: sc, psn, 10 dc, psn – continue crocheting sc until the last free stitch.
Turn the work again, without making ch, crochet sc, sl st.
Curly Hair for the Blue Amigurumi Angel Boy
1: 6 sc into MR
2: 6 inc (12)
3: (1 sc, inc) x6 (18)
4: (2 sc, inc) x6 (24)
5: (3 sc, inc) x6 (30)
6: (4 sc, inc) x6 (36)
7-12: 36 sc (6 rows)
Note: Depending on your crochet tension, 5 rows may be enough. Before crocheting the curls, try the wig on the head.
Turn the work and start the curls from all the front half stitches of the first row, repeating the sequence: 3 ch, turn 360°, join with sl st.
Note: For the photos, I used brown yarn since black yarn doesn’t show up well in pictures.
Starting from the second row, if you wish, you can crochet the curls through the stitches, attaching one curl in the top row and another in the bottom row, skipping the base stitch to create a “zigzag” effect.
Continue crocheting the curls.
Hair with a Tail for the Pink Amigurumi Angel Girl
Crochet the first part of the hair as you did for the blue angel boy.
Now make the curls:
1: 6 sc into MR
2: 6 sc (6 rows)
Note: For the photos, I used brown yarn since black yarn doesn’t show up well in pictures.
Proceed to crochet the curls for the tail: 33 ch, turn, (1 sc, inc) x11, 10 sc, join with sl st.
Crochet 5 more curls into each stitch (total of 6 curls).
Cut the yarn, leaving a long tail. Sew all the curls together at the base, as shown in the first photo below. Then position the tail on the first part of the hair and sew or glue it in place.
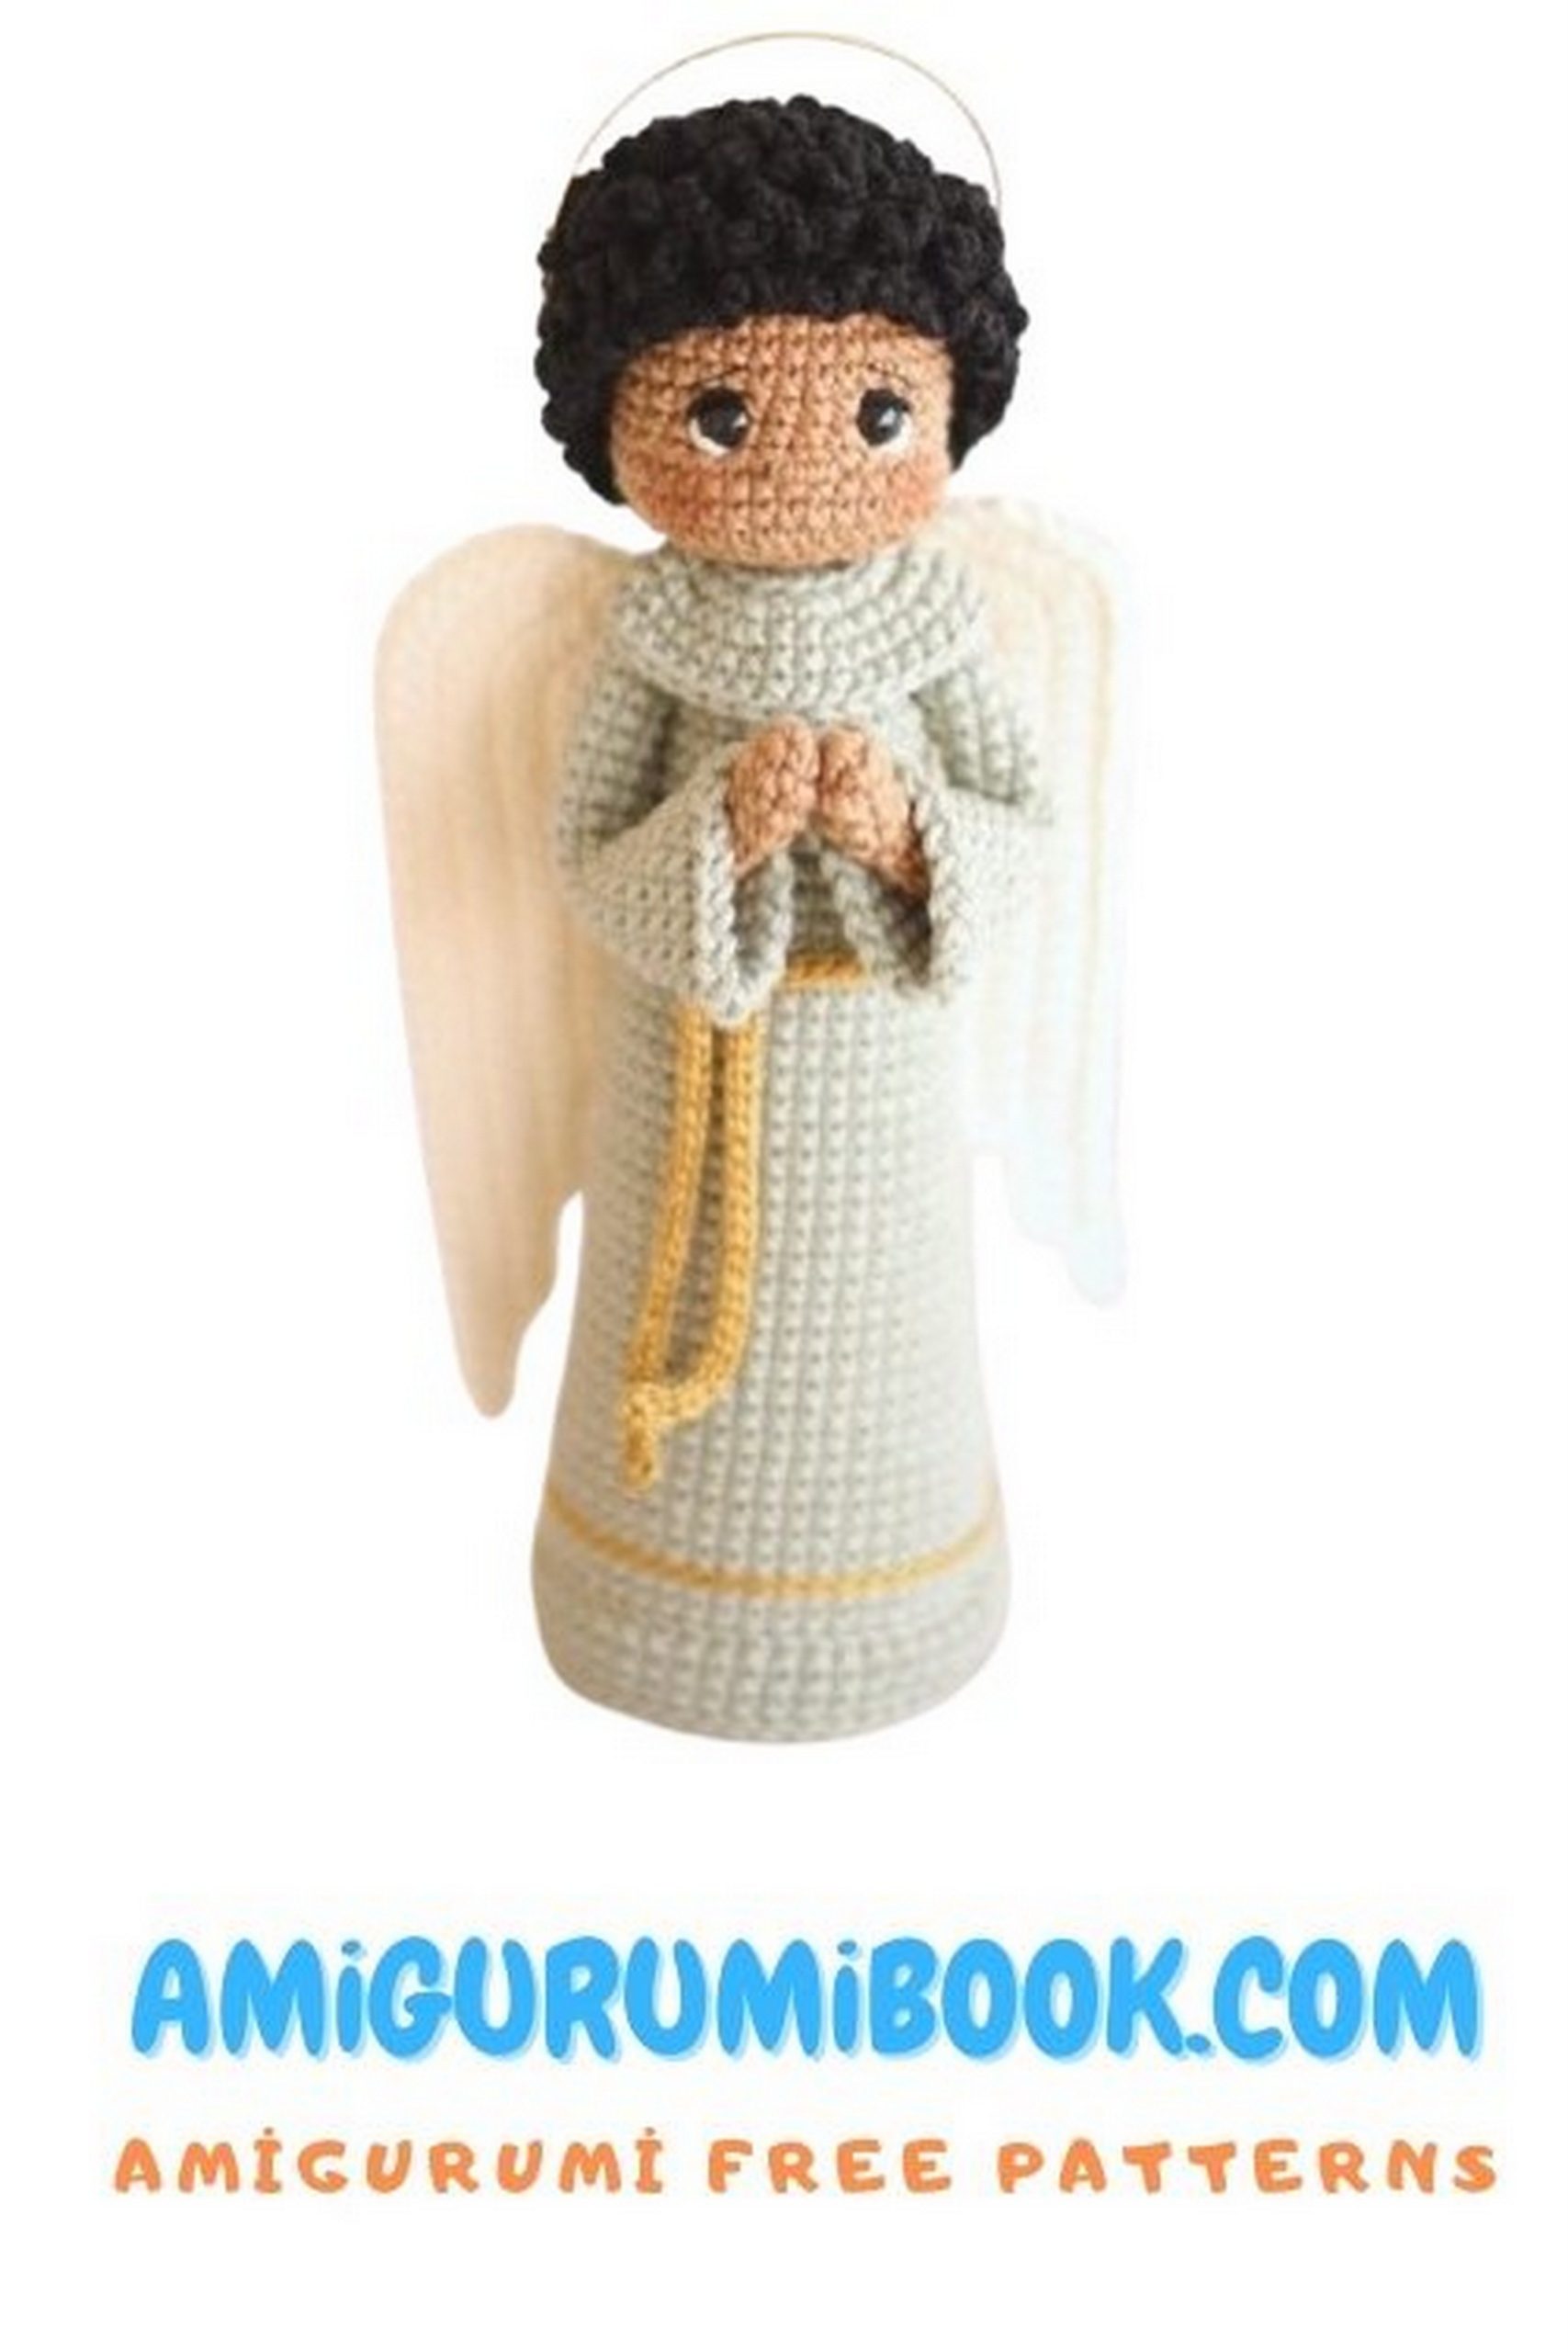
Christmas Amigurumi Angel (Approx. 18 cm)
The Christmas Angel is slightly smaller than the previous ones and has a different body shape, including a smaller head size.
Start with milk-white yarn:
1: 6 sc into MR
2: 6 inc (12)
3: (1 sc, inc) x6 (18)
4: (2 sc, inc) x6 (24)
5: (3 sc, inc) x6 (30)
6: (4 sc, inc) x6 (36)
7: 2 sc, inc, (5 sc, inc) x6, 1 sc, 2 sl st (42)
Note: I like to finish the base with two sl sts to make the detail more even before crocheting the back rows.
8: 42 sc (back loop only)
9: 42 sc
10: 42 sc
11: 42 sc
12: (19 sc, dec) x2 (40)
13: 40 sc
14: 40 sc
15: 40 sc
Add an extra sc and move the marker to the start of the next round
16: (18 sc, dec) x2 (38)
17: 38 sc
18: 38 sc
19: 38 sc
20: (17 sc, dec) x2 (36)
21: 36 sc
22: 36 sc
Add an extra sc and move the marker to the start of the next round
23: (16 sc, dec) x2 (34)
24: 34 sc
25: (15 sc, dec) x2 (32)
26: 32 sc
Add an extra sc and move the marker to the start of the next round
27: (14 sc, dec) x2 (30)
28: 30 sc
29: (13 sc, dec) x2 (28)
30: 28 sc
Add an extra sc and move the marker to the start of the next round
31: (12 sc, dec) x2 (26)
32: 26 sc
33: (11 sc, dec) x2 (24)
34: 24 sc
35: (1 sc, dec) x8 (16)
36: 8 dec (8)
37: 8 sl st
Change color in the last sl st to start crocheting the head.
Head with Flesh Amigurumi angel -Colored Yarn:
1: 8 sl st (back loop only)
2: 8 sc (back loop only)
3: 8 inc (front loop only) (16)
4: (1 sc, inc) x8 (24)
5: inc, 2 sc, inc, 1 sc, inc, 2 sc, inc, 1 sc, inc, 2 sc, inc, 1 sc, inc, 2 sc, inc, 1 sc, inc, 2 sc, inc (34)
6: 34 sc
7: 34 sc
8: 4 sc, dec, 1 sc, dec, 2 sc, dec, 2 sc, dec, 1 sc, dec, 14 sc (29)
9: 29 sc
10: inc, 6 sc, inc, 4 sc, inc, 6 sc, inc, 4 sc, inc, 4 sc (34)
11: 2 sc, inc, 18 sc, inc, 12 sc (36)
12: 36 sc
13: 36 sc
Insert the eyes as described at the beginning of the tutorial.
14: (4 sc, dec) x6 (30)
15: (3 sc, dec) x6 (24)
16: (2 sc, dec) x6 (18)
17: (1 sc, dec) x6 (12)
18: 6 dec (6)
19: Close the hole with a needle and finish.
Christmas Angel (Approx. 18 cm)
Collar, Hands, and Sleeves – Amigurumi angel
Crochet the collar, hands, and sleeves for the Christmas Angel the same way as for the other angels.
Base Trim
The base trim will differ from that of the large angel.
Return to the base row crocheted in back loops. Crochet 42 sc in the front loops.
Then crochet two rows of sl sts to form a sturdy and straight base.
After completing 2 rows of sl sts, if desired, you can switch to the same yarn and continue from the last stitch to the top row, making a row of sl sts to form another trim.
Finally, make a row of sl sts between the two trims using gold yarn (Encanto Slim).
Christmas Amigurumi Angel’s Hair
Crochet the hair in the same way as the curly hair for the larger angel. You can skip the first row and start the curls from the second row for a nice border on the wig.
Christmas Amigurumi Angel’s Wings
Crochet the wings for the Christmas Angel in the same sequence as the wings for the other angels but in a smaller size.
Starting Part:
1: 6 ch, turn, from the 2nd ch from the hook: 4 sc, in the last ch: 4 sc, on the other side of the chain: 3 sc, in the last ch: 3 sc (14)
2: inc, 3 sc, 4 inc, 3 sc, 3 inc (22)
Continue crocheting the wings in rows.
Proceed from the starting part, making 1 sc to start the first wing…
3: 4 ch, turn
Crochet back: 7 sc, inc, 1 sc, 1 sl st, ch, turn
4: Skip the first stitch, 1 sc, inc, 8 sc, 5 ch, turn
Crochet back: 11 sc, inc, 2 sc, 1 sl st, ch, turn
5: Skip the first stitch, 2 sc, inc, 12 sc, 5 ch, turn
Crochet back: 16 sc, inc, 2 sc, 1 sl st, ch, turn
6: Skip the first stitch, 2 sc, inc, 17 sc, 5 ch, turn
Crochet back: 20 sc, inc, 3 sc, 1 sl st, ch, turn
7: Skip the first stitch, 3 sc, inc, 21 sc, 5 ch, turn
Crochet back: 26 sc, inc
8: Crochet sc until there are 5 free stitches left in the central part of the detail, make 4 ch, and repeat the process to crochet the second wing.
When the second wing is ready, edge the wings with a lace pattern (sl st, ch) around the outer side of the wings, and crochet sl st along the inner side of the wings.
To make it clearer, I have highlighted in pink only the numbers that change in the pattern of the large angel’s wings. Everything else is crocheted identically.
Belt for the Boy Angel Amigurumi
Make a chain of 100 ch, turn, and crochet 99 sl st along the chain. Finish off.
For the Christmas Angel, the chain consists of 90 ch.
Halos
For the angels in this tutorial, I used metal halos, but you can crochet them. I used two different options:
Use earring hoops. I bought them online at Mercado Livre; they are easy to find, and the set includes many hoops. I used 40 mm ones.
Purchase gold wire for crafts. I bought 0.8 mm wire. It’s cheap, and you can make many halos from it. I also found it easily at Mercado Livre.
To shape the wire, I use the bottom of a round cheese can.
Tips for Attaching the Halo
Use pliers to bend the small ends of the halo, as shown in the photo above. With a very thick needle, widen the hole where the halo will be inserted. First, insert one end, then insert the second end.
The halo is sturdy and difficult to remove from the head if needed. Bending the ends is crucial.
Tips for Reinforcing the Wings
I always reinforce angel wings with PVA glue.
Mix one tablespoon of PVA glue with 4 tablespoons of water in a container. Mix well, and the mixture is ready.
Apply the mixture only to the back of the wings with a brush and wait for it to dry.
You’re done! Congratulations!