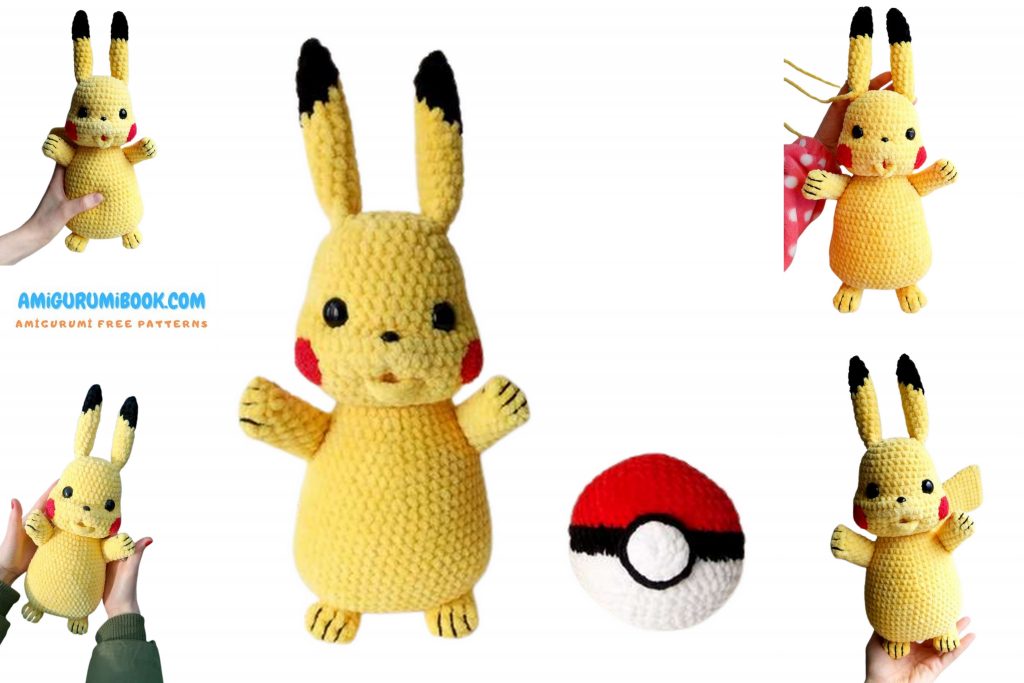
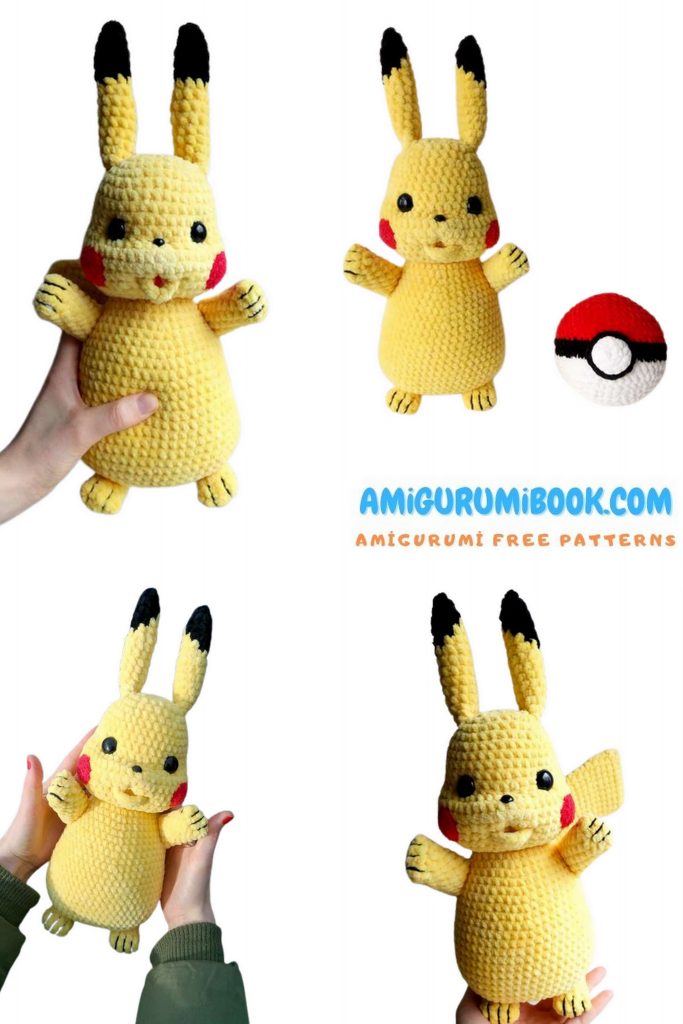
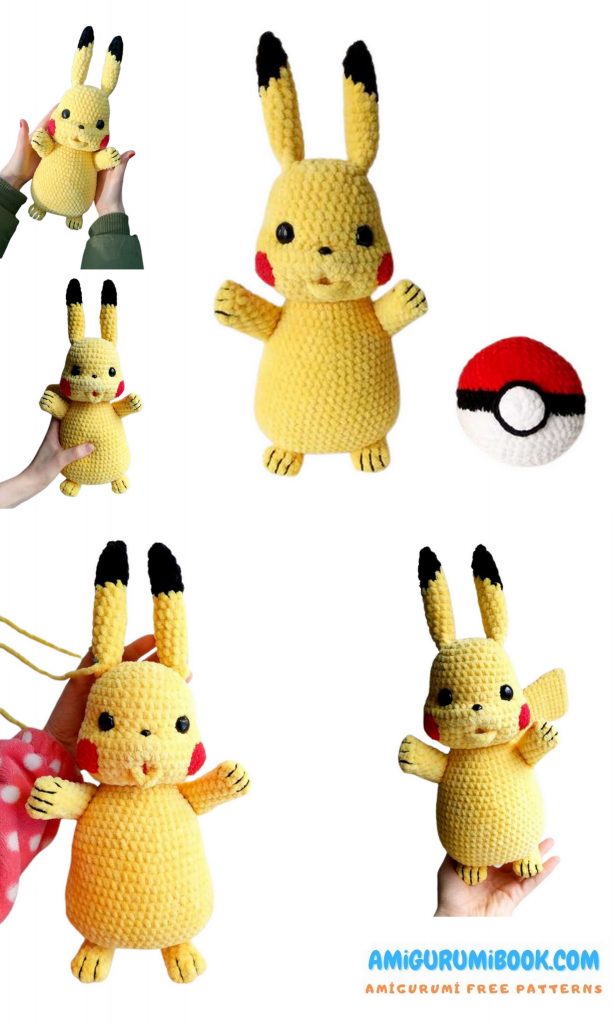
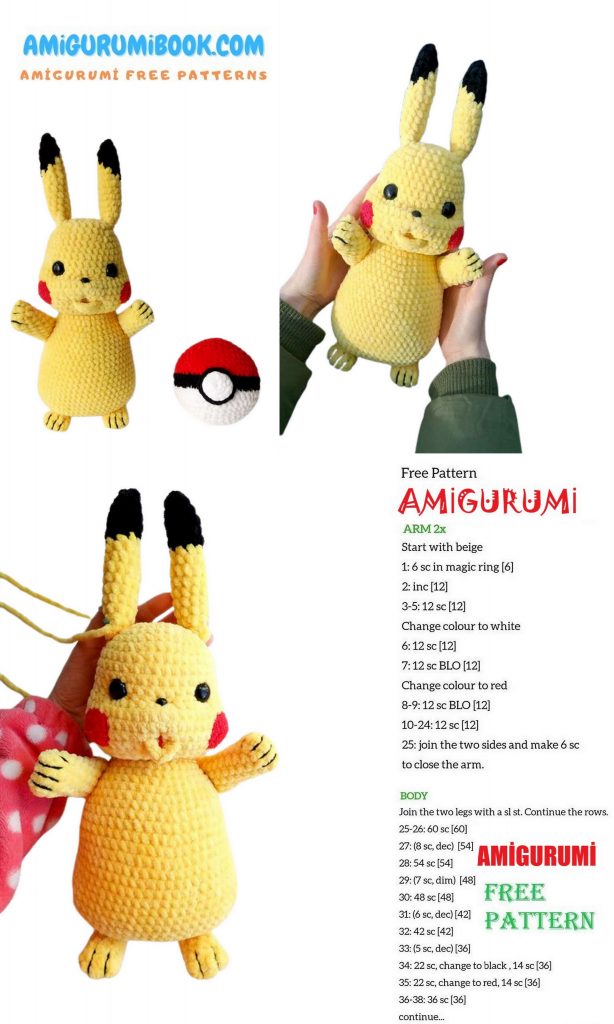
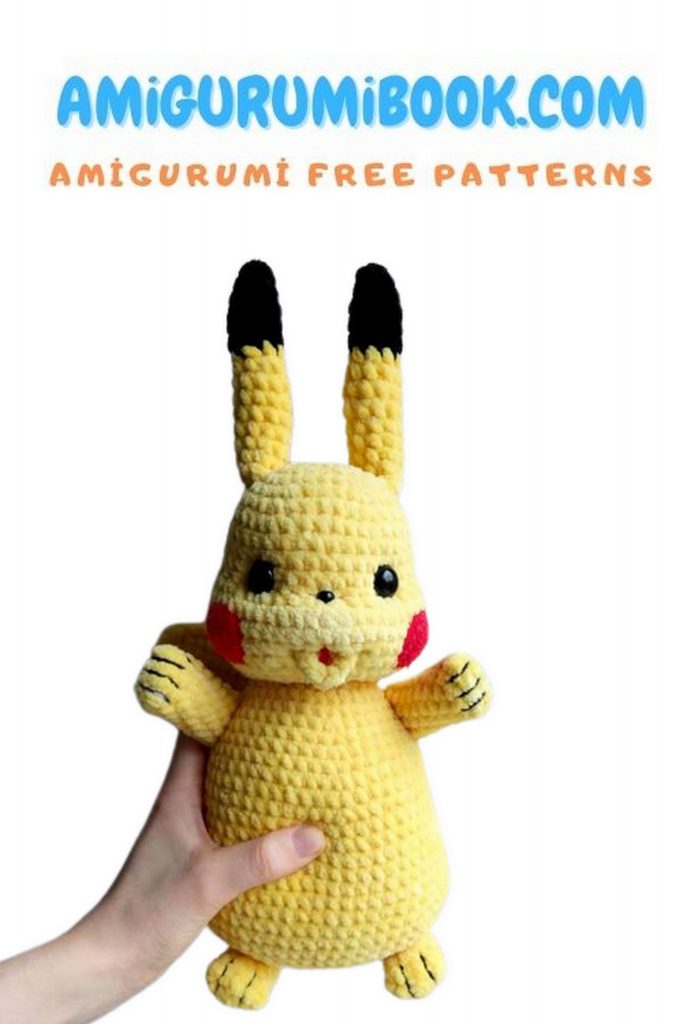
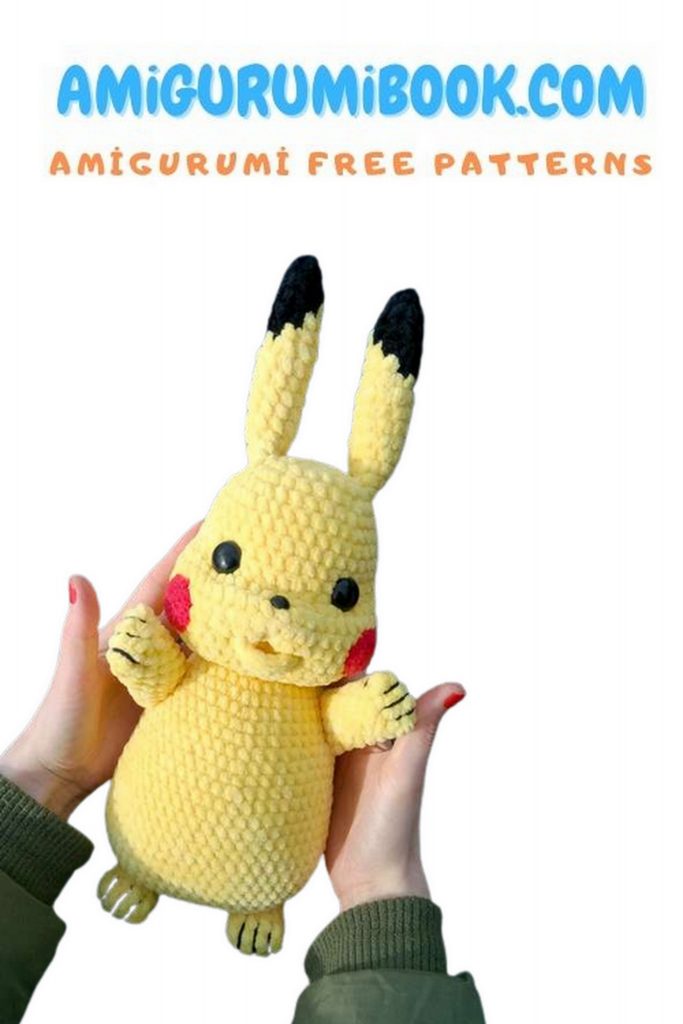
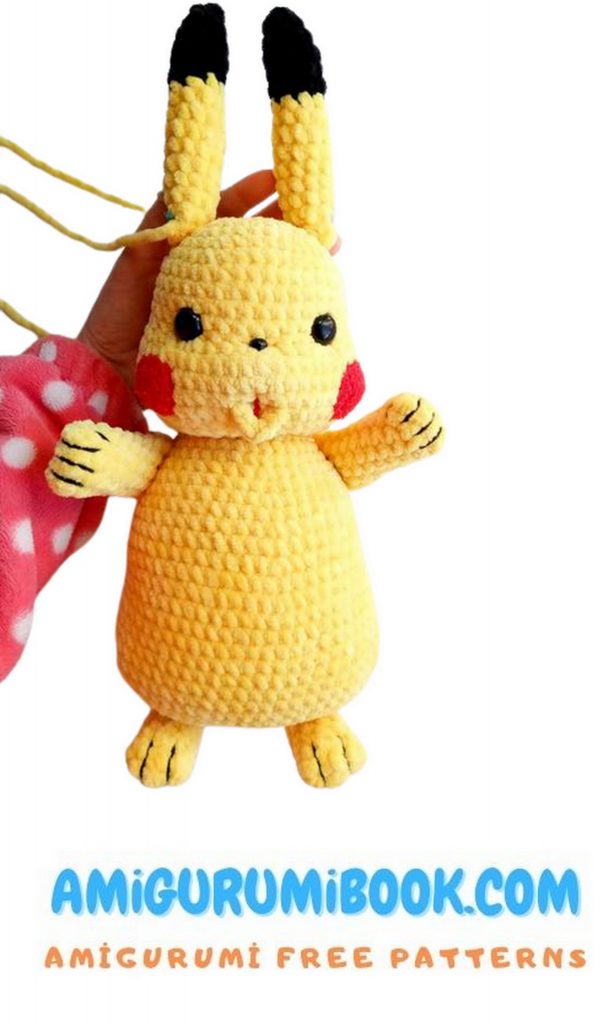
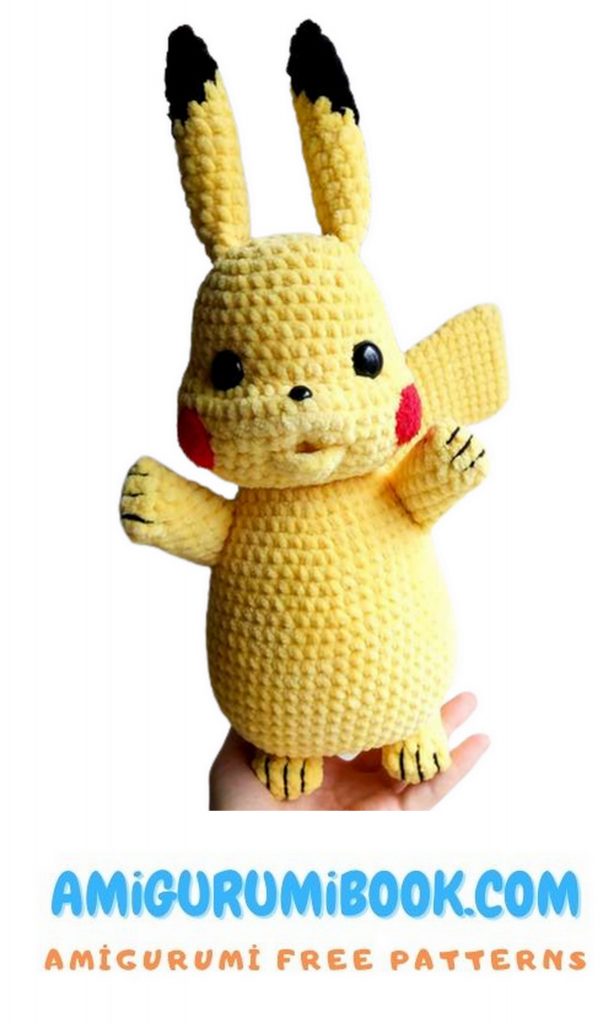
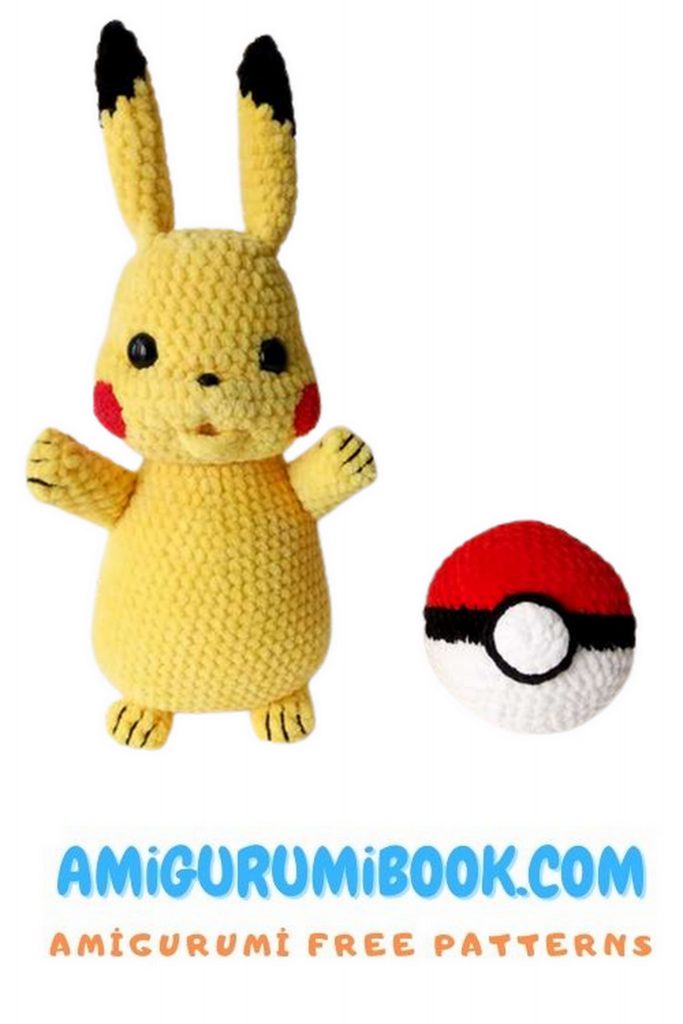
The Velvet Pikachu Amigurumi free pattern offers a delightful way to create a soft and cuddly version of the beloved Pokémon character. Perfect for both beginners and experienced crocheters, this pattern provides clear instructions to bring Pikachu to life with charming details and a velvety texture. free crochet patterns – Surfer Giraffe Amigurumi Free Pattern – Crochet Tutorial
You may also like more amigurumi patterns.
Velvet pikachu amigurumi free pattern is waiting for you in this article. You can find Amigurumi free patterns on our website.
Materials
Himalaya Dolphin Baby plush yarn or similar. Yellow color 80313: 115 gr. Black
80311 or brown 80336: 15 gr.
For cheeks. Alize Softy. Red color 56.
For claws. YarnArt Jeans. Black color 53.
Filler. Holofiber: 100 gr.
Hook number 4. If YarnArt Dolce No. 4.5. For cheeks No. 3.
Spout 8-10 mm. If there is no spout, file the eye on the sides by 8-10 mm.
Eyes 16-18 mm. Black or colored, like a modern Pikachu.
For the tail. Durable plastic that doesn’t break and bounces back when bent.
Workpiece size: length 21 cm, width 16 cm. Stationery knife / scissors, colored marker.
For the nose. Glue moment: gel/crystal, or second glue moment.
For pokeball. Himalaya Dolphin Baby. Red color: 15 gr. White: 15 gr. Black: 5 gr. Hook
No. 4.
Needle with a wide eye for stitching details.
Contrasting thread, markers and a lighter.
Abbreviations:
Ch-chain.
Sc – single crochet.
Inc – increase.
Dec – decrease.
Sl-st – slip stitch.
x – repeat the specified number of times.
Head-body, legs are knitted in a spiral in the form of an oval.
Ears in a spiral in the form of a circle.
The tail is knitted in turning rows or tied in a spiral in the form of an oval.
Pokeball is knitted in the round with connecting rows.
PATTERN
head-body
1. Chain of 7 ch. From 2nd st from hook: 5 sc, 3 sc in last st. On the reverse side of the chain: 4 sc, etc. Mark the end of the row with a marker (14)
Where the needle is the correct beginning of the next row.
2. inc, 4 sc, inc x 3, 4 sc, inc x 2 (20)
3. 1 sc, inc, 4 sc, (1 sc, inc) x 3, 4 sc, (1 sc, inc) x 2 (26)
4. 2 sc, inc, 4 sc, (2 sc, inc) x 3, 6 sc, (inc, 1 sc) x 2 (32)
5. 2 sc, inc, 7 sc, inc, (3 sc, inc) x 2, 7 sc, inc, 3 sc, inc, 1 sc (38)
6-10. 38 sc – 5 rows.
11. 18 sc, inc x 4, 2 sc, inc, 2 sc, inc x 2, 2 sc, inc, 2 sc, inc x 4 (50)
The selected two increments from this row should be in the middle of the muzzle – there will be a spout.
12-14. 50 sc – 3 rows.
15. (dec, 17 sc, dec, 4 sc) x 2 (46)
16. 1 sc, dec, 14 sc, dec, 5 sc, dec, 14 sc, dec, 4 sc (42)
17. 2 sc, dec, 9 sc, dec, 7 sc, dec, 11 sc, dec, 5 sc (38)
18. 3 sc, dec, 6 sc, dec, (8 sc, dec) x 2.5 sc (34)
19. 18 sc, dec, (1 sc, dec) x 3.5 sc (30)
20. 13 sc, dec, (1 sc, dec) x 5 (24)
21. 15 sc, inc x 8, sc (32)
22.32 sc
23. (7 sc, inc) x 4 (36)
24. (8 sc, inc) x 4 (40)
25.40 sc
26. (9 sc, inc) x 4 (44)
27.44 sc
Stuff your head. Try on eyes. Insert eyes between 9th and 10th rows. Above the highlighted 2 sc, which are in the 11th row.
Take your time. Fill your head and check how the eyes look.
Get the filler. Put eyes on the plugs. Set the legs on fire with a lighter. When melted – press down, making a hat. See photo below.
The spout was inserted later, after tightening, on glue. If you want to insert now – install in the 11th row, between two increments.
Fill your head with holofiber again. More on the cheeks. It is good to fill the neck so that it does not hang out later.
Decor
Tightening under the eyes:
1. Cut off about 40 cm of yellow plush or other yellow yarn.
2. Red dots – where to insert / withdraw the needle. The numbers are steps.
3. The bottom points are between 20th and 21st side by side. This is the transition point from the head to the body.
Distance – 1 sc. Located exactly below the top points.
4. Insert the needle into the lower left point.
5. Draw on the left near the eye. Leave the thread for tying. Further according to the scheme in the photo.
6. We repeat the tightening of one eye twice.
The first time we tighten slightly. The second is how you want the tightening to look.
7. We tie the ends of the threads and bring them to the neck.
We repeat the same with the second eye.
Utyazhka near the spout + hole for the mouth:
1. The bottom two points are located between 15 and 16 side by side. This is where the hole for the mouth will be.
2. High points are between 10 and 11 side by side. Over two increments.
3. Distance between all points – 1 sc.
4. Insert the needle into the lower left point.
5. Draw between 10 and 11 side by side, to the upper left point. Further according to the scheme in the photo.
6. Near the spout we make the tightening weaker. At the bottom we tighten it harder to make a hole.
7. After stage 6 in the diagram, we exit below, but not where the tail of the thread is, but nearby. Slightly tighten the strings and tie tighter to make the dimple deeper.
The eyes in the photo are still without tightening.
Tightening the upper part of the mouth:
1. The lower points are on the 14th row.
2. The points above are between 10 and 11 side by side. Over two increments.
3. Distance between all points – 1 sc.
4. We find the central column in the 14th row.
5. Insert the needle to the left of the central column. Further according to the scheme.
6. At the end, we pull up two ponytails and tie them so that the column sinks a little and the upper part of the mouth is obtained.
Tighten the knot slowly to achieve the desired degree of tightening.
In the photo, the column is already recessed. This is a ready-made version of what should happen after all the tightening.
Alize Softy. Red color. Hook number 3.
1. 6 sc into magic ring or 2 ch, in 2nd st from hook: 6 sc.
2. inc x 6 (12)
3. (1 sc, inc) x 6 (18), sl-st.
We cut the thread. Leave for sewing.
Pull out the loop.
If you knit from thinner yarn, you need to knit further to the required circle size:
4. (2 sc, inc) x 6 (18)
5. (3 sc, inc) x 6 (18), sl-st.
Leave the thread for sewing.
For convenience, I use a thread to mark the end and beginning of the row.
Sew spots on the cheeks.
Carefully cut off excess pile.
Cheeks
1.2 ch. In 2nd st from hook: 4 sc, 1 ch
2. We turn the knitting and knit on the reverse side of the columns: 4 sc, ch and pull the thread.
Cut the thread, leaving for sewing.
Below are two options for the design of the mouth. Choose whichever you like or make your own.
Do not spare time for a neat and beautiful design.
mouth
First option.
1. Trying on a mouth to look good.
We fasten with pins and sew under the mouth.
2. We sew, alternately capturing the columns of the head and mouth. We start from one corner of the mouth to the second corner.
3. With a red thread of 30 cm, make a double stitch in the mouth – the tongue.
4. For a light smile, you can tighten the corners of your mouth.
Scheme in the second version of the mouth.
5. Apply glue to the spout. We insert in the 11th row – between two increases.
In the photo, the spout is inserted above two increments.
It looks better if you insert a little lower – between two increments.
mouth
Second option.
1. We try on the mouth, fasten with pins and sew under the mouth.
2. We sew, alternately capturing the columns of the head and mouth. We start from one corner of the mouth to the second corner.
3. Apply glue to the spout. We insert in the 11th row – between two increases.
4. Next, we tighten the corners of the mouth.
In the photo, the mouth is already tightened.
mouth
Tightening the corners of the mouth:
1. Cut off about a meter of yellow thread.
2. The green circle is the beginning. Red is the end.
Distance between circles – 1 sc.
3. Numbers – where to insert / withdraw the needle.
4. Insert the needle between 20 and 21 next to the green dot. We derive where the number is 1. Leave the tip of the thread for tying.
5. From 1 we insert the needle into 2.
6. From 2 to 3. The number 3 is the corner of the mouth.
7. From 3 to 4. Number 4 is one row up and 1 sc to the left.
8. From 4 to 5. The place of the number 5 is where the number 2 is. The place of the number 6 is where 1. Tighten the thread, forming the corner of the mouth. Further according to the scheme.
9. When you reach the number 11 – pull the thread, forming the second corner of the mouth.
10. After the number 12, go to the red circle.
Tie the ends of the threads and hide.
We continue the body
28.2 sc. We change color. We introduce the hook into the next loop, pull the thread – there are two yellow loops on the hook. We grab the black thread and draw it through two yellow loops. This is the 3rd sc. We knit another 7 sc, inc, 6 sc.
We cut the yellow thread, leaving 5-6 cm. Change the color. We insert the hook into the next loop and take out the black thread – there are two black loops on the hook. We pass a yellow thread through them. It turned out the 7th sc. We knit 3 more sc, etc. Further according to the scheme: (10 sc, inc) x 2 (48)
About the change of color I will write in which column to change.
If you change in the 8th sc, this means: insert the hook into the loop where the 8th sc should be and get the old thread, and then through two loops on the hook, enter a new color. A color change is always obtained in the last column of the old color.
29.2 sc. Change to black in 2nd sc. Cut off the yellow. 18 sc in black, 28 sc in yellow. Change to yellow in 18th sc. Black cut (48)
We tie the ends of the threads. Tighten slightly so that the posts remain in place.
30. (11 sc, inc) x 4 (52)
31.52 sc
32. (25 sc, p) x 2 (54)
33. 4 sc in yellow, 17 sc in black. Change to black in 4th sc. 33 sc in yellow. Change to yellow in 17th sc (54)
34. 3 sc in yellow, 19 sc in black. Change to black in 3rd sc. 32 sc in yellow. Change to yellow in 19th sc black (54)
35-38. 54 sc – 4 rows.
We knit decreases on the sides.
40. dec, 24 sc, dec, 26 sc (52)
41. 1 sc, dec, 20 sc, dec, 2 sc, dec, 20 sc, dec, 1 sc (48)
We stuff in the course of knitting. Place Pikachu on your stomach. Stuff your neck tightly. Especially the place of transition to the body, where there are the least loops. Then put it on your back and stuff further.
42. 1 sc, dec, 18 sc, dec, 2 sc, dec, 18 sc, dec, 1 sc (44)
43. 1 sc, dec, 17 sc, dec, 1 sc, dec, 17 sc, dec (40)
44. 1 sc, dec, 15 sc, dec, 1 sc, dec, 15 sc, dec (36)
Stuff more on the sides, forming the upper part of the leg – thighs.
45. 1 sc, dec, 13 sc, dec, 1 sc, dec, 13 sc, dec (32)
46. 1 sc, dec, 11 sc, dec, 1 sc, dec, 11 sc, dec, sl-st (28)
Cut the thread. Pull out the loop. Sew a hole behind both walls with a needle. Fasten the thread and hide.
Ears
First option.
Black color.
1. 3 sc in ka or 2 ch, in 2nd st from hook: 3 sc
2.inc x 3 (6)
3. (1 sc, inc) x 3 (9)
4-6. 9 sc – 3 rows
In the third row, at the end of the row we knit sl-st.
Cut the thread, pull the loop.
Change color to yellow. Color change can be done in the usual way, or you can make an imperceptible transition. How to do it, see below.
Gradually fill the ear with the end of a hook or pencil. The part must be soft.
7.9 sc
8. 3 sc, inc, 4 sc, inc (11)
9-15. 11 sc – 7 rows Fold two walls in half and knit 4 sc, sl-st.
We cut the thread, leaving 40-50 cm.
Invisible color transition.
7 row. From sl-st on the 6th row, count two loops to the right. Insert hook into this loop. Get the yellow thread. Make ch. This ch counts as the first st/sc of the 7th row. In the next loop we knit sc. Next comes sl-st. Knit sc into it too. In total knitted 3 sc. We knit 6 more sc.
We put a marker on the last column (9)
Tie the ends of the threads and hide.
8 row. Insert the hook behind the back wall ch and knit sc. The back wall is tightly closed. You need to pull up with a stitching needle so that you can pass the hook. Knit 2 more sc, inc, 4 sc, inc (11)
9-15 row. 11 sc – 7 rows.
Fold the two walls in half and knit 4 sc, sl-st.
We cut the thread, leaving about 50 cm.
Ears
Second option.
Black color.
1. 3 sc in ka or 2 ch, in 2nd st from hook: 3 sc
2.inc x 3 (6)
3. (1 sc, inc) x 3 (9)
4. Insert the hook into the next loop, take out the thread of the old color. Through two black ones on the hook we draw a yellow one – we get 1 sc. Work 3 more sc in yellow, 5 sc in black. Change to black in 3rd sc. Color change is always obtained in the last column of the old color (9)
5. 5 sc in yellow, 3 sc in black, 1 sc in yellow. Change to yellow in the last sc of the previous row. On black – in the 5th sc yellow.
6. 6 sc in yellow, 1 sc in black, 1 sc, inc in yellow (10)
7. 4 sc, inc, 5 sc (11)
8.11sc
9. 4 sc, dec, 5 sc (10)
10-14. 10 sc – 5 rows
15.1 sc. We do not finish the series.
The black tip of the ear should look oblique.
If it looks wrong, knit as many single crochets as you need.
Fold the two walls in half and knit 4-5 sl-st. We cut the thread, leaving 40-50 cm.
When knitting the second ear, the slope of the black will be correct, but the color transition will change. For the same transition of colors – the second ear must be knitted with the left hand. If you know another way, please share.
Upper paws
1.5 ch. From the 2nd loop from the hook: 3 sc, 3 sc in the last loop, 2 sc, etc. Put a marker (10)
In the photo below, the correct beginning of the second row is marked with a needle.
2-3. 10 sc – 2 rows
4. 2 sc, inc, 7 sc (11)
5-9. 11 sc – 5 rows.
Hit hard.
10.2 sc. We do not finish the series.
Fold hole in half and work 4 sc, sl-st.
Leave 40 cm for sewing.
Lower paws
1.5 ch. From the 2nd loop from the hook: 3 sc, 3 sc in the last loop, 2 sc, etc. Put a marker (10)
2-9. 10 sc – 8 rows
Fill the part loosely.
10. (1 sc, dec) x 3, sc, sl-st (7)
Leave 50 cm for sewing.
With a sewing needle, we go in turn under the front walls of the seven loops, without tightening. After the 7th loop, pull off the hole. See photo below.
Fasten the thread near the tightened hole.
Move a little to the side from the center.
We insert the needle, leaving the tip of the thread, and bring it out on the other side, right above the place where we entered.
Then we insert the needle again where the tip of the thread is and bring it out to the place where the second claw will be.
We embroider the second claw and bring the thread to the beginning, to the second tip.
We tie the two ends of the thread and hide.
Yarnart Jeans or Iris. Black color. Cut 4 strands of 30 cm.
We embroider the lower paws as shown in the photo.
The side from which the thread for sewing on the foot was brought out will be the front. Therefore, we introduce a needle with black color from the other side.
Repeat with the second lower foot.
Embroider the upper paws according to the same pattern, adding one / two claws.
claws
Tail
In the first version, the tail is knitted in turning rows. One row is obtained from the front, the second from the wrong side. Two identical halves are knitted. Then the halves are folded and tied around the edges. Plastic is inserted between the halves.
In the second version, the same thing: two halves, inside of which there is plastic. But the tail is knitted alternately with the right, left hand. If you connect the left hand in the purl rows, the knitting will be completely facial. After each row, knitting does not need to be turned.
You need to change the hook.
In the third version, the plastic is tied in a spiral. Knitting begins with an oval motif. The tail is light and looks like a real Pikachu.
Three options for knitting a tail.
Tail
Option 1.
We knit in turning rows. Yellow.
1. 12 noon From the 2nd loop of the chain: 11 sc, ch. We turn knitting.
In subsequent rows, after ch we turn knitting.
2-5. 11 sc, ch – 4 rows
6.5 sc, ch. We do not knit a row.
7-11. 5 sc, ch – 5 rows.
In the 11th row, in the loop where the 5th sc should be, we insert the hook and take out the yellow thread. Through two loops of yellow we draw a black thread. We knit ch.
We continue with black, do not cut off the yellow.
In the photo, the tail is connected with option 2. Knit 4 rows with your right hand and see if you like it when one row is front and the second is purl.
12.6 p.m. From the 2nd loop from the hook: 6 sc. In the 6th sc, change color to yellow. Black is not cut off.
Further in a straight line, along the side: 4 sc, ch (10)
13.10 sc, ch. In the 5th sc, change the color to black.
14. 10 sc, ch. In the 6th sc, change to yellow.
15. 10 sc, ch. In the 5th sc, change to black.
Cut off the yellow.
We fix the end of the thread or tie it with the black end of the thread to a knot.
16.2 ch. From the 2nd loop from the hook: 2 sc. Next 3 sc straight down the side, ch (5)
17-18. 5 sc, ch
Cut the thread, fasten and hide. Leave for sewing is not necessary.
We knit the second half of the tail according to the same pattern. But we bring out the ends from the yellow and black yarn and fasten them on the other side so that on the two halves they hide inside the knitting.
See the photo and assembly description at the end of the second knitting option. There is also a photo of how to change the color and a little photo on knitting halves of the tail.
Tail
Option 2.
Yellow. Right hand.
1. 12 noon From the 2nd loop of the chain: 11 sc, ch.
We do not turn knitting, but simply rearrange the hook, as shown in the pictures below.
2nd row knit with the left hand. 3rd row knit right. Then left again. Next we alternate.
From right to left – right hand. From left to right, left hand.
2-5. 11 sc, ch – 4 rows.
6.5 sc, ch. We do not knit a row.
The photo below was taken when knitting the first half of the tail.
7-11. 5 sc, ch – 5 rows.
In the 11th row, in the loop where the 5th sc should be, we insert the hook and take out the yellow thread.
We attach the black thread and stretch it through two loops of yellow on the hook. We knit ch.
The photos were taken while knitting the second half of the tail.
What is the difference between the halves of the tail, see below. They knit in the same way, but in different directions.
We continue with black, do not cut off the yellow.
12.6 p.m. From the 2nd loop from the hook: 6 sc. In the 6th sc, change color to yellow. Black is not cut off.
Further in a straight line, along the side: 4 sc, ch (10)
13.10 sc, ch. In the 5th sc, change the color to black.
14. 10 sc, ch. In the 6th sc change to yellow
15. 10 sc, ch. In the 5th sc, change to black.
Cut off the yellow. We fix the end of the thread.
16.2 ch. From the 2nd loop from the hook: 2 sc. Next 3 sc straight down the side, ch (5)
17-18. 5 sc, ch
Cut the thread, leaving no for sewing. Fasten and hide.
Ignore the black ends that come from the tail in the photo below. They are not needed.
We knit the second half of the tail according to the same pattern. But we start the first row with the left hand.
Second row from the right hand. Third row again from the left.
The main thing to remember: from left to right – left hand, from right to left – right hand.
Below, in the first photo, the number 1 marks the first half of the tail. The first row of the first half began to knit from the right hand.
Number 2 marks the second half. We will start knitting the first row of the second half of the tail from the left hand.
Cut out the plastic according to the shape of the tail. It should be slightly smaller than the tail at the edges.
Be careful when working with a knife. Can be cut with scissors.
See photo below.
tail assembly
Make holes in the plastic for your sewing needle to pass through.
We will sew the tail through the holes.
I made holes all over the strip, but only 3-4 top ones were useful.
Make one or two holes in the other strip. They are not visible in the photo. Marked with red circles where they should be.
The arrows indicate which holes to insert the needle into to securely sew the tail.
The holes were made by heating the wire.
Clamped in pliers and heated over gas.
Fold the two pieces of the tail and tie. Where yellow – yellow thread. Where black – black.
When you have attached the yellow thread – do ch.
Tie the yellow threads indicated by the arrow.
I put markers in the corners for easy tying.
I inserted the plastic when I tied it to the place in the third photo.
In the last yellow loop we knit sl-st. We cut the thread. Leave 5-6 cm for tying.
Let’s move on to black. We attach the thread and knit ch.
In the last black loop we knit sl-st. We cut the thread, leaving 5-6 cm.
Tie the ends of the threads and hide.
Tail
Option 3.
The tail is tied around the plastic. The result is lighter and like a real character.
I used plastic from a bucket lid. As an option: containers, wide bottles of detergents, folders. Perhaps there is something else in the house.
If the thickness is not enough – glue the two halves with waterproof glue. You can only strengthen the half of the tail coming from the base.
You can determine whether there is enough thickness at the base of the tail after you tie the beginning of the tail. In the middle of knitting, the tail began to bend a lot, so I glued an additional part of the plastic. From base to middle.
Draw a tail like Pikachu. You can attach plastic to the screen and circle the tail over the picture. See below. The picture is clickable – the image will open in Yandex.
Make initially the exact or desired workpiece, so as not to redo it later.
Cut the tail along the contour with a clerical knife or scissors. How to cut depends on the thickness of the plastic. Be careful when working with a knife.
Sharp corners are slightly rounded. You can paste over with adhesive tape so that the plastic does not pierce the knitting.
Make holes in the base of the plastic. Needed for a more dense sewing of the tail to the body. The more holes, the more secure the tail is. See photos of the holes below.
We tie from the top of the tail:
1. Knit a chain from Ch. It should be equal to the length of the side of the plastic. See photo below. When the chain is equal to the length of the side of the plastic – tie another 2 ch. I got 12 noon. You may have a different number of loops. Depends on the workpiece.
Next, we knit with an oval motif, as we knitted the beginning of the head. From the second loop from the hook we knit sc, without decreases and increases. In the last loop 3 sc. On the reverse side, we continue to knit single crochets.
2. New row – just knit sc. We make adjustments if necessary. We make a decrease where the edge of the plastic is. At this point, it will be noticeable whether a reduction is needed or not. Decreases are needed so that the knitting fits snugly against the plastic. The third photo shows that there is a residue on the edge of the part – we make a decrease. Always, when you get to the edge of the plastic, look for extra loops. If there is – a reduction. When knitting along the edge, you do not need to make reductions.
The first two or three rows can be knitted without plastic. Next, we tie, without removing the knitting from the plastic.
When knitting rests against the corner of the plastic, as in the first photo – we knit a chain of ch equal to the length of the side, plus 2 ch.
We tie as before: from the second loop. At the end of the first side, three loops in one are not needed.
Just sc, decrements and increases if needed. Improvisation
We try to tie it tighter so that the intended shape of the tail remains the same, with all the bends and corners. But do not overdo it so that during the game the plastic does not accidentally come out.
When we hit the corner of the plastic, we knit a chain of ch equal to the length of the side, plus 2 ch.
If, on the other side of the chain, they saw that the chain was not enough, make an increase or dissolve the chain by tying another spare loop. Get three spares instead of two.
When we reached the place in the fourth photo, we knit connecting posts on both sides.
We knit to the corner. Thus, we close knitting.
At this stage, I checked how the tail with yarn bends and decided to strengthen the base.
I cut out an additional part of the plastic and glued it with waterproof glue to the main part of the plastic.
See photo below.
We tie the next part of the plastic with single crochets to the corner.
Through two yellow we introduce a new color. Black or brown.
We knit a chain plus 2 ch spare.
We mark the border of flowers. We will be guided by it when doing a color change.
We do not cut the yellow and black thread.
In the third photo, when we reached the color change mark, we draw a yellow thread through two black ones. Color change – in the last loop of the old color.
When the colors change, tighten the threads. Take the old one to the other side, so as not to interfere.
If on the edge or on the corner of the plastic you see that the knitting is too tight, make an increase. The corner will become softer and will not come out when the child is playing.
On the other side, we also mark the border of colors and go back to black.
When tied with connecting posts to the corner, we cut the yellow thread and tie the ends of the threads. The tip of the thread from attached black and cut off yellow.
We continue only with a black thread. We tie the plastic to the end. No chains. We adjust the knitting with decreases and increases along the edges of the plastic.
It is convenient to make decreases with another option: insert the hook into one loop and get the thread, then into the next – there are three loops on the hook. Through three to carry out the fourth. It turns out a reduction.
At the end, we close the knitting with connecting posts on both sides.
Try on the tail to the body.
When I tried it on, I decided that the base needed to be shortened a little and cut off the roundness.
The holes were redone. See last photo.
Make the initially desired blank, so as not to dissolve knitting later.
Assembling Pikachu
We fix the paws, ears and tail with pins.
We try different options until we find the right one.
Take the time to try on all the details for the toy.
We make marks on the body and gradually sew everything on.
We insert the needle into the head, under the ear, as in the first photo. We take it out from the other side.
Next, insert the needle into the base of the ear.
On the other hand, we introduce again into the head, under the ear.
Sew on the ears in a circular fashion between 2 and 6 side by side.
Sew from left to right / right to left, and then repeat in the opposite direction. So the ear will be easy to bend and return shape.
Sew on the upper paws, as in the photo, retreating one or two rows from the neck.
First we sew one side, as shown in photos 1, 2.
Then we pass to the other side – photo 3.
Alternately we pick up the columns of the foot and body.
We reach the end, then repeat back.
We arrange the lower paws so that Pikachu stands and does not fall.
We sew, alternately capturing the columns from above and below.
We sew, not reaching the edge of the front and back of the foot. This makes the paw look more natural.
Repeat the second round to secure the foot firmly.
Insert the needle into the body, near the tail. We carry out in the body under the tail and display it on the other side, near the tail.
We introduce into the tail through the holes in the plastic. We take it out from the other side.
Next, we introduce it into the body again.
Cut off 50 cm of black thread.
We retreat one row from the black strip and fasten the tail with pins.
We sew in a circular way, like ears. We move from top to bottom and back.
It is not always necessary to insert the needle through holes in the plastic.
You can sometimes grab knitting near the plastic.
In the second photo, the tail below is not completely sewn. Be sure to sew to the end. Otherwise, the tail will lead slightly to the side.
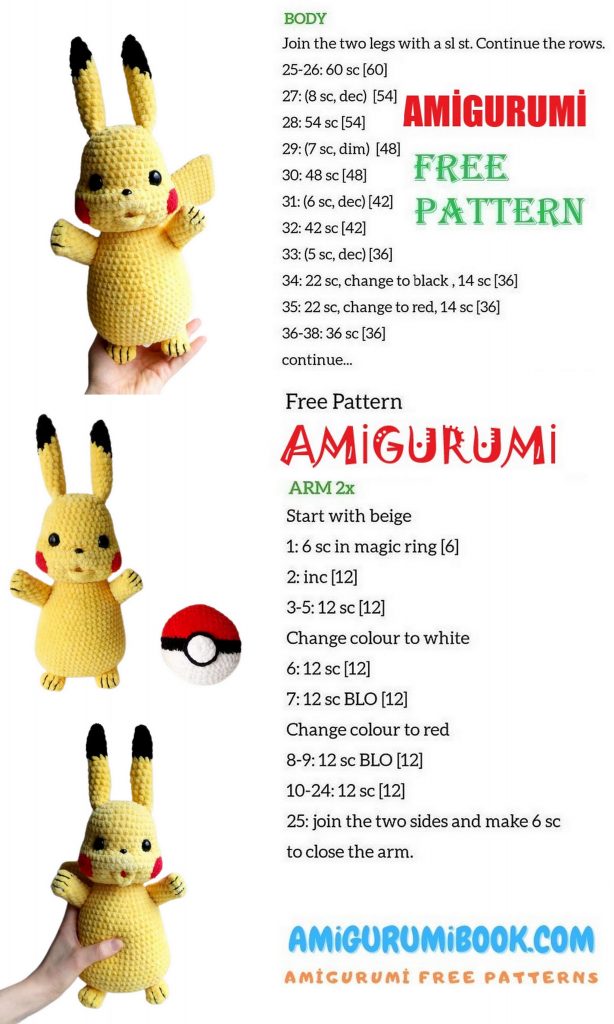
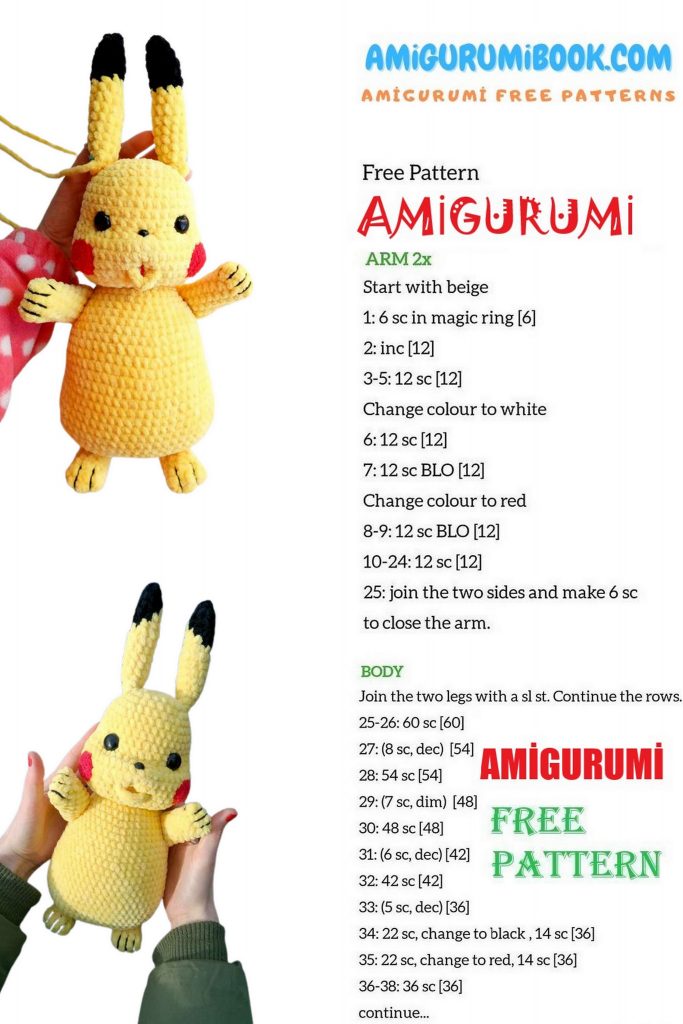
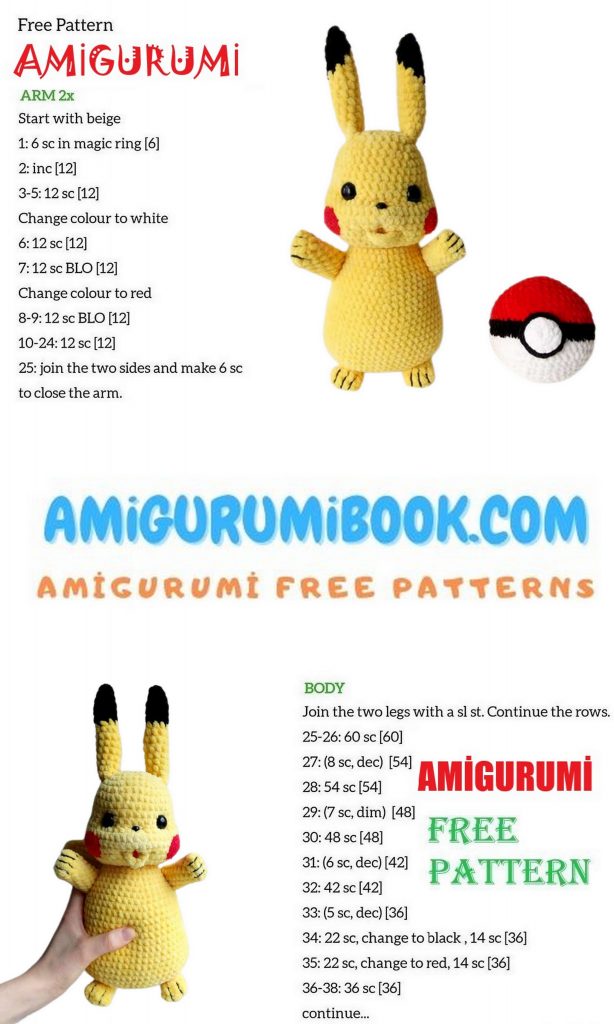
Sunny chubby Pikachu is ready. Let it give a warm and joyful mood to you, your children and future little clients 🙂
pikachu u ready
We knit in a circle with connecting rows.
Where the series began, it closed there, on the same line.
We finish each row with a connecting column + one air loop.
The connecting column is the closing one.
Rows don’t move. The ball is neat. The black stripe is perfectly even.
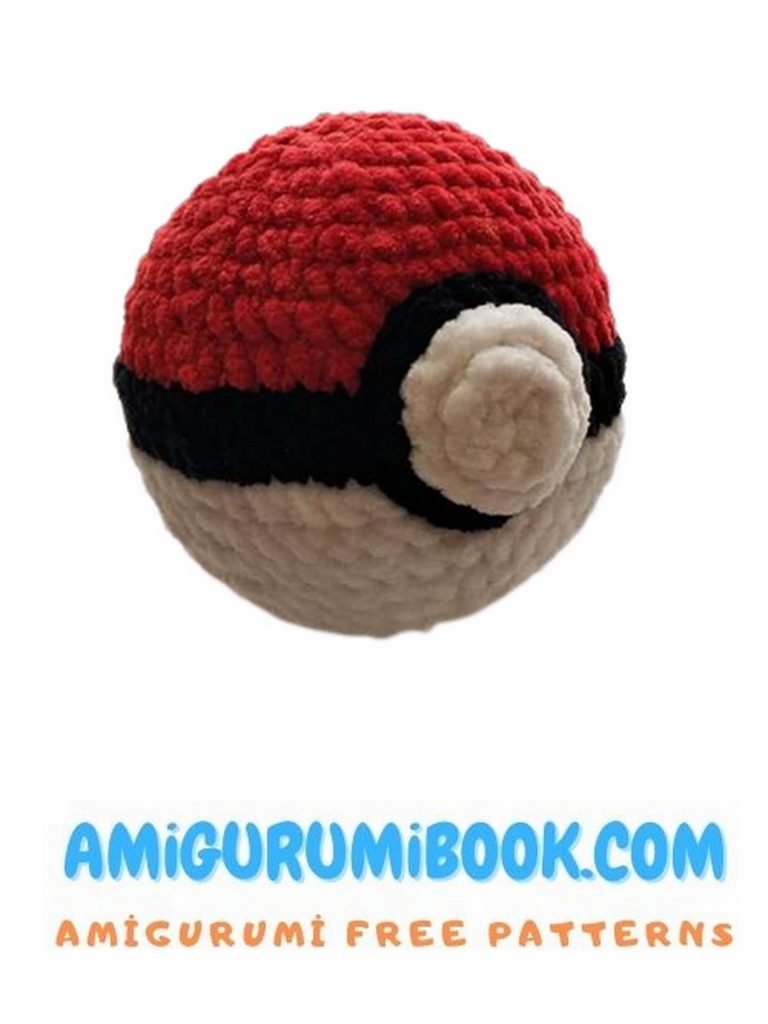
Pokeball
Red color.
1. 2 ch, in 2nd st from hook: 6 sc. Put a marker on the first sc.
At the end, connect the row with a connecting column and knit ch. Sl-st knit in the loop of the first sc. The first column was marked with a marker.
In subsequent rows, when the first sc is tied, put a marker on it.
At the end of the row, into the loop where the marker is knitted sl-st + ch and the first sc of the new row is knitted into the same loop.
2. inc x 6, sl-st, ch (12)
3. (1 sc, inc) x 6, sl-st, ch (18)
4. (2 sc, inc) x 6, sl-st, ch (24)
5. (3 sc, inc) x 6, sl-st, ch (30)
6. (4 sc, inc) x 6, sl-st, ch (36)
7. (5 sc, inc) x 6, sl-st, ch (42)
8. (6 sc, inc) x 6, sl-st, ch (48)
9.48 sc, sl-st, ch
At the end of the row, in the connecting column, change the color to black.
We insert the hook into the loop where the sl-st should be and take out the thread of the new color. We pass through one loop on the hook of the old color. Sl-st is ready. We knit ch.
We do not cut the red thread. See photo below.
10.48 sc, sl-st, ch
We knit a flat black stripe. Pull up a red loop and knit with a black thread. How convenient it is to knit with two threads – see the last photo.
Cut off the red thread at the end.
11. 48 sc in black, sl-st, ch.
We knit the connecting column for closing the row in white.
12. 48 sc, sl-st, ch. We knit an even strip of white color similarly to the 11th row. We pull out a black loop and knit it with a white thread.
13-14. 48 sc, sl-st, ch – 2 rows
15. (6 sc, dec) x 6, sl-st, ch (42)
16. (5 sc, dec) x 6, sl-st, ch (36)
17. (4 sc, dec) x 6, sl-st, ch (30)
We fill, adding a little bit after each row.
18. (3 sc, dec) x 6, sl-st, ch (24)
19. (2 sc, dec) x 6, sl-st, ch (18)
20. (1 sc, dec) x 6, sl-st, ch (12)
Dec 21
Pull the hole.
With a needle for stitching, we go in turn under the front walls of the 6 loops, without tightening. After the 6th loop, pull off the hole. Fasten the thread near the tightened hole and hide.
Button.
Black circle.
1. 2 ch, second from hook: 6 sc
2. inc x 6 (12)
3. (1 sc, inc) x 6 (18)
Try on a pokeball. You might not need another row.
4. (2 sc, inc) x 6, sl-st (24)
Leave the thread for sewing.
White circle.
1. 2 ch, second from hook: 6 sc
2. inc x 6 (12)
Perhaps the third row is not useful.
3. (1 sc, inc) x 6, sl-st (18)
Leave for sewing.
Sew the white circle to the black.
The button is ready. Sew to pokeball.
The pokeball is ready.