
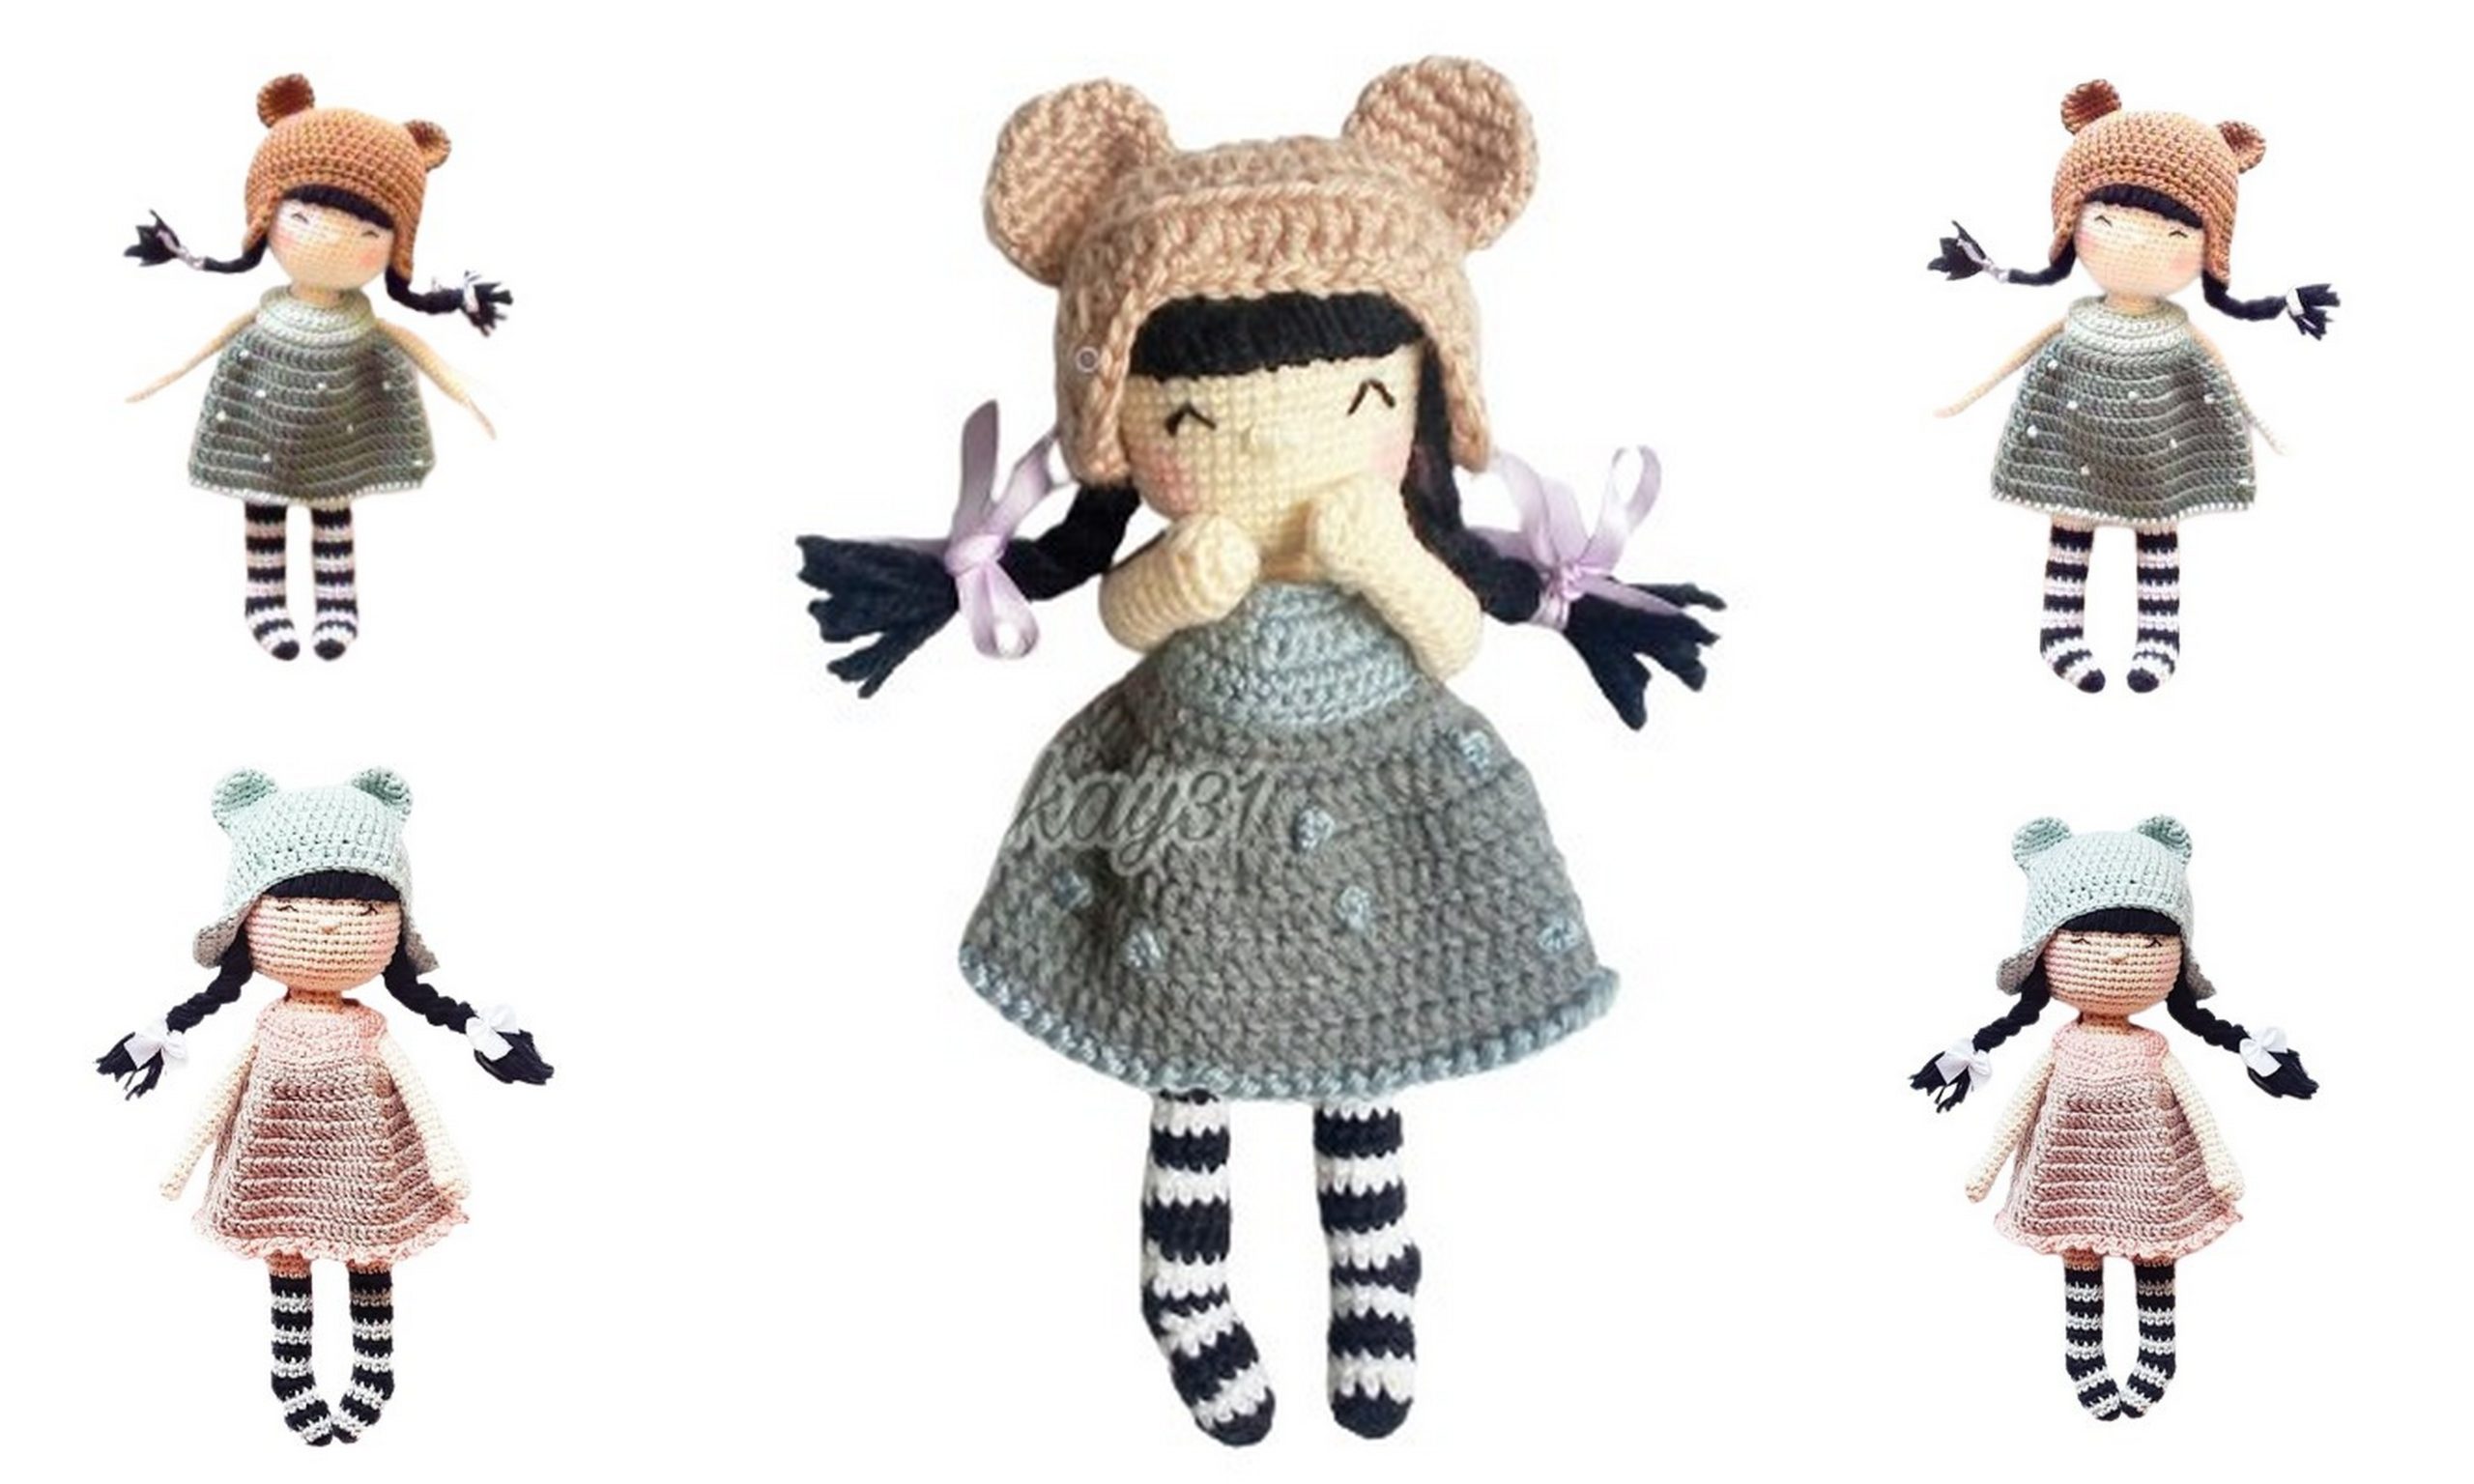
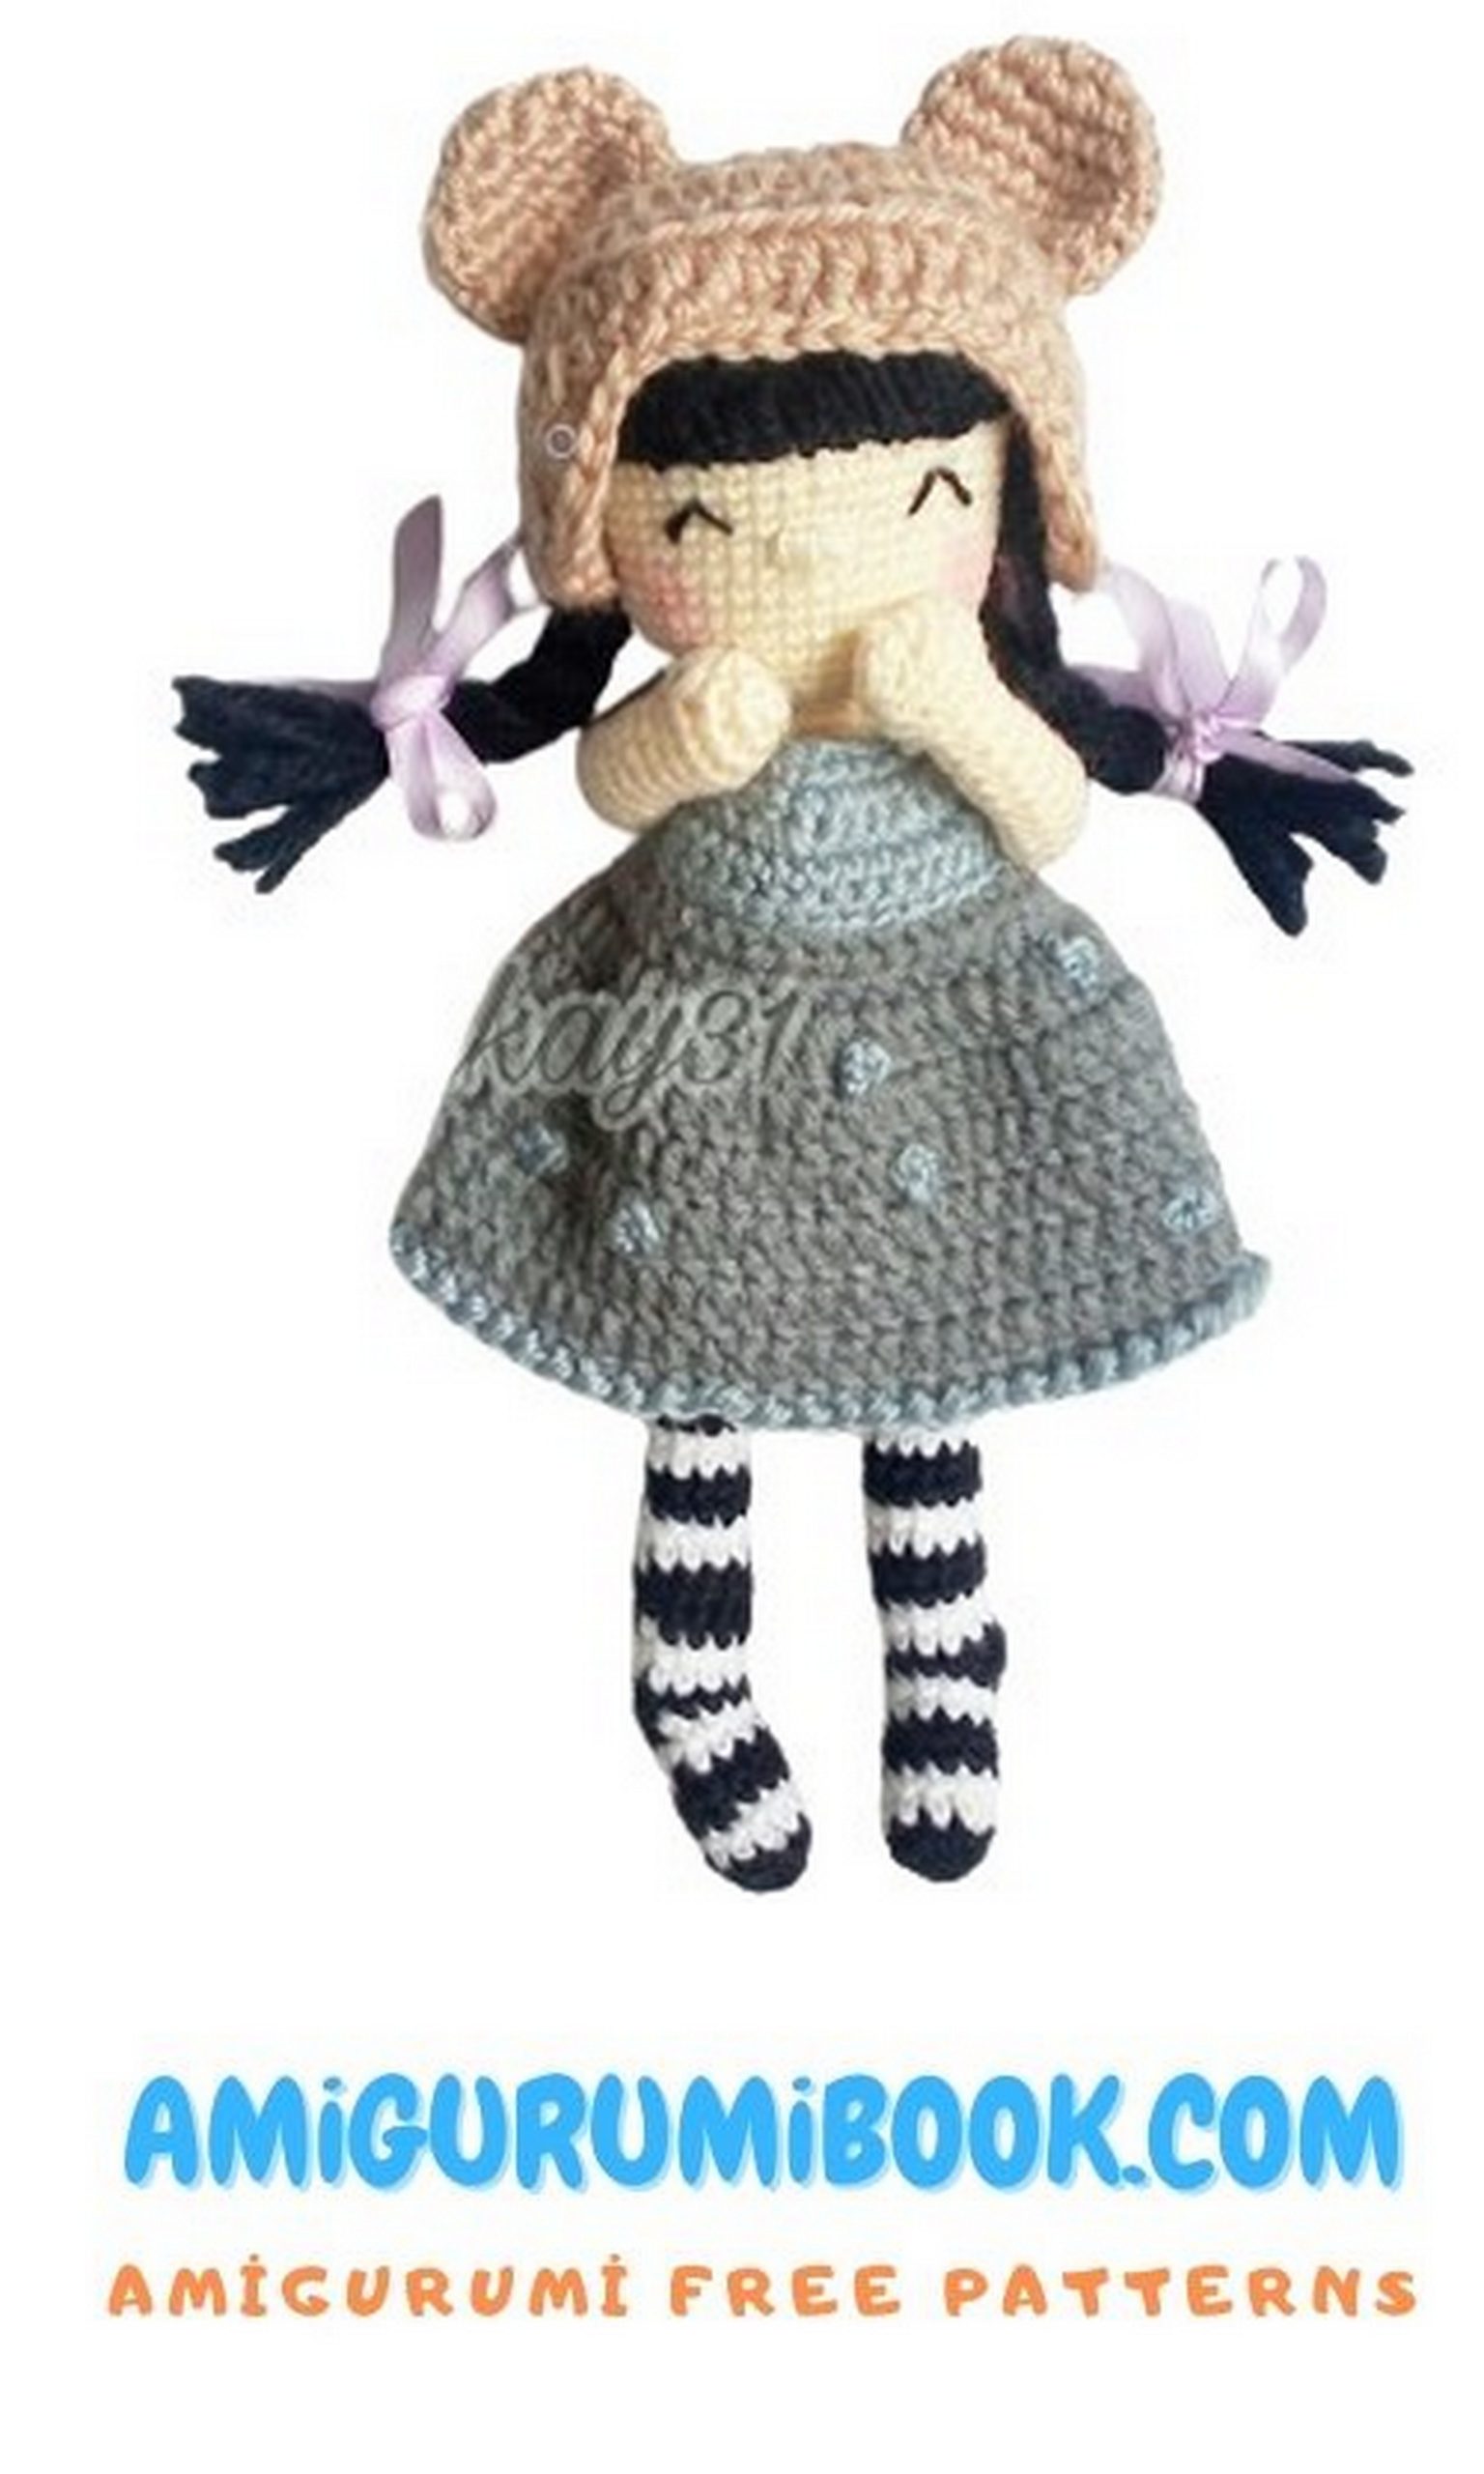
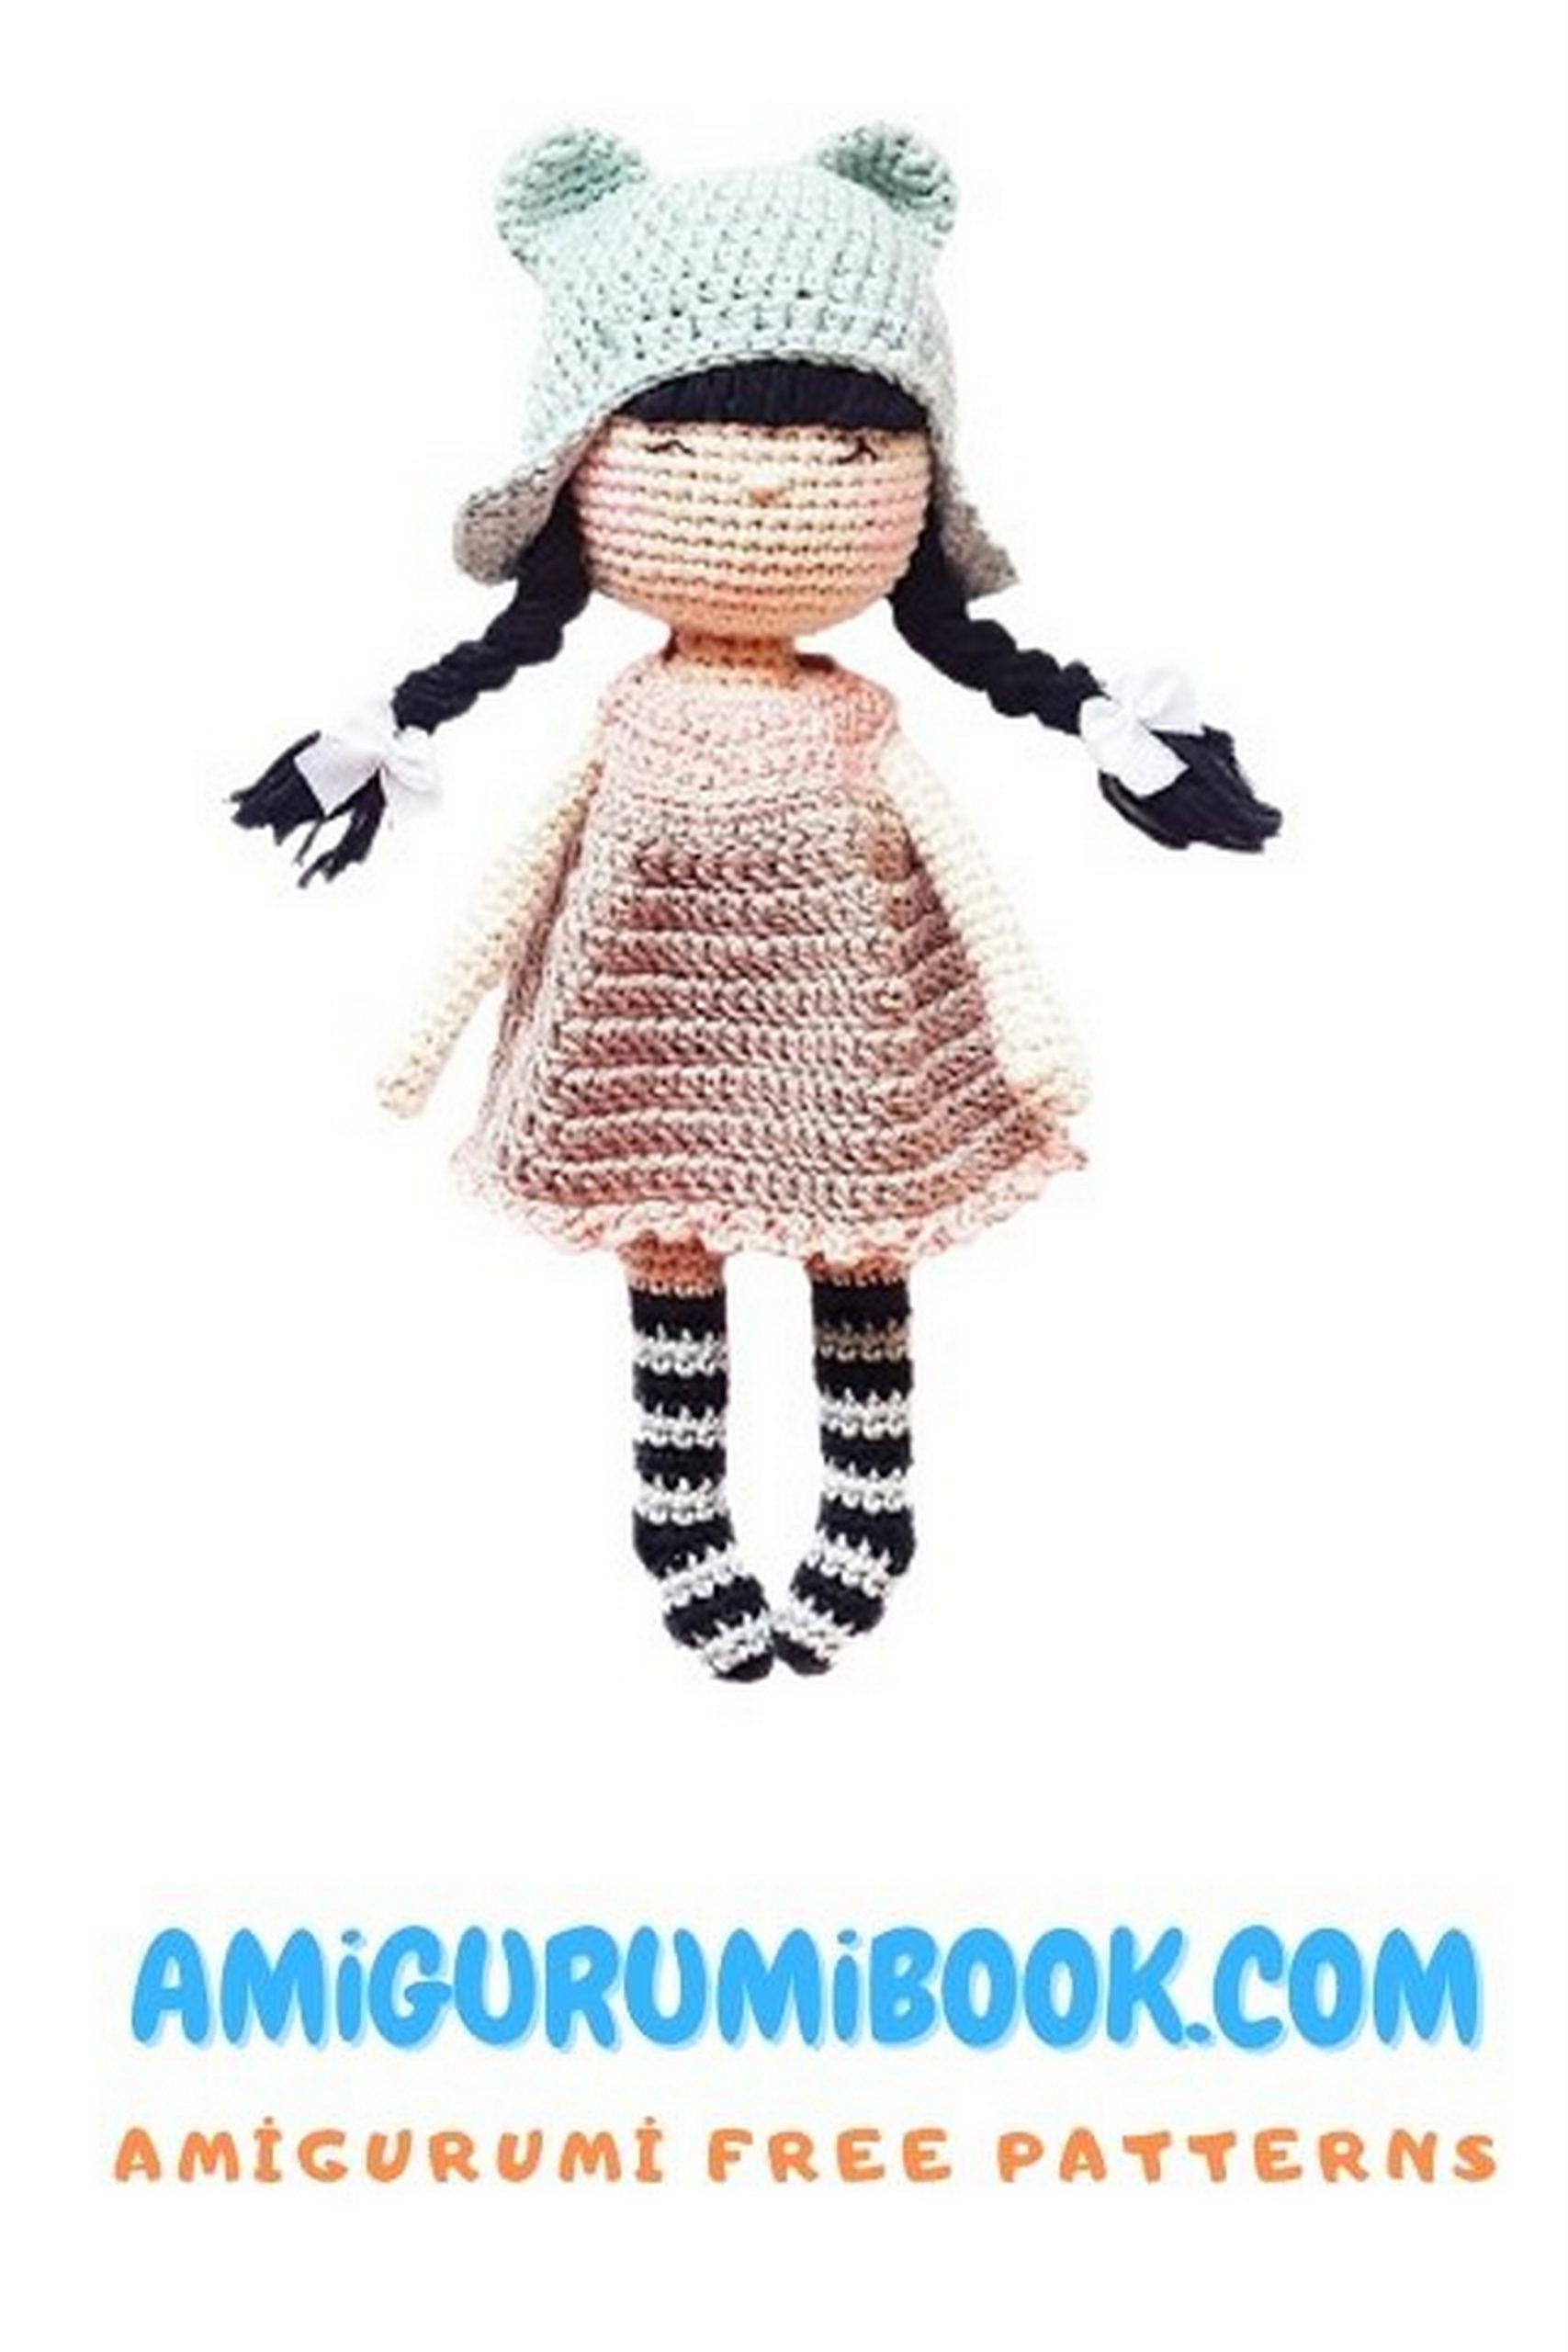
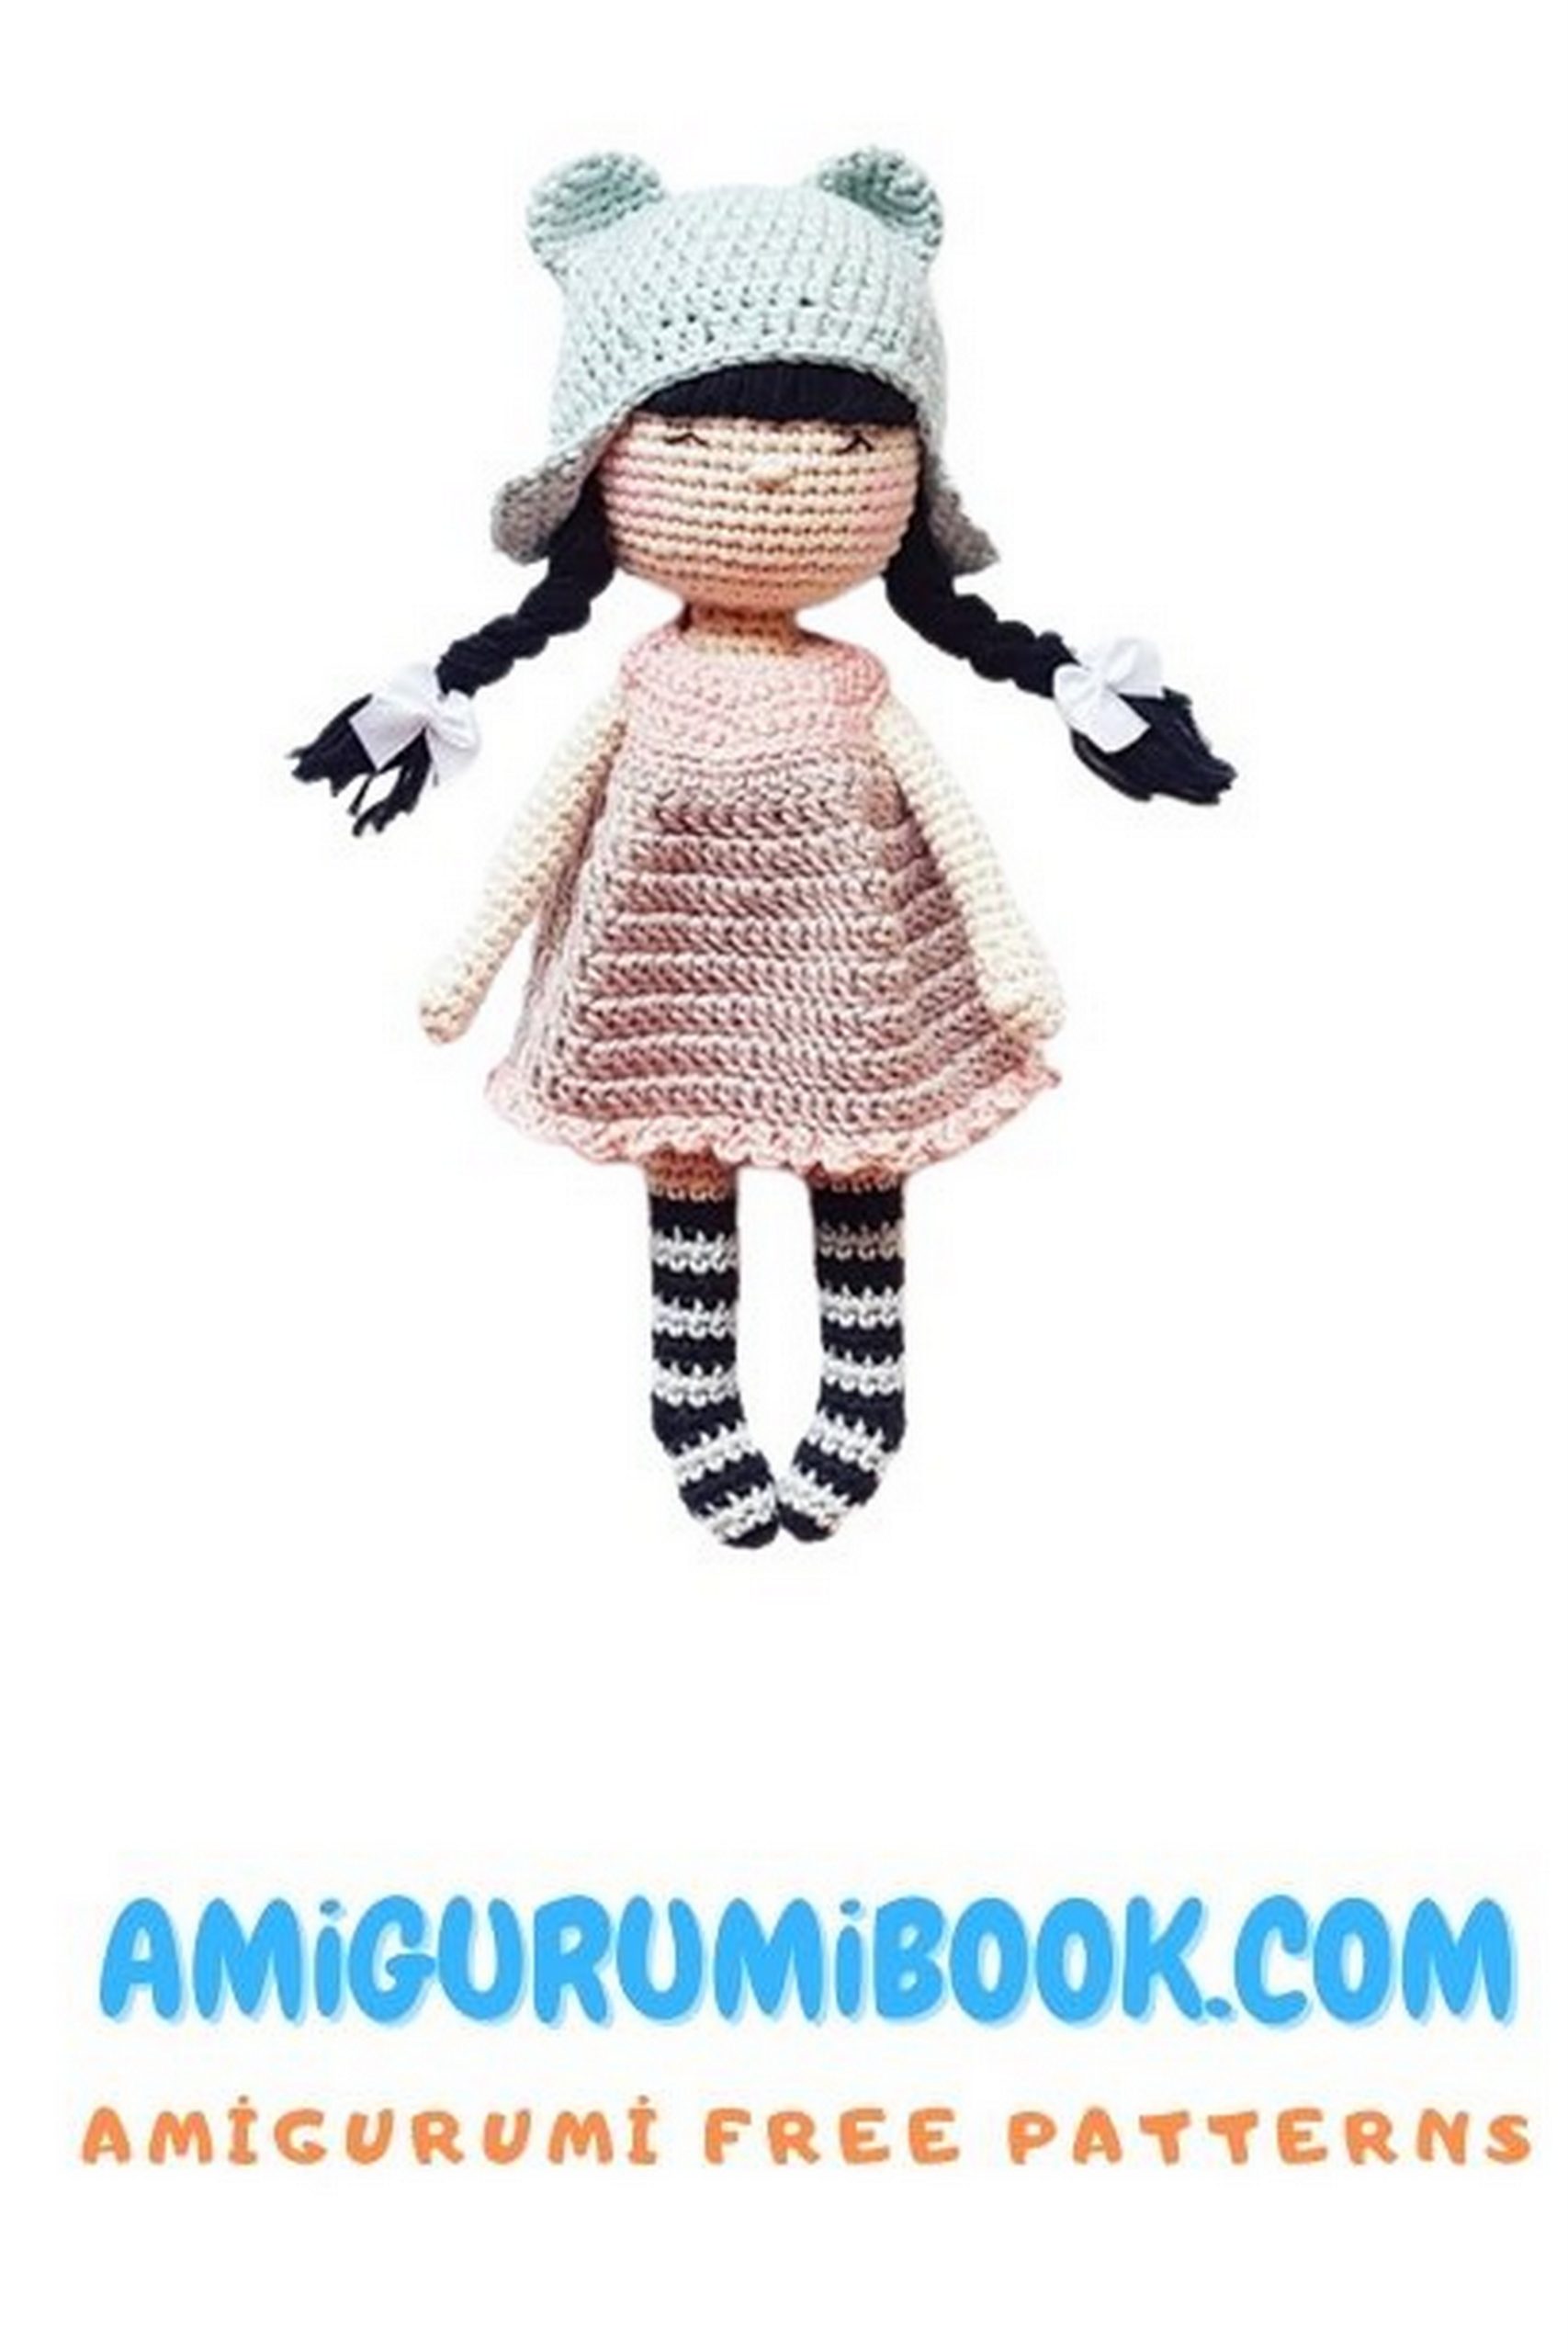
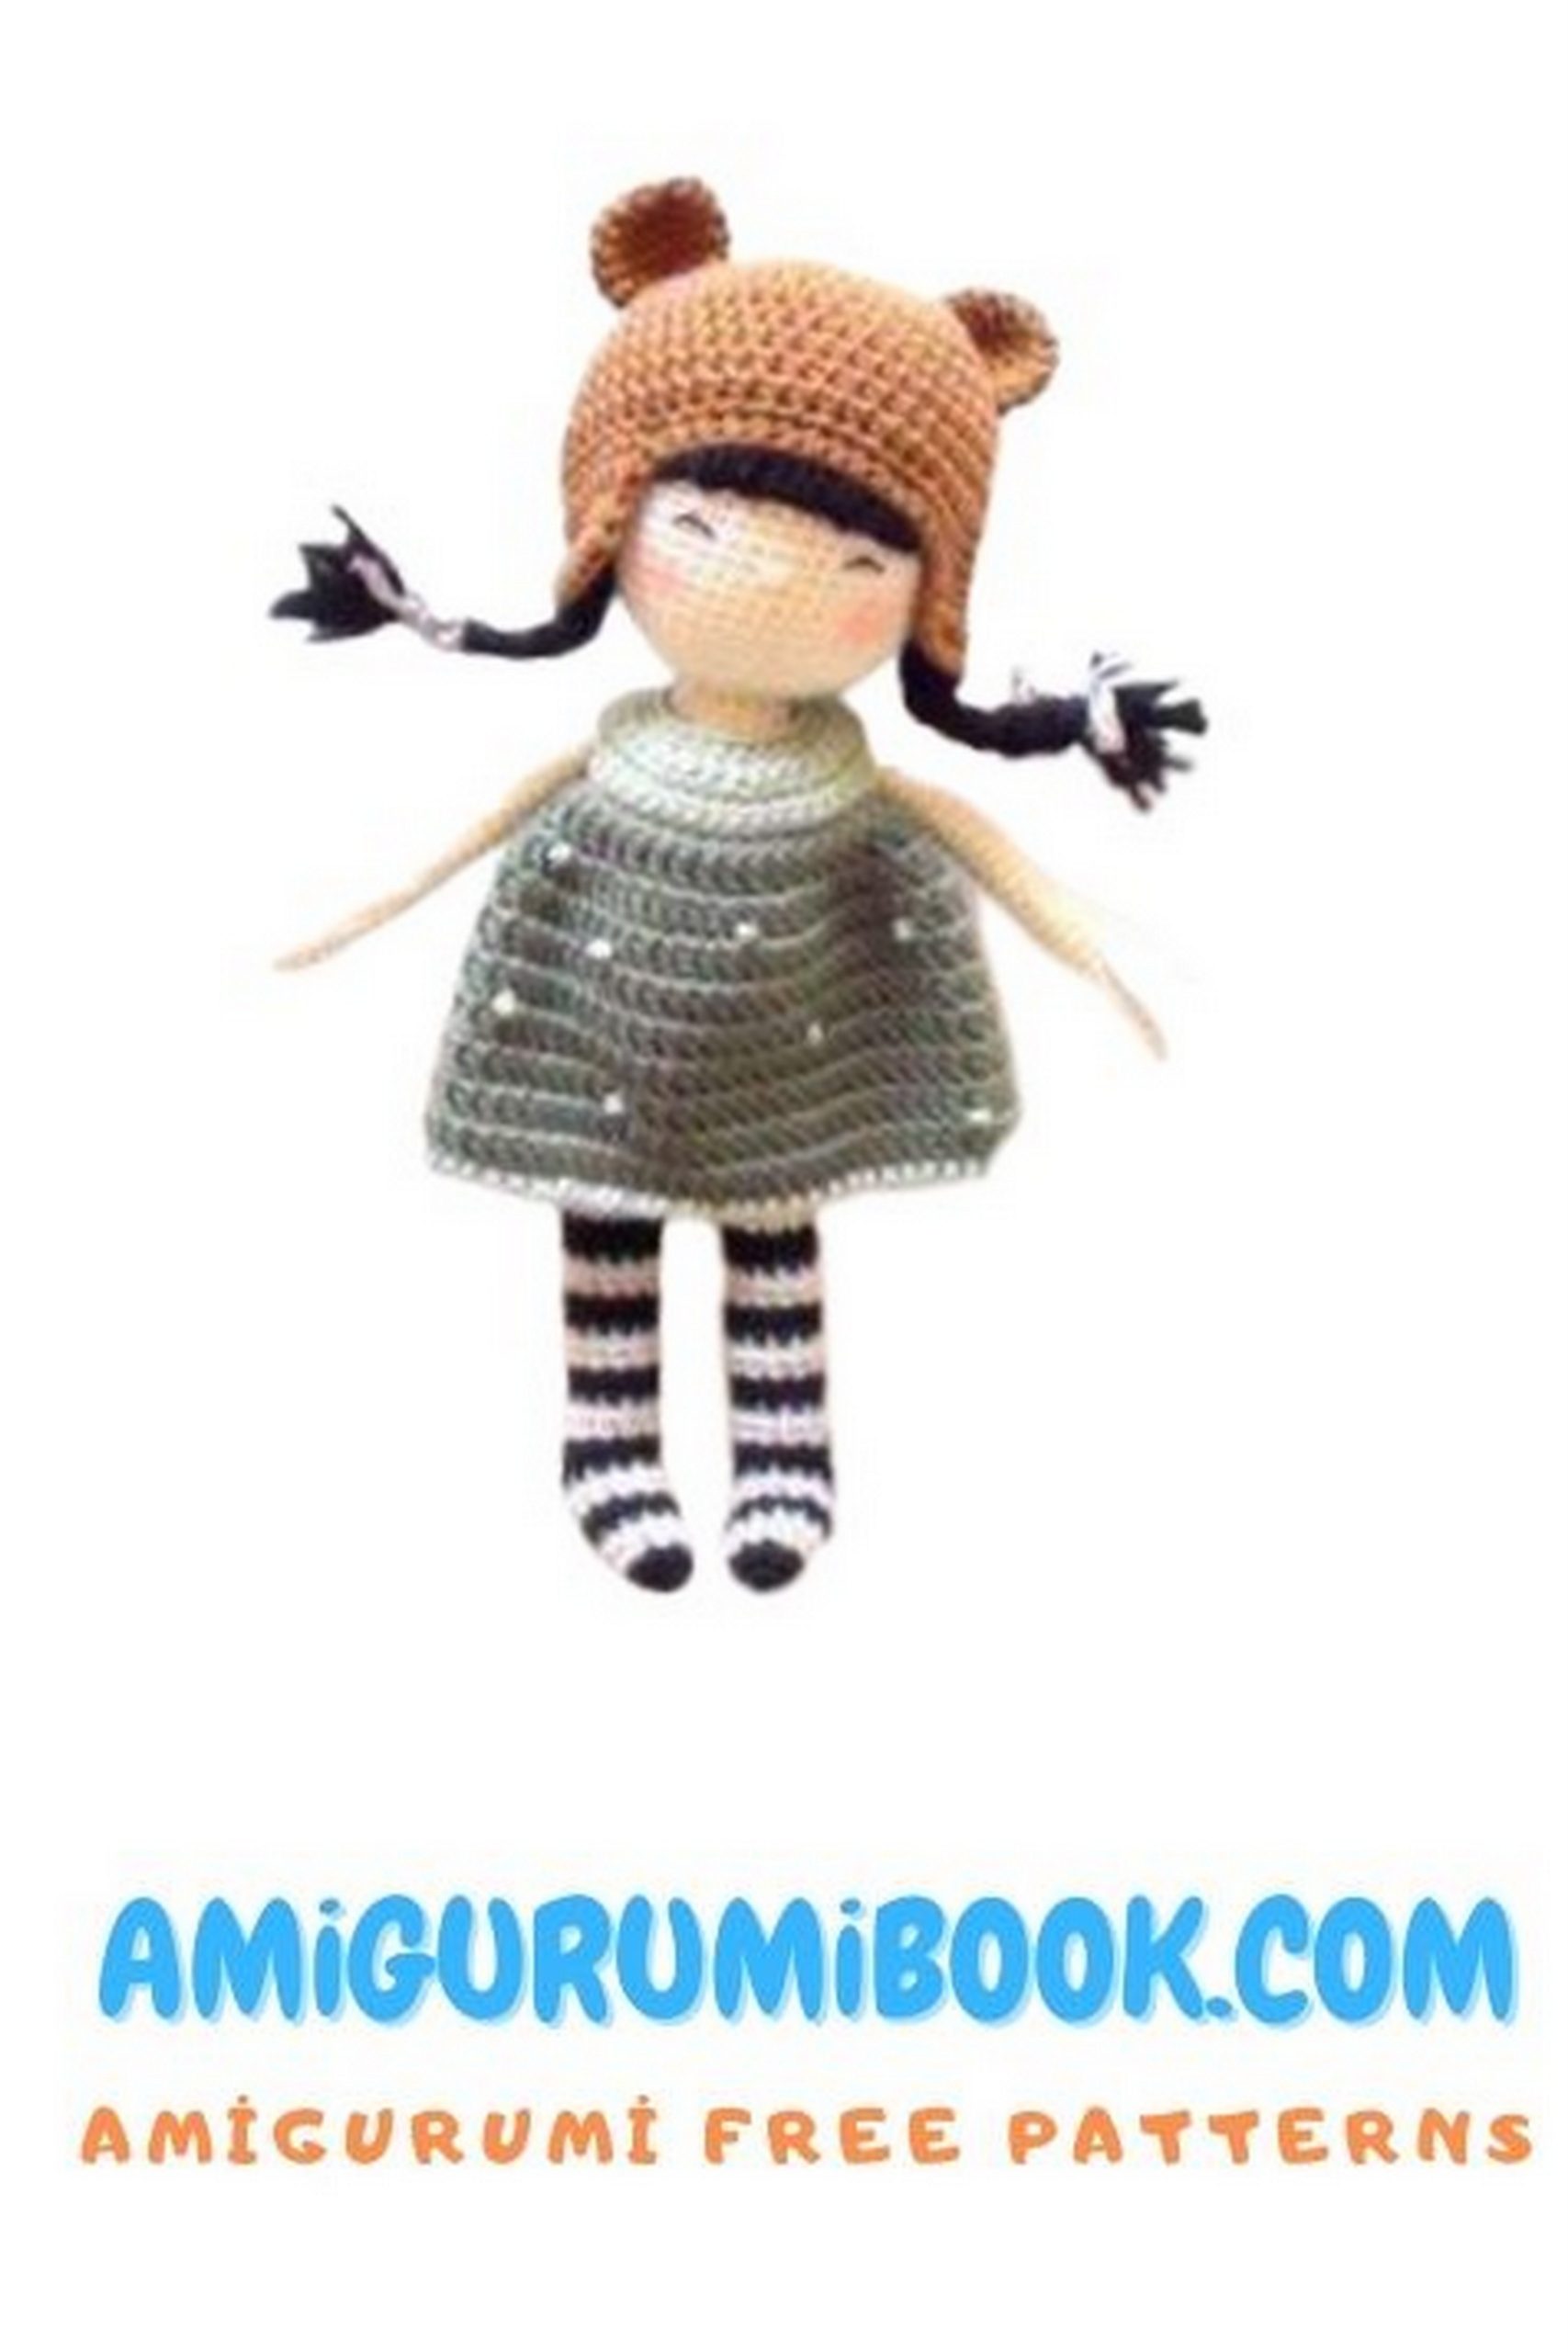
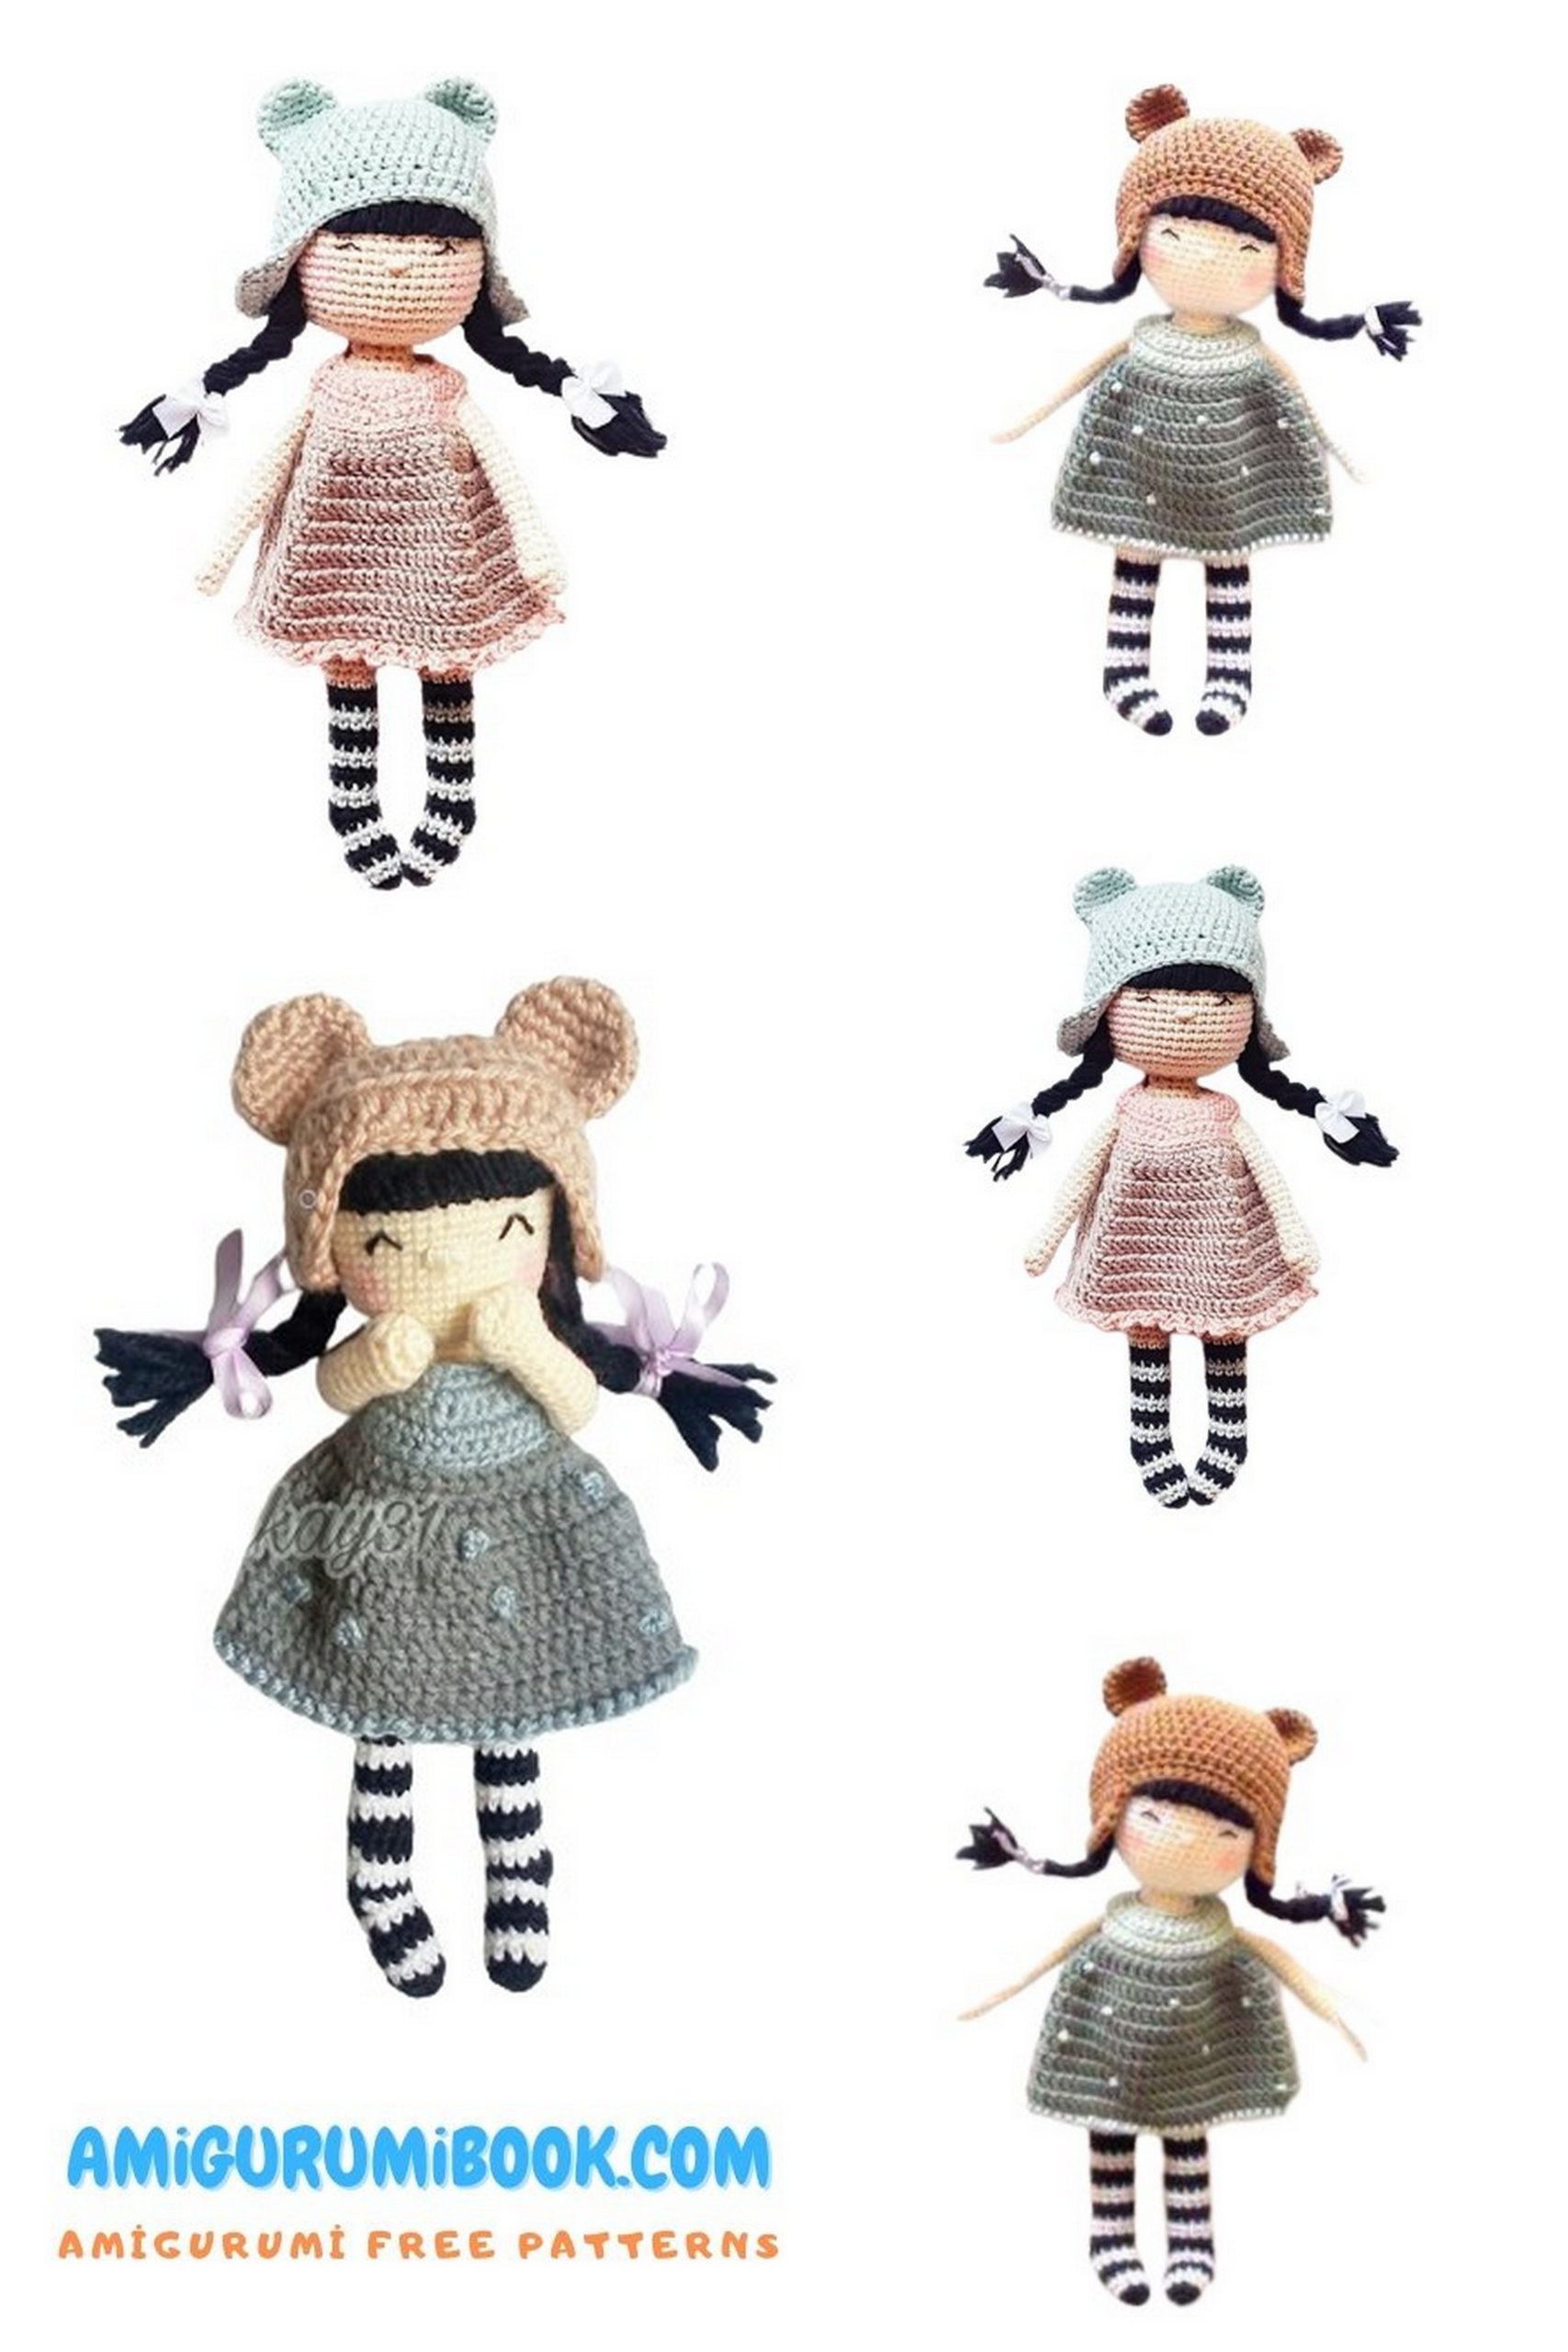
If you enjoy crocheting cute handmade dolls, the Elsie Doll Amigurumi is a wonderful project to add to your collection. With her sweet expression, charming outfit, and delicate details, this adorable crochet doll is perfect as a gift, decoration, or a lovely addition to any amigurumi lover’s collection.
This free Elsie Doll amigurumi pattern will guide you step by step through creating the doll, including the head, body, arms, legs, and beautiful outfit. The pattern uses simple stitches and clear instructions, making it suitable for both beginners and experienced crocheters who love making handmade toys.
Grab your yarn and crochet hook and start creating this cute amigurumi doll today. Elsie will surely become one of the most charming handmade dolls in your crochet collection.
If you want to access 1000+ free amigurumi patterns, you can download our application from this link!
Materials
Yarn (cotton yarn)
• Color A – Beige
• Color B – Olive Green
• Color C – Dark Olive Green
• Color D – Brown
• Color E – Gray
• Color F – Black
Tools
• 3 mm crochet hook (or a hook suitable for your yarn)
• Fiberfill stuffing
• Yarn needle
• Scissors
• Dry pastels for shading
Finished Size
• Approximately 25 cm tall
Notes
• Embroider the eyes between rounds 10–11, about 5–6 stitches apart
Abbreviations
MC – Magic Circle
Ch – Chain
Sl st – Slip Stitch
Sc – Single Crochet
Inc – Increase (2 sc in the same stitch)
Dec – Decrease (single crochet two stitches together)
Hdc – Half Double Crochet
Dc – Double Crochet
Tr – Treble Crochet
Legs & Socks (Make 2)
Color: Gray–Black
Note: Change color every 2 rounds.
Start each round with ch 1 and finish with sl st in the first stitch.
Color F
1: 6 sc in MC (6)
2: ch 1, (sc, inc) x3, sl st (9)
Color E
3: ch 1, (2 sc, inc) x3, sl st (12)
4: 12 sc
Color F
5: ch 1, 12 sc, sl st (12)
6: ch 1, 12 sc, sl st (12)
Color E
7: ch 1, 12 sc, sl st
8: ch 1, 12 sc, sl st (12)
Color F
9: ch 1, 6 sc, turn
10: ch 1, 6 sc, turn
11: ch 1, 6 sc, do not turn, continue working in the round
12–13: ch 1, 12 sc, sl st (12)
Color E
14–15: ch 1, 12 sc, sl st (12)
Color F
16–17: ch 1, 12 sc, sl st (12)
Color E
18–19: ch 1, 12 sc, sl st (12)
Color F
20–21: ch 1, 12 sc, sl st (12)
Color E
22–23: ch 1, 12 sc, sl st (12)
Color F
(Do not make sl st or ch at the end of the round)
24: 12 sc in back loops only
25: 12 sc
Color A
26–35: 12 sc
Fasten off and cut the yarn.
Do not cut the yarn on the second leg, continue working from it when joining the legs.
You may need to crochet a few extra sc so the feet face inward correctly.
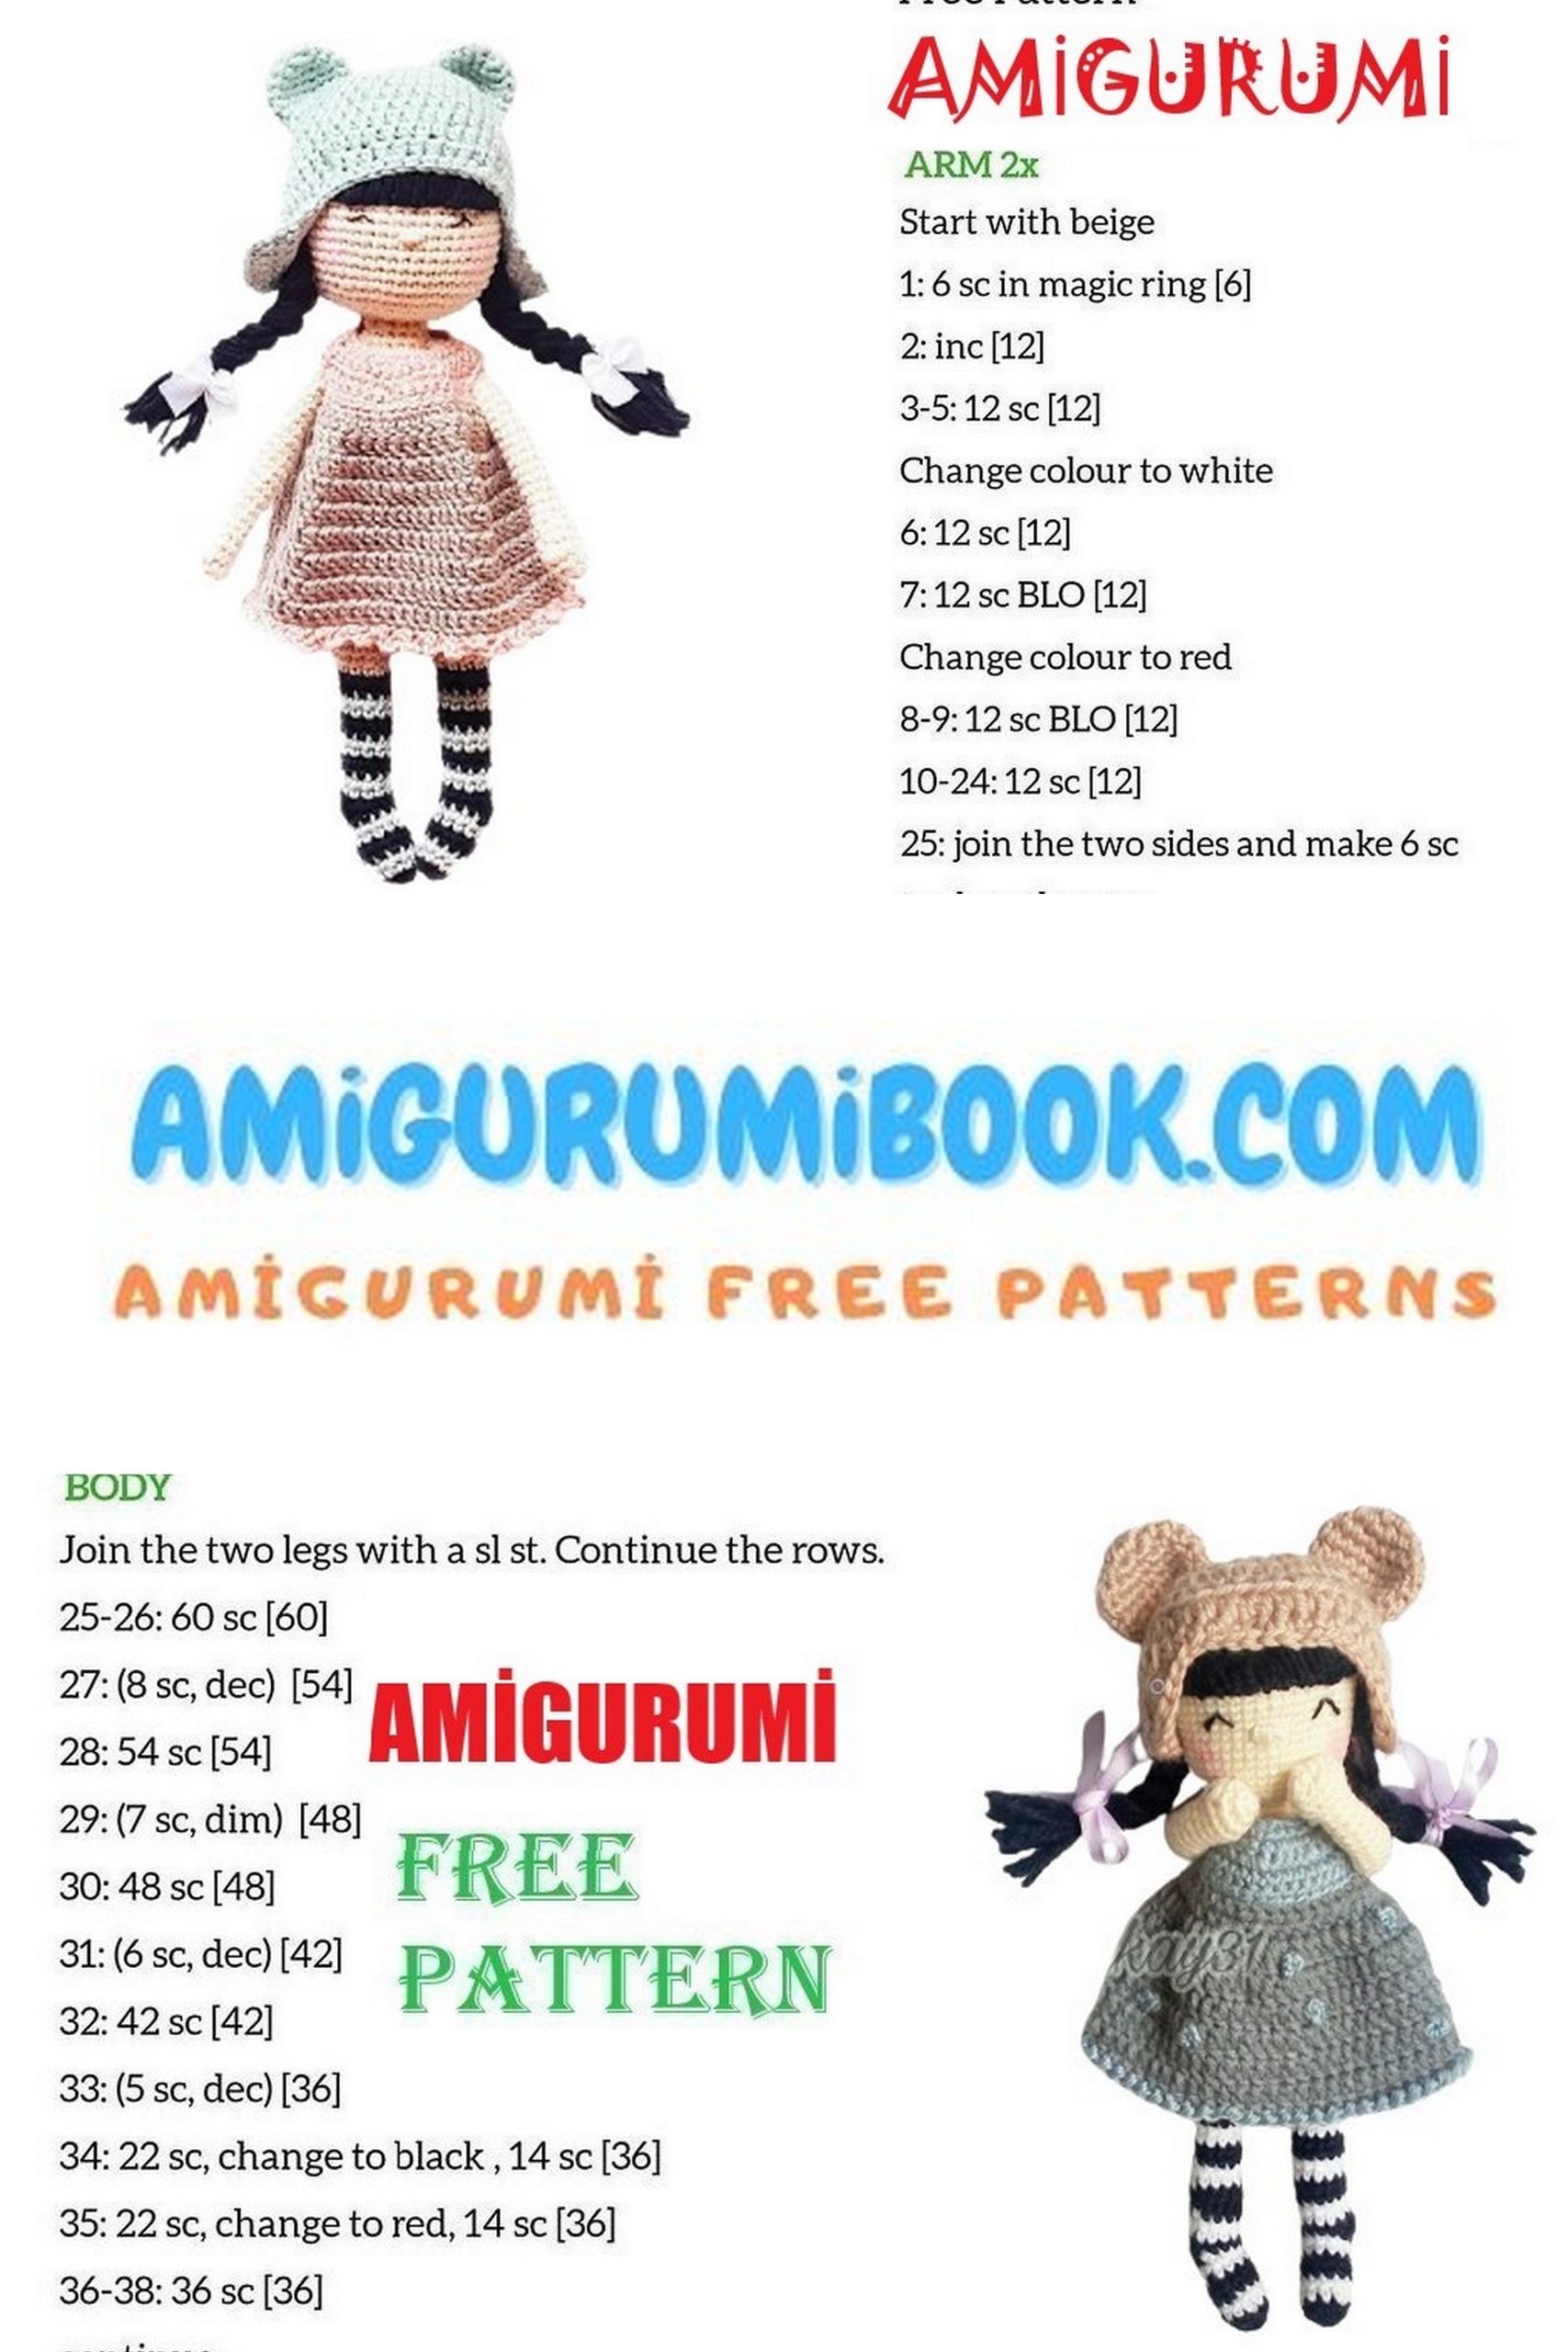
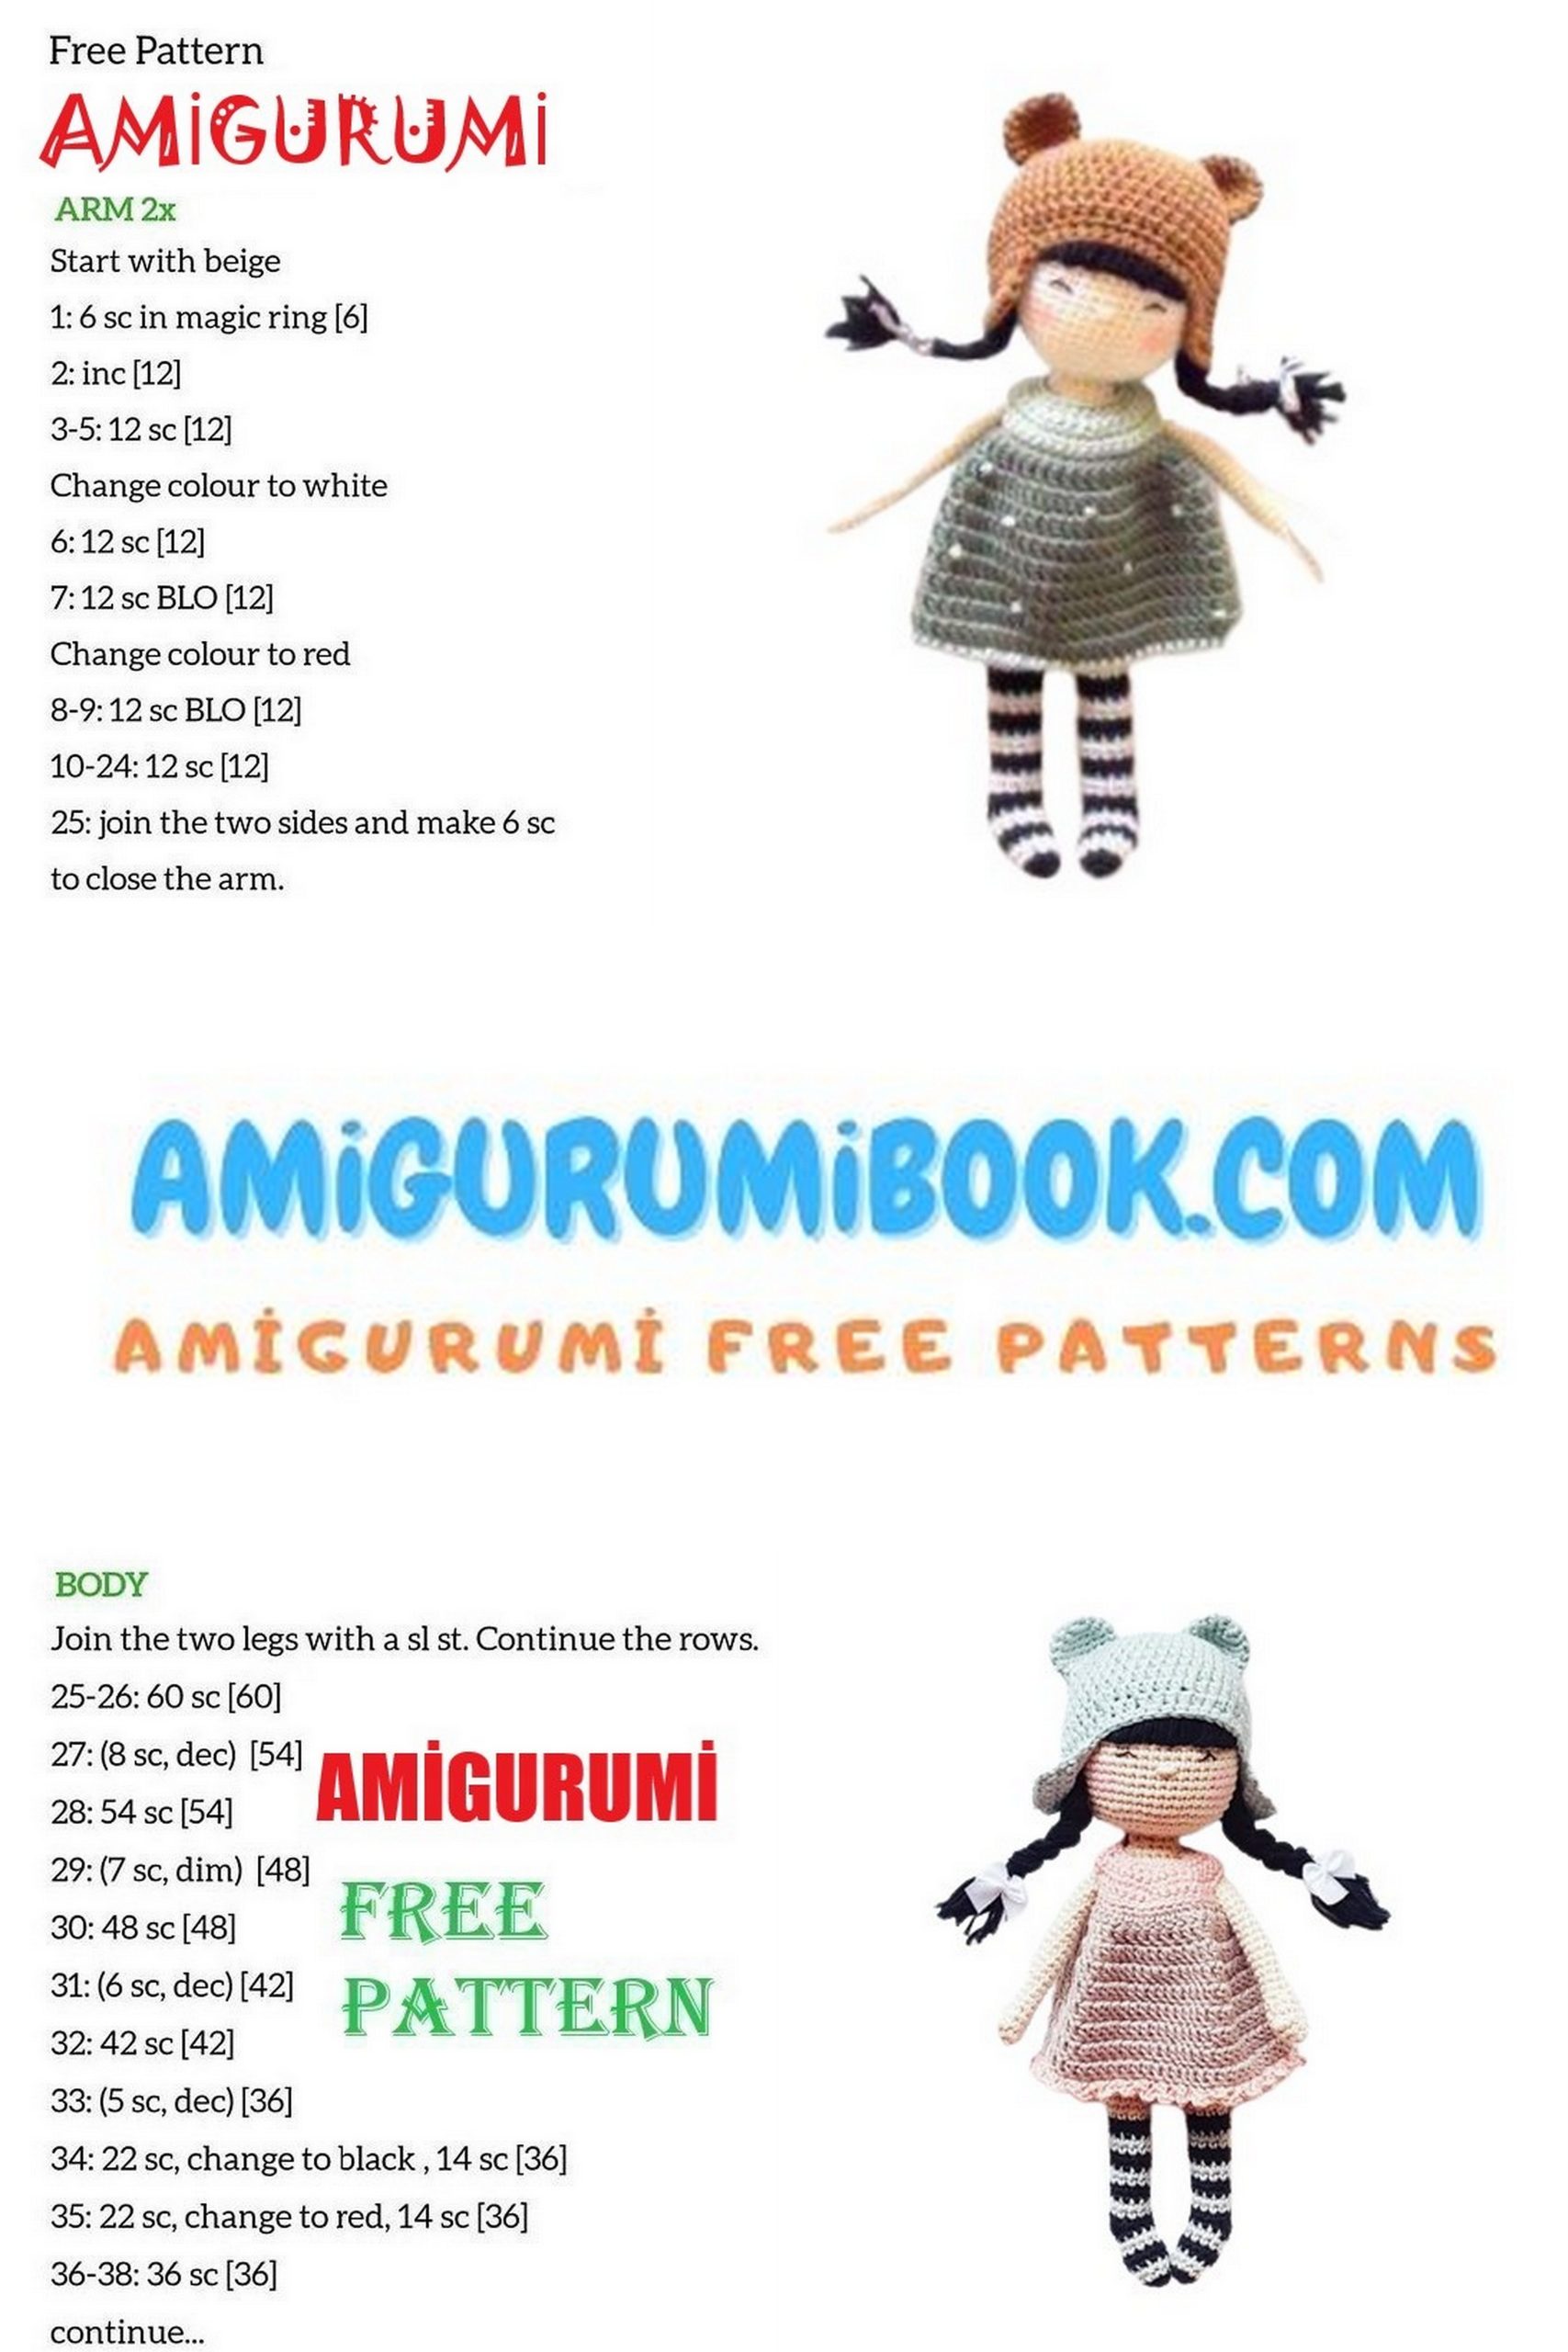
Body
Color A
Ch 4 and join to the first leg, skipping 2 stitches from the last sl st.
36: 12 sc, 4 sc in chain, 12 sc, 4 sc in chain (32)
37–47: 32 sc
48: (6 sc, dec) x4 (28)
49–50: 28 sc
51: (5 sc, dec) x4 (24)
52–53: 24 sc
54: (4 sc, dec) x4 (20)
55: 20 sc
56: (3 sc, dec) x4 (16)
57: (2 sc, dec) x4 (12)
58: 12 sc
Fasten off the yarn and continue with the head.
Head
Color A
1: 12 sc in MC (12)
2: (2 sc, inc) x4 (16)
3: (3 sc, inc) x4 (20)
4: (4 sc, inc) x4 (24)
5–17: 24 sc
Insert or embroider the eyes between rounds 10–11, about 5 stitches apart.
Embroider the nose with beige yarn a few stitches below the eyes.
Embroider the mouth with a single stitch 4 rows below the nose.
Color F
18–19: 24 sc
20: (4 sc, dec) x4 (20)
21: (3 sc, dec) x4 (16)
22: (2 sc, dec) x4 (12)
23: (sc, dec) x4 (8)
24: dec x4, sl st
Fasten off and cut the yarn.
Arms (Make 2)
Color A
1: 4 sc in MC (4)
2: ch 1, inc x4 (8)
3: (sc, inc) x4 (12)
4: 5 sc, bobble stitch, 6 sc (12)
5: (4 sc, dec) x2 (10)
6: 4 sc, dec, 4 sc (9)
Stuff the arms only at the bottom.
7–26: 9 sc
27: Fold in half and crochet through both sides → 4 sc
Fasten off and leave a yarn tail for sewing.
Dress
Color B
1: ch 25, turn
2: From 2nd ch from hook → 24 sc, ch 1, turn
3: (2 sc, inc) x8 (32), ch 1, turn
4: (3 sc, inc) x8 (40), ch 1, turn
5:
5 sc
ch 6, skip 6 sts
18 sc
ch 6, skip 6 sts
5 sc
ch 1, turn
6: 40 sc, ch 1
Color C
7: FLO → 40 hdc, ch 2, turn
8: 40 hdc, sl st, ch 2
Do not turn the work
9: (1 hdc, inc) x20 (60), sl st, ch 2
10–16: 60 hdc, sl st
Color B
17: Crab stitch in each stitch
Fasten off and cut the yarn.
Decorate the dress using French knot embroidery with color B in any pattern you like.

Hair
Color F
Cut yarn strands about 30 cm long.
Attach the strands along the color change line of the head using your preferred method (latch hook, knotting, or loop method).
You may fill the entire head with hair if you like.
In the original design, the head is not fully filled with hair because a hat will be added.
Trim the bangs and braid the remaining hair.
Hat
Color D
1: 8 sc in MC, sl st (8)
2: ch 1, inc x8, sl st (16)
3: ch 1, (sc, inc) x8, sl st (24)
4: ch 1, (2 sc, inc) x8, sl st (32)
5: ch 1, (3 sc, inc) x8, sl st (40)
6: ch 1, (4 sc, inc) x8, sl st (48)
7–12: ch 1, 48 sc, sl st
13: ch 1, 48 hdc, sl st
First Ear Flap
With the right side facing you
1: ch 1, skip 1 st, 10 sc, turn (10)
2: ch 1, skip 1 st, 9 sc, turn (9)
3: ch 1, skip 1 st, 8 sc, turn (8)
4: ch 1, skip 1 st, 7 sc, turn (7)
5: ch 1, skip 1 st, 6 sc, turn (6)
6: ch 1, skip 1 st, 5 sc, turn (5)
Fasten off and cut the yarn.
Second Ear Flap
With the right side facing you, skip 14 stitches and attach the yarn.
Repeat rounds 1–6.
Add a single crochet border around the hat and ear flaps.
Fasten off and cut the yarn.
Bear Ears for the Hat (Make 2)
Color D
1: 6 sc in MC (6)
2: inc x6 (12)
3: (sc, inc) x6 (18)
4–6: 18 sc
Fold the piece in half and crochet through both sides → 8 sc
Fasten off and leave a yarn tail for sewing.
Assembly
Attach the arms to round 56 of the body.
Place and sew the bear ears onto the hat.
Secure the hat on the doll’s head with a few neat stitches.
Finish by adding a little blush to the cheeks using dry pastel or blush powder.
Your Elsie Doll Amigurumi is now ready!