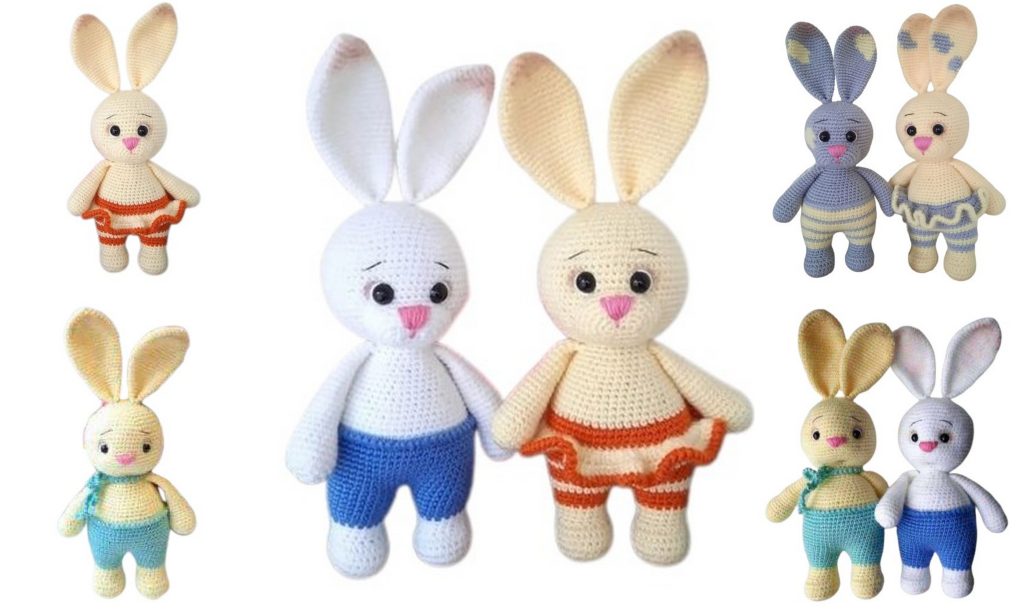
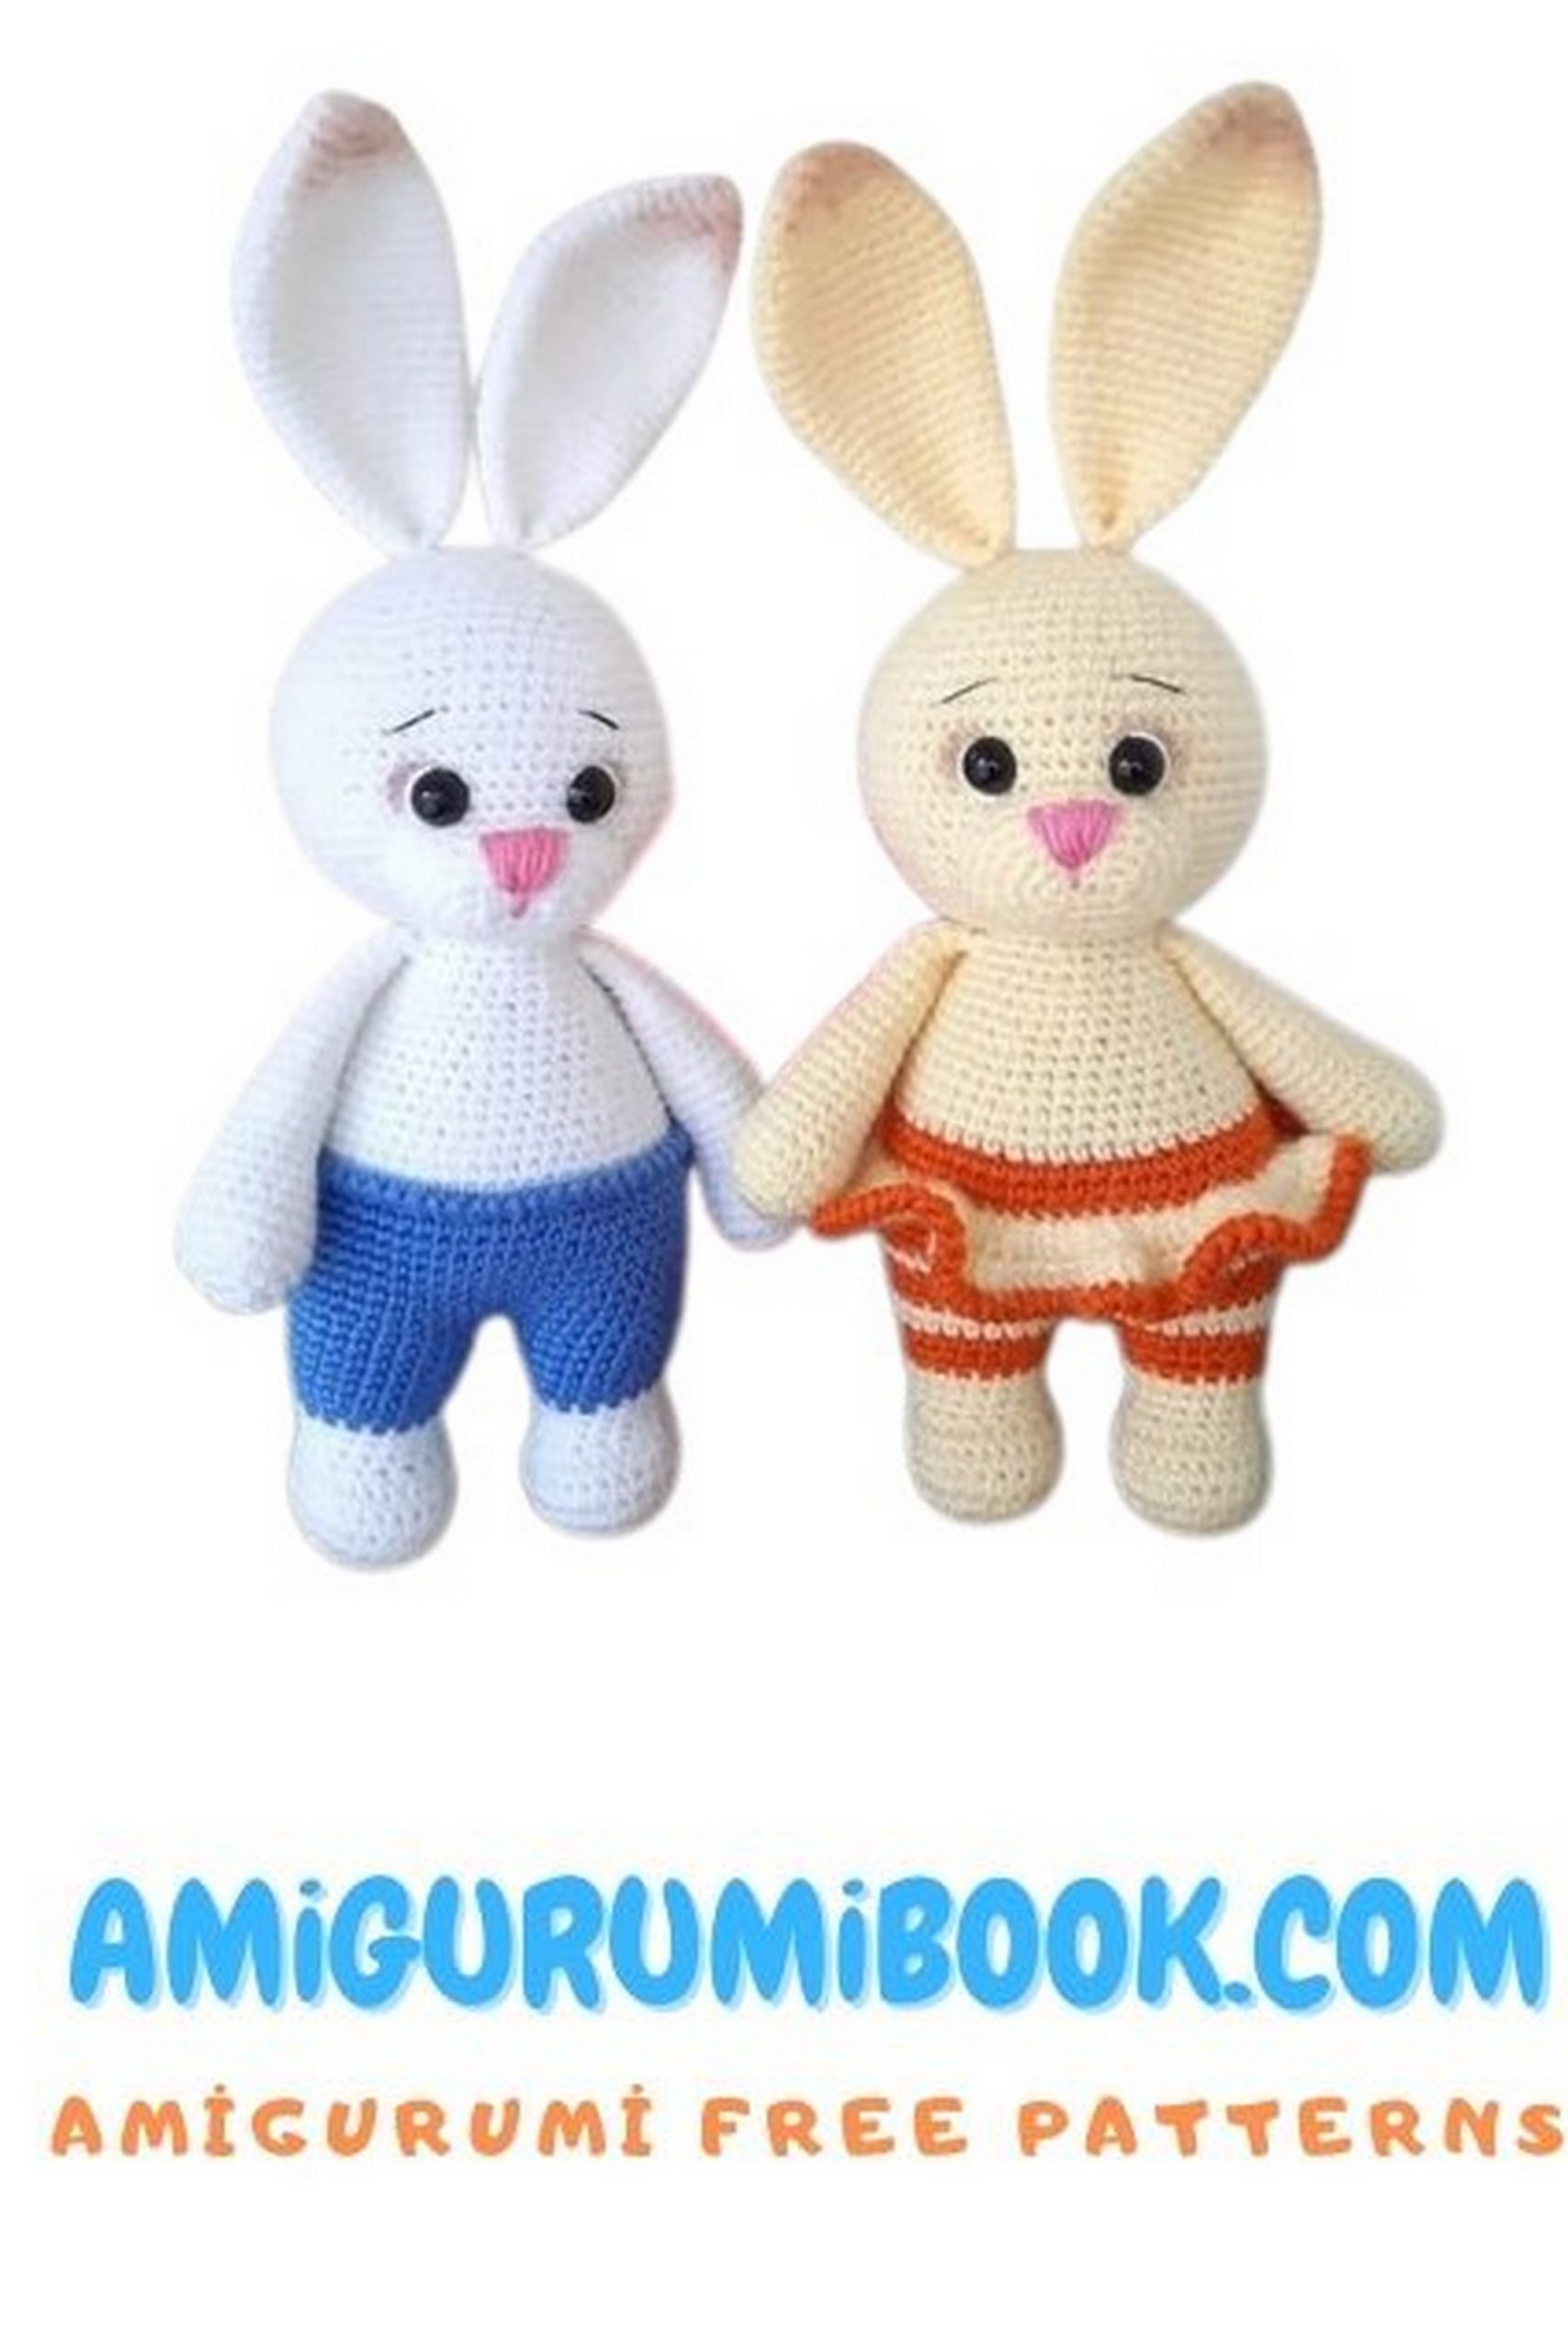
Discover the charm of crafting with this adorable Mr and Mrs Bunny amigurumi free pattern, perfect for both beginners and experienced crocheters. These sweet, handmade bunnies make delightful gifts or charming decorations for any occasion. free crochet patterns
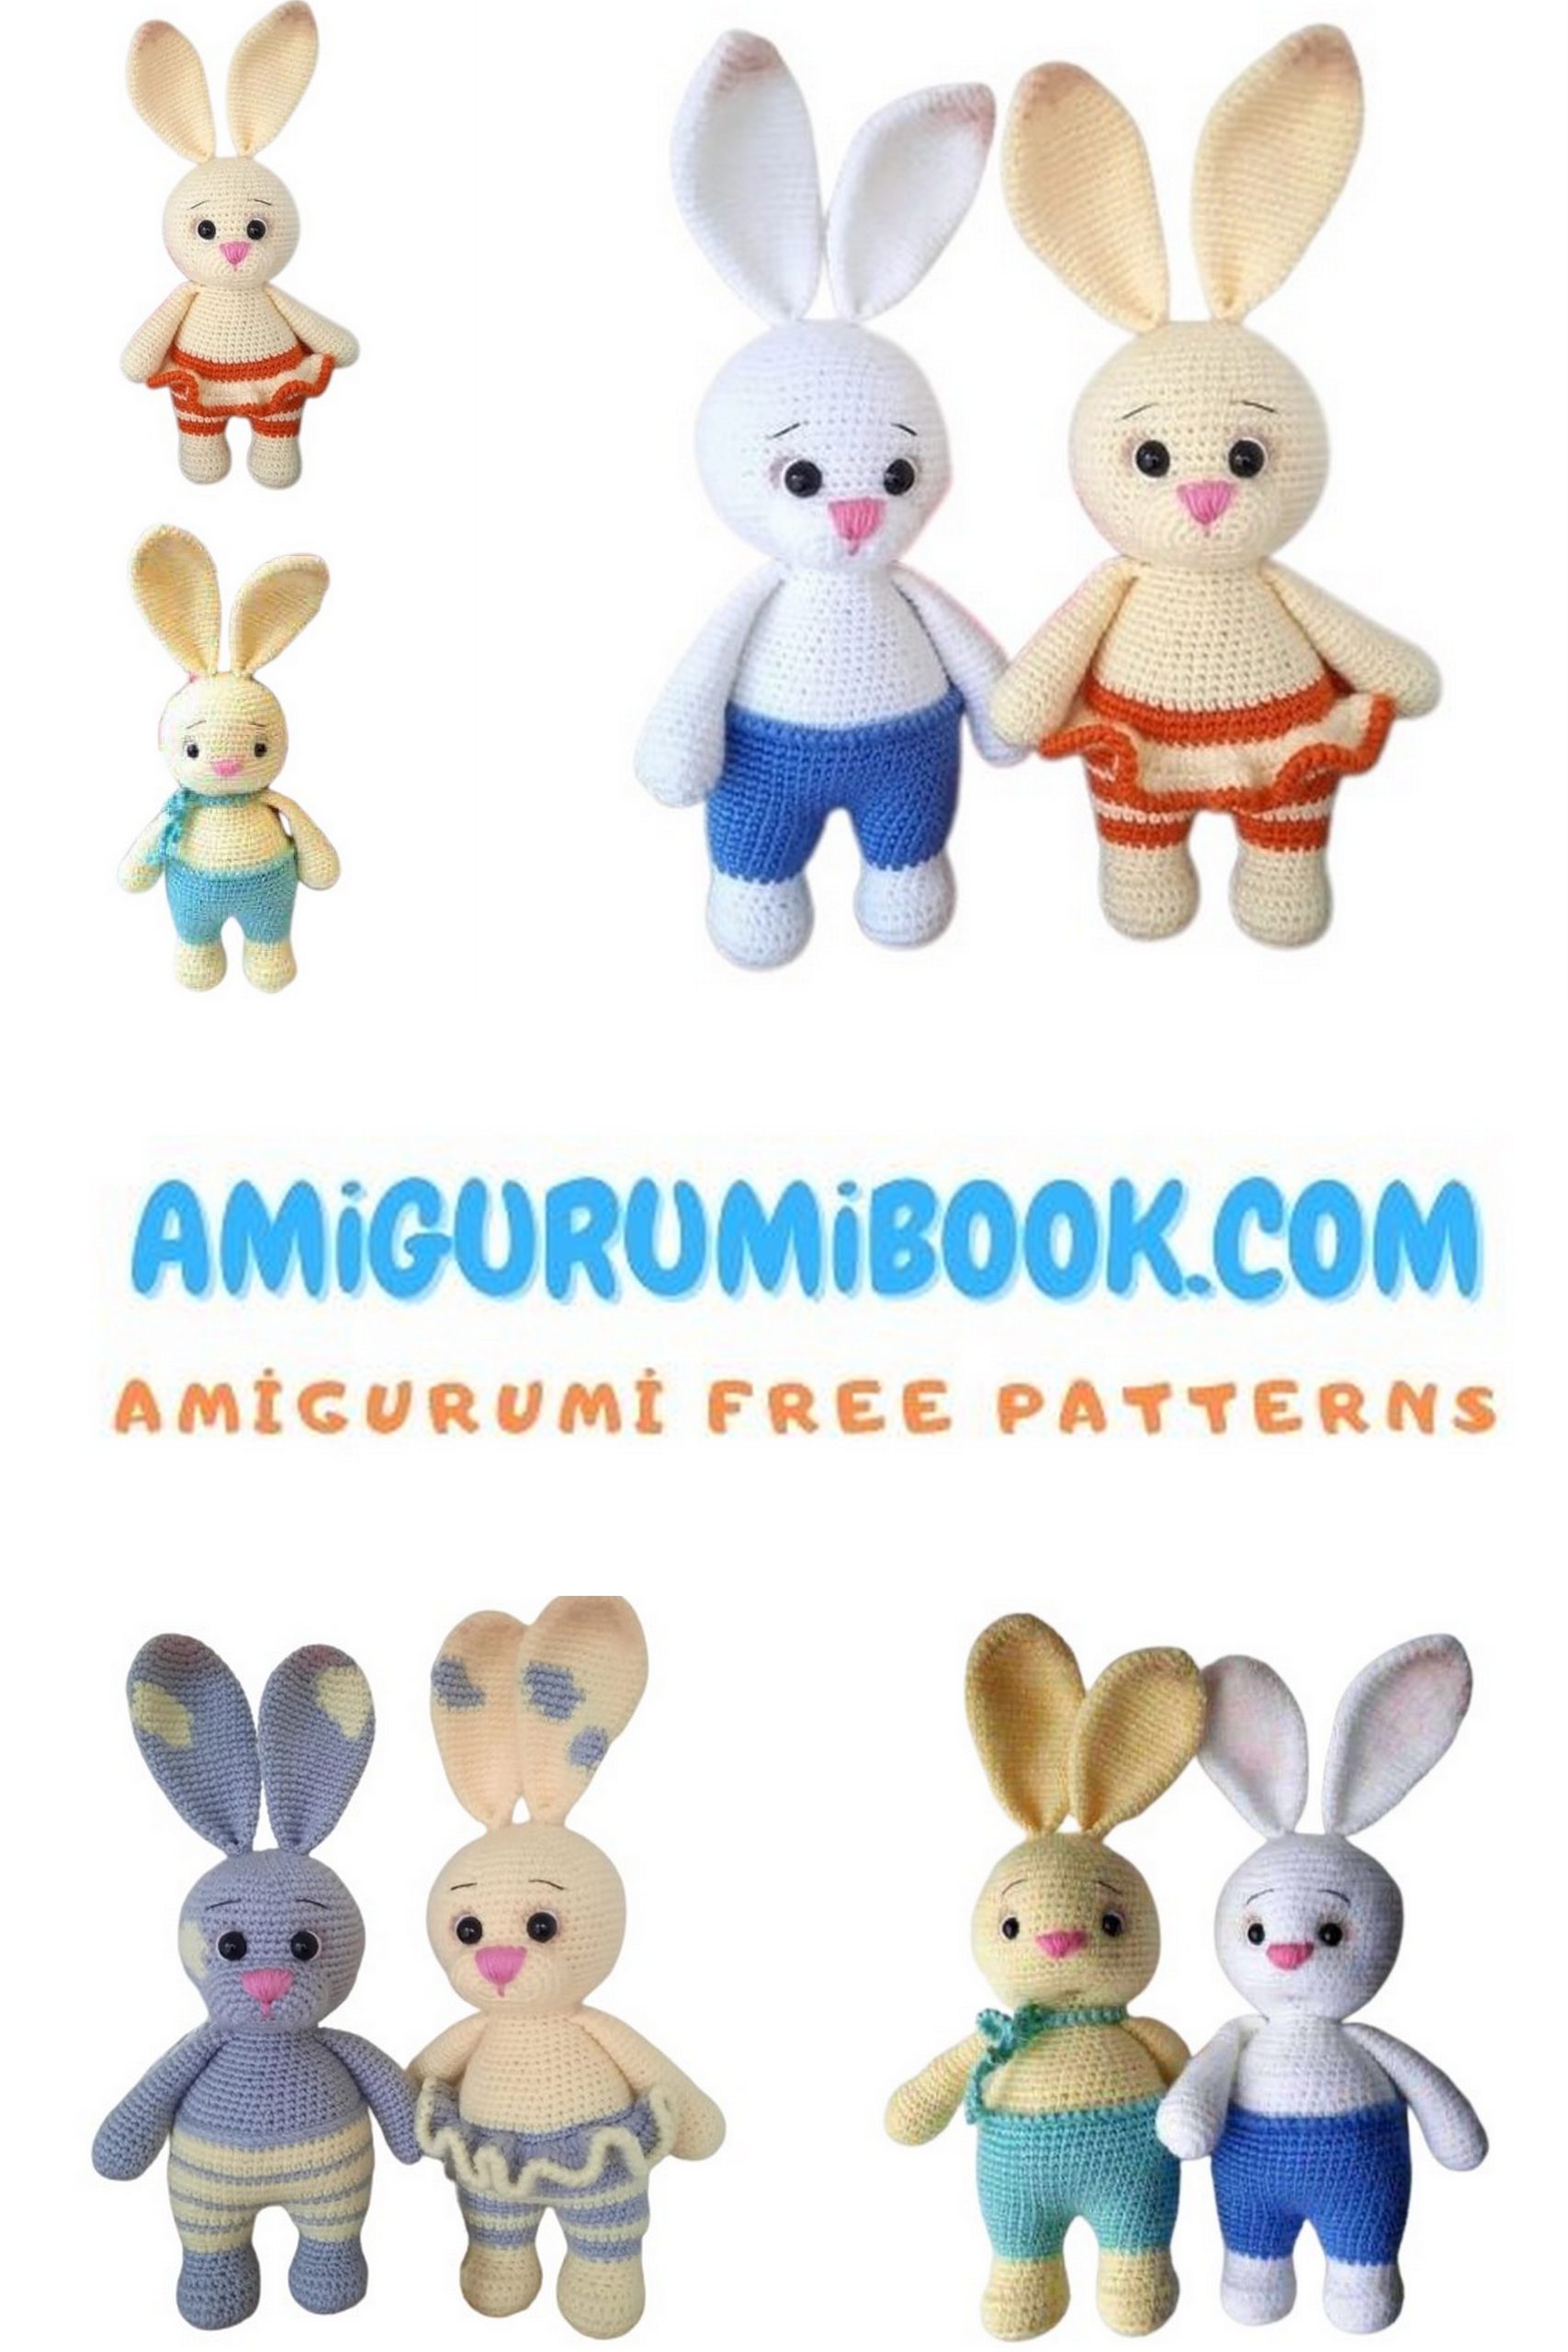
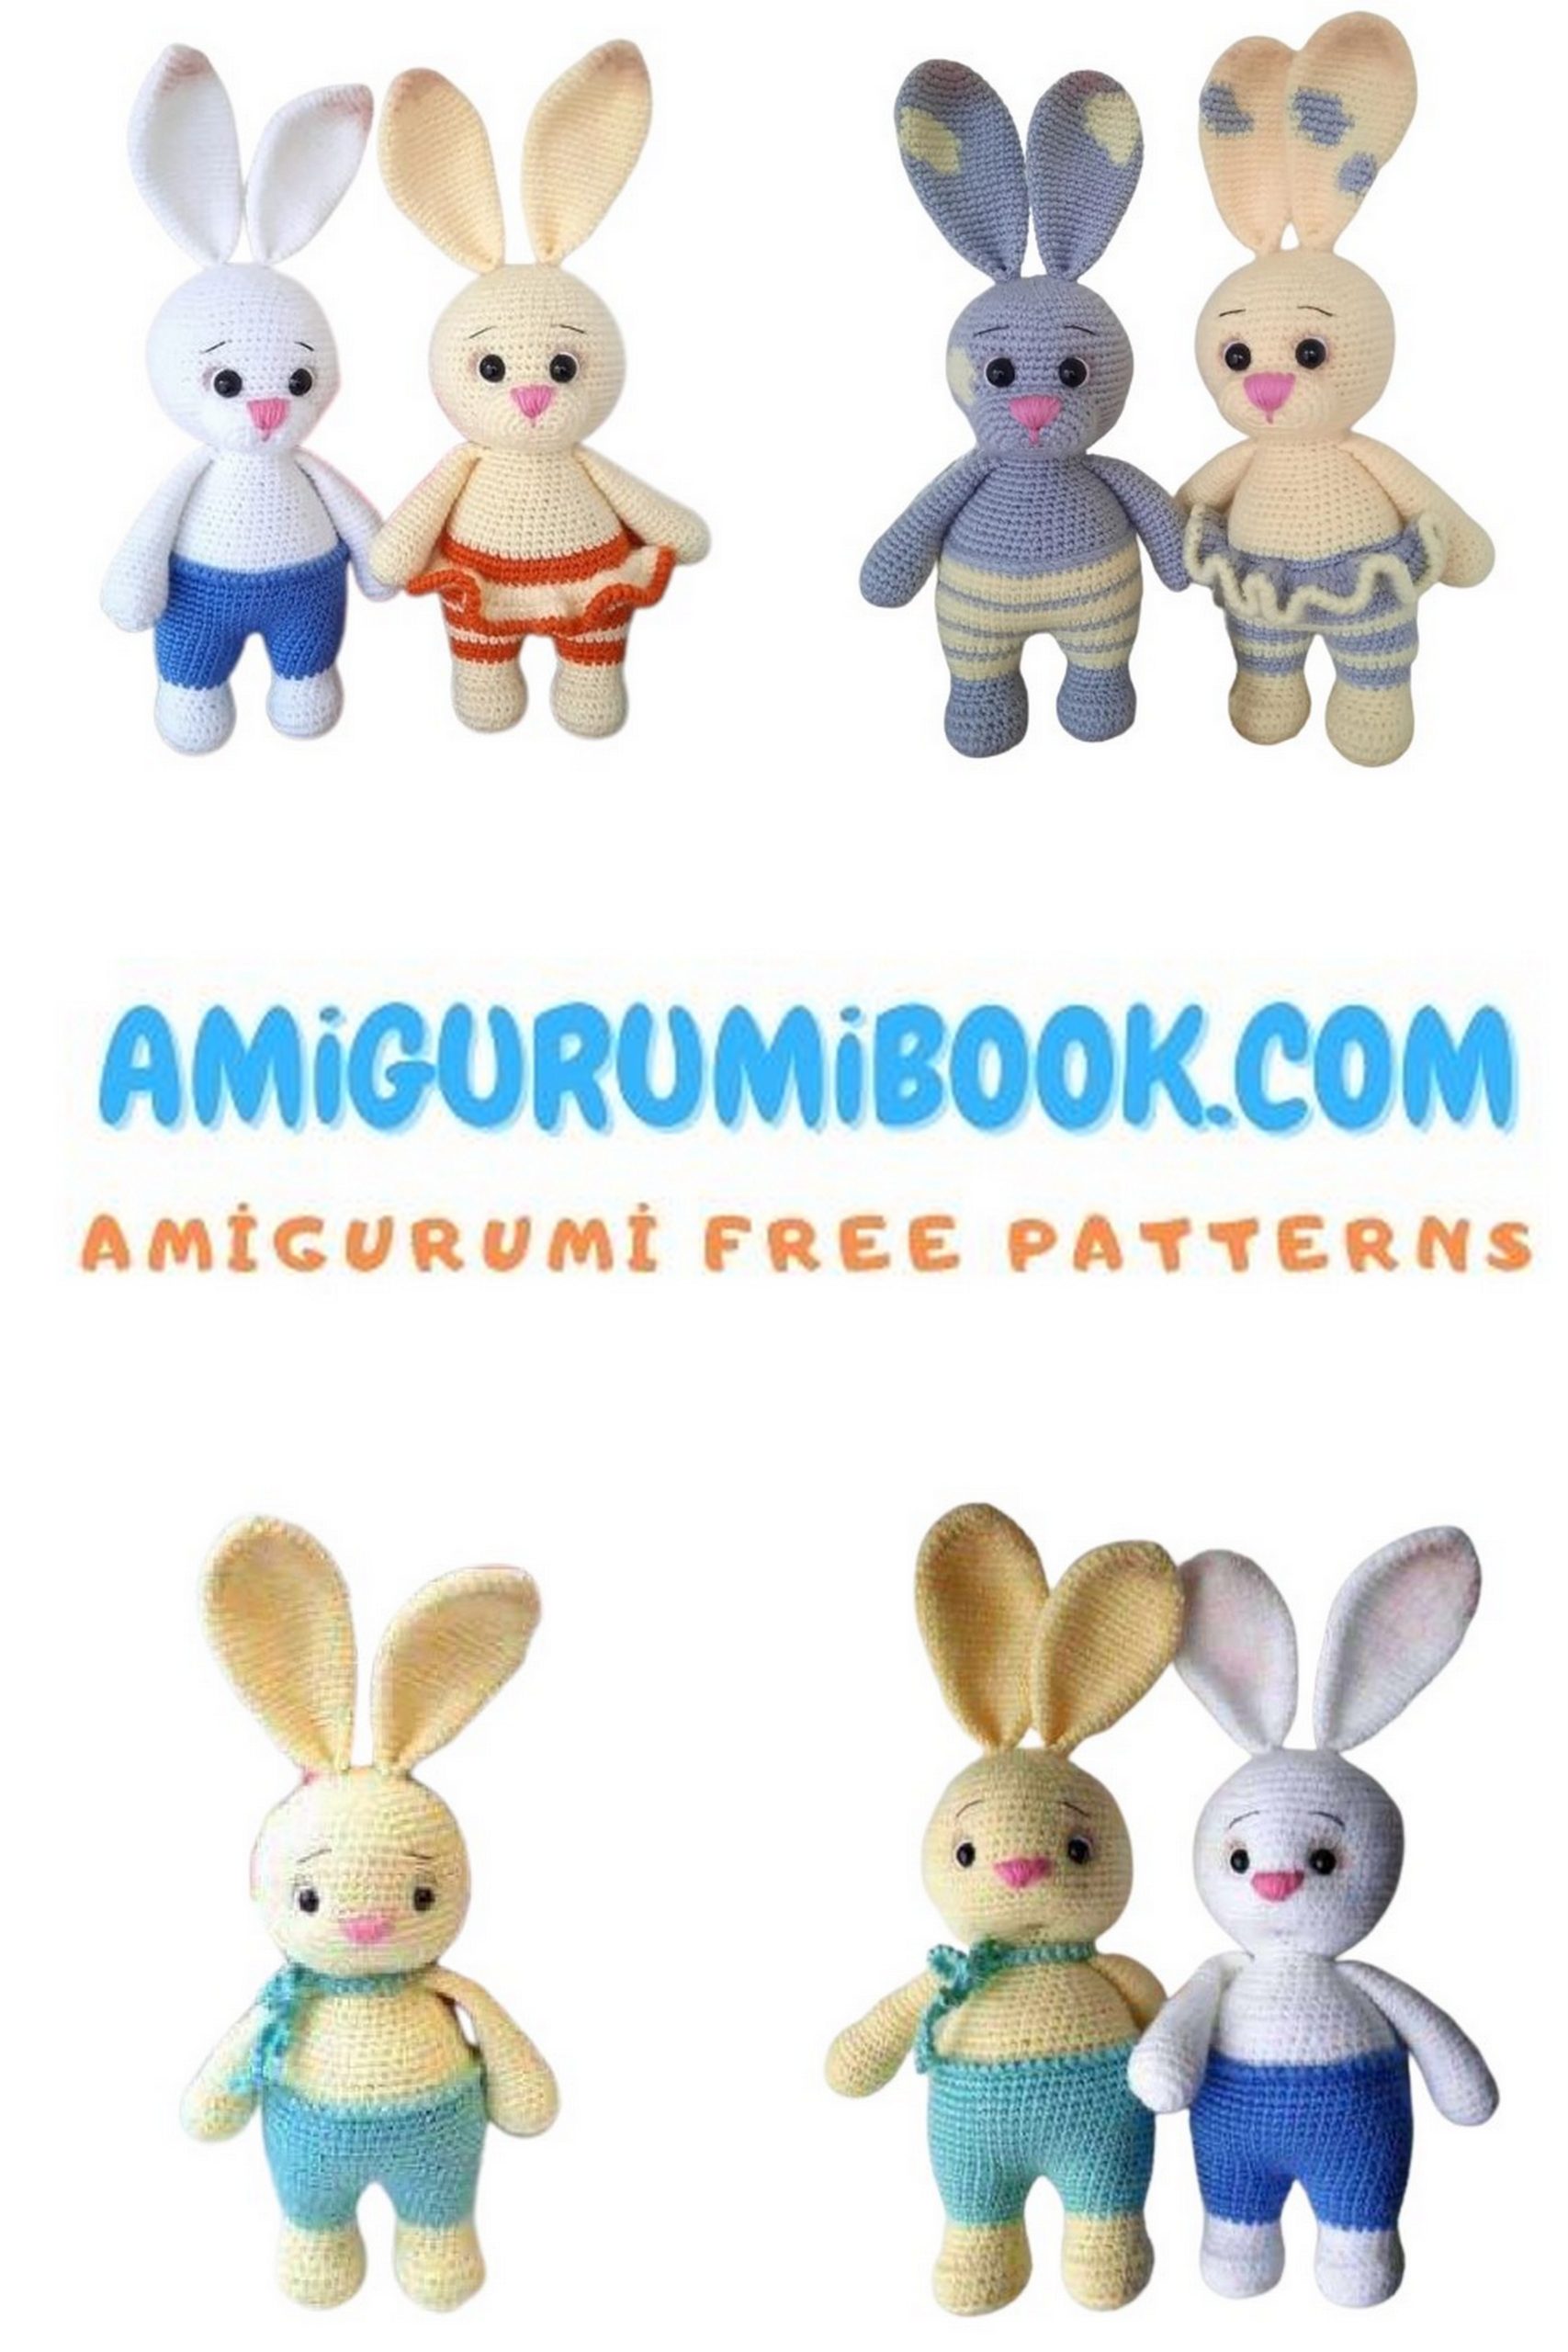
You may also like more amigurumi patterns.
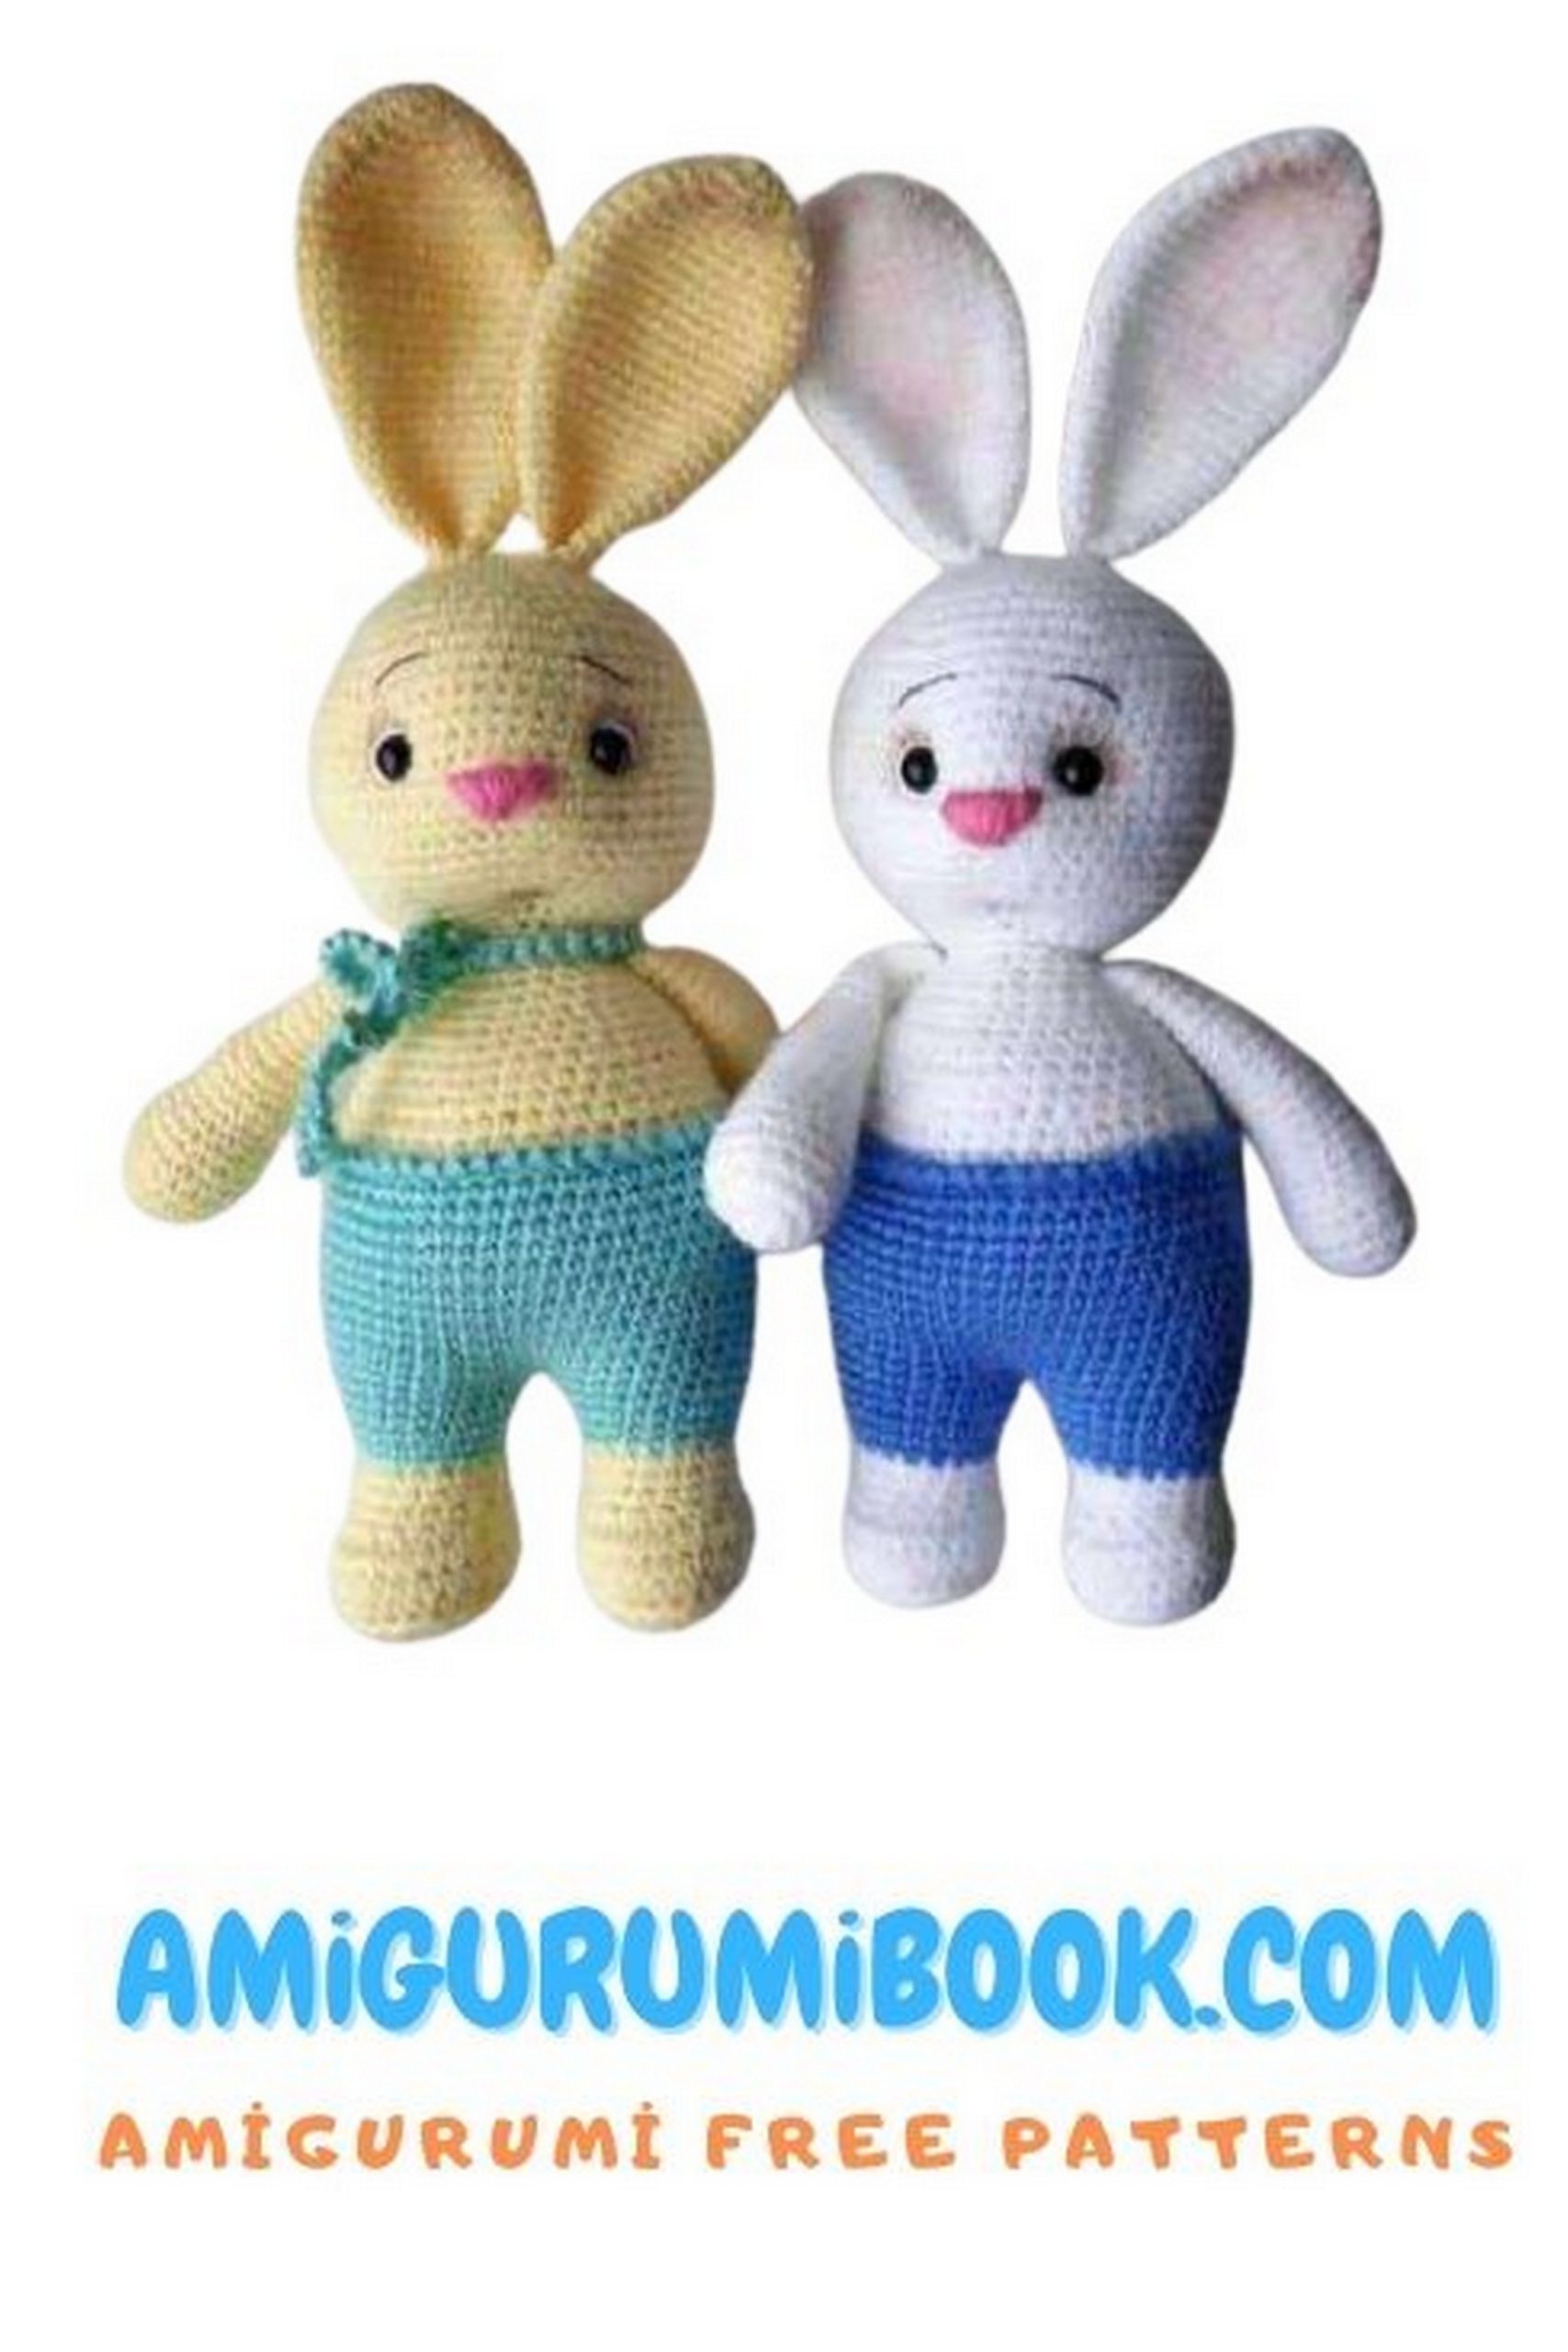
We’re excited to present you with a fantastic free pattern to crochet the sweet duo of Mr. and Mrs. Bunny, a charming addition to the world of amigurumi. This amigurumi couple is a perfect project for both beginners and experienced crocheters alike. Whether you plan to use them as toys or as decorative pieces, crafting these cute bunnies is a delightful and creative handmade endeavor. So, if you’re ready to embark on a fun and crafty journey, dive into the world of “Cute Mr and Mrs Bunny Amigurumi Free Pattern” and start creating your very own bunny pair today!
Materials Needed
For the Bunny, you will need:
- Light-colored yarn for the pants (acrylic Pekhorka recommended)
- Hollowfiber stuffing
- Safety eyes (10 mm or 8 mm, depending on preference)
- Crochet hook 1.75 mm (or 2 mm)
- Yarn needle for sewing
- Black or dark brown embroidery floss (for eyebrows)
Finished Size
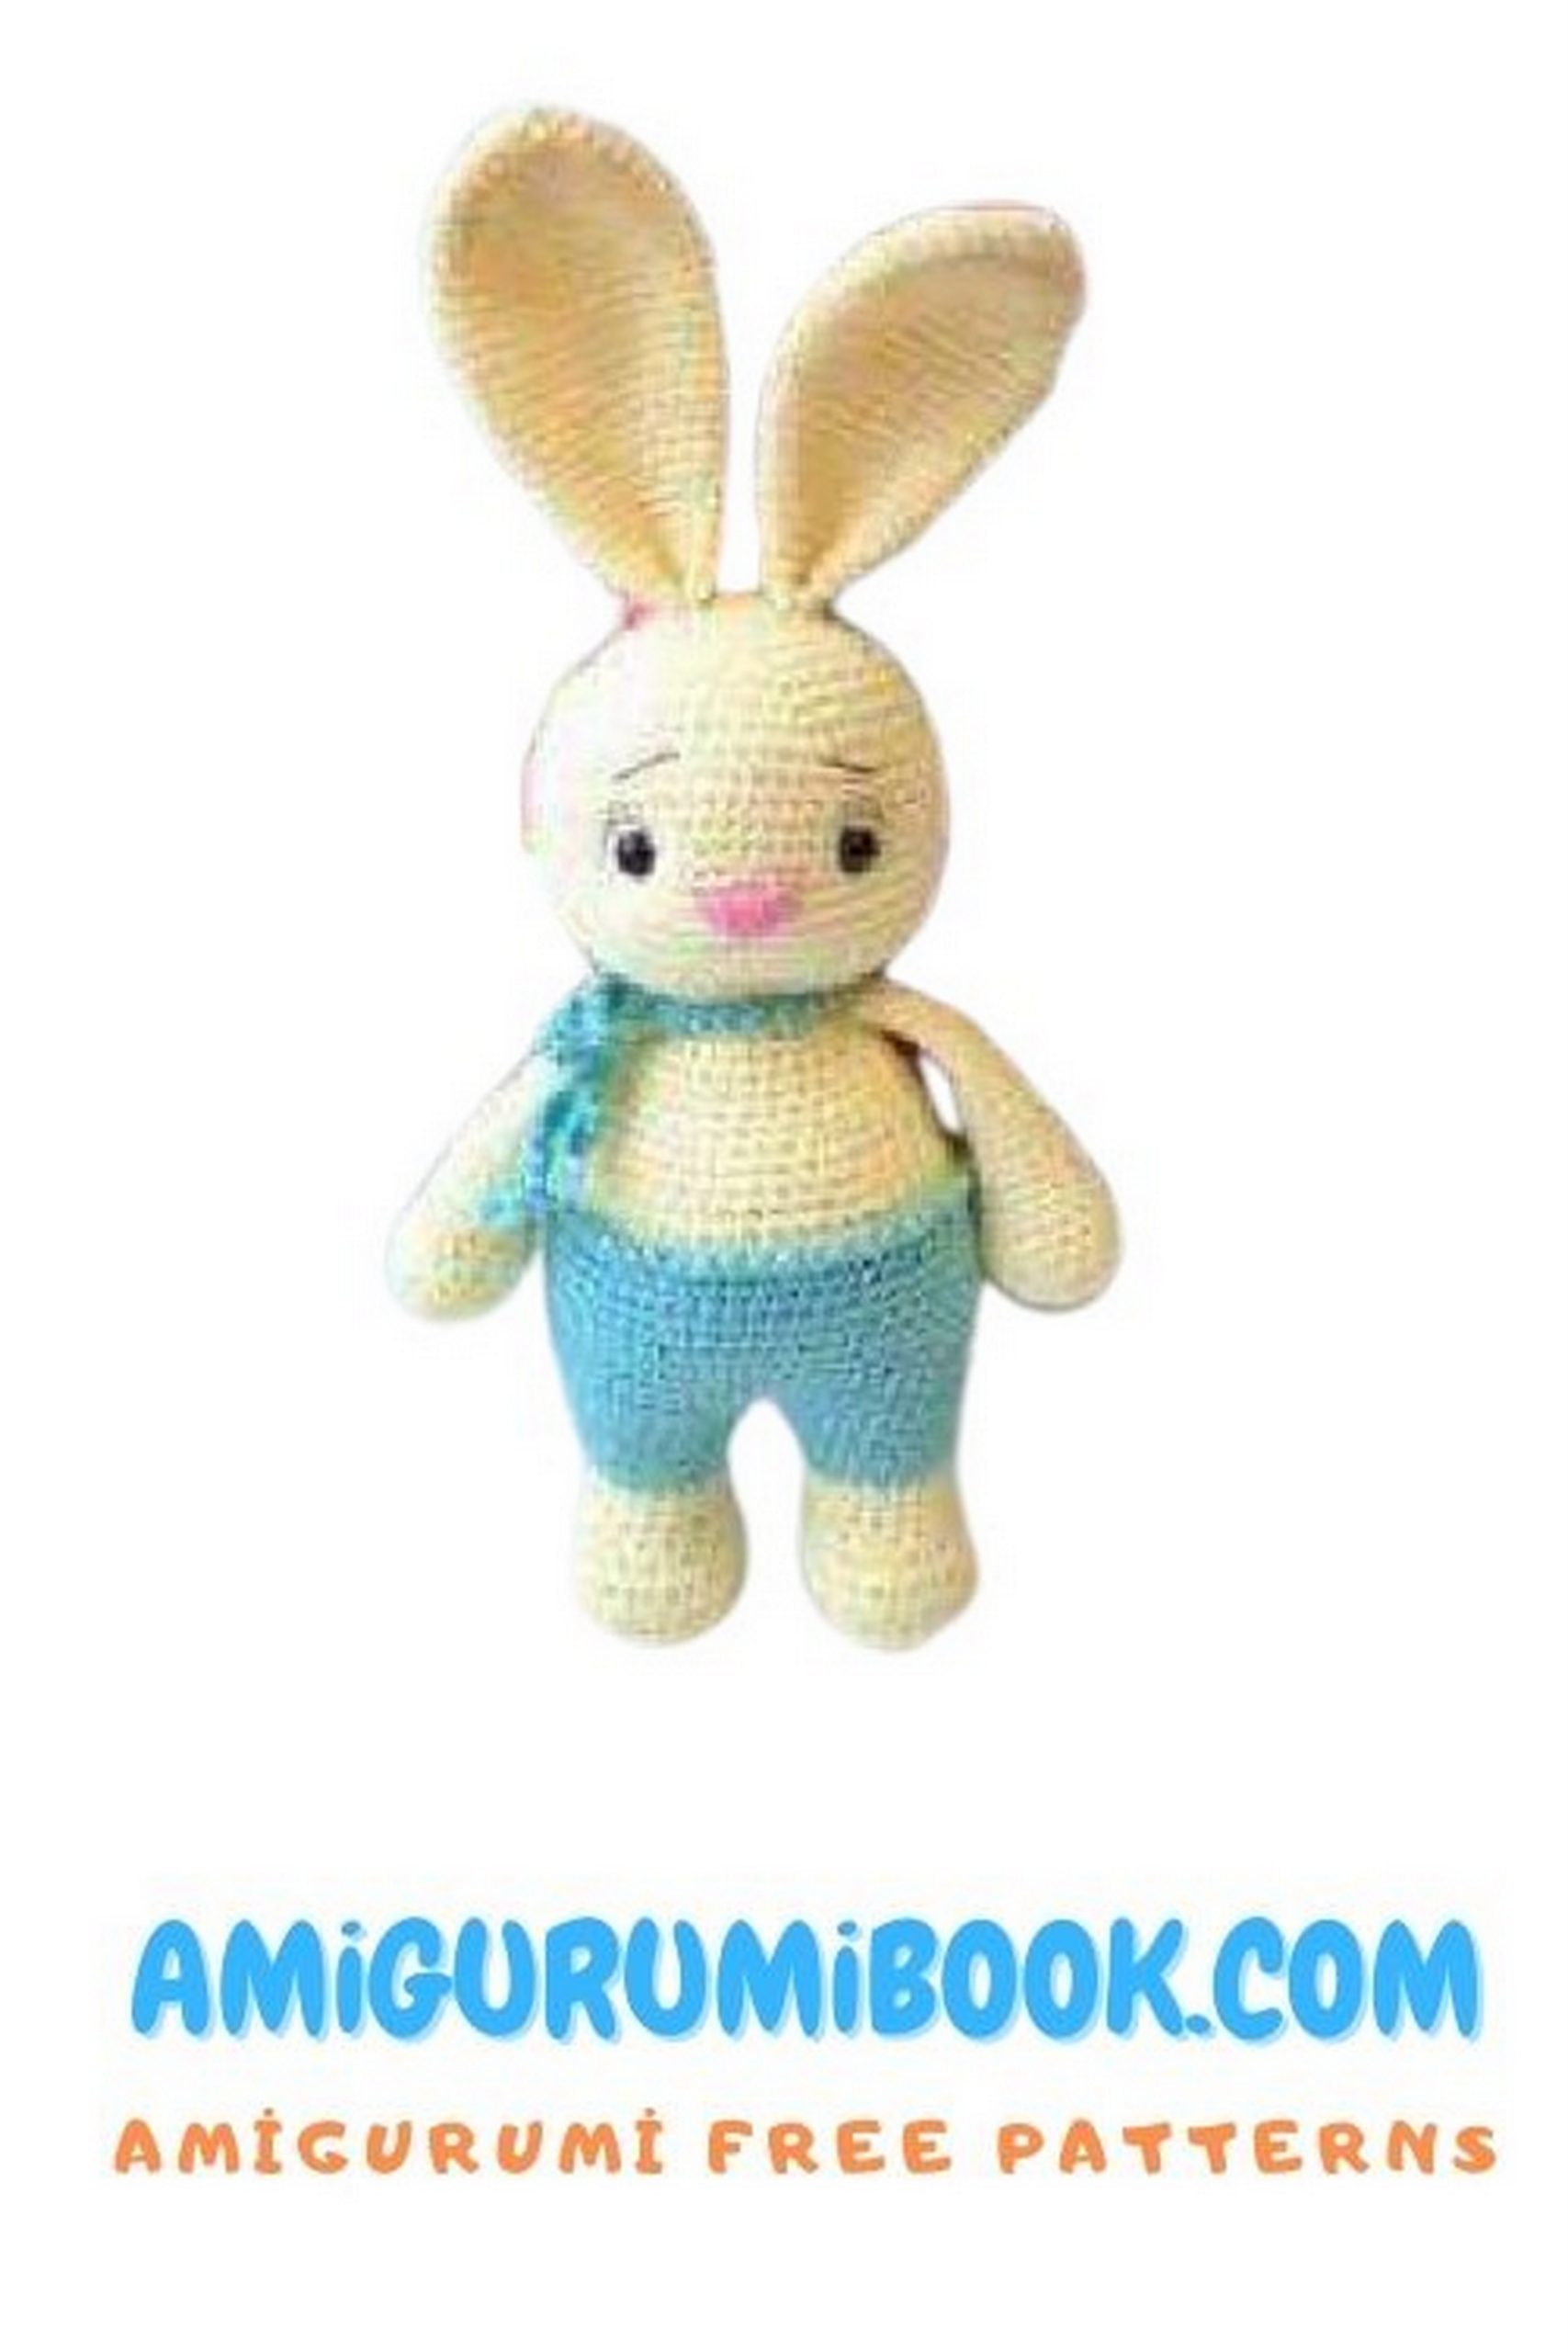
- Approx. 25 cm using the recommended yarn and hook size
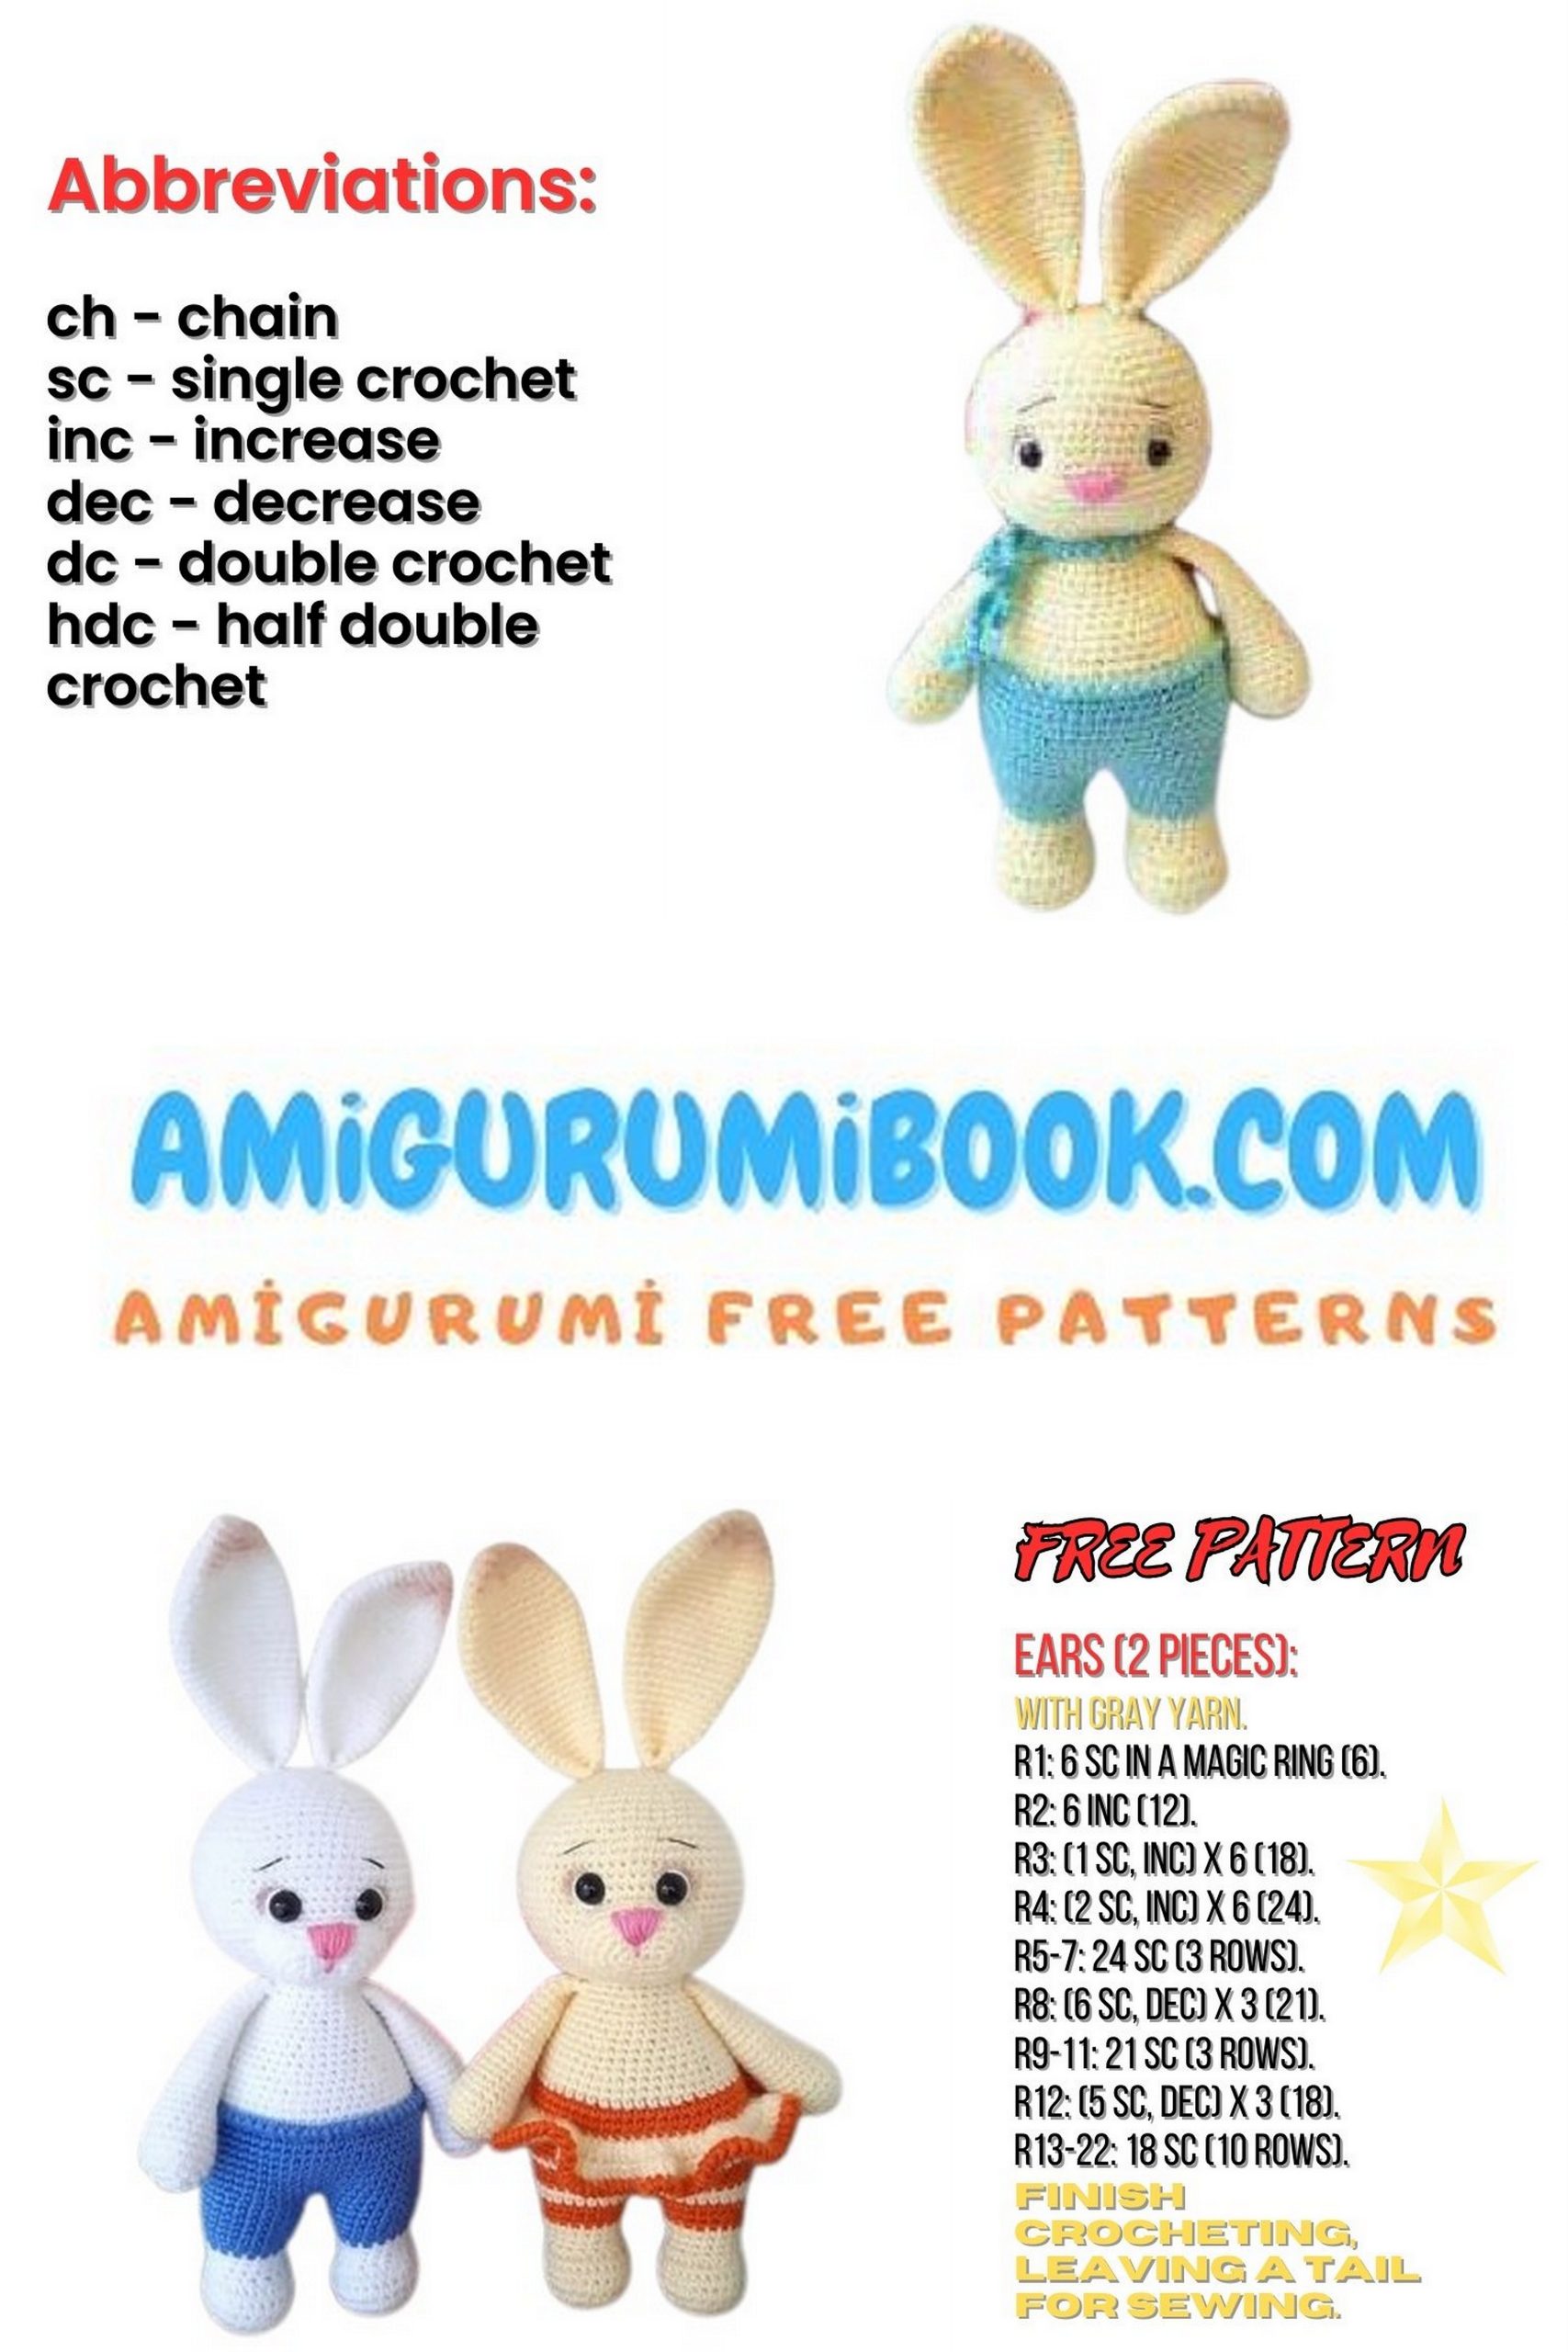
Crochet Abbreviations
DEC – Decrease (SC 2 stitches together)
CH – Chain
SC – Single Crochet
HDC – Half Double Crochet
DC – Double Crochet
SL ST – Slip Stitch
FO – Fasten Off
INC – Increase (2 SC in the same stitch)
Crochet Pattern

Legs (Start with Light Yarn)
1: 6 sc into a ring
2: 6 inc (12)
3: (1 sc, inc) ×6 (18)
4: (2 sc, inc) ×6 (24)
5–7: 24 sc (3 rows)
8: 6 sc, dec ×6, 6 sc (18)
9–11: 18 sc (3 rows)
Change yarn to colored.
12: 18 sc
13: (2 sc, inc) ×6 (24)
14–16: 24 sc (3 rows), FO
Make the second leg the same way. Do not cut the yarn.
In step 16 of the second leg, crochet 6 sc and connect to the first leg with a sl st.
Rows with decreases should face forward.
17: 24 sc (first leg) + 24 sc (second leg) = 48 sc
18: 48 sc
19: (7 sc, inc) ×6 (54)
20–27: 54 sc (8 rows)
28: 54 sc through back loops only
Change to main color. Color change should be on the side — add 12–14 sc to position the start of the next row.
(Optional: finish pants edge with crab stitch)
29: (7 sc, dec) ×6 (48)
30–31: 48 sc (2 rows)
32: (6 sc, dec) ×6 (42)
33–34: 42 sc (2 rows)
35: (5 sc, dec) ×6 (36)
36: 36 sc
37: (4 sc, dec) ×6 (30)
38–39: 30 sc (2 rows)
40: (3 sc, dec) ×6 (24)
41–42: 24 sc (2 rows)
Switch to flesh-colored yarn.
Head
1: 24 sc
2: Inc in each stitch (48)
3: (2 sc, inc) ×16 (64)
4: (33 sc, inc) ×2 (66)
5–13: 66 sc (9 rows)
14: (9 sc, dec) ×6 (60)
15: (8 sc, dec) ×6 (54)
16: (7 sc, dec) ×6 (48)
17: (6 sc, dec) ×6 (42)
18: 42 sc
19: (5 sc, dec) ×6 (36)
20: (4 sc, dec) ×6 (30)
21: (3 sc, dec) ×6 (24)
22: (2 sc, dec) ×6 (18)
23: (1 sc, dec) ×6 (12)
24: 6 dec (6), FO
Paws (Main Color)
1: 6 sc into a ring
2: 6 inc (12)
3: (1 sc, inc) ×6 (18)
4–6: 18 sc (3 rows)
7: (4 sc, dec) ×3 (15)
8–14: 15 sc (7 rows)
15: (3 sc, dec) ×3 (12)
16–20: 12 sc (5 rows)
21: (2 sc, dec) ×3 (9)
22–24: 9 sc (3 rows)
Fold in half and crochet through both sides with 4 sc. Leave a long tail for sewing.
Bunny Ears – Version 1
1: 6 sc into a ring
2: (1 sc, inc) ×3 (9)
3: (2 sc, inc) ×3 (12)
4: (1 sc, inc) ×6 (18)
5: (2 sc, inc) ×6 (24)
6–7: 24 sc
8: (3 sc, inc) ×6 (30)
9–13: 30 sc (5 rows)
14: (8 sc, dec) ×3 (27)
15–16: 27 sc
17: (7 sc, dec) ×3 (24)
18–19: 24 sc
20: (6 sc, dec) ×3 (21)
21–22: 21 sc
23: (5 sc, dec) ×3 (18)
24–25: 18 sc
26: (4 sc, dec) ×3 (15)
27–28: 15 sc
Fold ears in half and crochet through both bases with 7 sc.
Fold again while sewing.
Bunny Ears – Version 2
1: 6 sc into a ring
2: 6 inc (12)
3: (1 sc, inc) ×6 (18)
4: 18 sc
5: (2 sc, inc) ×6 (24)
6: 24 sc
7: (3 sc, inc) ×6 (30)
8–12: 30 sc (5 rows)
Continue following the same decrease pattern as Version 1.

Face
1: 5 ch, start in second loop from hook: 2 sc, 3 sc in one stitch, 3 sc (10)
2: 2 inc, 2 sc, 3 inc, 2 sc, inc (16)
3: (1 sc, inc) ×2, 2 sc, (1 sc, inc) ×3, 2 sc, 1 sc, inc (22)
4: (2 sc, inc) ×2, 2 sc, (3 sc, inc) ×3, 2 sc, 2 sc, inc (28)
5: 28 sc around, sl st to join
Attach the face to the head.
Assembly
- Sew the paws to the body
- Place eyes 8 sc apart (between head rows 13–15)
- Pull slightly to shape the mouth
- Embroider the nose between rows 10–13
- Optional: add shading around eyes and mouth, embroider eyebrows
Your bunny is ready 🐰
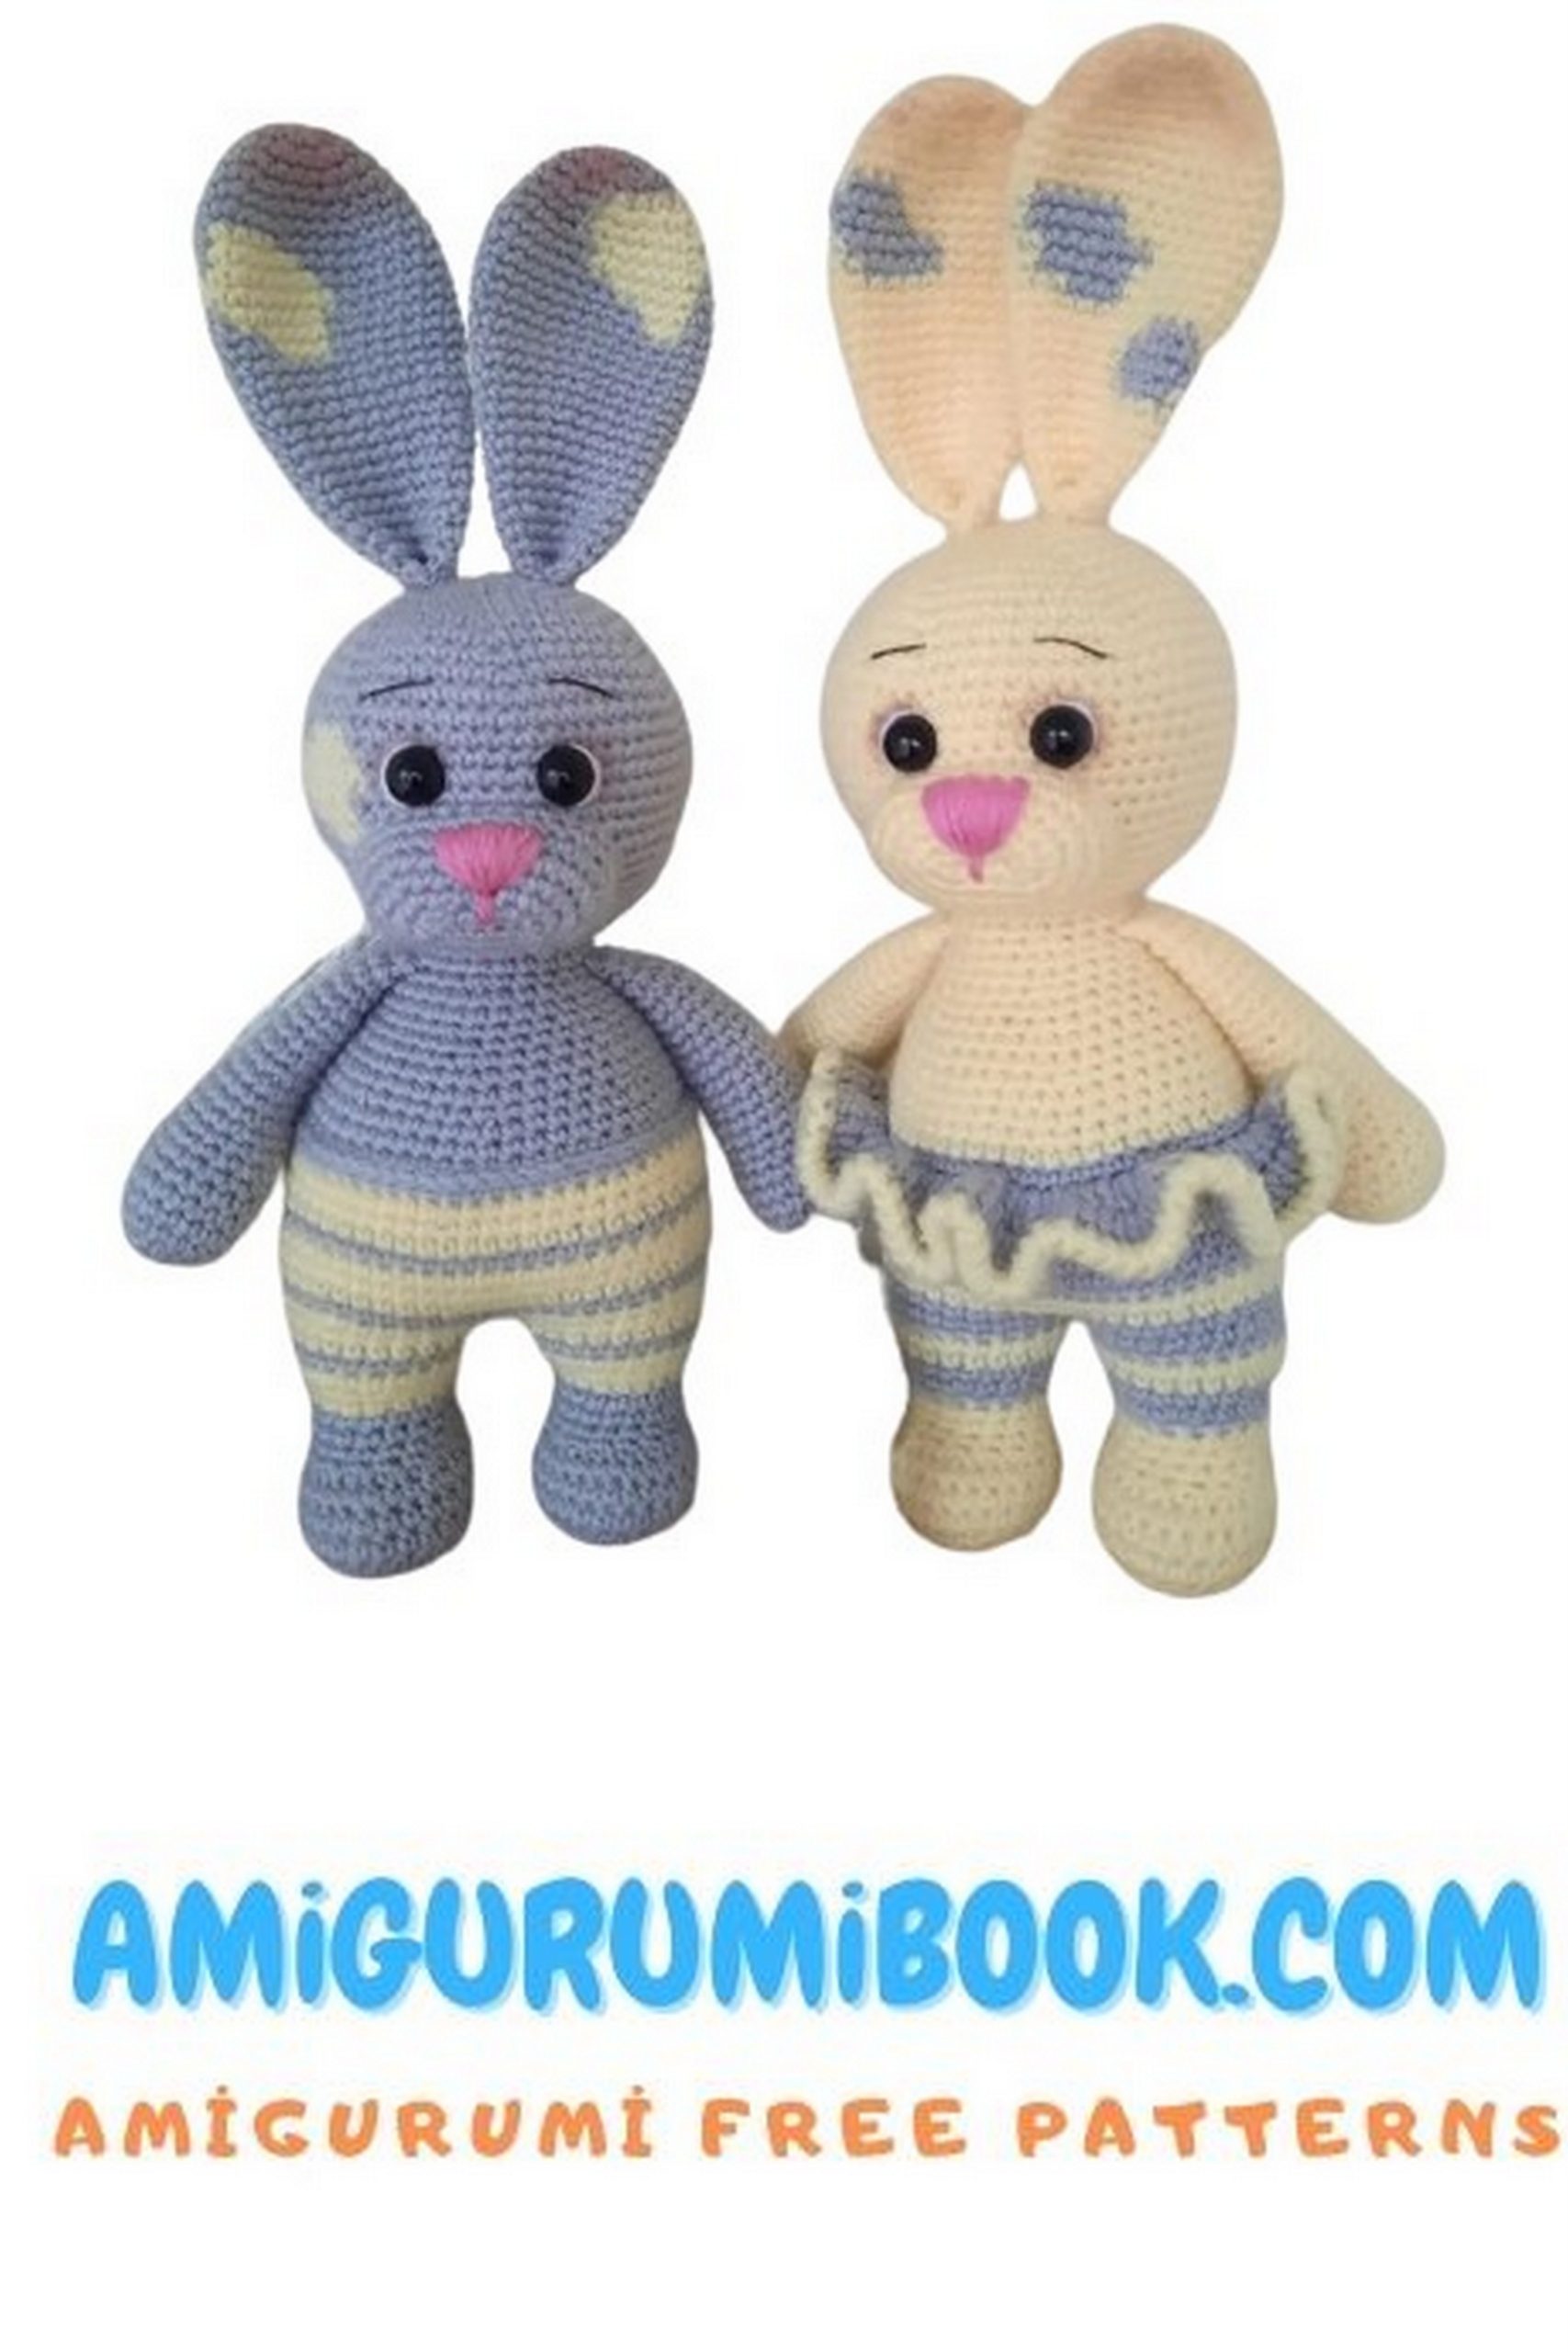
Optional Skirt
For Bunny Version 2, add a skirt at step 25, crocheting into the front loops only.
Happy Crocheting 💚