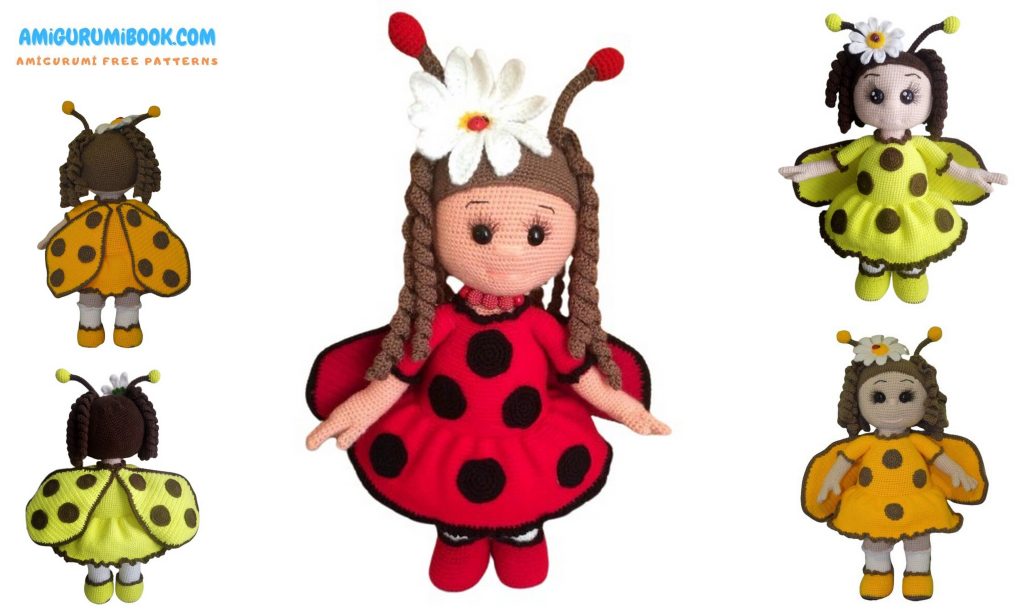
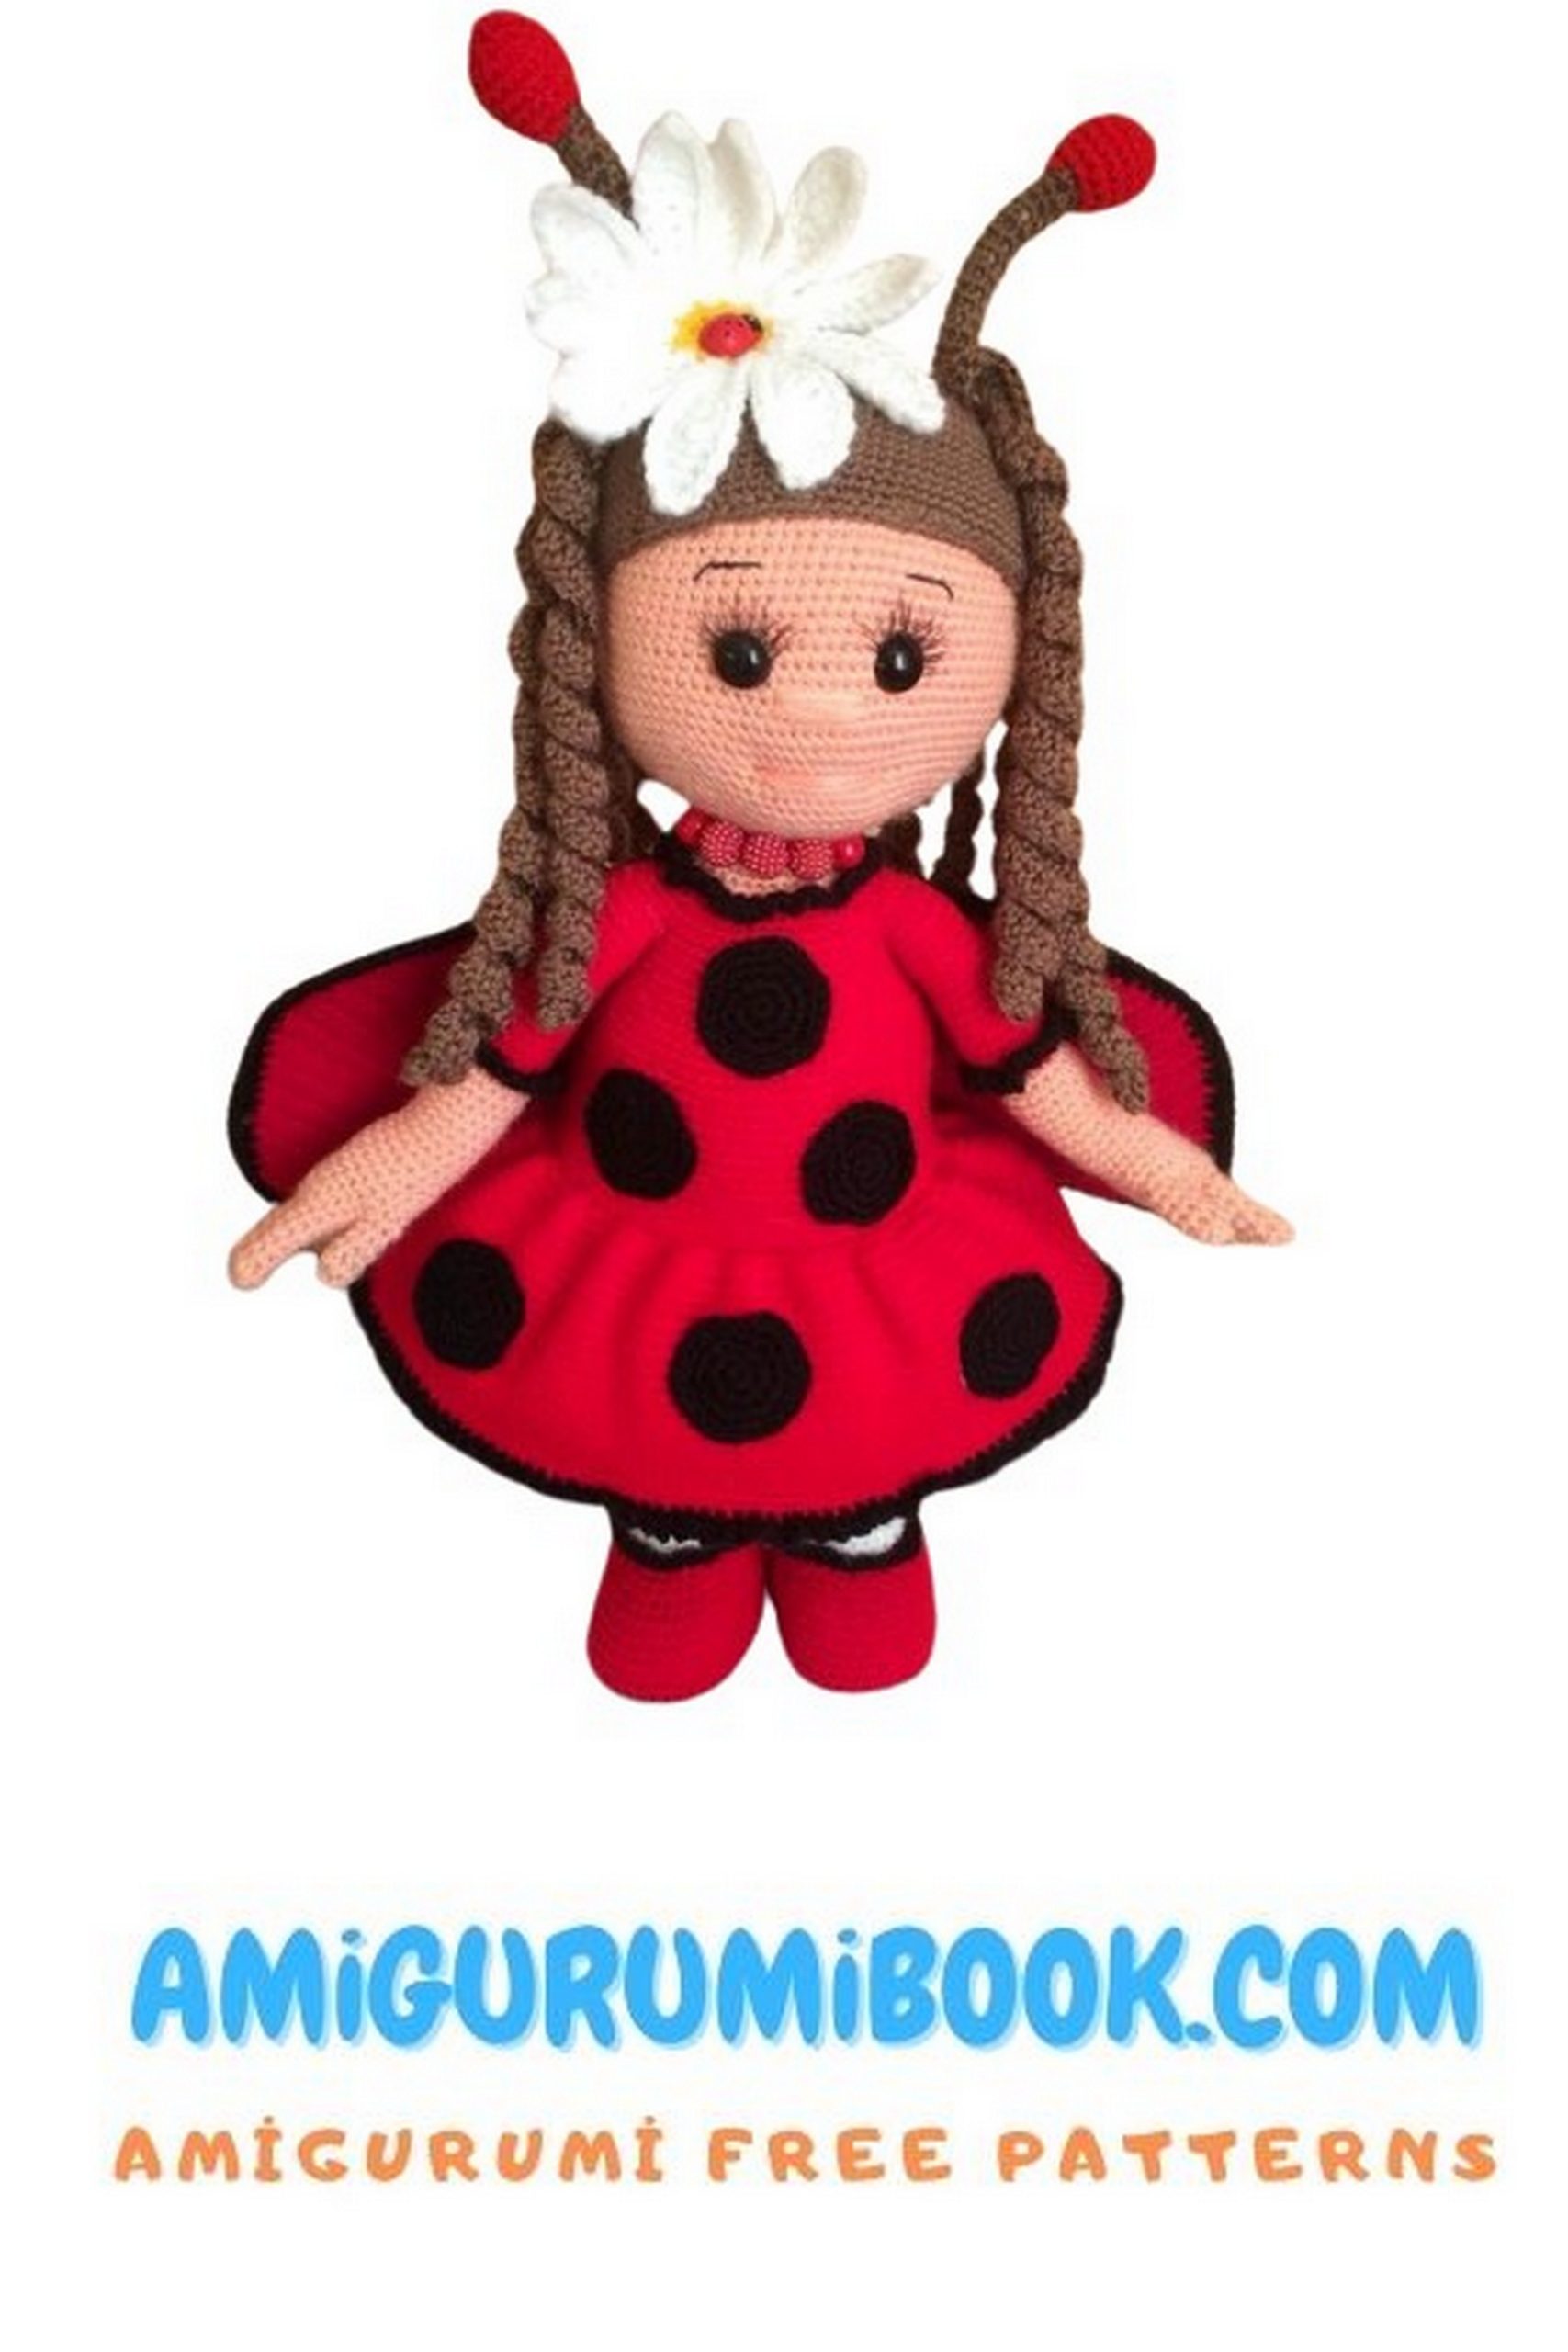
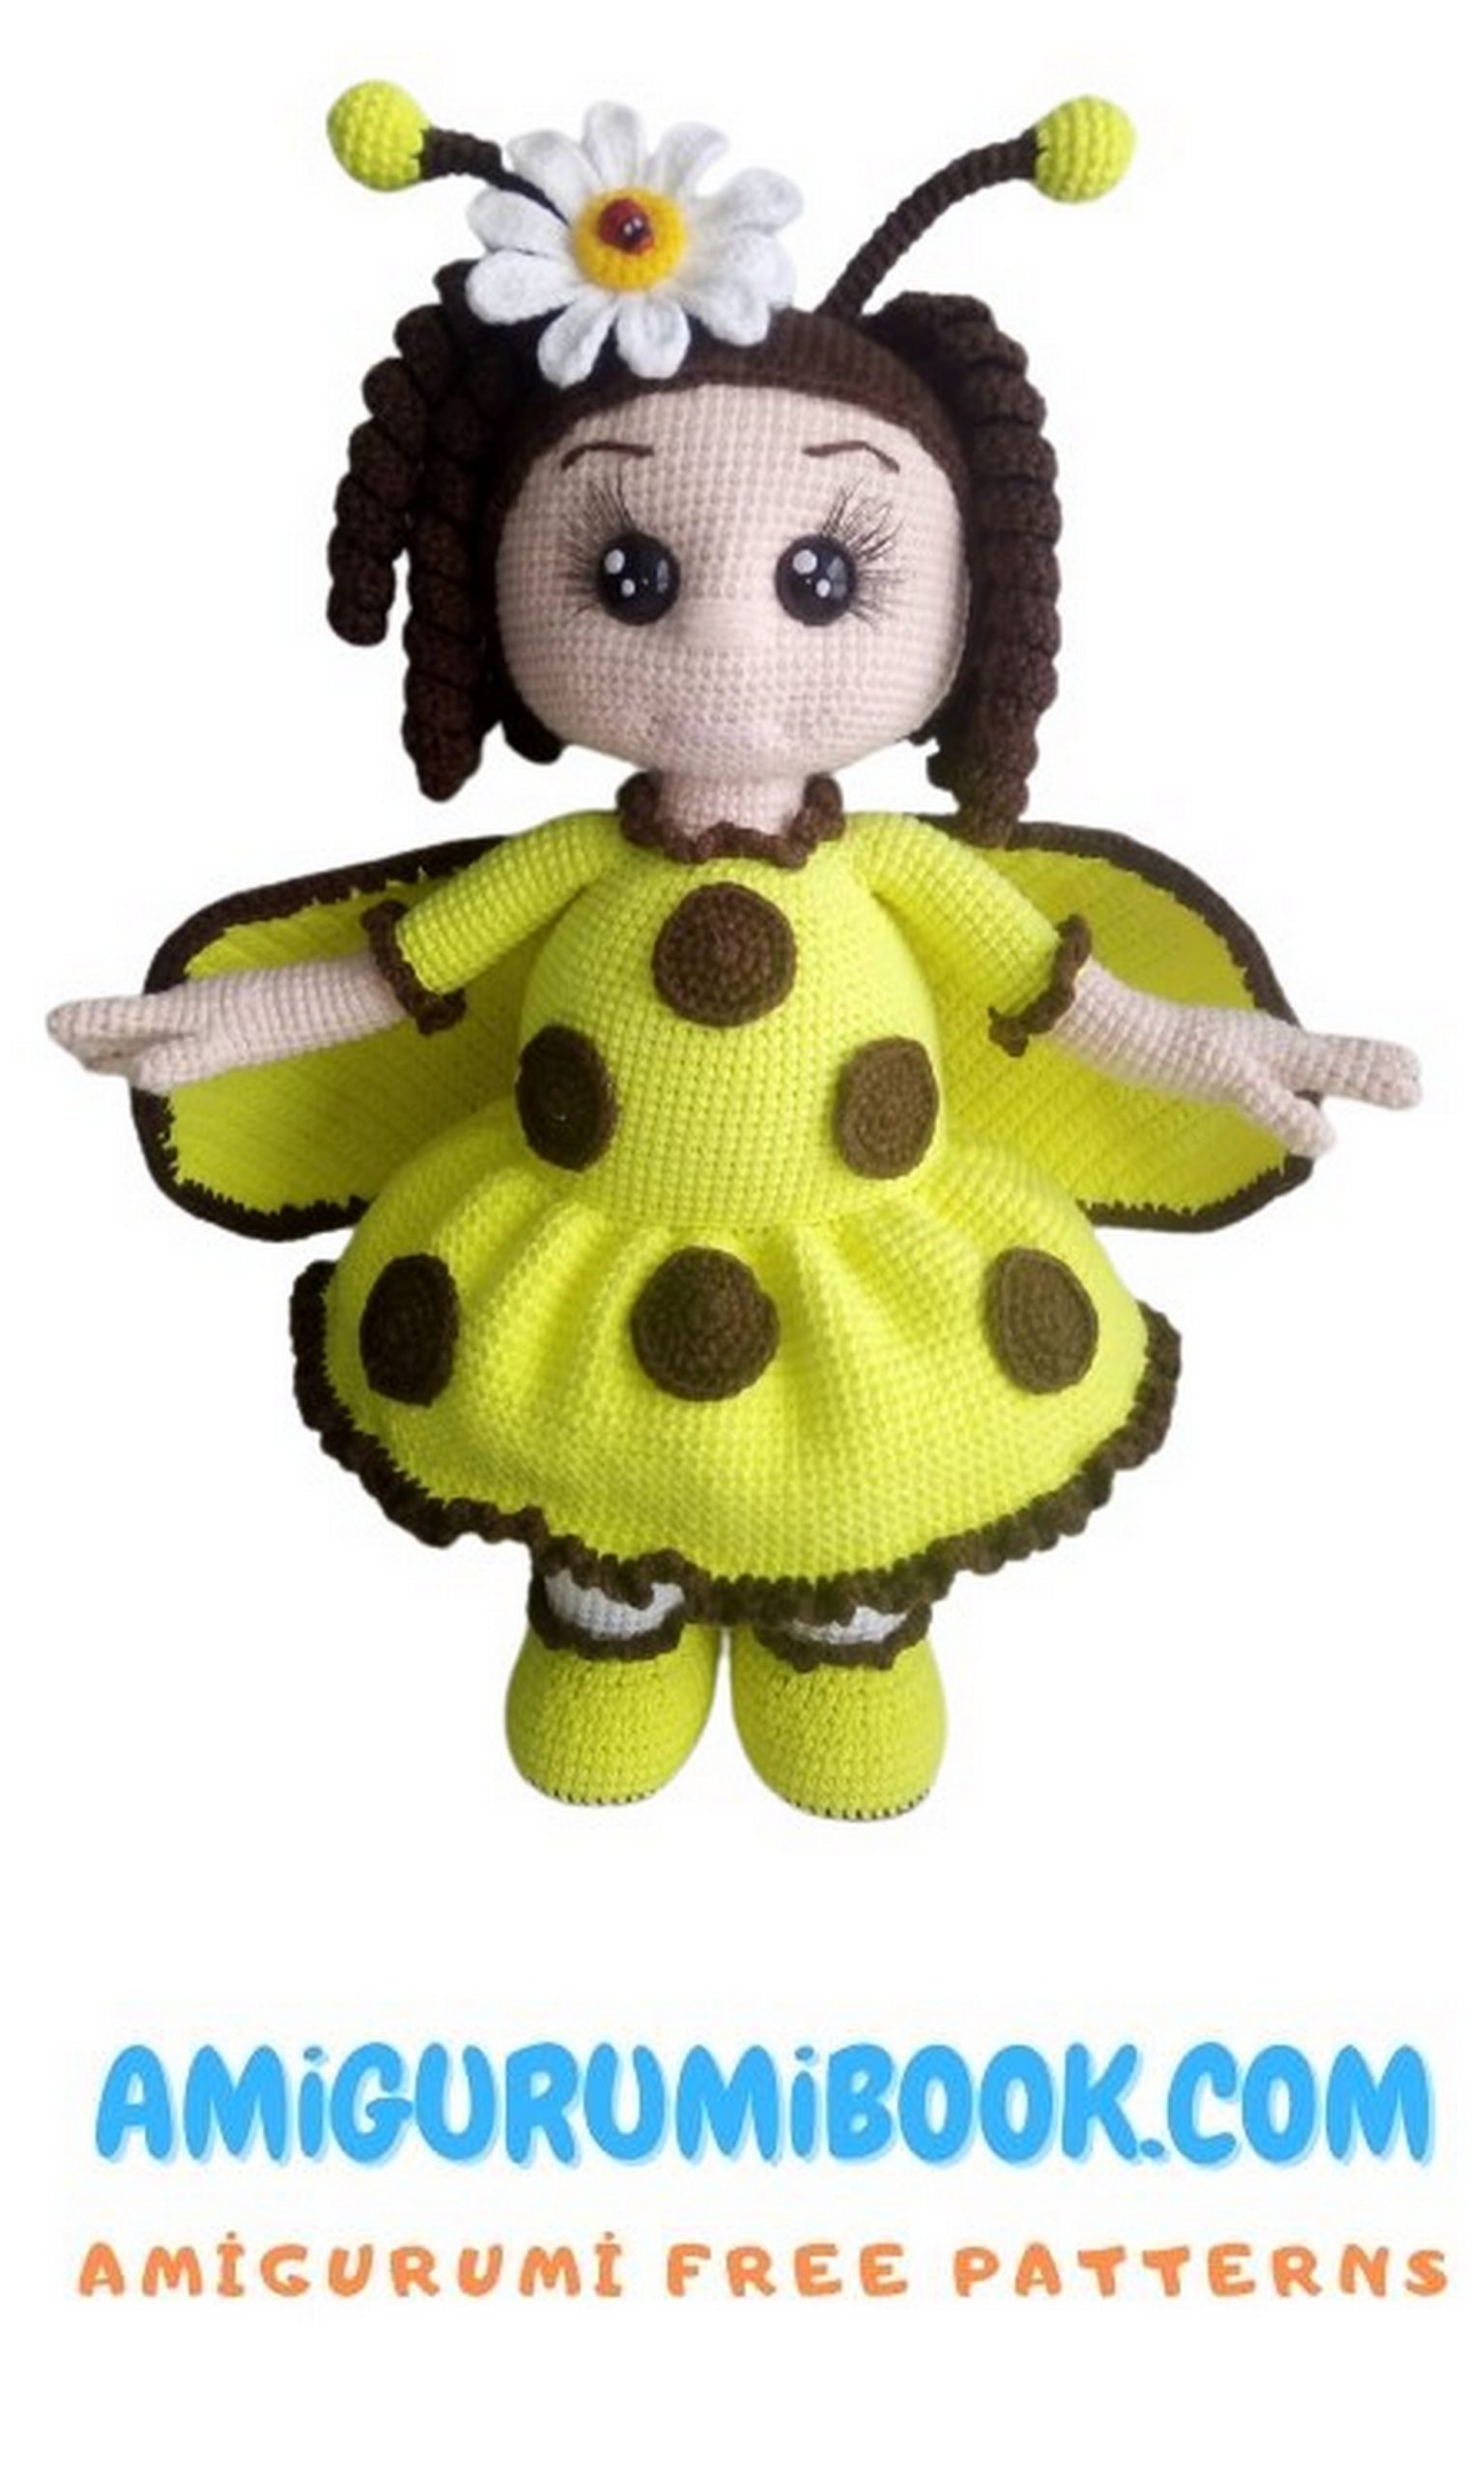
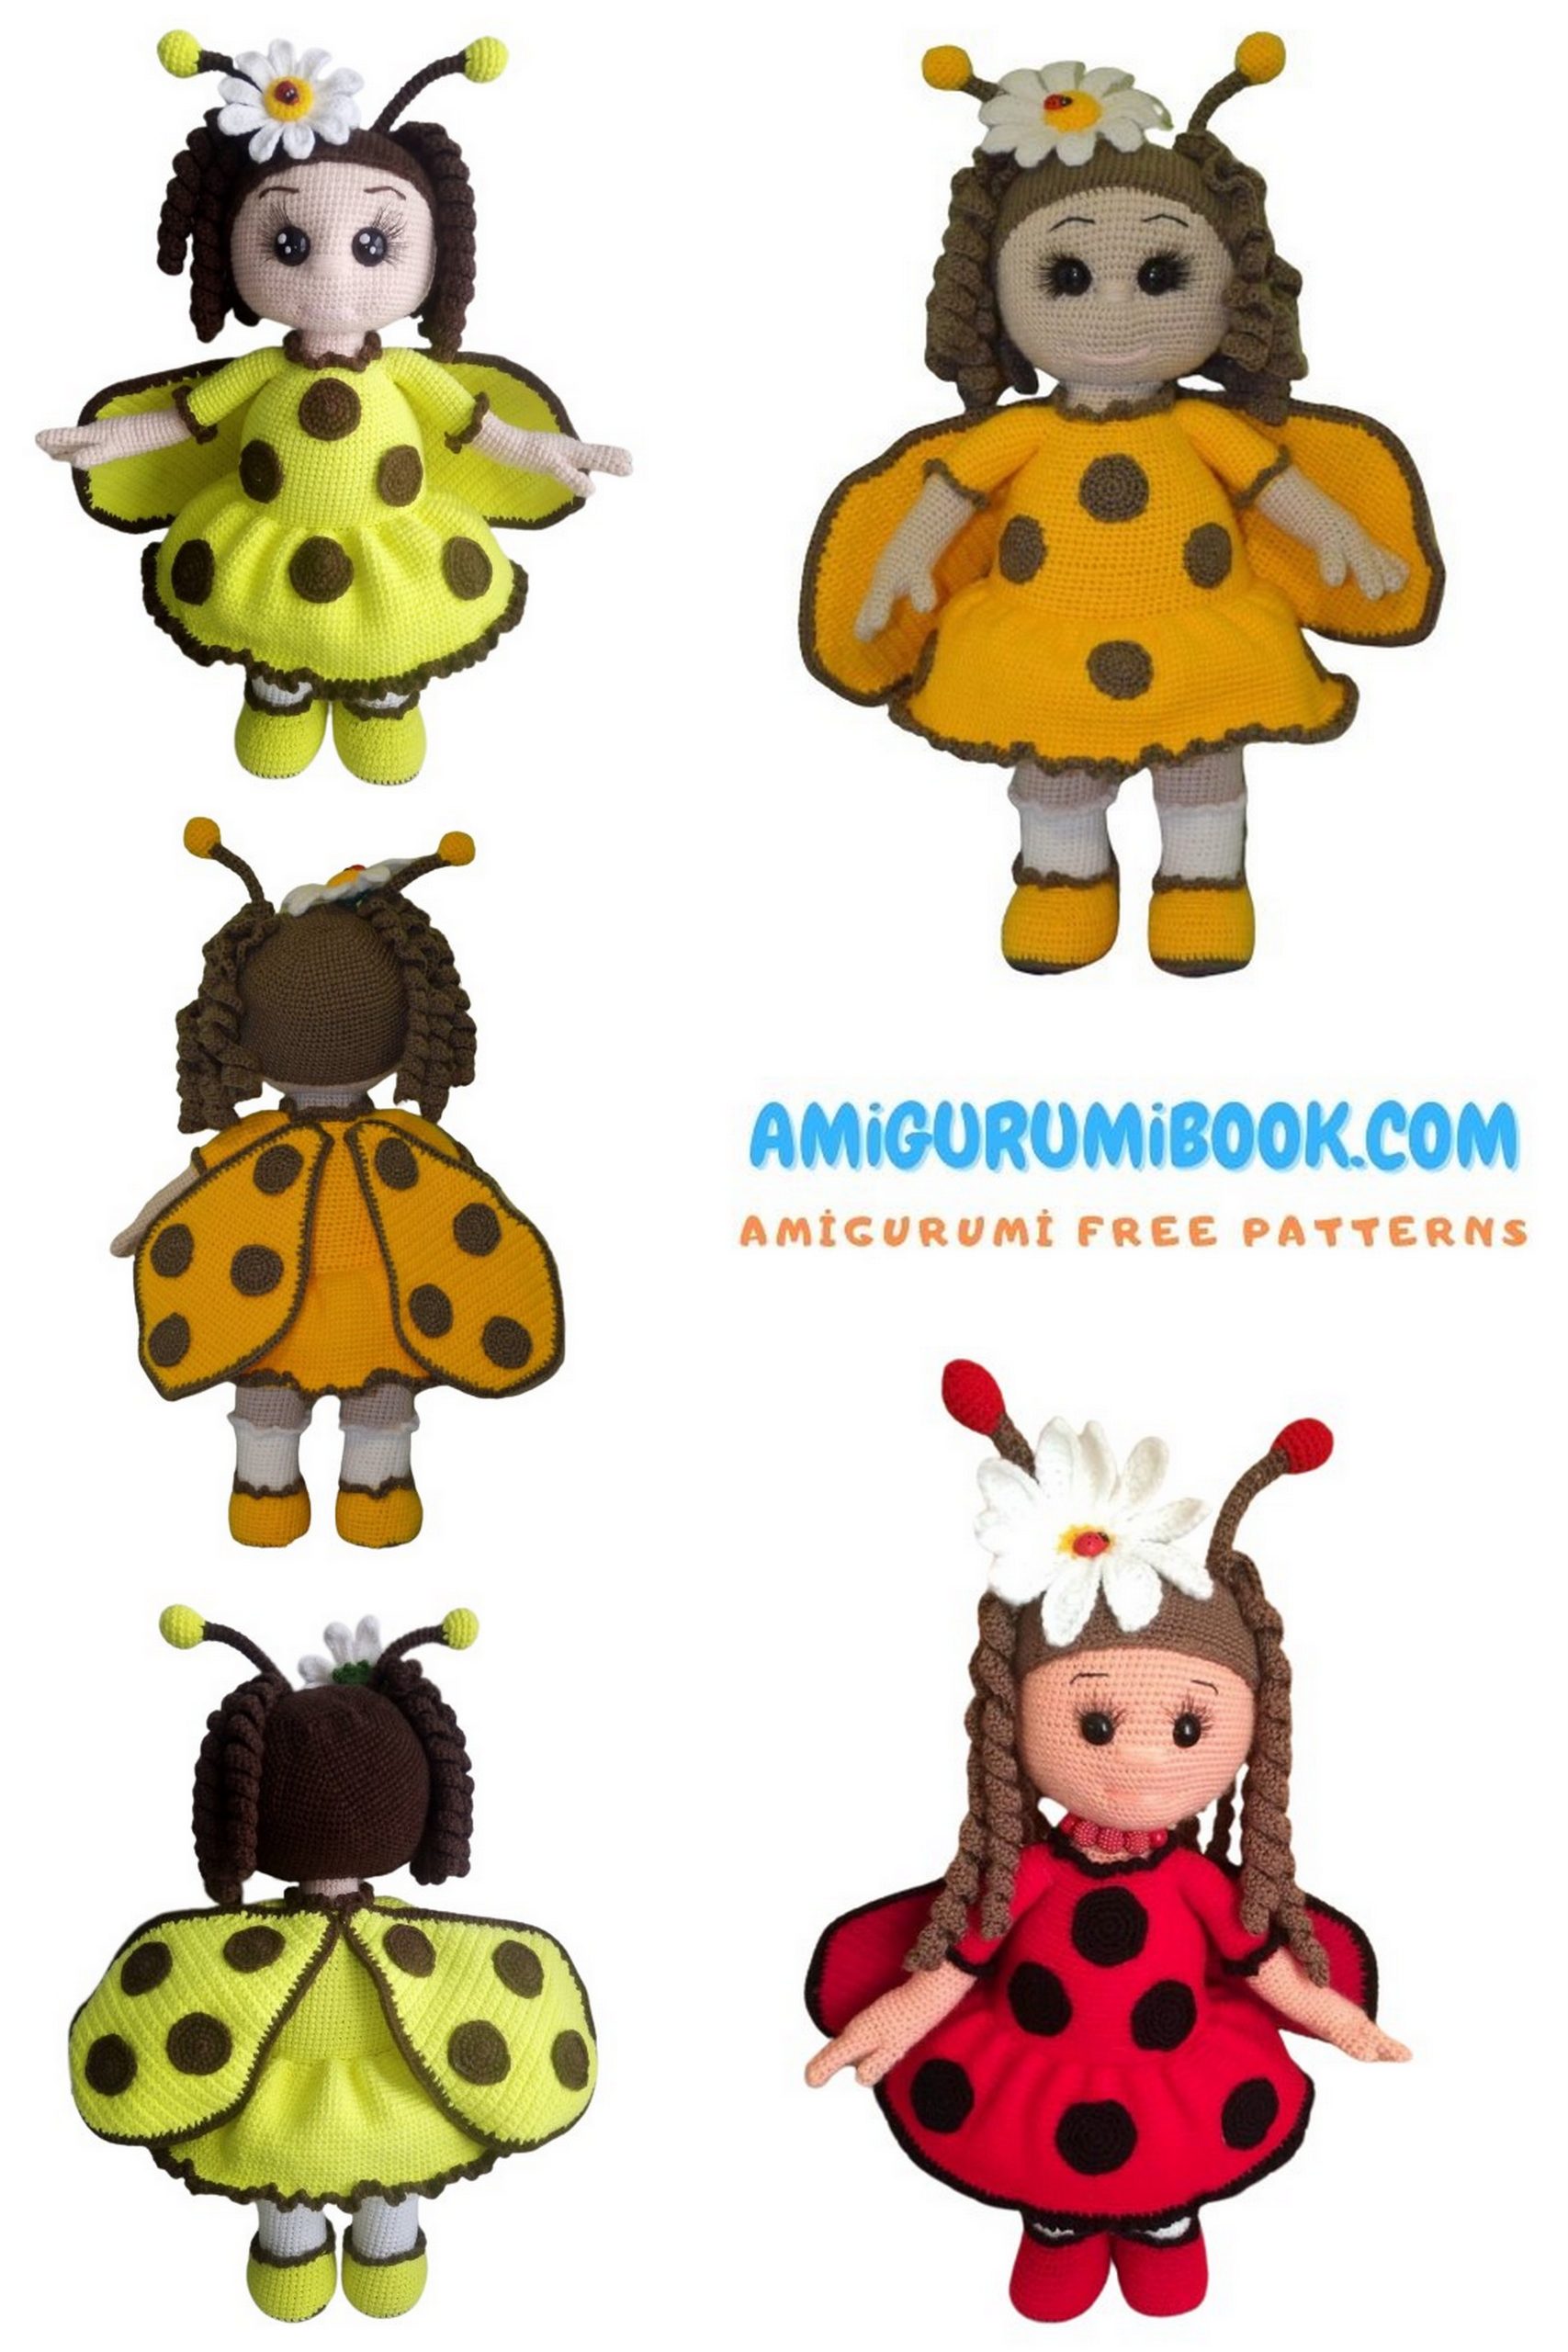
If you are looking for a charming and detailed crochet project, this Free Ladybug Dress Doll Amigurumi Pattern – Crochet Tutorial is the perfect choice. This adorable ladybug doll features sweet facial shaping, delicate wings, playful spots, and a beautifully textured dress that makes the design truly stand out.
Designed with clear step-by-step instructions, this ladybug doll amigurumi pattern guides you through shaping the head, attaching the wings, creating the dress, and adding all the finishing details. The structured body and optional wire frame help the doll hold its shape while keeping a soft handmade look.
Whether you want to create a unique handmade gift, expand your amigurumi collection, or enjoy a relaxing crochet session, this ladybug doll pattern will help you craft a delightful and eye-catching design full of personality.
If you want to access 1000+ free amigurumi patterns, you can download our application from this link!
🧶 Materials
- YarnArt Jeans (brown) – color 70 – 1.5 skeins
- YarnArt Jeans (flesh) – color 73 – 1 skein
- YarnArt Jeans (white) – color 01 – small amount
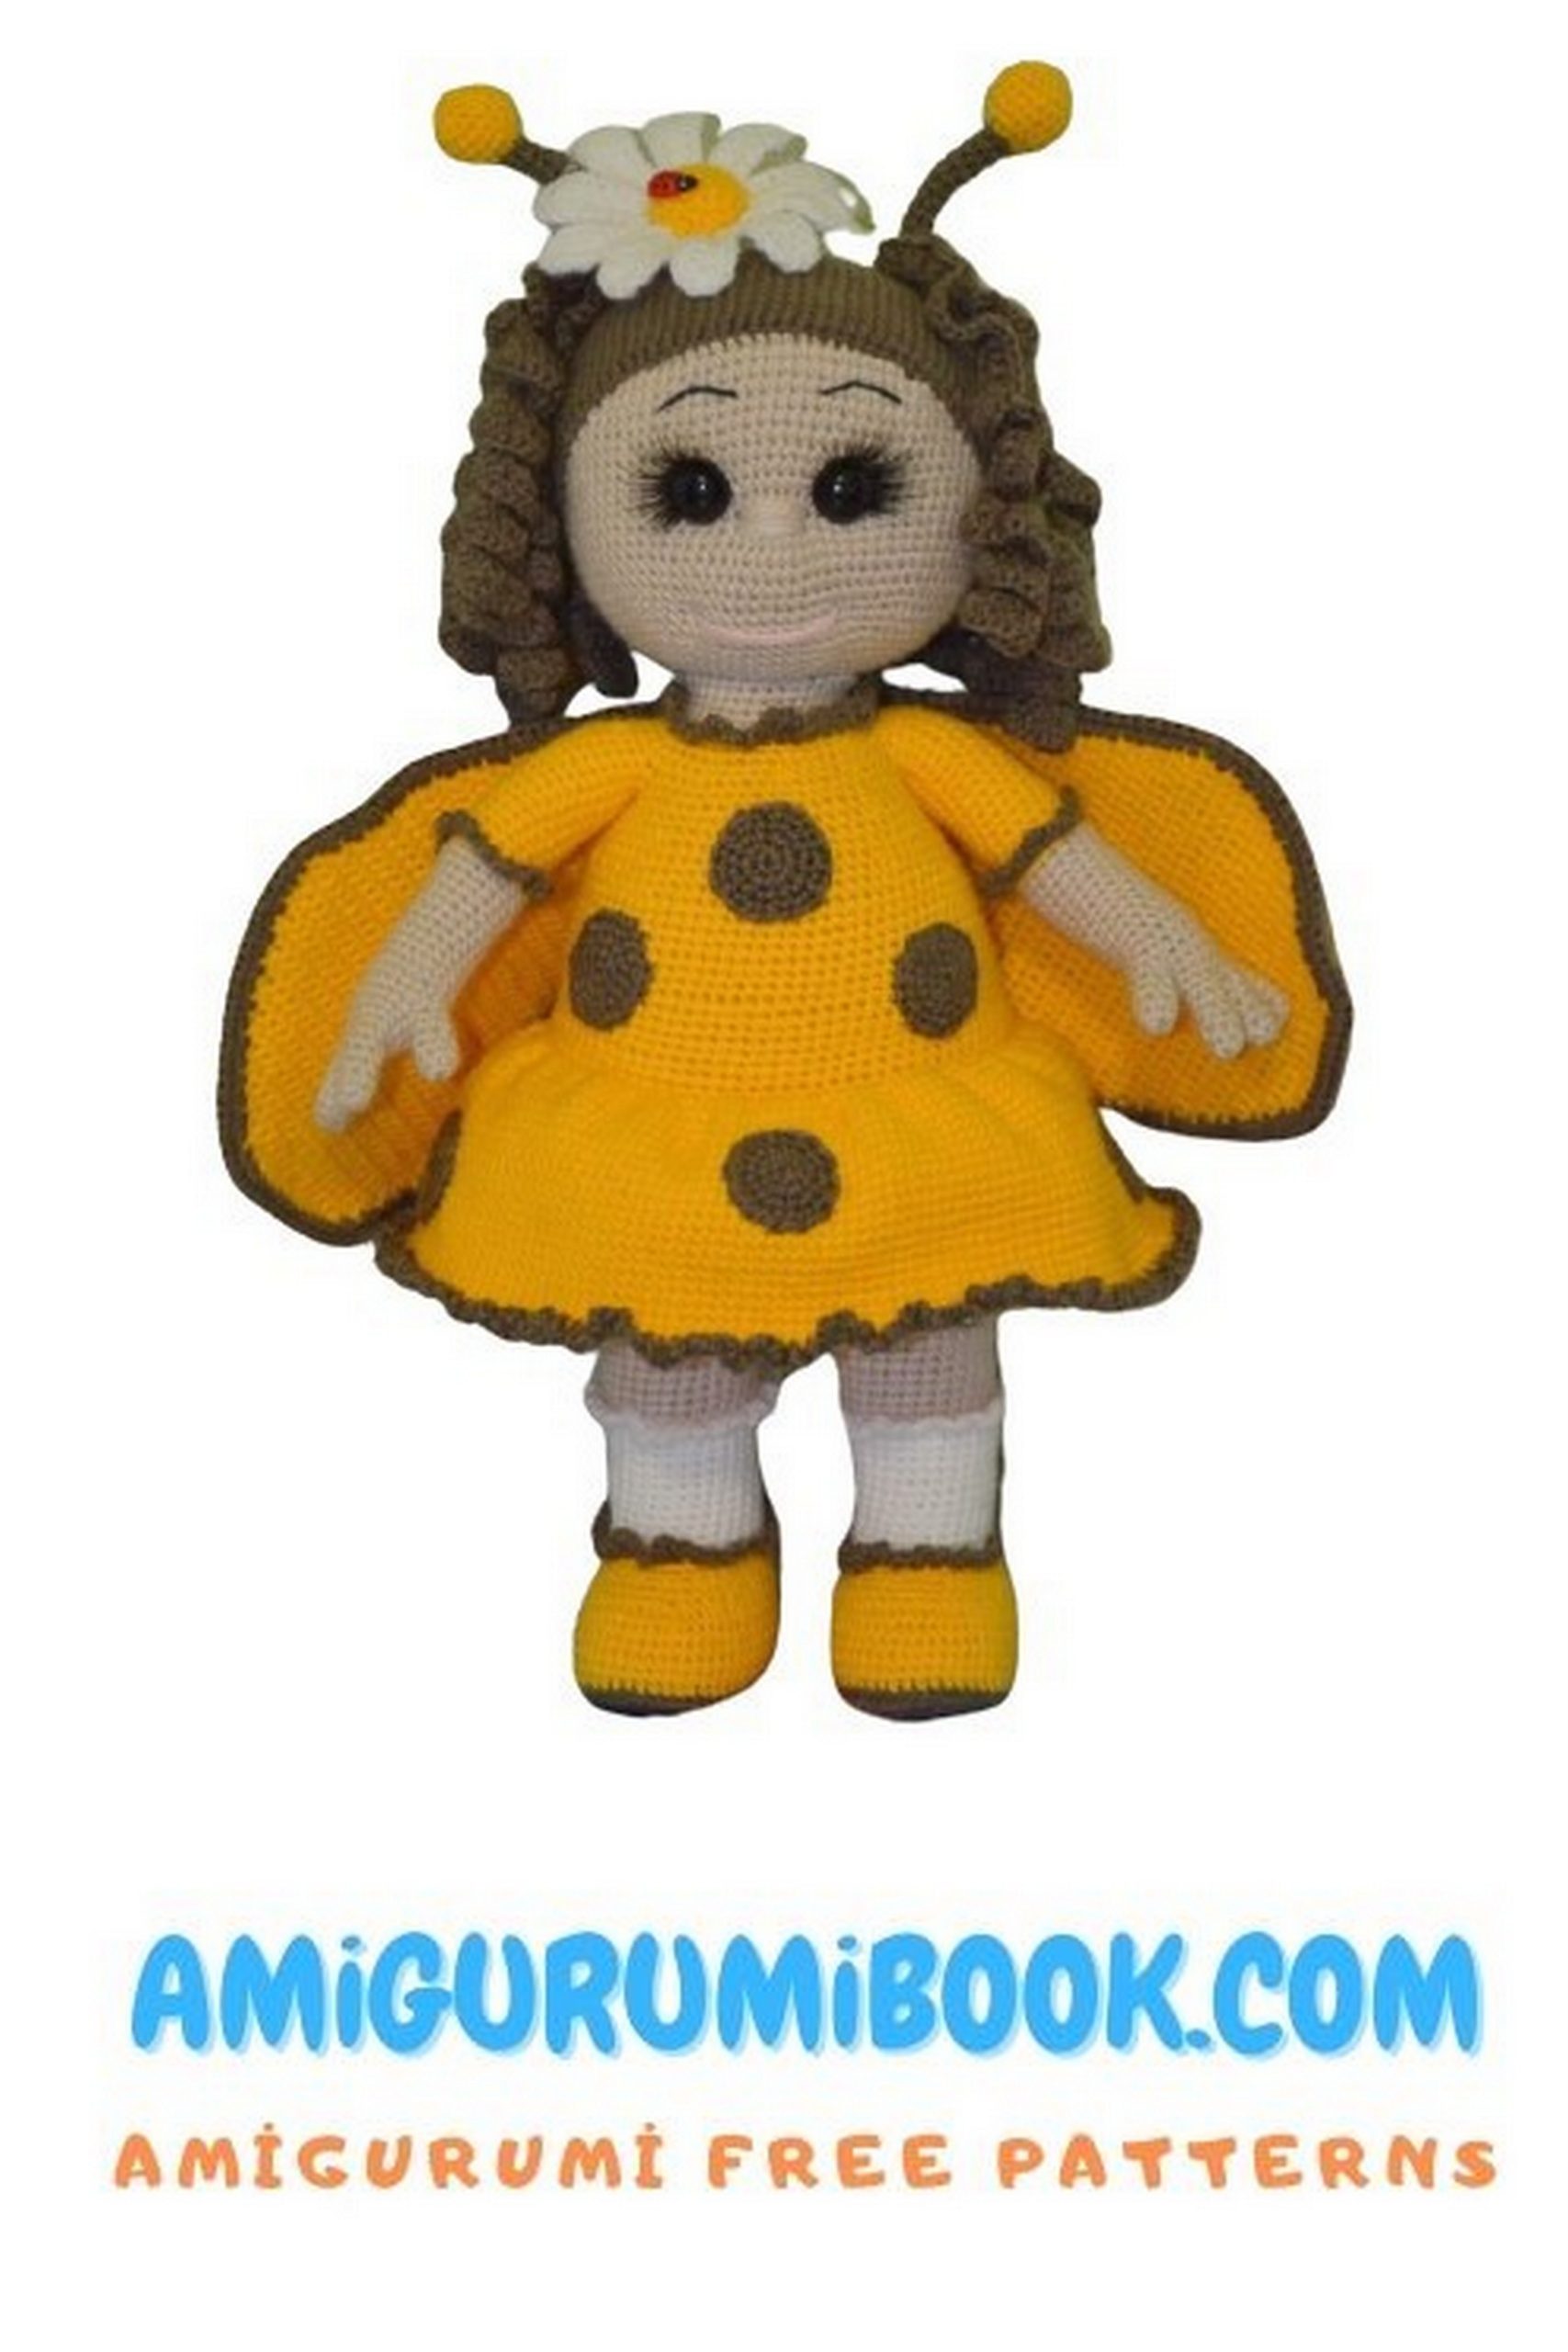
- YarnArt Jeans (yellow) – color 58 – 1.5 skeins
- Fiberfill stuffing (holofiber recommended)
- 18 mm black safety eyes
- Wire for internal frame (optional)
- 0.5 mm beading wire (for wings; thicker wire can be used)
- 1.5 mm crochet hook
- Tapestry needle
- Scissors
- Glue
- Eyelashes (optional)
- White nail polish (for eye highlights)
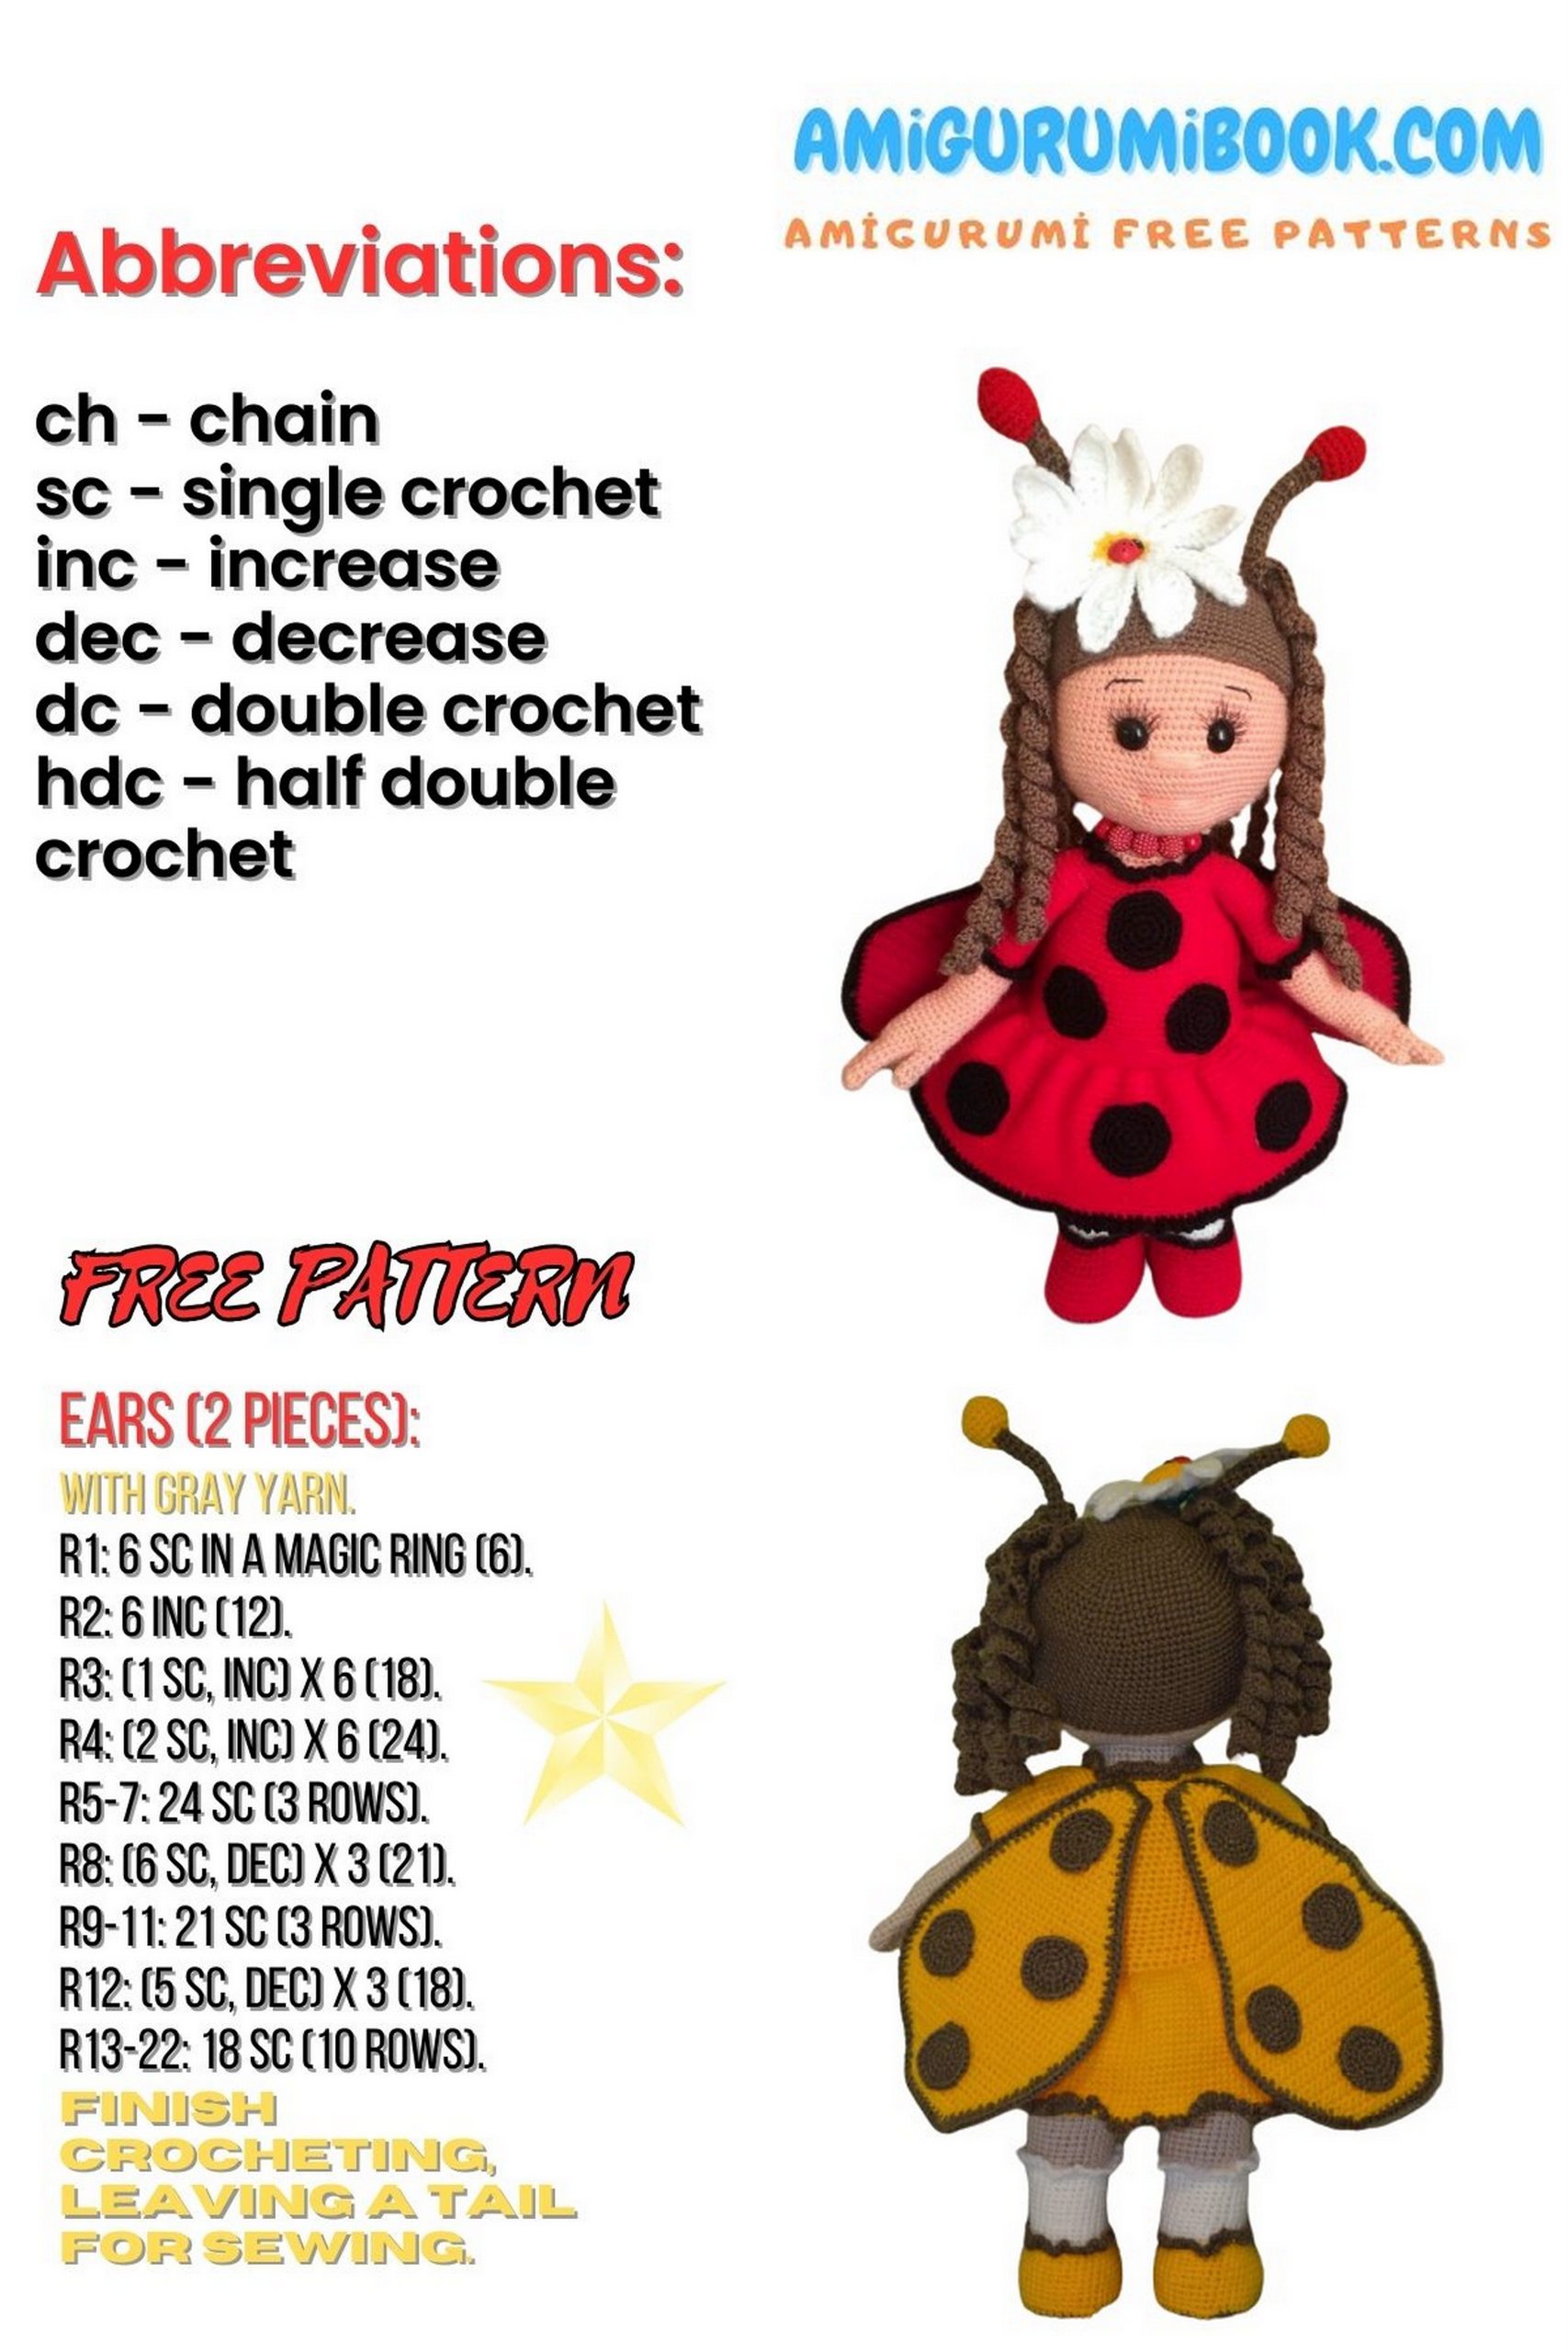
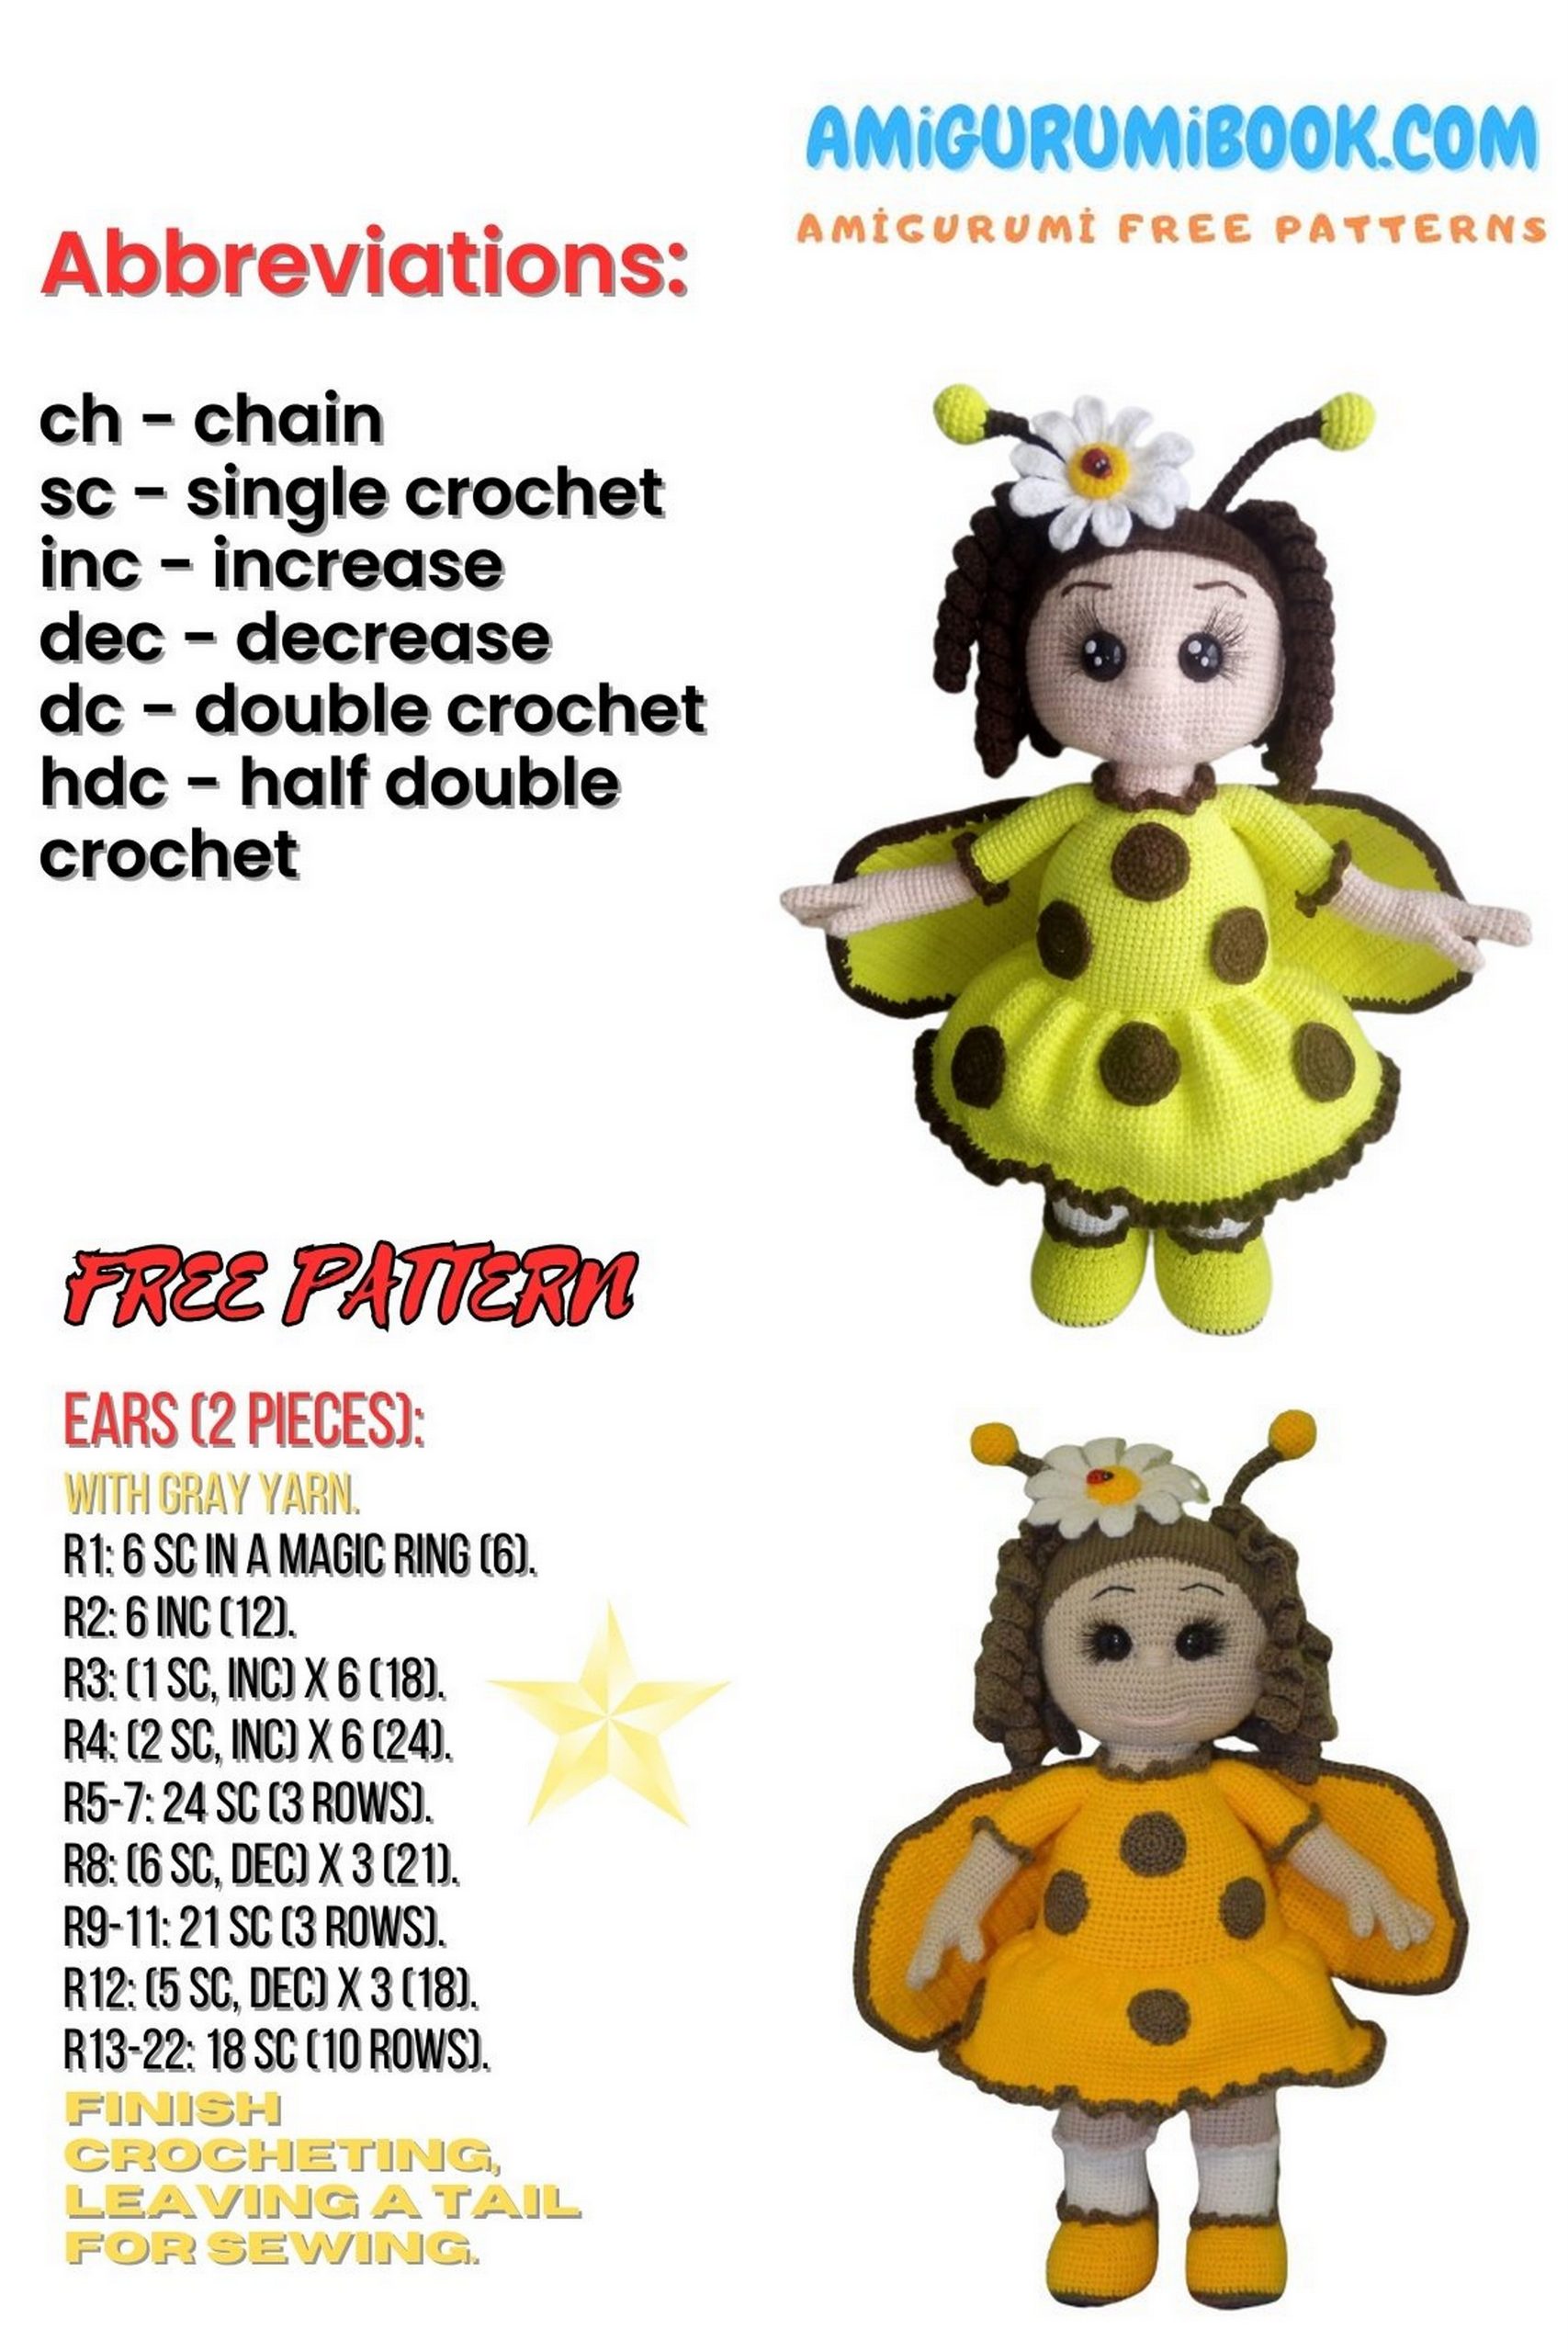
📖 Abbreviations
… – repeat instructions between asterisks
sc – single crochet
sl st – slip stitch
ch – chain
inc – increase (2 sc in one stitch)
dec – decrease (1 sc over 2 stitches)
hdc – half double crochet

Head
Use YarnArt Jeans color 73 and a 1.5 mm hook.
The head is worked in joined rounds (sl st + ch at the end of each round).
All other parts are crocheted in continuous rounds.
Note: The pattern is worked using X-shaped single crochet stitches.
Ch 10. Start from the 2nd chain from the hook.
1: 2 sc in same stitch, 7 sc, 3 sc in same stitch, 6 sc, 2 sc in same stitch, sl st, ch (20)
2: (inc) x 2, 7 sc, (inc) x 3, 7 sc, inc, sl st, ch (26)
3: (sc, inc) x 2, 7 sc, (sc, inc) x 3, 7 sc, sc, inc, sl st, ch (32)
Continue increasing in the same pattern.
11: (9 sc, inc) x 2, 7 sc, (9 sc, inc) x 3, 7 sc, 9 sc, inc, sl st, ch (80)
12: 5 sc, inc, 10 sc, inc, 5 sc, 7 sc, 5 sc, inc, (10 sc, inc) x 2, 5 sc, 7 sc, 5 sc, inc, 5 sc, sl st, ch (86)
13–22: 86 sc, sl st, ch (86)
Eye Openings
23:
21 sc, 2 ch, skip 2 stitches,
11 sc, 2 ch, skip 2 stitches,
50 sc, sl st, ch (86)
24–30: 86 sc, sl st, ch (86)
Insert safety eyes.
Decreasing Section
31: 5 sc, dec, 10 sc, dec, 5 sc, 7 sc, 5 sc, dec, (10 sc, dec) x 2, 5 sc, 7 sc, 5 sc, dec, 5 sc, sl st, ch (80)
32: (9 sc, dec) x 2, 7 sc, (9 sc, dec) x 3, 7 sc, 9 sc, dec, sl st, ch (74)
33: 4 sc, dec, 8 sc, dec, 4 sc, 7 sc, 4 sc, dec, (8 sc, dec) x 2, 4 sc, 7 sc, 4 sc, dec, 4 sc, sl st, ch (68)
34: (7 sc, dec) x 2, 7 sc, (7 sc, dec) x 3, 7 sc, 7 sc, dec, sl st, ch (62)
35: 3 sc, dec, 6 sc, dec, 3 sc, 7 sc, 3 sc, dec, (6 sc, dec) x 2, 3 sc, 7 sc, 3 sc, dec, 3 sc, sl st, ch (56)
36: (5 sc, dec) x 2, 7 sc, (5 sc, dec) x 3, 7 sc, 5 sc, dec, sl st, ch (50)
37: 2 sc, dec, 4 sc, dec, 2 sc, 7 sc, 2 sc, dec, (4 sc, dec) x 2, 2 sc, 7 sc, 2 sc, dec, 2 sc, sl st, ch (44)
38: (3 sc, dec) x 2, 7 sc, (3 sc, dec) x 3, 7 sc, 3 sc, dec, sl st, ch (38)
39: sc, dec, 2 sc, dec, sc, 7 sc, sc, dec, (2 sc, dec) x 2, sc, 7 sc, sc, dec, sc, sl st, ch (32)
40: (sc, dec) x 2, 7 sc, (sc, dec) x 3, 7 sc, sc, dec, sl st, ch (26)
41: (dec) x 2, 7 sc, (dec) x 3, 7 sc, dec, sl st (20)
Fasten off leaving a long tail.
Stuff firmly. Shape carefully while stuffing for a smooth round head.
🪡 Eye Shaping
Using nylon thread:
Insert needle at back of neck.
Bring it out between the eyes.
Pass through inner corner of first eye and exit at second eye.
Return to neck and pull gently to create indentation.
Tie securely and hide thread.
👄 Mouth Shaping
Insert needle at front neck.
Bring out below one eye (leave 6 rows gap).
Skip 1 stitch and bring out below other eye.
Return to neck.
Tighten and secure.
👃 Nose
Using head yarn:
Embroider nose over 2 rows (approx. 6 stitches).
Pull ends inside head and hide.
Glue eyelashes if desired.
Embroider eyebrows and mouth.
Add eye highlights with white nail polish (optional).
🧶 Hair
Use brown yarn.
Ch 10.
Start from the 2nd chain from hook.
Work the same as the head from steps 1 to 12 (inclusive).
Note: The hair is worked in continuous rounds (no slip stitch, no chain at the end of rounds).
13: (11 sc, inc) x 2, 7 sc, (11 sc, inc) x 3, 7 sc, 11 sc, inc (92)
14–27: 92 sc (92)
Try the hairpiece on the head. Adjust if necessary.
28: 92 hdc around the edge
Fasten off, leaving a long tail for sewing.
Sew the hairpiece securely to the head.
Tip: Head circumference may vary depending on tension. Adjust increase rows if needed.
🎀 Tails
Use brown yarn.
Ch 63.
Starting from the 3rd chain from hook:
(2 hdc, 3 hdc in one chain) repeat to the end of the row.
Sl st at the end.
Without cutting yarn:
Ch 63 again.
Repeat the same sequence.
Continue until you have 5 spiral strands.
Make a second identical piece.
Sew the tails securely to the body.

Horns / Antennae
Use brown yarn.
Leave a long starting tail for sewing later.
Note: Do not stuff the brown part. Only the yellow tip will be stuffed.
1: 6 sc in magic ring (6)
2–16: 6 sc (6)
Switch to yellow yarn.
17: (inc) x 6 (12)
18: (sc, inc) x 6 (18)
Insert wire at this stage.
Cut a piece of wire approximately 25 cm long.
Bend one end with pliers to prevent it from slipping out.
Insert the wire so it reaches into the yellow tip.
19–21: 18 sc (18)
22: (sc, dec) x 6 (12)
23: (dec) x 6 (6)
Lightly stuff only the yellow tip.
Close the remaining stitches with a needle and hide the yarn end.
Determine placement on the head.
Position the horns directly above the tails.
Insert the free end of the wire through the head (through both hair and head if applicable).
Crochet the second horn the same way.
Secure both horns firmly using the long yarn tails.
✋ Arms
Each hand has 4 fingers.
Use flesh-colored yarn.
First Finger
1: 7 sc in magic ring (7)
2–5: 7 sc (7)
Sl st and fasten off.
Next Three Fingers (Make 3)
1: 6 sc in magic ring (6)
2–6: 6 sc (6)
Do not cut the yarn after finishing the fourth finger.
🦵 Connecting the Legs
49:
2 sc in second leg,
ch 5,
join with first leg,
33 sc around first leg,
5 sc over chain,
32 sc around second leg (78)
50–61: 78 sc (78)
Shift round by 44 sc. Place marker.
62: 78 sc (78)
63/1: 78 sc in back loops only (78)
64–77: 78 sc (78)
👗 Skirt
Attach yarn to front loops of row 63.
1: (sc, 3 sc in one stitch) repeat around (156)
2–21: 156 sc (156)
22: (10 sc, dec) x 13 (143)
Fasten off. Edge with brown yarn.
Body Shaping
78: (11 sc, dec) x 6 (72)
79: 72 sc
80: 5 sc, dec, (10 sc, dec) x 5, 5 sc (66)
81: 66 sc
82: (9 sc, dec) x 6 (60)
83: 60 sc
84: 4 sc, dec, (8 sc, dec) x 5, 4 sc (54)
Stuff firmly.
85: 12 sc, attach arm (6 sc through both), 21 sc, attach second arm (6 sc through both), 9 sc (54)
⚠ Row 86 original math inconsistent.
Correct continuation:
86: 54 sc (54)
87: (4 sc, dec) x 9 (45)
88: 45 sc
89: (3 sc, dec) x 9 (36)
👗 Upper Body Color Change
91: 36 sc in back loops (36)
92–96: 36 sc (36)
Fasten off.
🟤 Spots (Make 14)
1: 6 sc in magic ring (6)
2: (inc) x 6 (12)
3: (sc, inc) x 6 (18)
4: sc, inc, (2 sc, inc) x 5, sc (24)
Fasten off.
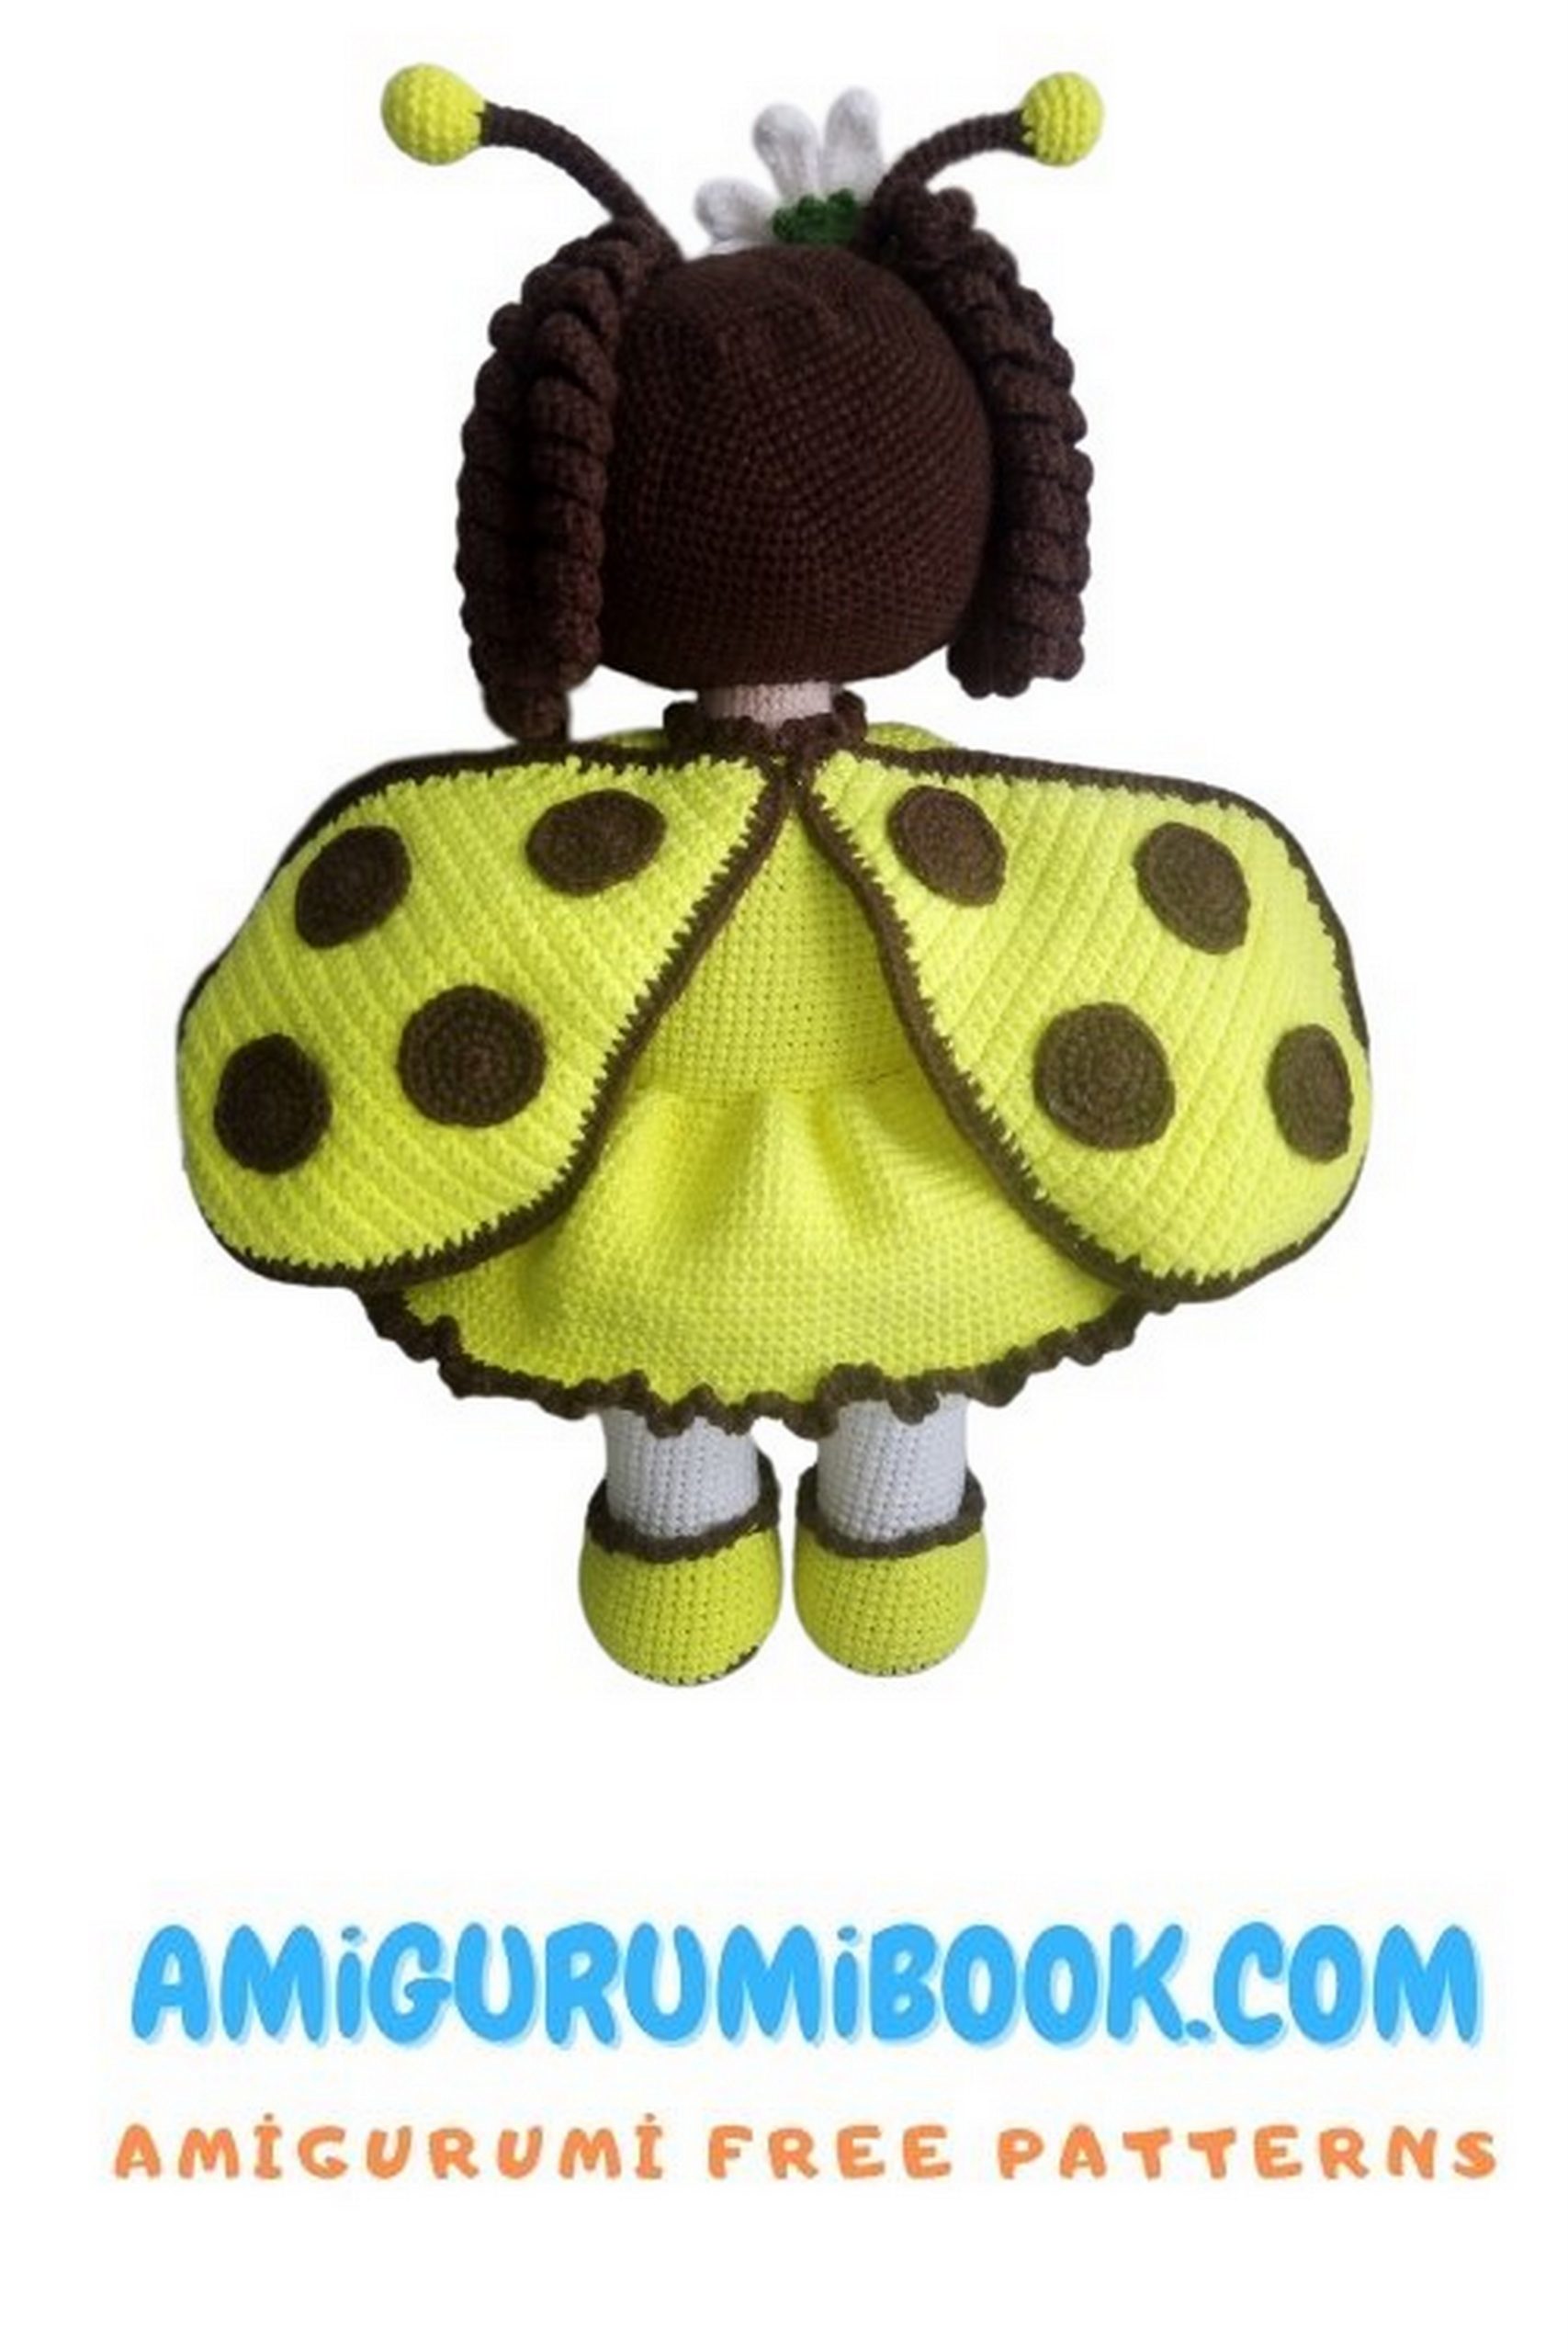
🪽 Wings (Structure Simplified)
Increase gradually to form wing shape.
Then begin symmetrical decreases as written.
Final row:
8 sc, dec, sl st.
Edge with brown yarn and insert beading wire while working slip stitches around.
Do not crochet too tightly.
Make 2 identical wings.