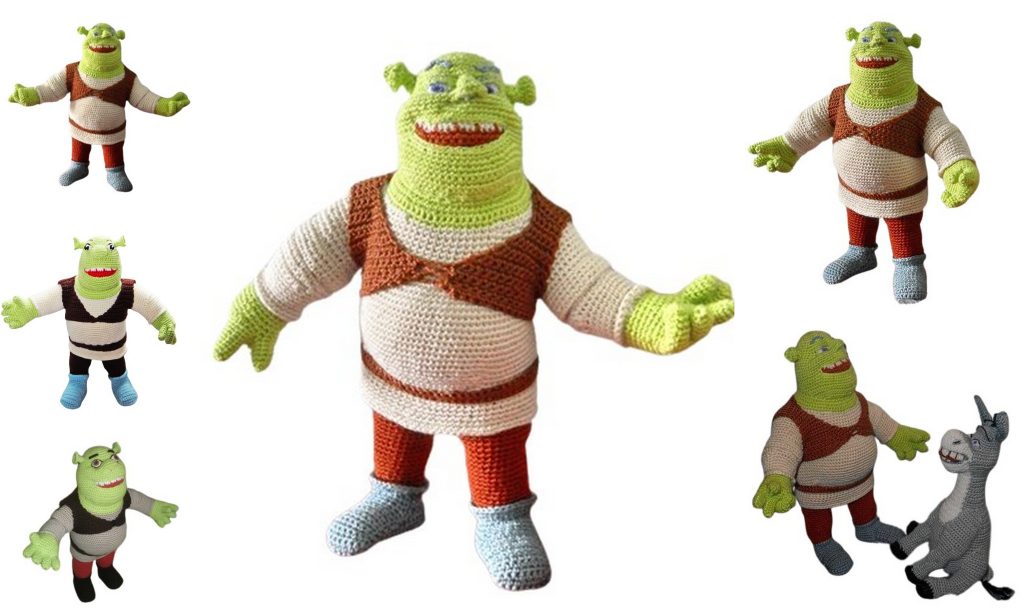
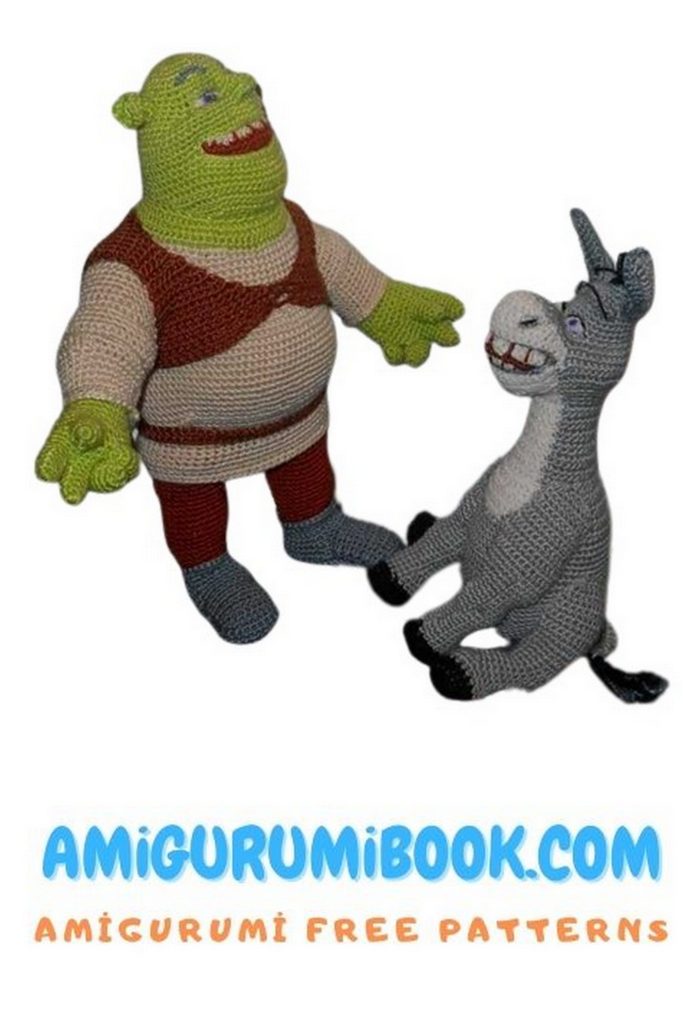
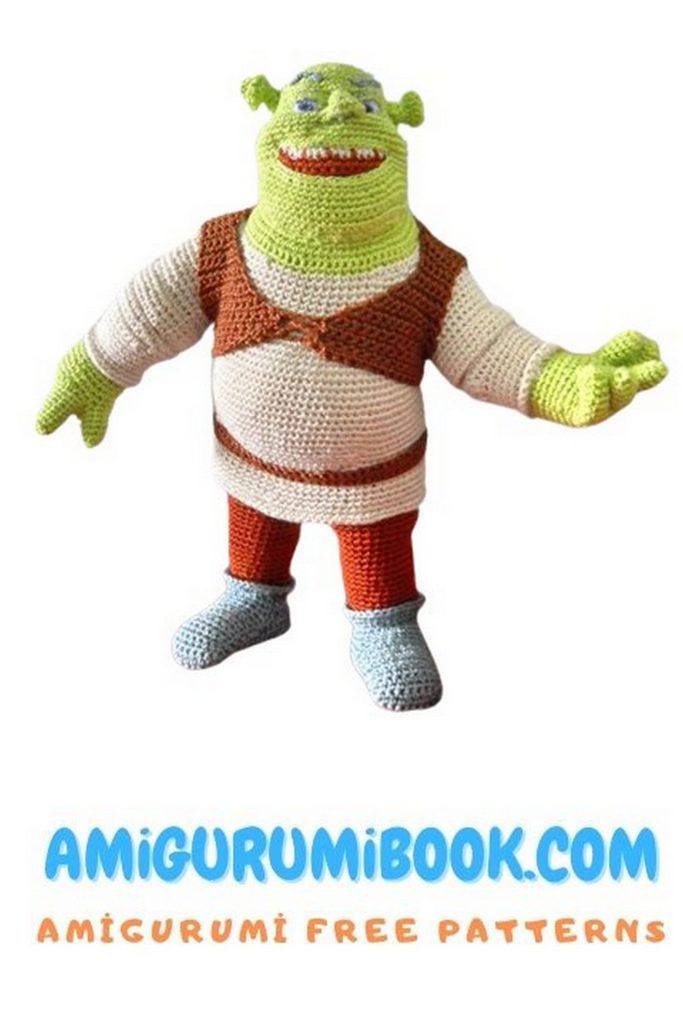
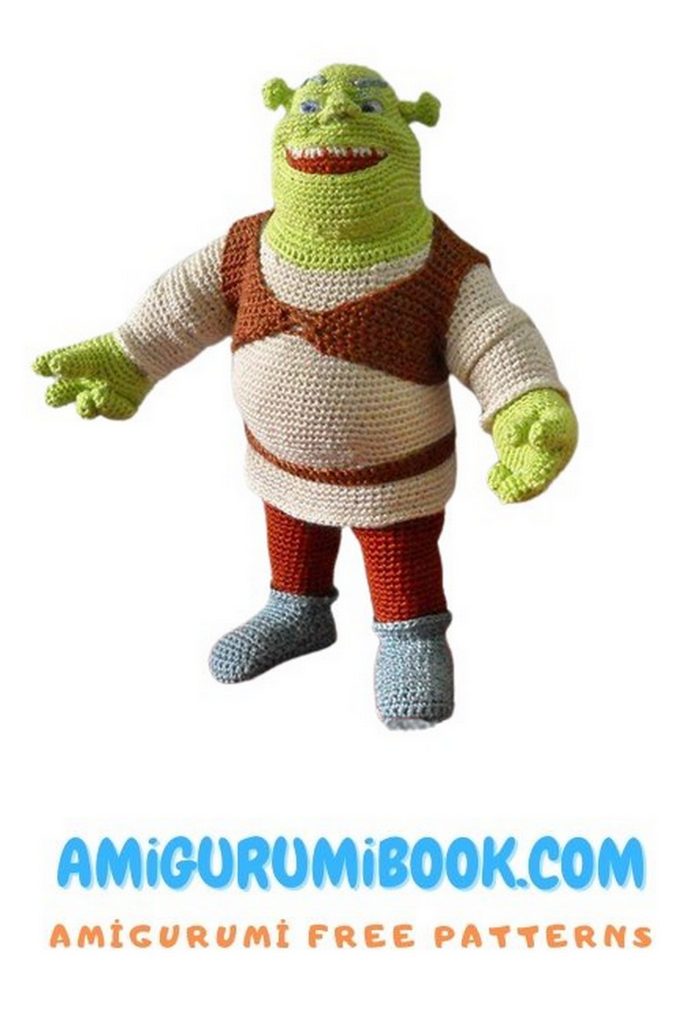
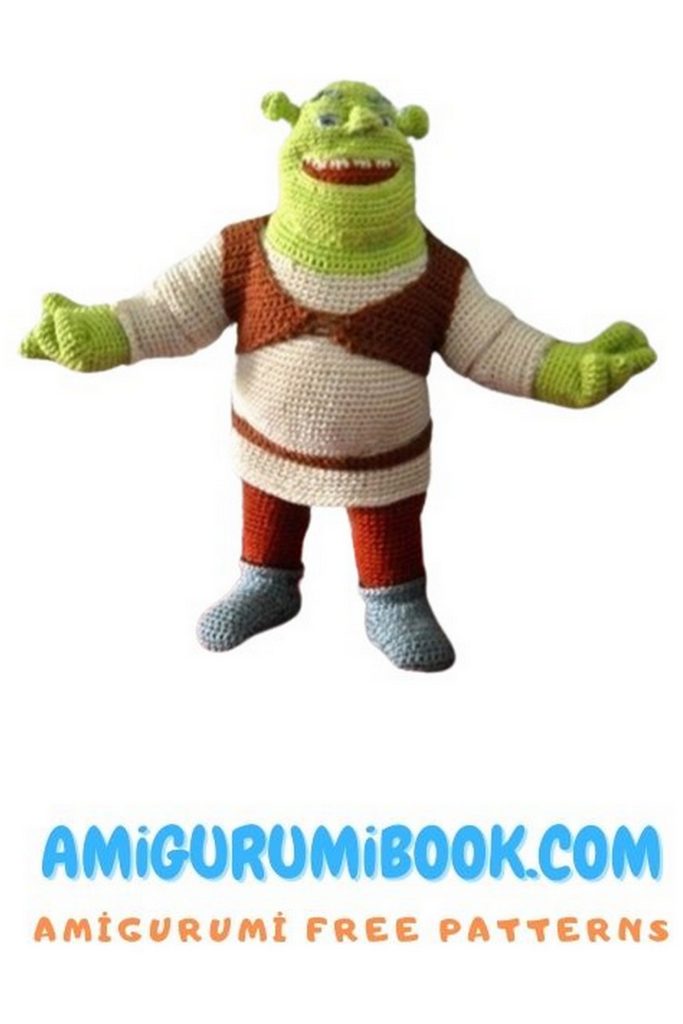
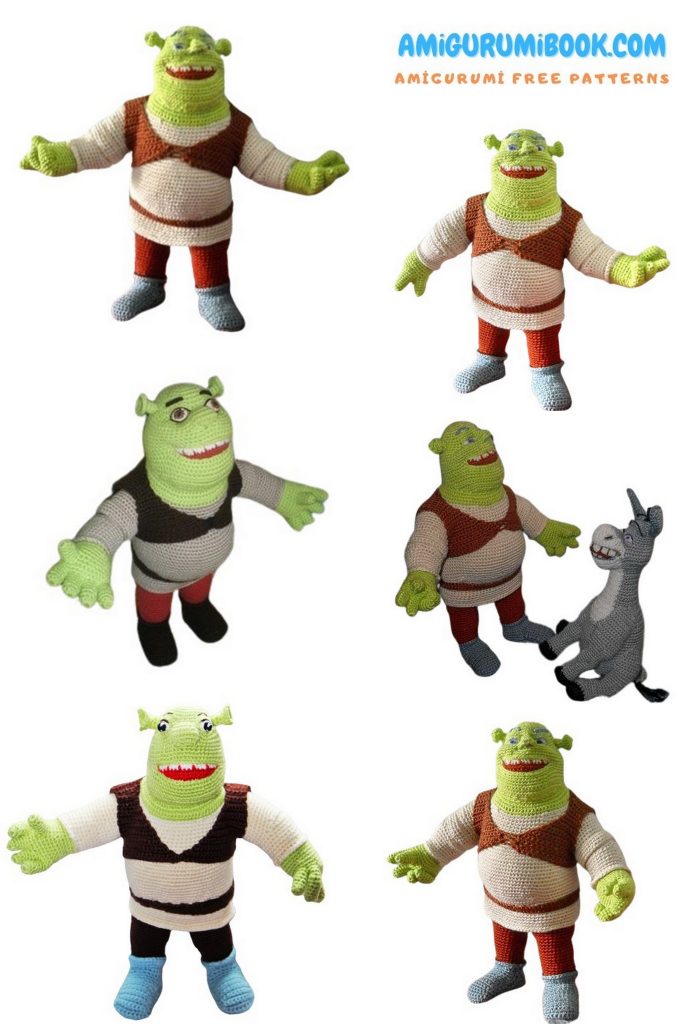
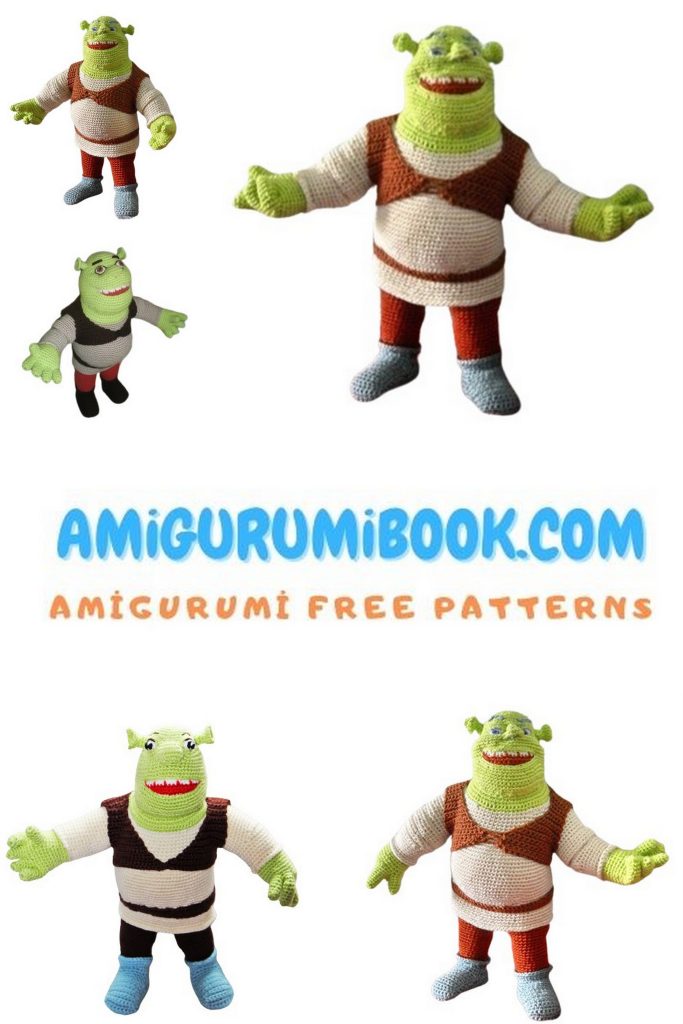
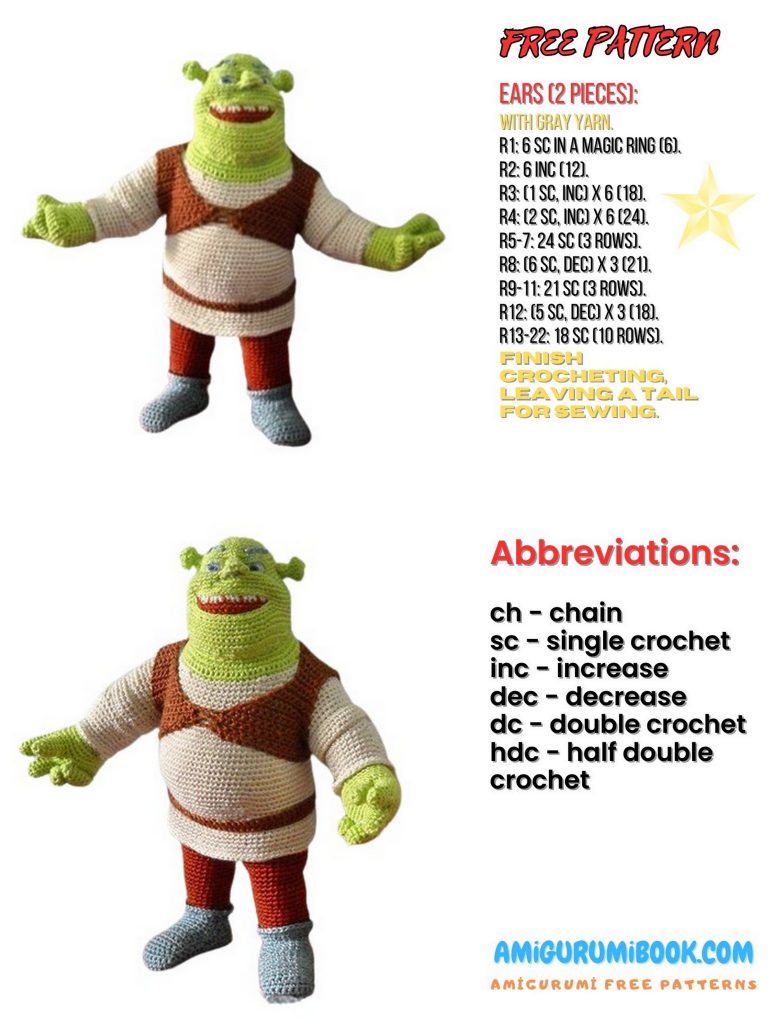
Bring the beloved ogre from the swamp to life with this free Shrek amigurumi pattern, perfect for fans and crafters alike. This easy-to-follow guide will help you create your very own adorable Shrek toy, adding a touch of whimsy to your handmade collection. free crochet patterns
You may also like more amigurumi patterns.
Are you a fan of Shrek and the enchanting world of Far Far Away? If so, you’re in for a treat! We’ve prepared a fantastic free Shrek amigurumi pattern that will let you craft your very own Shrek character using the art of crochet.
Shrek, the friendly and iconic ogre from the beloved movie series, has won the hearts of people of all ages with his charm and humor. Now, you can create a miniature version of this green hero to keep you company or to gift to a fellow Shrek enthusiast.
This pattern is perfect for both beginners and experienced crocheters, as we provide clear, step-by-step instructions. Whether you’re new to amigurumi or an old pro, you’ll be amazed at how quickly Shrek comes to life in your hands.
Stay with us as we guide you through the process, from selecting the right materials and colors to mastering the various crochet stitches required for this project. By the end, you’ll have a delightful amigurumi Shrek that will bring joy to your world.
So, gather your materials and prepare to embark on a whimsical crochet adventure as you bring Shrek to life, one stitch at a time! Don’t forget to share your final creation with us and fellow Shrek fans. Let’s get started on this enchanting journey!
Materials (for a 19 cm tall figure)
- “Iris” yarn: green, beige, brown, gray, white
- Crochet hook: 1.3 mm
- Stuffing
- Needle
- Plastic or cardboard (for soles and structure)
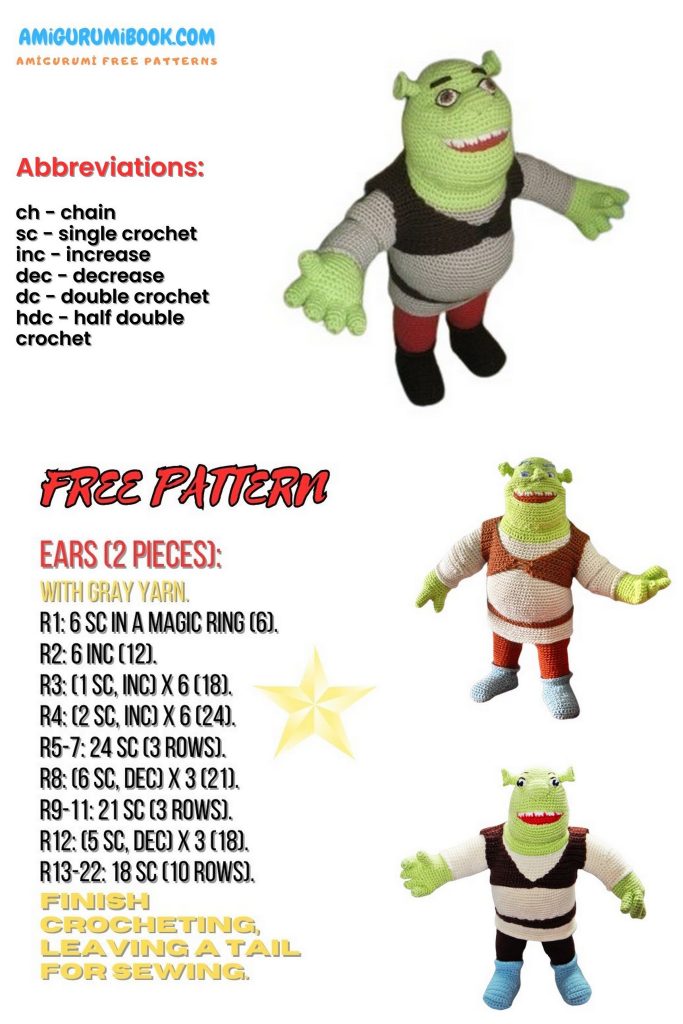
Abbreviations
sl st – slip stitch
sc – single crochet
inc – increase (2 sc in the same stitch)
dec – decrease (2 sc together)
ch – chain
turn – turn without finishing the row
straight – crochet without changes
* – crochet in next sc without turning chain
skip – return to unfinished row and continue
! – edge single crochet (in turning protrusion)
# – single crochet from base of turn
% – next stitch of first row (shoes)
sc1 – single crochet with one chain
PATTERN
Head (Salad Green)
1: 2 ch, 7 sc (7)
2: inc (14)
3: (sc, inc) (21)
4: (2 sc, inc) (28)
5: (3 sc, inc) (35)
6, 7, 9: straight (35, 42)
8: (4 sc, inc) (42)
10: 14 sc, 5 ch, sc in 5th sc of step 9, 2 inc, sc,
5 ch, sc in 5th sc of step 9, 13 sc (44)
11: 13 sc, 4 dec, 2 sc, 4 dec, 2 sc, 4 dec, 13 sc (56)
12–13: straight (56)
14: (5 sc, inc) ×2, 22 sc, turn,
6 dec, turn, 3 dec, 10 sc, (5 sc, inc) ×2 (54)
15, 17, 18: straight (54, 61)
16: (6 sc, inc) (61)
19: 21 sc, 21 ch, sc in 19th sc of step 18, 20 sc (63)
20: (6 sc, dec) ×2, 31 sc, (dec, 6 sc) ×2 (59)
21: inc, straight (60)
22: straight (60)
23:
50 sc, turn,
*36 sc, turn,
*33 sc, turn,
*30 sc, turn,
*27 sc, turn,
*(sc, dec) ×8, turn,
15 sc, skip!,
2 sc, skip, 2 sc, skip, 11 sc
24:
12 sc, dec (! + sc after turn), sc,
repeat dec, sc,
repeat dec, (sc, dec) ×7, 11 sc (42)
25: 10 sc, 22 inc, 10 sc (64)
26:
58 sc, turn,
*50 sc, turn,
*47 sc, dec (! + #), 6 sc (63)
Cut yarn
➡️ This forms the mask with holes.
Eyes (White)
1: 2 ch, 8 sc
2–3: straight (8)
4: dec, tighten, sew to mask
Draw pupils with a pen
Mouth (White → Brown)
1: 24 ch, 23 sc, switch to brown
2: dec, sc, sc in chain space, repeat (2 sc, chain-space sc), dec
3: dec, 17 sc, dec
4: dec, 15 sc, dec
5: dec, 13 sc, dec
Cut yarn. Sew slightly offset as desired.
Lightly stuff the head and add gathers.
Connecting Head & Body
Attach beige yarn between steps 22–26.
From back view:
- Count 25 sc along face side
- Turn work, crochet 17 sc
- Corner dec (1 sc in corner + 1 sc in base)
Continue 8 sc to start of rows.
Work 25 sc in opposite direction.
Turn back with sl st over 5 sc.
Crochet 2 short rows:
(5 sc, dec) ×7 → turn → 5 sc
Continue short rows to form a ladder.
Cut yarn.
Reattach beige yarn to 25th sc of green row and crochet body.
Body Continuation
1: 17 sc, dec (! + #), 8 sc, 25 sc, turn, sl st back 5
2: ch, (5 sc, inc) ×7, turn
3: return 5 stitches, ch 1, 40 sc, turn
4: *38 sc, turn
5: *36 sc, turn
6: *34 sc, cut yarn, reattach at 18th sc
7: 16 sc, (!+ #) ×3, 3 sc, (! + #), 3 sc, (! + #), skip to green sc, 11 sc along green row, (# + !) ×2, 3 sc, (#+ !) ×2, 14 sc, dec (73)
8–13: straight (73)
14: 28 sc, (inc, 2 sc) ×6, 27 sc (79)
15: straight (79)
16: 28 sc, (inc, 2 sc) ×8, 27 sc (87)
17–29: straight (87)
30:
28 sc, (dec, #) ×8, turn,
*25 sc, turn,
*23 sc, dec (! + #), 27 sc (78)
31: 26 sc, dec (! + #) (77)
32:
28 sc, (dec, 2 sc) ×6, turn,
*20 sc, turn,
*18 sc, dec (! + #), 25 sc (70)
33: 25 sc, dec (! + #), 43 sc (69)
34, 36, 37: straight (69)
35: straight in front loops only (69)
38: (10 sc, inc) ×6, 3 sc (75)
39–40: straight (75), cut yarn
Left Leg (Green)
Attach green yarn at the beginning of the rows and crochet 17 ch.
Crochet 35 rows for the leg, attaching stitches to the 35th stitch on the opposite side (opposite the start of the rows).
2 and 4: straight (52, 42)
3: 10 dec, 30 sc, dec, sc (42)
5: (2 sc, dec) ×10, 2 sc (32)
6–10: straight (32)
11: 6 dec, 20 sc (26)
12: straight (26)
13: 6 inc, 20 sc (32)
14–16: straight (32)
17: dec, 8 sc, dec, 20 sc (30)
18: dec, 6 sc, dec, 20 sc (28)
19: (5 sc, dec) ×4 (24)
20–21: straight (24)
22: (4 sc, dec) ×4 (20)
23–24: straight (20)
Cut yarn and stuff the leg.
Right Leg (Brown)
Attach brown yarn at the same starting point as the left leg and crochet along the inside edge of the green stitches.
2 and 4: straight (52, 42)
3: 31 sc, 10 dec, sc (42)
5: (2 sc, dec) ×10, 2 sc (32)
6–10: straight (32)
11: 6 dec, 20 sc (26)
12: straight (26)
13: 6 inc, 20 sc (32)
14–16: straight (32)
17: dec, 8 sc, dec, 20 sc (30)
18: dec, 6 sc, dec, 20 sc (28)
19: (5 sc, dec) ×4 (24)
20–21: straight (24)
Cut yarn and stuff the leg.
Boots (Gray)
Sole
Chain 15, crochet 14 sc.
2: inc, 12 sc, inc (16)
3: inc, 15 sc (17)
4–7: straight (17)
8: 15 sc, dec (16)
9: dec, 12 sc, dec (14)
Do not cut the yarn.
Cut a sole from plastic or cardboard to match the shape.
Boot Upper
Turn work and crochet around the sole (45 stitches) — this counts as the first round.
Now crochet from the toe upward toward the ankle.
2: turn, 10 sc, dec, turn
3: *9 sc, dec (! + %), turn
4: *9 sc, dec (# + %), turn
Repeat step 4 from the 5th to the 15th step.
Then crochet in the round for the heel, working behind the back loops:
15–19: 19 sc, dec (% + #)
16: 8 sc, dec, 18 sc, dec (28)
17: 7 sc, 2 dec, 13 sc, 2 dec (24)
18: straight (24)
19: (4 sc, dec) ×4 (20)
20: (sc, inc) repeat behind front loops (30)
21–22: straight (30)
Insert the insole, stuff, and sew the boot into the pants after step 20.
Belt
Using brown yarn, chain 71.
Work 4 rows, each with 70 sc.
Cut yarn and sew the belt at the level of step 33 of the body (below the belly).
Regular Arms (Non-Articulated)
Using beige yarn, chain 28 and join into a circle.
1, 3, 4, 5, 6: straight (28 sc)
2: front loops only
7:
24 sc, turn
*15 sc, turn
*13 sc, turn
*11 sc, turn
*9 sc, (inc + #) ×2, 4 sc (30)
8: 8 sc, (#+inc) ×2, 18 sc (32)
9–15: straight (32)
Right Arm
16:
17 sc, turn
*15 sc, turn
*13 sc, turn
*11 sc, turn
*9 sc, turn
*7 sc, turn
*5 sc
Cut yarn.
Left Arm
16:
32 sc, turn
*15 sc, turn
*13 sc, turn
*11 sc, turn
*9 sc, turn
*7 sc, turn
*5 sc
Stuff arms and sew to the body.
Vest
Using brown yarn, chain 35.
1: 34 sc (34)
2–23: straight (34)
Right Front Section
24: 9 sc, dec
25: dec, 8 sc (9)
26: 7 sc, dec (8)
27: dec, 6 sc (7)
28: 5 sc, dec (6)
29: dec, 4 sc (5)
30–31: straight (5)
32: 4 sc, inc (6)
33: inc, 5 sc (7)
34: 6 sc, inc (8)
35: inc, 7 sc (9)
36: 8 sc, inc (10)
37: inc, 9 sc (11)
38: 10 sc, inc (12)
39: inc, 11 sc (13)
40: 12 sc, inc (14)
41: inc, 13 sc (15)
42–47: straight (15)
Cut yarn.
Left Front Section
Attach yarn to the opposite side of step 23 and repeat steps 24–47.
Sew side seams at steps 3–4 from the top.
Create a chain of slip stitches, thread it through the front sections, and pull tight to close.
Final Assembly
- Sew legs, arms, and head
- Add felt eyes and pupils
- Embroider nose and mouth
- Insert soles, stuff boots, and sew
- Attach vest and belt
🧶 Your crocheted Shrek is complete!