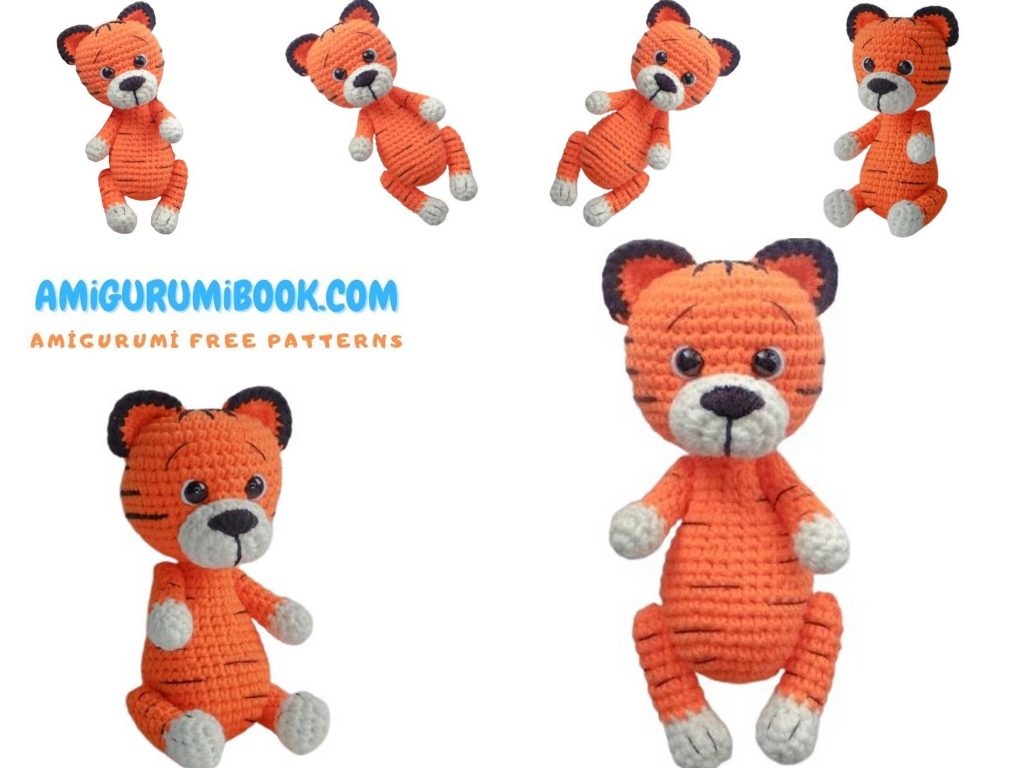
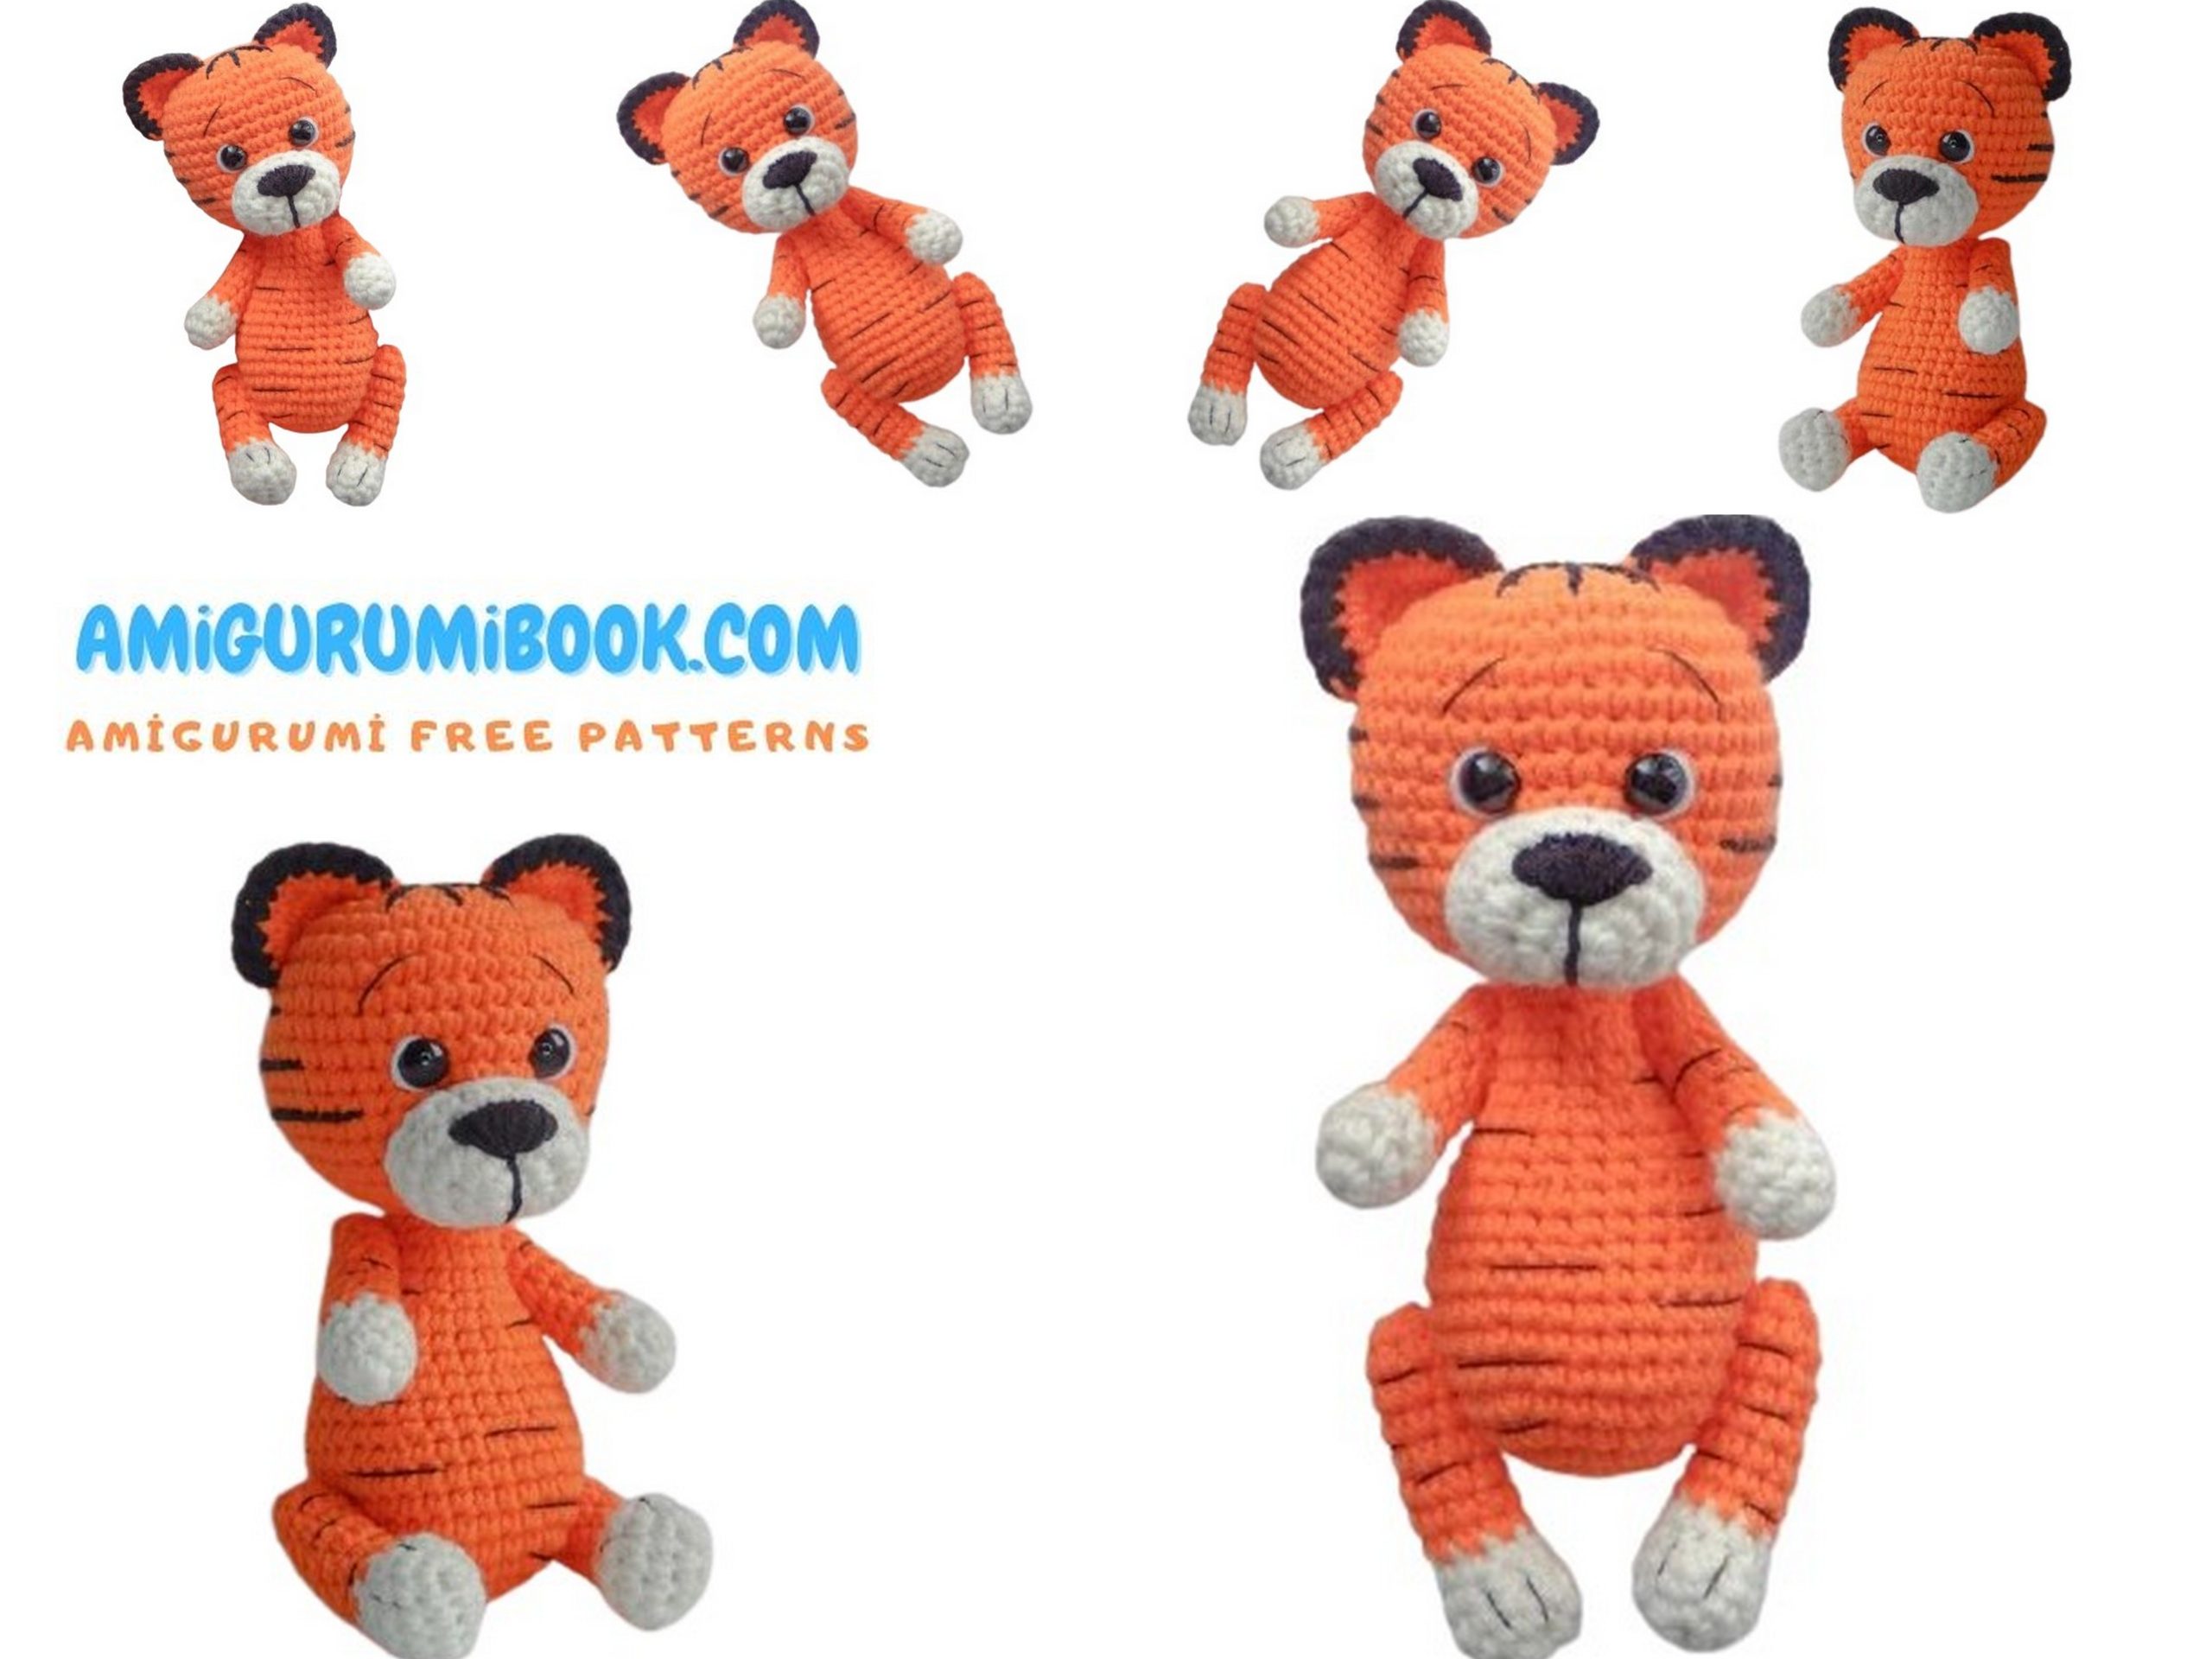
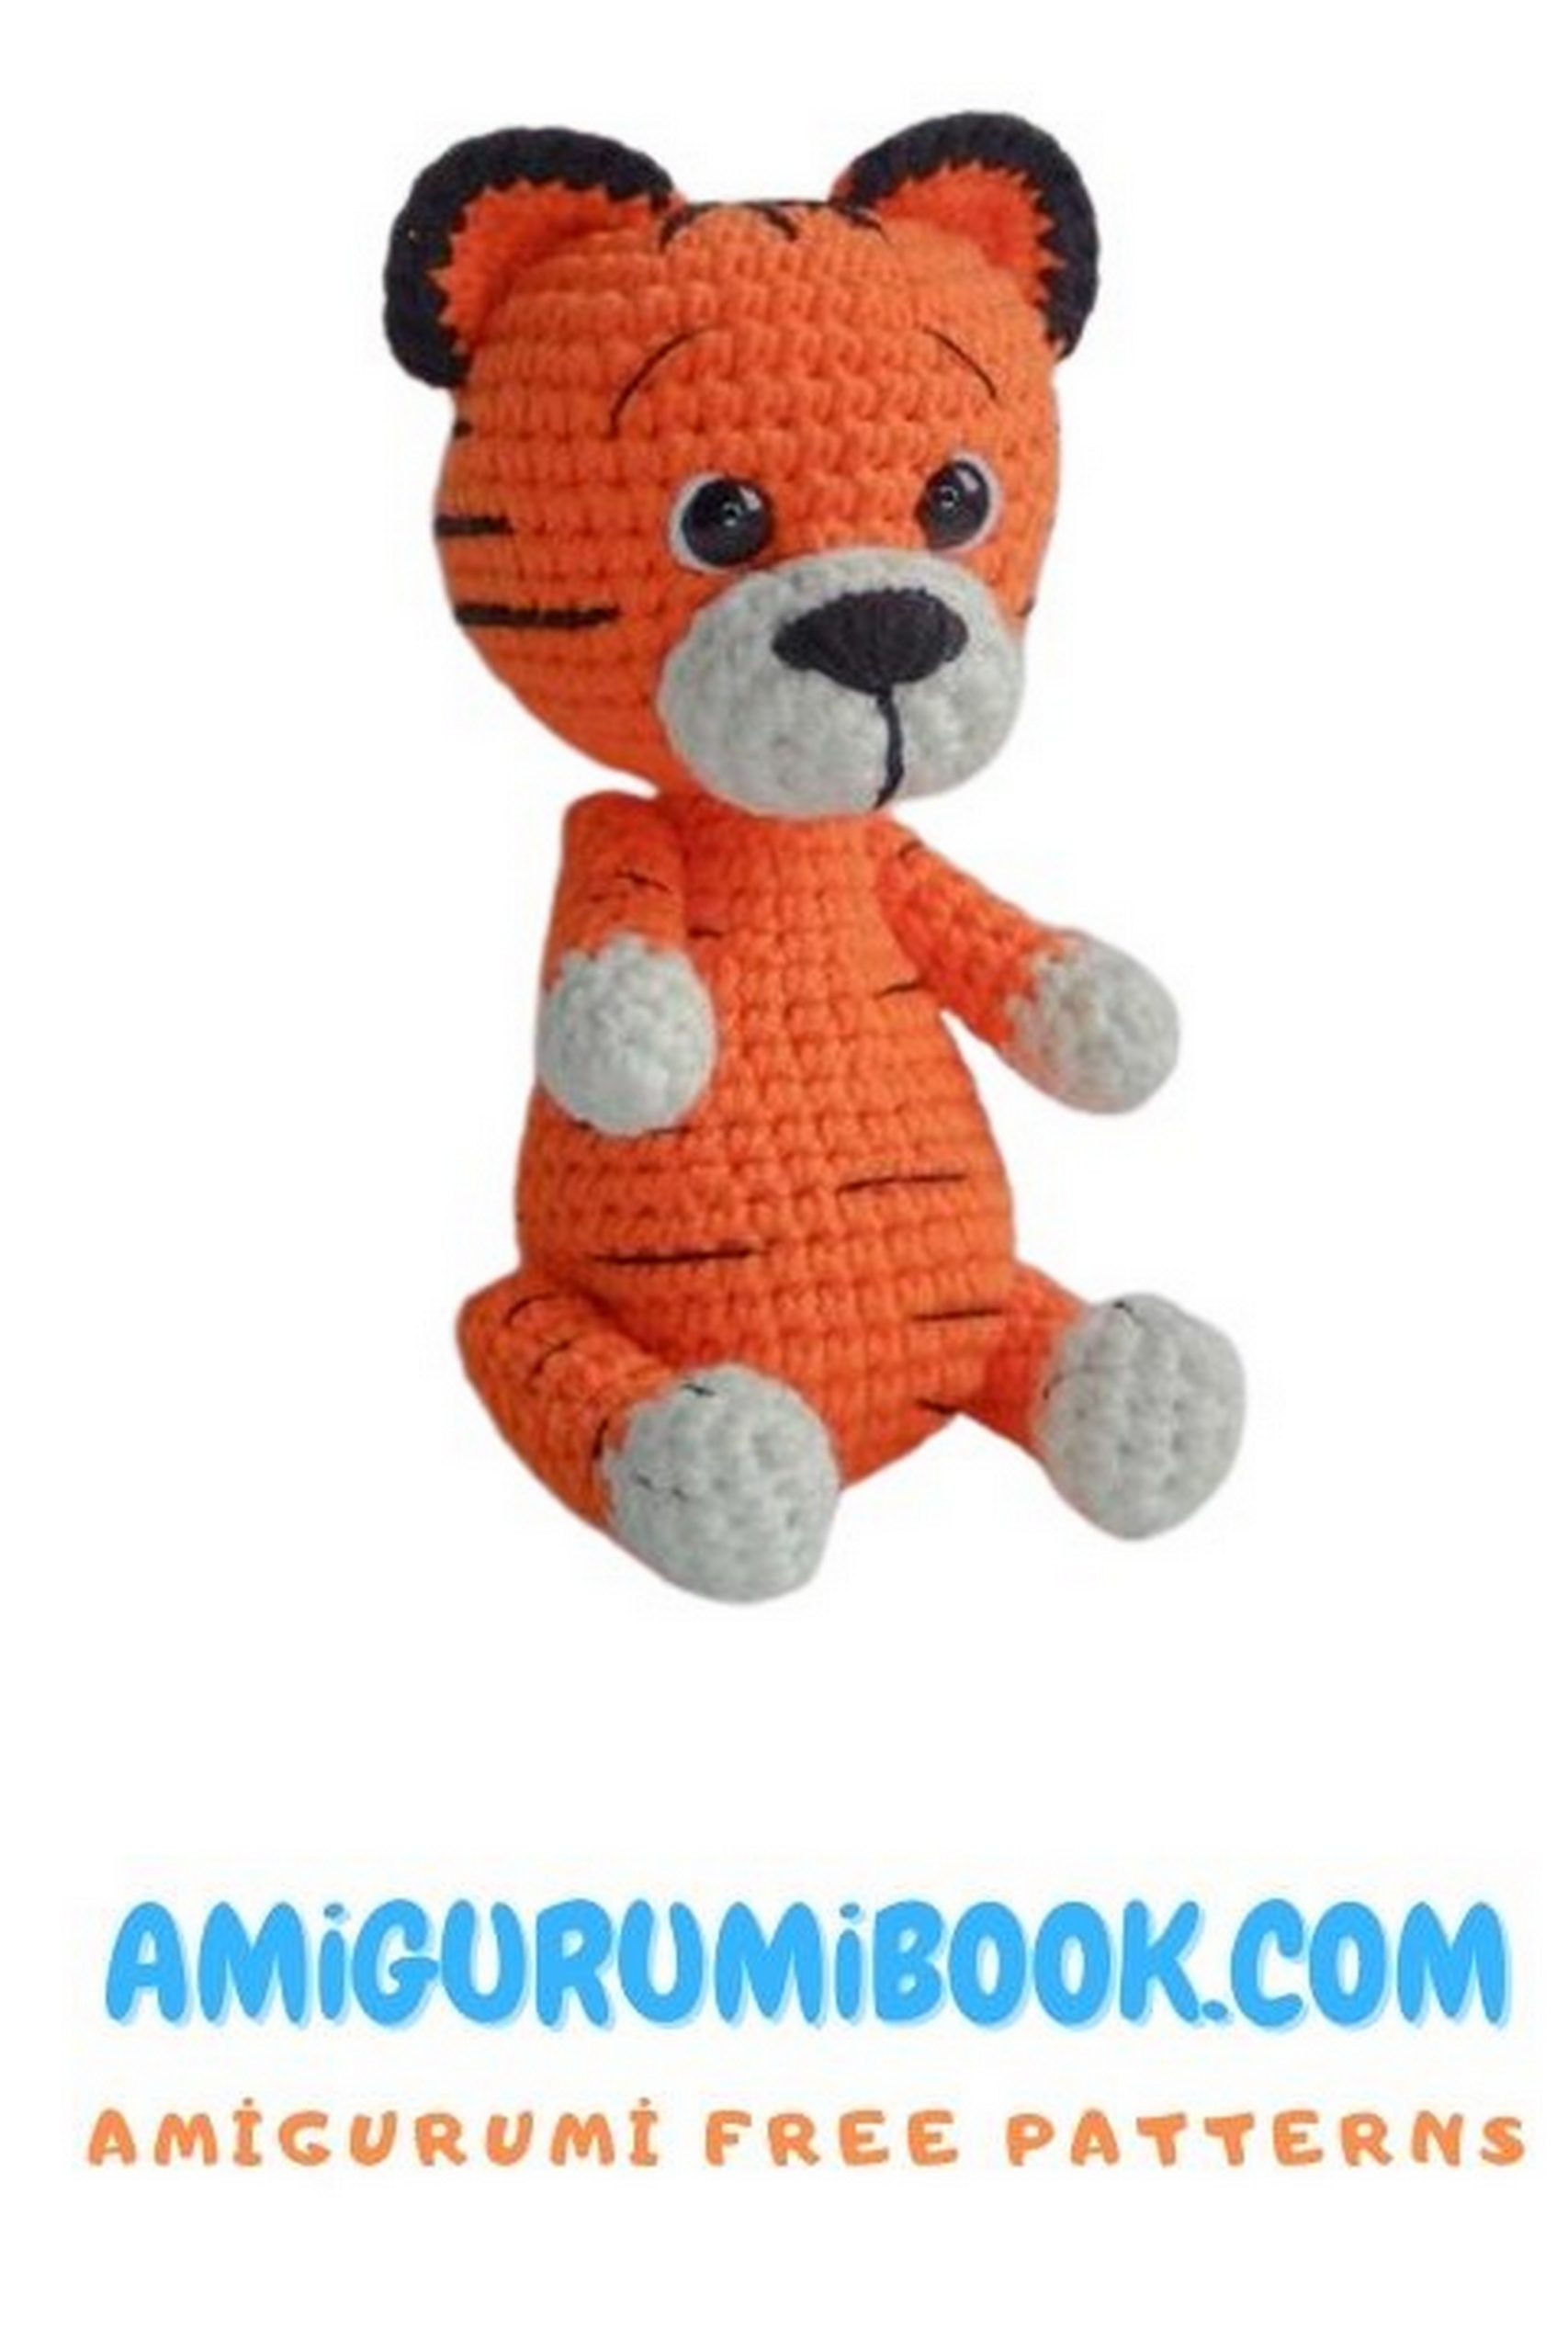
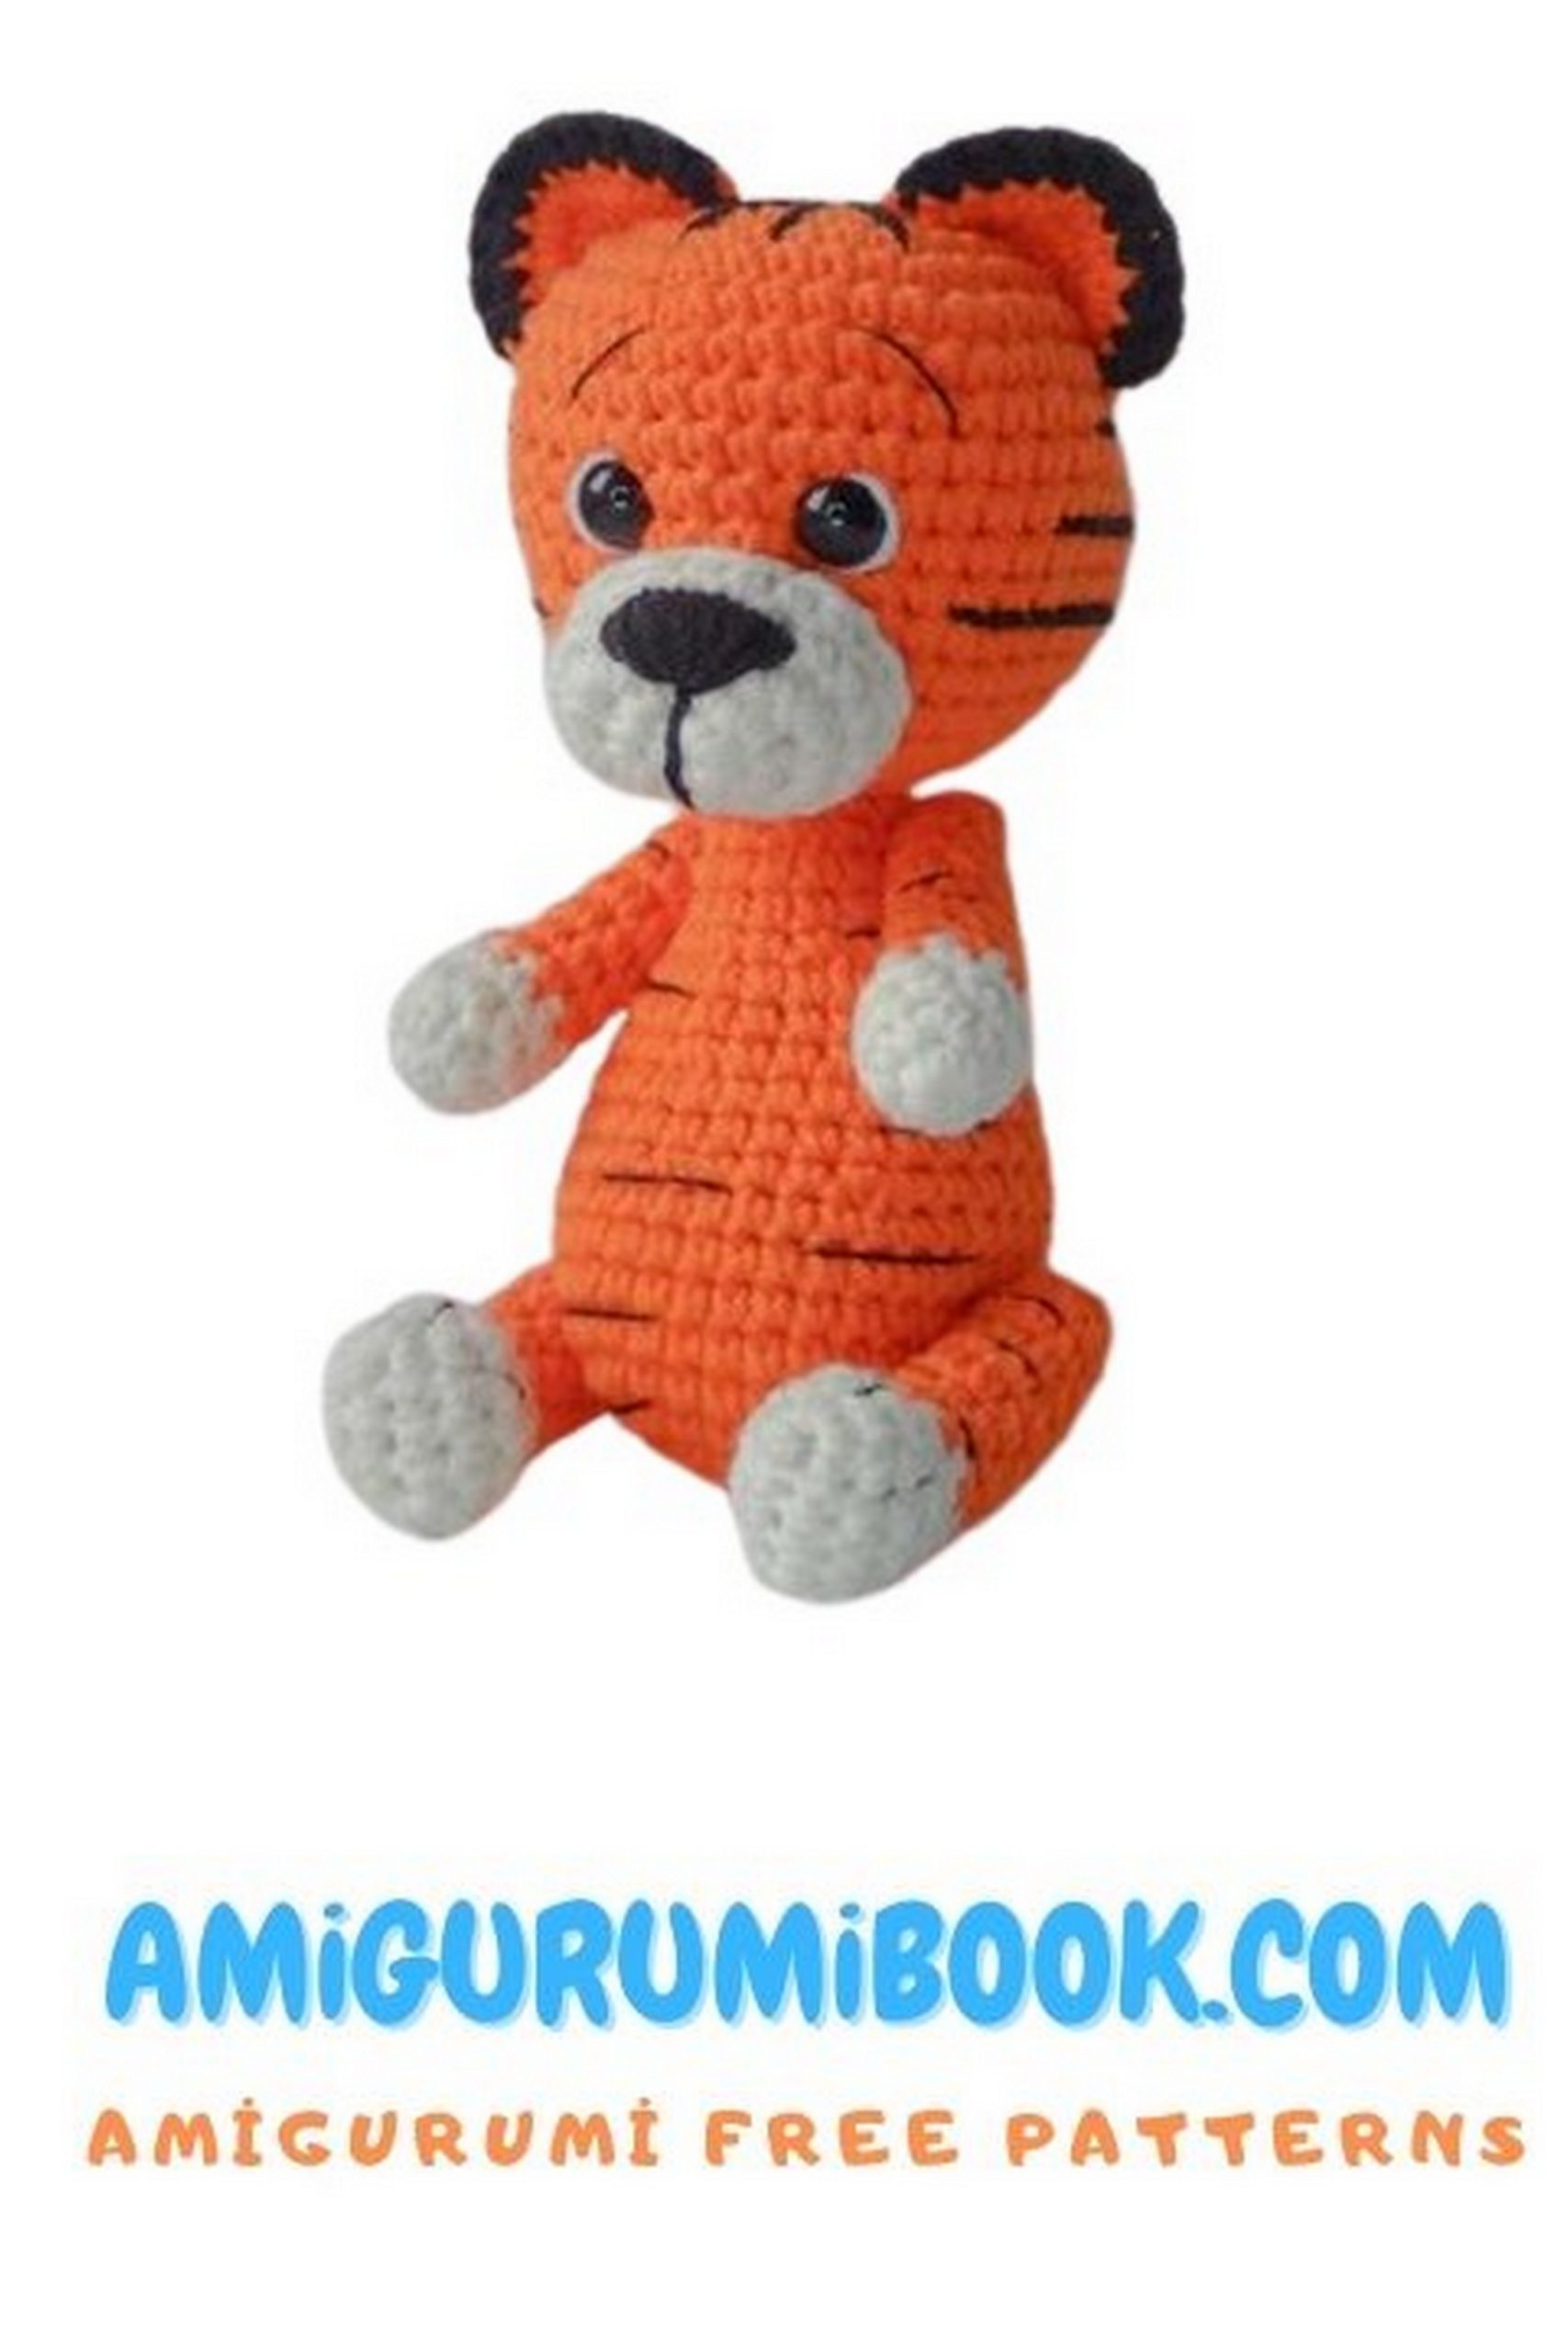
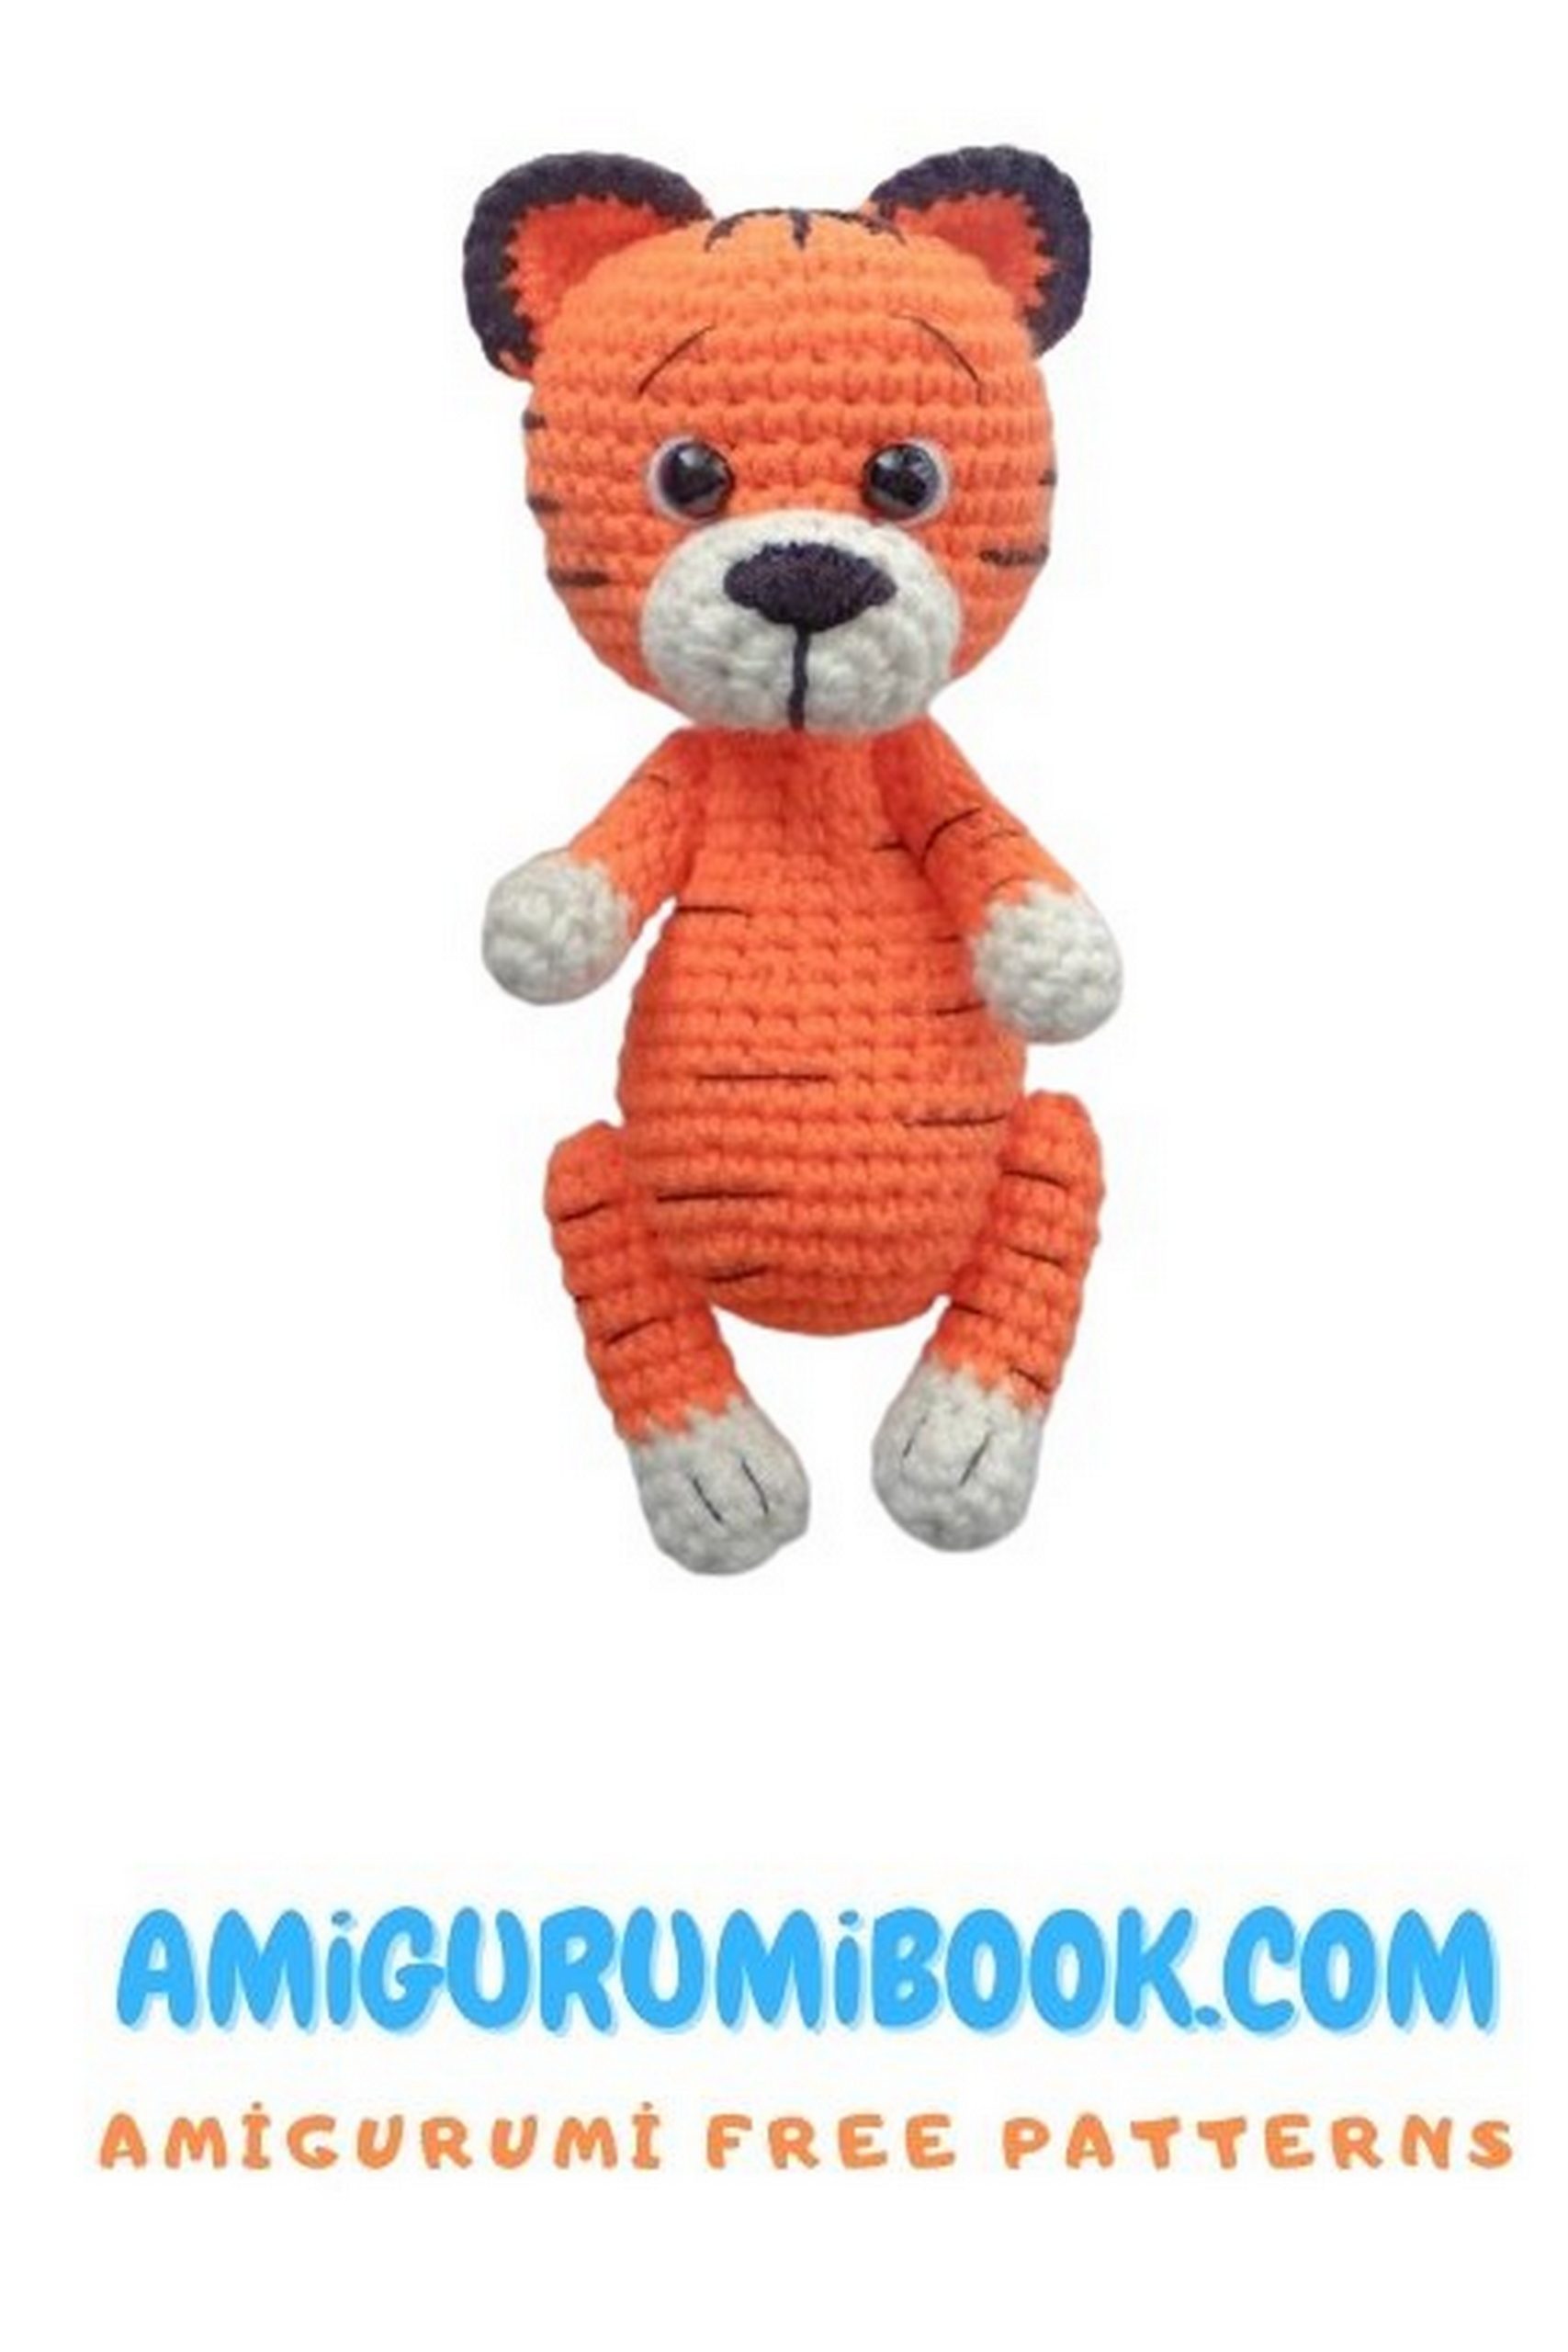
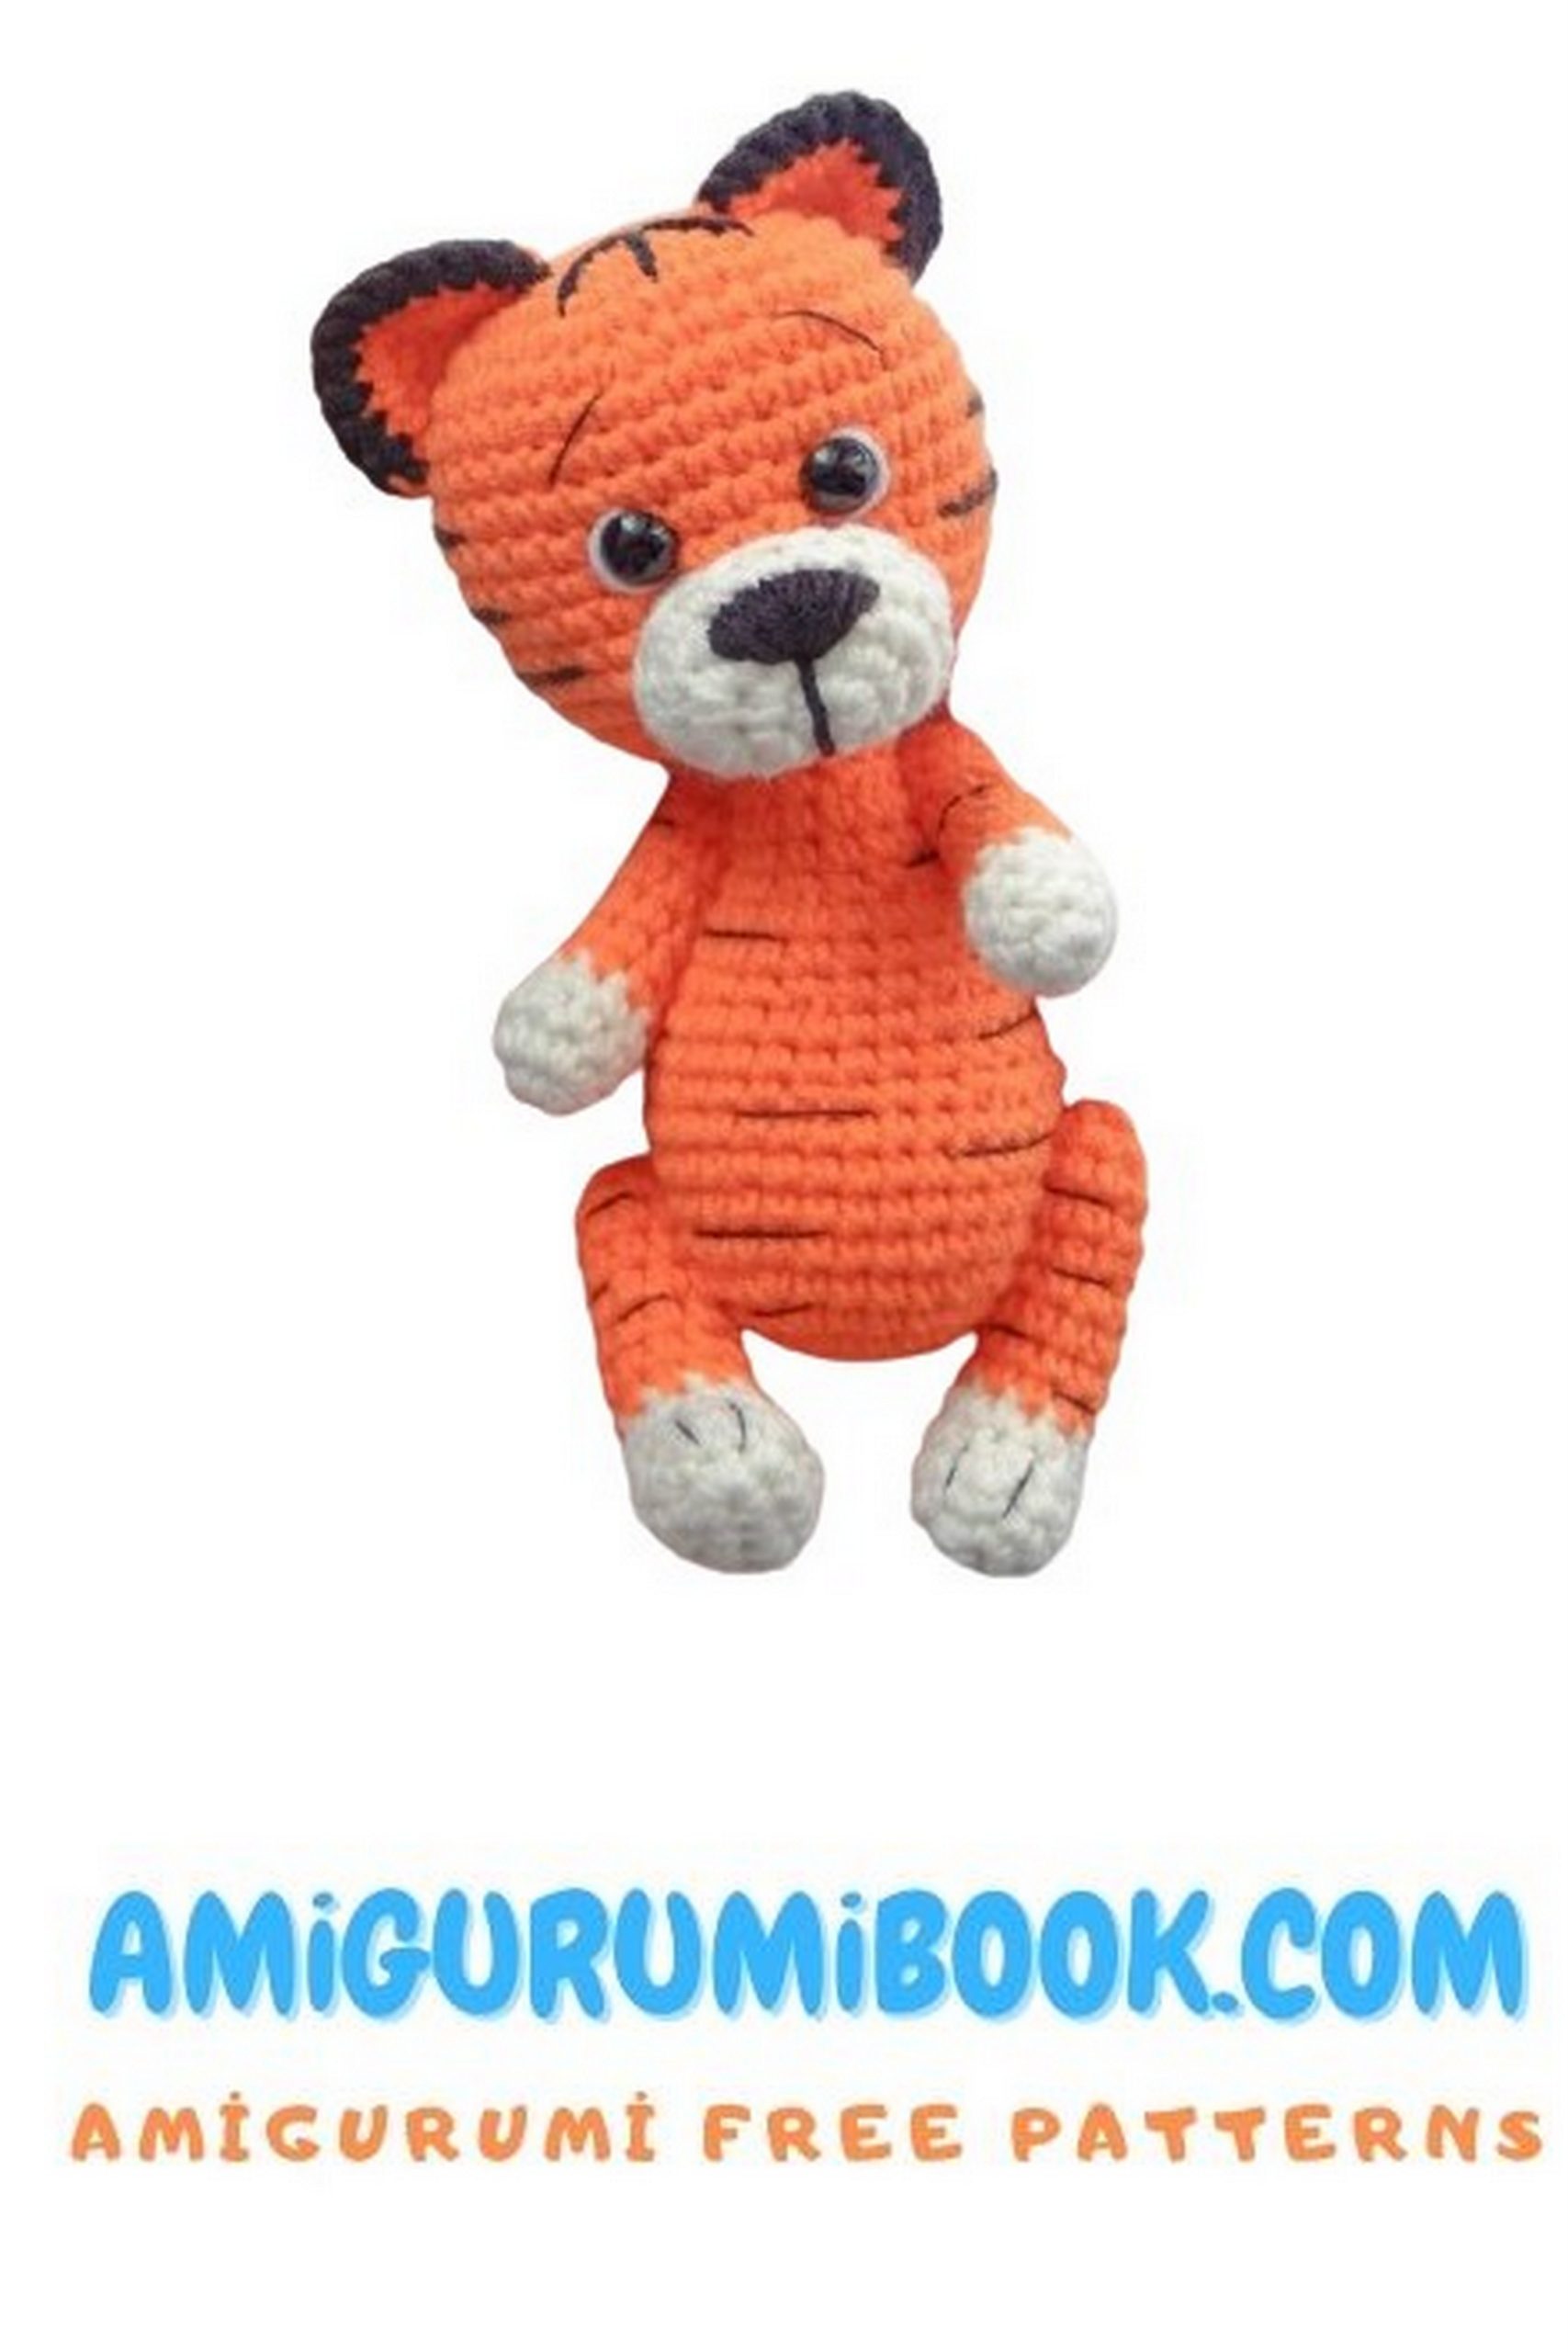
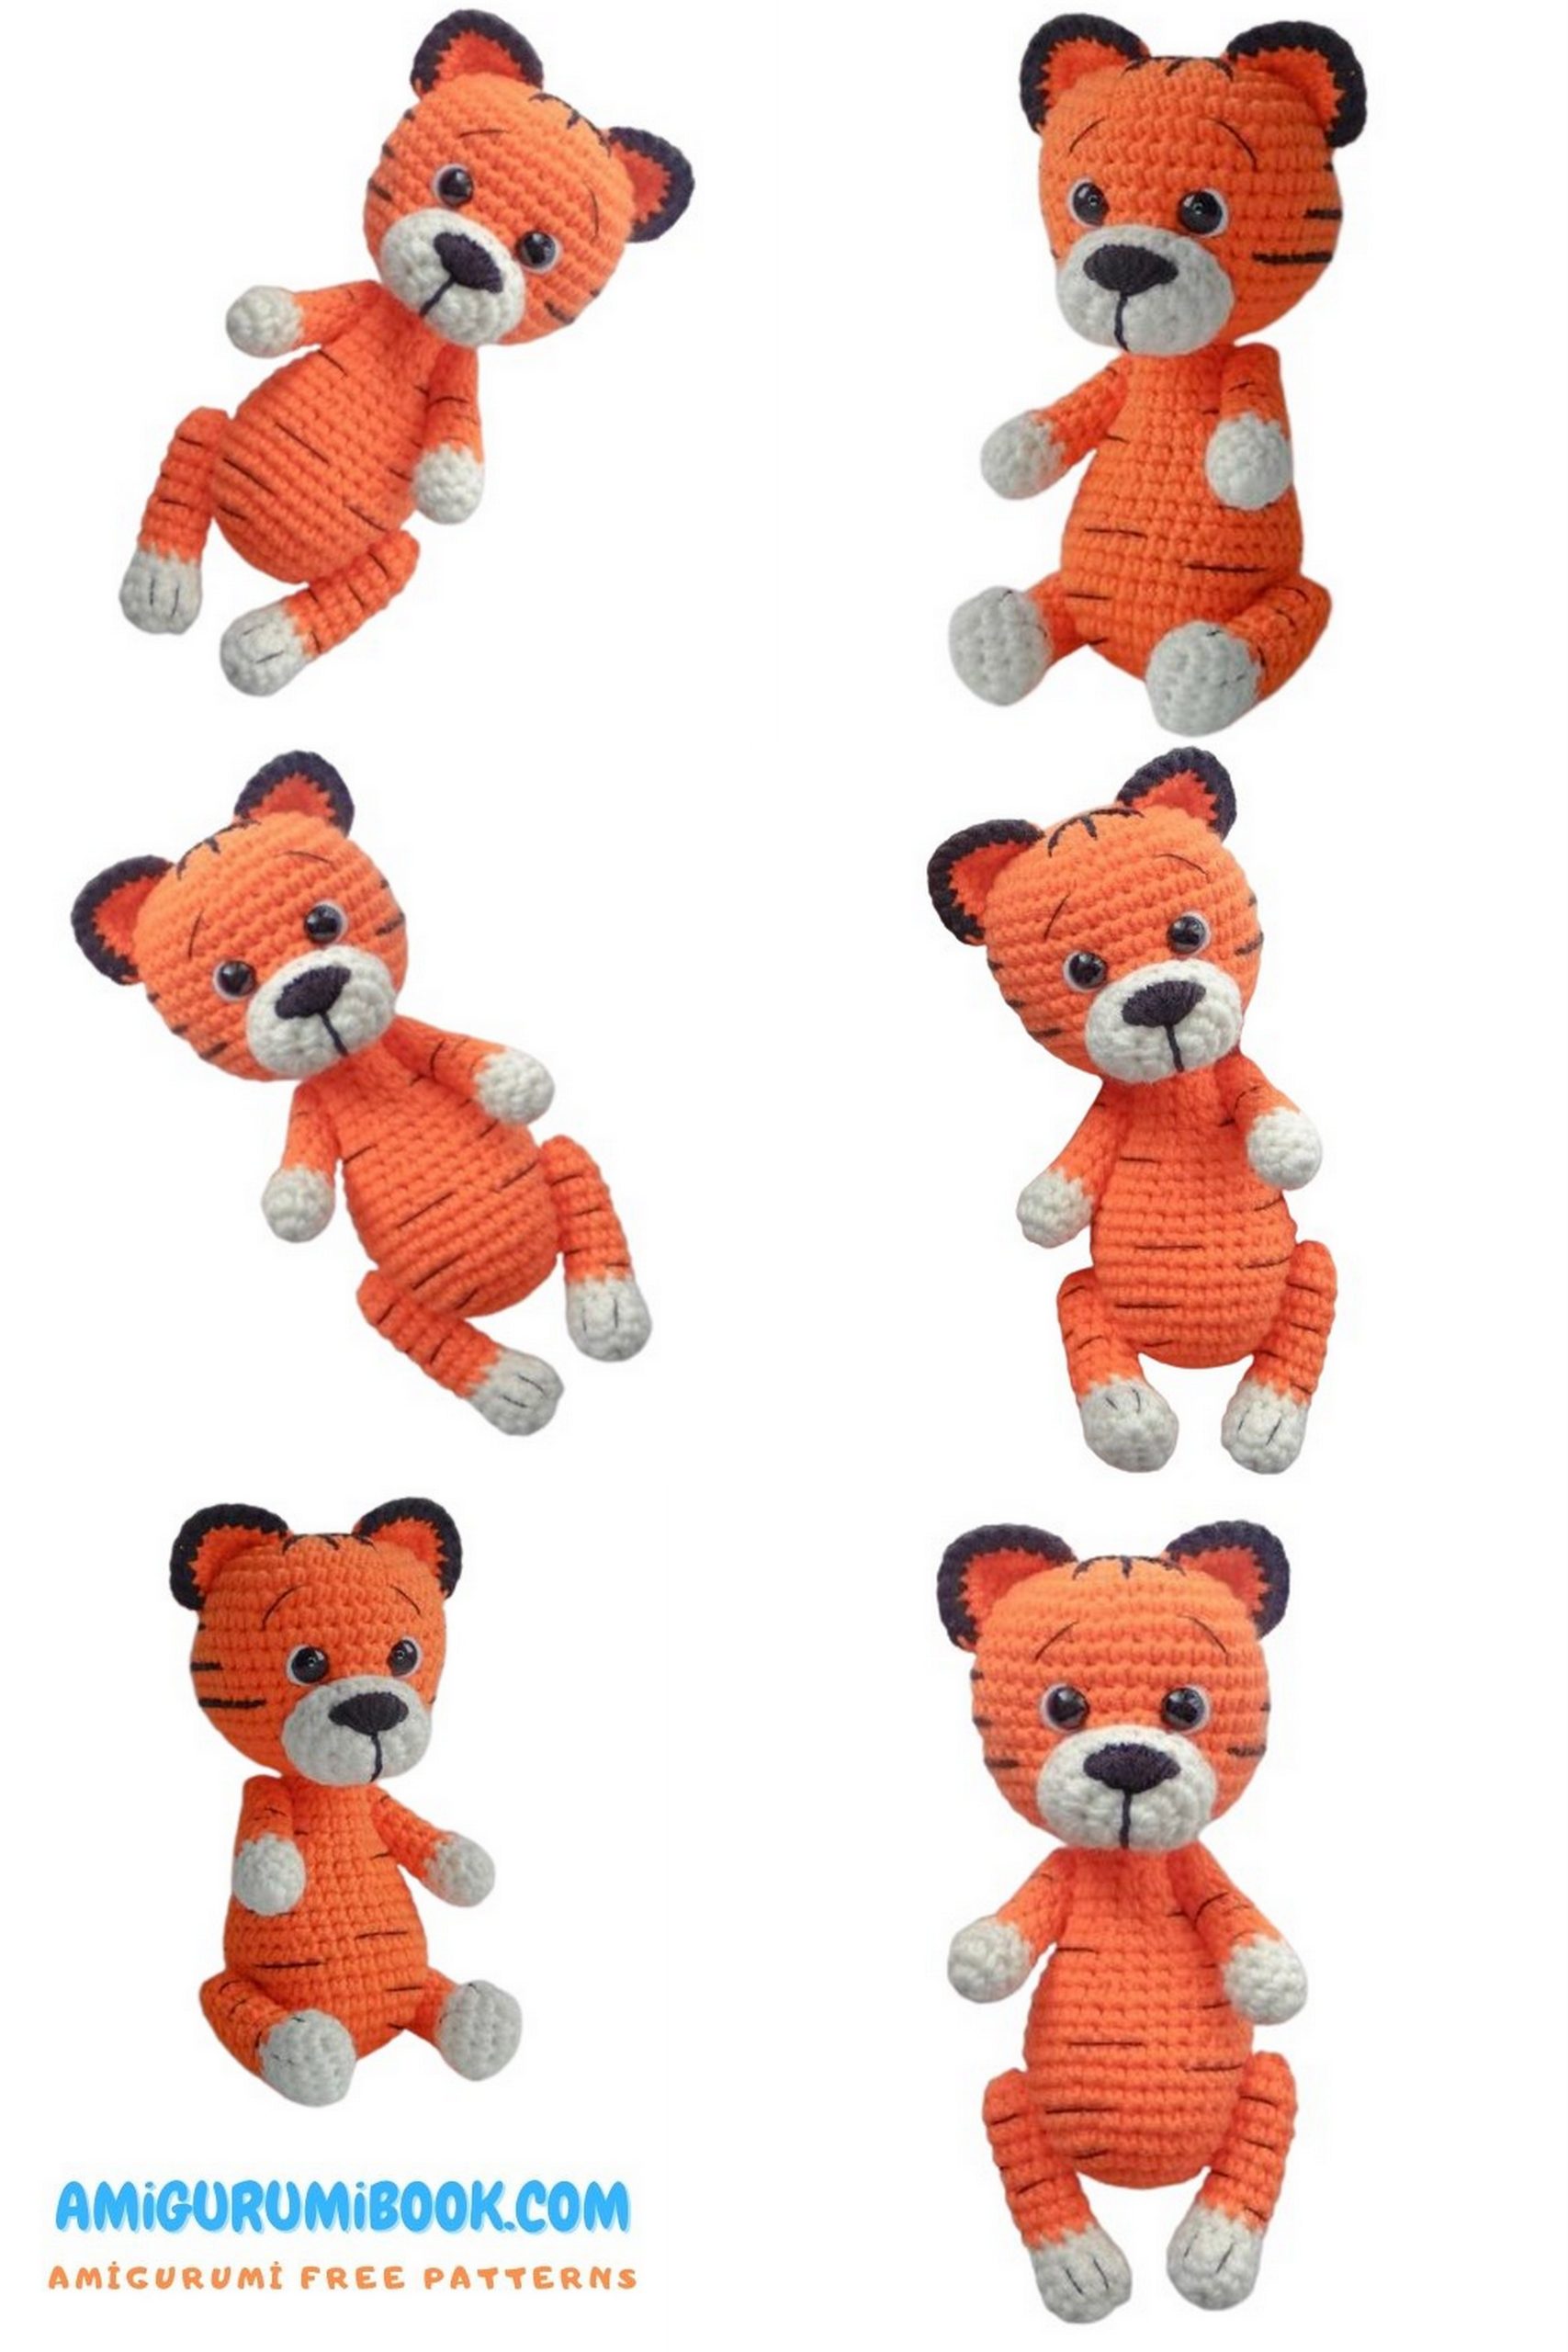
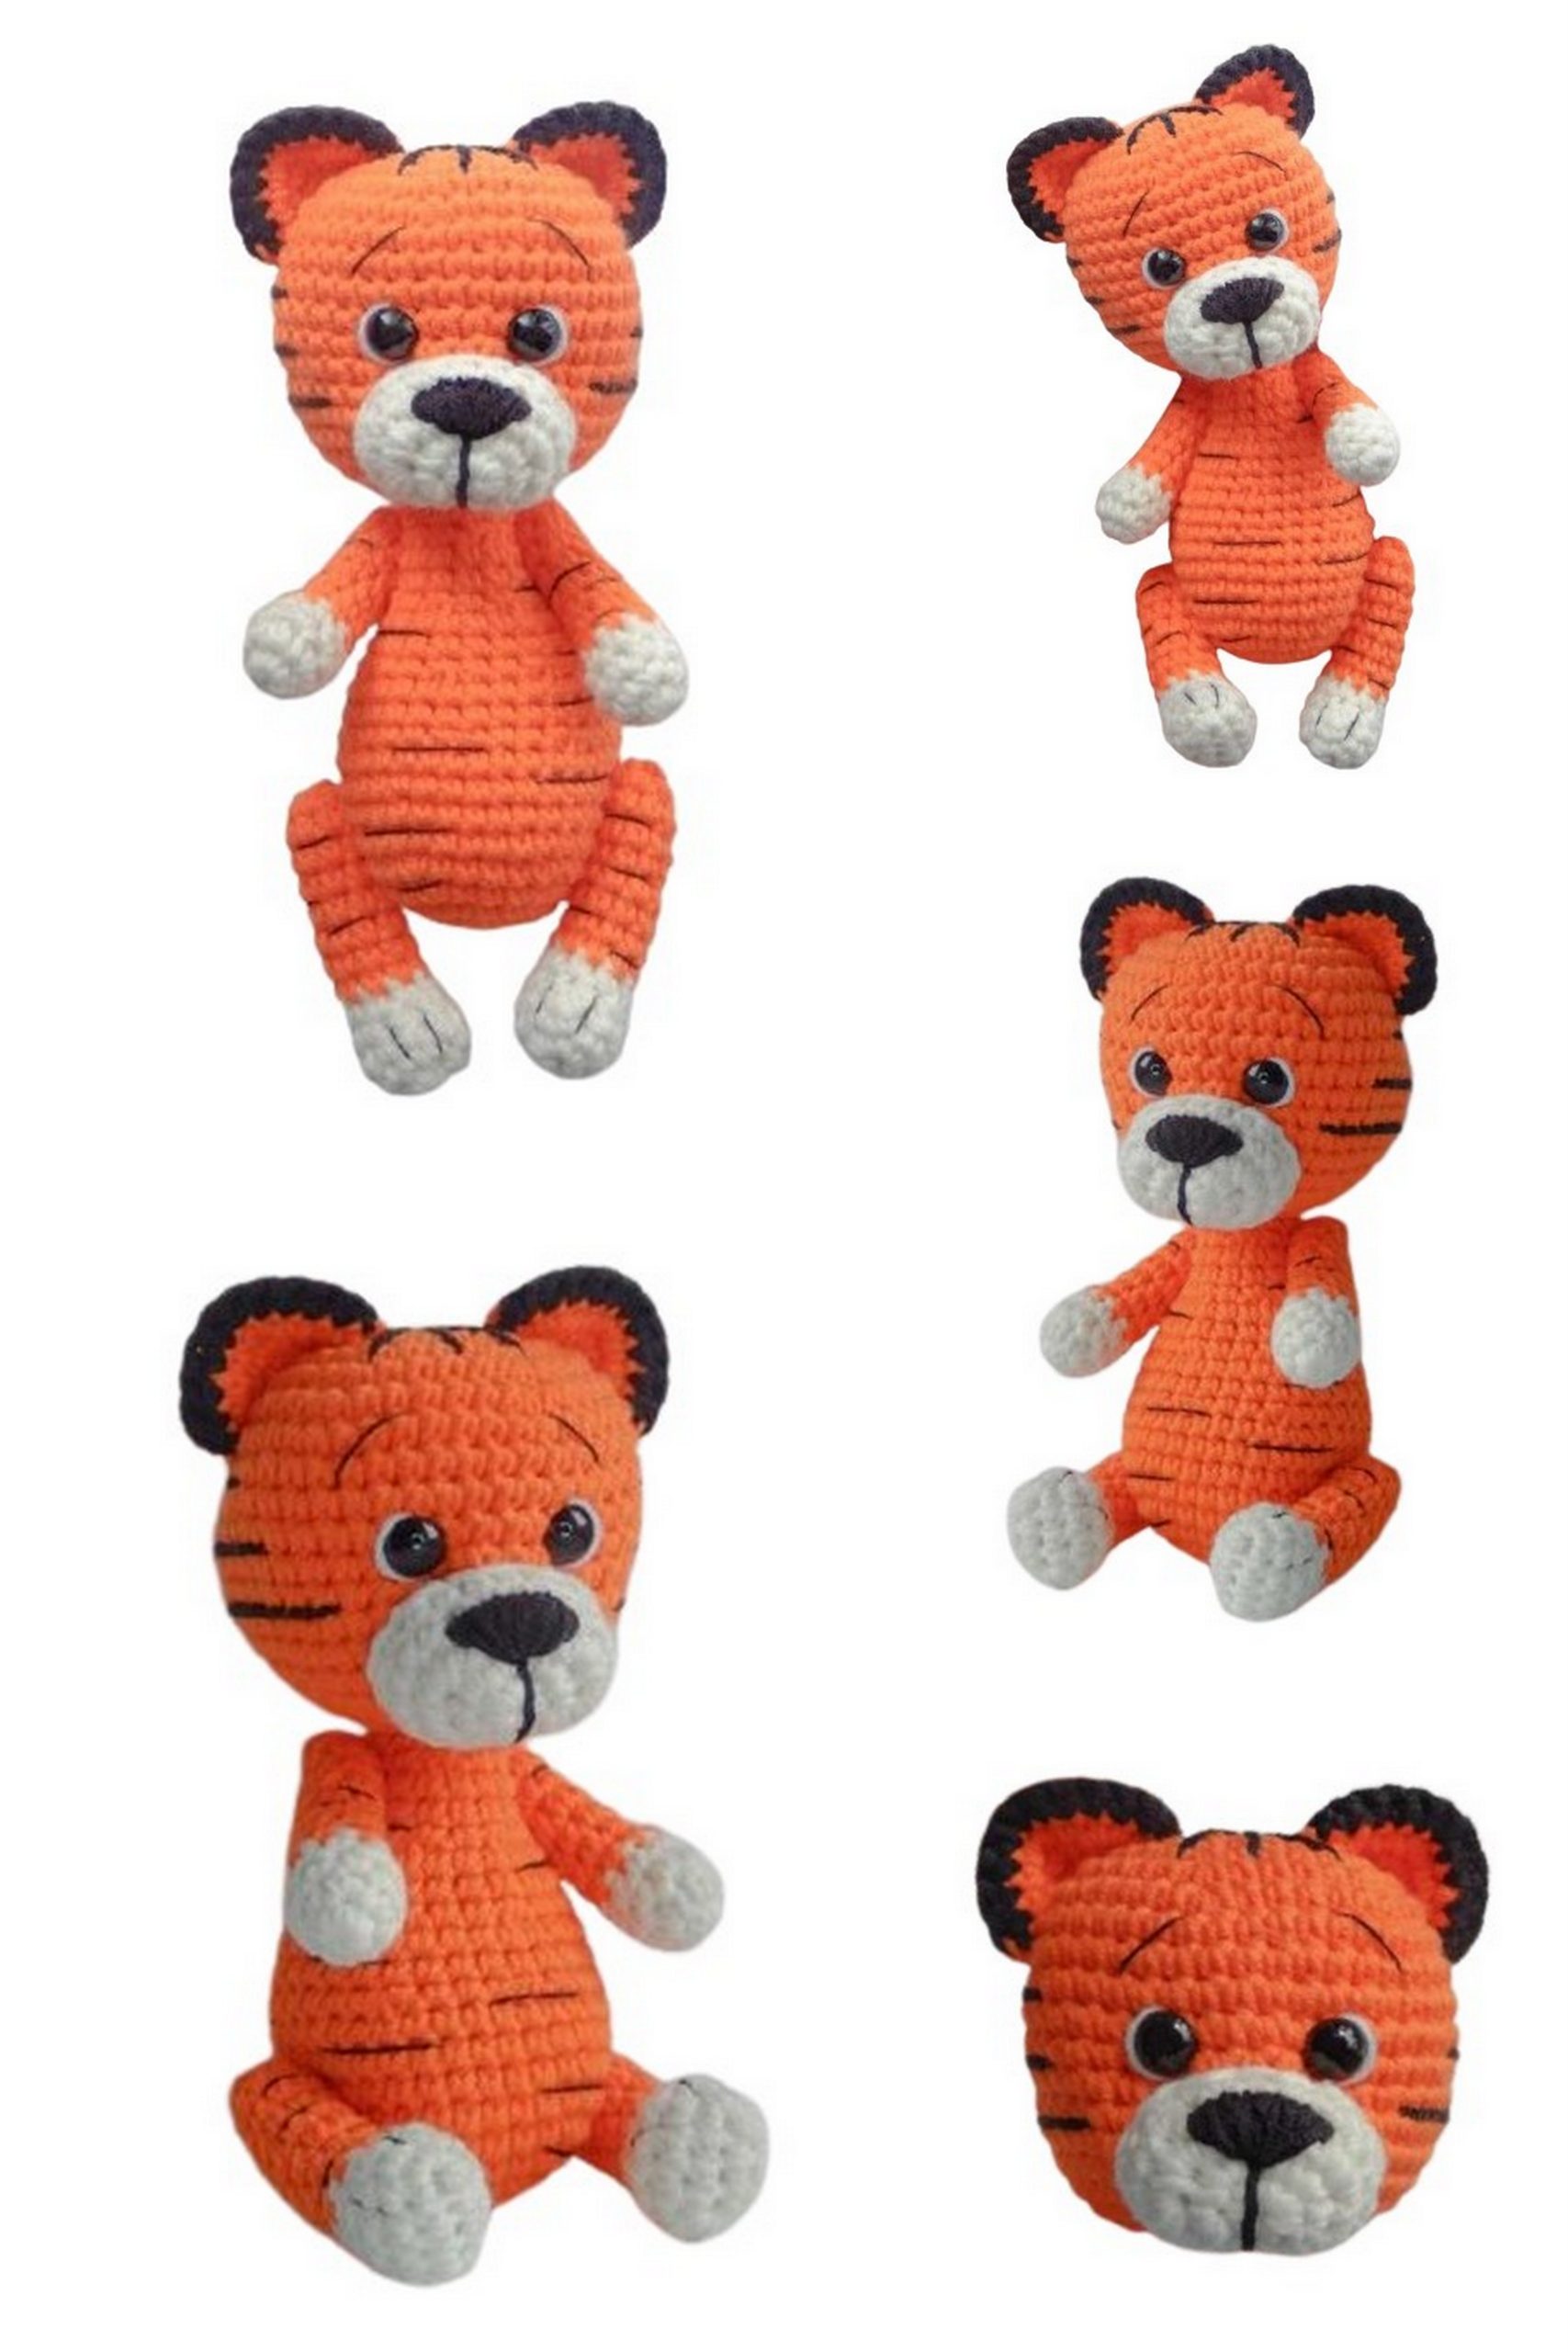
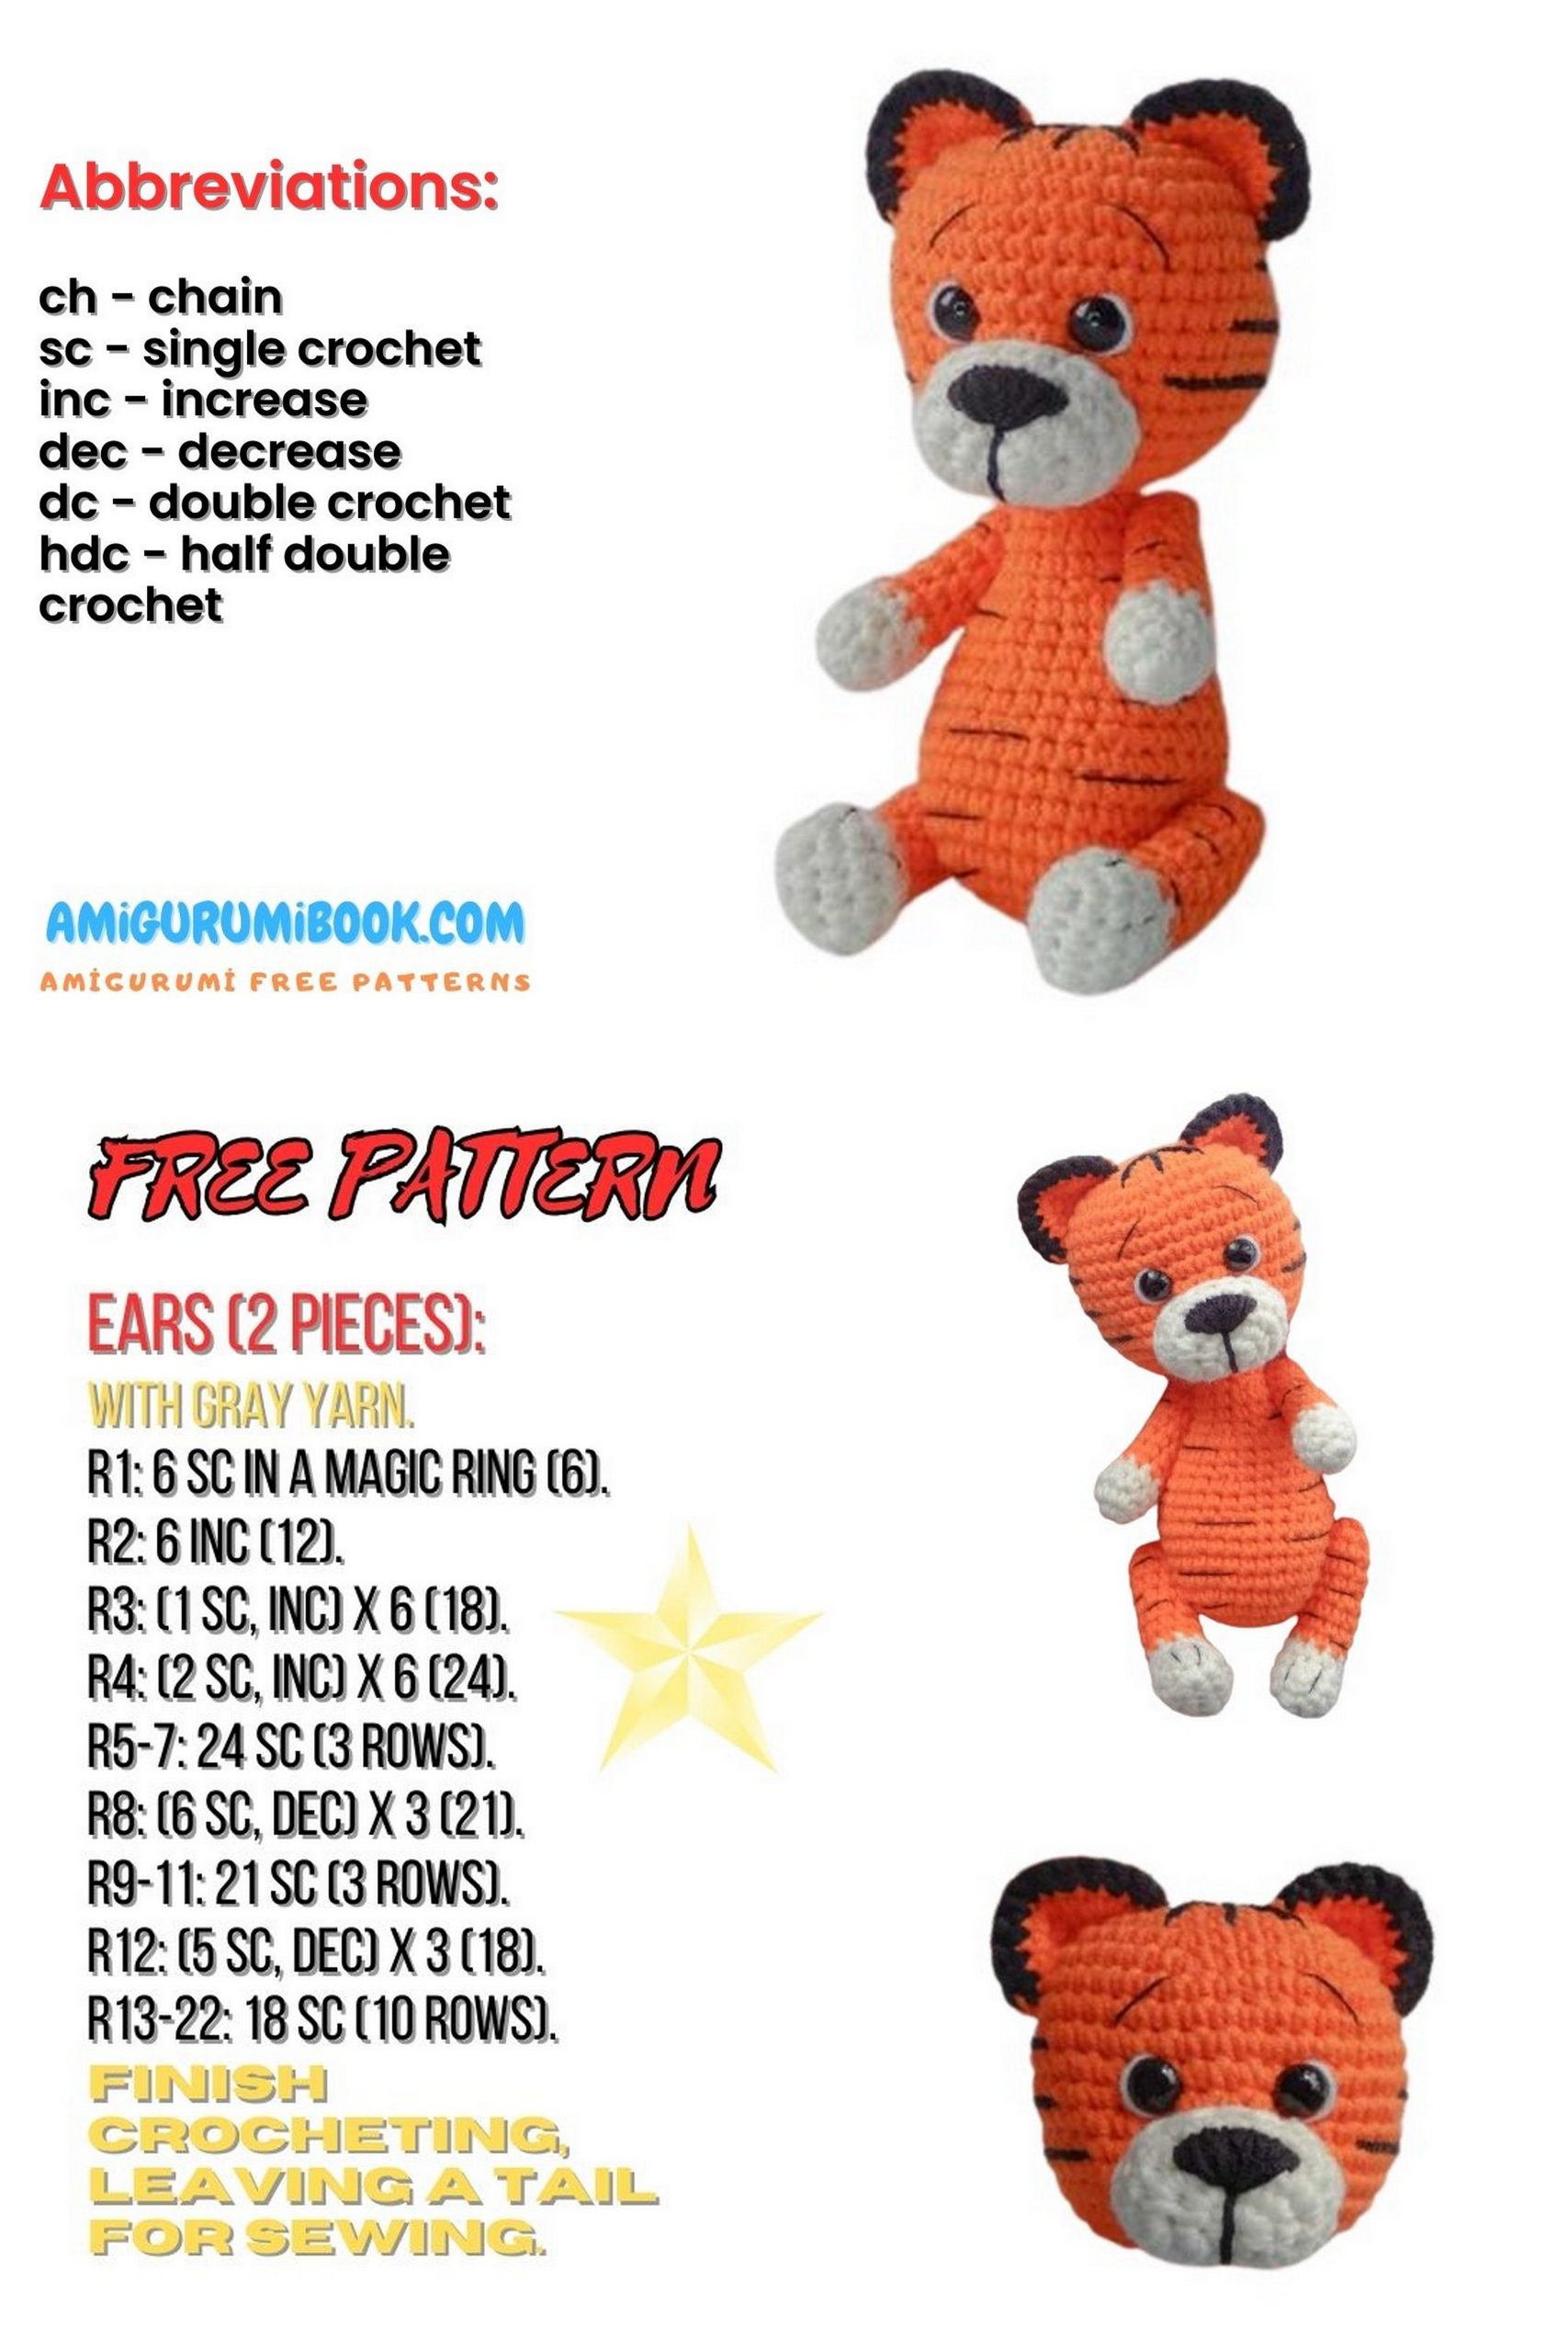
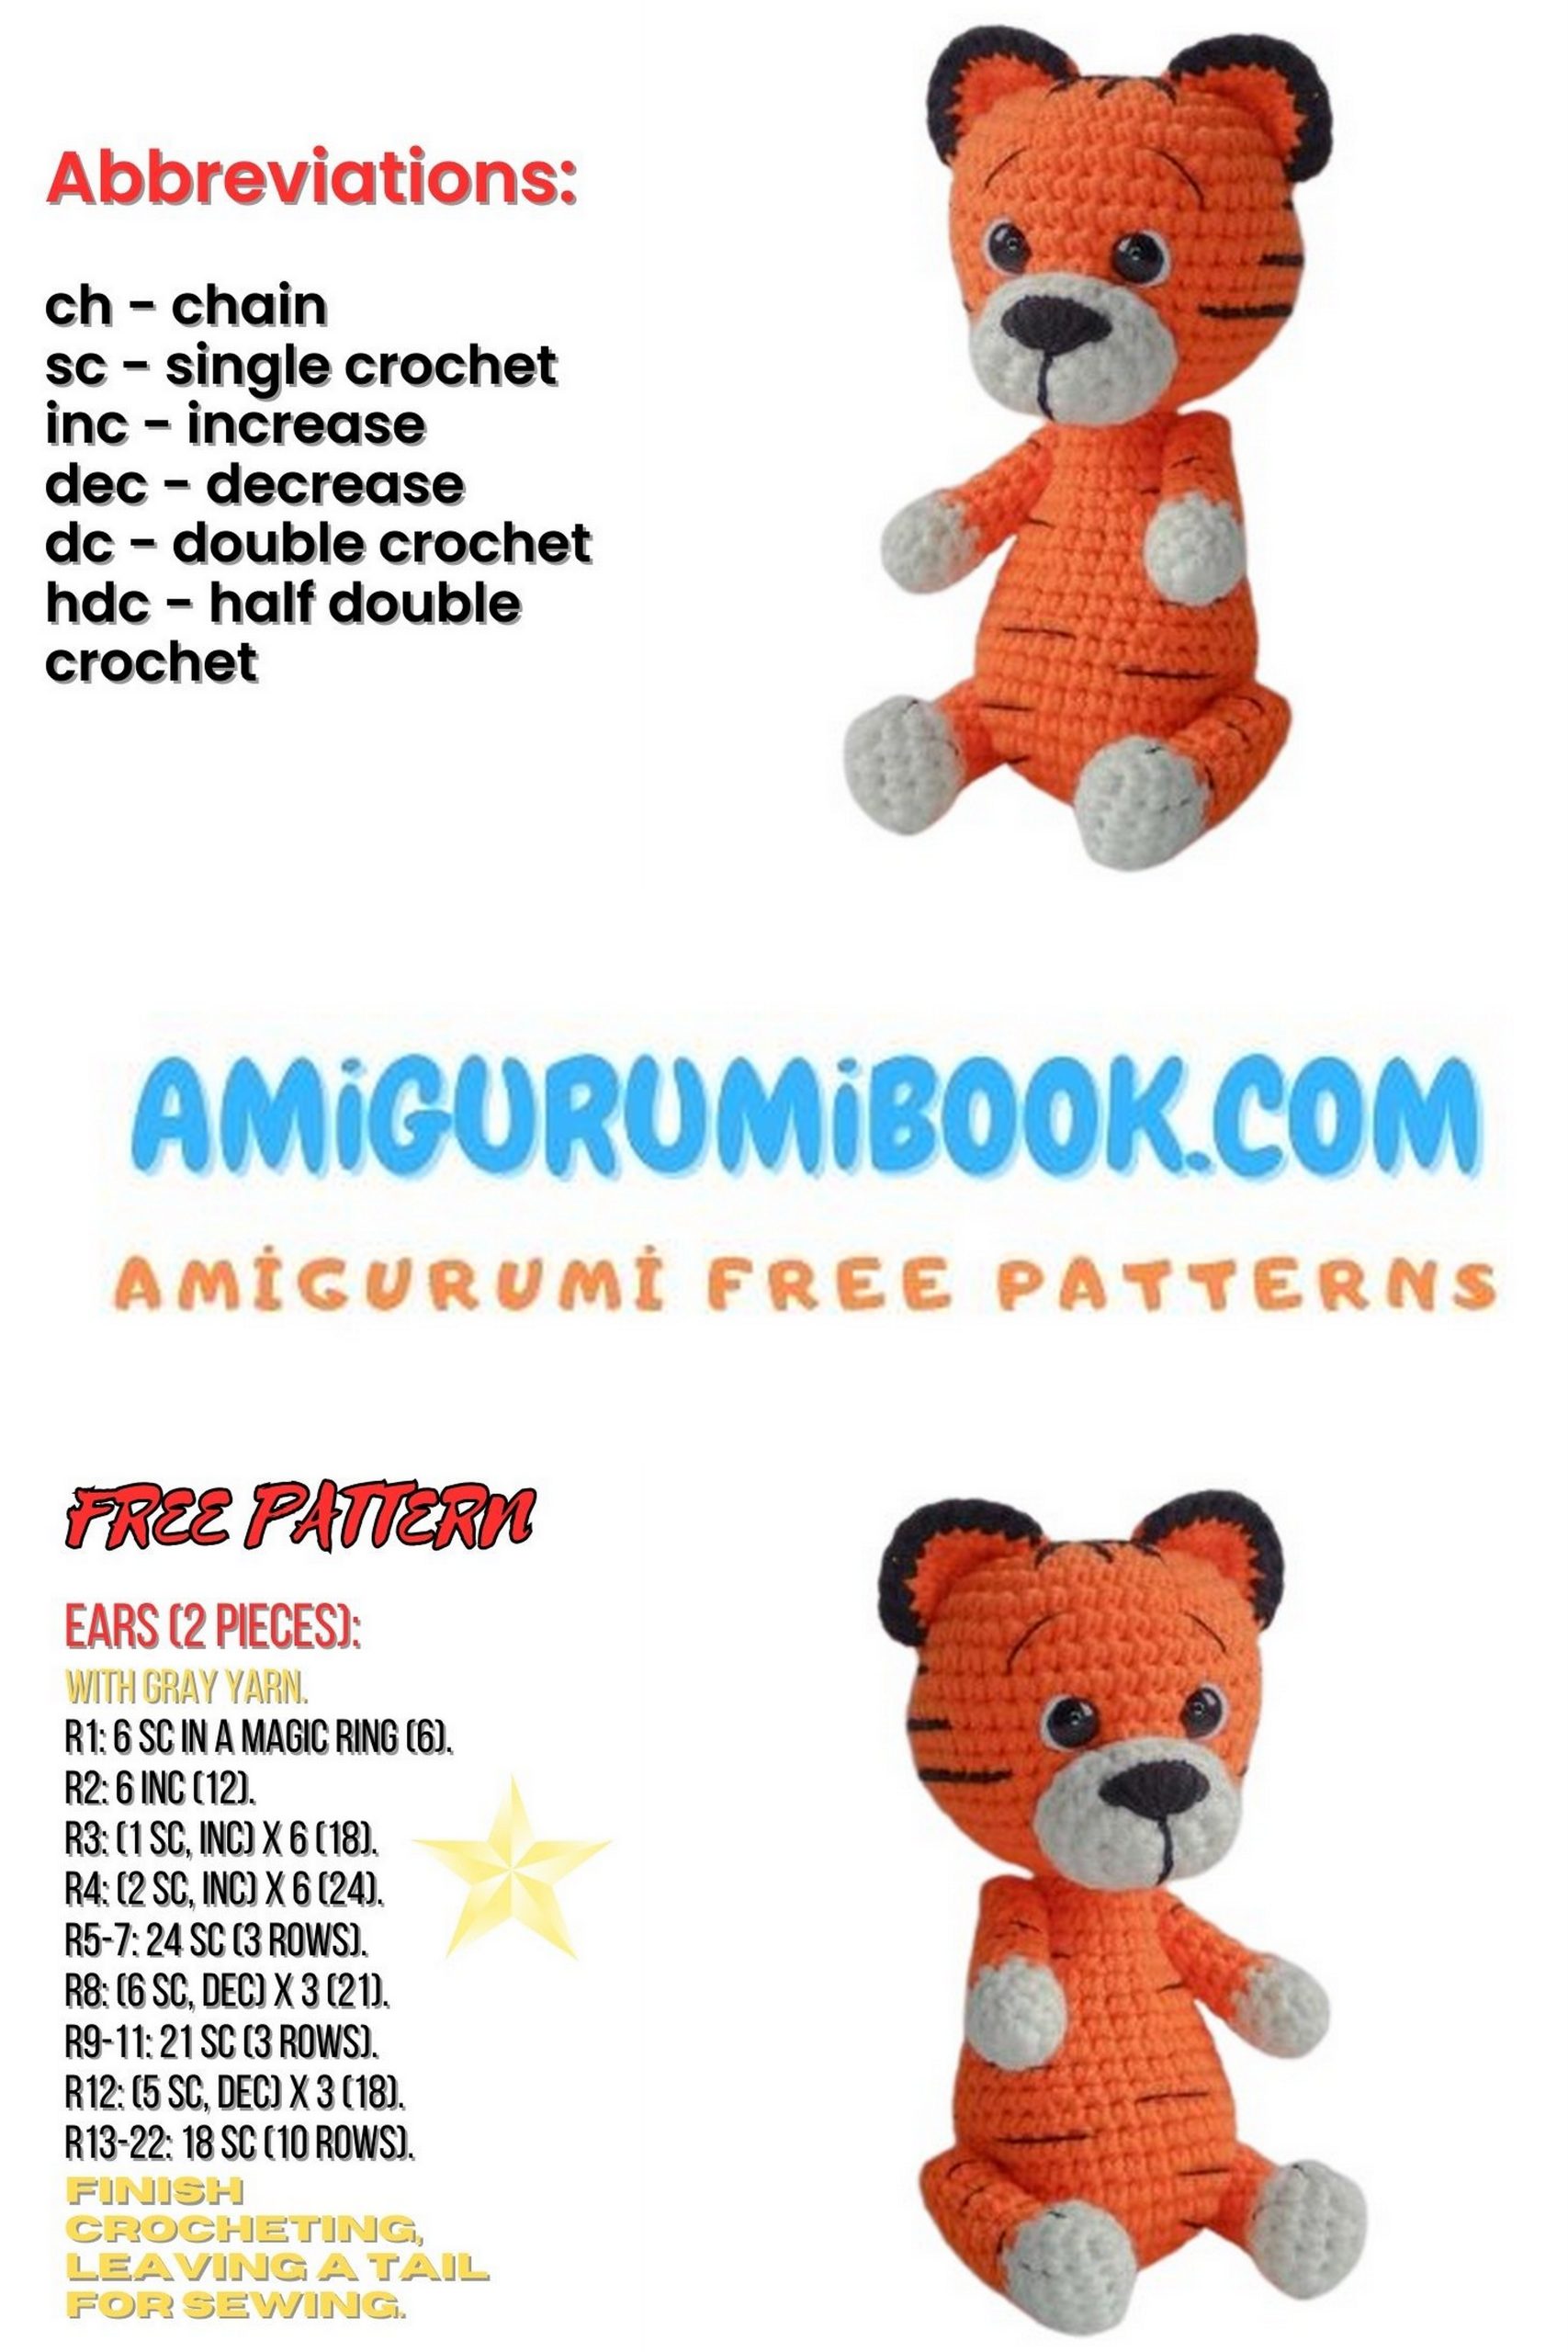
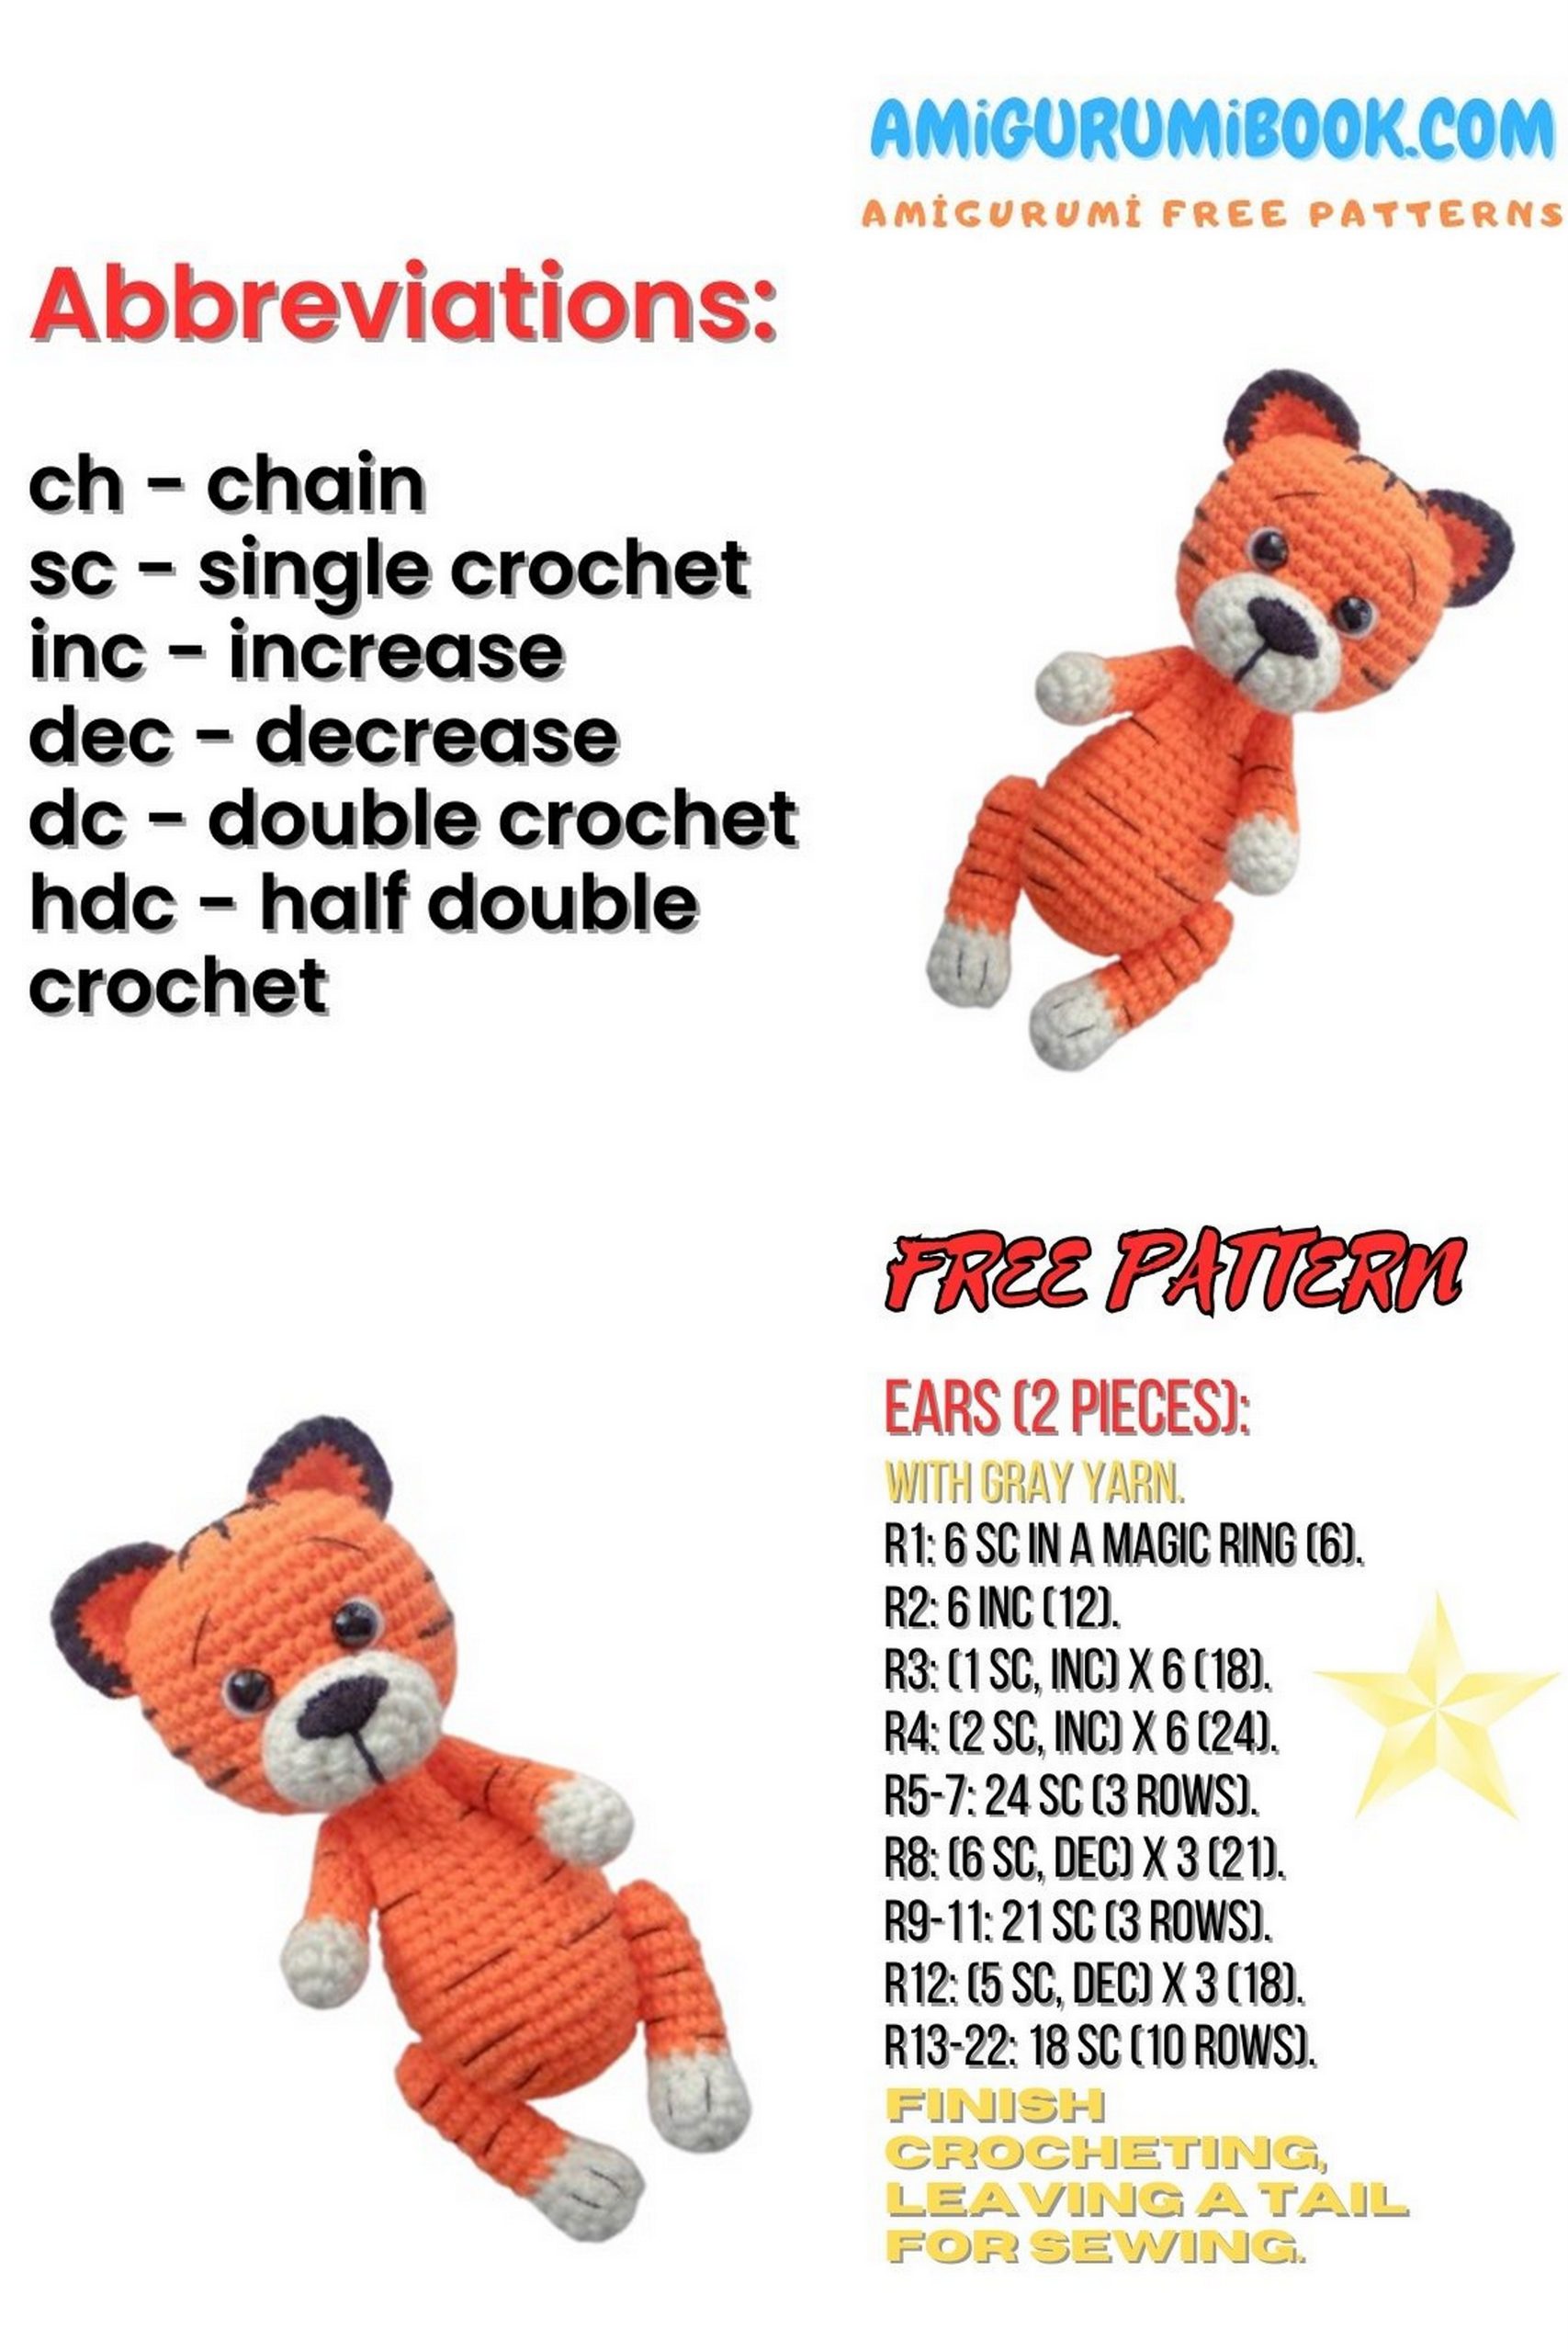
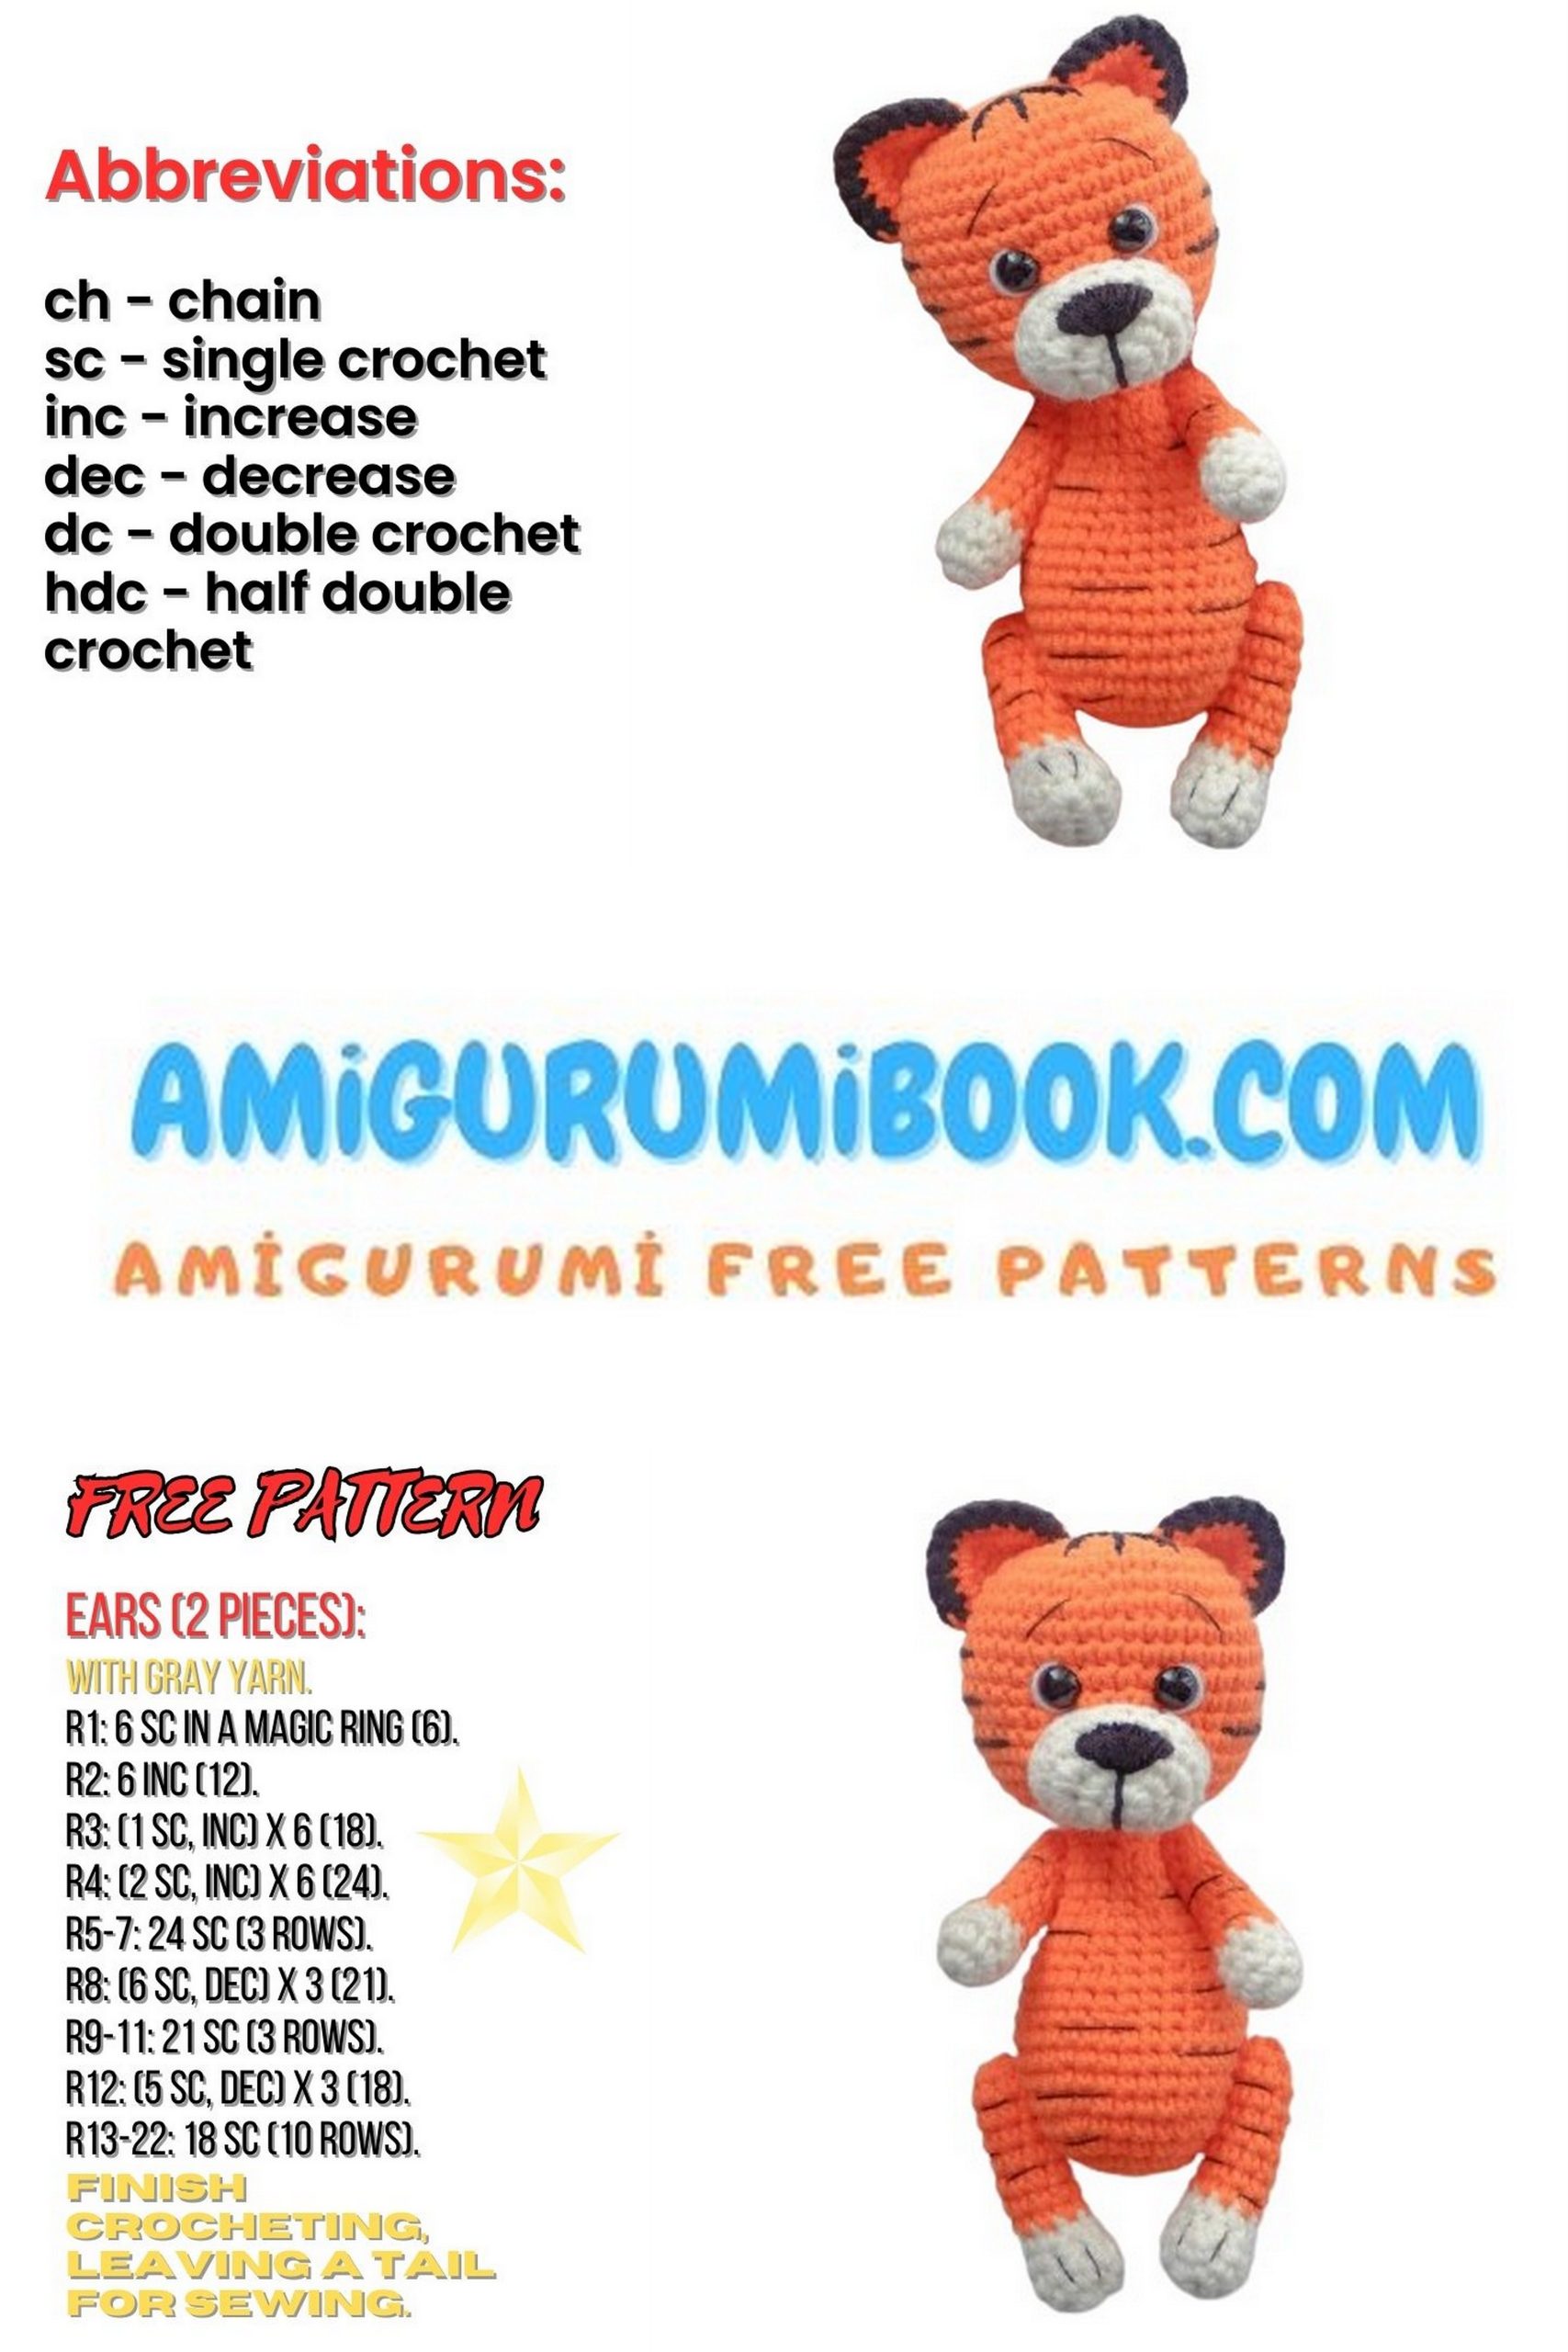
Step into the wild world of crochet with our amigurumi free pattern to create your very own tiger cub amigurumi! Whether you’re a seasoned crocheter or just starting out, this pattern offers a playful adventure into the jungle. Craft your own cuddly jungle friend with stripes and a sweet face, perfect for sparking imagination and adding a touch of wilderness to your home decor. Join us on this safari of creativity as we crochet our way through the jungle to create this adorable tiger cub!
If you like this amigurumi tiger, there is another toy you should definitely see. You should check out amigurumi cute tiger immediately.
If you want to access 1000+ free amigurumi patterns, you can download our application from this link!
MATERIALS USED:
Yarnart Jeans yarn
Crochet hook №2
Sewing needle
Pins
8mm safety eyes
Stuffing
Embroidery thread for the nose and stripes
Toy height with the specified materials ~14 cm
ABBREVIATIONS:
MR – magic ring
ch – chain
sc – single crochet
inc – increase
3in1 – crochet 3 stitches in one loop
(…)*n – repeat n times
[…] – number of stitches at the end of the row
PATTERN
Head – Tiger Cub
1: 6 in MR (magic ring)
2: inc in each st around [12]
3: (1 sc, inc)*6 [18]
4: (2 sc, inc)*6 [24]
5: (3 sc, inc)*6 [30]
6: (4 sc, inc)*6 [36]
7-15: 36 sc, 8 rows
16: (5 sc, dec)*6 [30]
17: (4 sc, dec)*6 [24]
18: (3 sc, dec)*6 [18]
19: (2 sc, dec)*6 [12]
Leave a tail for sewing to the body.
Place the eyes between rows 11 and 12, with a distance of 5 sc.
Muzzle – Tiger Cub
1: 6 in MR (magic ring)
2: inc in each st around [12]
3: 3 sc, 3in12, 4 sc, 3in12, 3 sc [20]
4-5: 20 sc, 2 rows
Shape the muzzle. (see “Bear Cub” master class)
Ears – Tiger Cub
1: 6 in MR (magic ring)
2: inc in each st around [12]
3: (1 sc, inc)*6 [18]
4: (2 sc, inc)*6 [24]
Fold in half and crochet 12 sc with black color.
Body – Tiger Cub
1: 6 in MR (magic ring)
2: inc in each st around [12]
3: (1 sc, inc)*6 [18]
4: (2 sc, inc)*6 [24]
5: (3 sc, inc)*6 [30]
6: (4 sc, inc)*6 [36]
7-10: 36 sc, 4 rows
11: 4 sc (dec, 3 sc)*6, 2 sc [30]
12-13: 30 sc, 2 rows
14: 4 sc, (dec, 2 sc)*6, 2 sc [24]
15-16: 24 sc, 2 rows
17: 4 sc, (dec, 1 sc)*6, 2 sc [18]
18-19: 18 sc, 2 rows
20: (1 sc, dec)*6 [12]
21: 12 sc
Arms – Tiger Cub
1: 6 in MR (magic ring)
2: (1 sc, inc)*3 [9]
3-4: 9 sc, 2 rows
Change color
5: 7 sc, dec [8]
6: 6 sc, dec [7]
7-12: 7 sc, 6 rows
13: 3 dec
Pull the hole tight.
Leave a long thread for one arm, hide and cut for the other.
Legs – Tiger Cub
1: 5 ch, starting from the 2nd ch from the hook, sc 2, 4 in 1, sc 2, inc [12]
2-3: 12 sc, 2 rows
4: 4 sc, 2 dec, 4 sc [10]
5: 4 sc, dec, 4 sc [9]
Change color
6-12: 9 sc, 7 rows
13: (1 sc, dec)*3 [6]
14: 2 dec
Pull the hole tight.
Leave a long thread for one leg, hide and cut for the other.
Thread Attachment
Arms
Sew to the body between rows 18 and 19.
At point 1, we have the arm where we didn’t cut the thread. Insert the thread into point 2, then into point 3. Next, insert the thread into point 4 and pull out at a distance of 1 sc. Then back into point 3, 2, and 1. Tighten the arms as you go to prevent them from dangling.
Legs
Sew to the body between rows 6 and 7.
At point 5, we have the leg where we didn’t cut the thread. Insert the thread into point 6, then into point 7. Next, insert the thread into point 8 and pull out at a distance of 1 sc. Then back into point 7, 6, and 5. Tighten the legs as you go to prevent them from dangling.
The Tiger Cub is ready!