
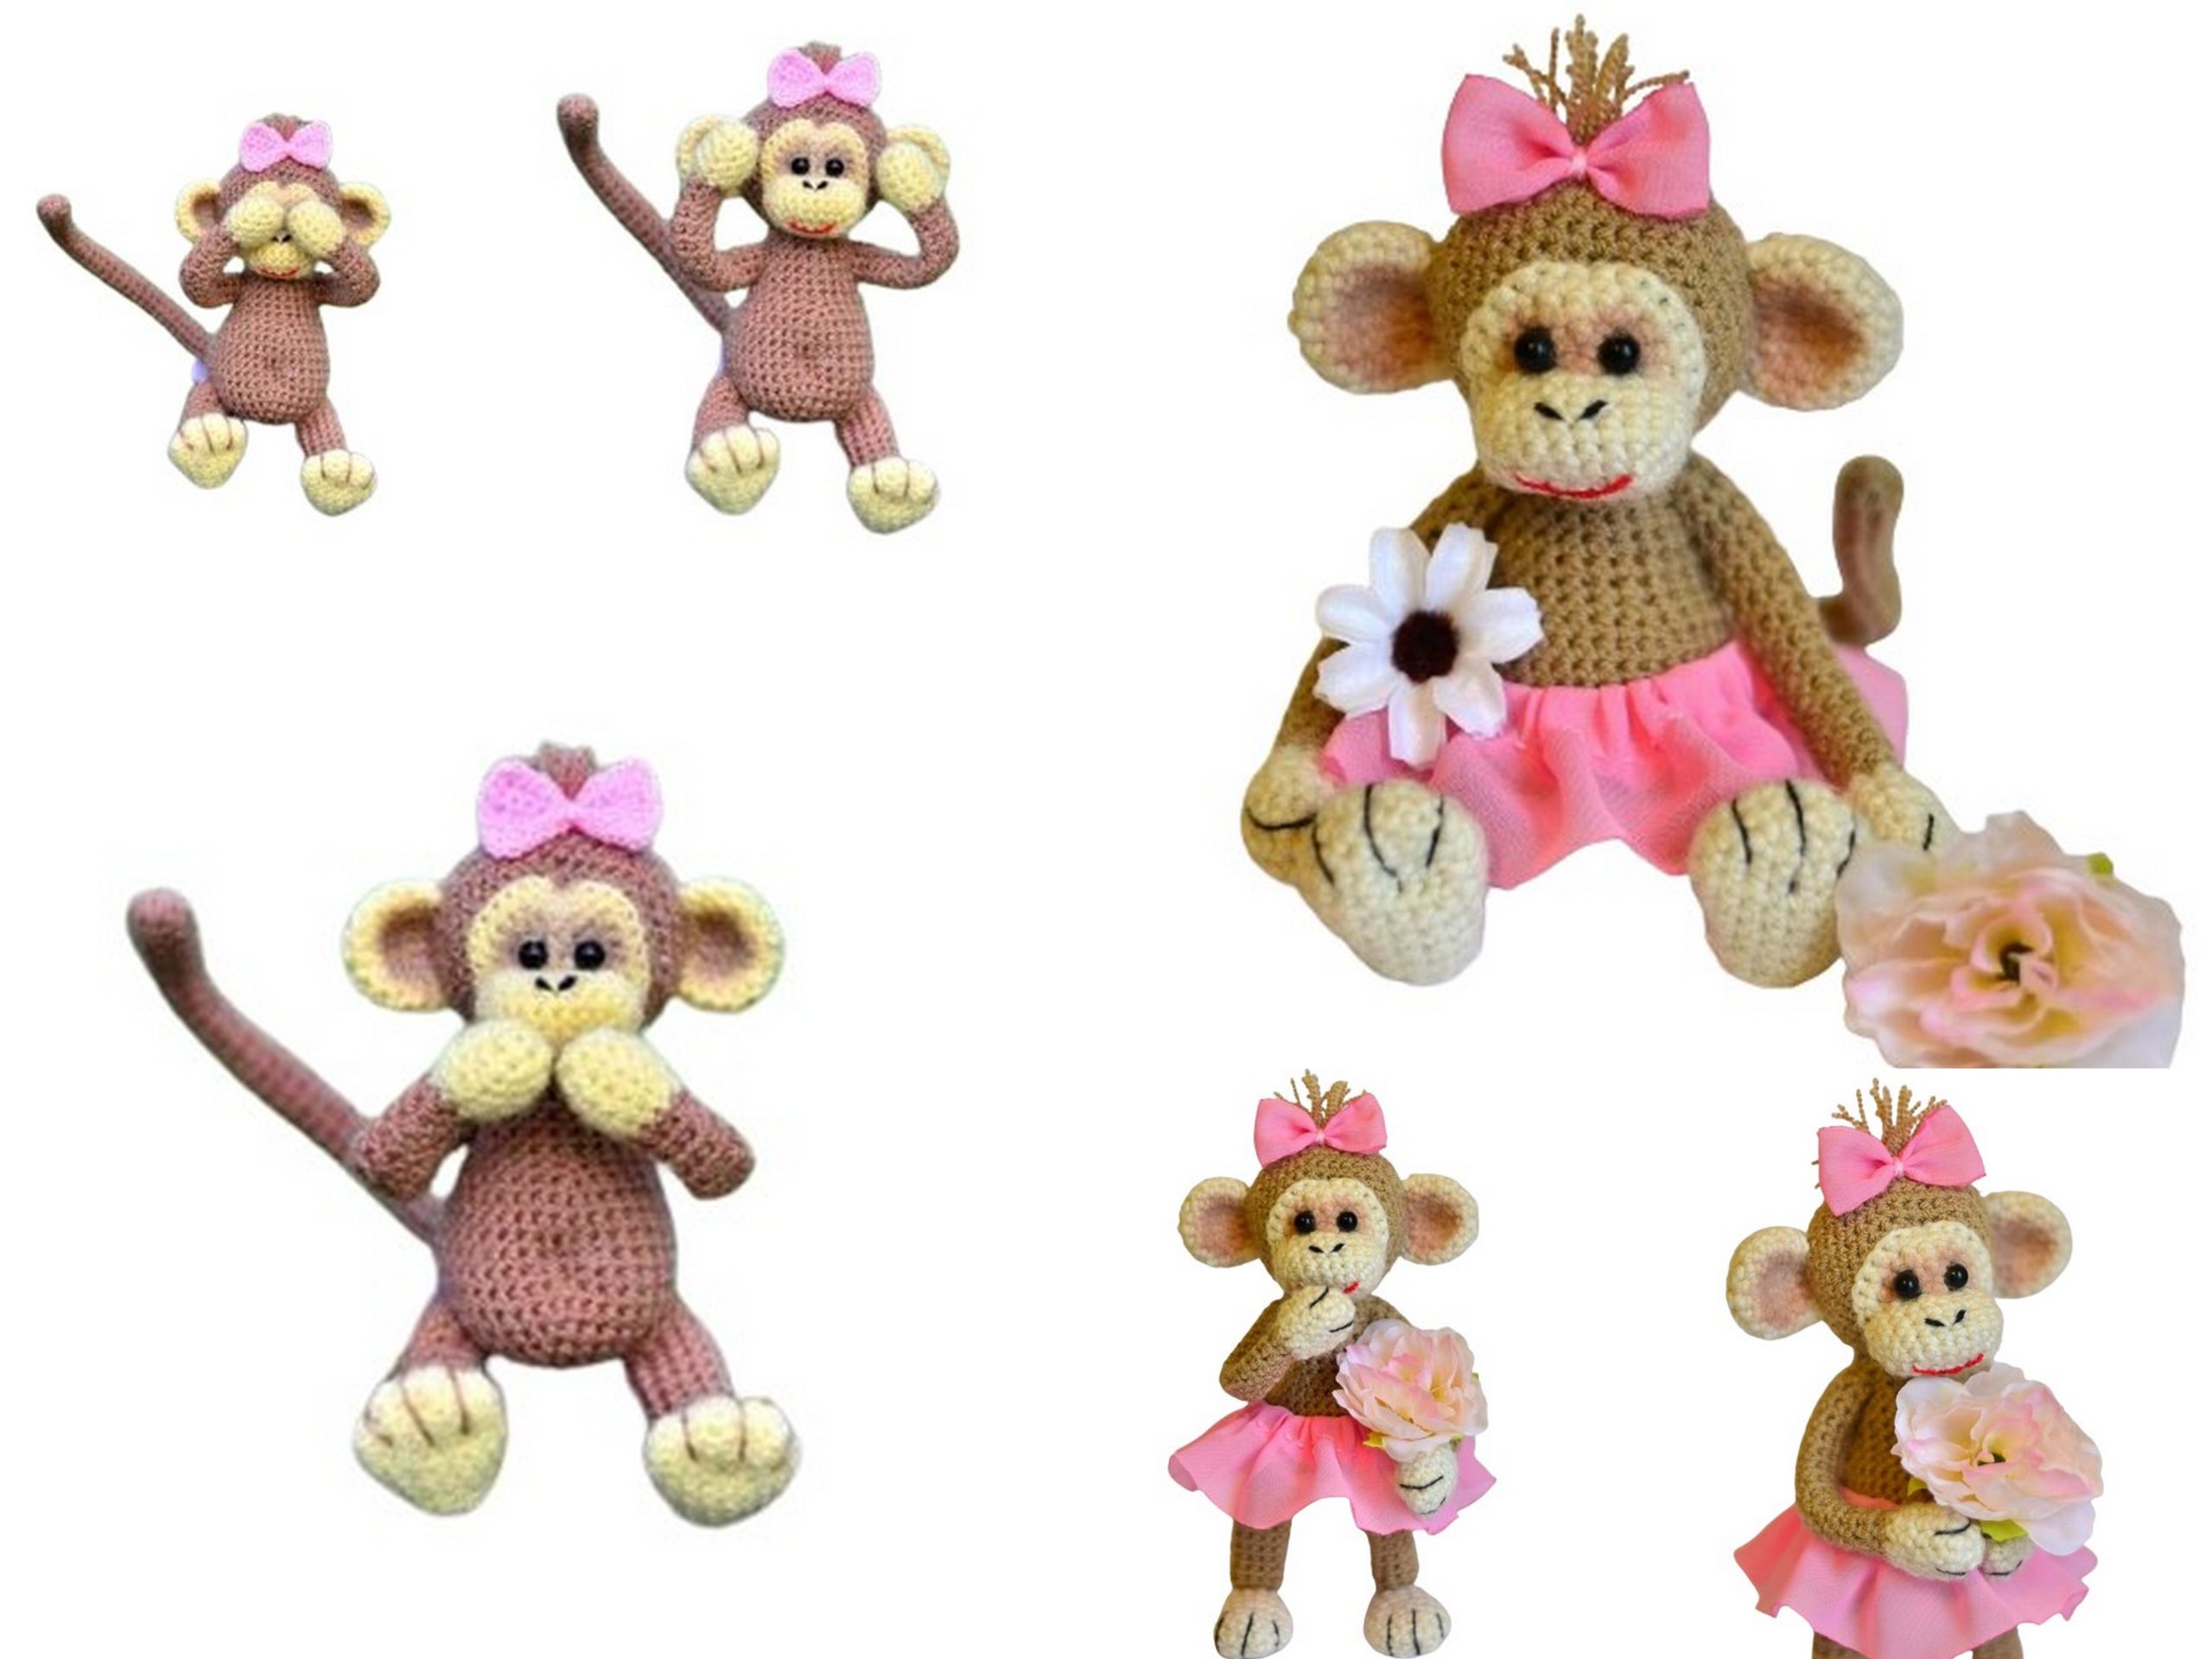
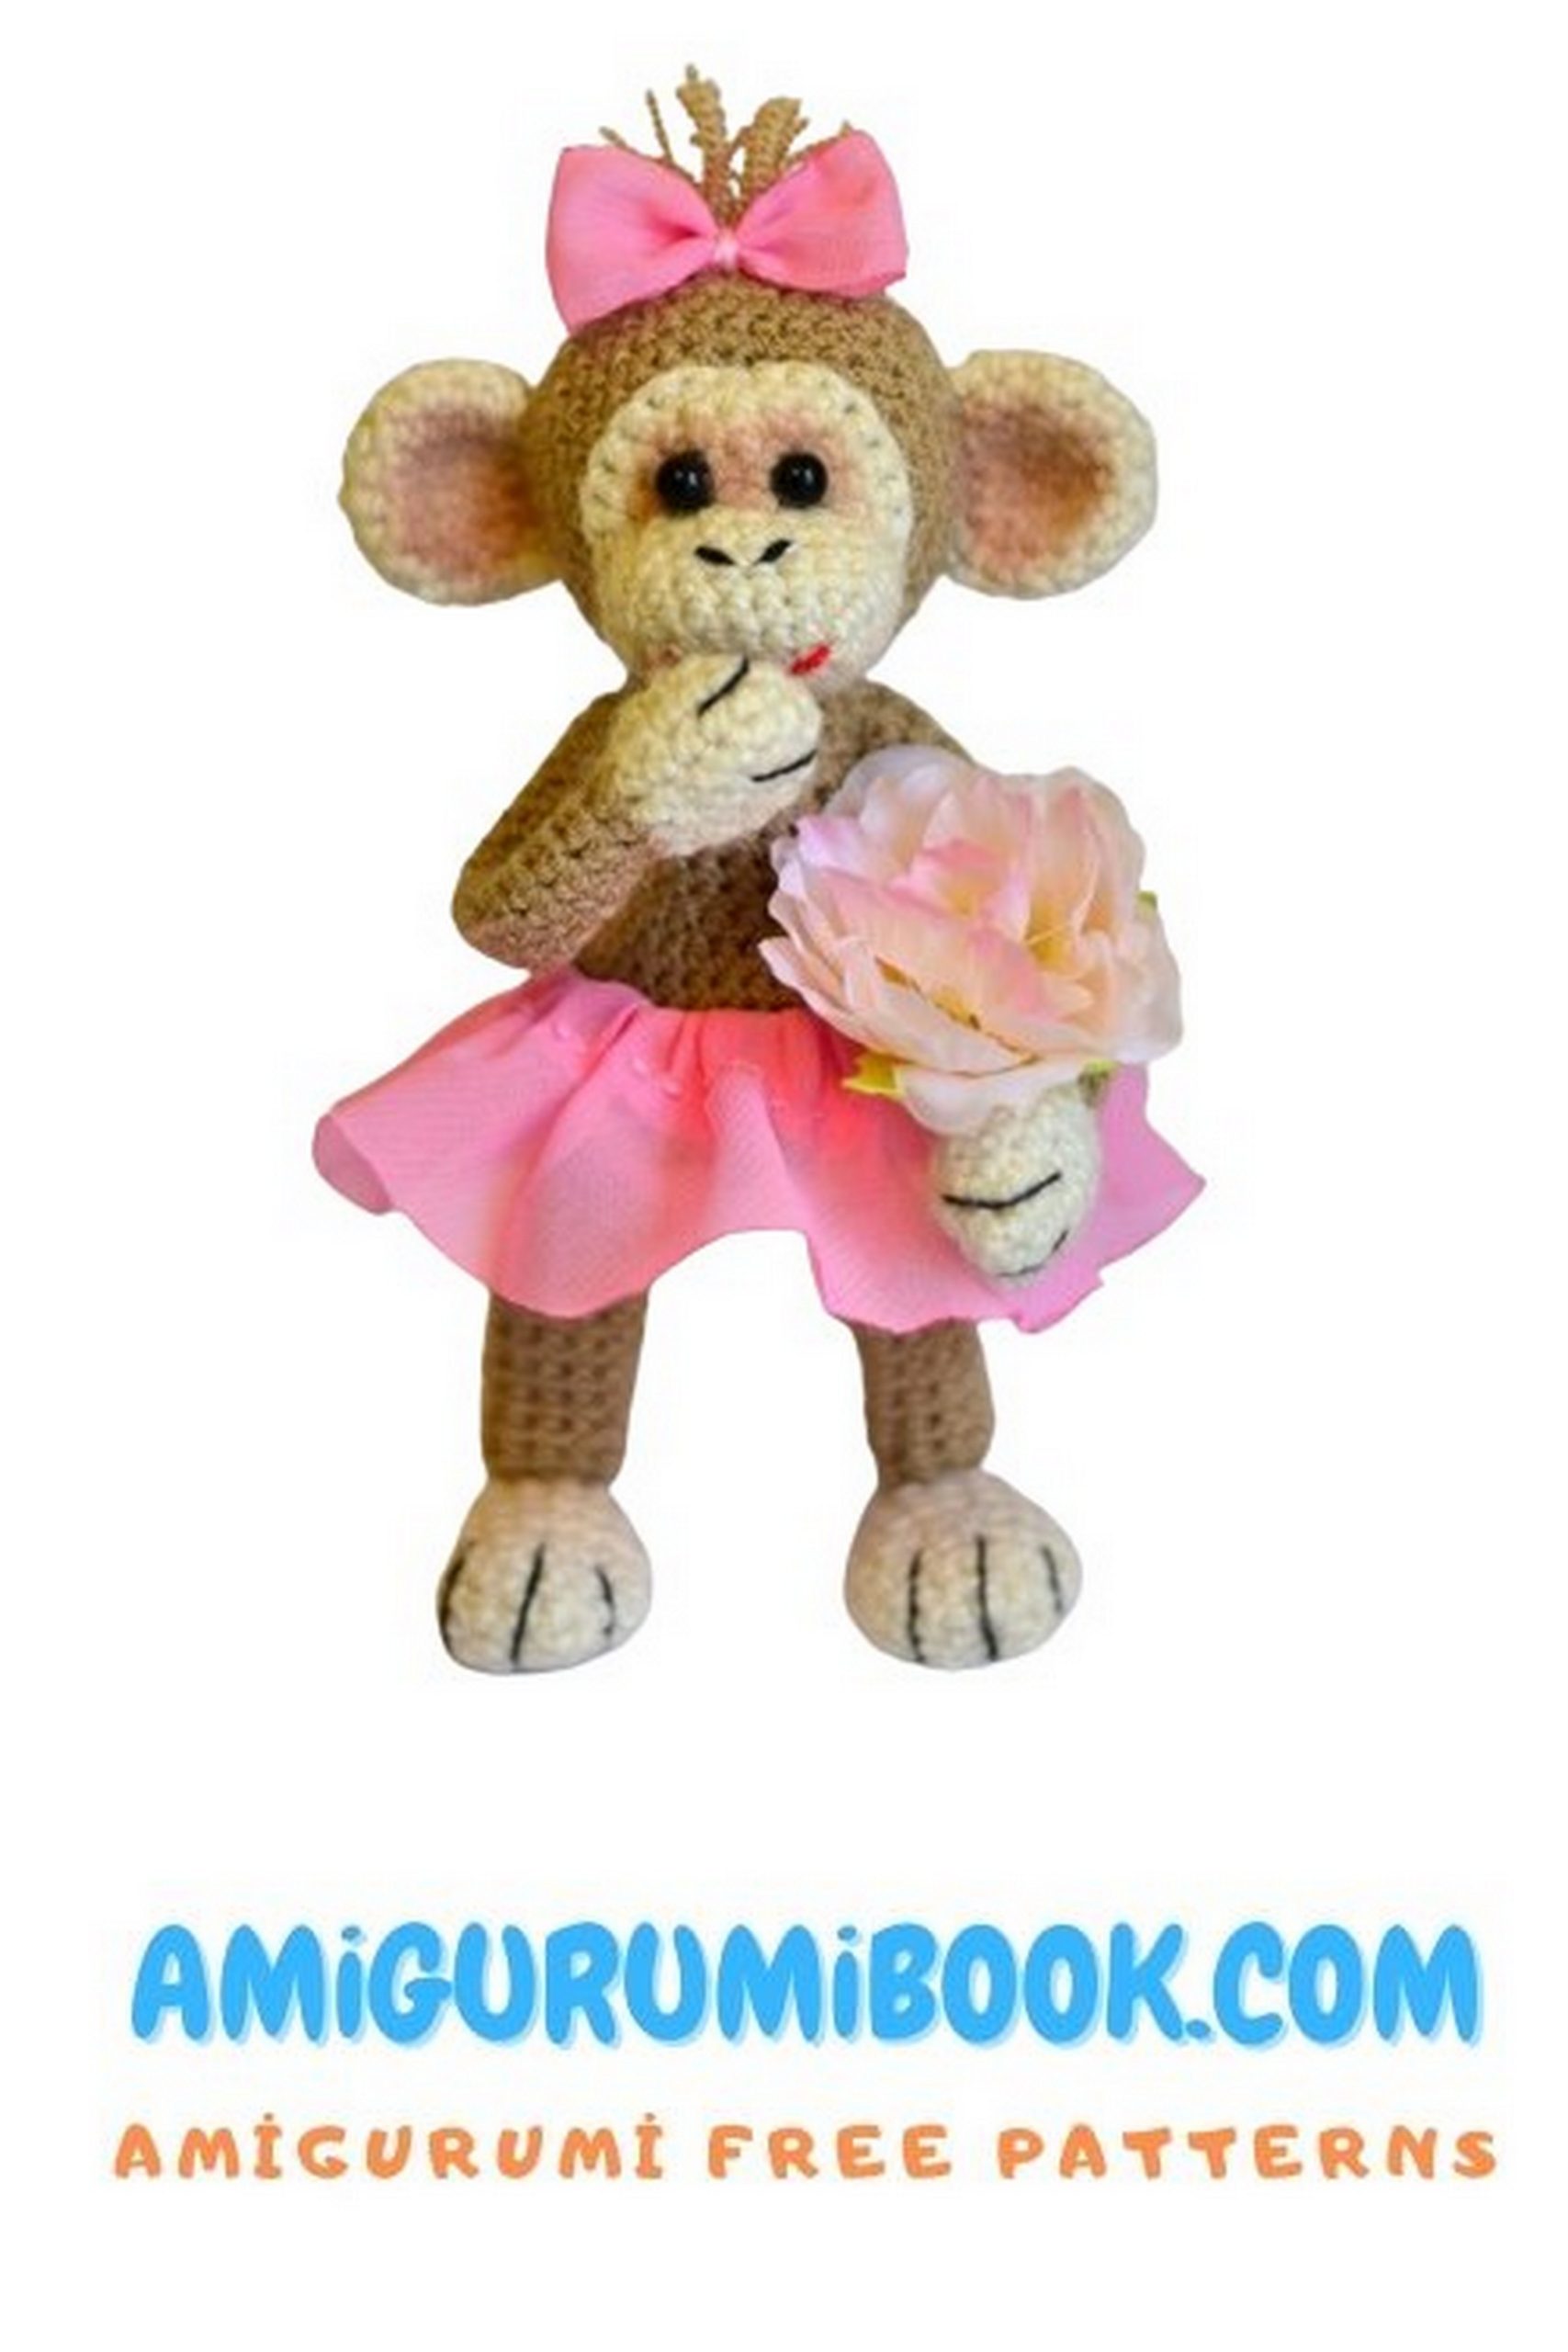
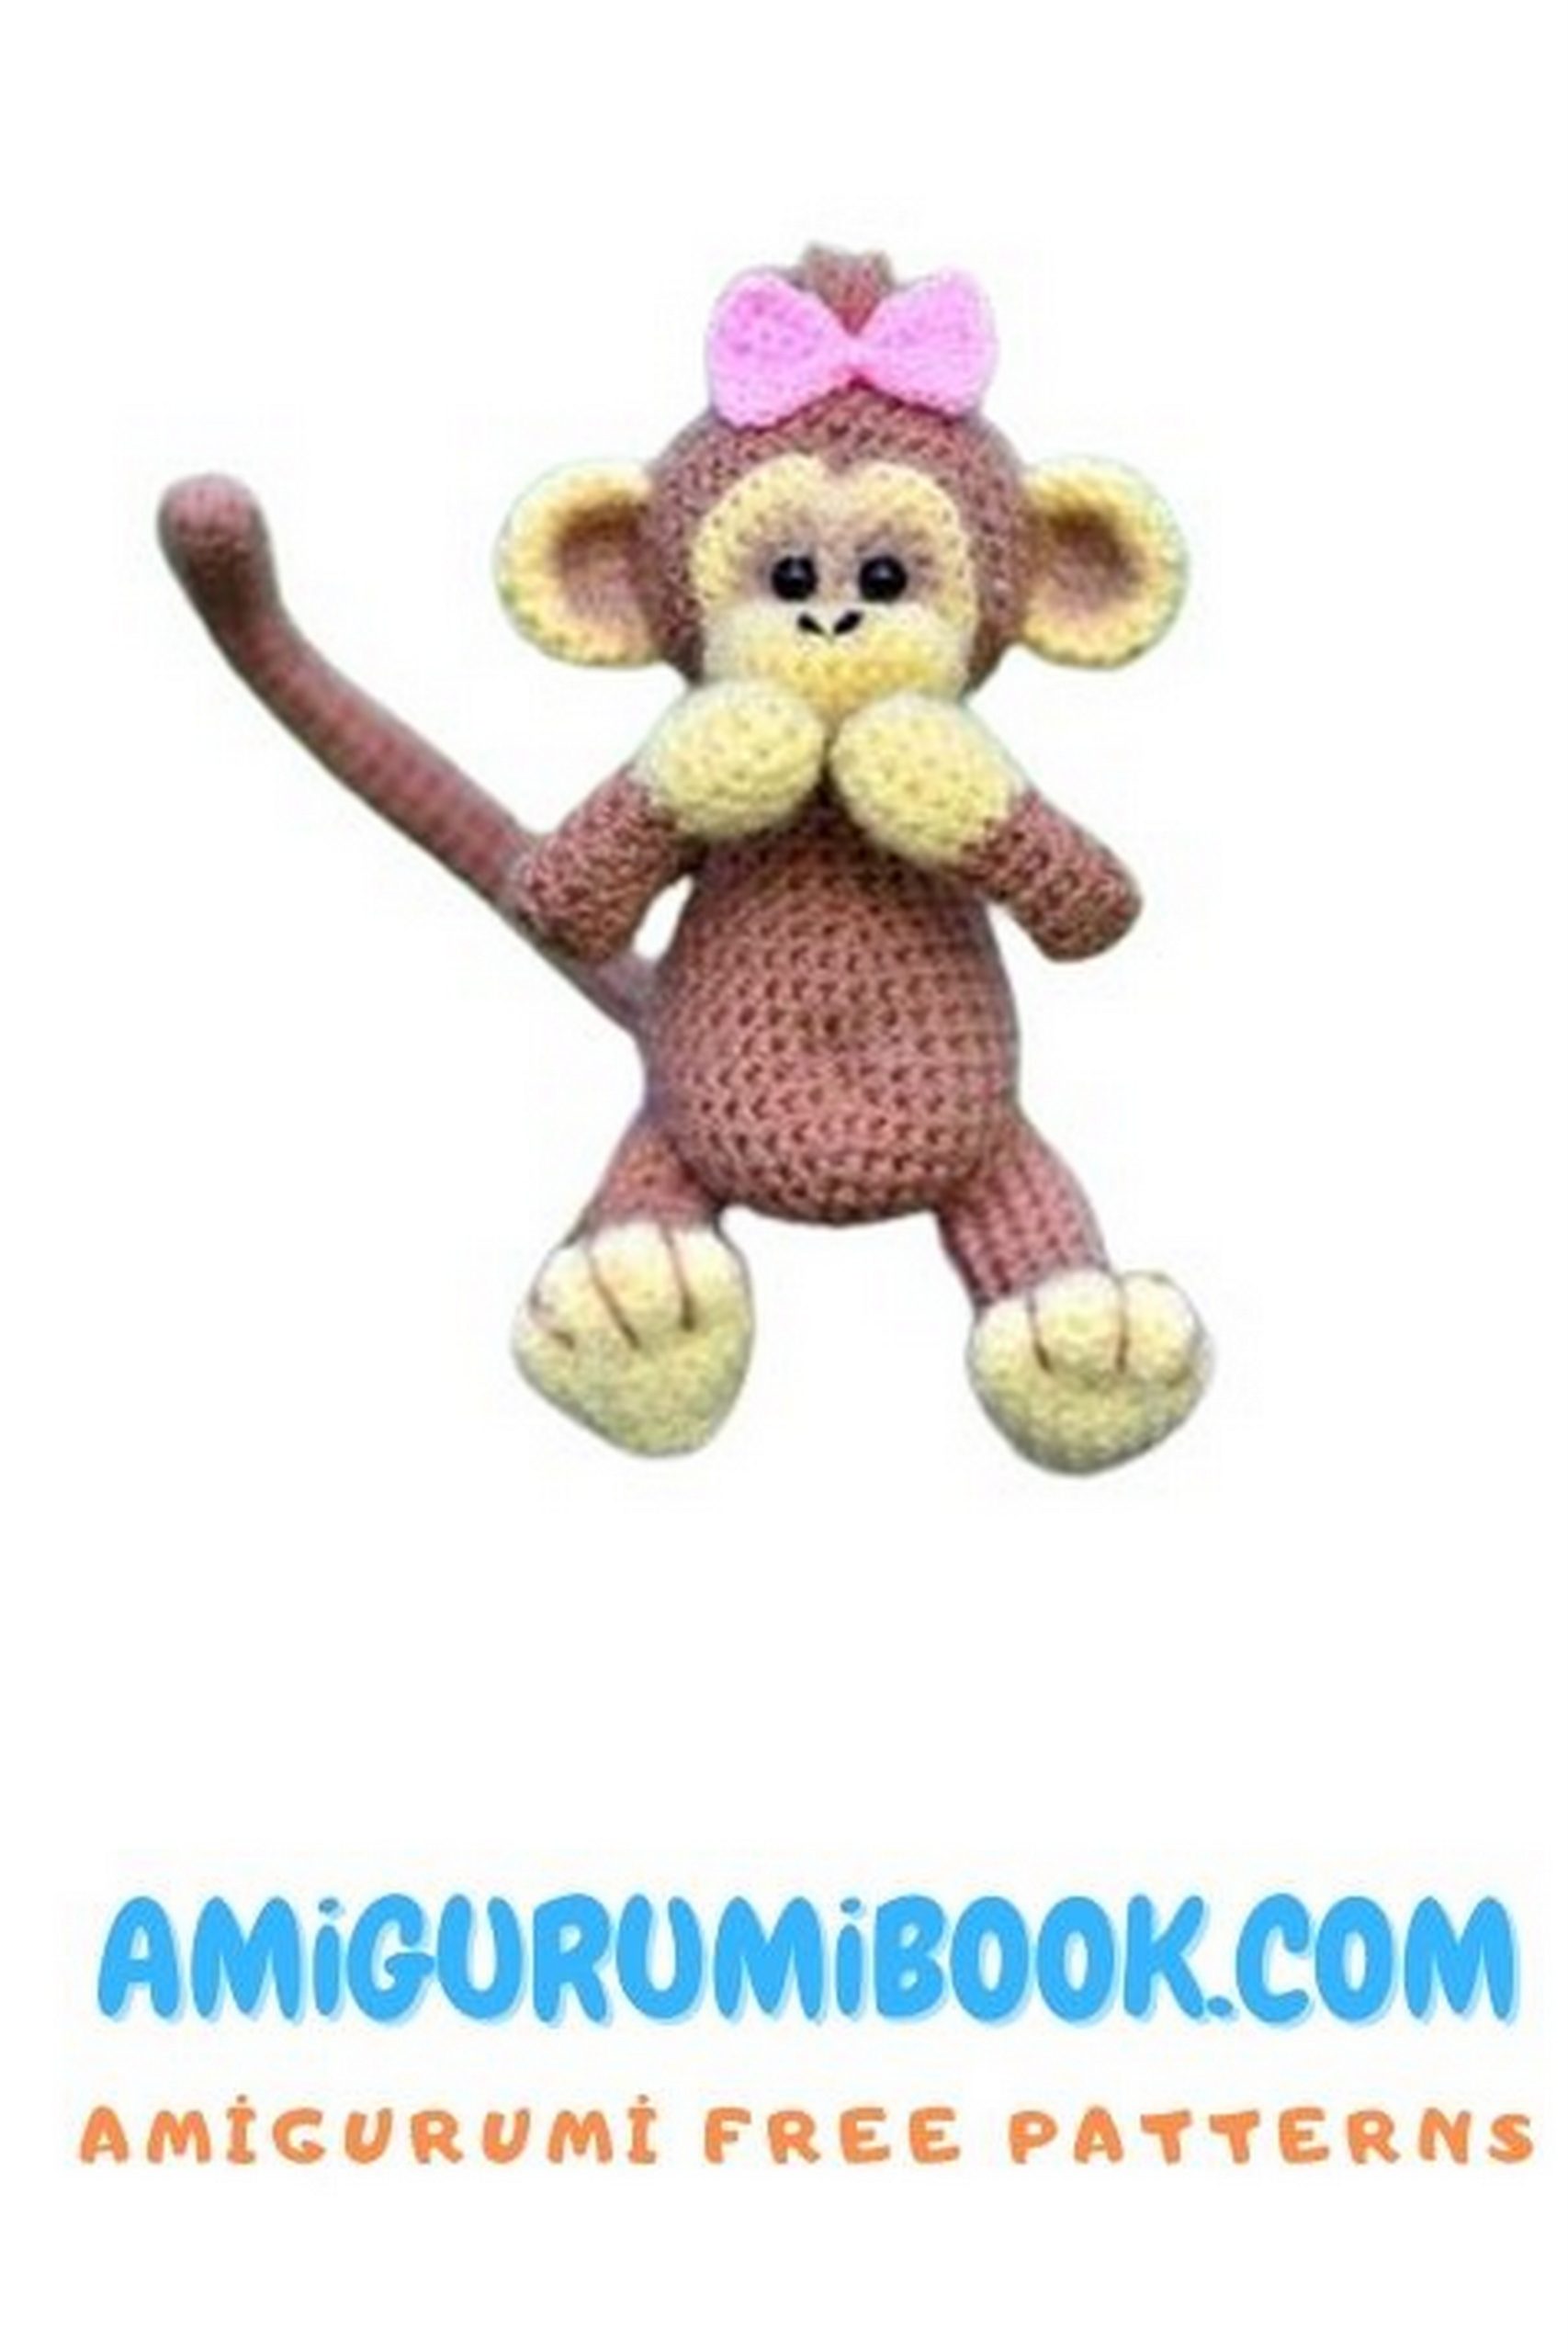
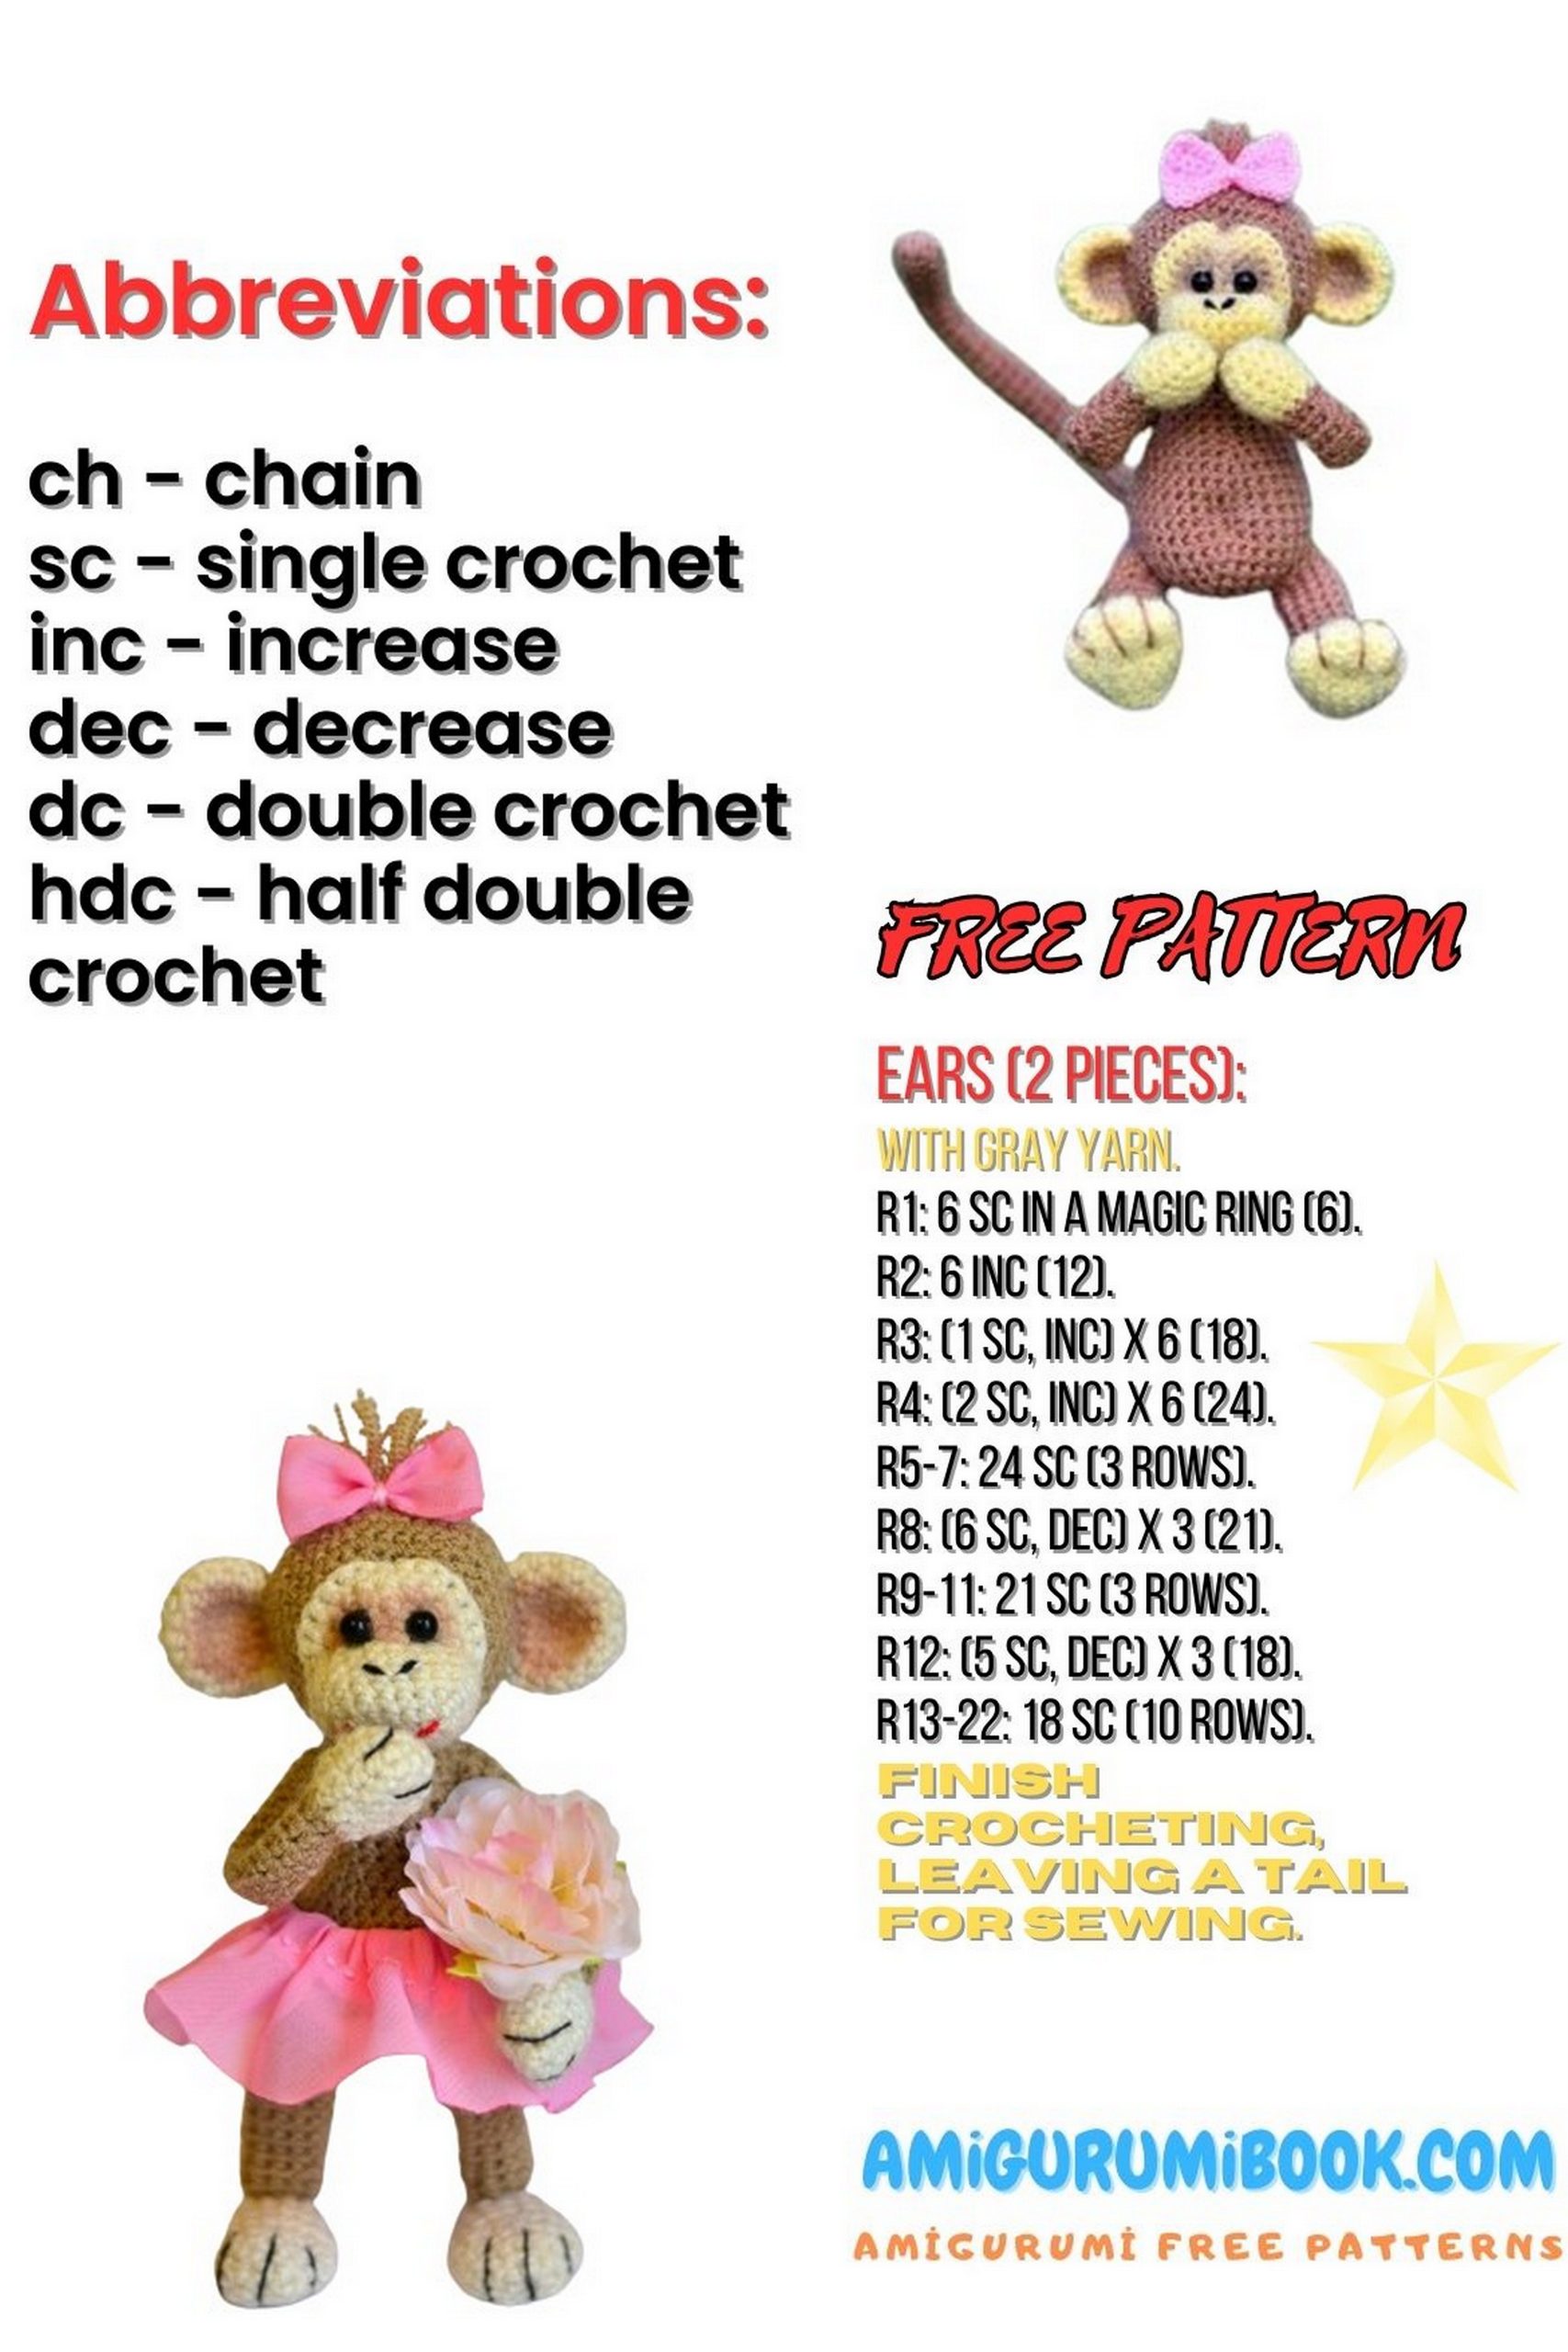
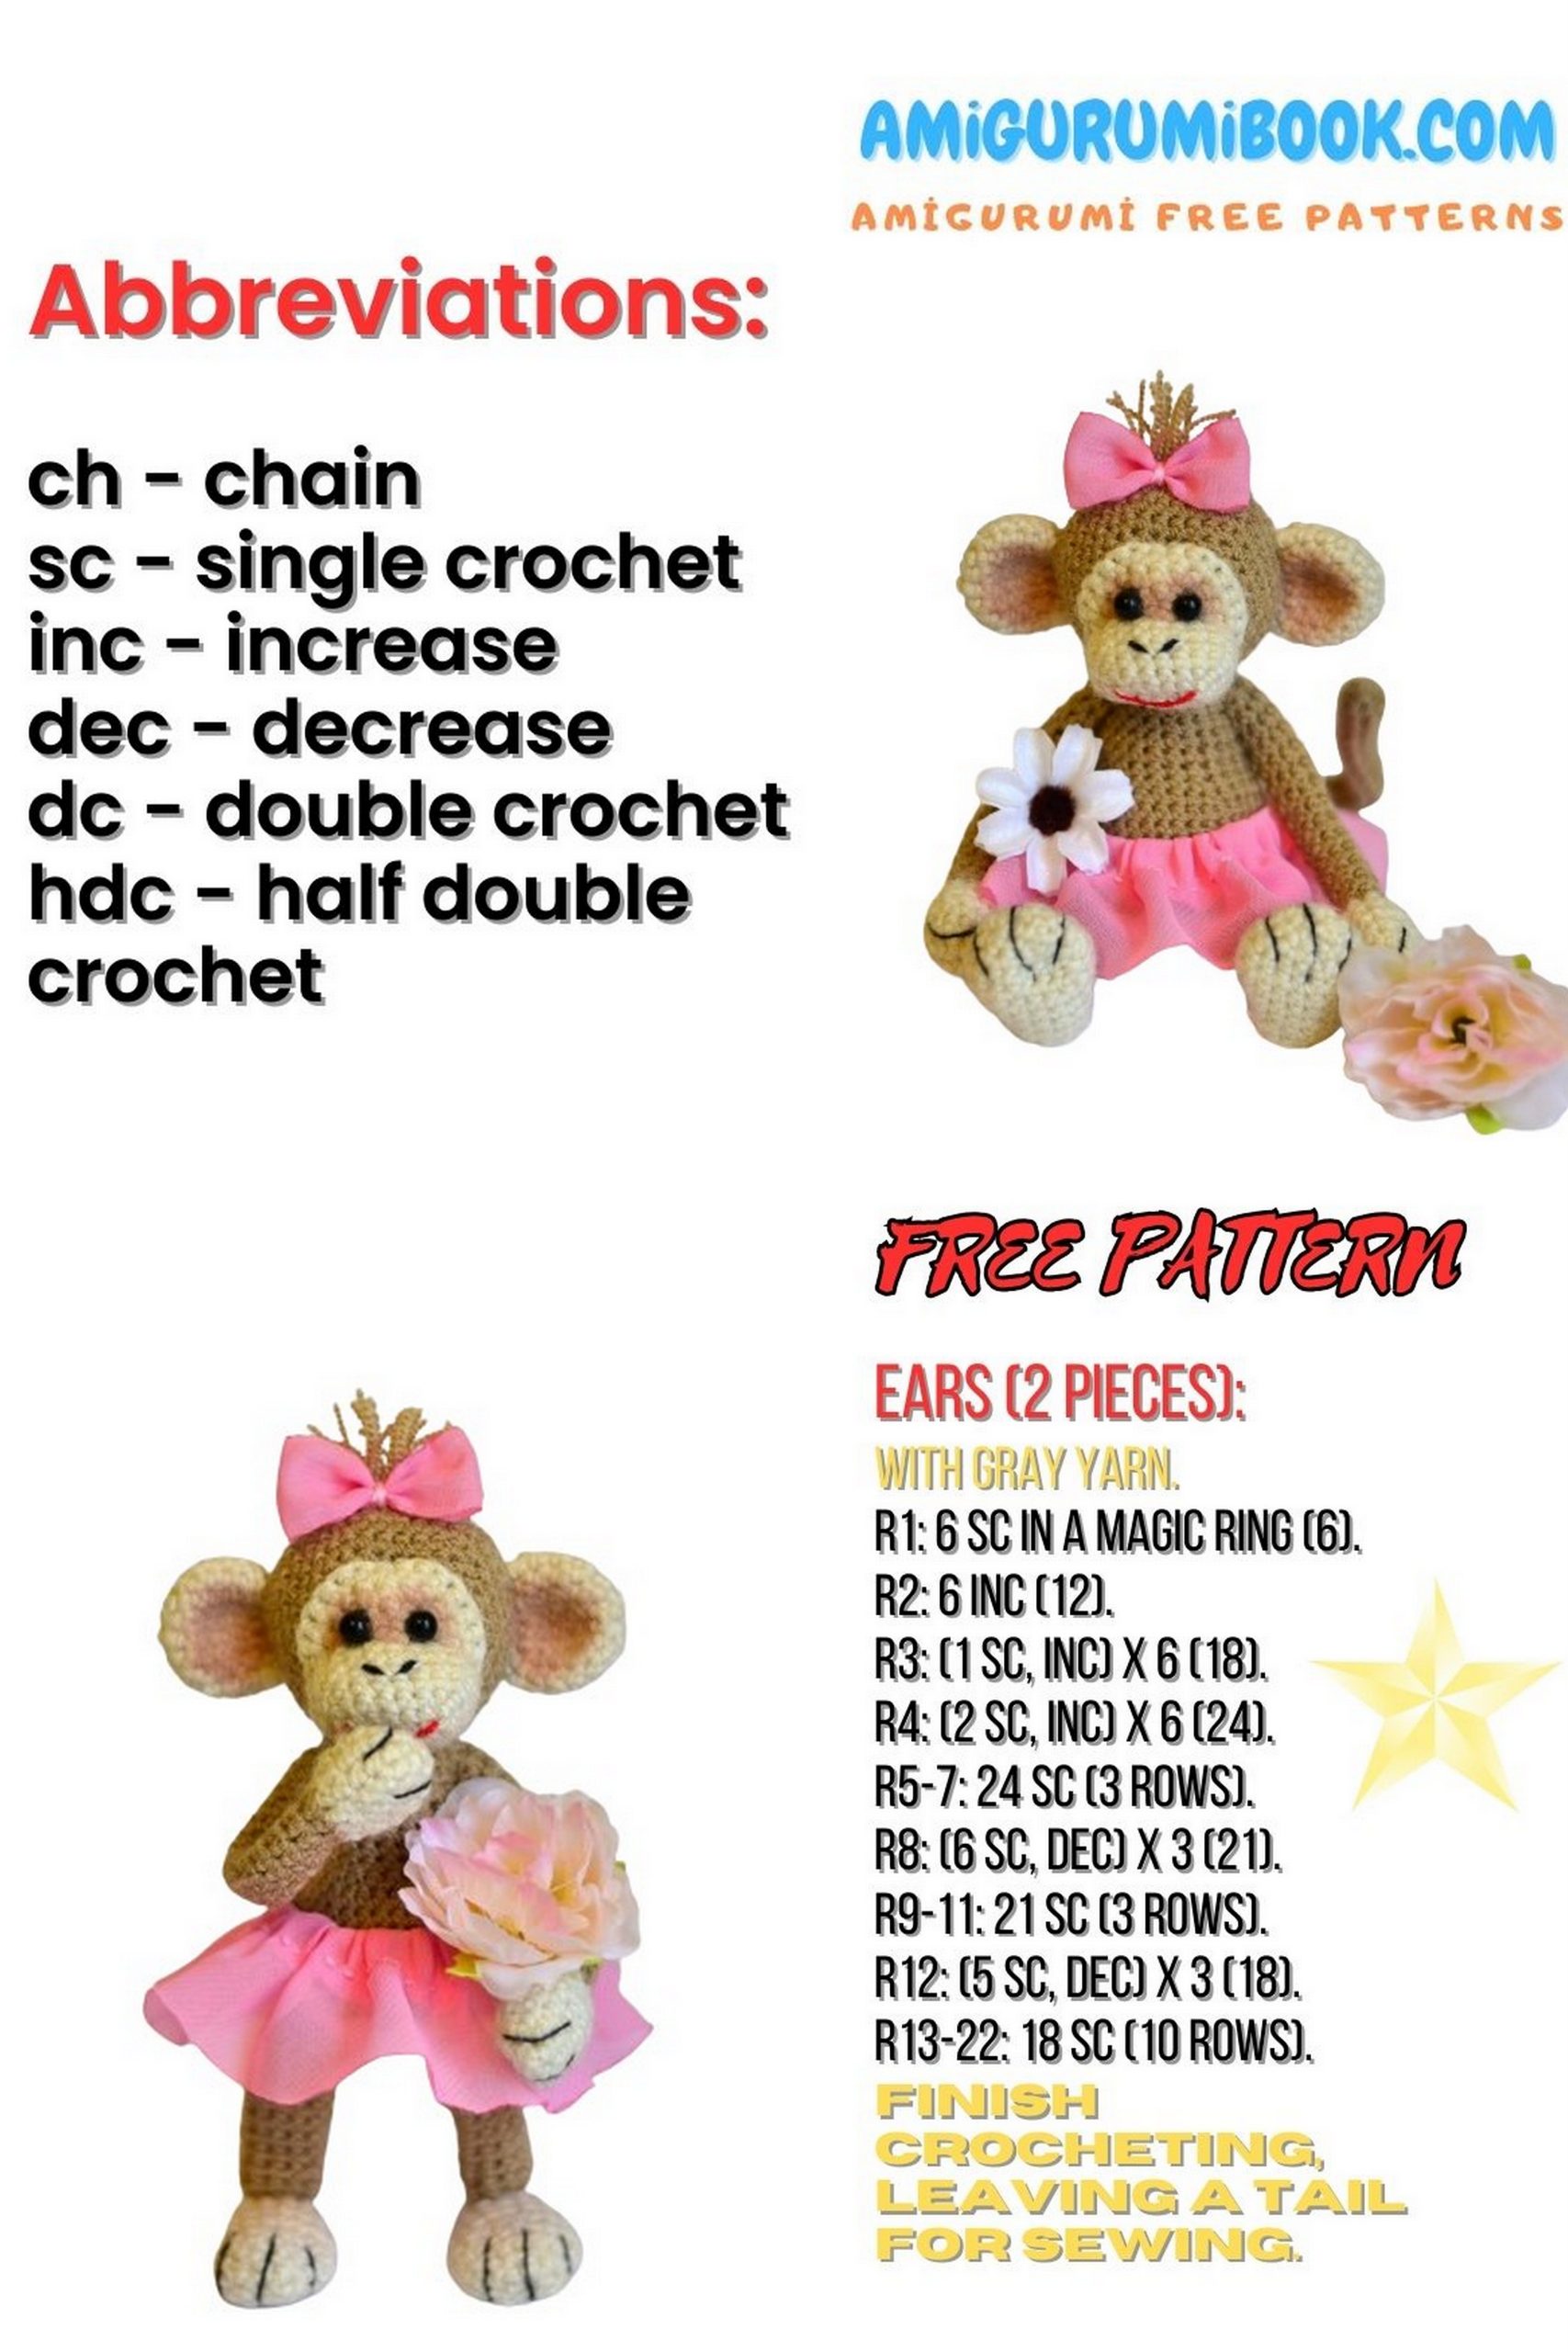
Are you ready to embark on a delightful crochet adventure? Our amigurumi free pattern and tutorial for crafting a charming lady monkey amigurumi are here to brighten your day! Whether you’re a novice or an experienced crocheter, this project promises hours of fun and satisfaction.
With our step-by-step instructions and detailed pattern, you’ll soon have your very own cuddly companion to cherish. From the tip of her ears to the end of her tail, every stitch is infused with love and care.
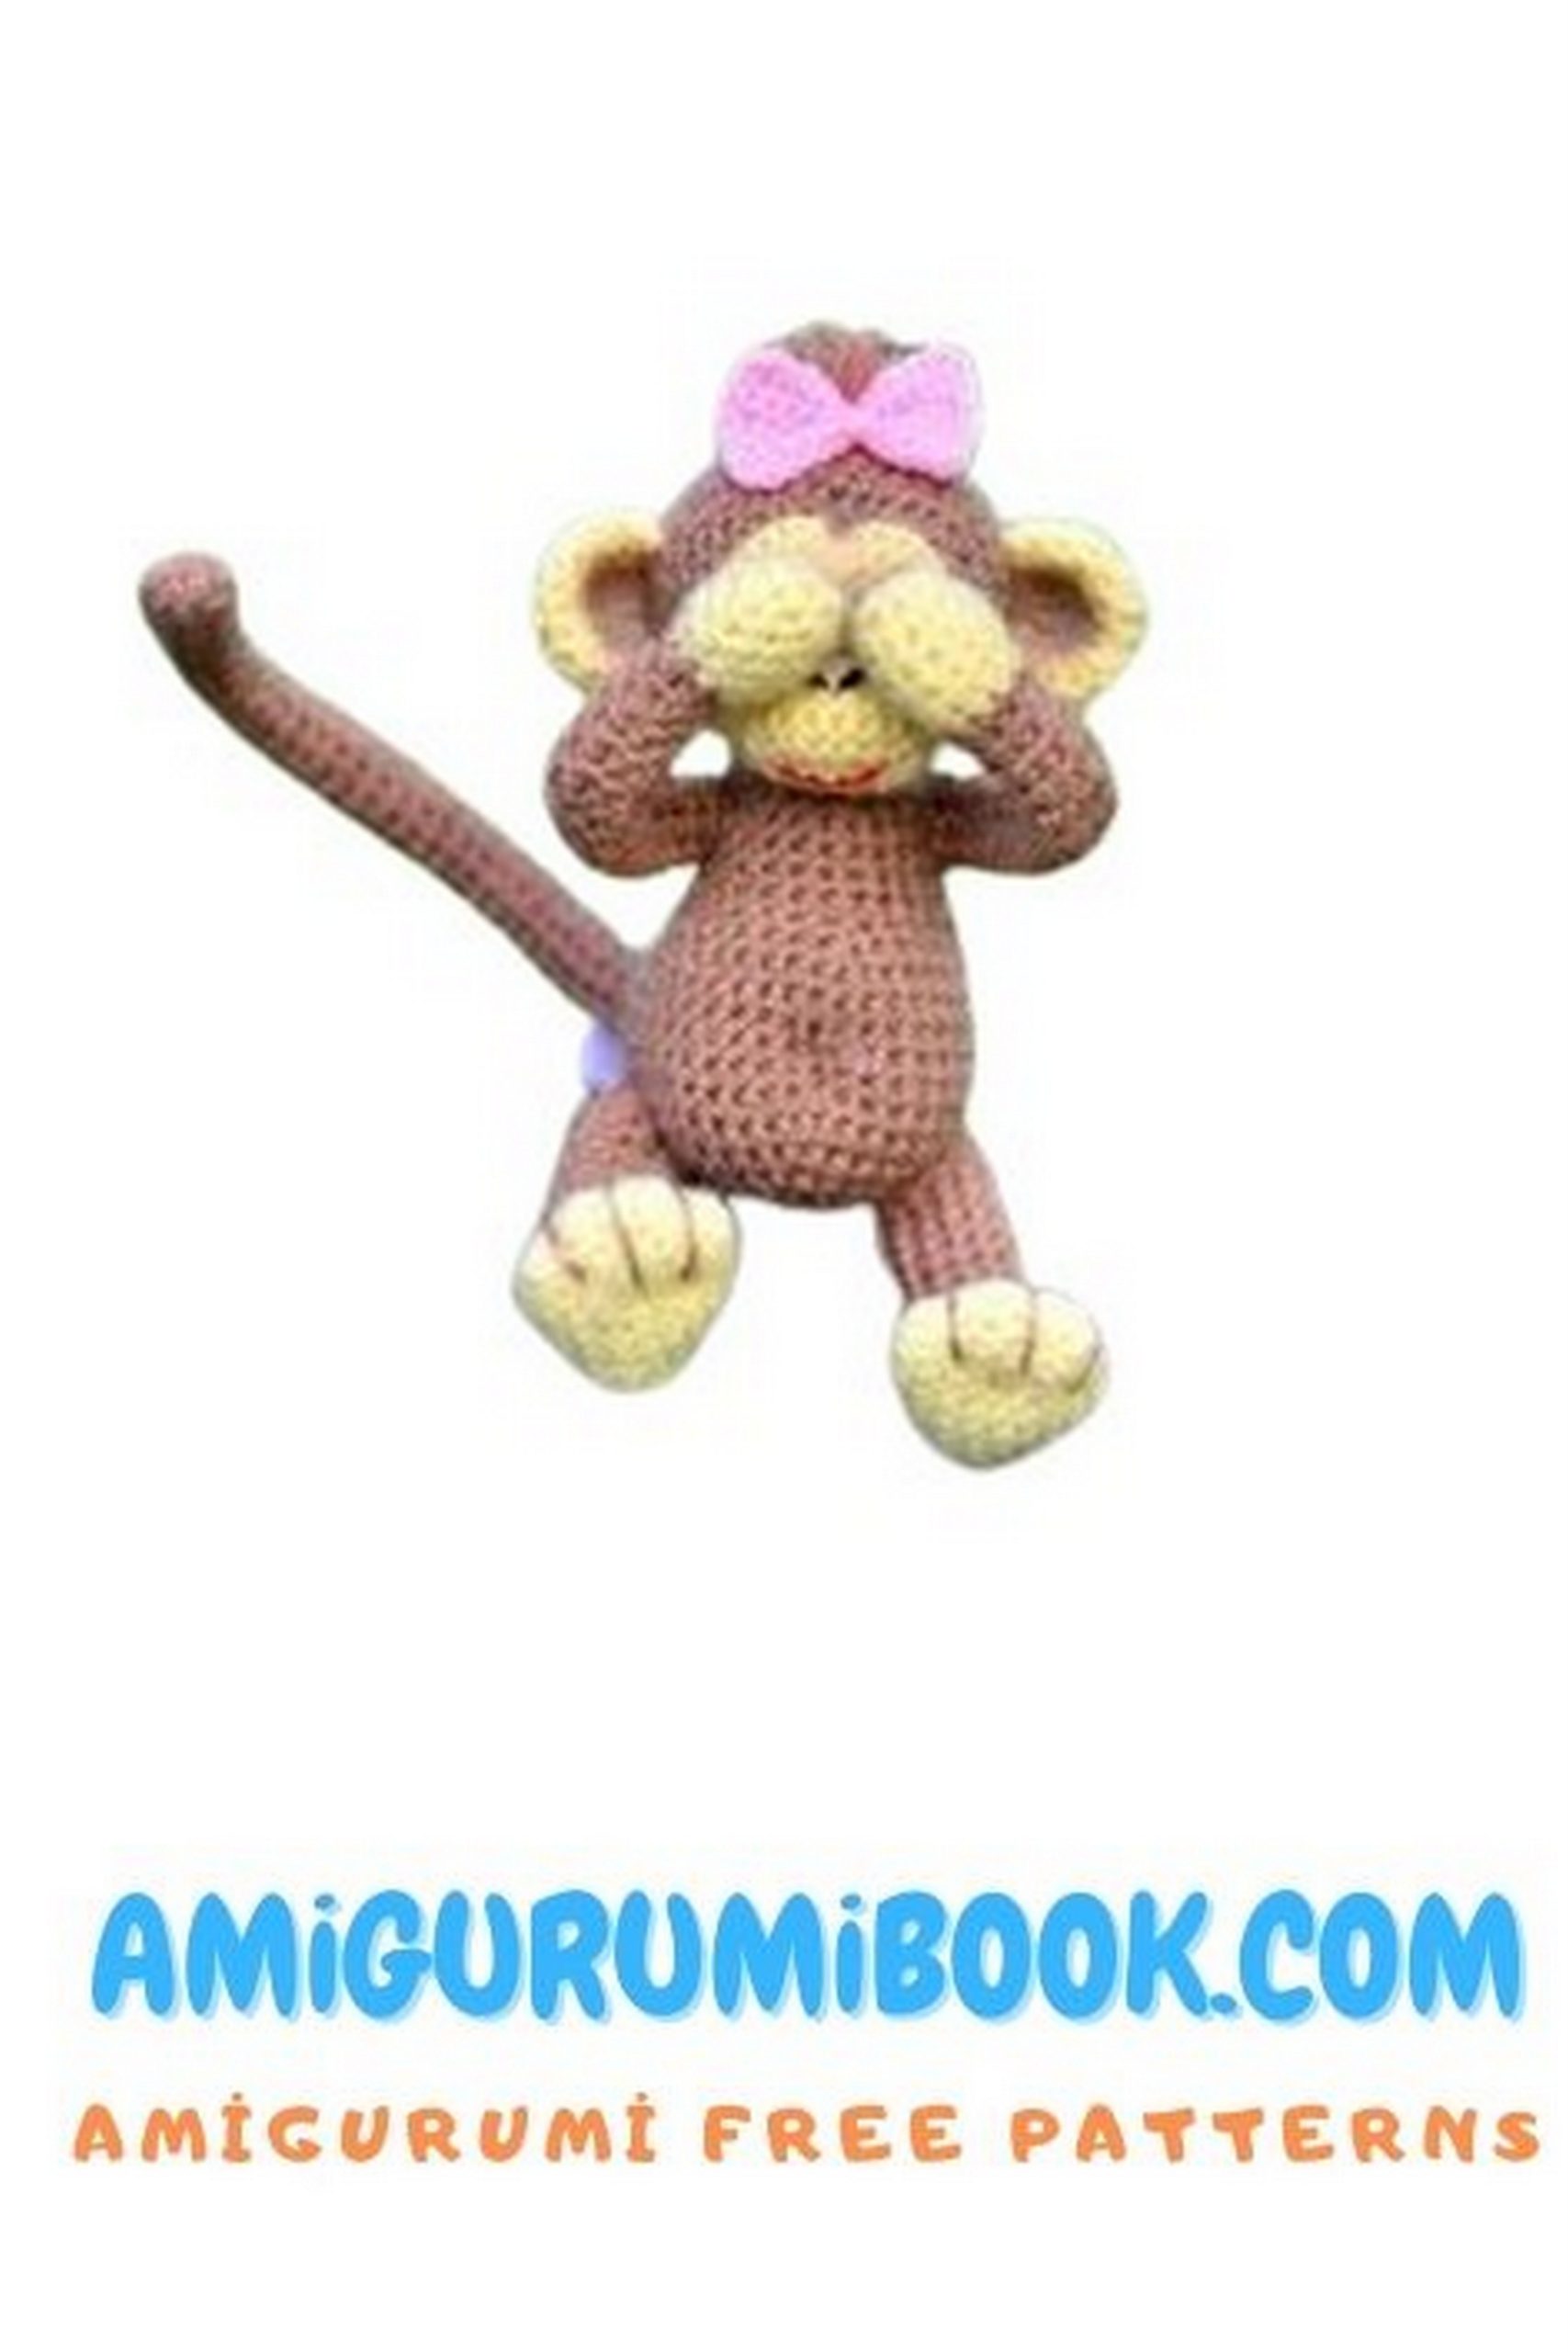
Not only is this lady monkey adorable, but she’s also customizable! Choose your favorite yarn colors and add personal touches to make her truly unique. Whether you’re gifting her to a loved one or keeping her for yourself, she’s sure to bring a smile to anyone’s face.
So, grab your crochet hook and yarn, and let’s bring this cute lady monkey to life together! Follow along with our easy-to-follow tutorial and create a lifelong friend that will warm your heart with every stitch.
Attention!!!
This tutorial is intended for personal use only.
Any demonstration of the toy made using this tutorial online must be accompanied by a link to the author.
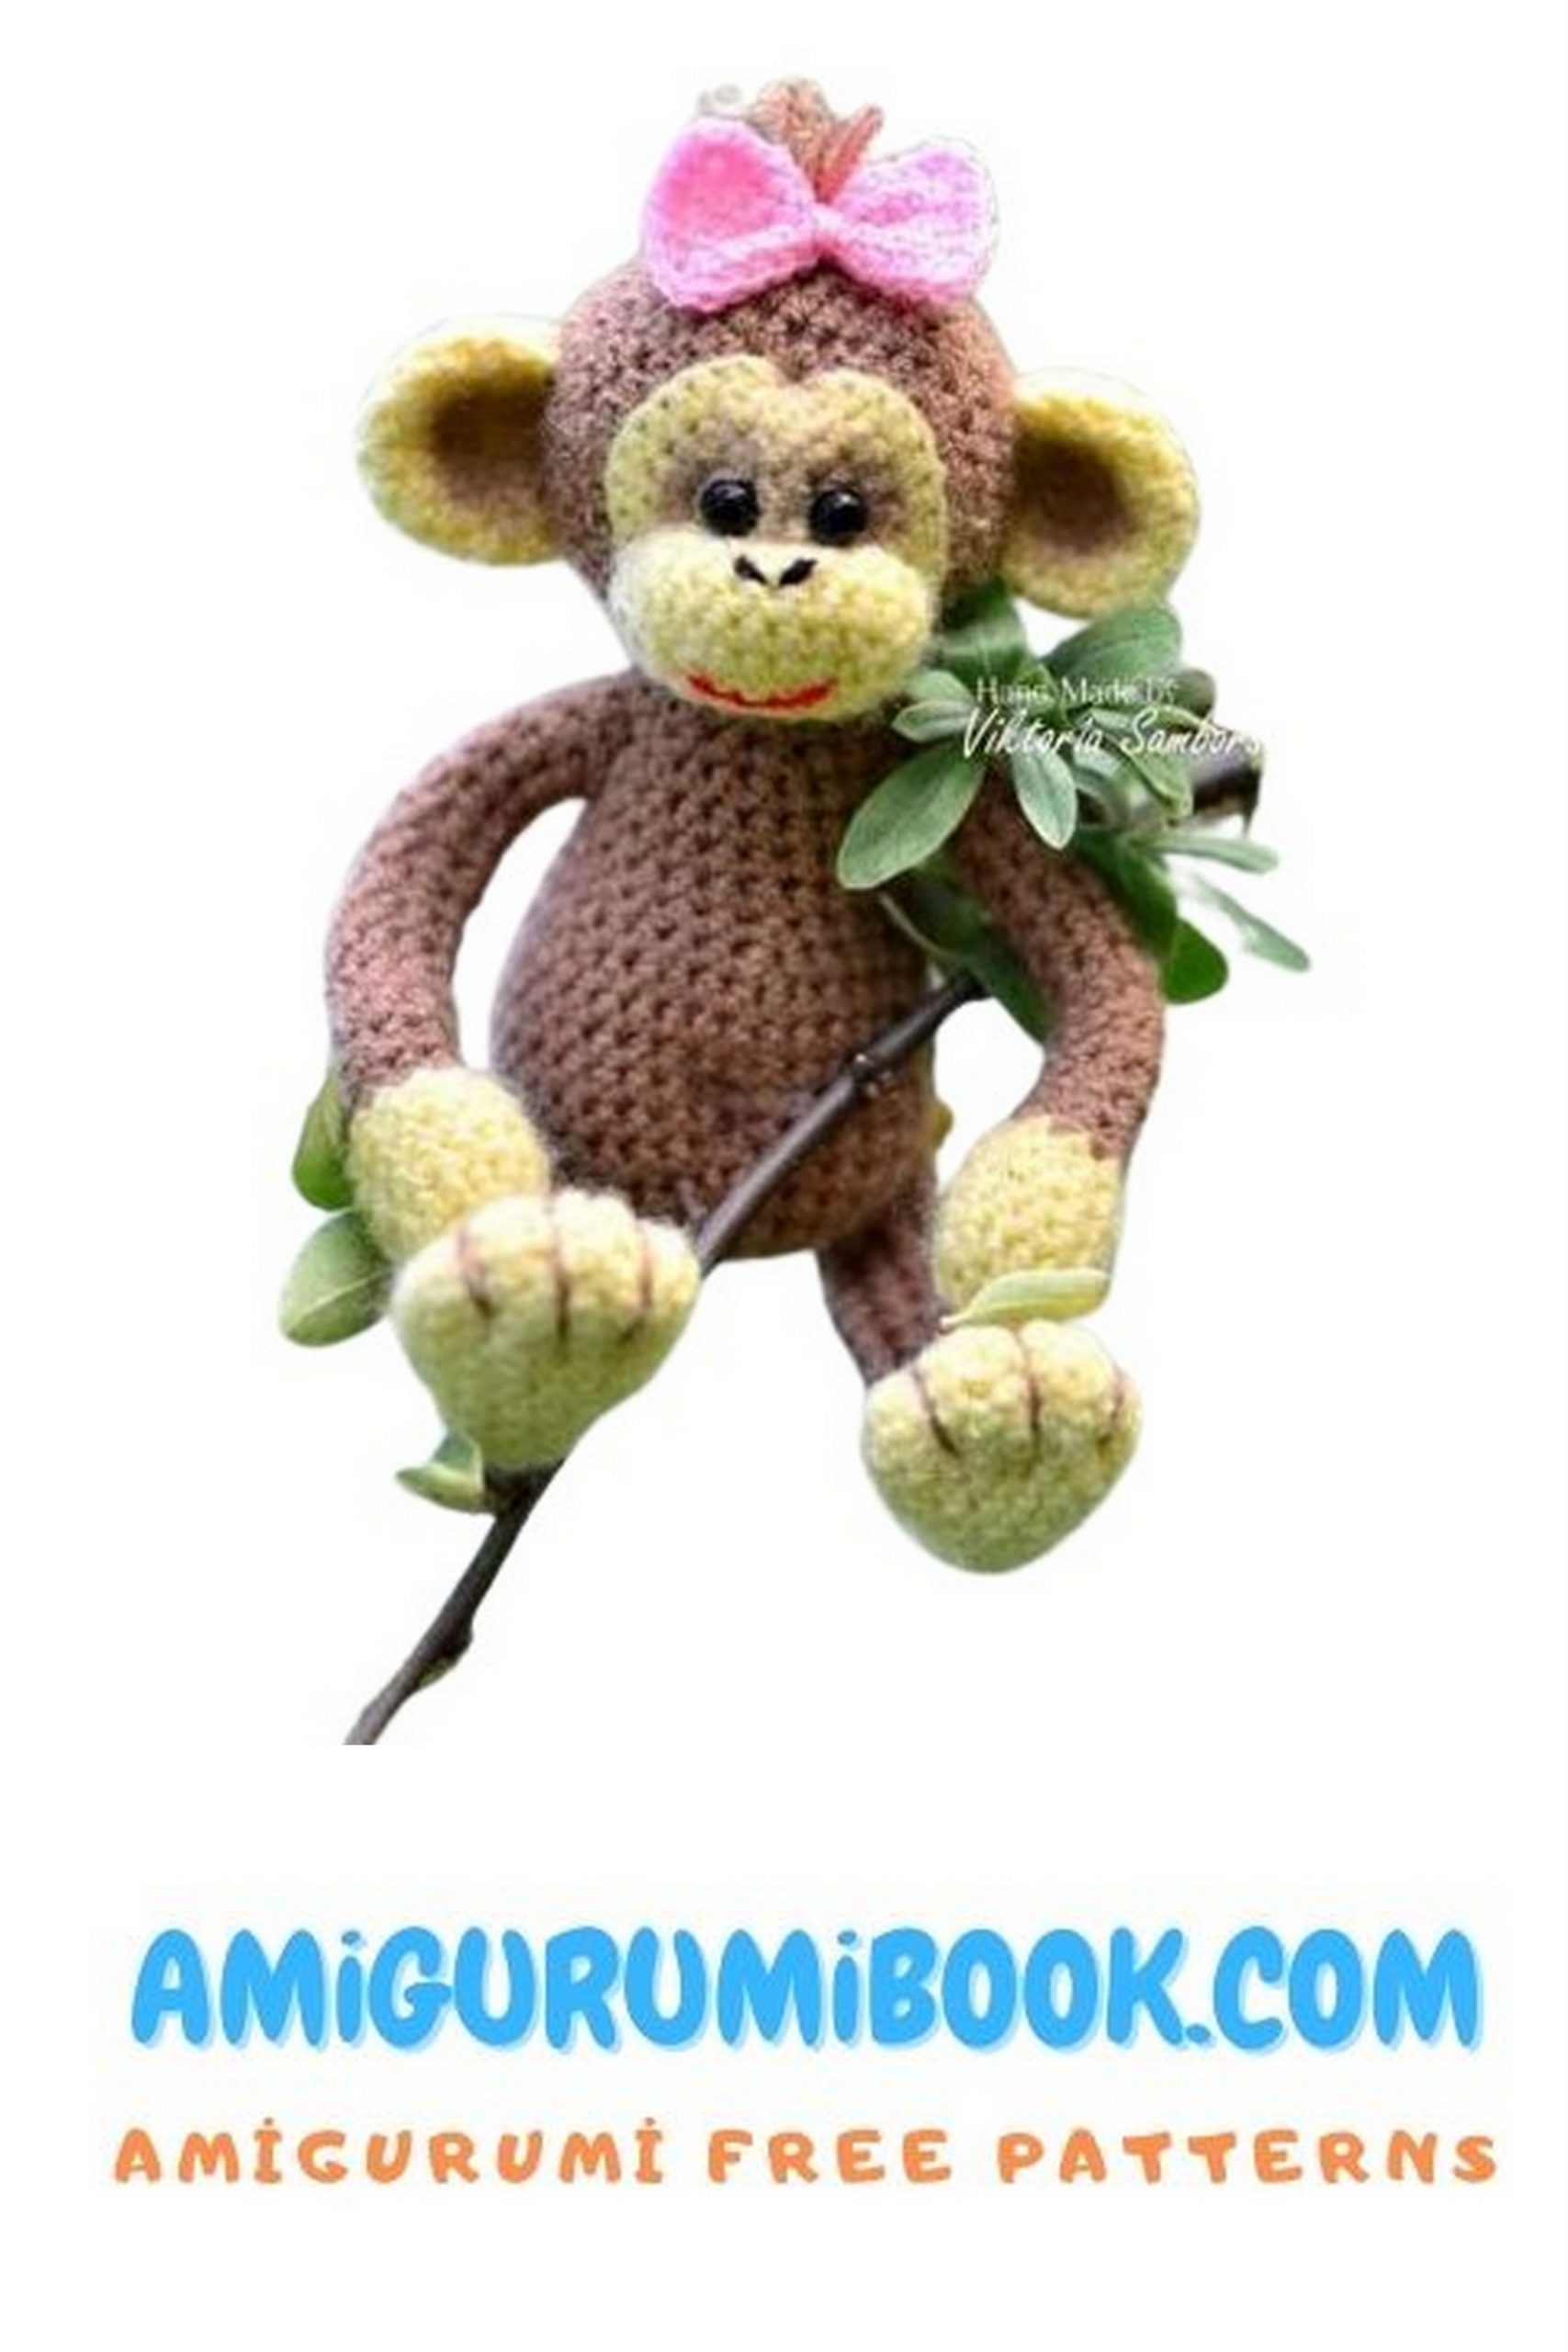
I have another great amigurumi monkey suggestion for you. You should definitely see the amigurumi monkey elvis toy.
If you want to access 1000+ free amigurumi patterns, you can download our application from this link!
Materials Needed:
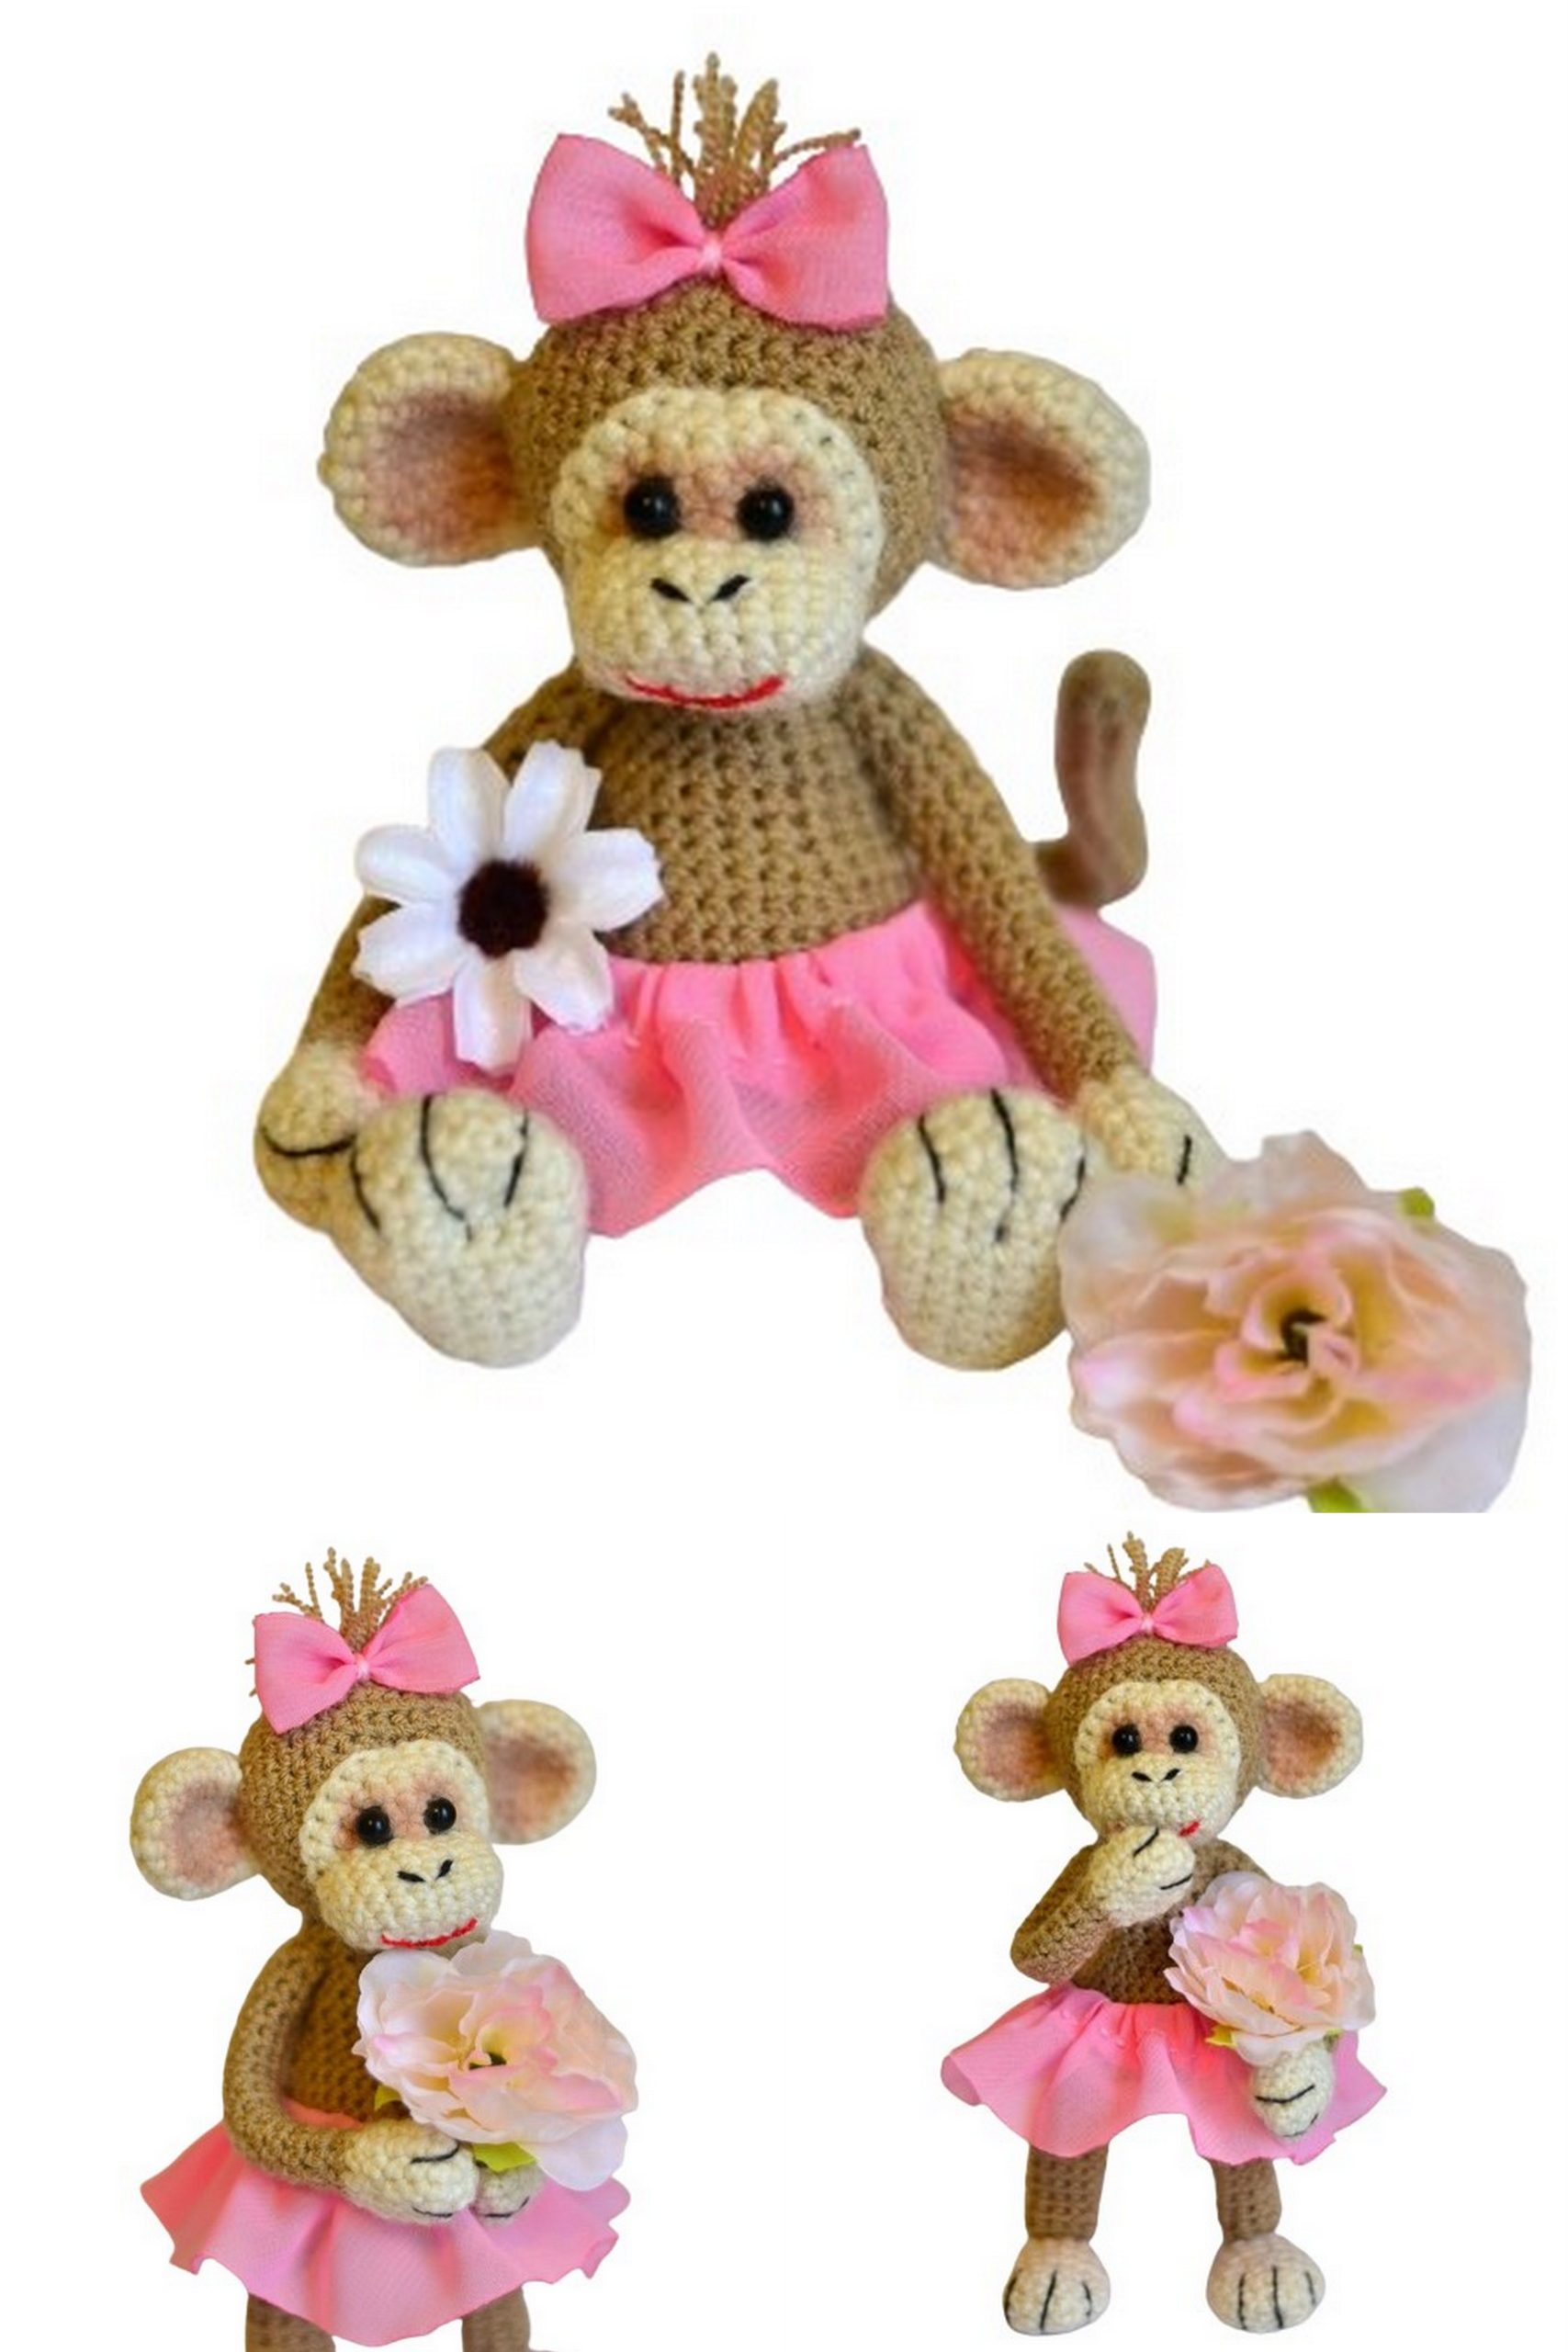
Yarn in two colors, in my case it’s brown and light yellow, and a bit of pink for the bow (Kartopu Kristal).
Crochet hook size 2, yarn needle for sewing pieces together, scissors.
Stuffing, in my case – polyester fiberfill.
Beads for eyes.
Additionally used wire for legs, arms, and tail, but this is optional.
Abbreviations:
sc – single crochet
ch – chain
inc – increase (2 single crochets in one stitch)
dec – decrease (skip 1 stitch or crochet 2 stitches together)
I want to note right away that I crochet as follows: I close each row and start with a turning chain, thanks to which the item does not shift and looks even, especially when crocheting with different colors. At the same time, only a barely noticeable, so to speak, seam is formed. This toy is crocheted inside out.
So, let’s start crocheting our monkey 🐒
PATTERN
Head – Lady Monkey
Begin with light yellow color
1: 6 sc in magic ring
2: inc in each stitch (12)
3: (1 sc, inc) * 6 (18)
4: (2 sc, inc) * 6 (24)
5: (3 sc, inc) * 6 (30)
Cut the yarn. Take brown yarn.
6: Crochet through the front loops of the row, as the toy will be inside out: (4 sc, inc) * 6 (36)
7: (5 sc, inc) * 6 (42)
8-11: No changes (42)
12: (dec, 5 sc) * 6 (36)
13: (dec, 4 sc) * 6 (30)
14: (dec, 3 sc) * 6 (24)
15: (dec, 2 sc) * 6 (18)
16: Stuff the head firmly, dec until closed (6)
Cut the yarn, draw the hole closed.

Body – Lady Monkey
Crochet with brown yarn
1: 6 sc in magic ring
2: inc in each stitch of the previous round (12)
3: (1 sc, inc) * 6 (18)
4: (2 sc, inc) * 6 (24)
5: (3 sc, inc) * 6 (30)
6: (4 sc, inc) * 6 (36)
7-12: No changes (36)
13: (dec, 4 sc) * 6 (30)
14: (dec, 3 sc) * 6 (24)
15-18: No changes (24)
19: (dec, 2 sc) * 6 (18)
20-21: No changes (18)
Cut the yarn, leaving a long tail for sewing to the head, stuff firmly.
Muzzle – Lady Monkey
1: Chain 5 + 1 turning chain
2: In the 2nd chain from hook – 2 sc, 3 sc in each of the next chains, 3 sc in the last chain (end chain), 4 sc in each of the next chains (12)
3: inc, 4 sc in the next stitches of the previous round, inc, 1 sc, inc, 3 sc, inc (16)
4: inc, 6 sc, inc, 1 sc, inc, 5 sc, inc (20)
5-6: No changes (20)
Cut the yarn, leaving a long tail for sewing.
Arms (Make 2) Lady Monkey
Crochet with light yellow yarn
1: 6 sc in magic ring
2: inc in each stitch of the previous round (12)
3-5: No changes (12)
6: (dec, 1 sc) * 4 (8)
Cut the yarn, take brown yarn.
7-20: No changes (8)
Cut the yarn, leaving a long tail. Stuff only the bottom part. Optionally, insert wire.
Similarly, crochet the second arm.
Feet (Make 2)
Crochet with light yellow yarn
1: 6 sc in magic ring
2: inc in each stitch of the previous round (12)
3: (1 sc, inc) * 6 (18)
4-6: No changes (18)
7: (dec, 7 sc) * 2 (16)
8: (dec, 6 sc) * 2 (14)
9: (dec, 5 sc) * 2 (12)
10: No changes (12)
Stuff with stuffing
11: dec until closed (6)
Cut the yarn, draw the hole closed.
Legs (Make 2) Lady Monkey
1: Chain 10 + 1 turning chain, join to form a ring
2-13: 10 sc in each chain
Cut the yarn, leaving a long tail for sewing.
Sew legs to feet.
Ears (Make 2) Lady Monkey
Crochet with light yellow yarn
1: 6 sc in magic ring
2: inc in each stitch of the previous round (12)
3: (1 sc, inc) * 6 (18)
4-6: No changes (18)
7: (dec, 1 sc) * 6 (12)
Fold the ear and cut the yarn.


Tail
1: 8 sc in magic ring
2-36: No changes (8)
Cut the yarn, leaving a long tail for sewing.
Now, sew all the parts together. First, attach the head to the body, then stuff the muzzle and sew it to the head.
Next, sew on the arms, sew the legs slightly to the sides, then embroider the fingers with brown thread.
Sew the ears in a semi-circle, making a small tuft.
Create a gather on the head by inserting a thread at the base of the muzzle, strictly in the middle, where the head is sewn to the body, and bring it up through the light yellow semi-circle, catching our light yellow semi-circle and thread through the entire muzzle, at the point where we inserted the thread, tightening the top of our semi-circle, after which we get 2 arches so to speak, tie a knot and hide the thread.
Sew the eyes a little apart, gradually pulling them closer to each other, creating a small nose bridge. Embroider the nose with black and the mouth with red. To make a belly button, insert the thread at the tail location and bring it through the entire body to the belly button location, then go back, tightening. Then sew on our tail.
You can slightly shade the face and ears, I did it with regular shadows, around the eyes and inside the ears.
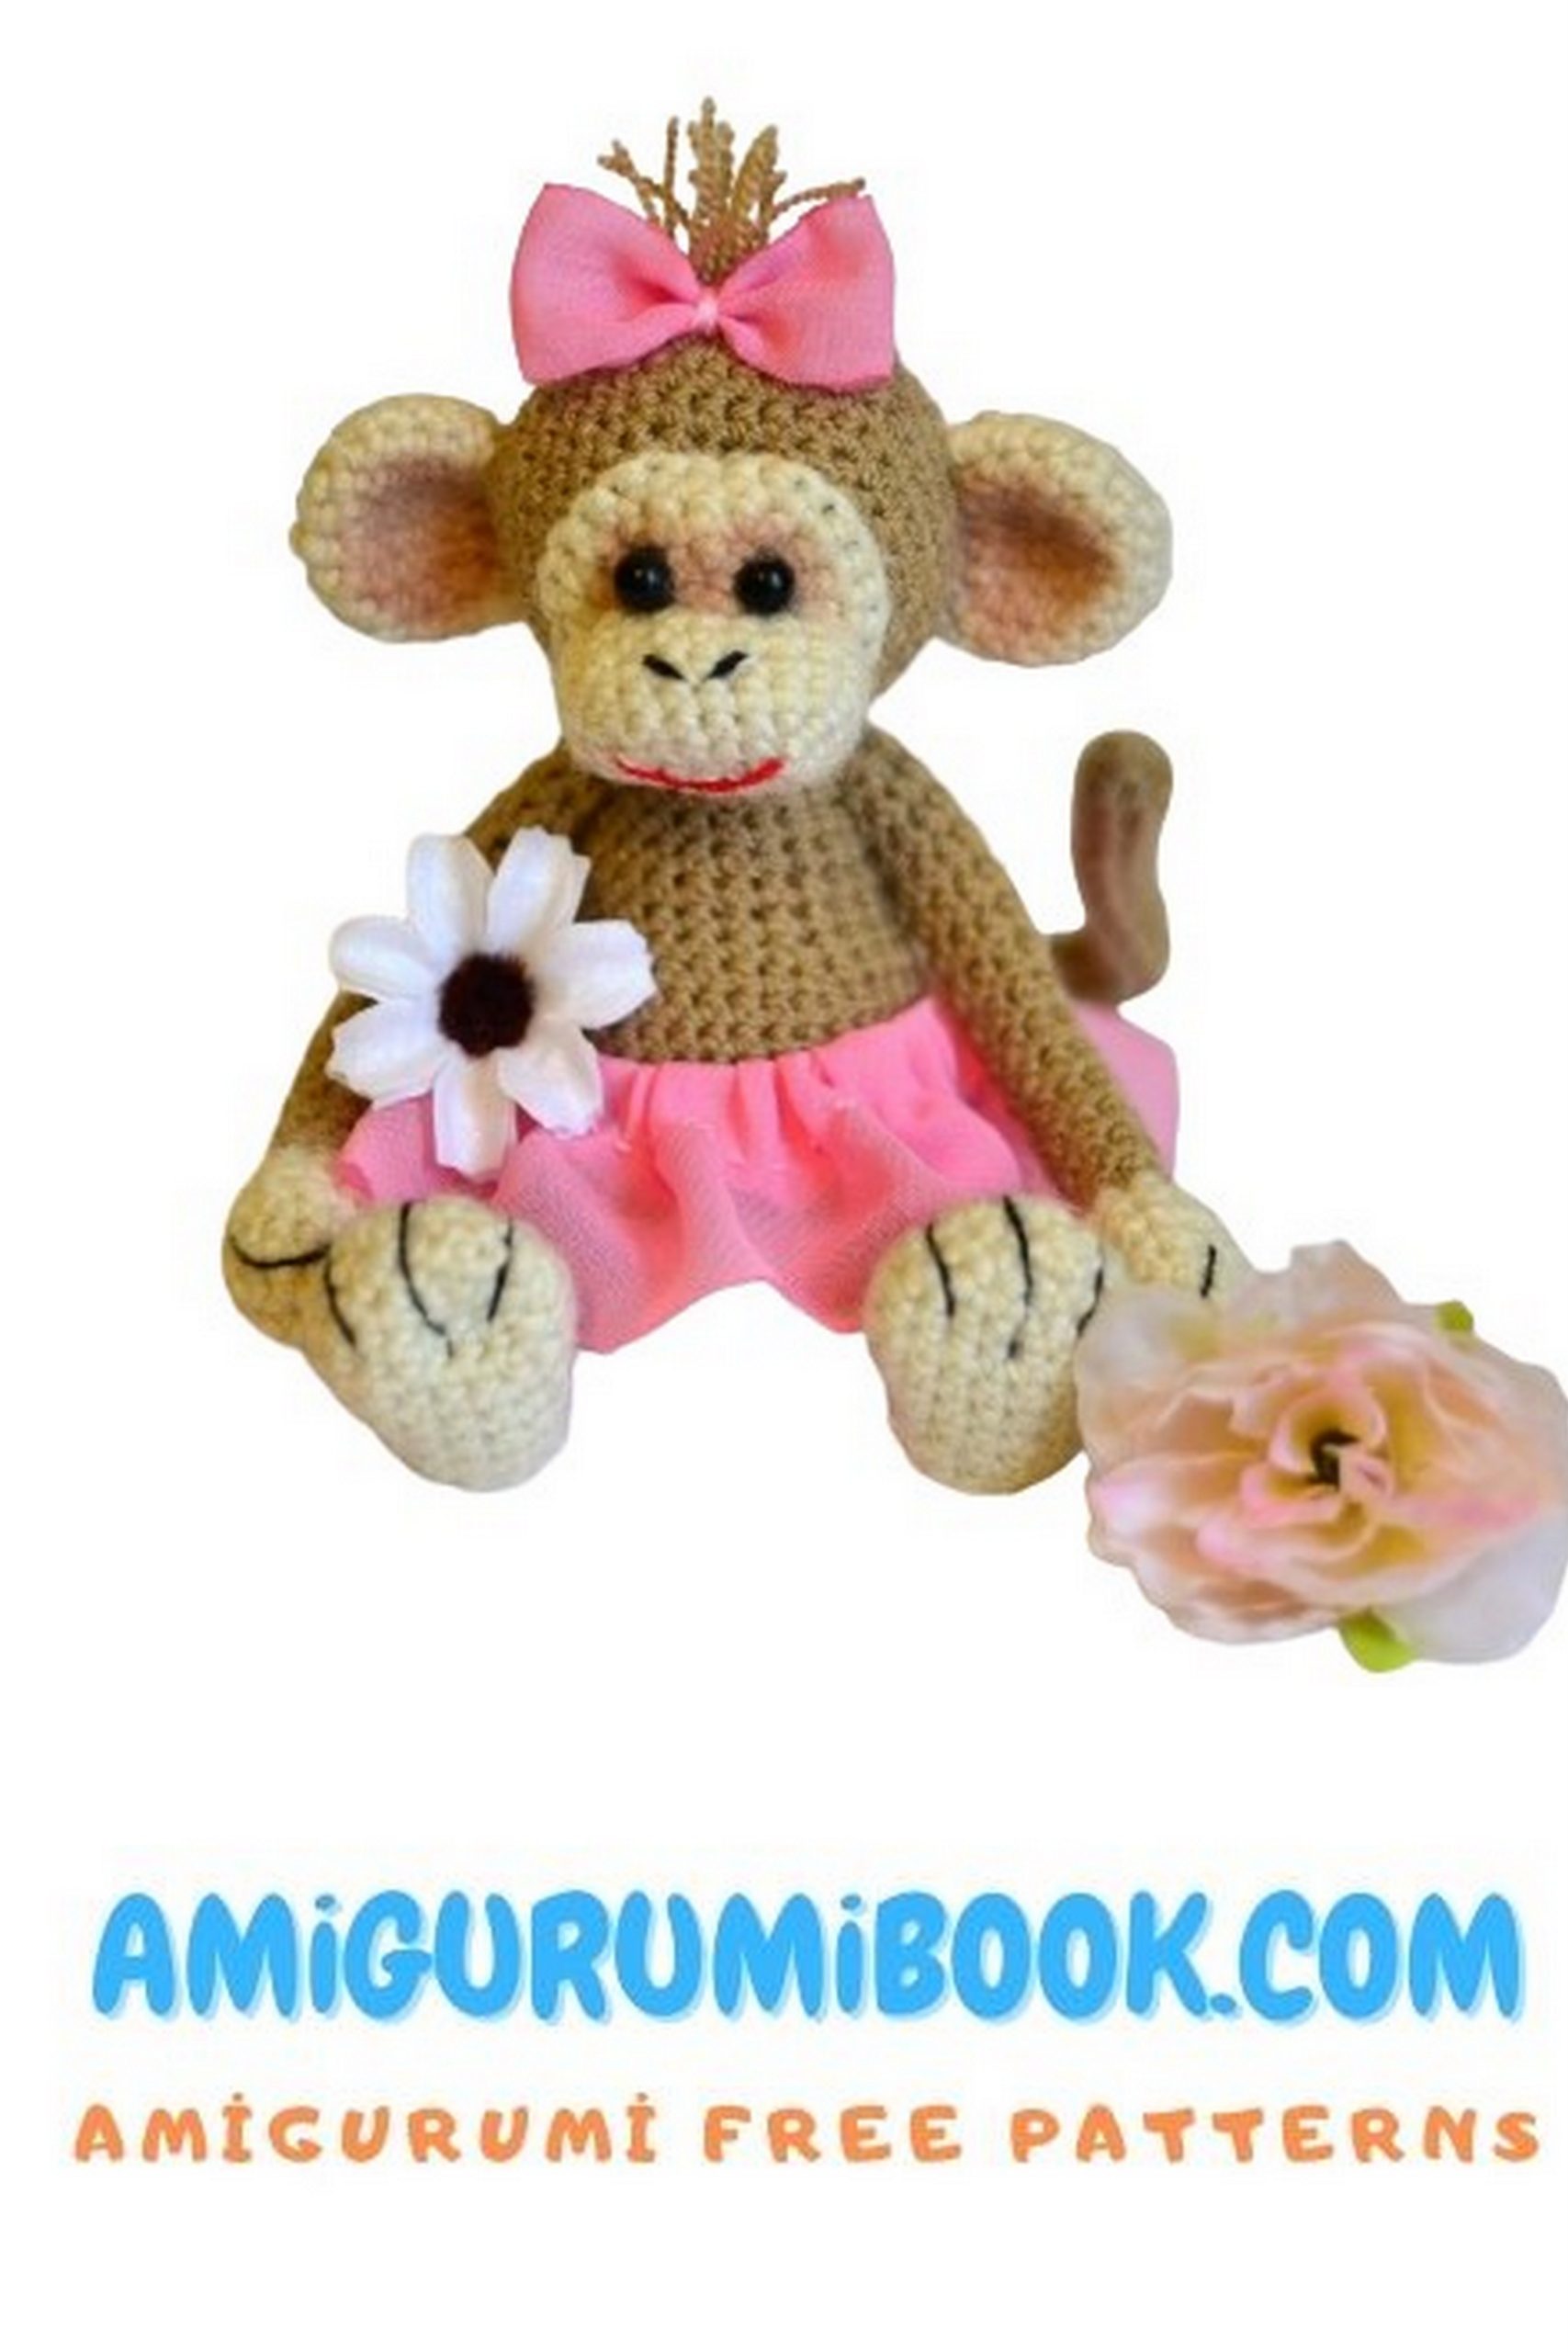
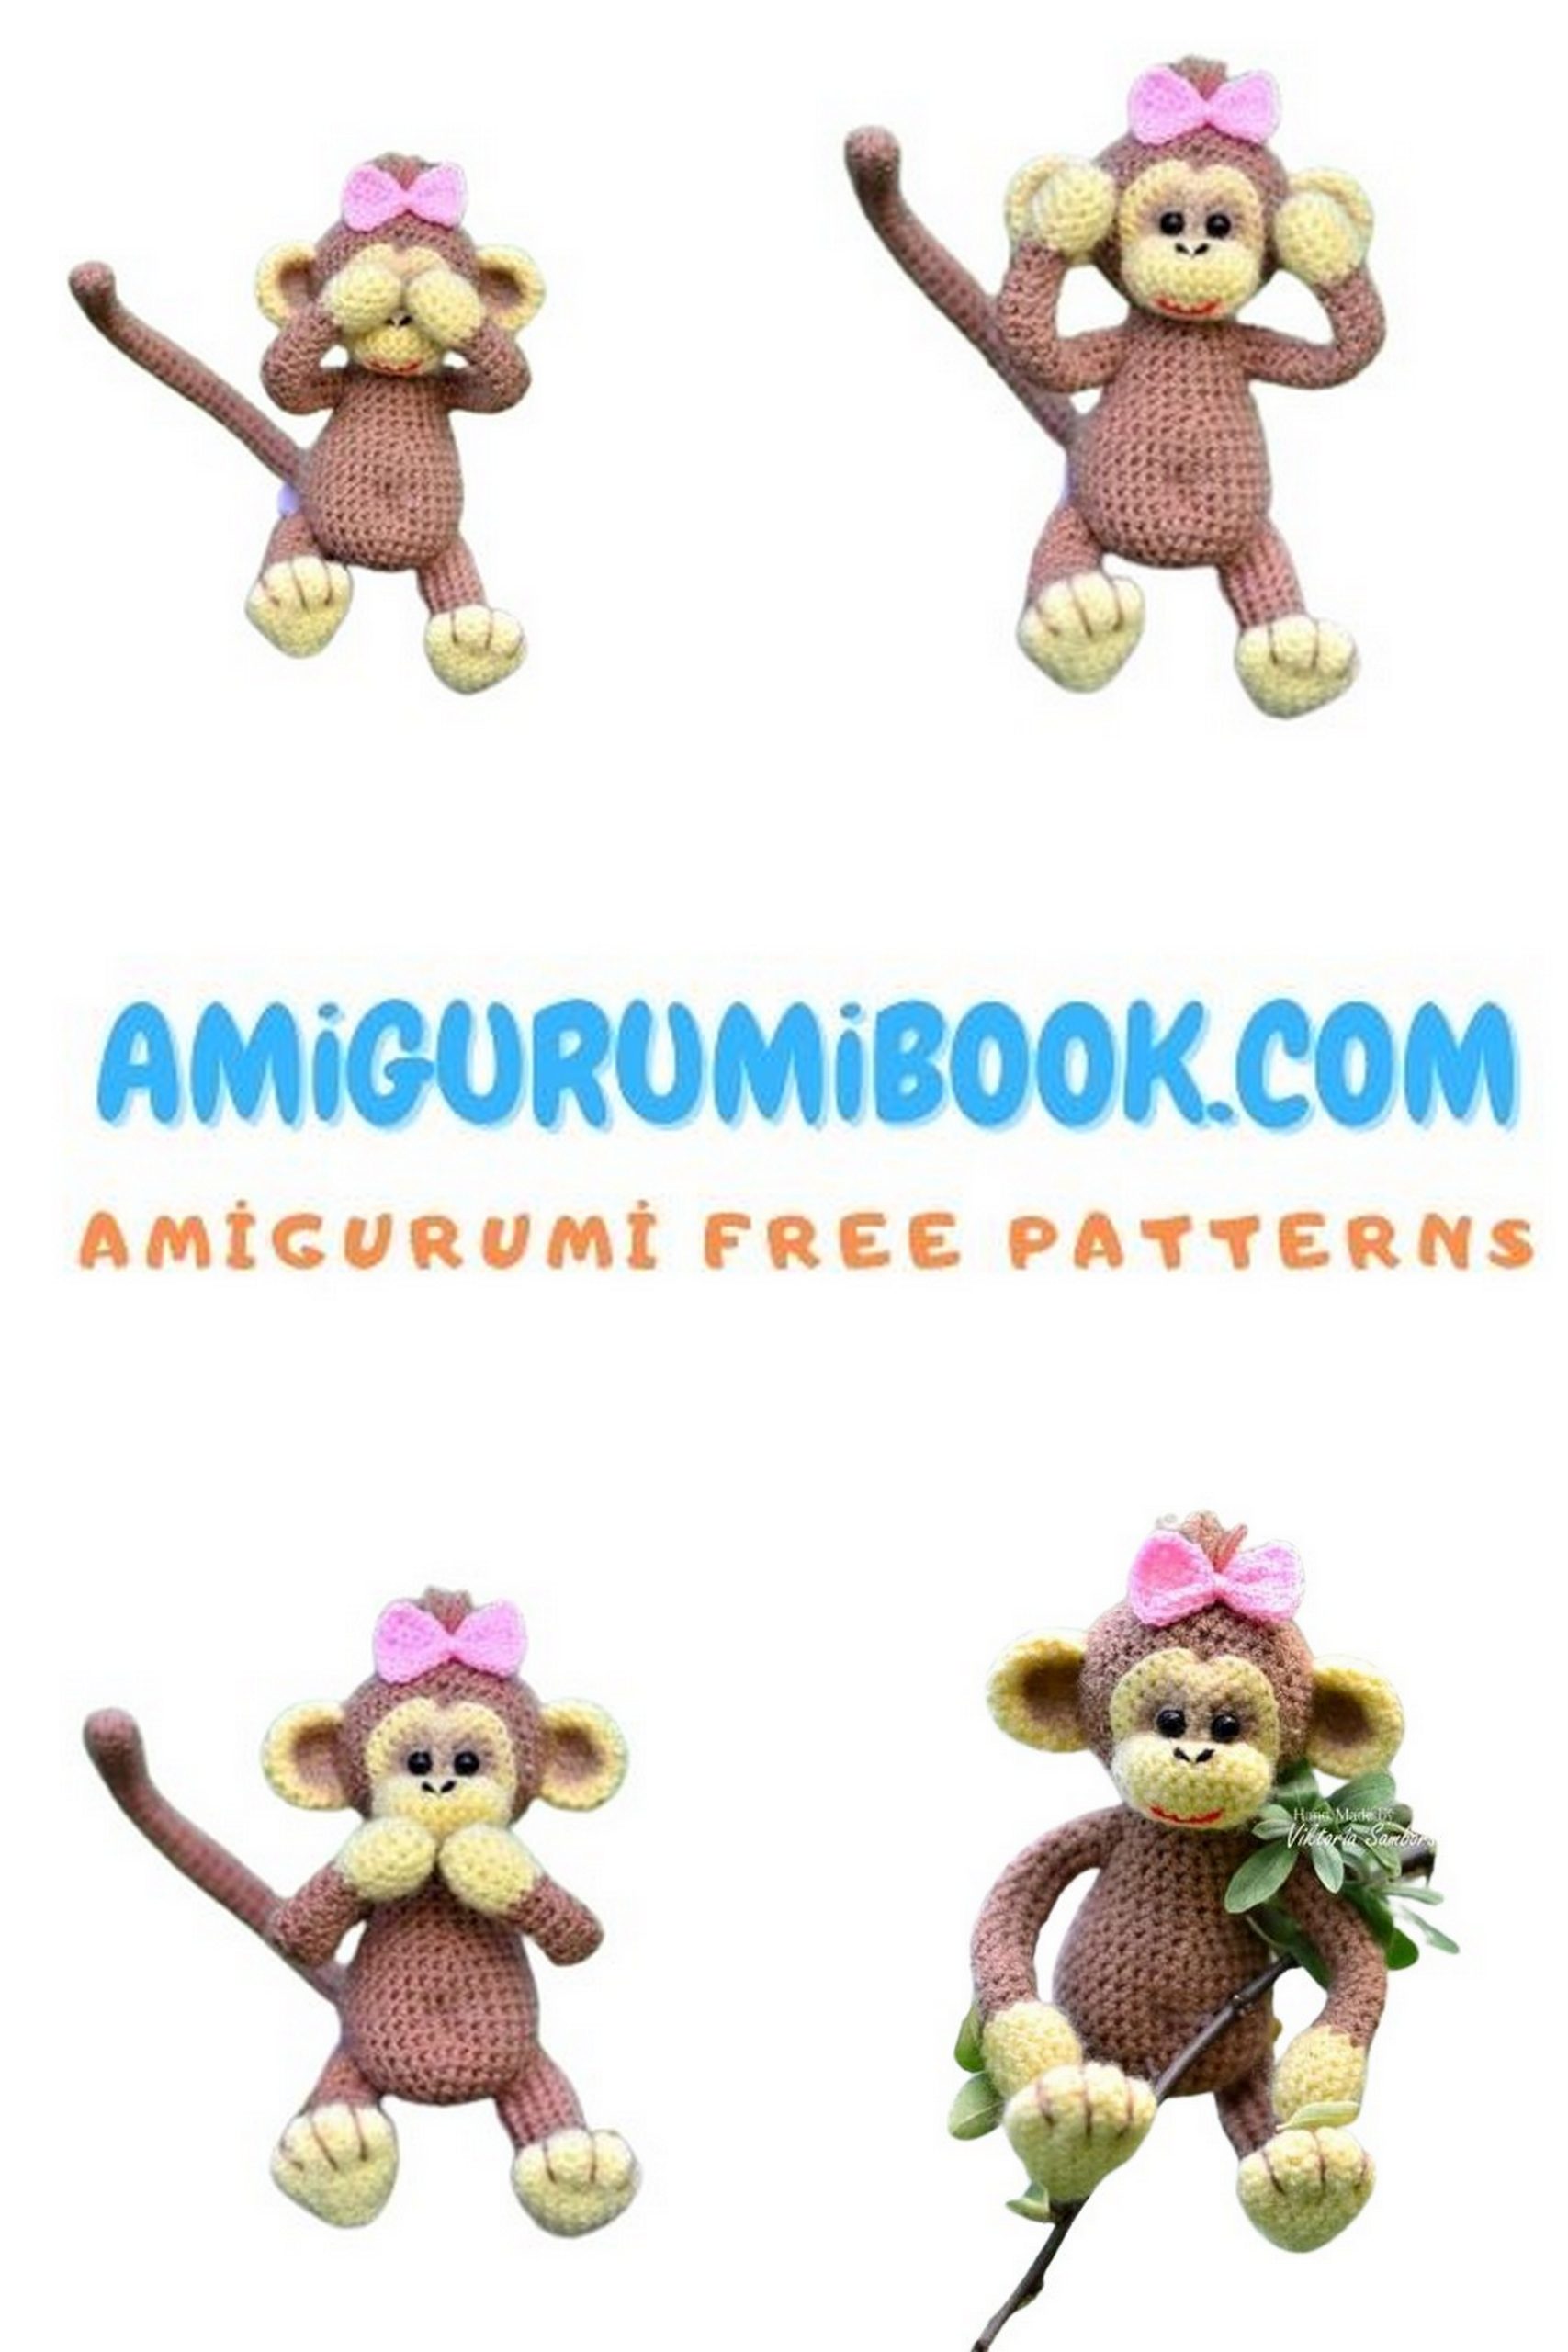
That’s it, our monkey is ready 🐒. The height is approximately 16 cm when using the same yarn as mine.
Happy crocheting, dear friends!!!