
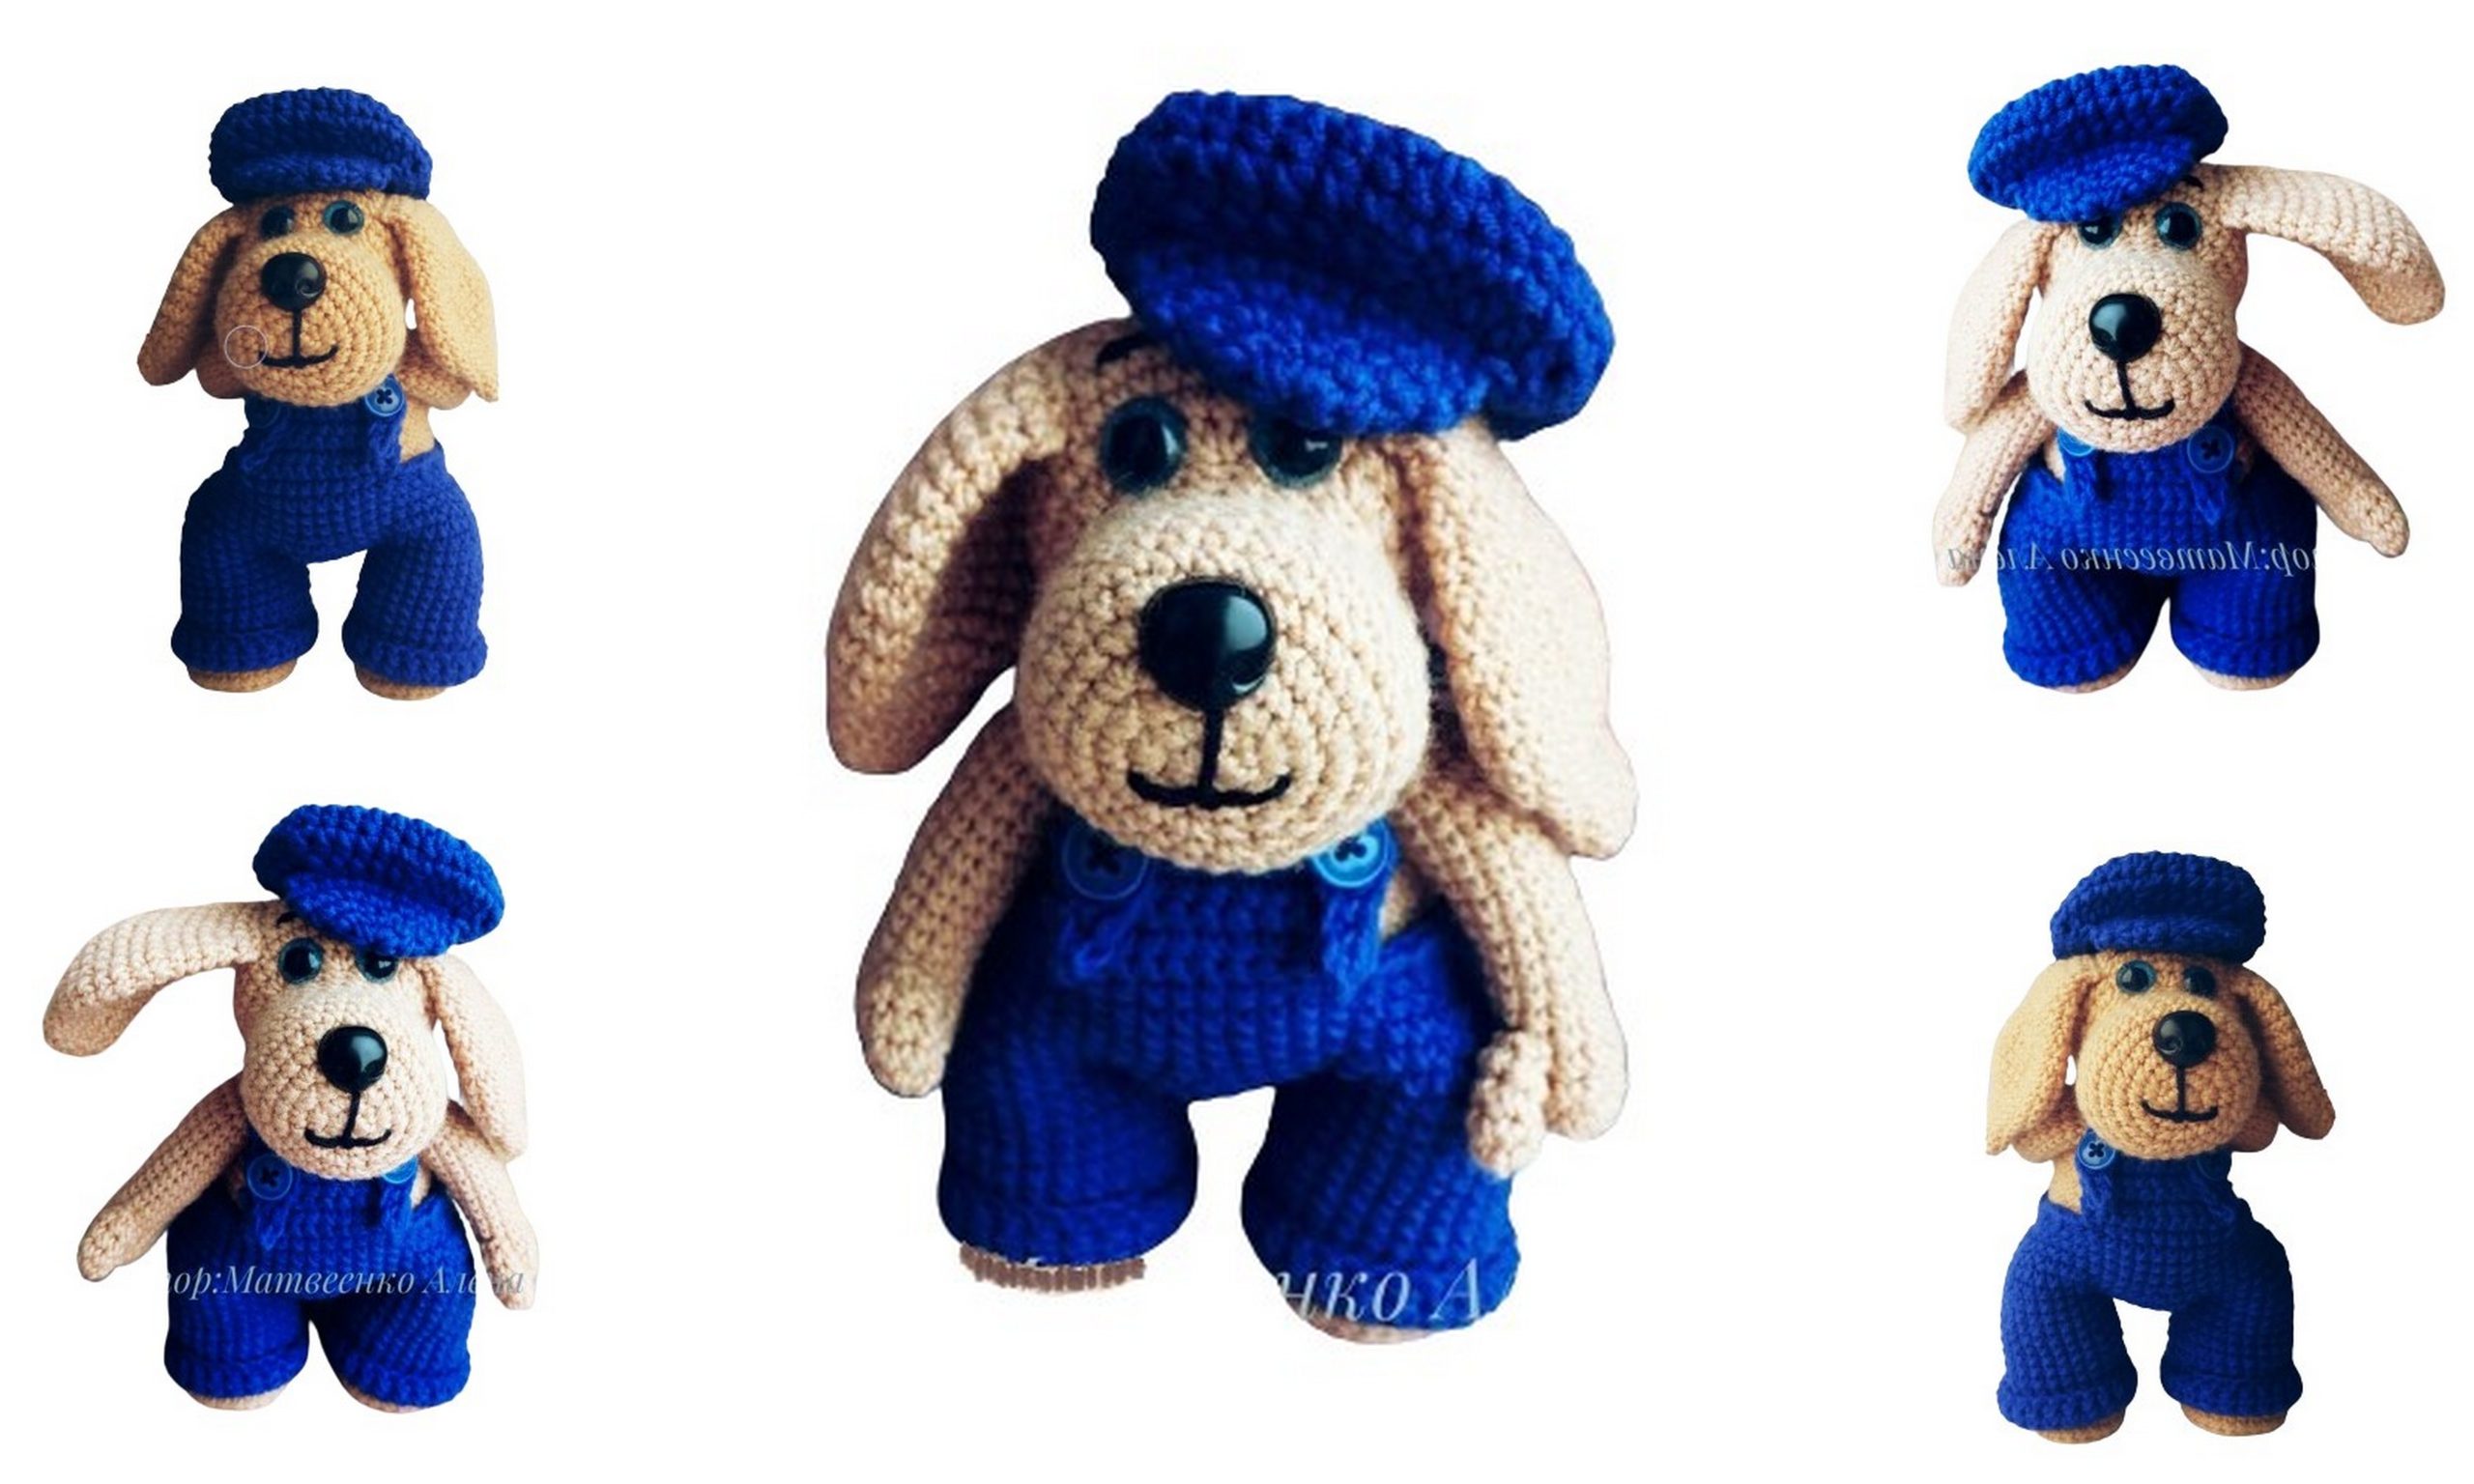
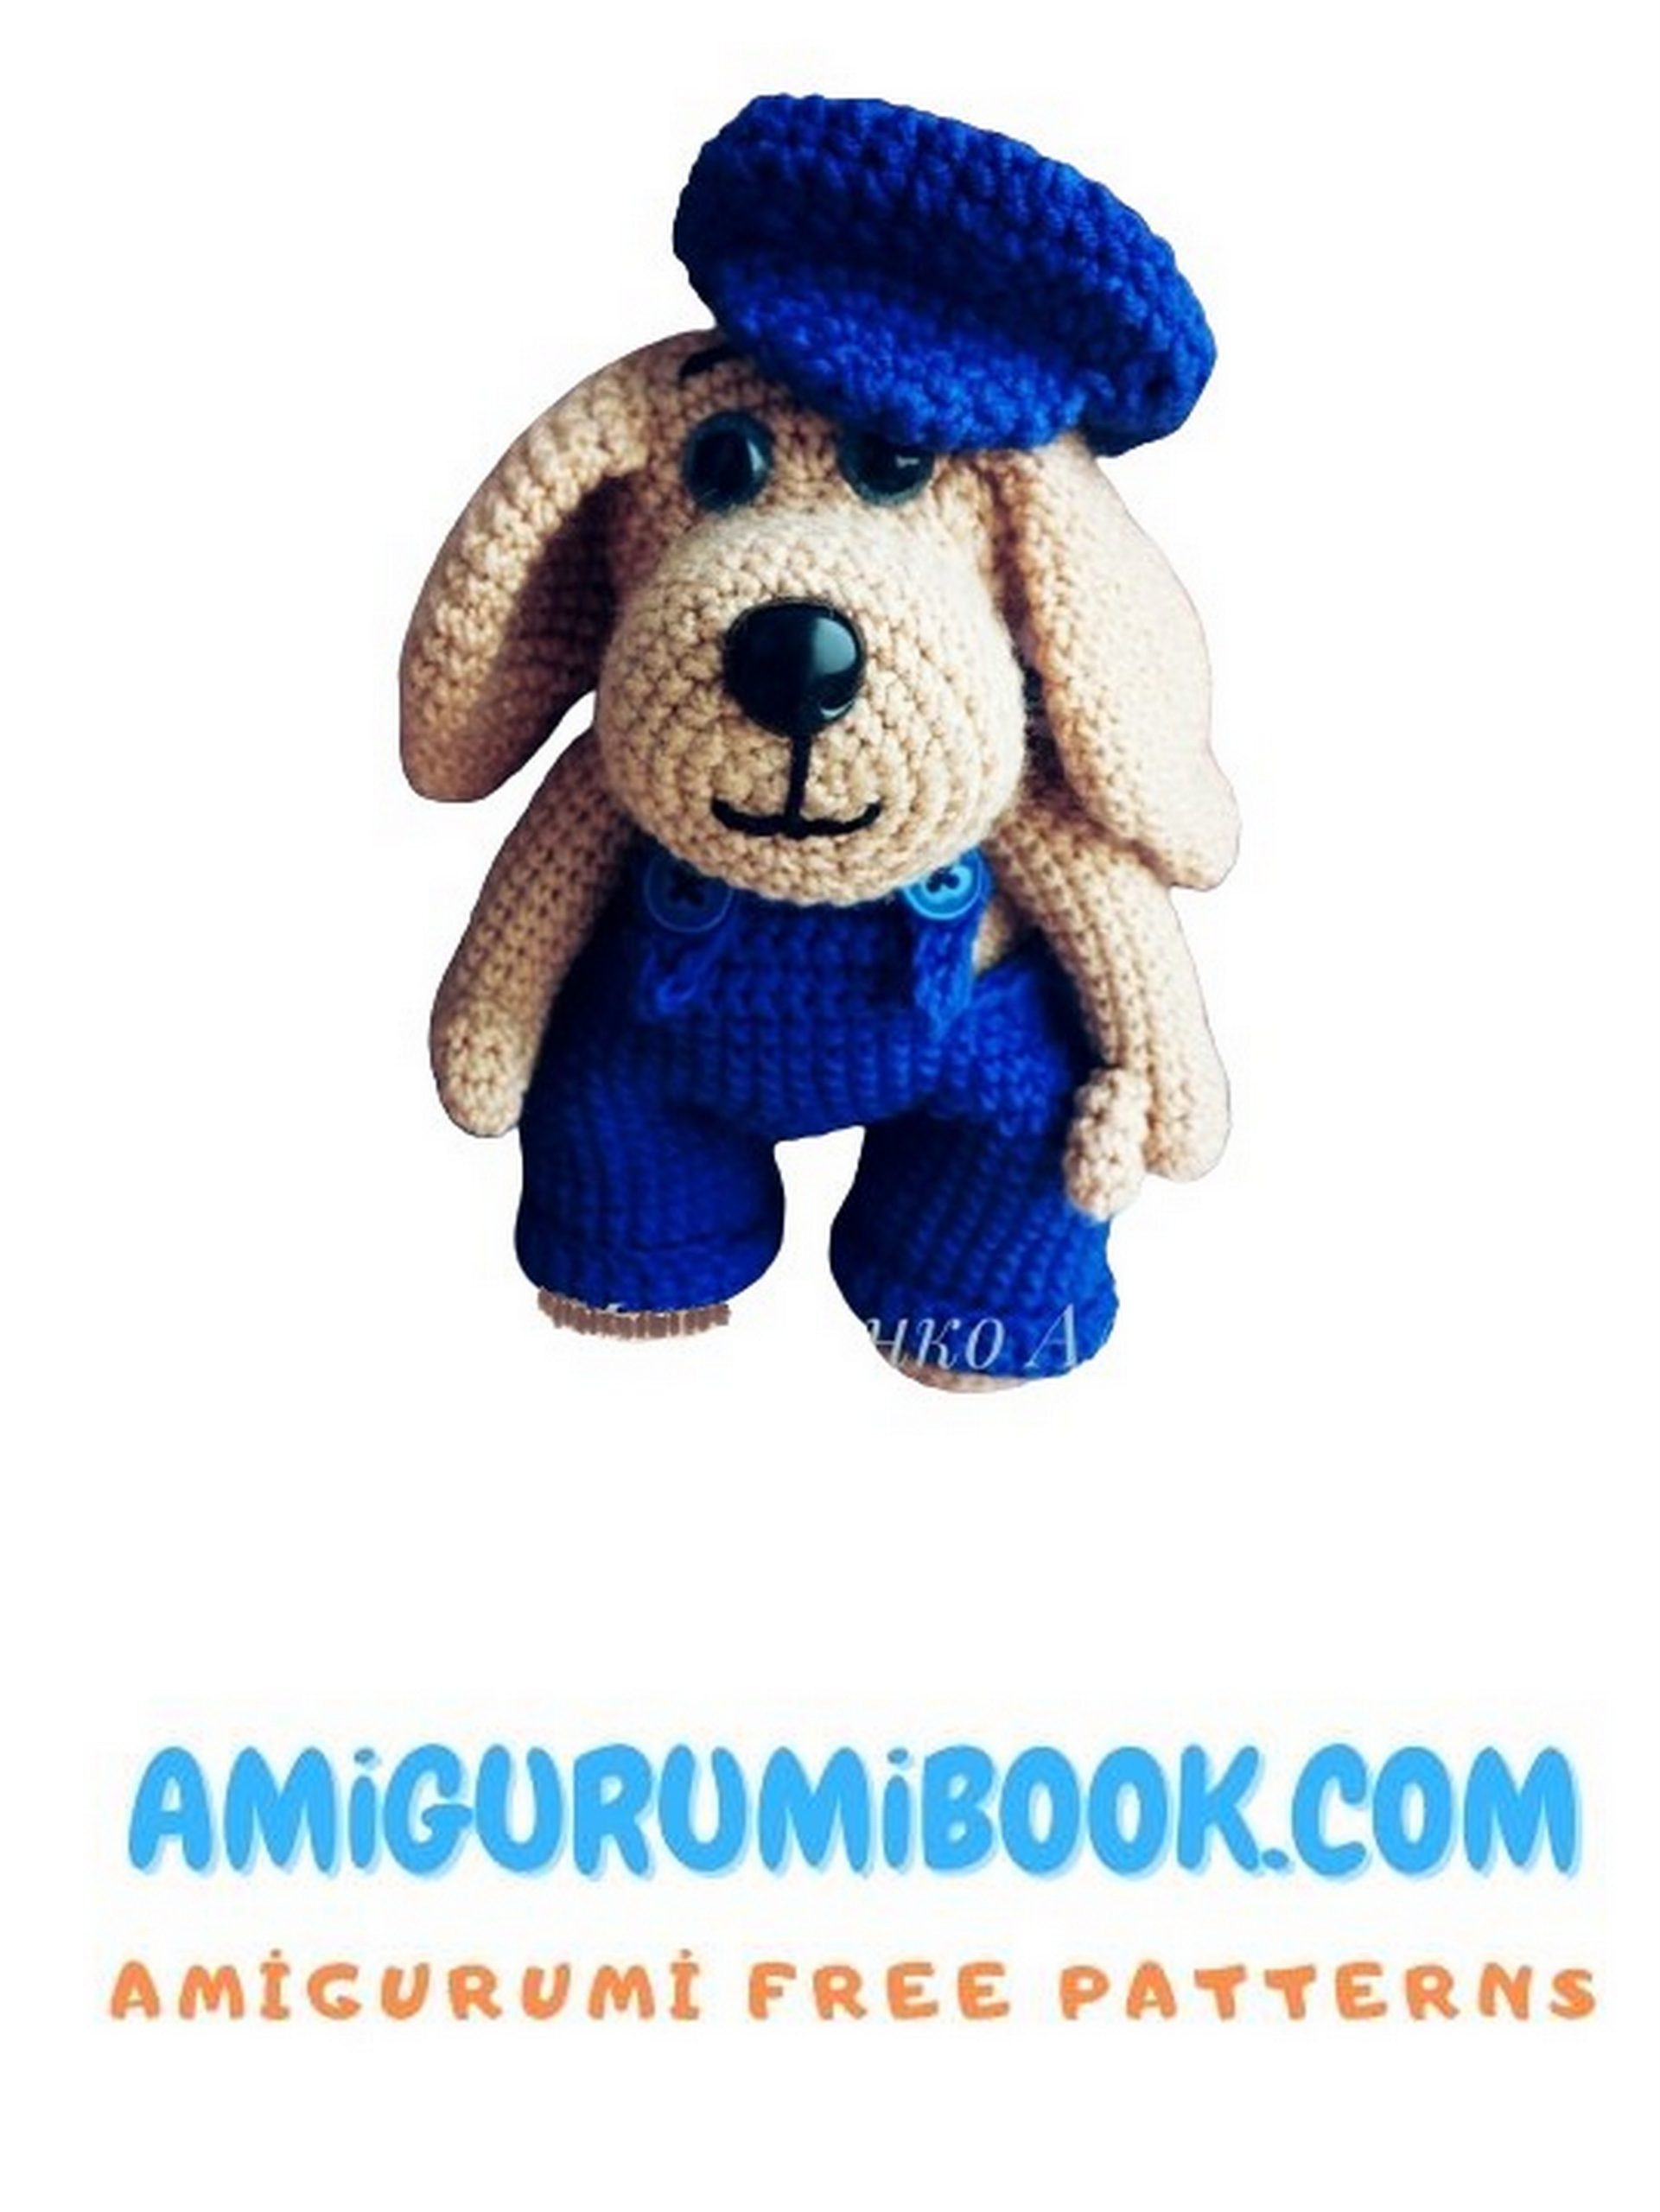
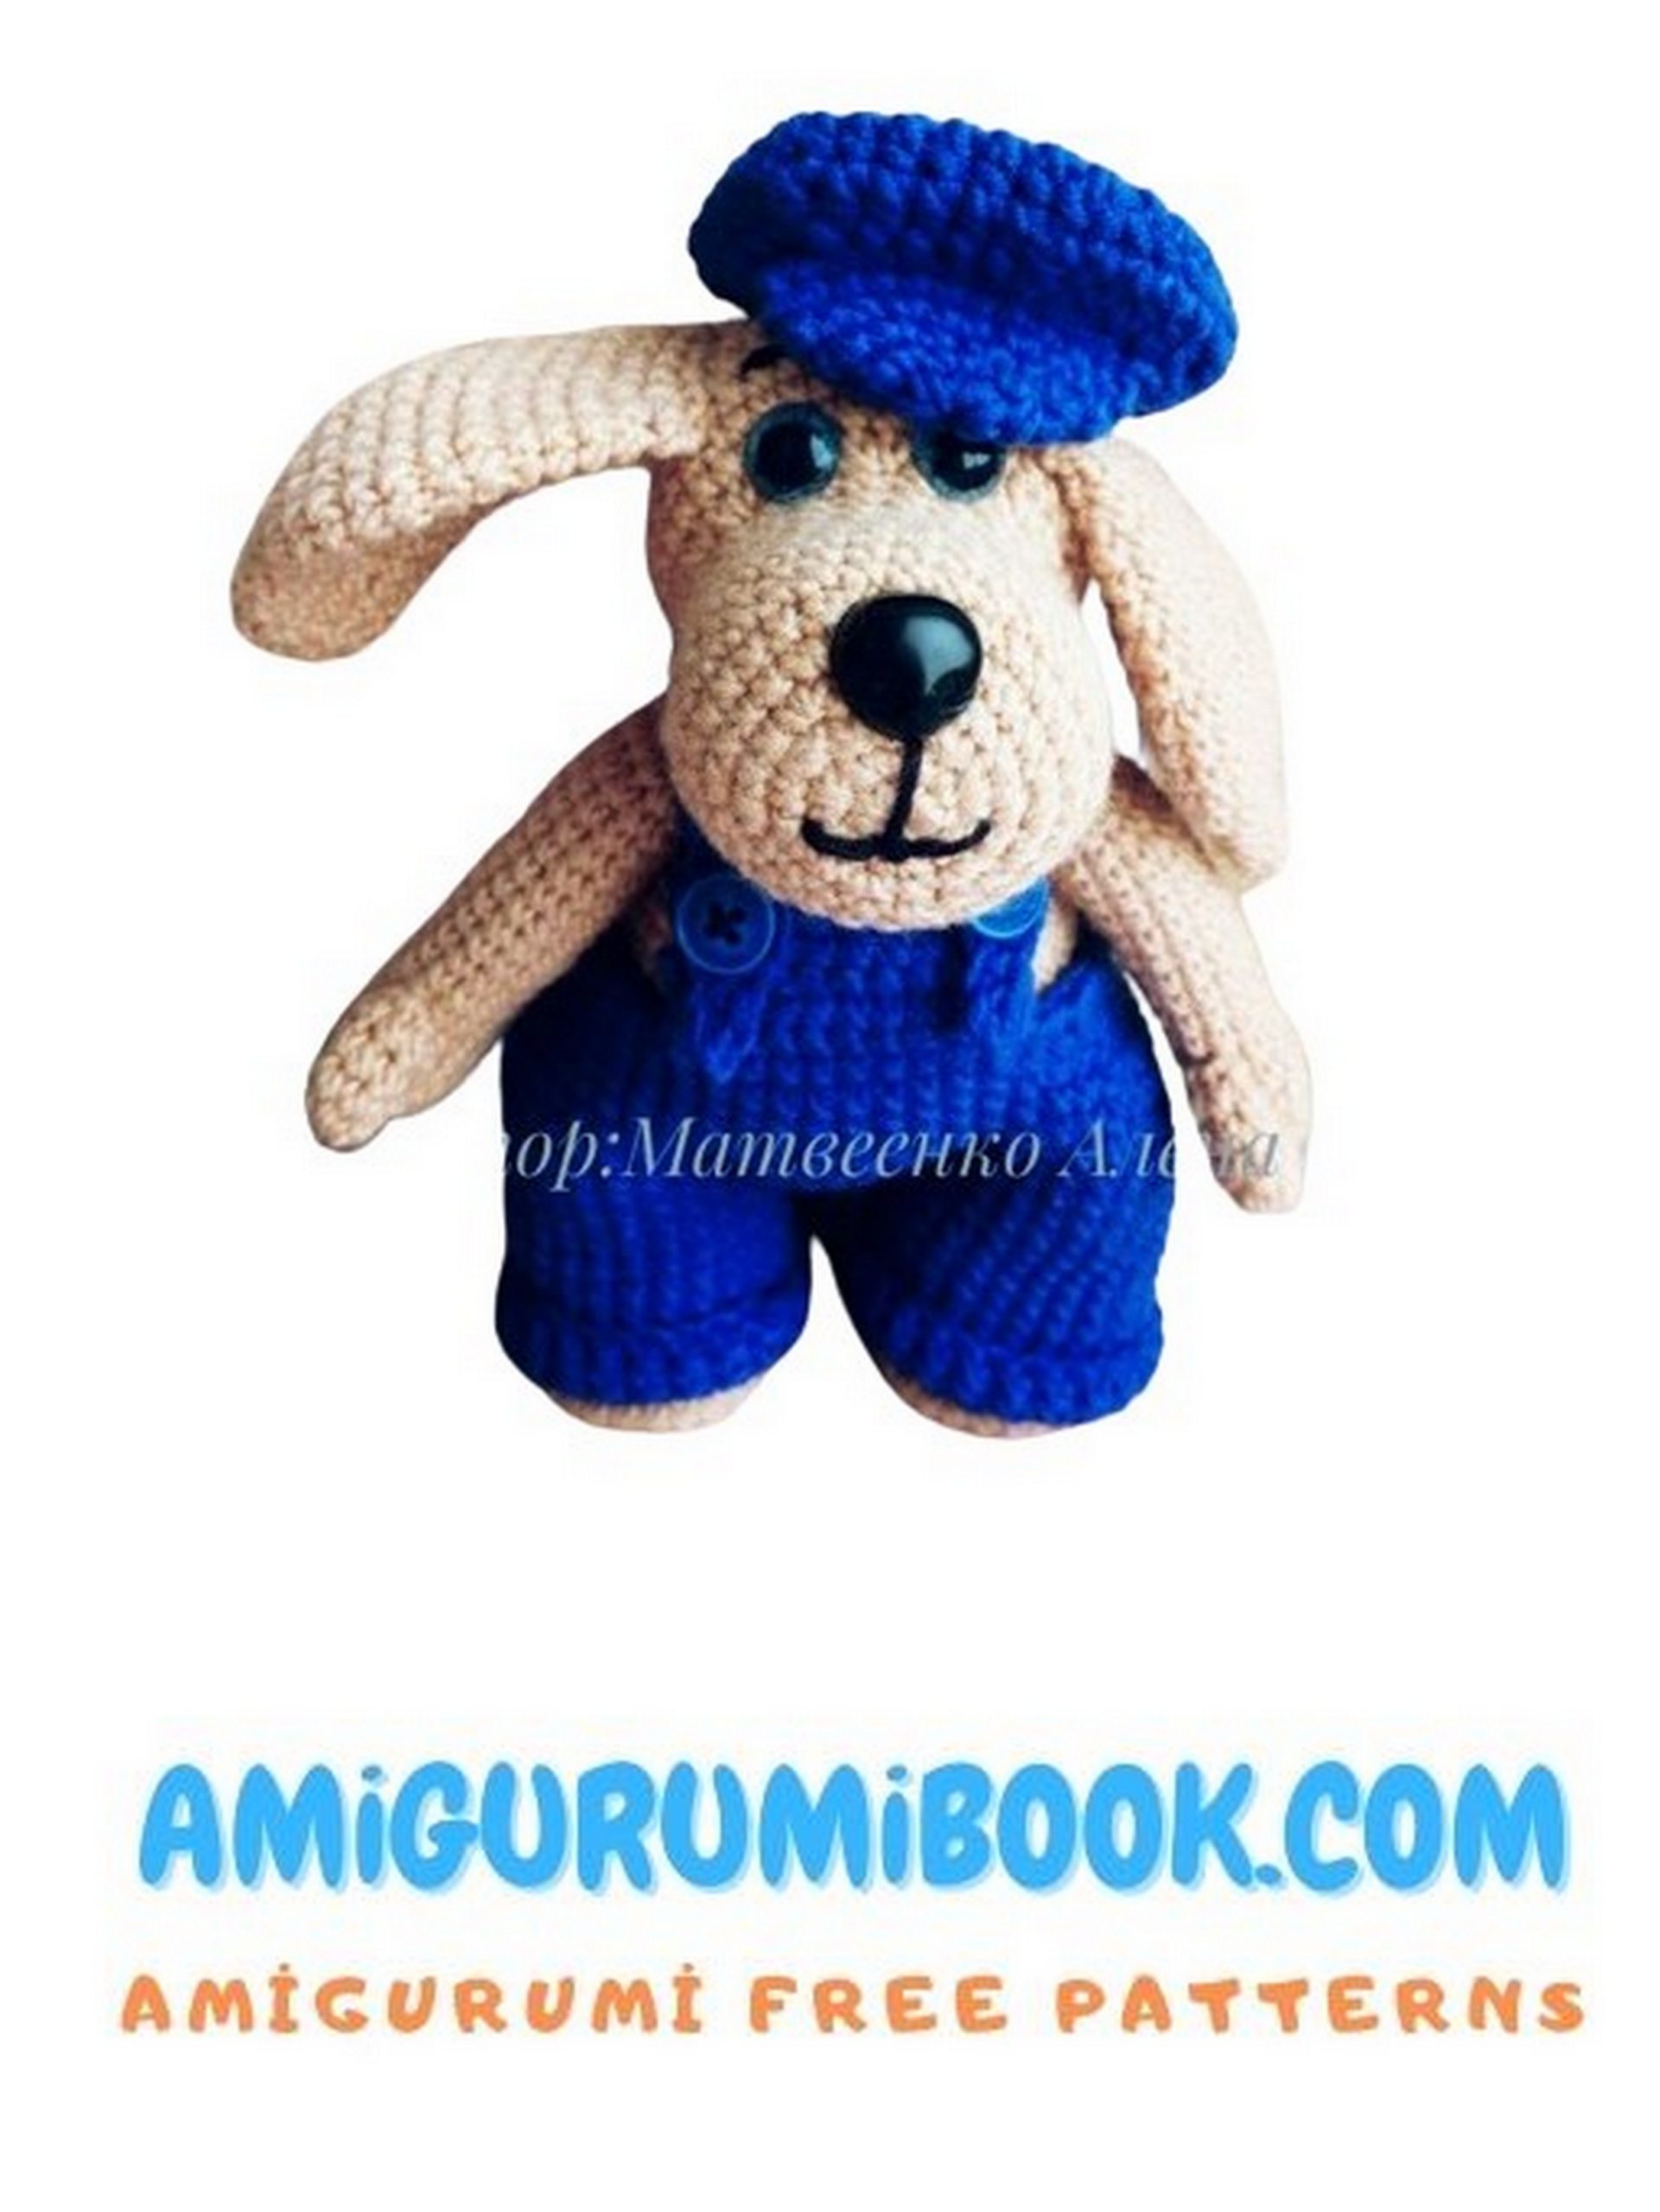
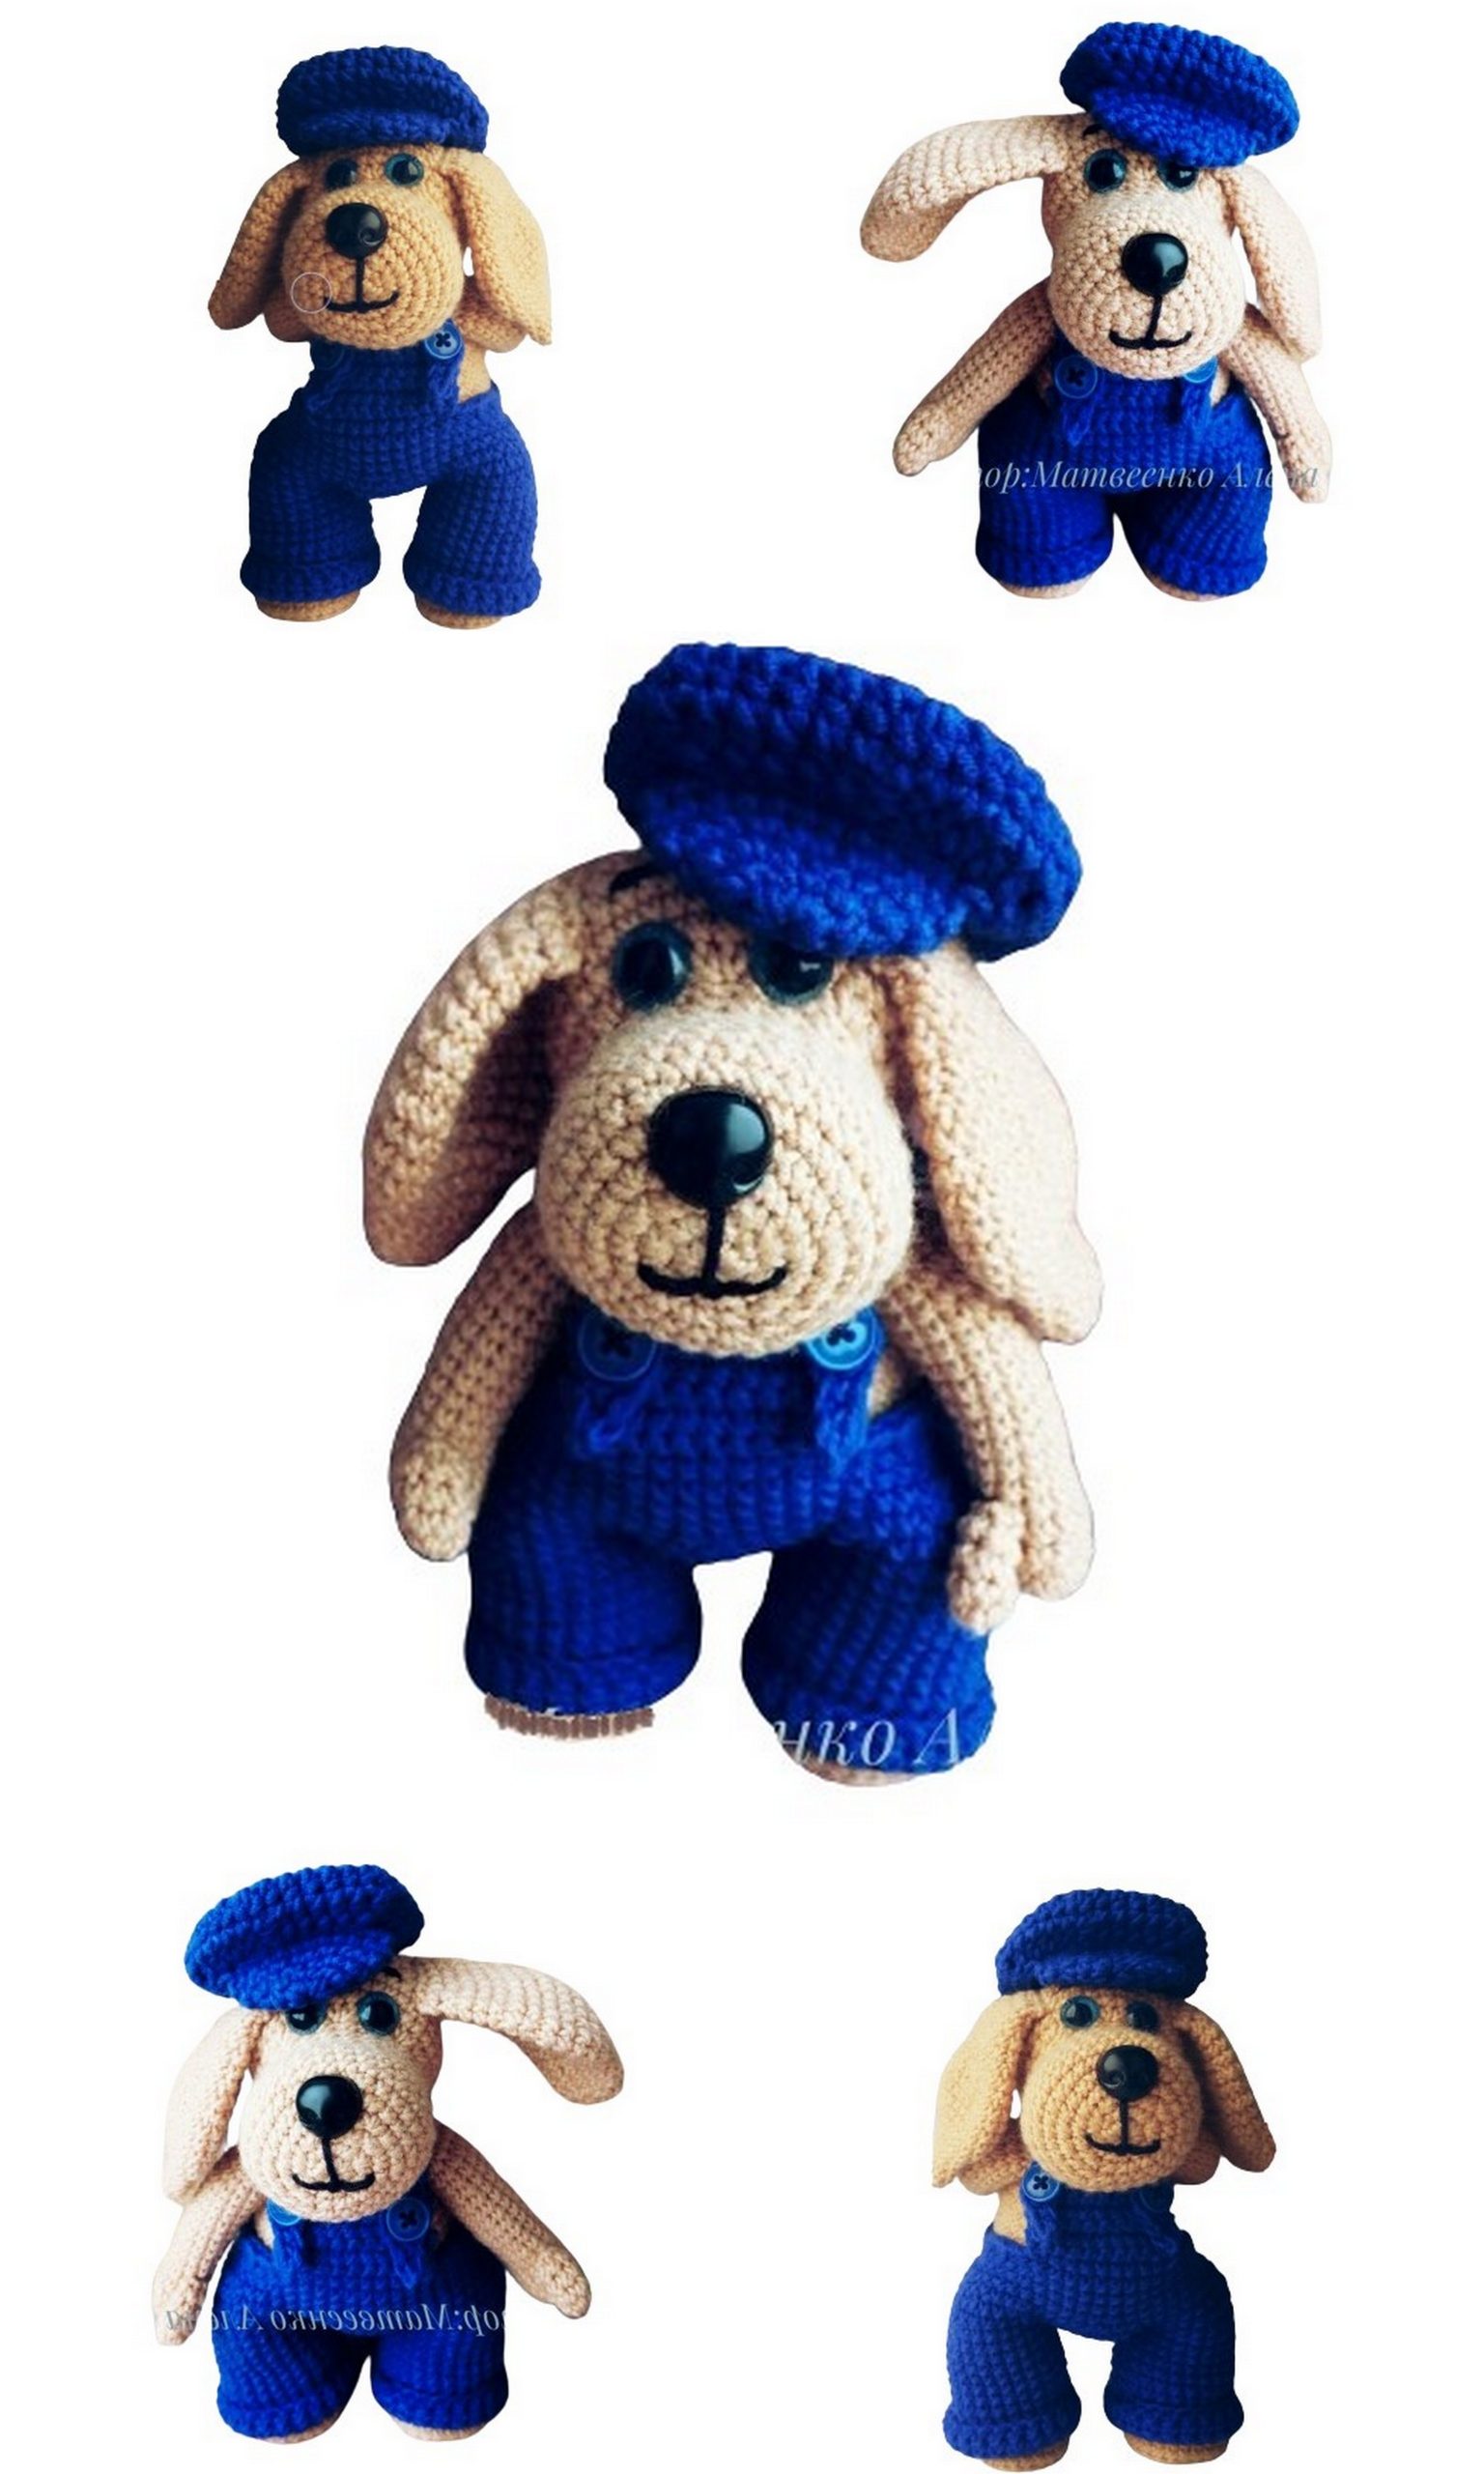
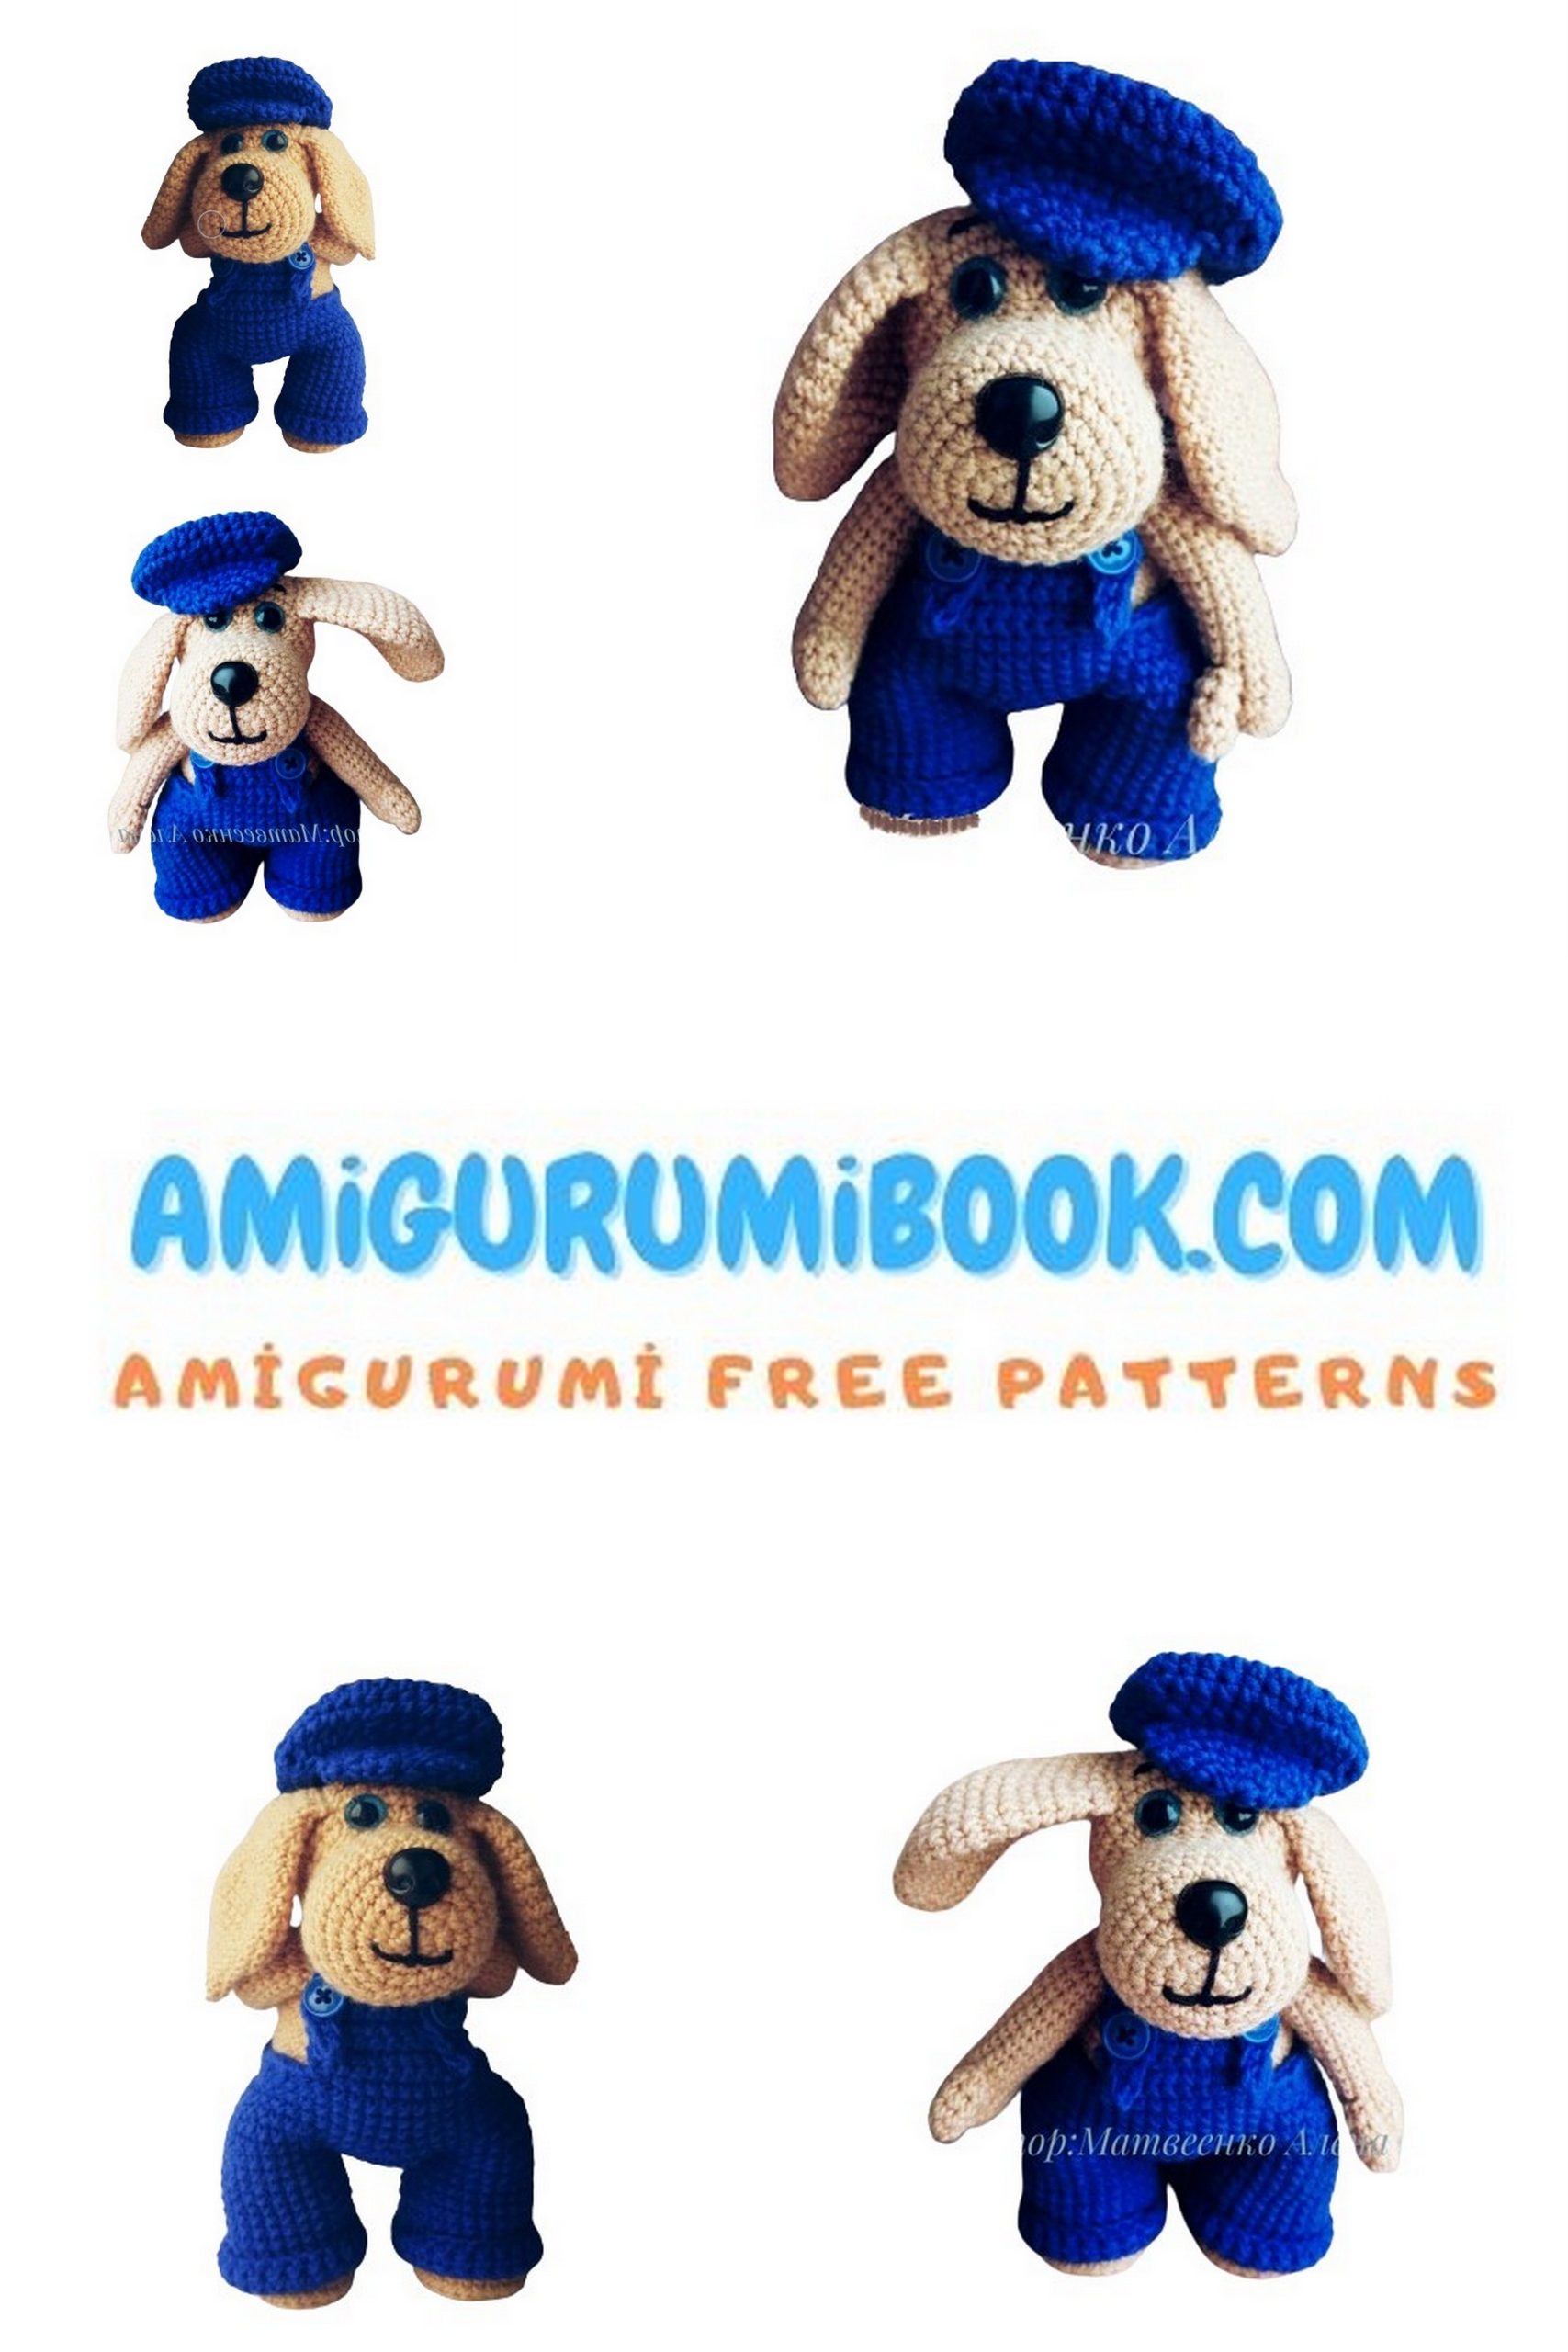
Welcome to our creative corner of crochet wonders! If you’re a fan of amigurumi and enjoy crafting charming characters with unique attire, you’re in for a delightful adventure. Today, we’re thrilled to share a special free pattern for crafting your very own hat and overalls dog amigurumi. With its stylish accessories and playful personality, this project offers a fun twist on traditional amigurumi designs. Whether you’re an experienced crocheter or just starting out, this pattern is perfect for all skill levels. So, grab your crochet hook and let’s embark on a journey to create a fashionable canine companion that will steal hearts with its adorable outfit!
Would you like a suggestion for your amigurumi dog collection? I think amigurumi tiny dog will suit your collection very well.
If you want to access 1000+ free amigurumi patterns, you can download our application from this link!
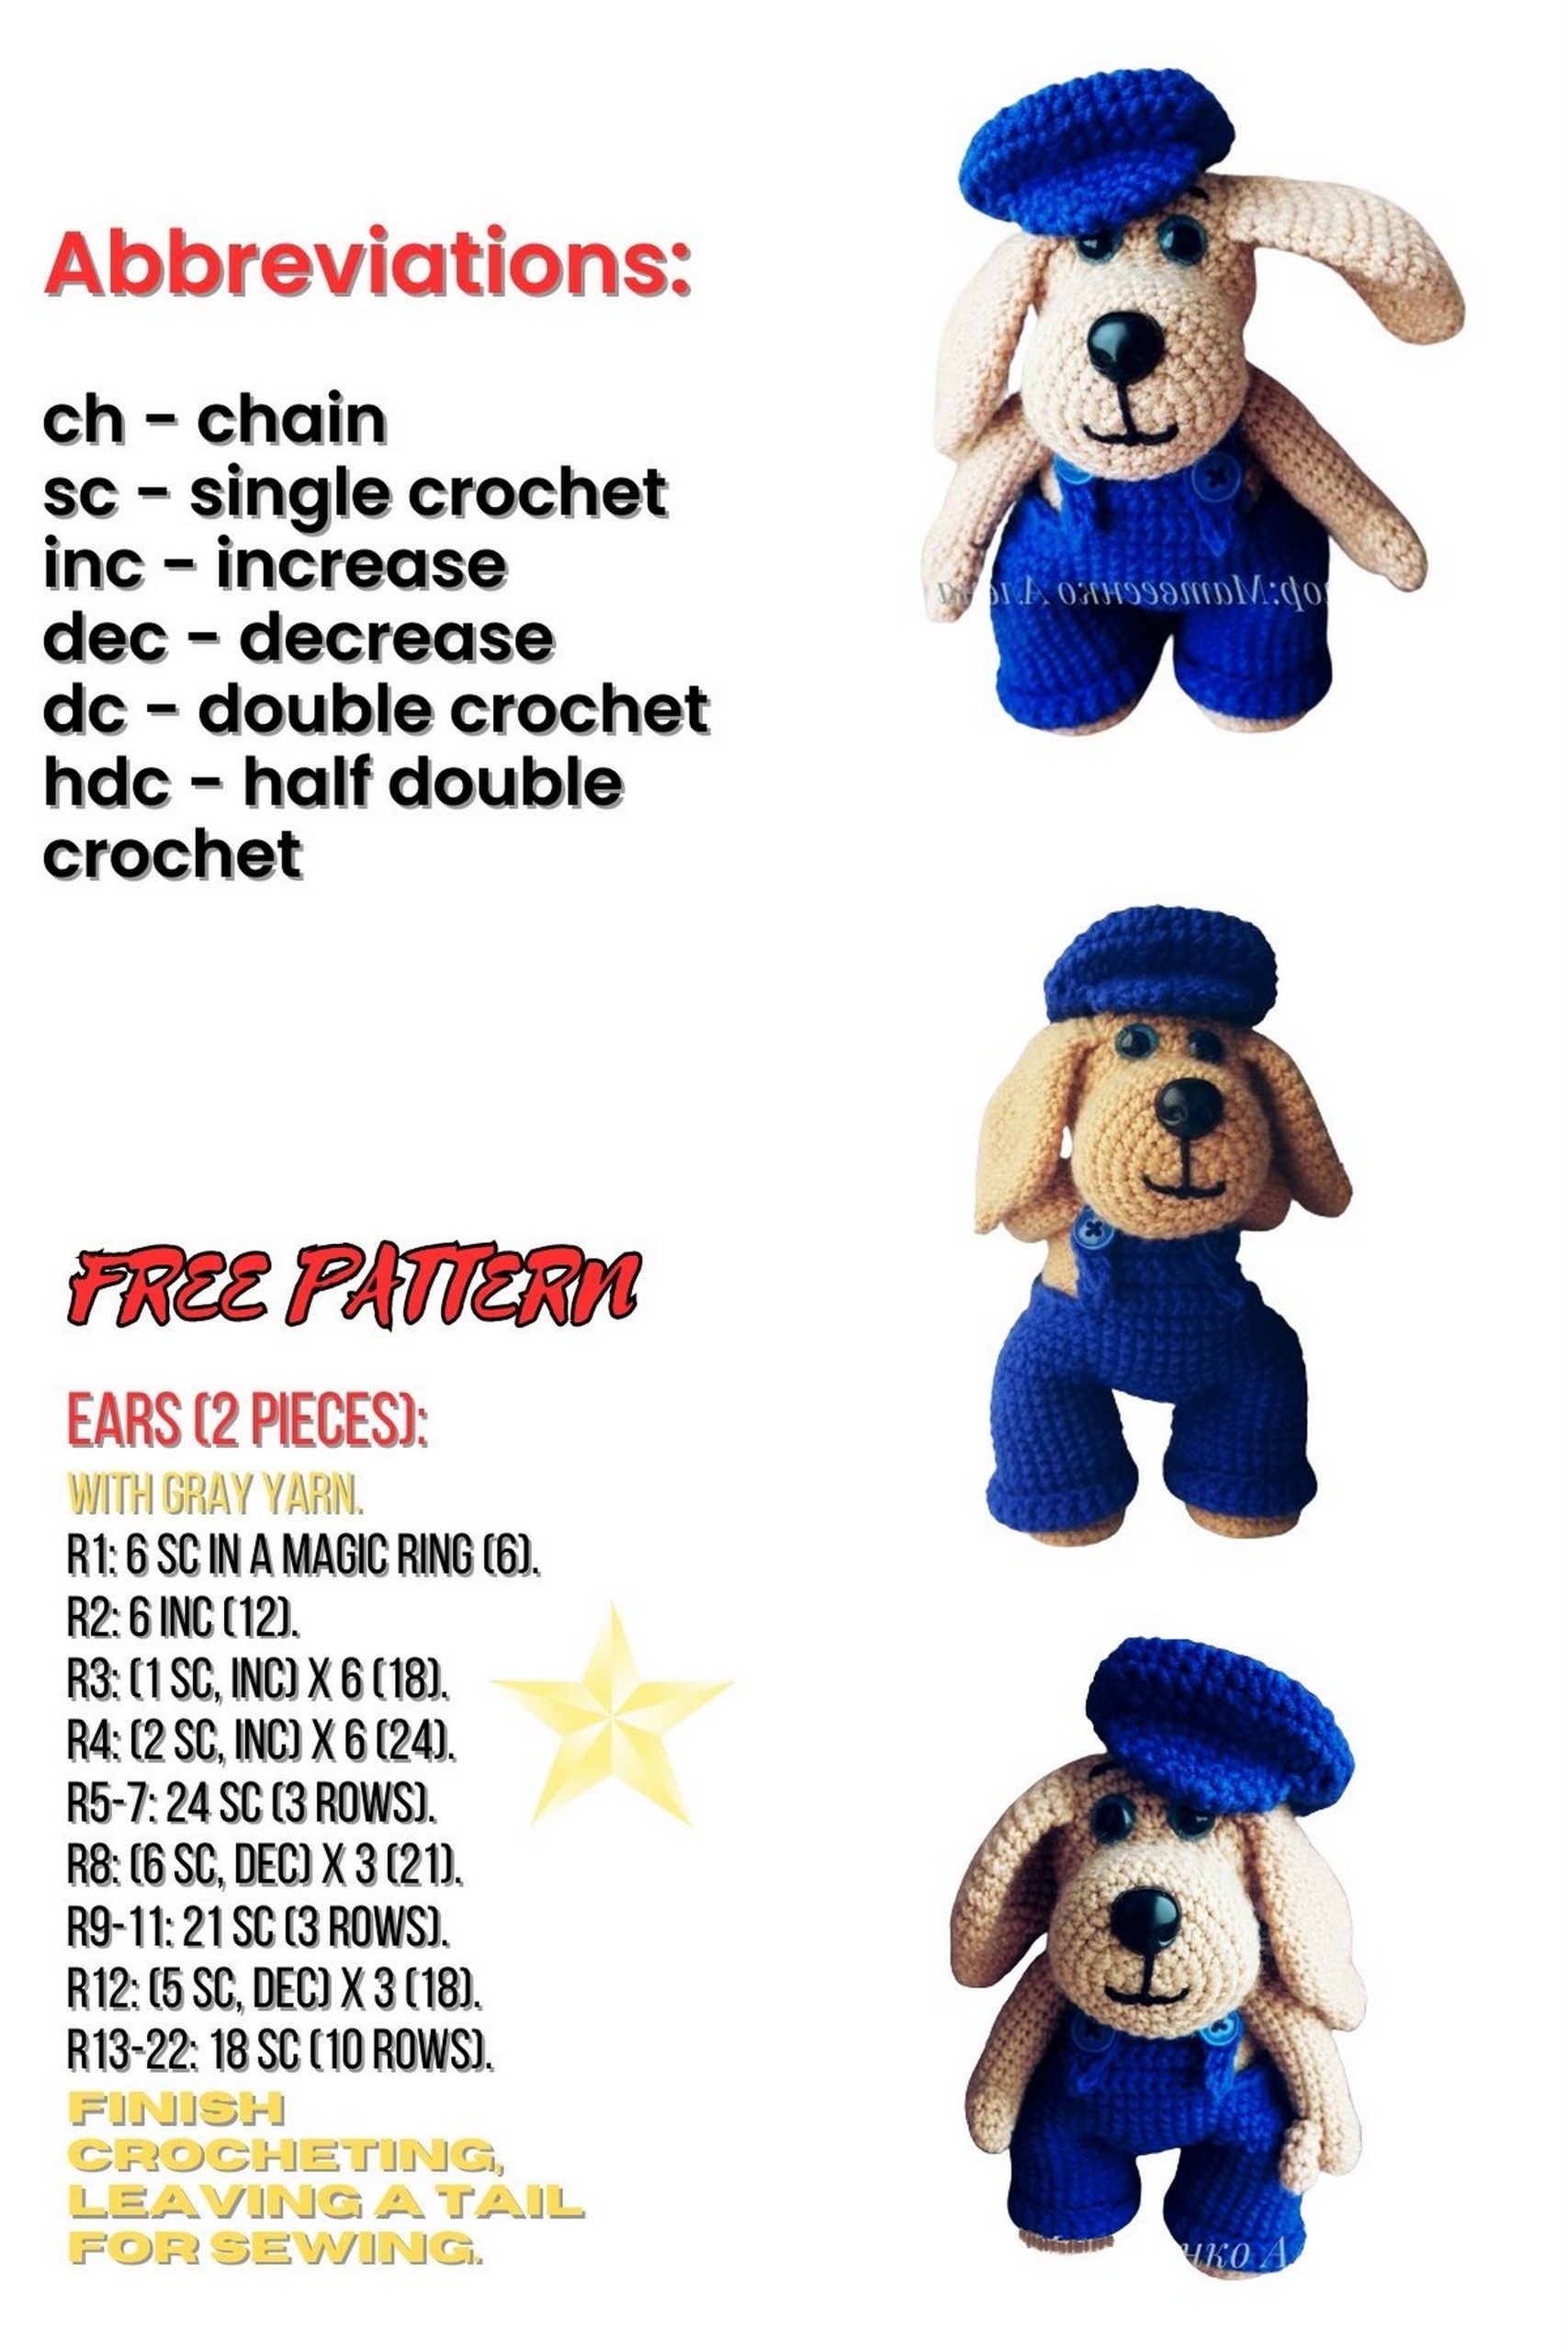
Abbreviations:
MR: Magic Ring
inc: increase
dec: decrease
ch: chain stitch
sc: single crochet
hdc: half double crochet
dc: double crochet
sl st: slip stitch
Materials:
Plastic safety eyes 10mm
Plastic safety nose 13mm
Instant glue (only if eyes and nose are not safety attached)
Black yarn (for eyebrows, smile)
Yarnart “Jeans” blue yarn
Hook: 3mm
Decoration of the Face:
First, attach the eyes. Then, create eyebrows by knotting yarn and pulling through the hole where the nose will be placed. Thread yarn through the nose hole, inserting the needle where the tip of the nose will be, attach the nose, and shape the smile. Once complete, fasten off.
PATTERN
Overalls Dog Head:
1: MR, 6sc
2: inc in each st around (12)
3: (inc, 1sc) repeat around (18)
4: (inc, 2sc) repeat around (24)
5: (inc, 3sc) repeat around (30)
6-10: 30sc
11: (dec, 3sc) repeat around (24)
12-15: 24sc
16: (inc, 12sc) 12 times, 12sc (36)
17-22: 36sc
23: (dec, 4sc) repeat around (30)
24: (dec, 3sc) repeat around (24)
25: (dec, 2sc) repeat around (18)
Start stuffing.
26: (dec, 1sc) repeat around (12)
27: dec around (6)
Fasten off, secure yarn, hide inside. Head is complete.


Overalls Dog Body:
1: MR, 6sc
2: inc in each st around (12)
3: (inc, 1sc) repeat around (18)
4: (inc, 2sc) repeat around (24)
5: (inc, 3sc) repeat around (30)
6: (inc, 4sc) repeat around (36)
7: (inc, 5sc) repeat around (42)
8-13: 42sc
14: (dec, 5sc) repeat around (36)
15-16: 36sc
17: (dec, 4sc) repeat around (30)
18-19: 30sc
20: (dec, 3sc) repeat around (24)
21: (dec, 2sc) repeat around (18)
Fasten off, leave yarn for sewing. Stuff the body, shaping the belly with the yarn left for sewing on the side.
Overalls Dog Legs (Make 2):
1: MR, 6sc
2: inc in each st around (12)
3: (inc, 1sc) repeat around (18)
4: (inc, 2sc) repeat around (24)
5: 24sc in back loops only
6: 24sc
7: 6sc, 6dec, 6sc (18)
8-19: 18sc
Insert cardboard into the foot for stability. Stuff the leg, then sc around both rows, fasten off, leave yarn for sewing. Make the second leg similarly.
Overalls Dog Ears (Make 2):
1: MR, 6sc
2: inc in each st around (12)
3-5: 12sc
6: (inc, 1sc) repeat around (18)
7: (inc, 2sc) repeat around (24)
8: (inc, 3sc) repeat around (30)
9-12: 30sc
13: (dec, 3sc) repeat around (24)
14: 24sc
15: (dec, 2sc) repeat around (18)
16-17: 18sc
18: (dec, 1sc) repeat around (12)
Do not stuff, sc around both rows, leave yarn for sewing. Make the second ear likewise.
Thumb (Make 2):
1: MR, 6sc
2-4: 6sc
Fasten off, leave yarn for sewing. Do not stuff.
Overalls Dog Arms (Make 2):
1: MR, 6sc
2: inc in each st around (12)
3: (inc, 1sc) repeat around (18)
4: dec, 6sc (12)
5-18: 12sc
Stuff the arm, then sc around both rows, fasten off, leave yarn for sewing.
Assembly:
Sew the thumbs to the arms at the wrist row.
Attach the head to the body.
1)Sew the legs to the body on round 8 from the bottom of the amigurumi ring.
2)Sew the arms, skipping one row from the head.
3)Sew the ears, skipping one row from the eyes, sewing only to the upper loops.
Attach the base components.
Base:
Cap:
Make increases and decreases with hdc.
1: MR, 6hdc
2: inc in each st around (12)
3: (inc, 1hdc) repeat around (18)
4: (inc, 2hdc) repeat around (24)
5: (inc, 3hdc) repeat around (30)
6: (inc, 4hdc) repeat around (36)
7: (inc, 5hdc) repeat around (42)
8: (dec, 5hdc) repeat around (36)
9: (dec, 4hdc) repeat around (30)
Fasten off, hide yarn.
Overalls Dog Visor:
1: MR, 6sc
2: inc in each st around (12)
3: (inc, 1sc) repeat around (18)
4: (inc, 2sc) repeat around (24)
Shape to a corner with 6sc.
Sc around both rows, 11sc. Leave yarn for sewing. Attach visor to the base.

Jumpsuit (Part 1):
Chain 25, join with a slip stitch to form a ring. Sc 25 stitches for 12 rows.
Fasten off the yarn. Make the second piece similarly but do not cut the yarn.
For the next 12 rows of the second piece, sc 25 stitches, then sc 6 stitches, ch 1, skip 1 stitch, sc 25 stitches, sc 6 stitches, ch 1, skip 1 stitch (62).
13-16: 62sc
17: 10sc, 2dec, 10sc, 2dec, 10sc, 2dec, 10sc, 2dec, 6sc (54)
18: 10sc, 1dec, 10sc, 1dec, 10sc, 1dec, 10sc, 1dec, 6sc (50)
19: 5sc, 4dec, 19sc, 4dec, 11sc (43)
20-21: 43sc
Make the back of the jumpsuit: 2sc, ch 1, turn, 12sc, ch 1, turn, 12sc, ch 1, turn, 12sc, ch 1, turn, 12sc, ch 1, turn, 12sc, ch 1, turn, 12sc (7 rows).
Fasten off, hide yarn.
Jumpsuit (Part 2):
Make the front part of the jumpsuit, ensuring 11 stitches remain on each side.
Attach the straps.
Make 18 chains, leaving a long tail for sewing. Starting from the second chain from the hook, sc 3 stitches, ch 3, skip 1 stitch, sc till the end. Fasten off, hide yarn. Make the second strap similarly.
Sew the straps to the back of the jumpsuit.
Sew buttons to the front.
The jumpsuit can be easily taken off and put on.
There you go! Your amigurumi puppy is complete with its adorable accessories. Enjoy your crochet project!