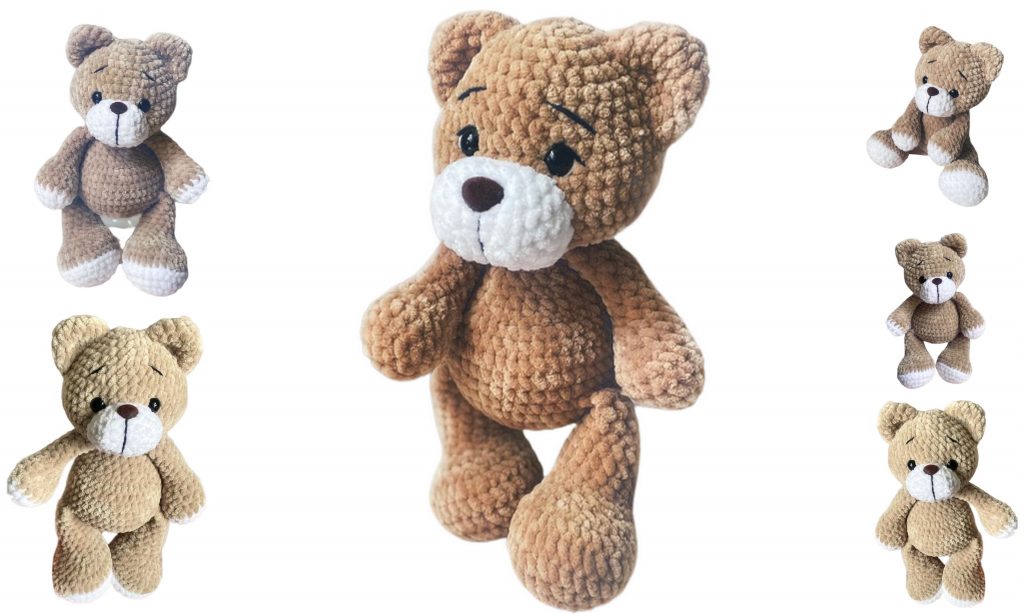
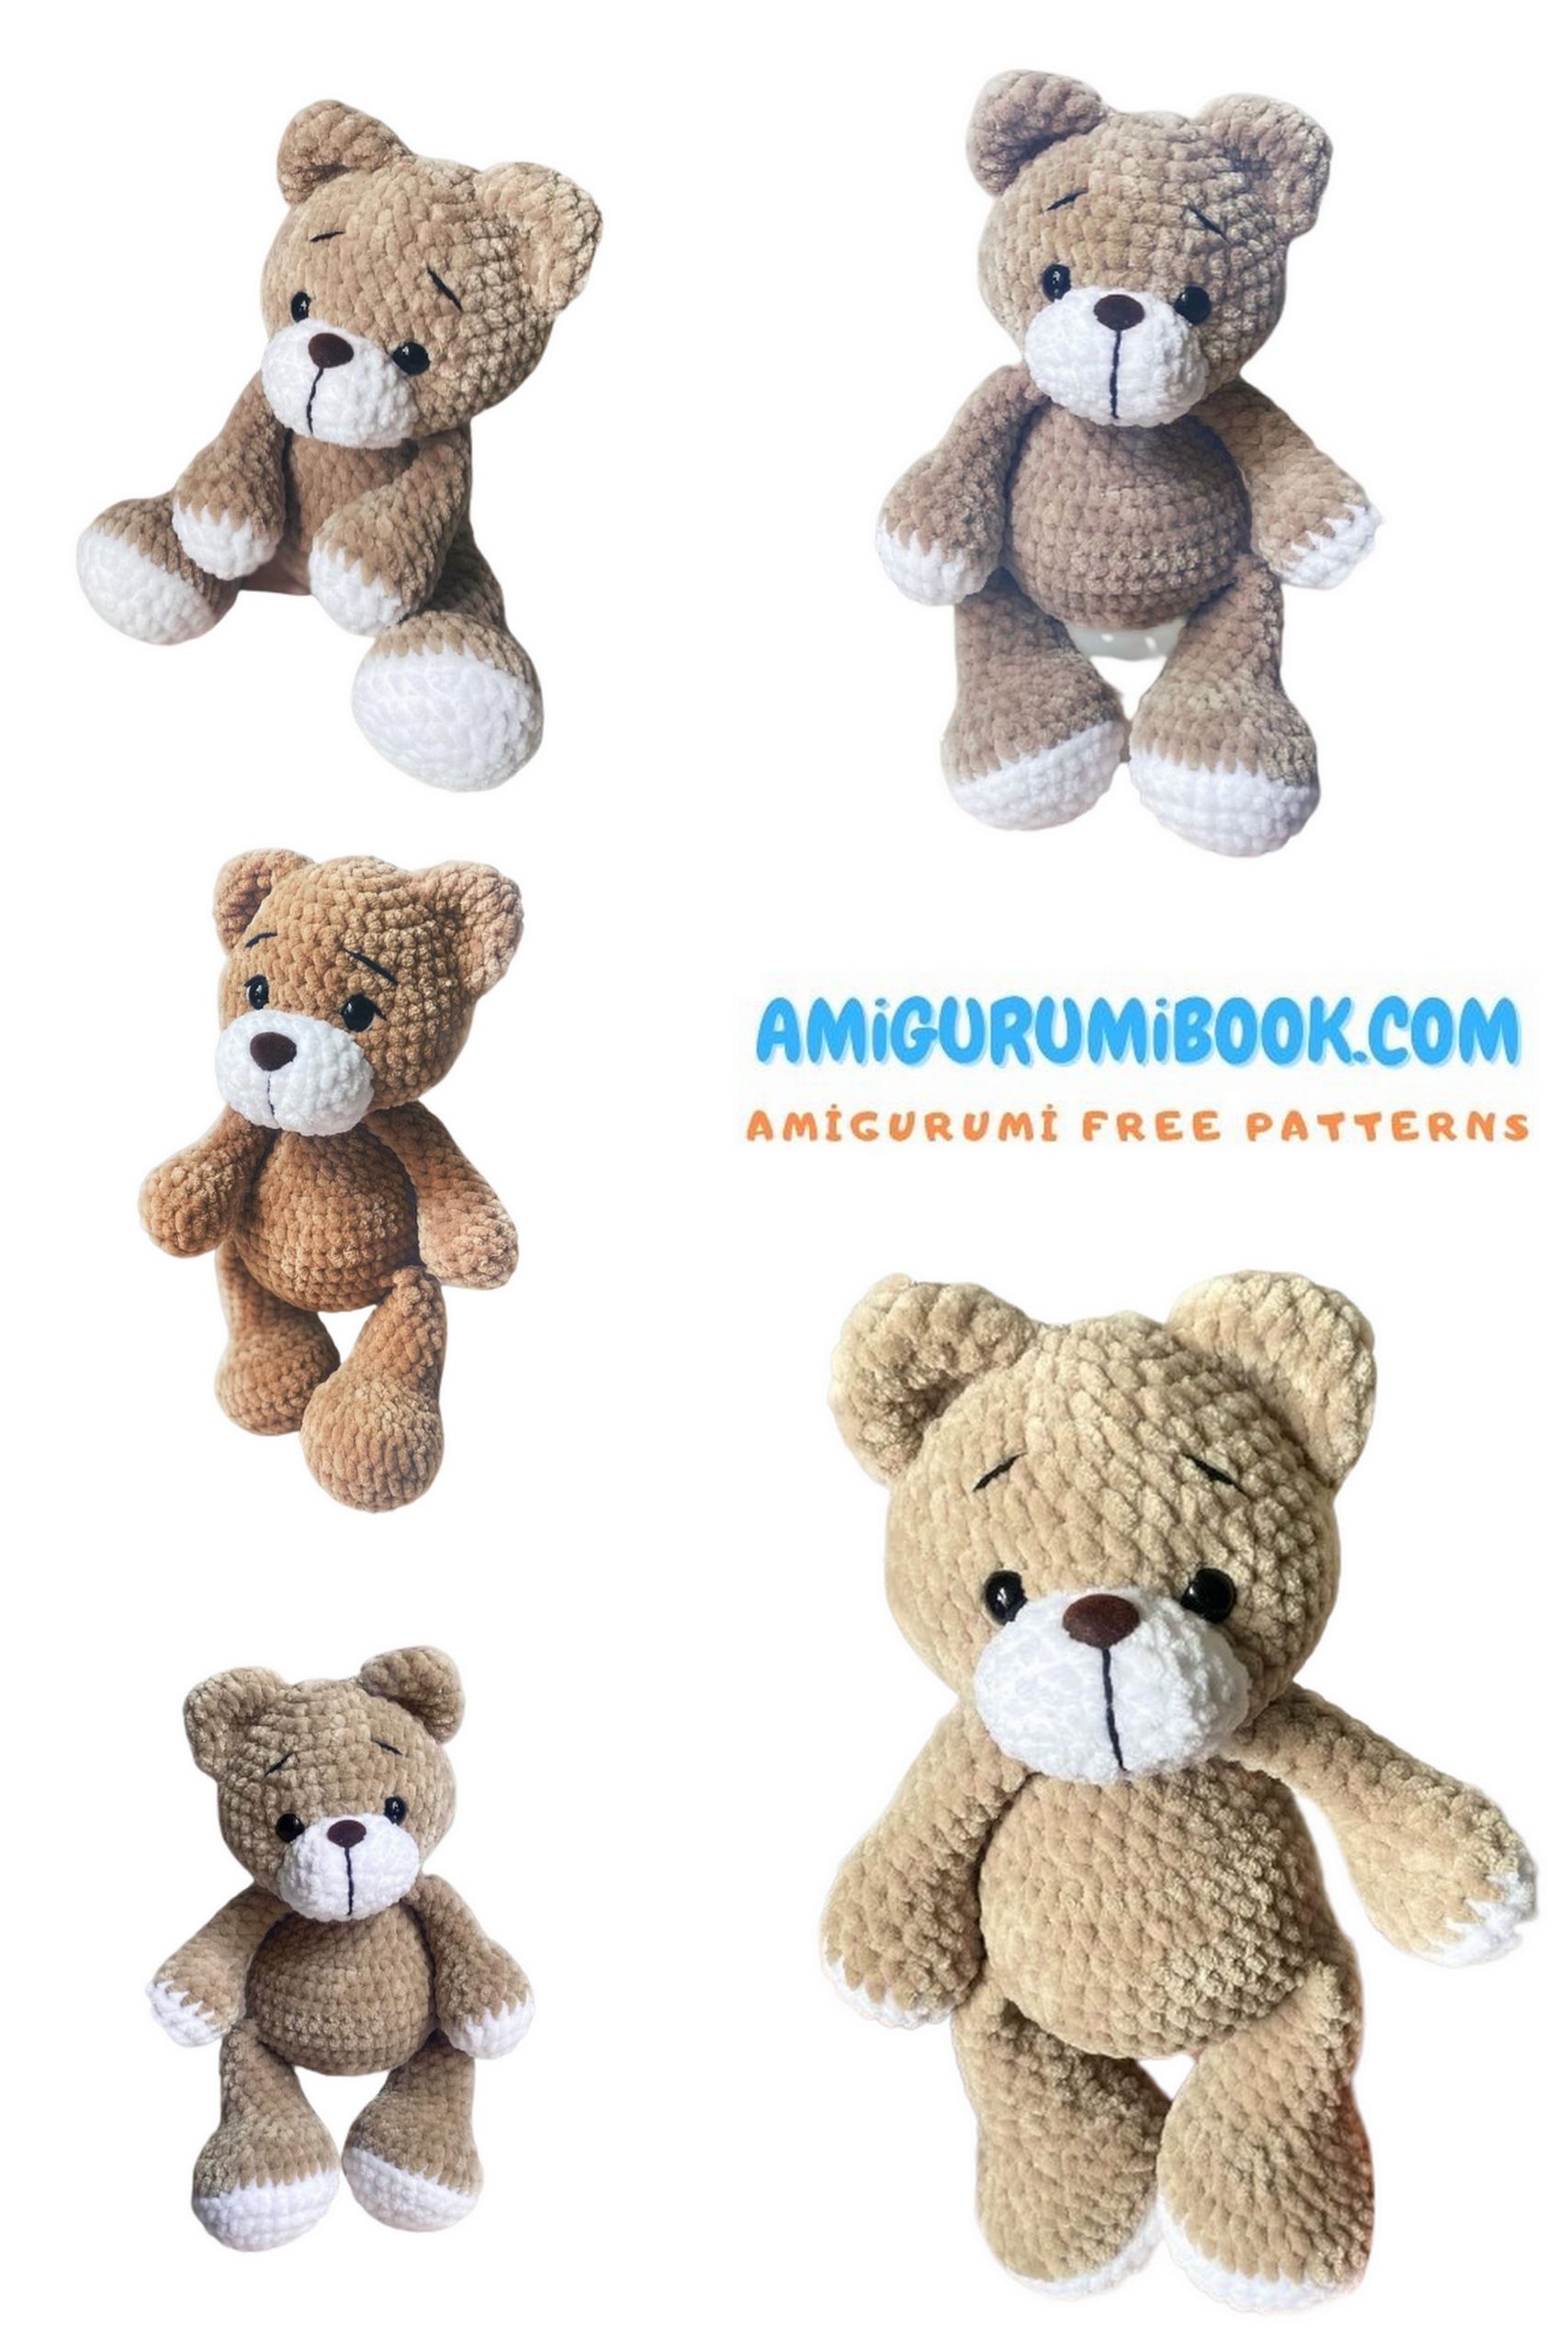
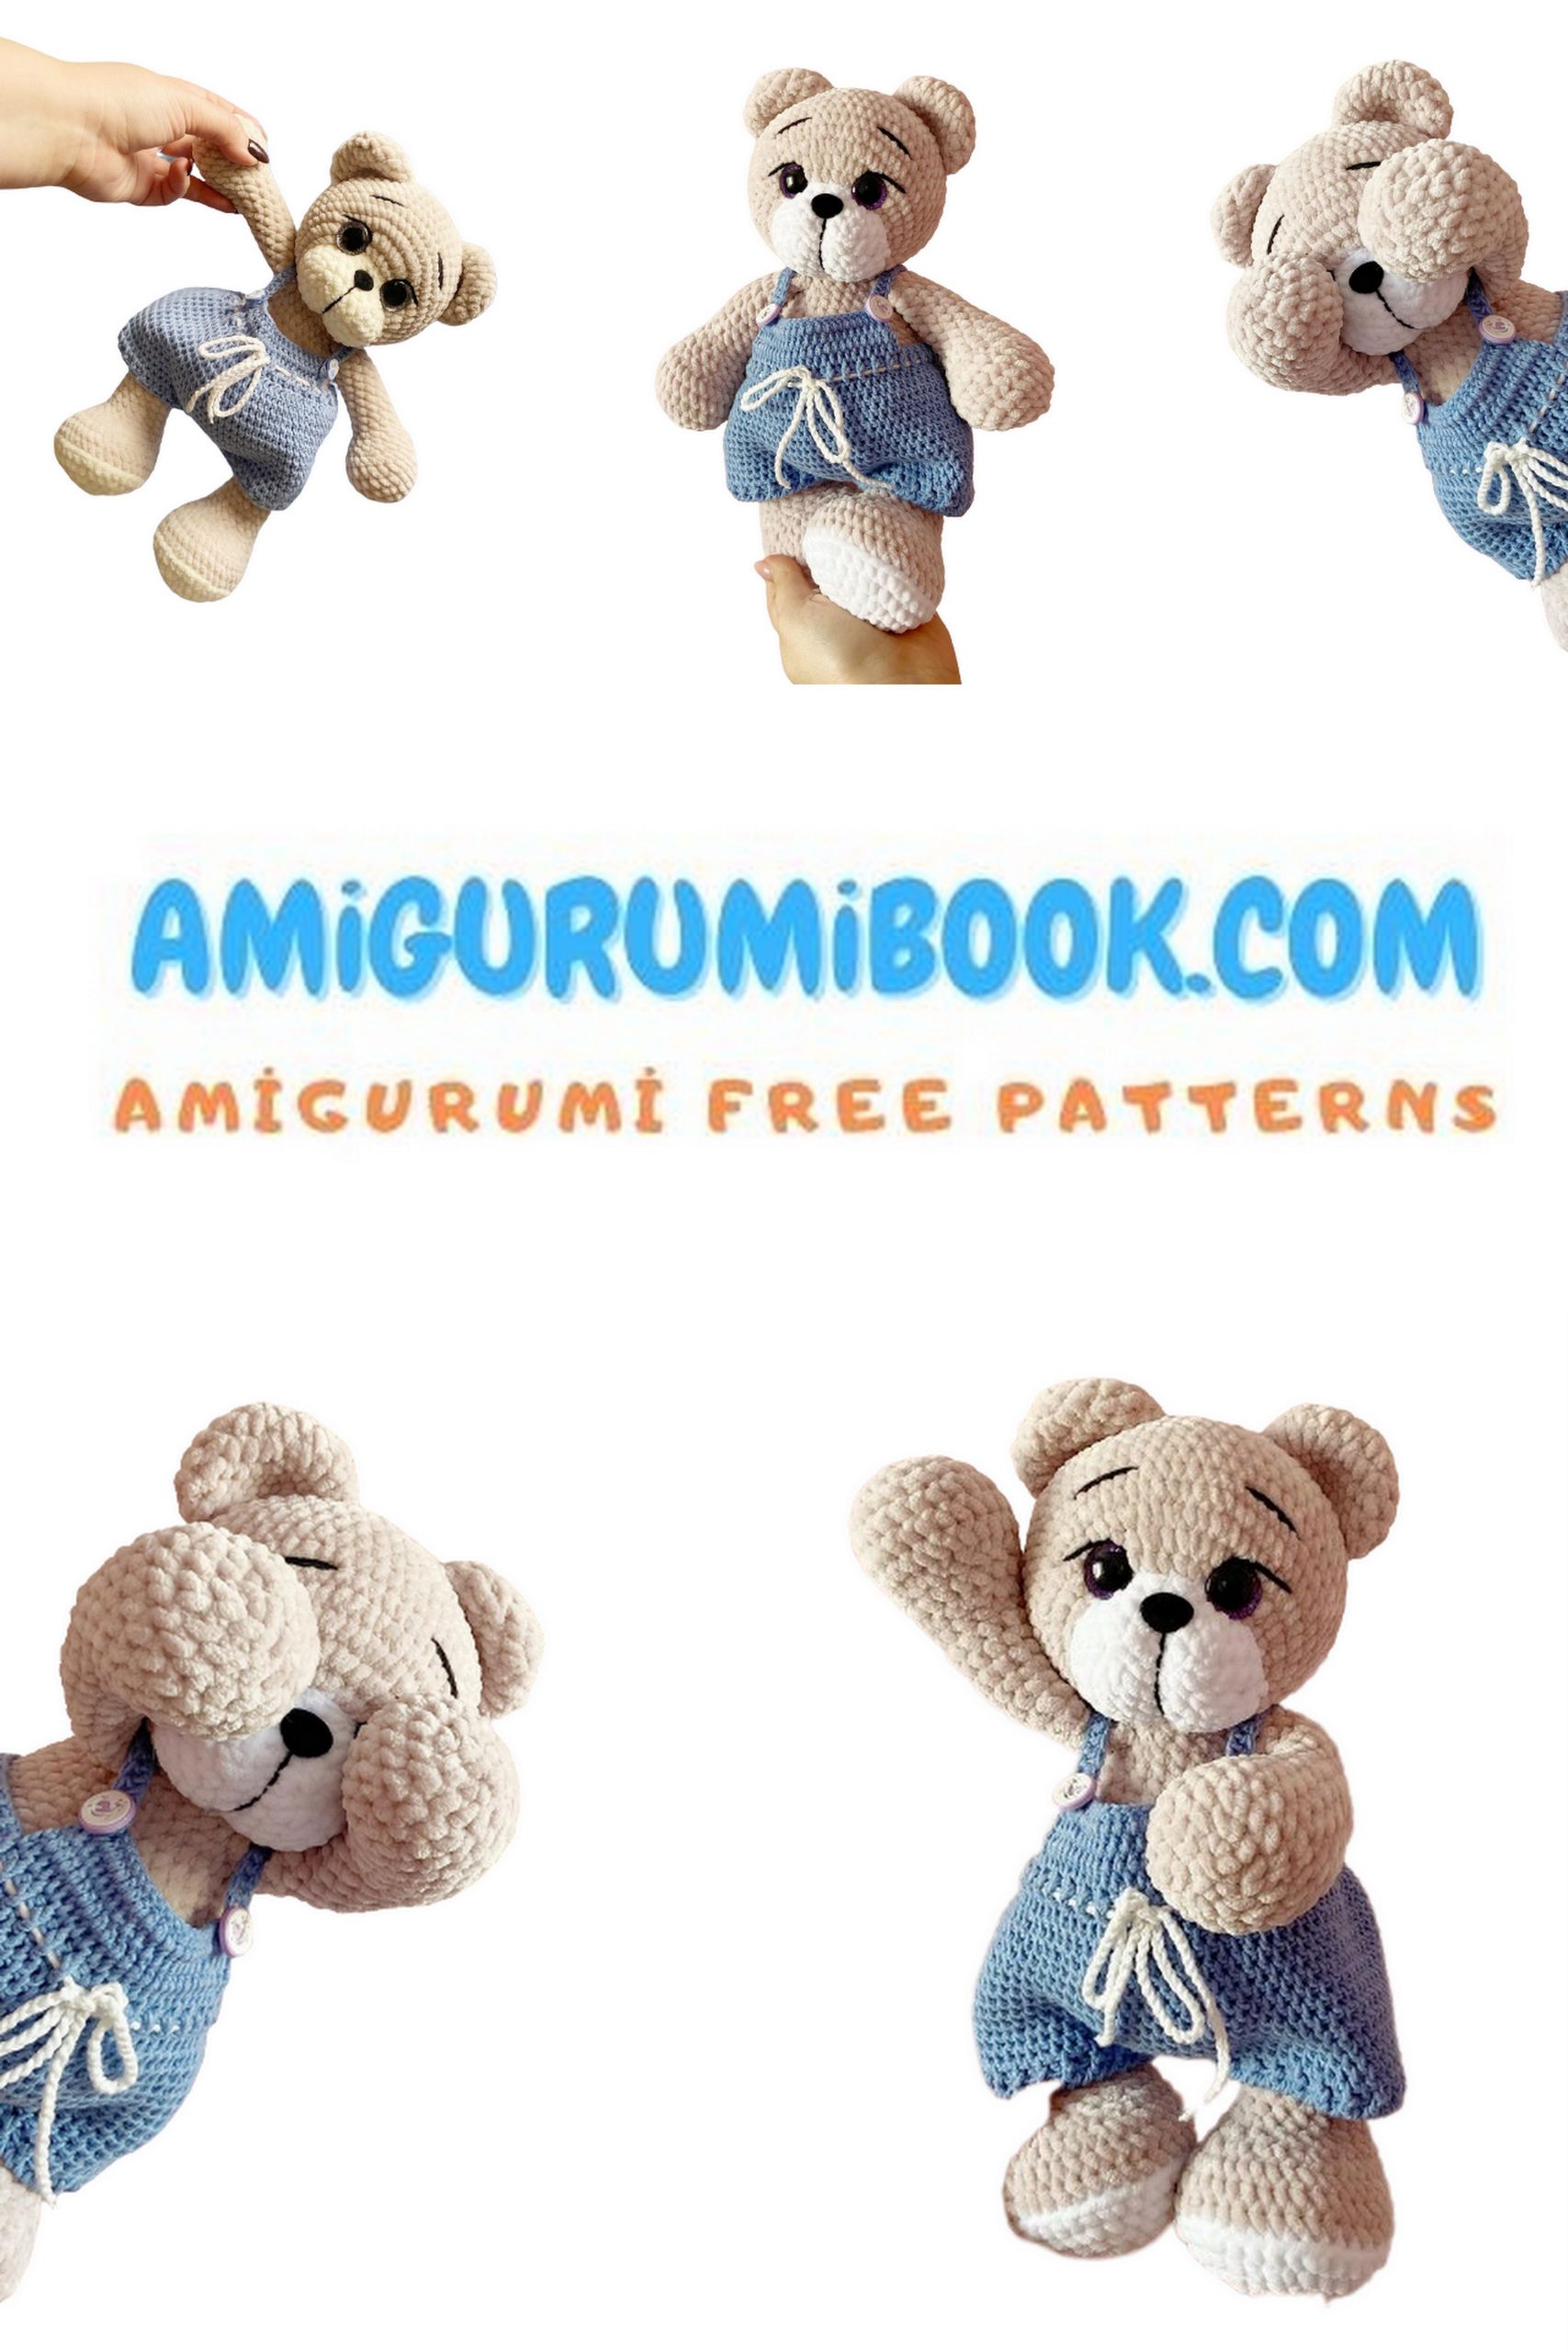
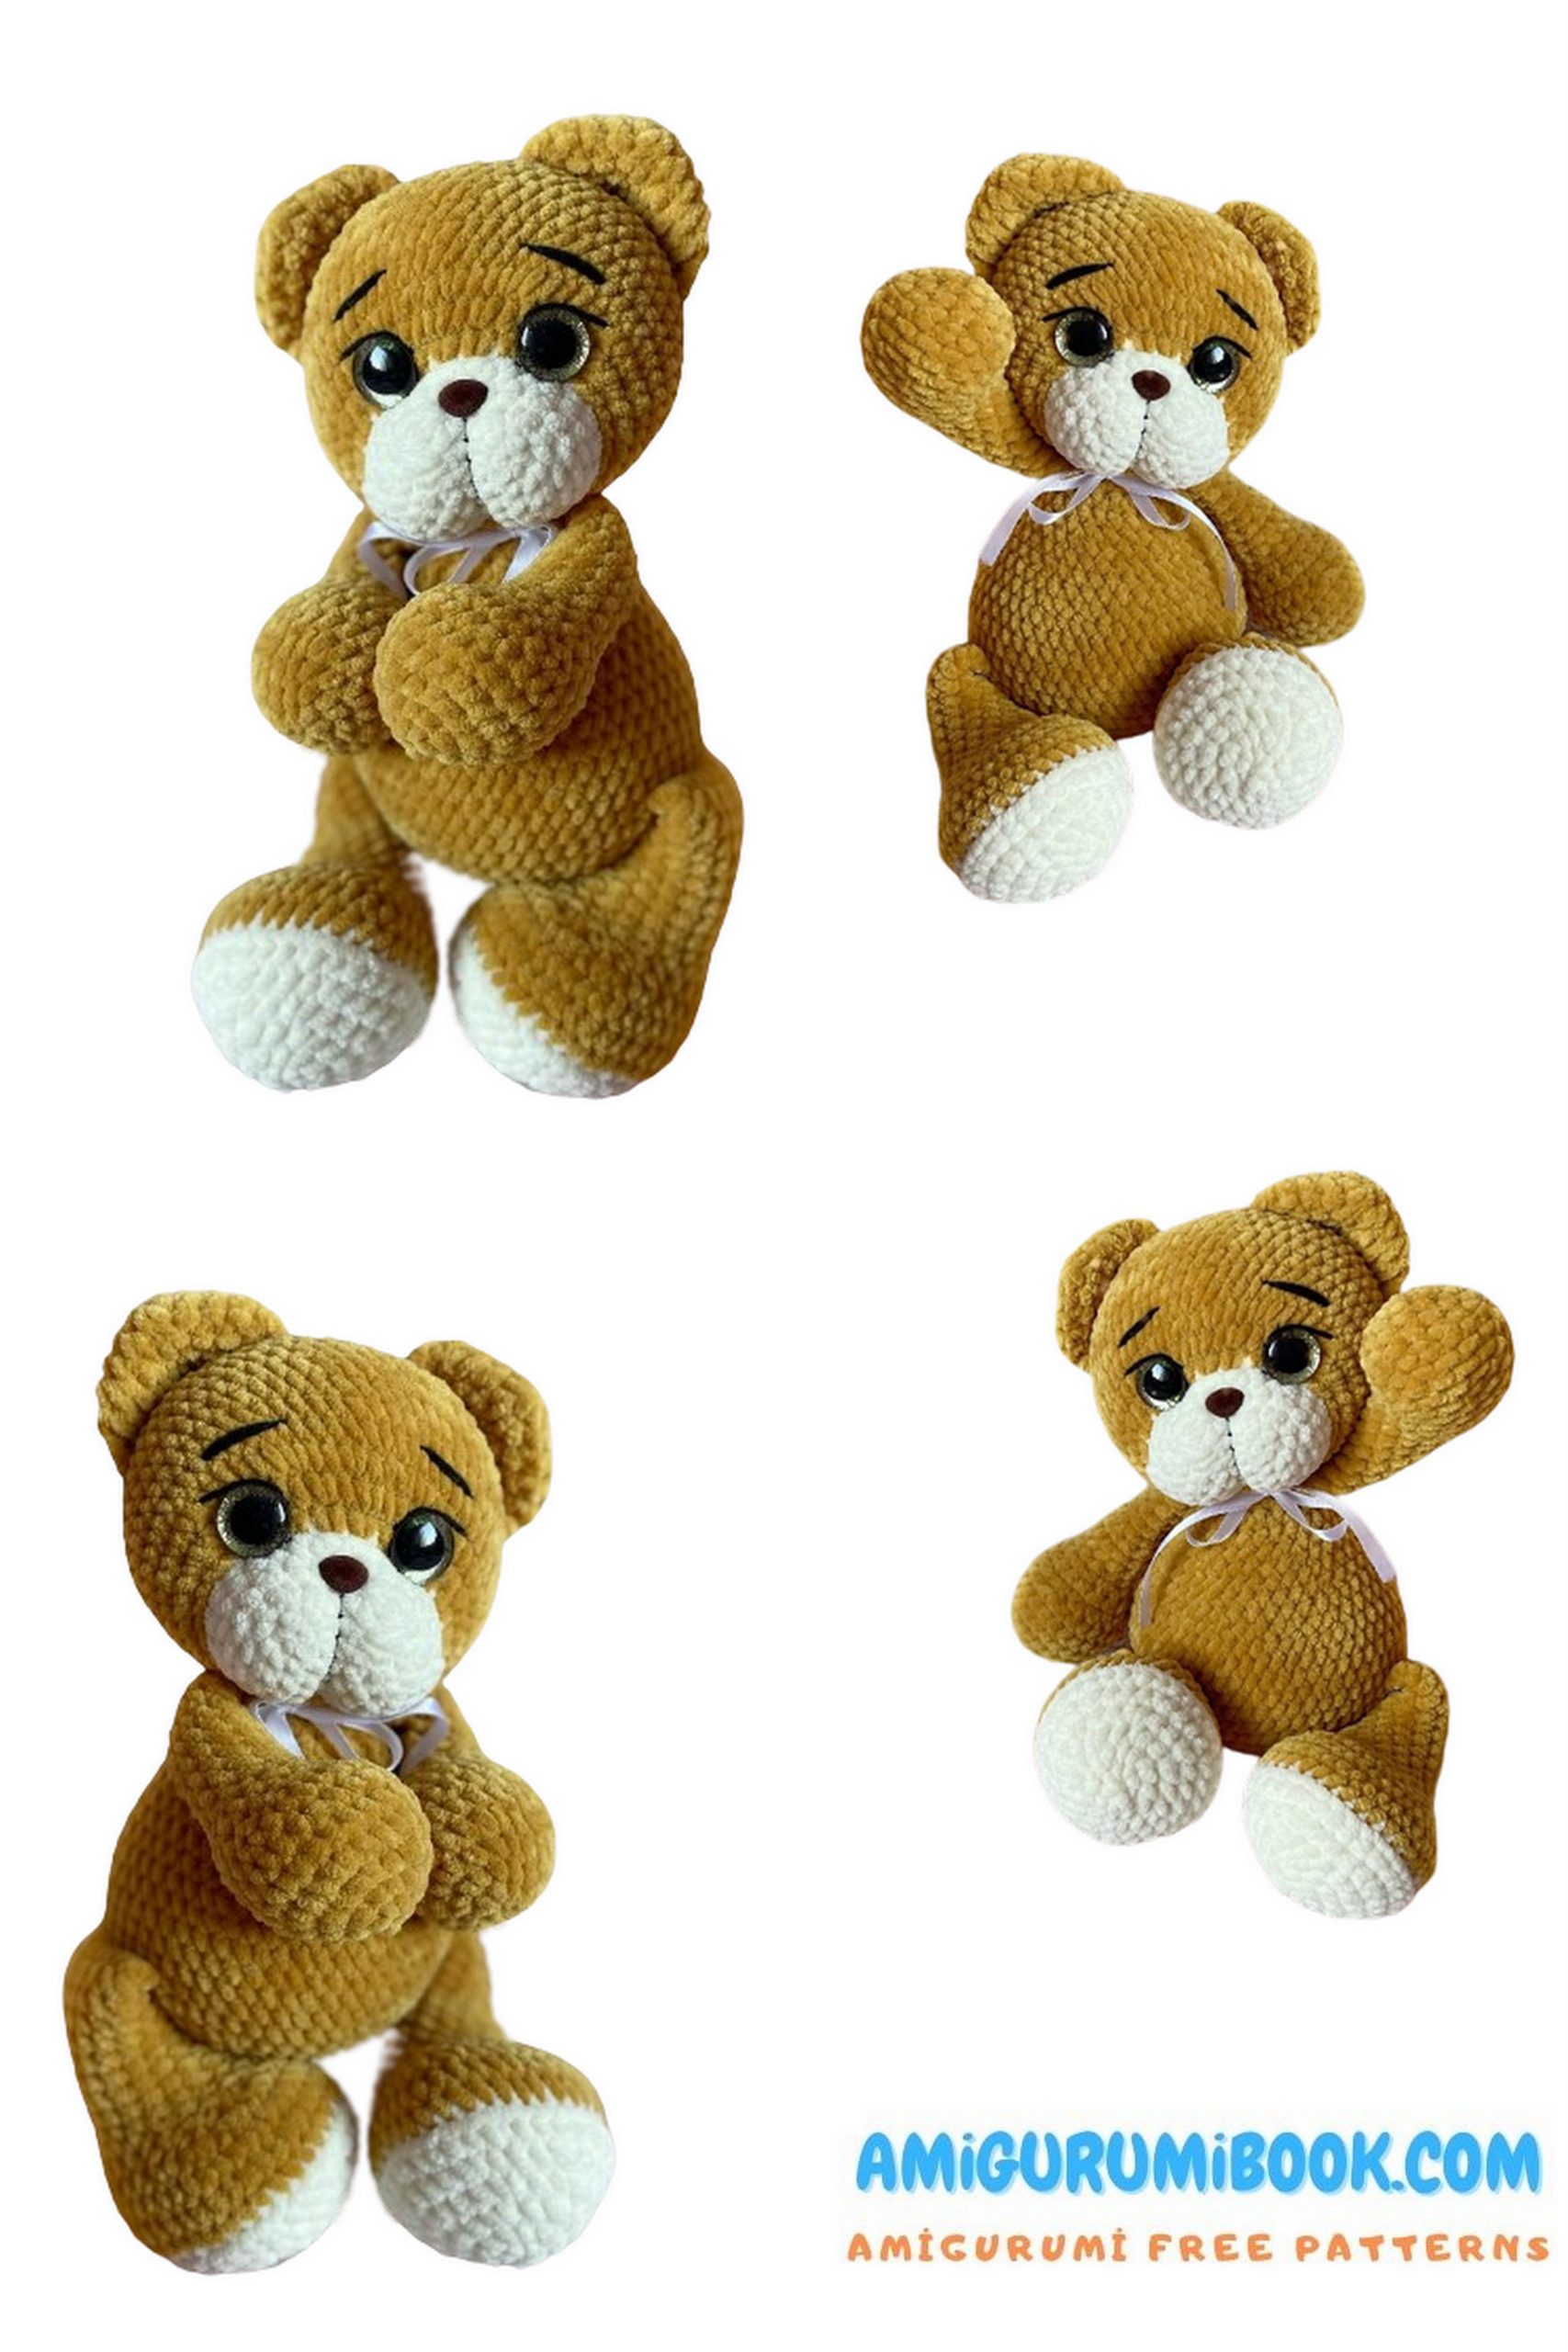
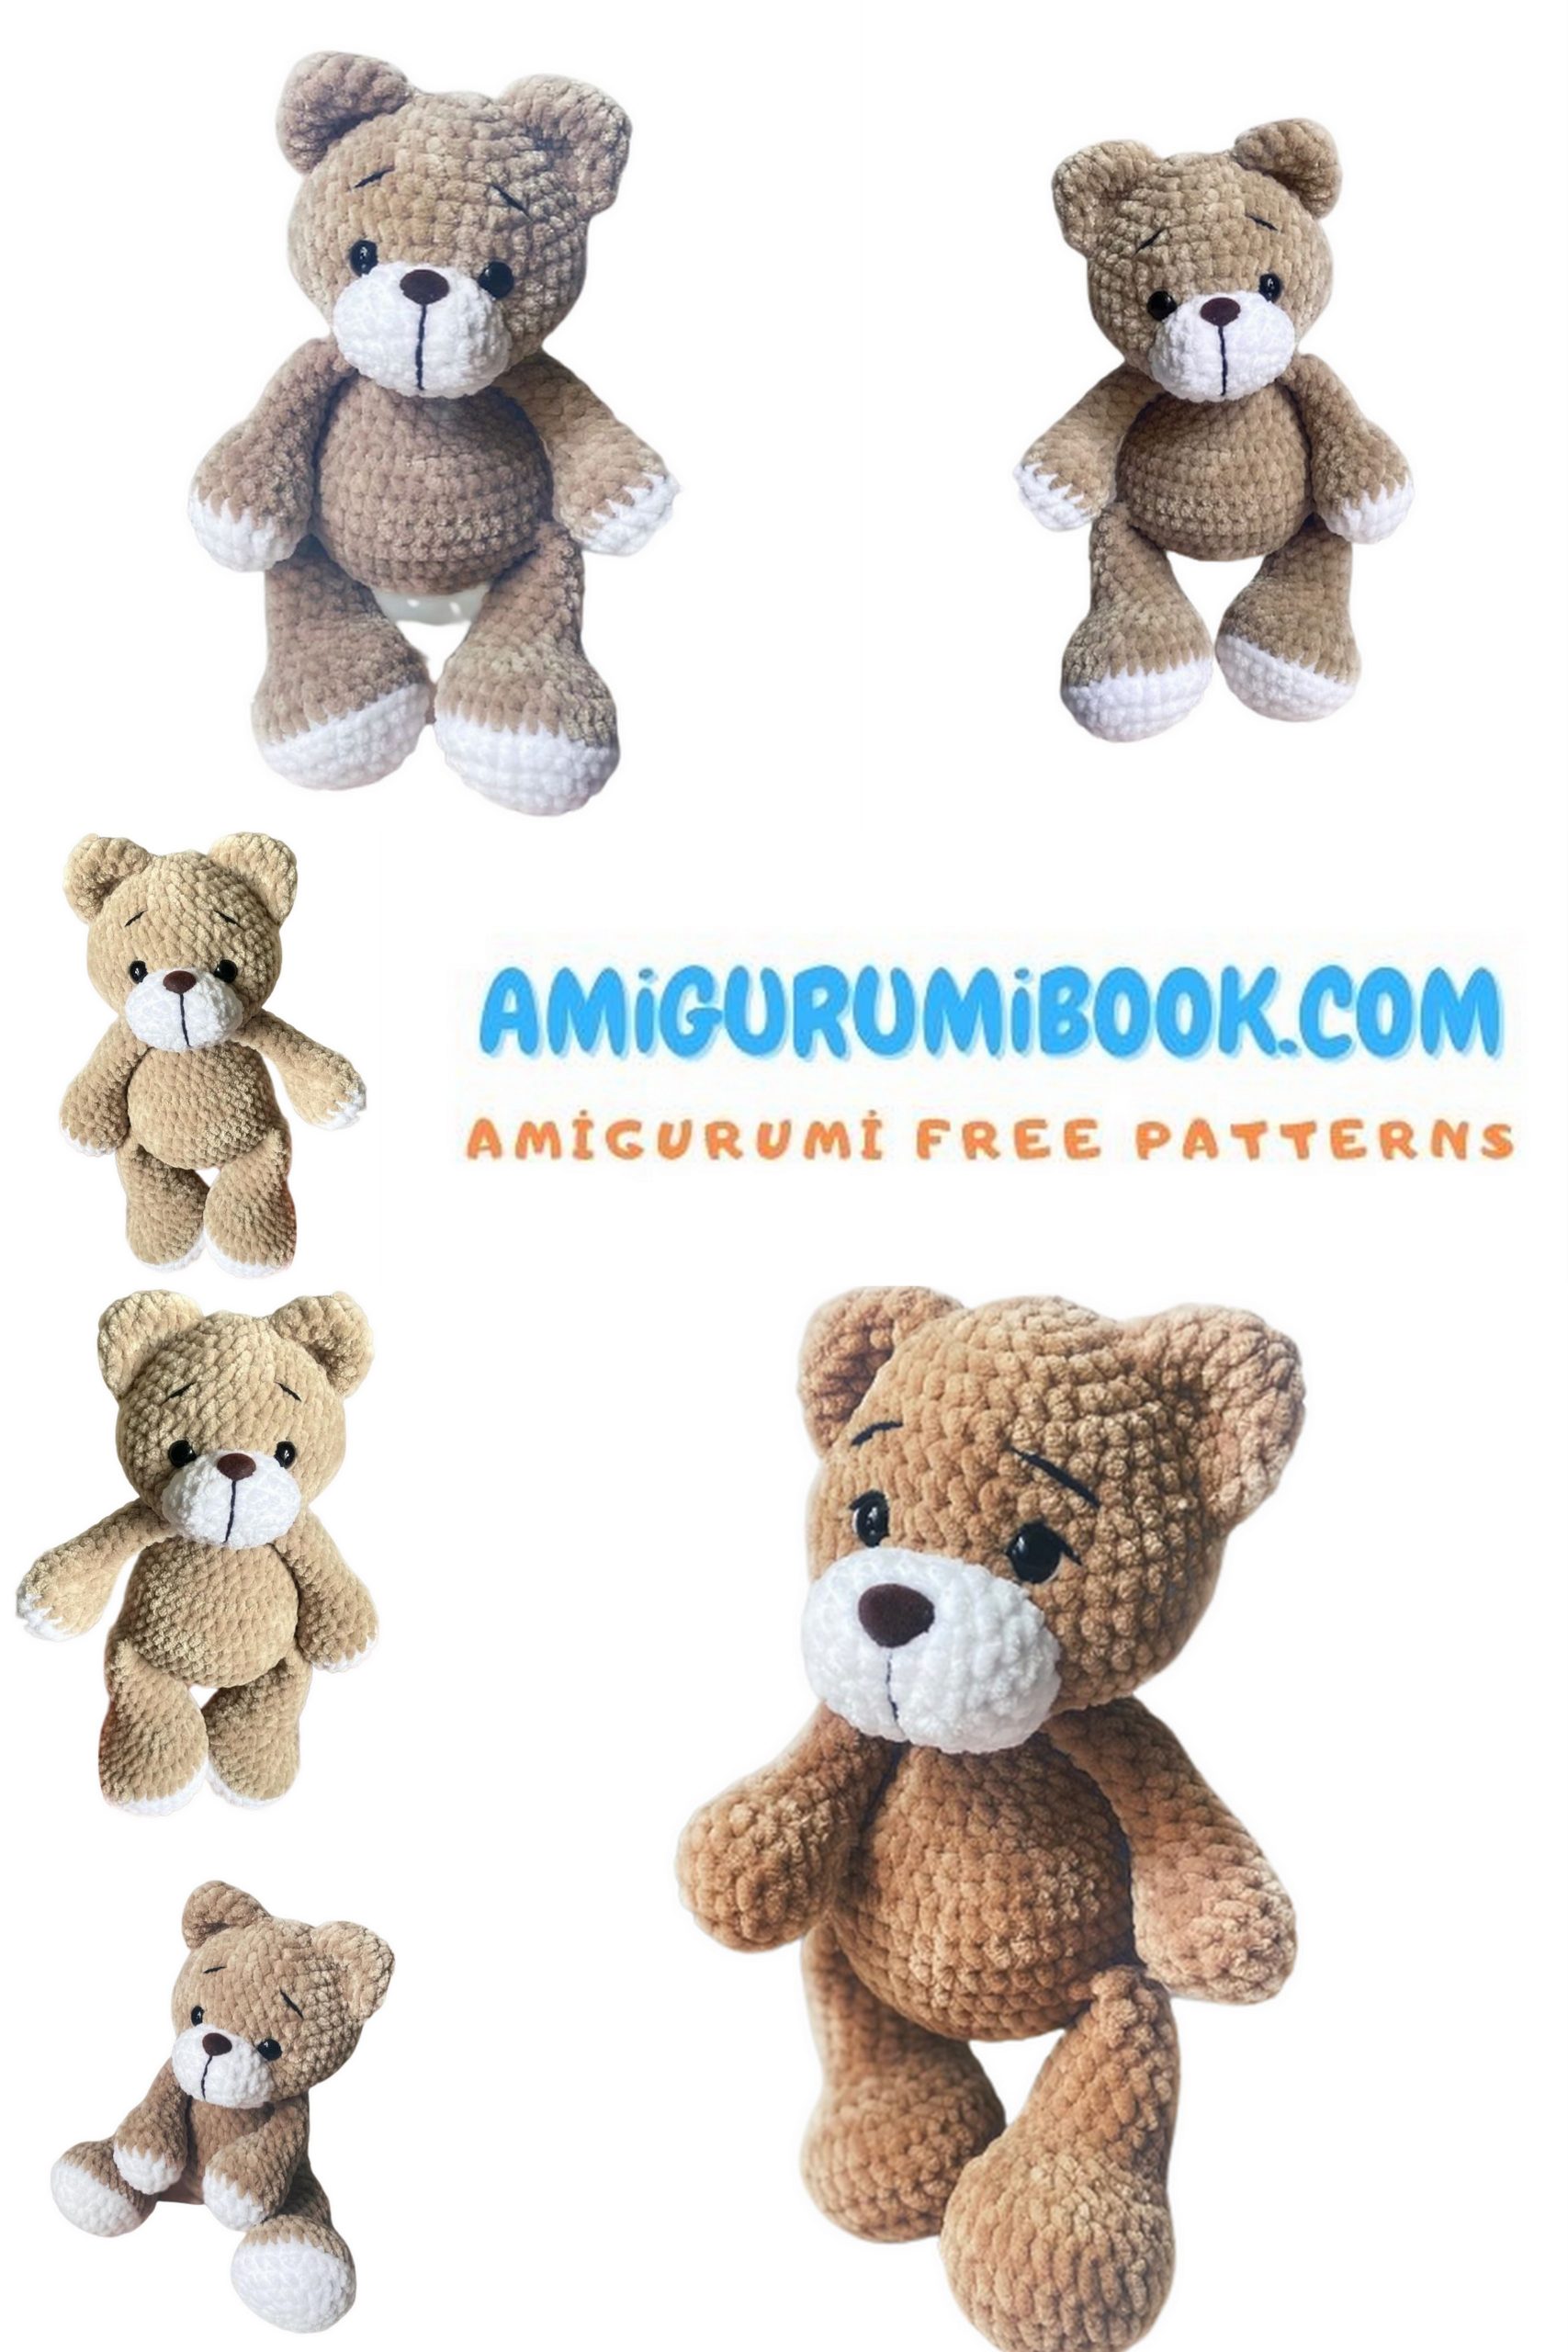
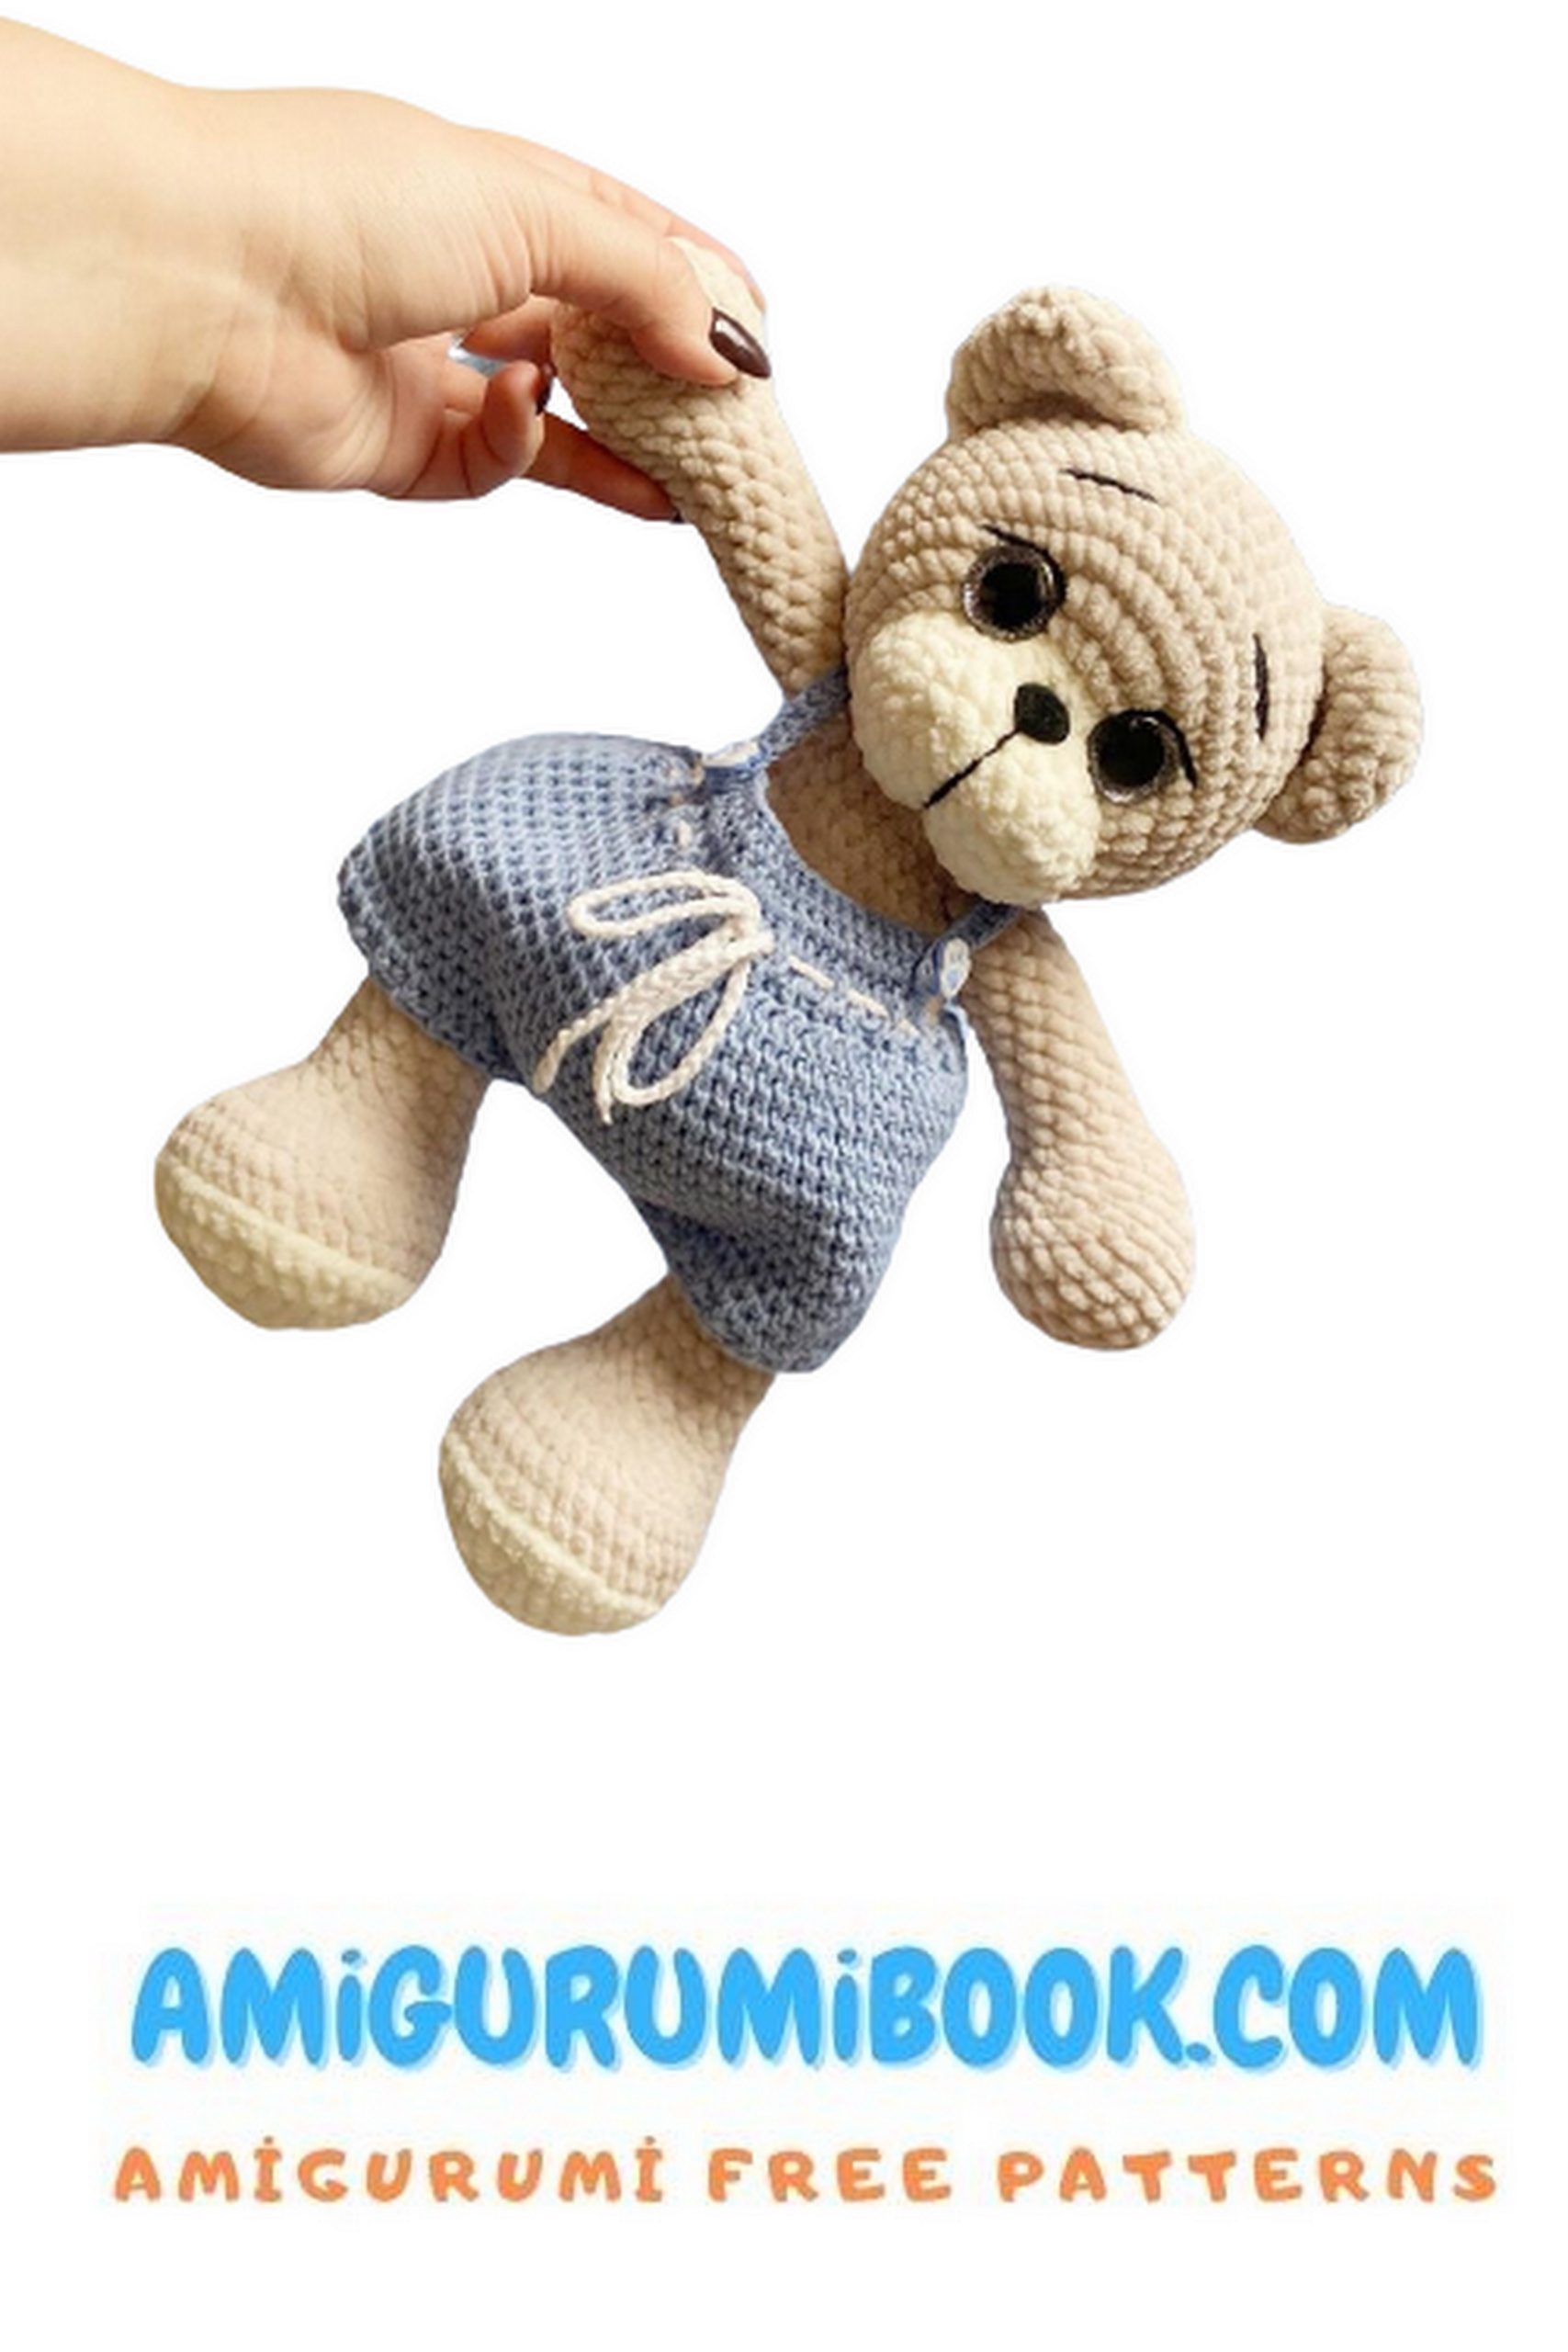
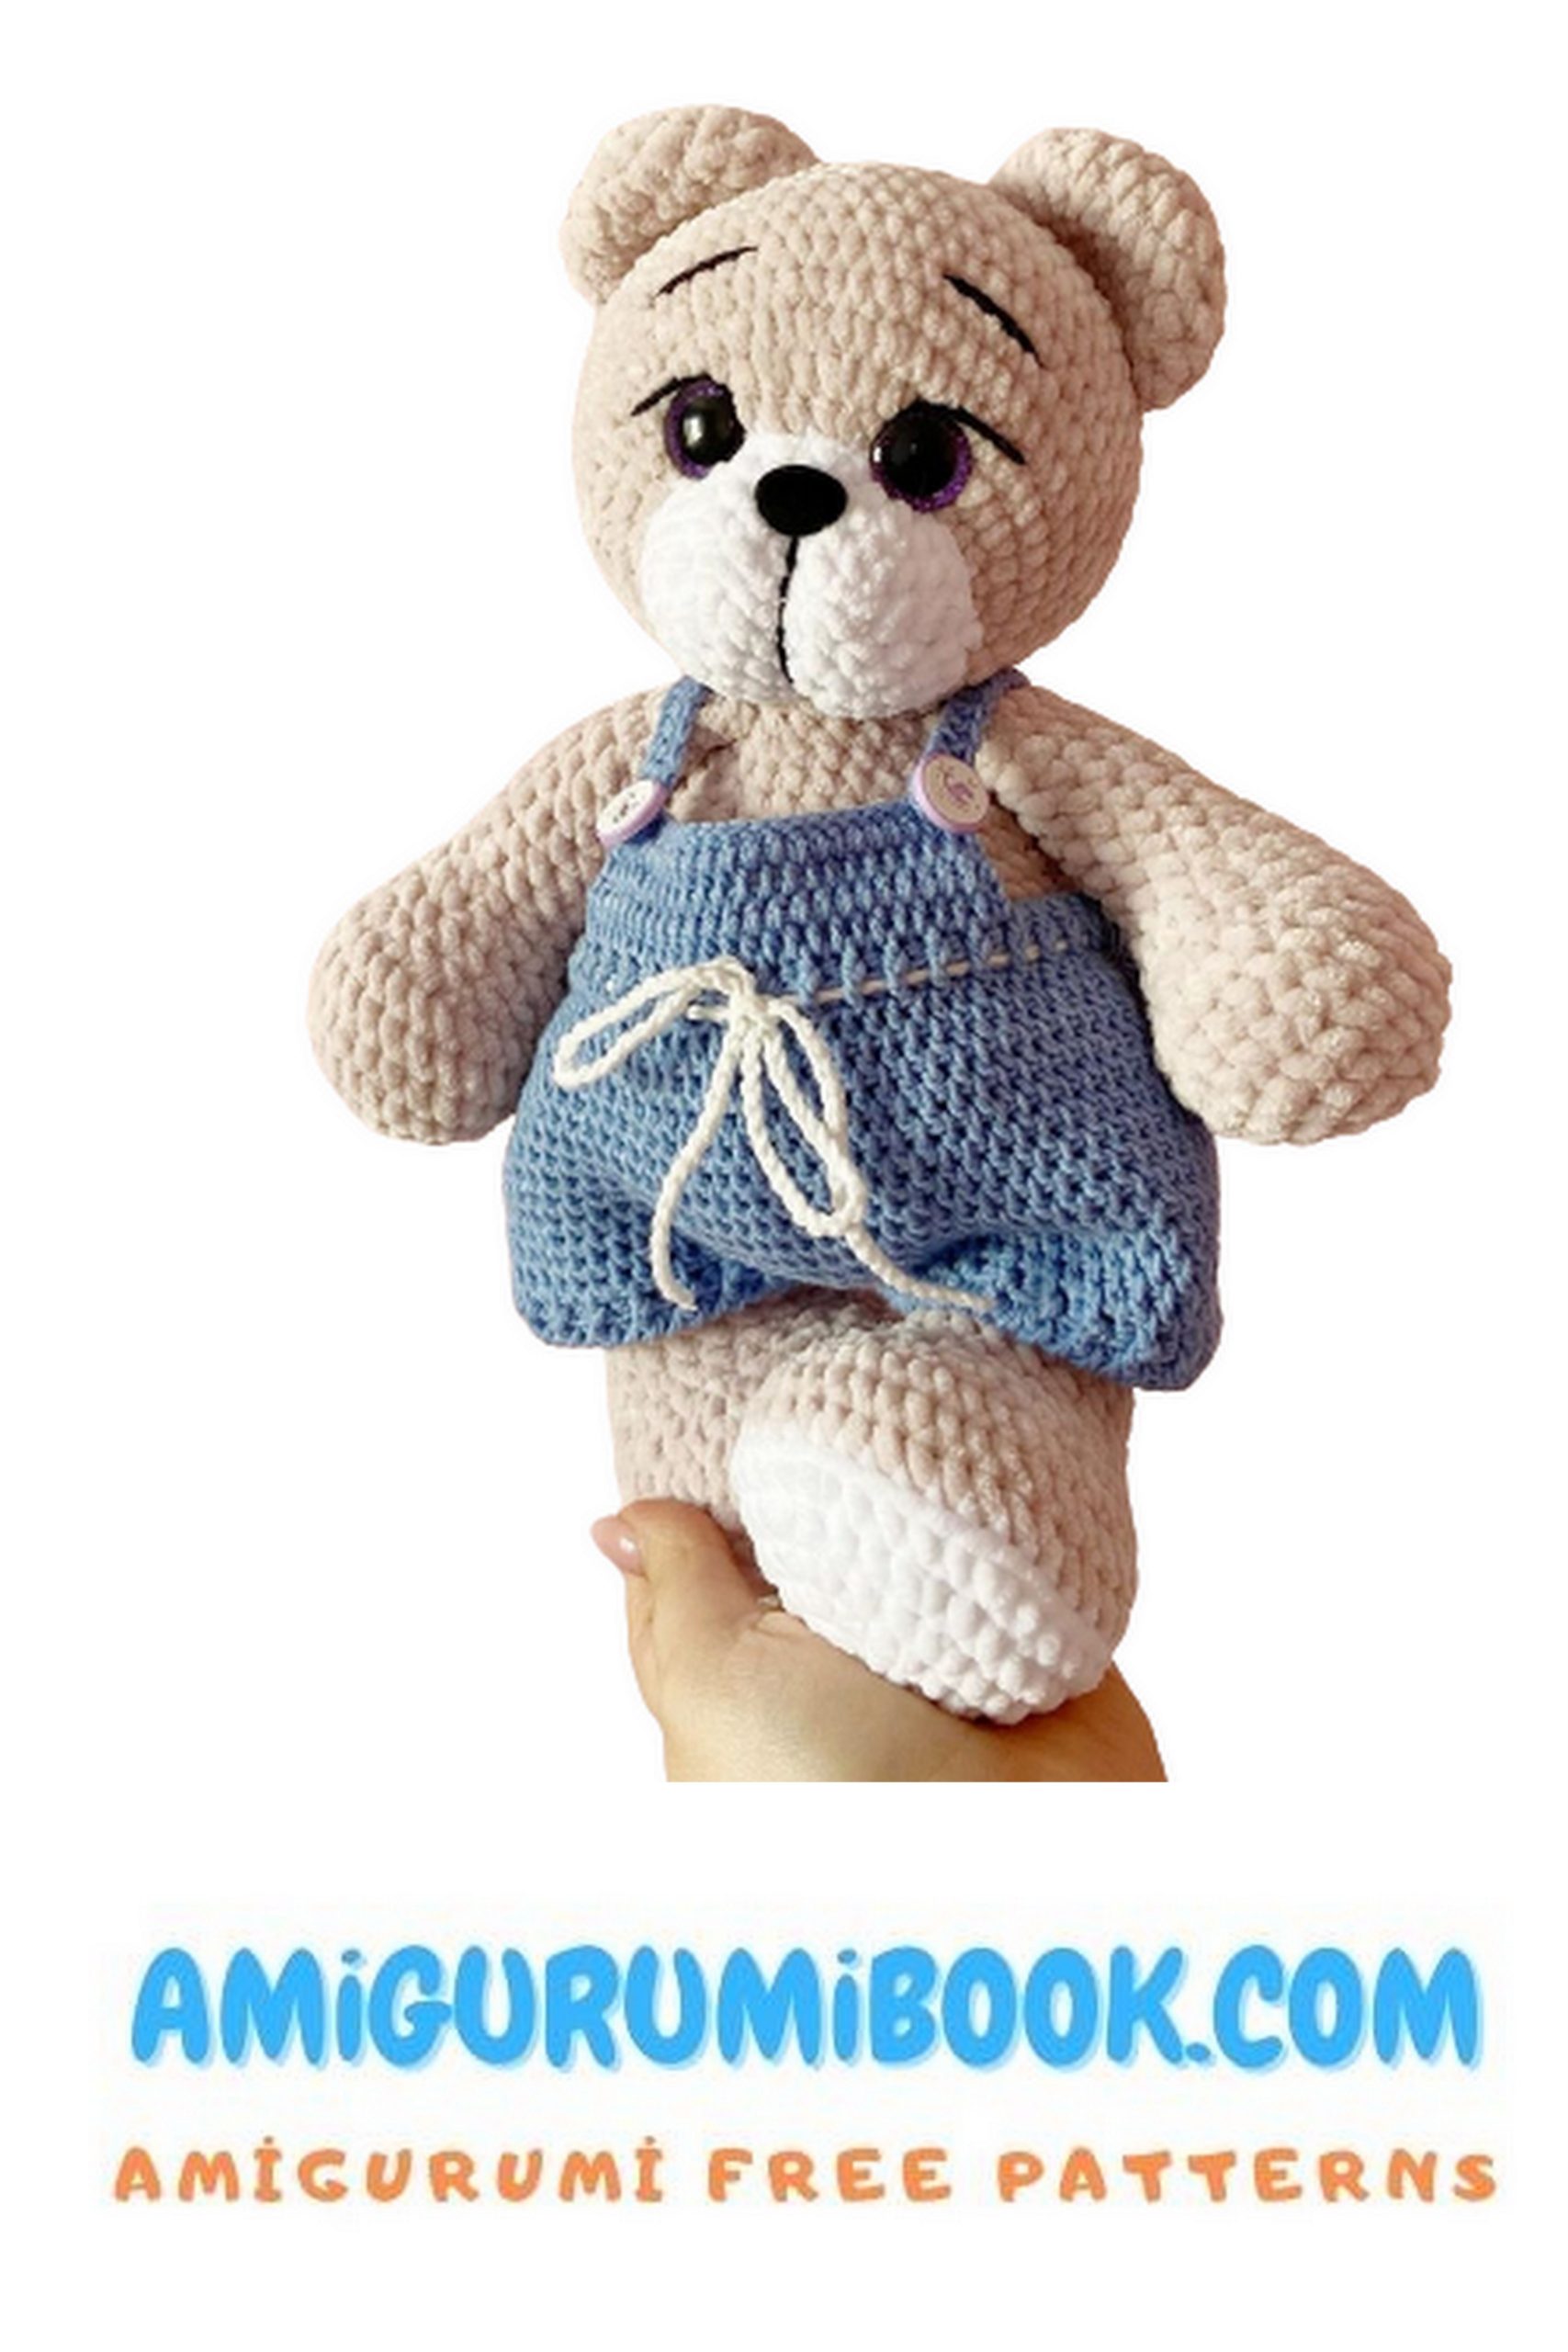
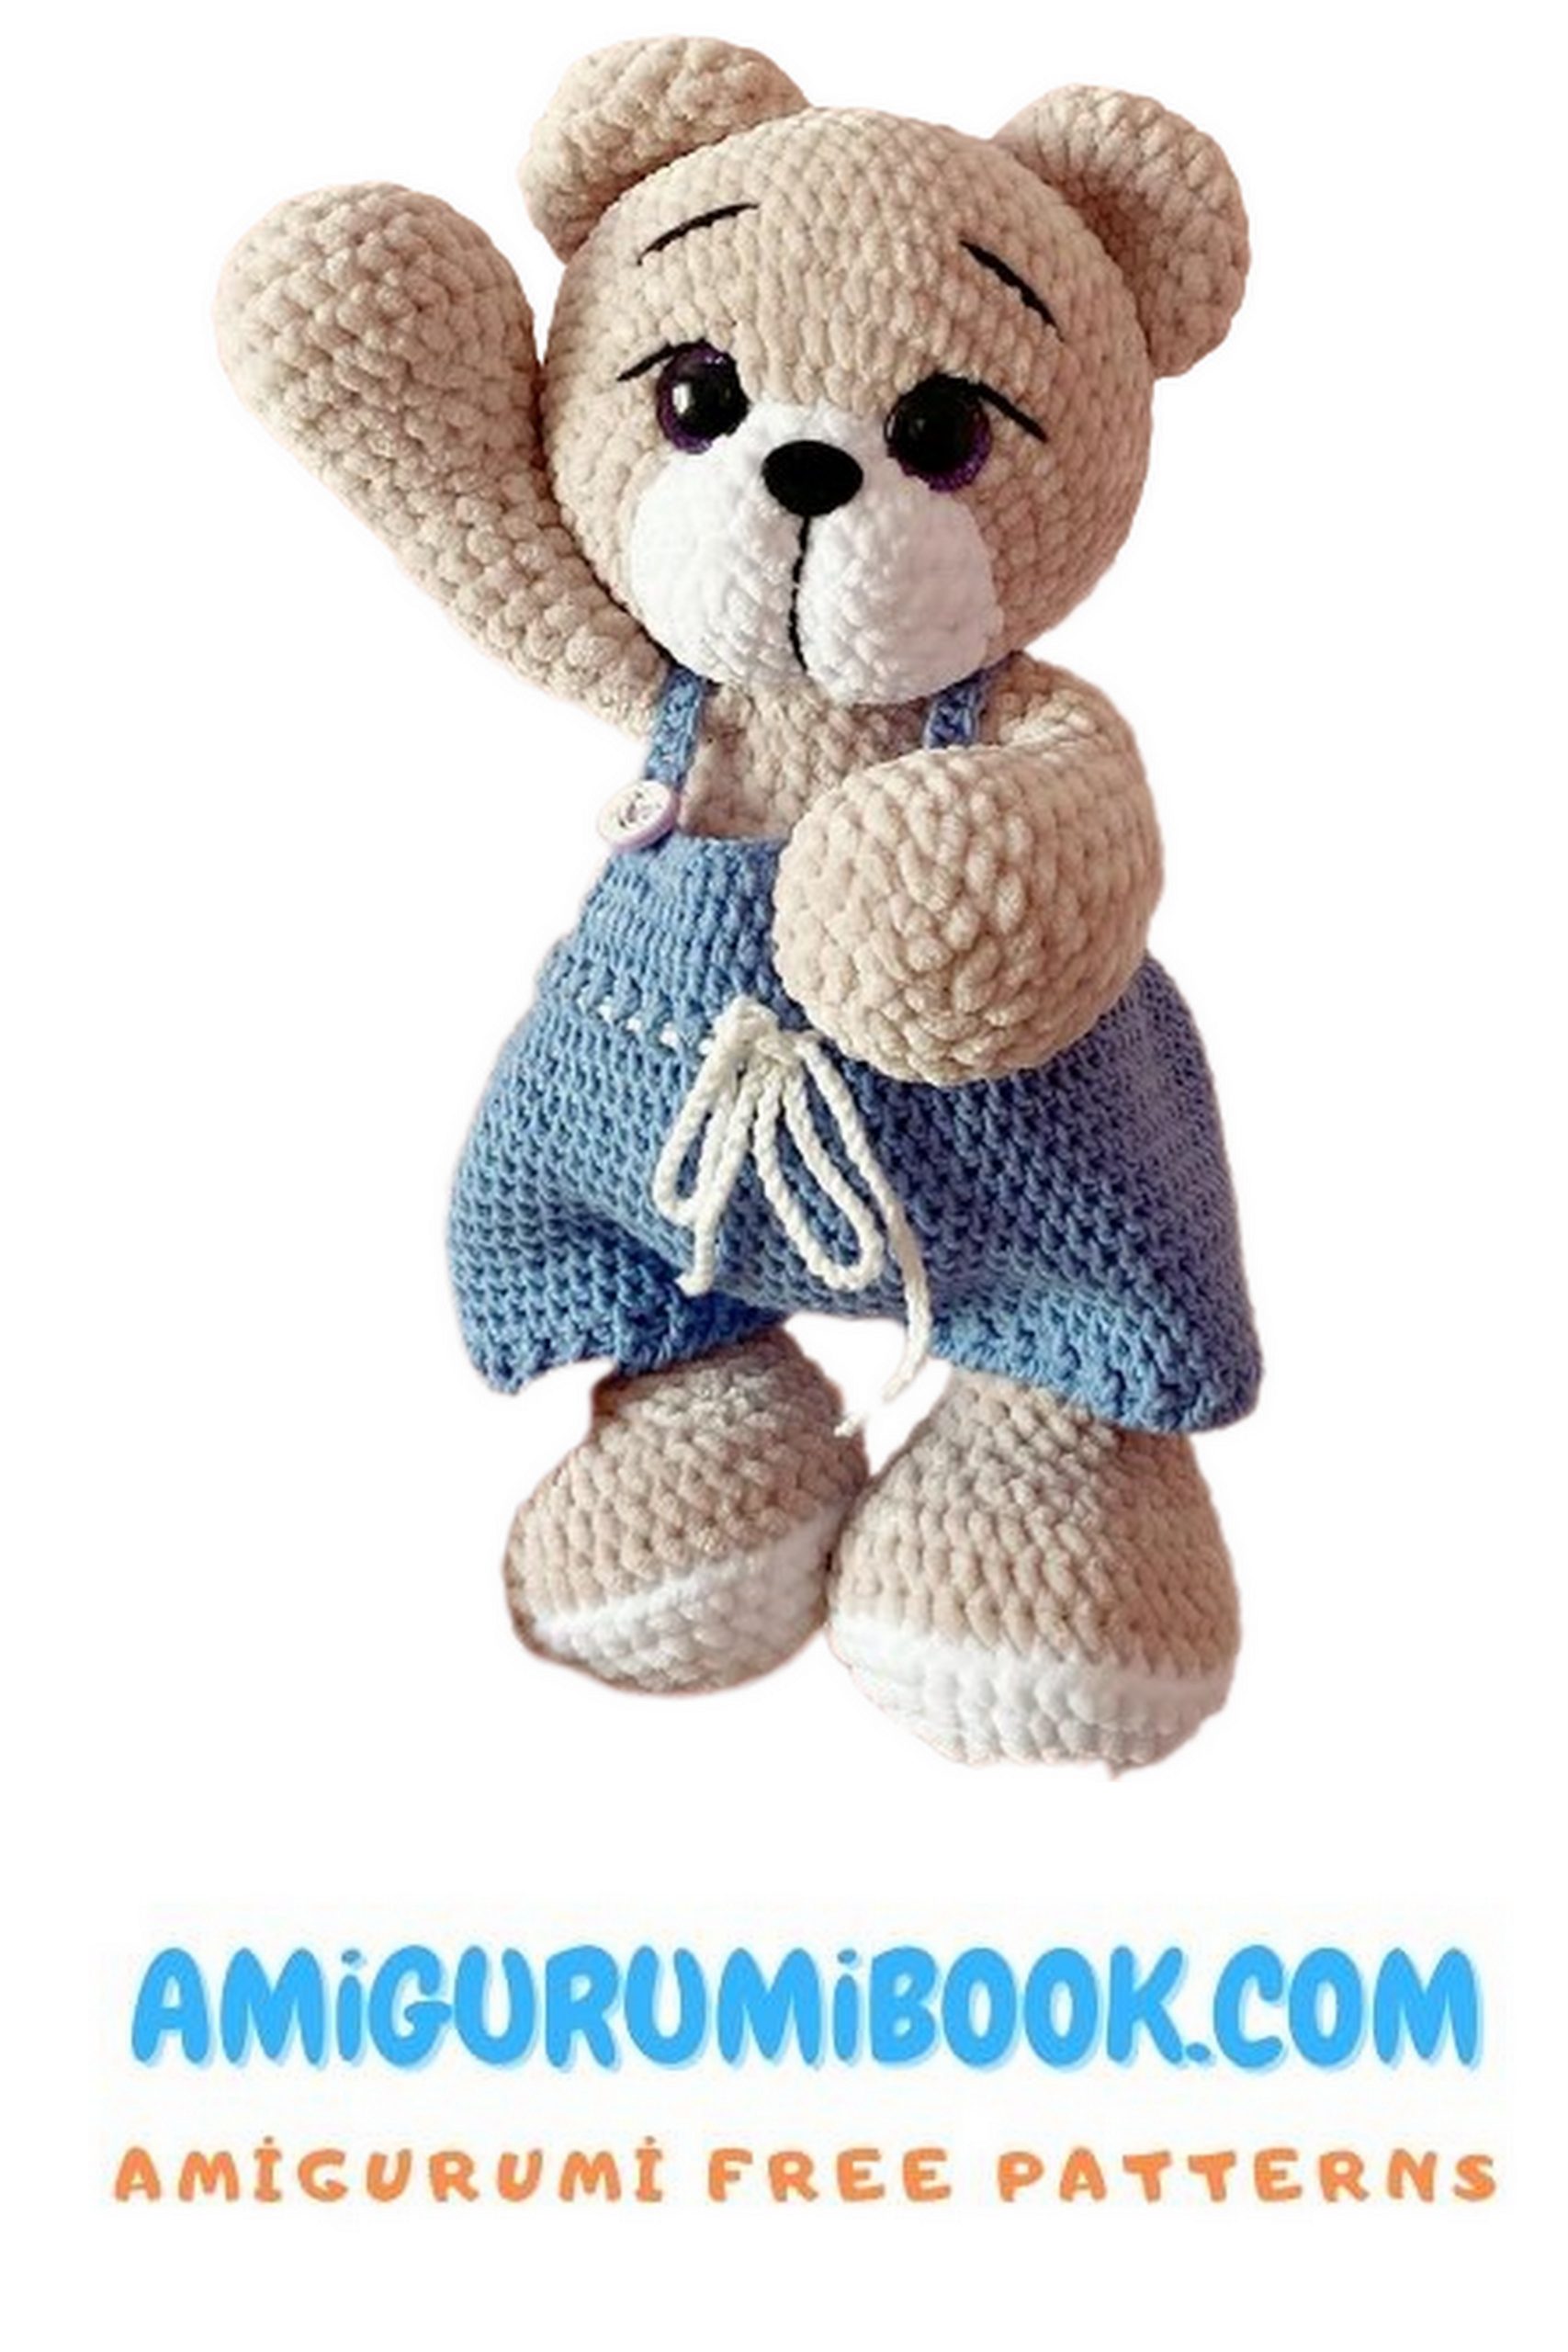
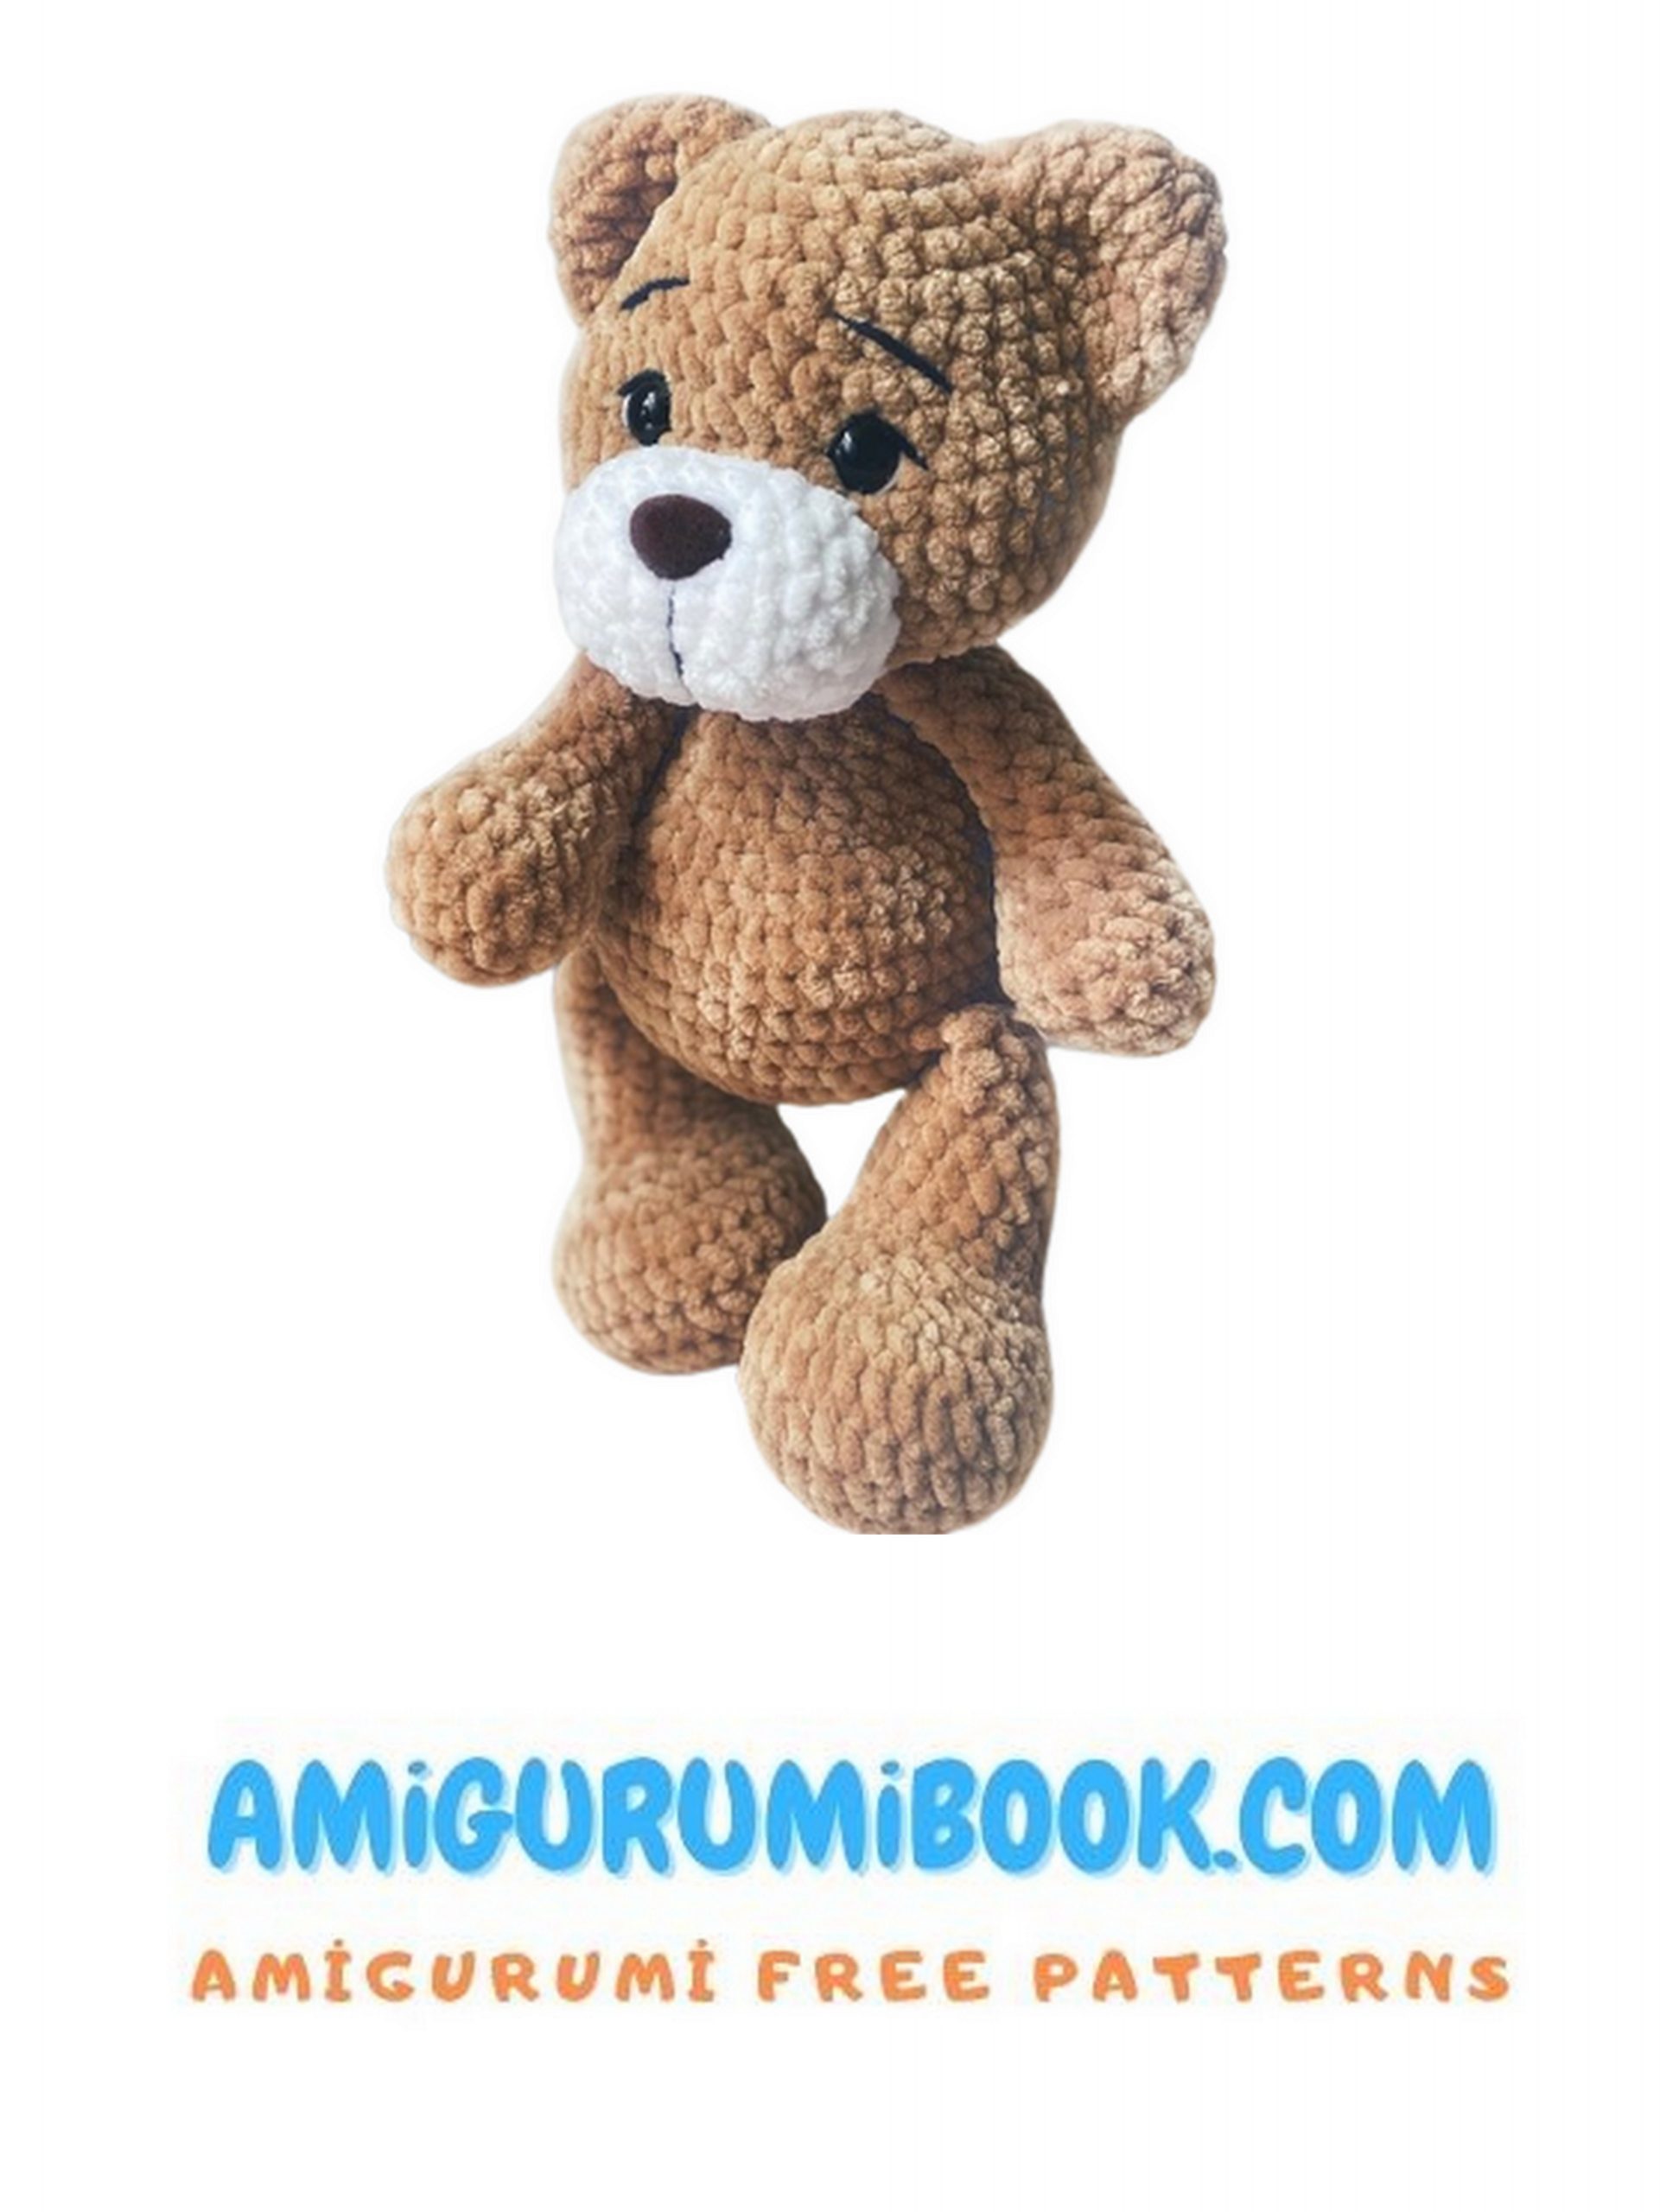
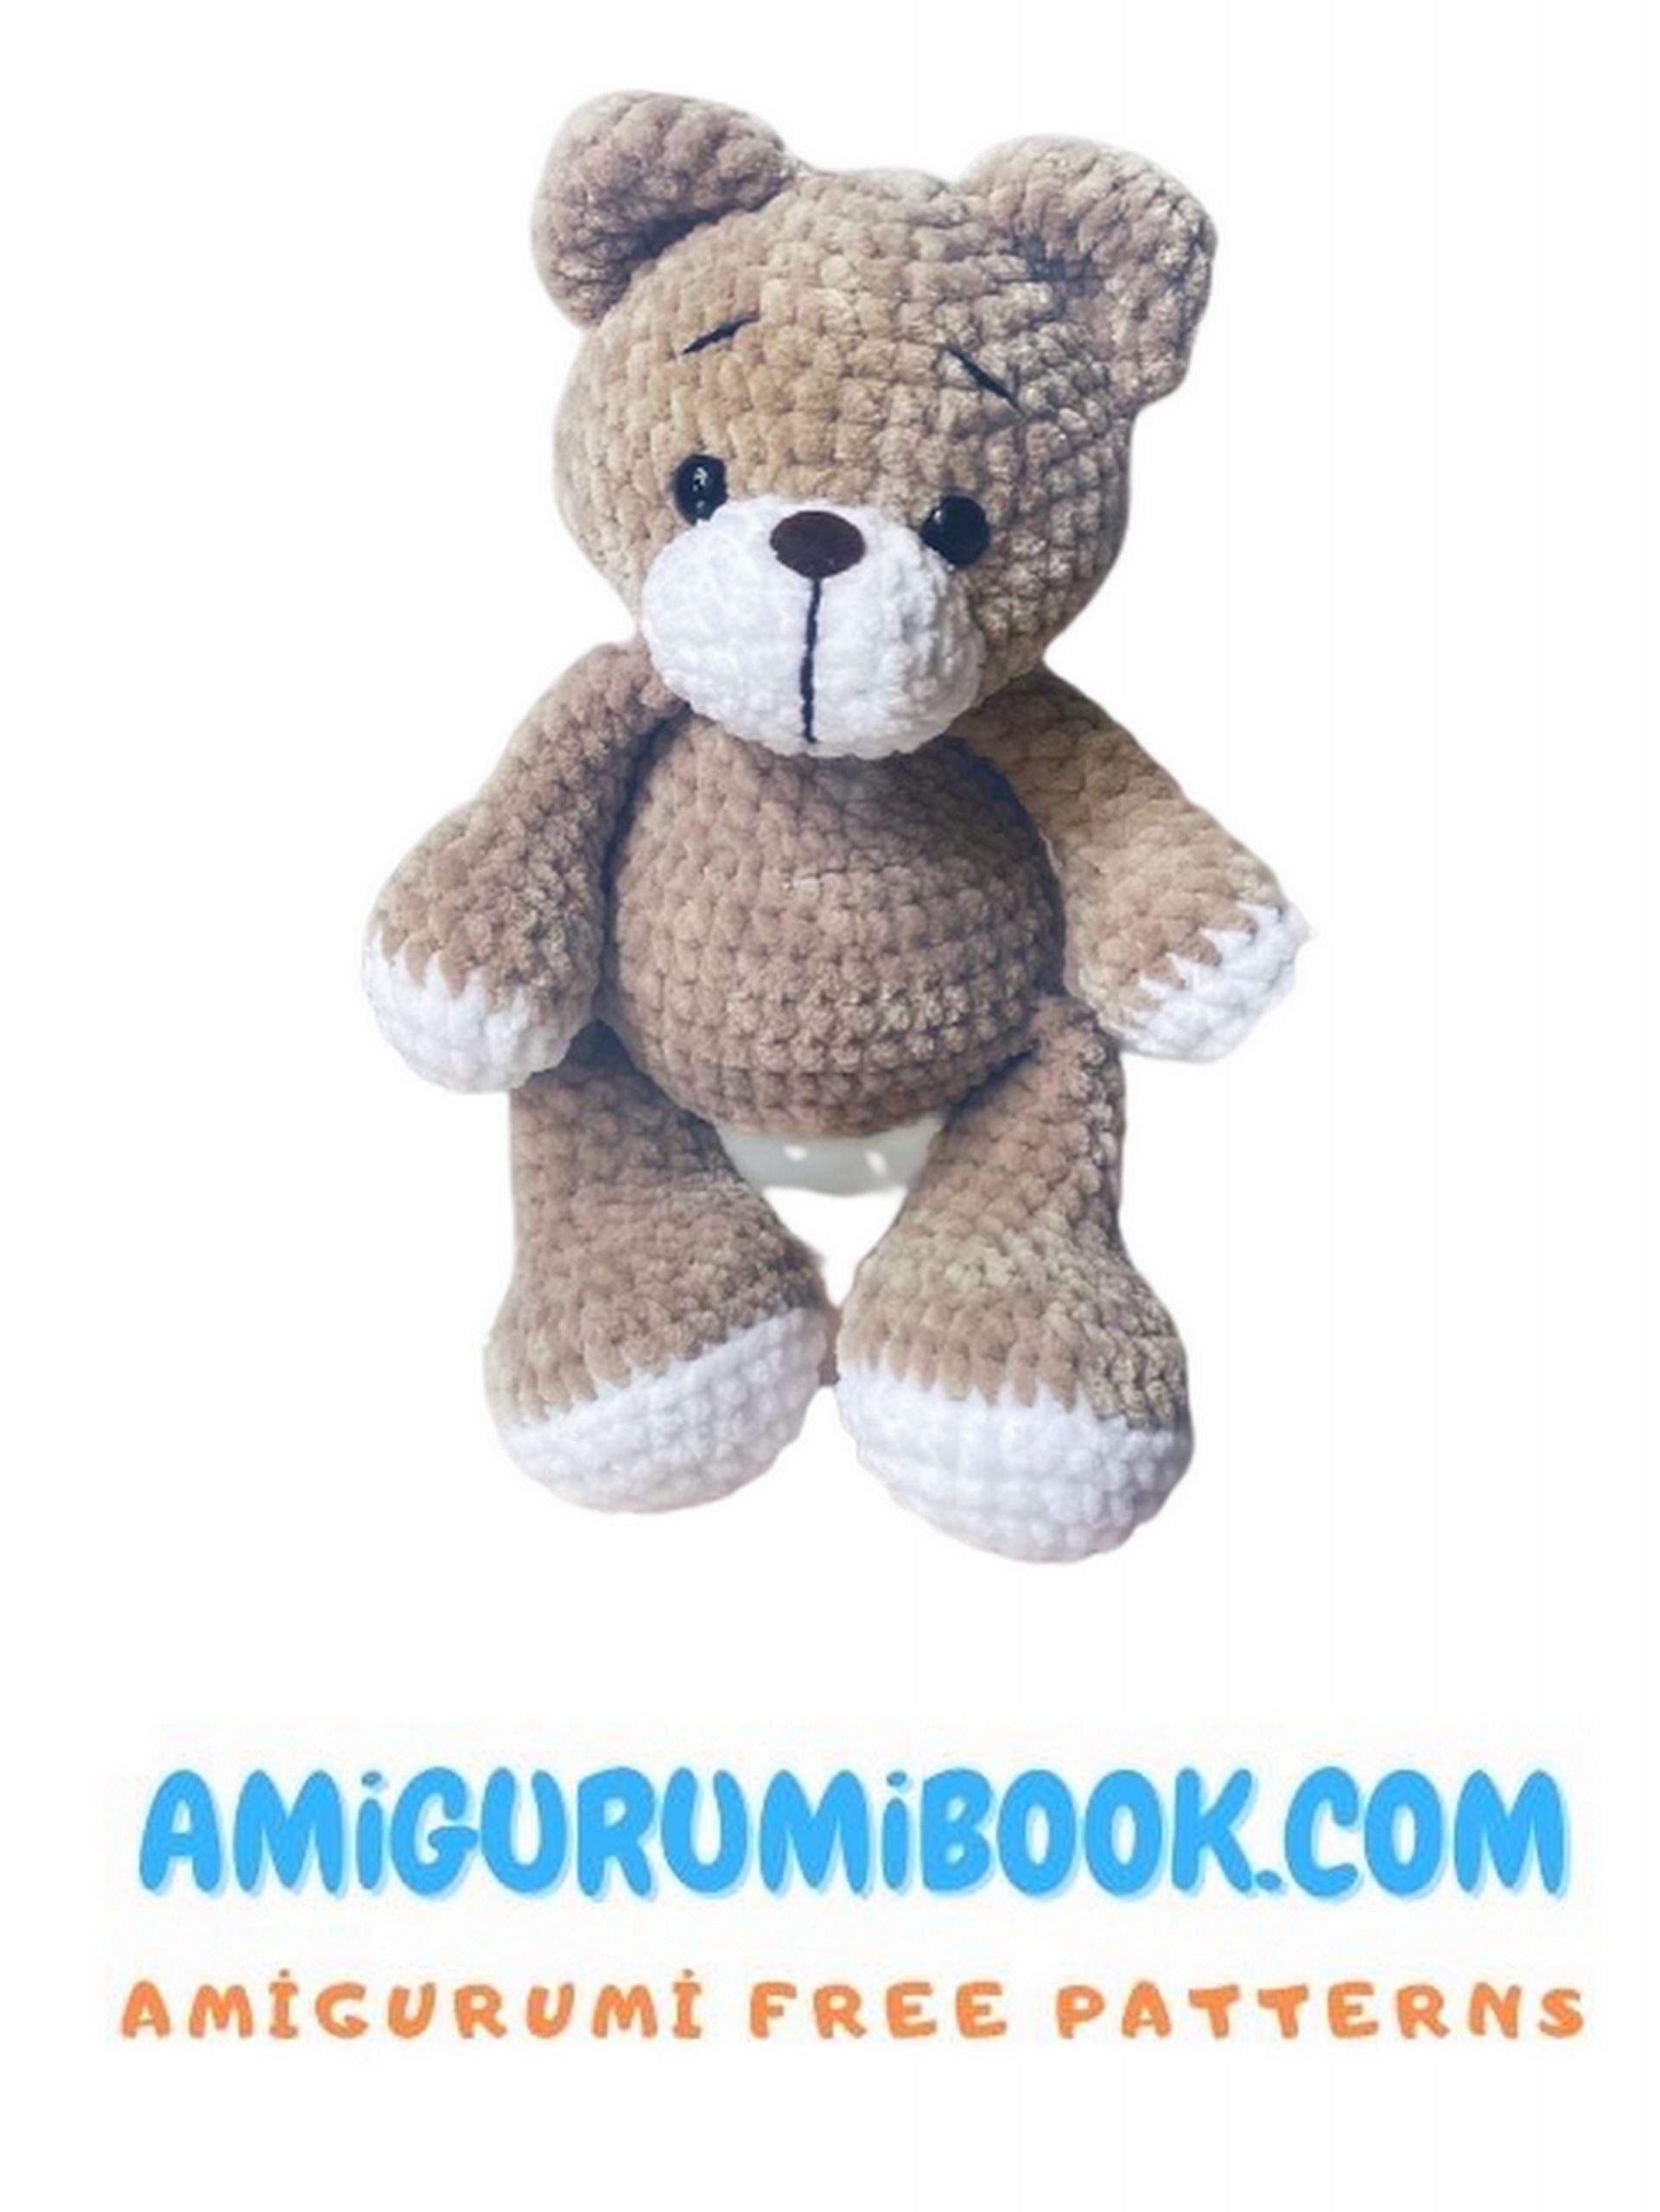
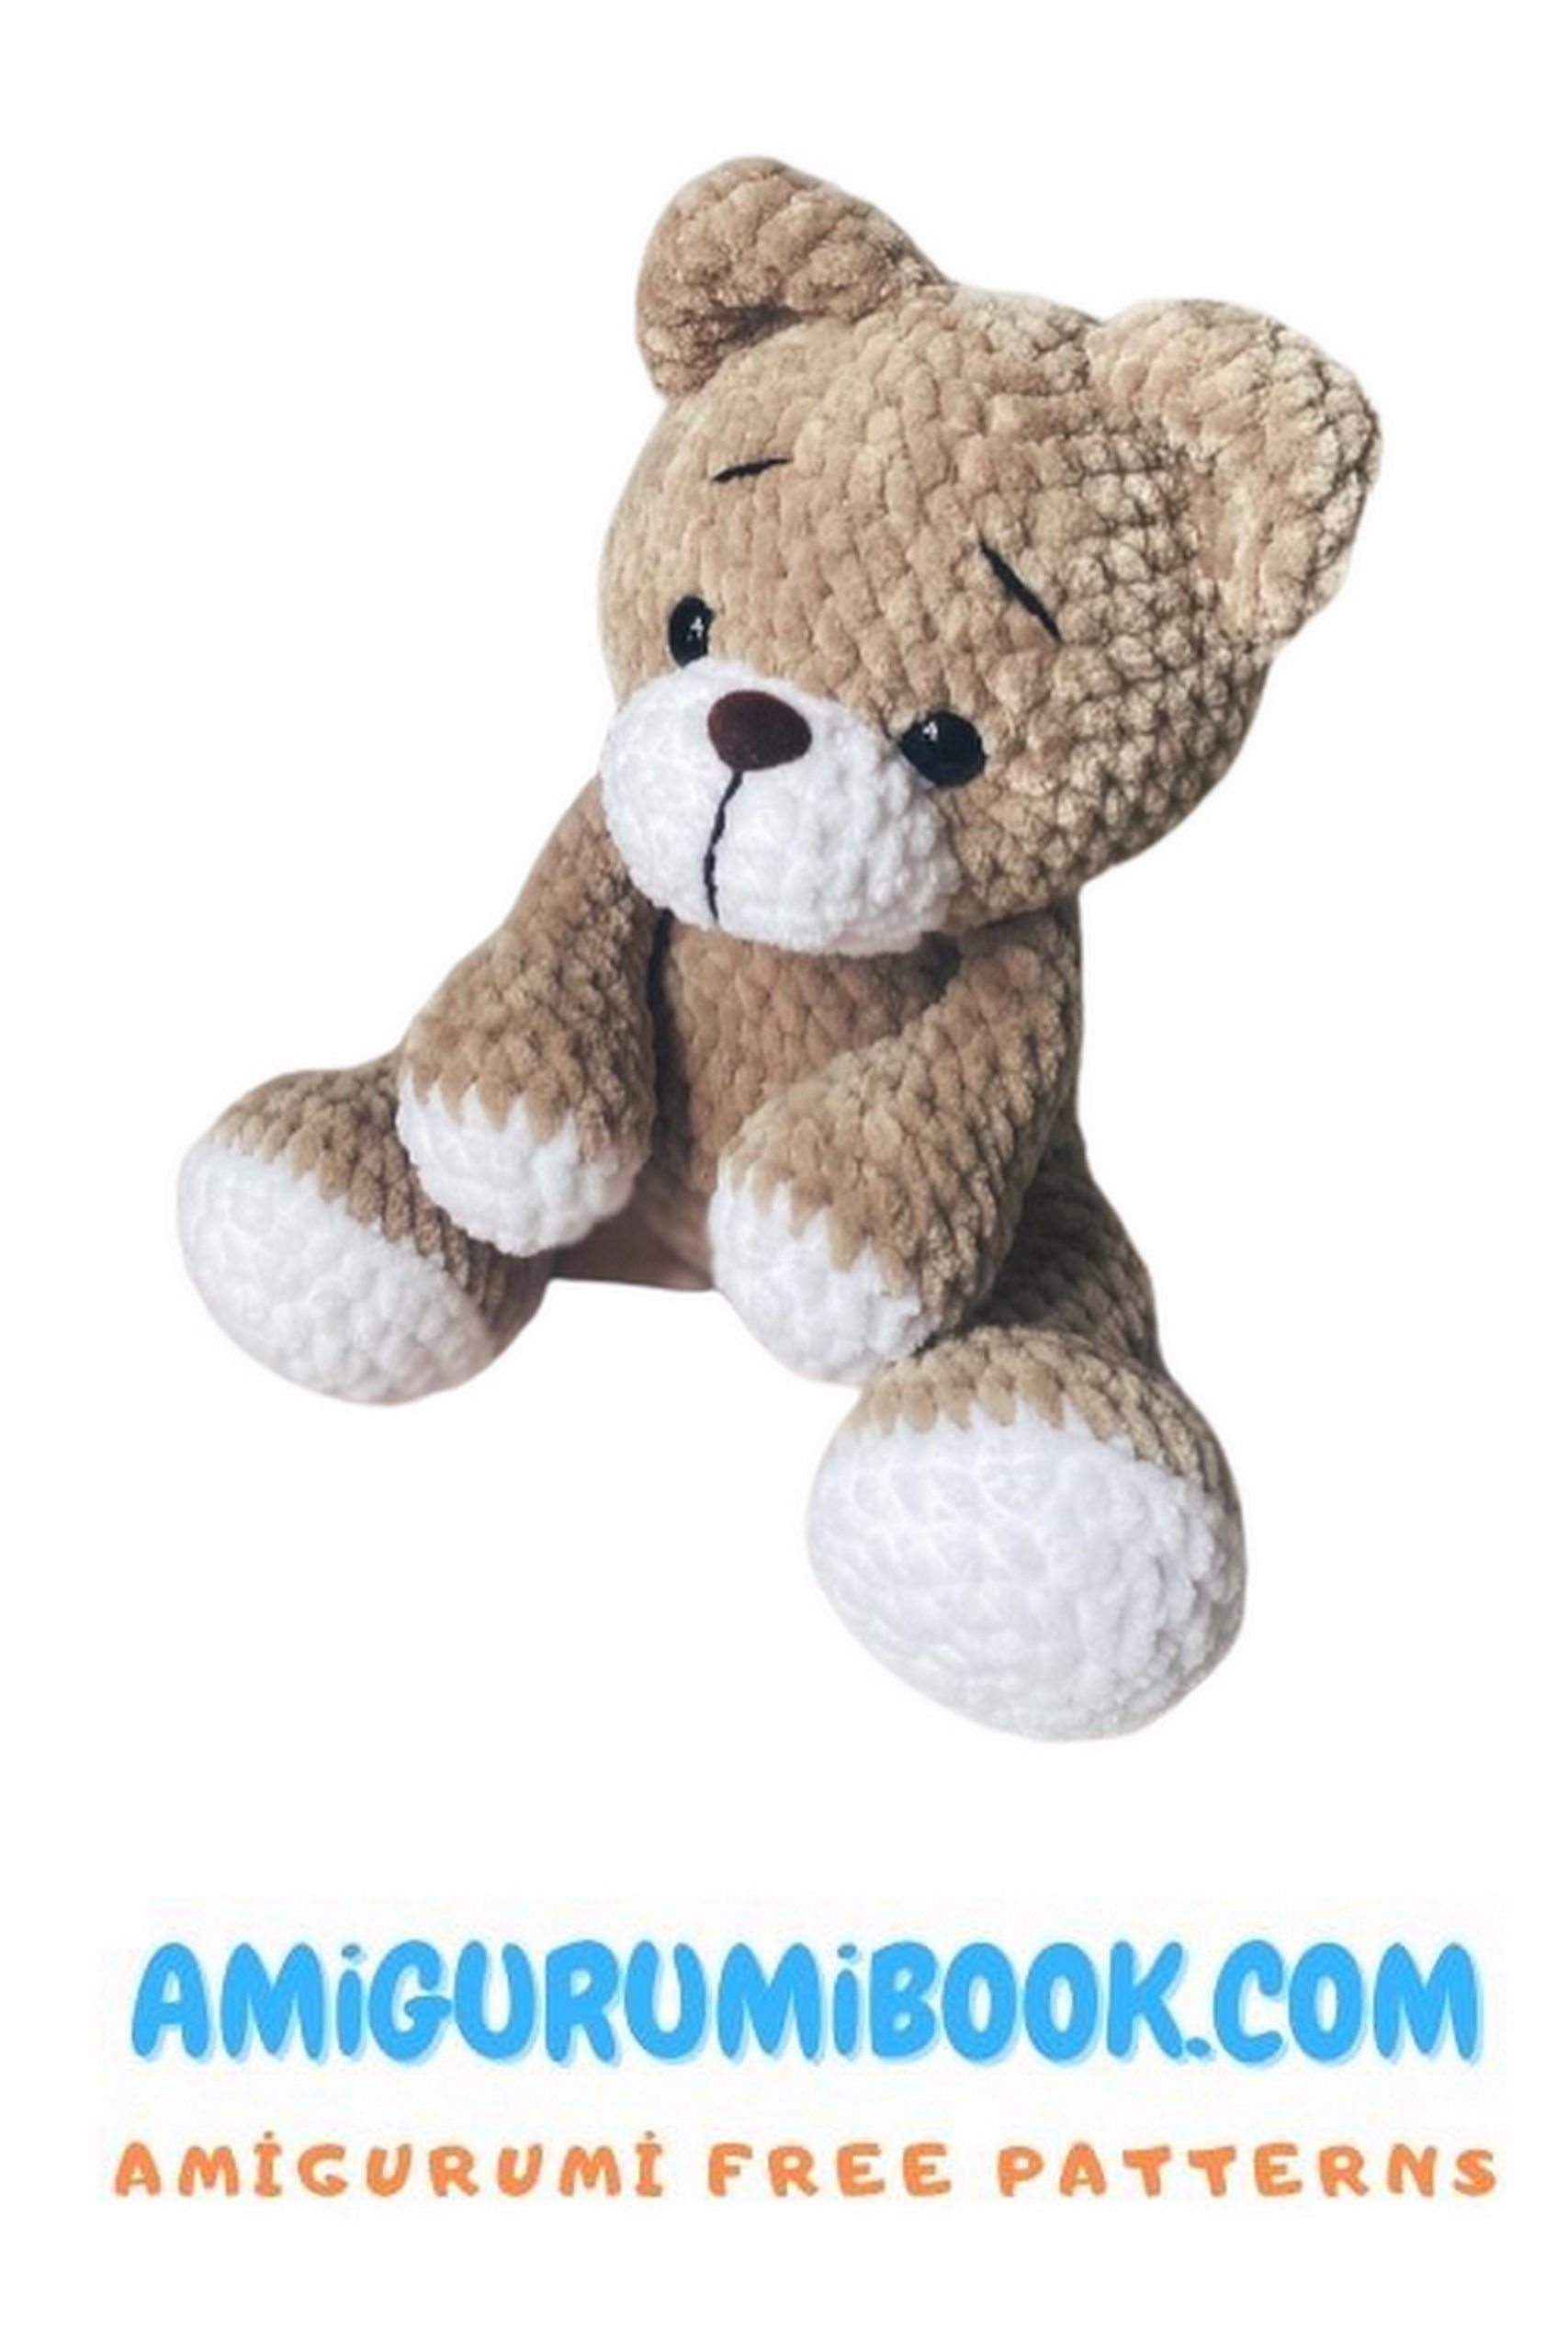
Discover the joy of crafting with this free pattern for an adorable velvet teddy bear amigurumi, perfect for both beginners and experienced crocheters. This soft and cuddly toy makes a charming handmade gift or a delightful addition to your collection. free crochet patterns
You may also like more amigurumi patterns.
Create your very own cuddly and cute velvet teddy bear with this free amigurumi pattern! Whether you’re a seasoned pro or new to the world of crocheting, this easy-to-follow pattern will guide you through the process of making your own handmade toy. Perfect for a thoughtful gift or a fun project to work on, this adorable velvet teddy bear will quickly become a beloved companion.
Materials and Tools:
Himalaya Dolphin Baby beige yarn in color no. 80317 (main color), white yarn in color no. 80301 (additional color)
YarnArt Jeans black embroidery and sewing thread in color no. 53
3.5-4.0 mm crochet hook
12 mm safety eyes
12-13 mm plastic nose
Needle for attaching parts
Scissors
Stuffing for toys

Abbreviations:
MR – magic ring
ch – chain
sc – single crochet
inc – increase
dec – decrease
(…) x n – repeat n times
PATTERN
Legs (2 parts)
Start with the additional color:
1: 6 sc in MR (6)
2: (inc) x 6 (12)
3: (1 sc, inc) x 6 (18)
4: 1 sc, inc, (2 sc, inc) x 5, 1 sc (24)
5: (3 sc, inc) x 6 (30)
Switch to the main color:
6: sc 30 in back loops only
7: 30 sc
8: 3 sc, 6 dec, 3 sc (24)
9: 7 sc, 5 dec, 7 sc (19)
10: 6 sc, 3 dec, 7 sc (16)
Stuff the leg.
11-14: 16 sc (4 rows)
15: (6 sc, dec) x 2 (14)
16-17: 14 sc (2 rows)
Crochet 2 more sc.
Fold in half and crochet 7 sc together.
Secure and cut the thread.
Arms (2 parts)
Start with the additional color:
1: 6 sc in MR (6)
2: (inc) x 6 (12)
3: (2 sc, inc) x 4 (16)
Switch to the main color:
4: sc 16 in back loops only
5: 16 sc
6: 5 sc, 3 dec, 5 sc (13)
7: 13 sc
8: 4 sc, 3 dec, 3 sc (10)
9-15: 10 sc (7 rows)
Crochet 2 more sc.
Fold in half and crochet 5 sc together.
Secure and cut the thread.
Muzzle
Make a chain of 5.
Crochet around the chain from the 2nd stitch from the hook on both sides, forming an oval:
1: in the 2nd ch from the hook: inc, 2 sc, 3 sc in the last ch, turn: 3 sc (on the other side of the chain) (10)
2: 2 inc, 2 sc, 3 inc, 2 sc, inc (16)
3: (1 sc, inc) x 2, 2 sc, (1 sc, inc) x 3, 3 sc, inc (22)
4: 22 sc
Fasten off, leaving a long tail for sewing.
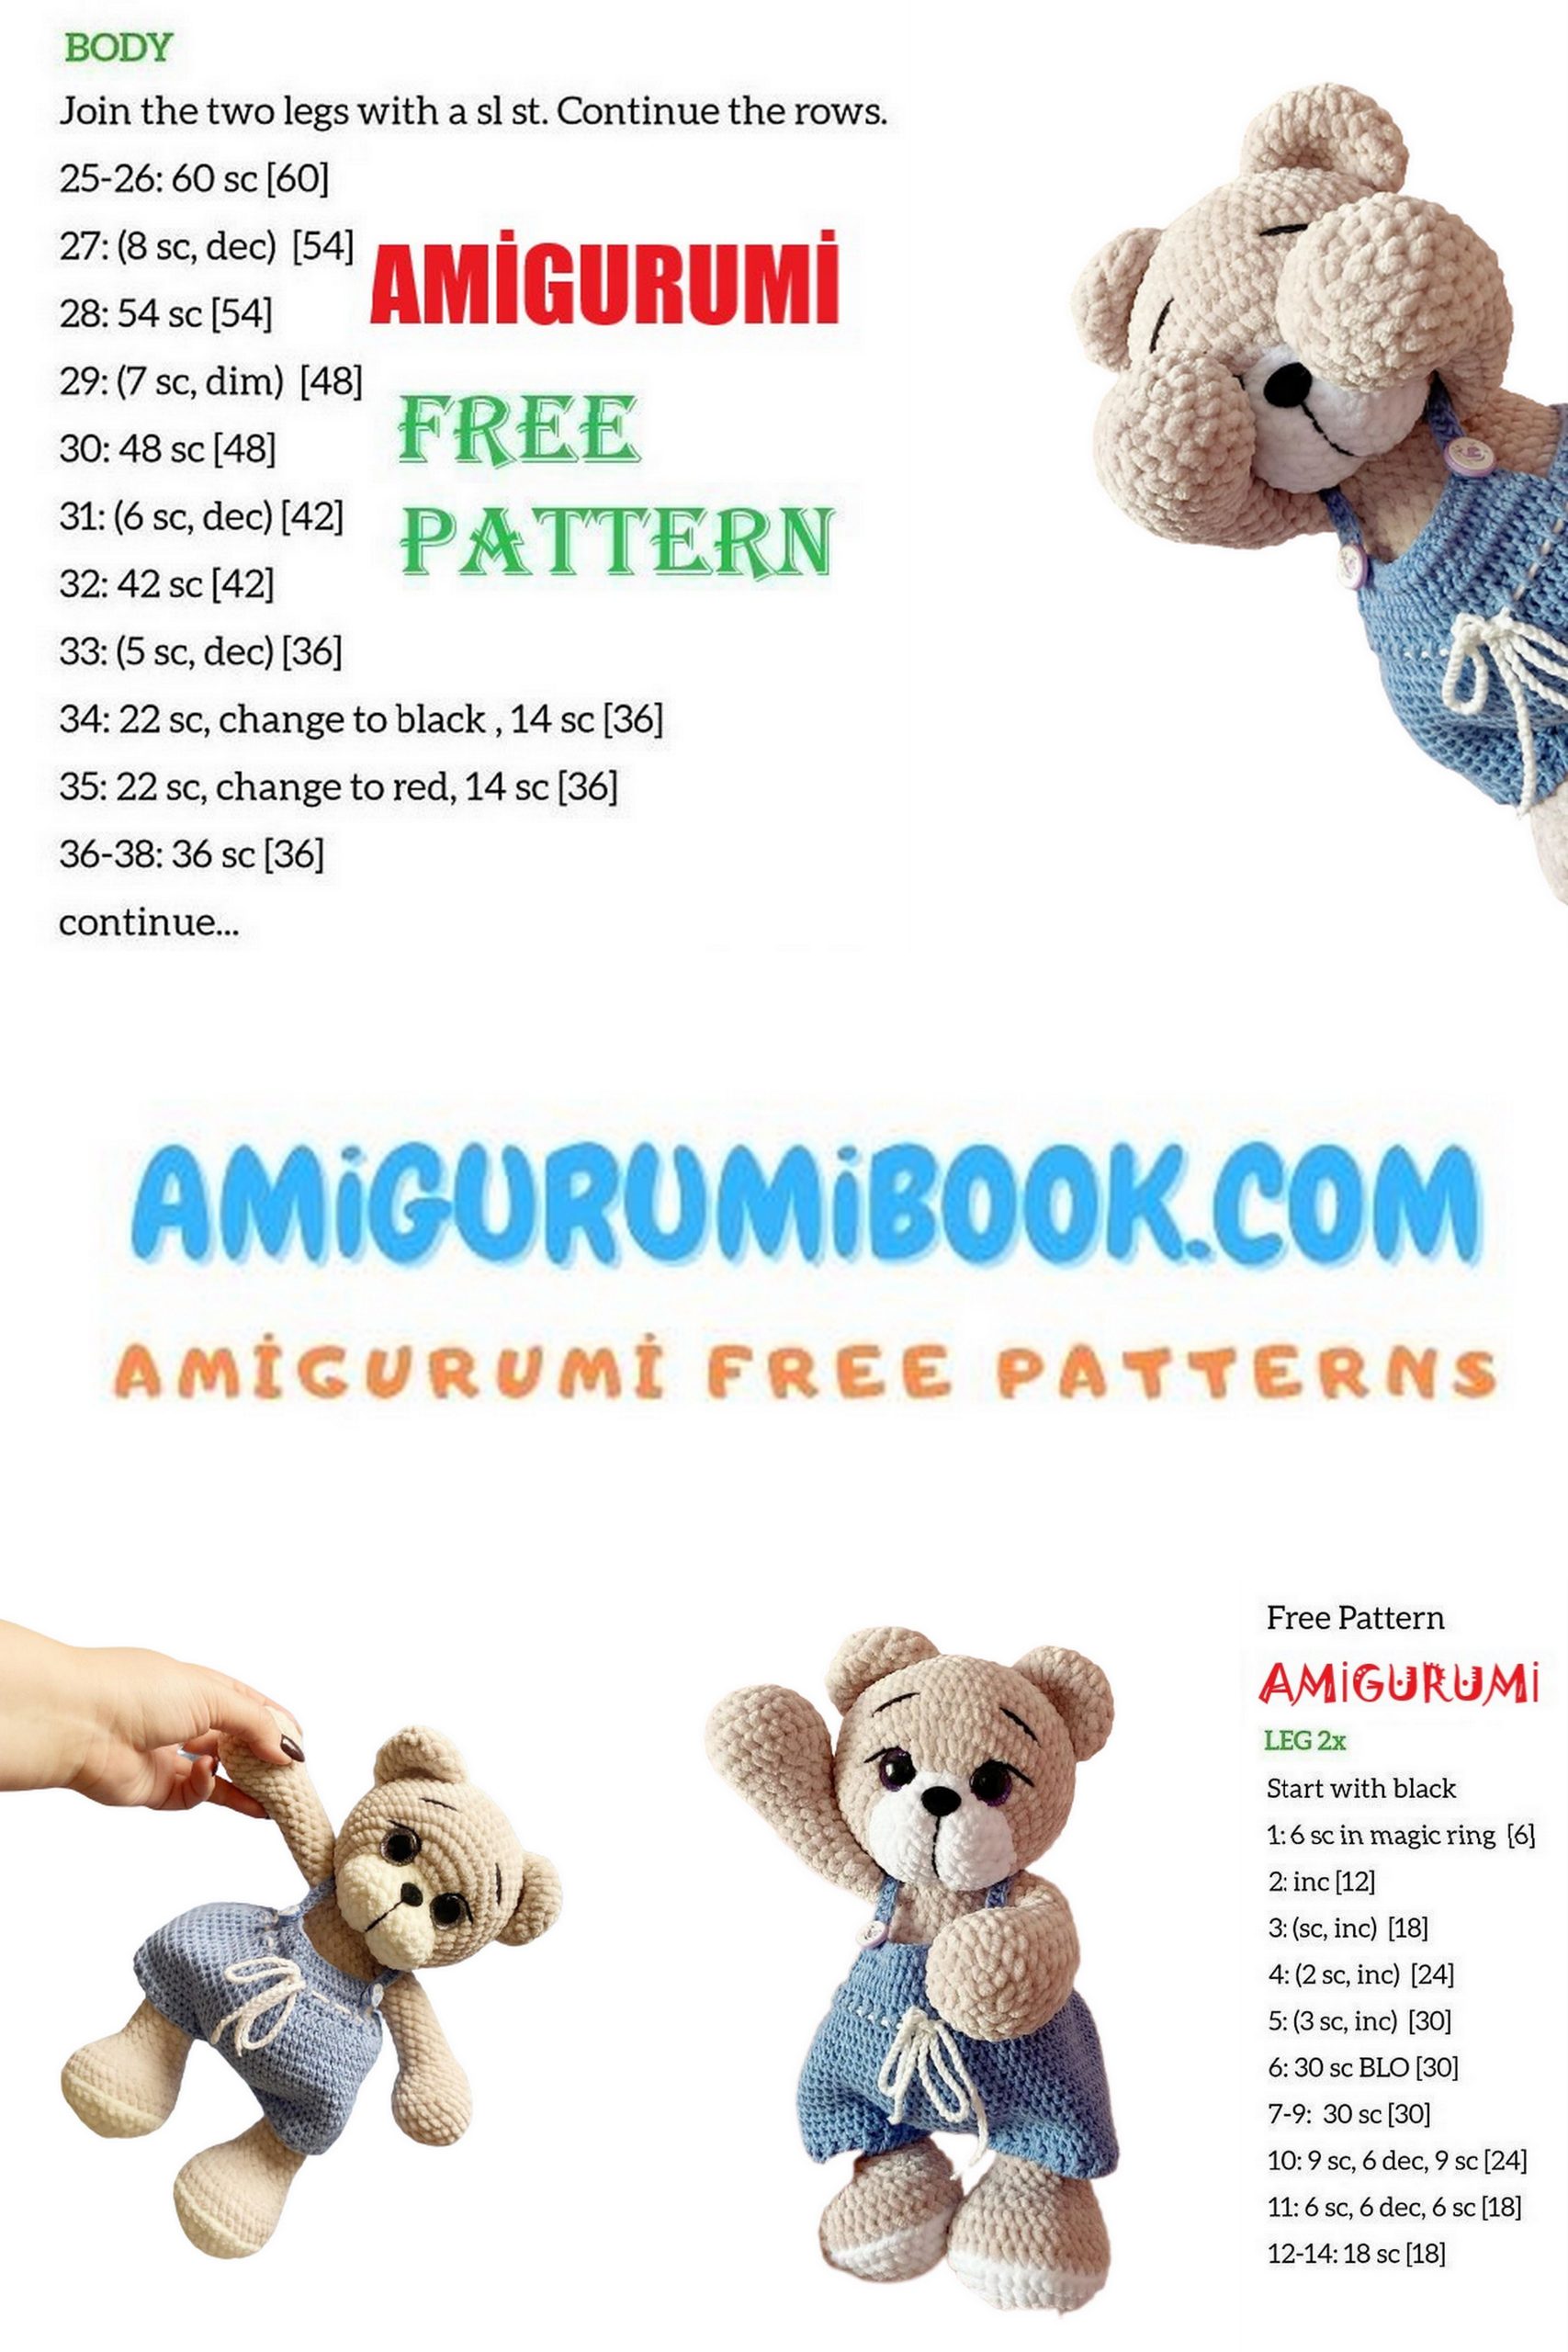
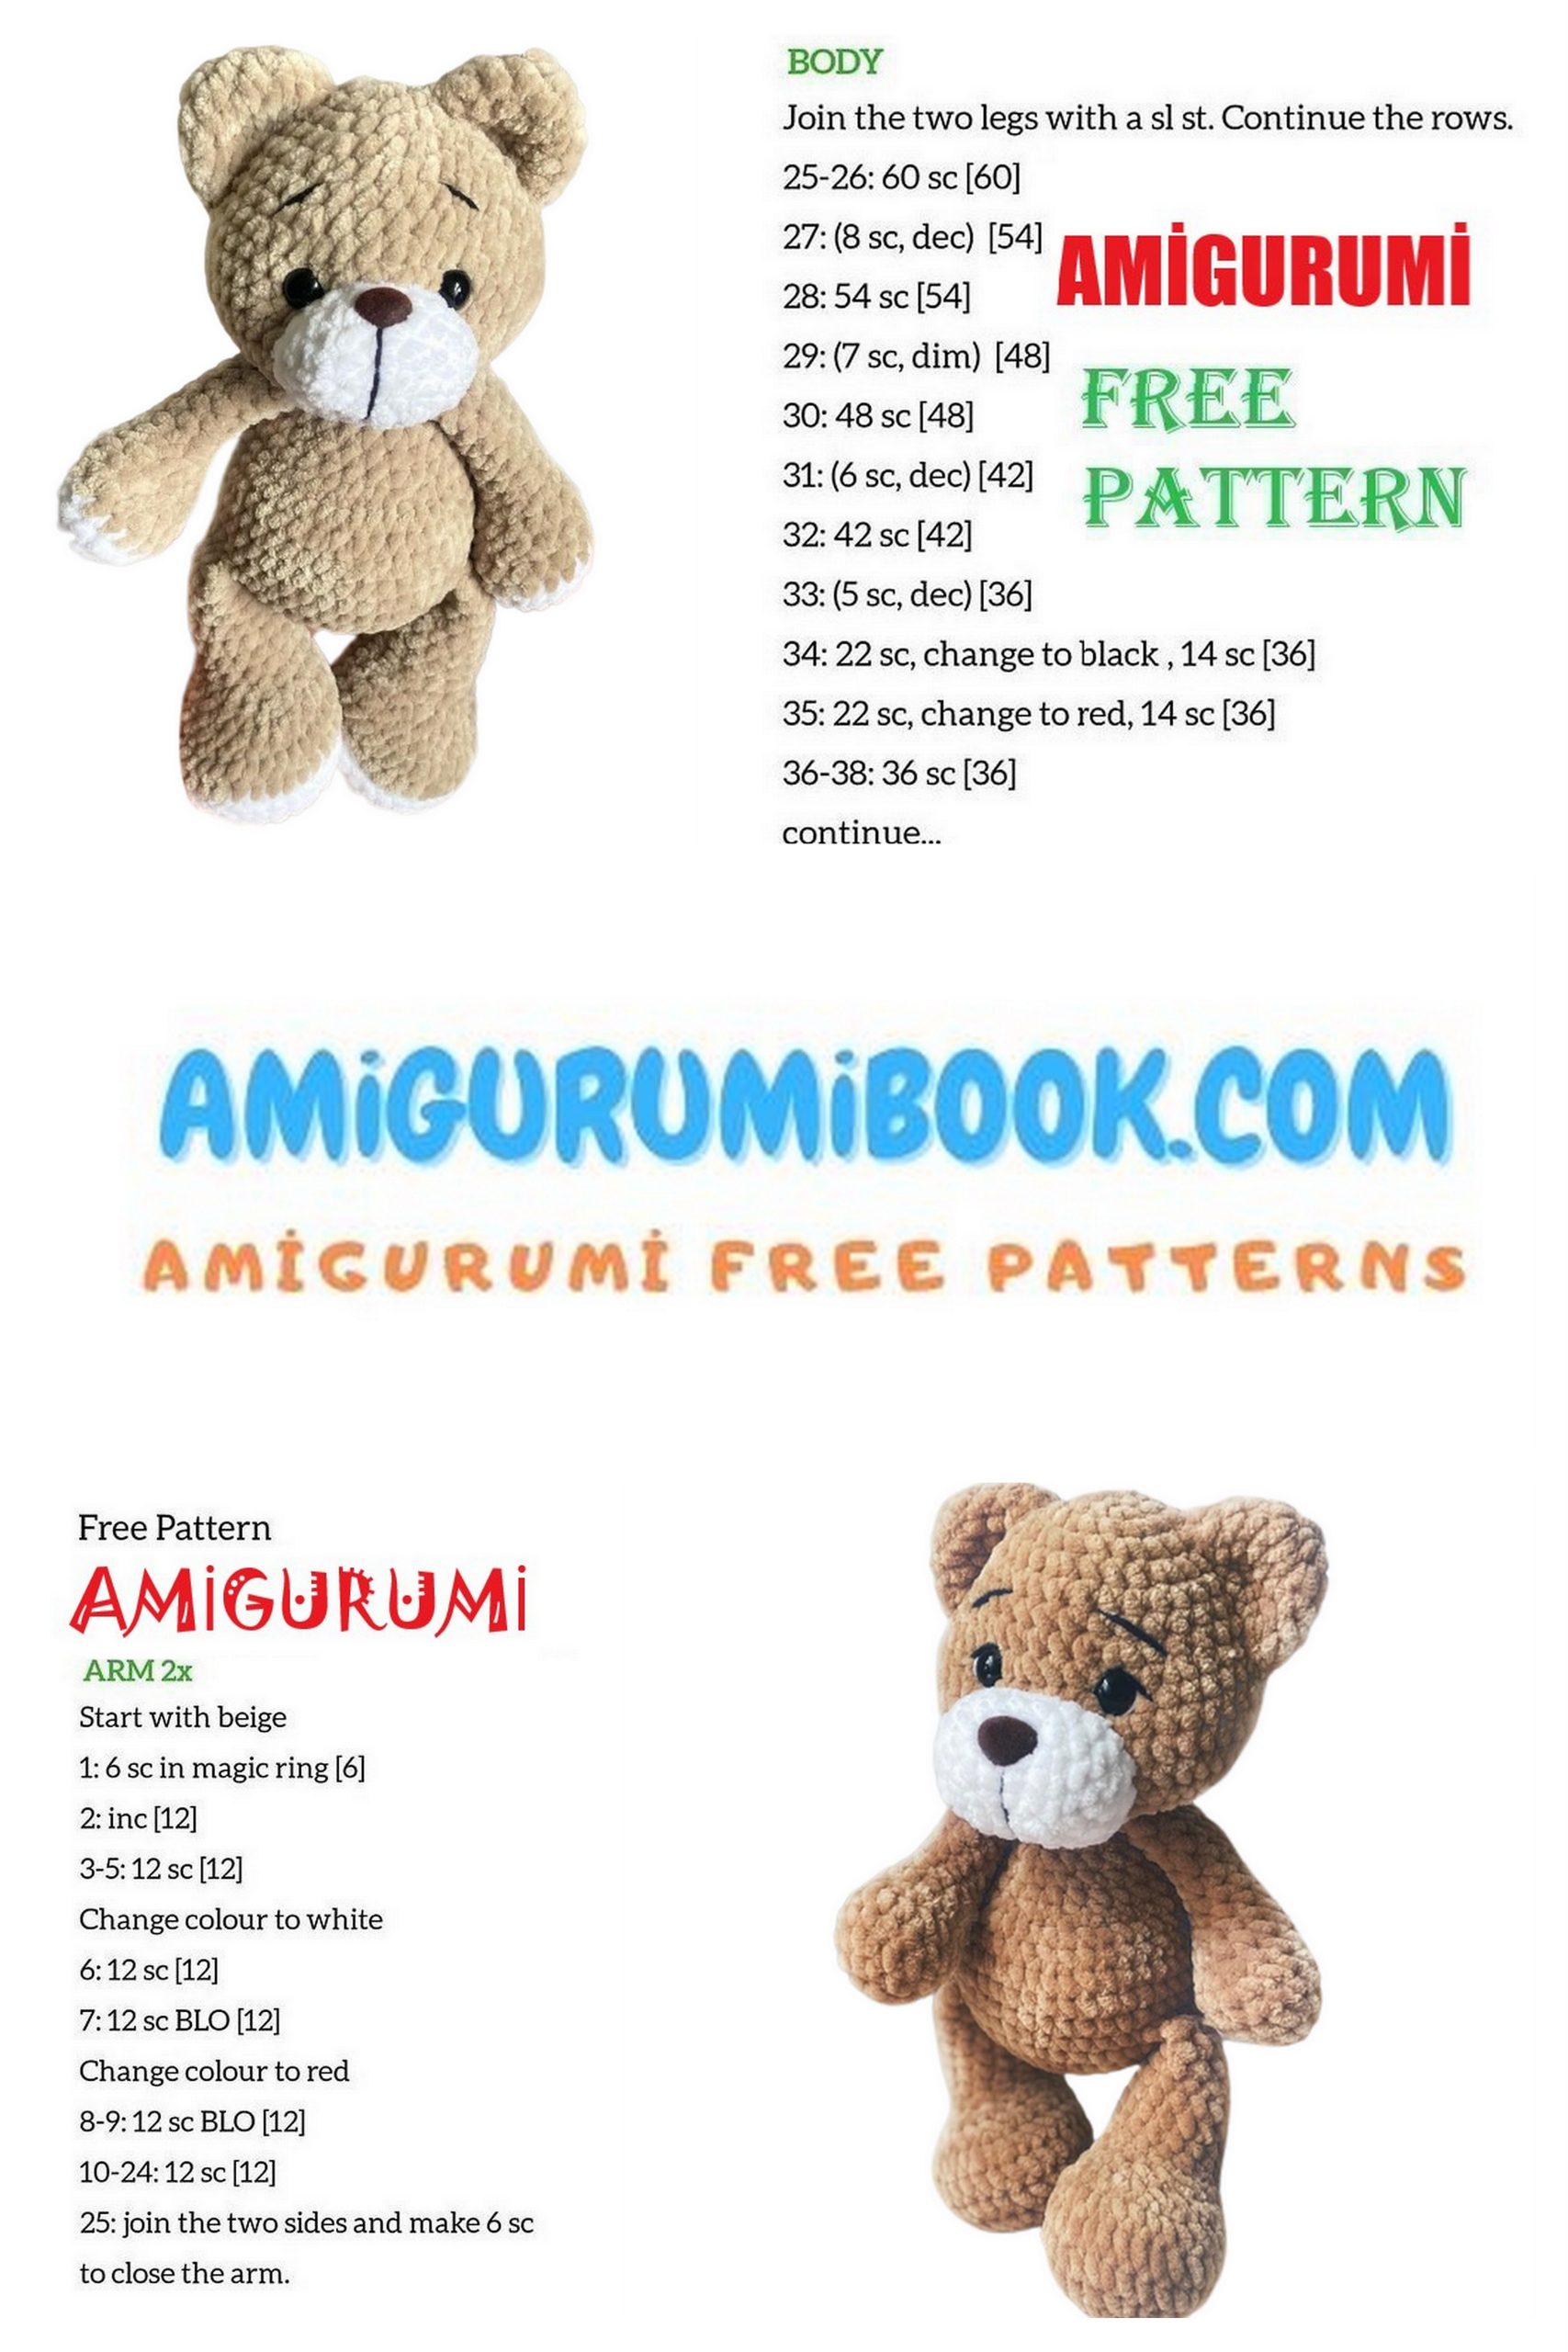
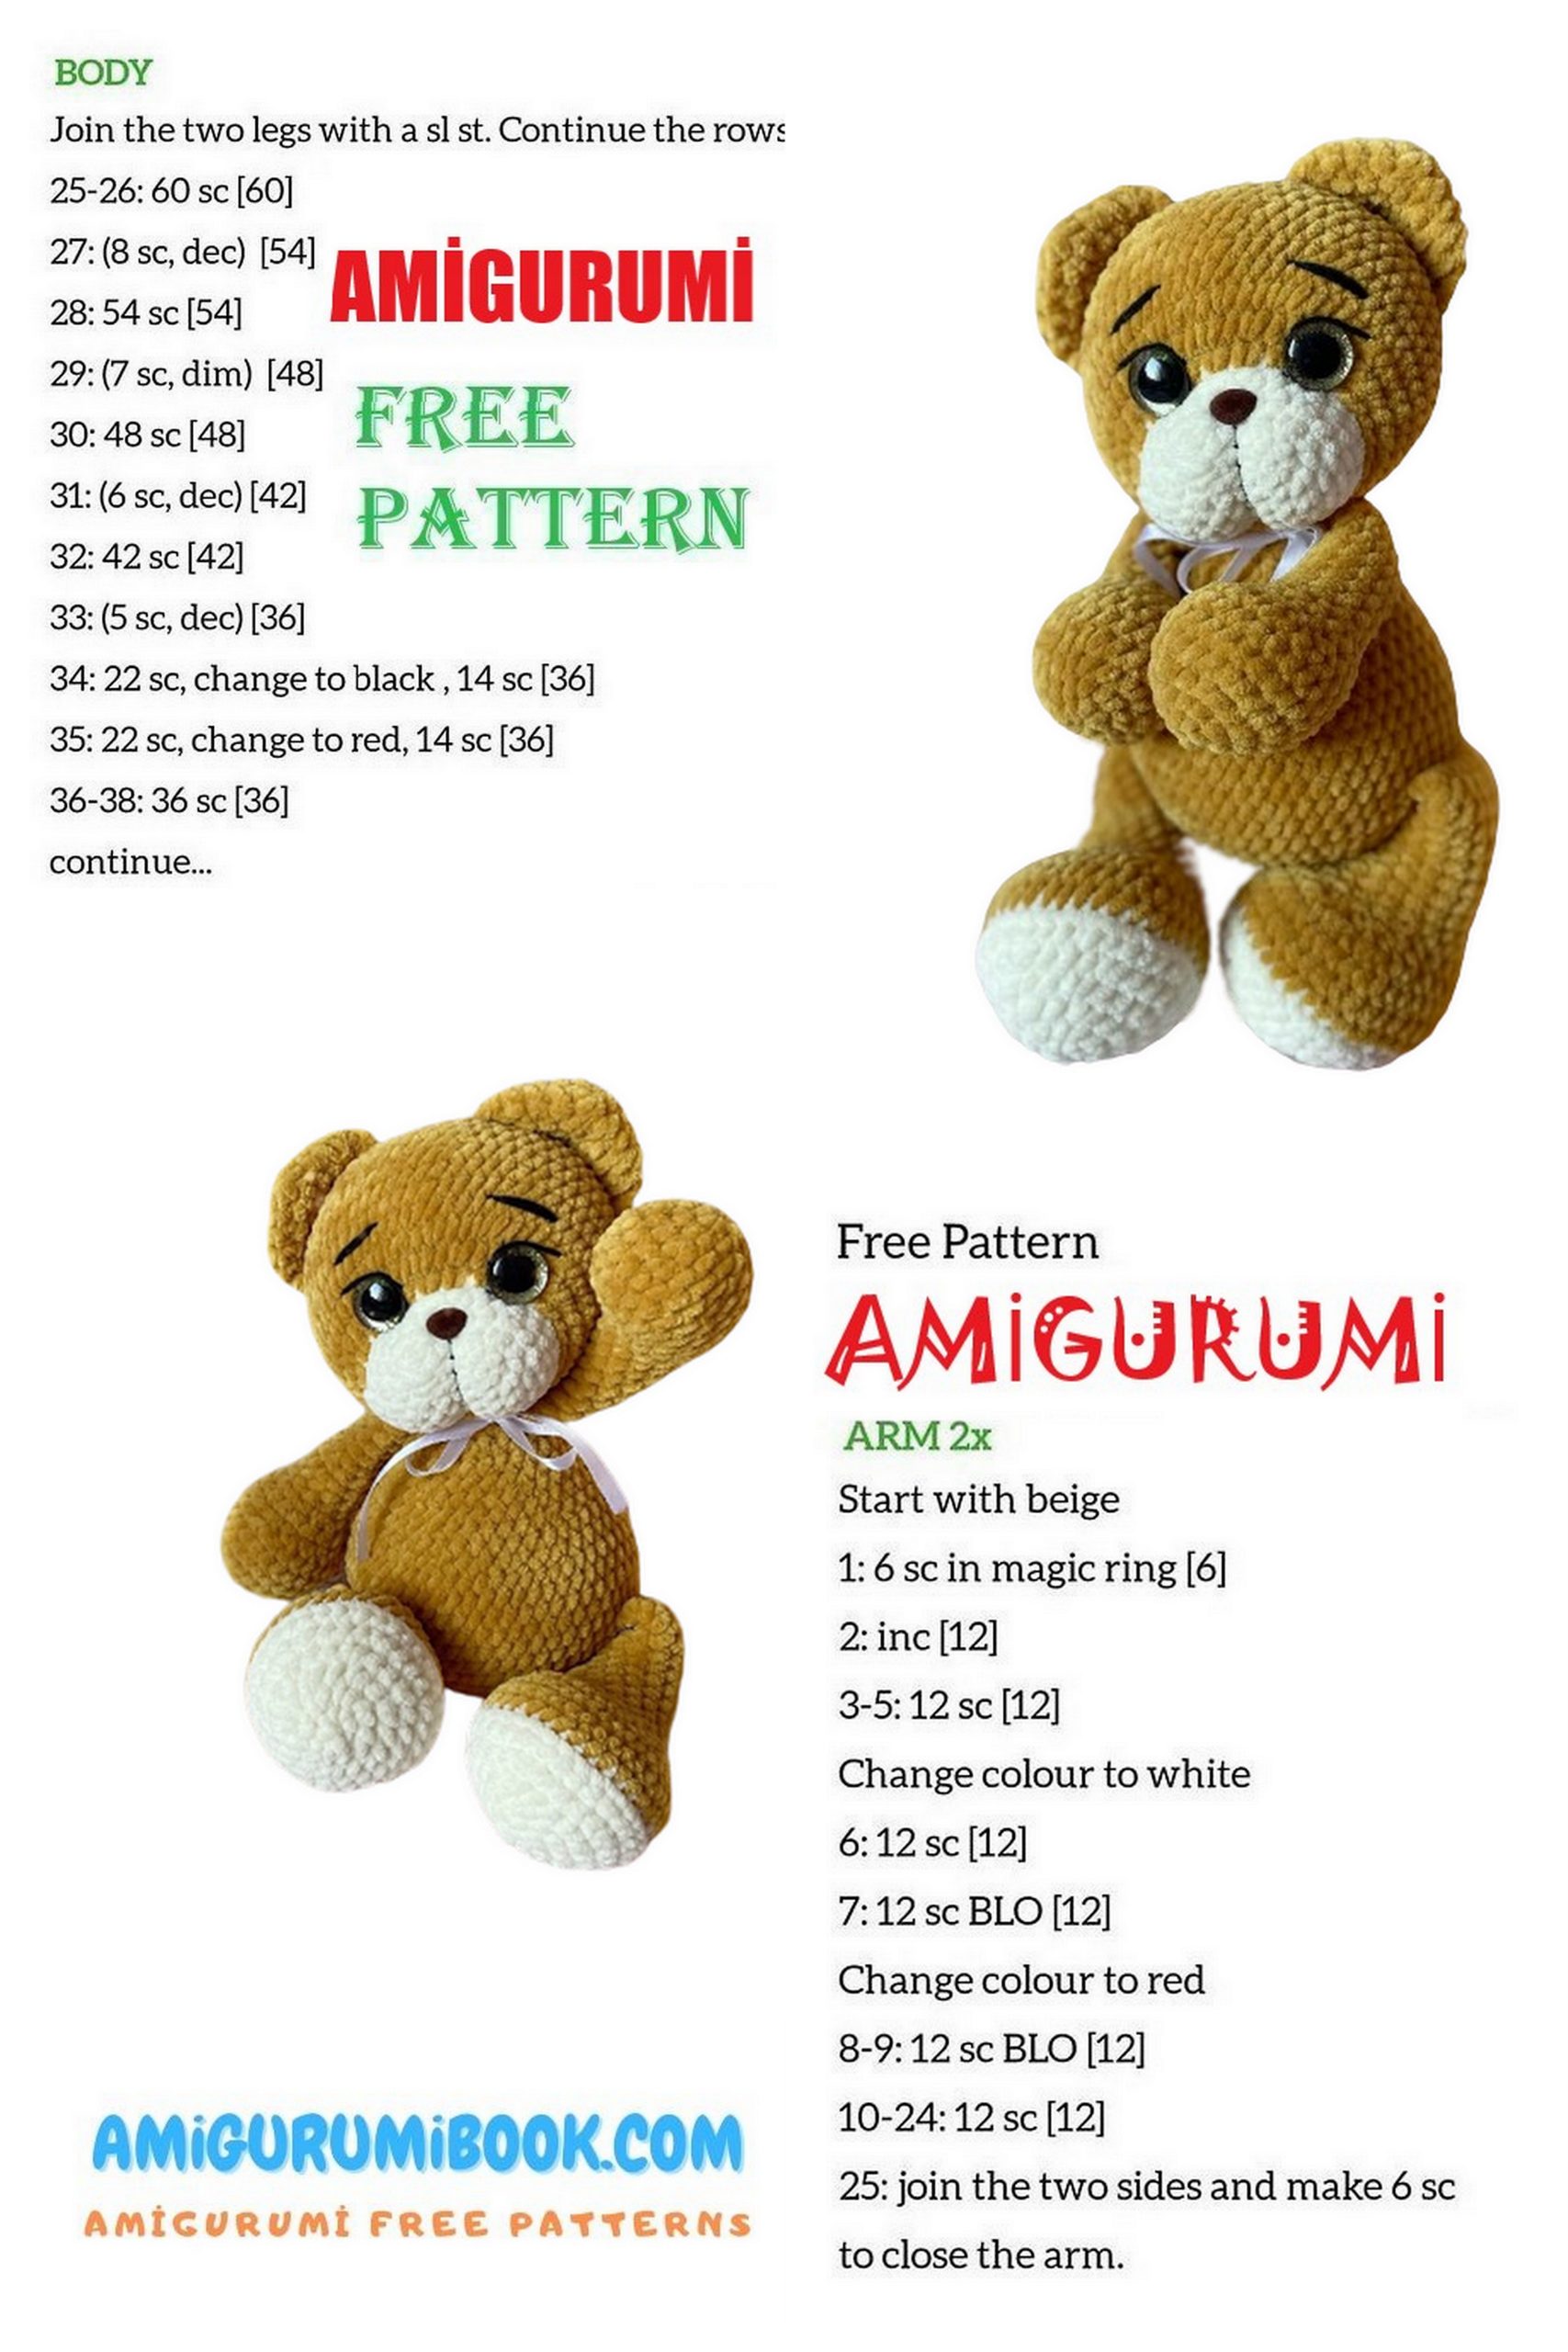
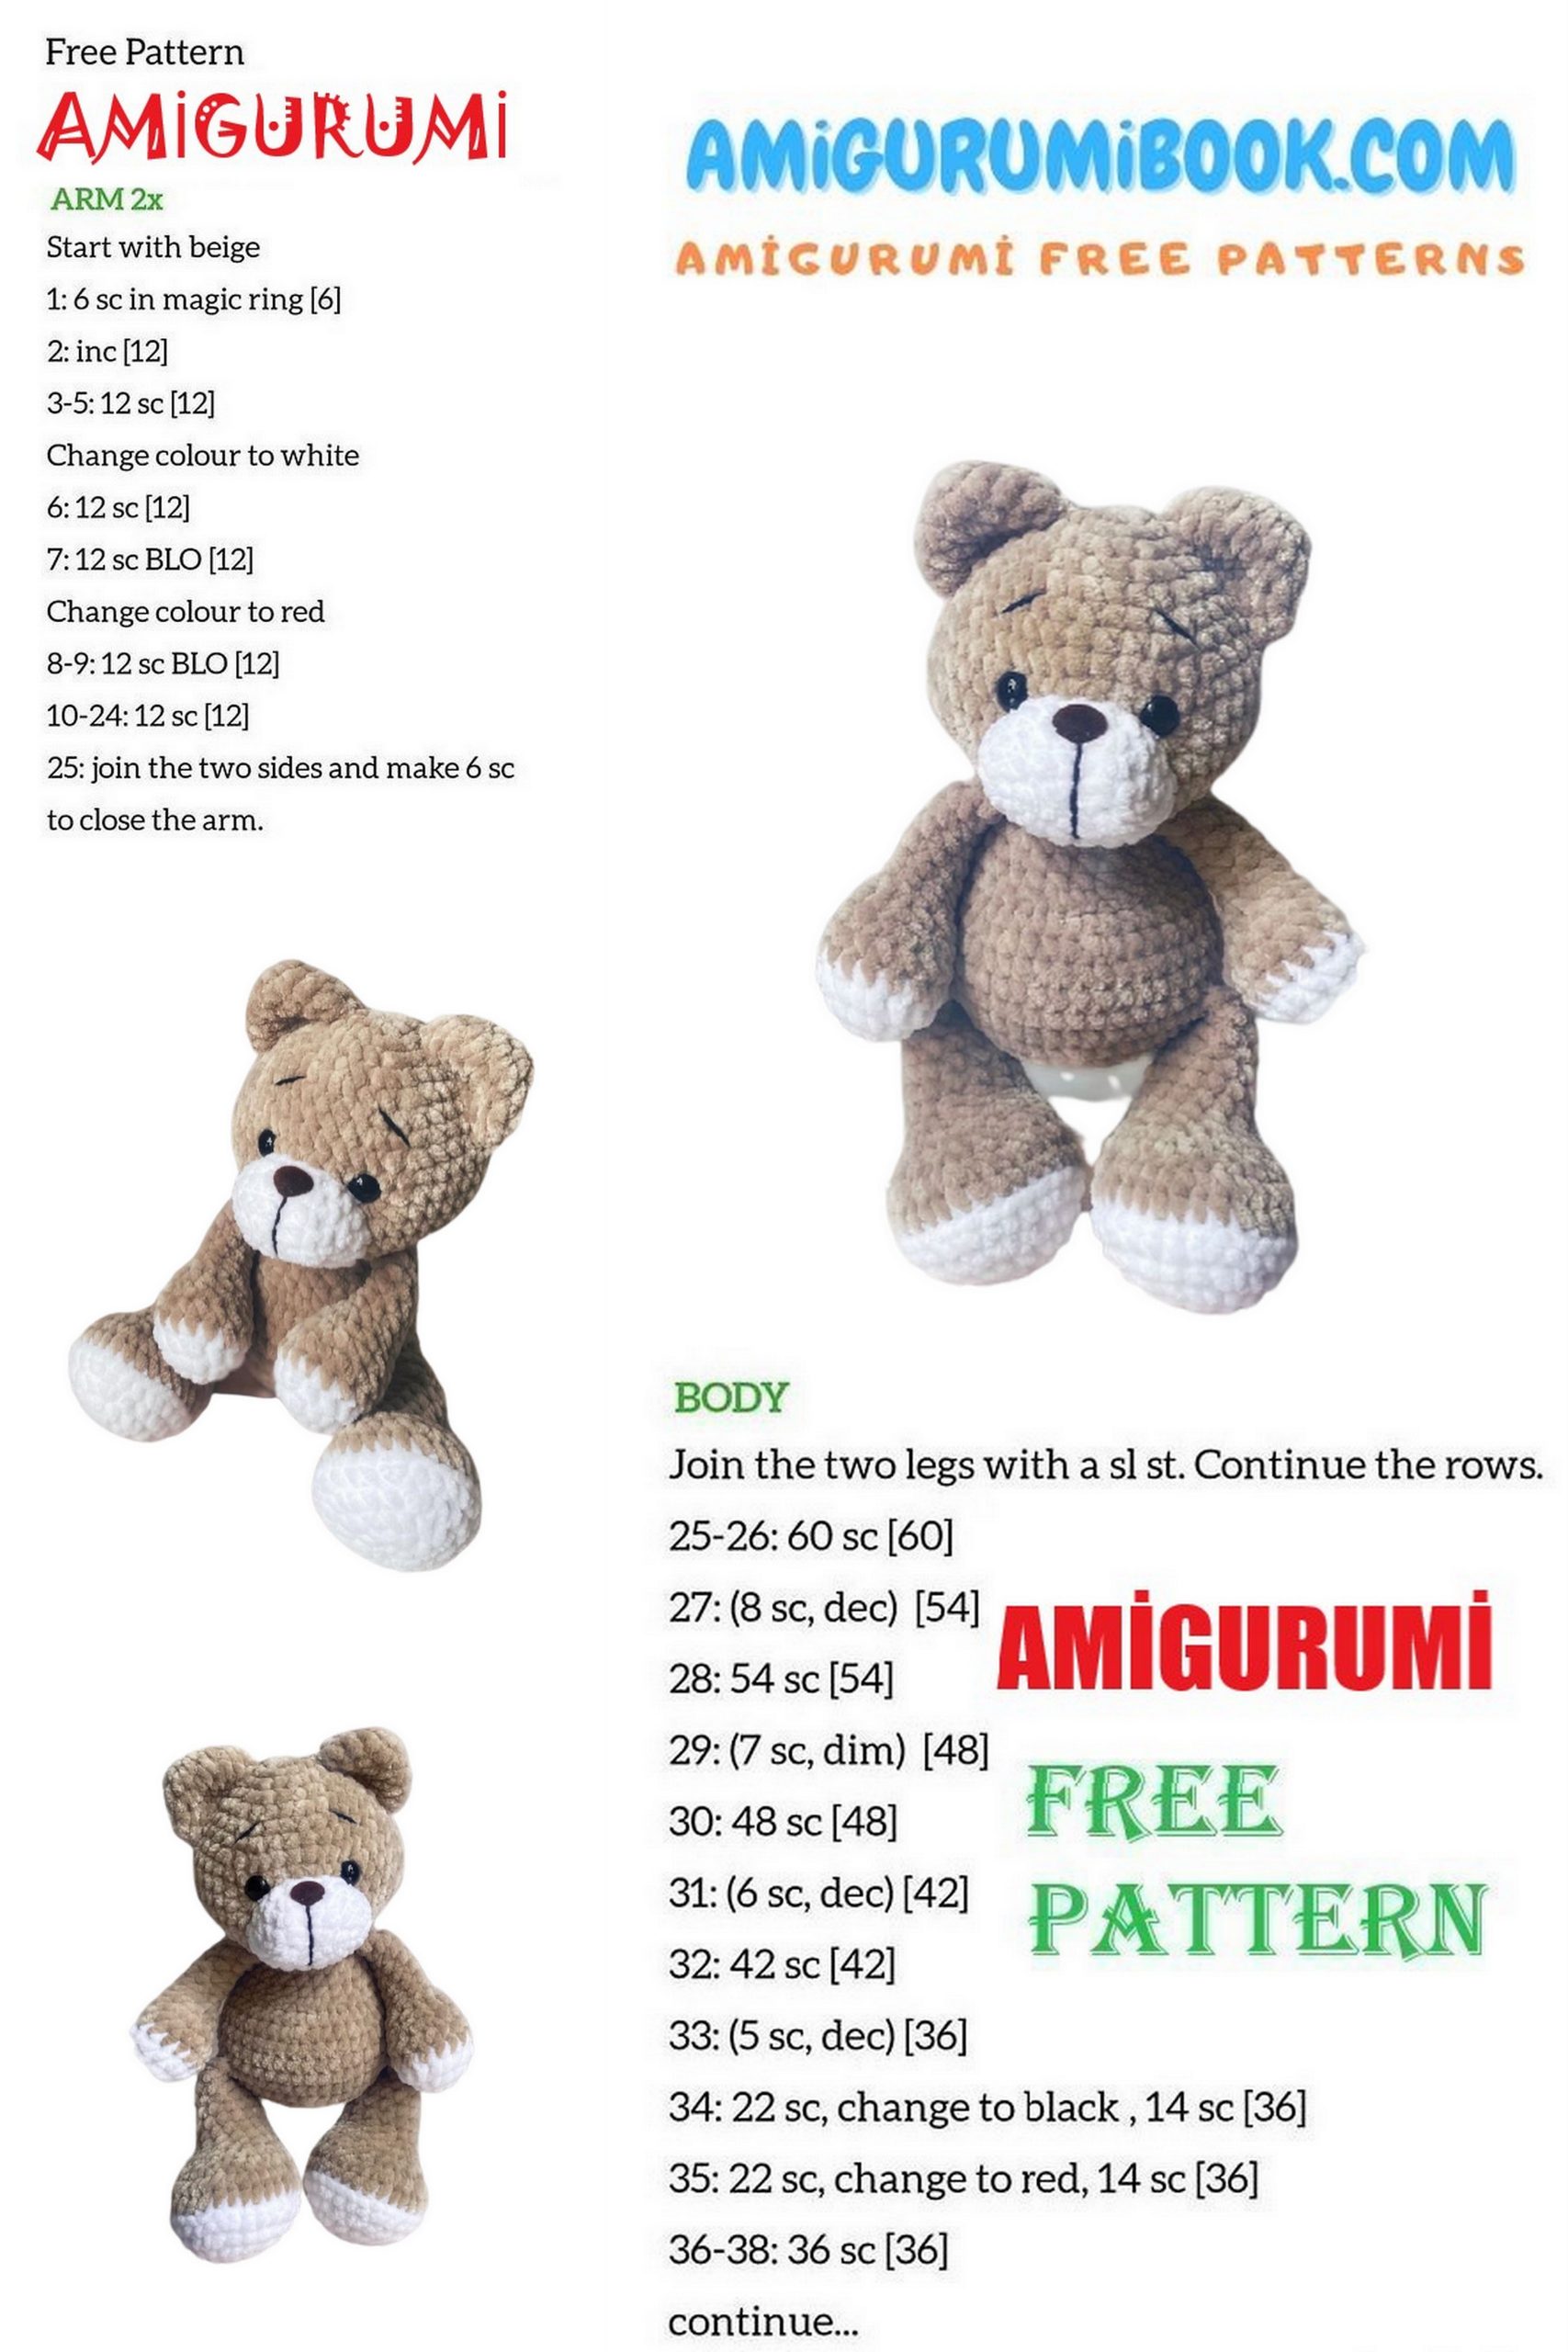
Body:
Using the main color:
1: 6 sc in magic ring (6)
2: inc x 6 (12)
3: (1 sc, inc) x 6 (18)
4: 1 sc, inc, (2 sc, inc) x 5, 1 sc (24)
5: (3 sc, inc) x 6 (30)
6: 2 sc, inc, (4 sc, inc) x 5, 2 sc (36)
7: (5 sc, inc) x 6 (42)
In the next row, we start making the legs.
8: 7 sc, 7 sc together with leg, 14 sc, 7 sc together with leg, 7 sc (42)
9-11: 42 sc (3 rows)
12: (5 sc, dec) x 6 (36)
13: 36 sc
14: 13 sc, 6 dec, 11 sc (30)
15: 30 sc
16: (3 sc, dec) x 6 (24)
17: 24 sc
18: (2 sc, dec) x 6 (18)
In the next row, we start making the arms.
19: 4 sc, 5 sc together with arm, 3 sc, 5 sc together with arm, 1 sc (18)
Make 1 more sc, fasten off.
Secure the thread and leave a long tail for sewing.
Head:
Using the main color:
1: 6 sc in magic ring (6)
2: inc x 6 (12)
3: (1 sc, inc) x 6 (18)
4: 1 sc, inc, (2 sc, inc) x 5, 1 sc (24)
5: (3 sc, inc) x 6 (30)
6: 30 sc
7: 2 sc, inc, (4 sc, inc) x 5, 2 sc (36)
8: (5 sc, inc) x 6 (42)
9: 3 sc, inc, (6 sc, inc) x 5, 3 sc (48)
10-13: 48 sc (4 rows)
14: (6 sc, dec) x 6 (42)
15: (5 sc, dec) x 6 (36)
16: (4 sc, dec) x 6 (30)
17: (3 sc, dec) x 6 (24)
18: (2 sc, dec) x 6 (18)
Fasten off, secure the thread and cut it.
Ears (make 2):
1: 6 sc in magic ring (6)
2: inc x 6 (12)
3: (1 sc, inc) x 6 (18)
4-5: 18 sc (2 rows)
Fasten off, secure the thread and leave a long tail for sewing to the head.
(Do not stuff the ears yet).
Assembling and finishing.
- Stuff the head tightly with stuffing, paying special attention to the cheeks.
- Insert the eyes in row 9, where you made (sc in next st, 6 sc, sc in next st), that is, insert the first eye into one increase, skip 6 sc, and insert the second eye into the next increase. Before securing the eyes, make sure they are evenly positioned! If not, move them one sc to the right or left.
- Begin sewing the muzzle between rows 9 and 15. When you have sewn up to the middle, stuff it and insert the nose between rows 4-5 so that it is in the middle of the eyes. If everything is even, secure the nose and finish sewing the muzzle.
- Sew the ears evenly between rows 2 and 8.
- Create eye dents.
- Embroider the muzzle and eyebrows.
- Sew the head onto the body.